
The Legend of Zelda: Twilight Princess HD Guide Dungeon 2: Goron Mines
Task 4: Obtain the Second Key Shard from Gor Ebizo
Chamber 7: Mine Loading Docks
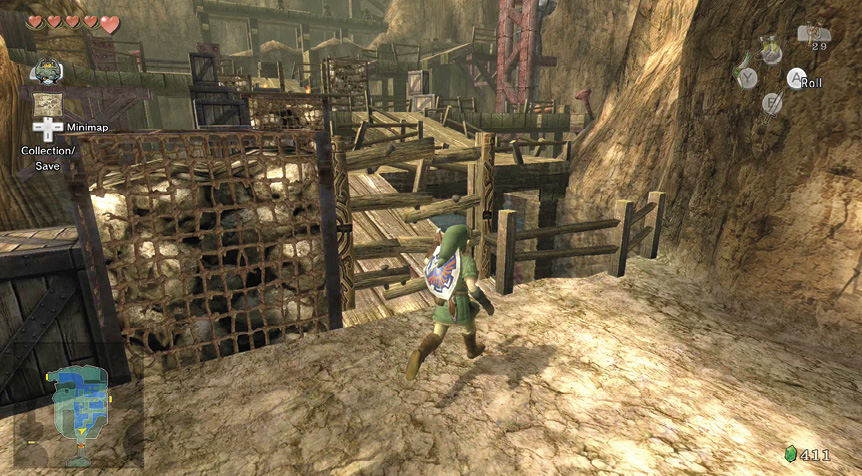
You step into an extremely large, open area. So large in fact, that Bulblin archers, armed with flaming arrows, have taken up defensive positions on upper ledges. Optionally slice up a barrel to your right for a Heart, then head toward the gantry. Use the spin move to smash the rickety wooden planks preventing your progress.
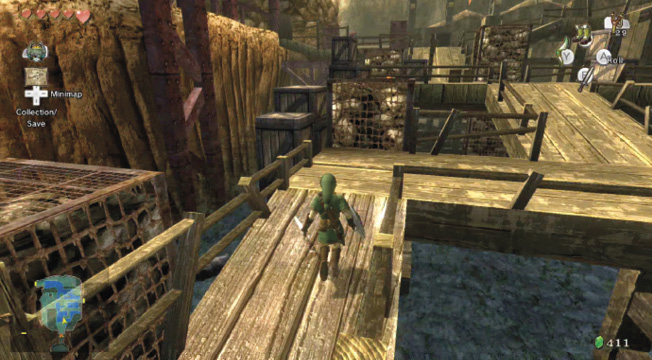
Ascend to the middle of the dock, walking along the wooden gantry. In the distance, Bulblins attempt to strike you with arrows. Their range is limited, so don’t worry about them yet. Optionally head right to smash some pots.
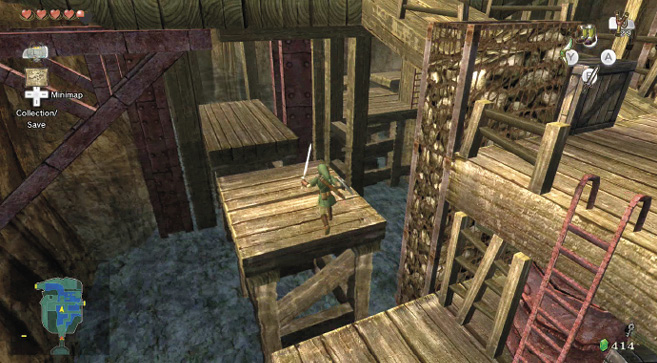
Now sidestep west to the ladder’s top, and leap off into the water. You must thoroughly search this area, so run around the gantry’s support struts, so you’re facing east at water level, then jump into the water just left of a second ladder.
Treasure Chest: Ignore the arrows (unless you’re remaining still, then shield block), and dive into the water. Use your Iron Boots to sink to the bottom, and investigate the underwater area’s northeastern corner. Smash the wooden beams to gain access to a chest hidden under the supports of a small gantry island, and claim your prize!
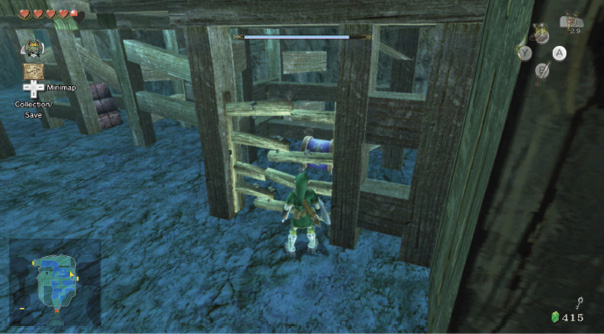
Treasure Chest #9:
Hylian Letter Stamp H
 Hylian Letter Stamp
Hylian Letter Stamp H
|
You may not have the room to carry this purple Rupee in your wallet. Collect those bugs and visit Agitha in Castle Town to increase the girth of your wallet! |
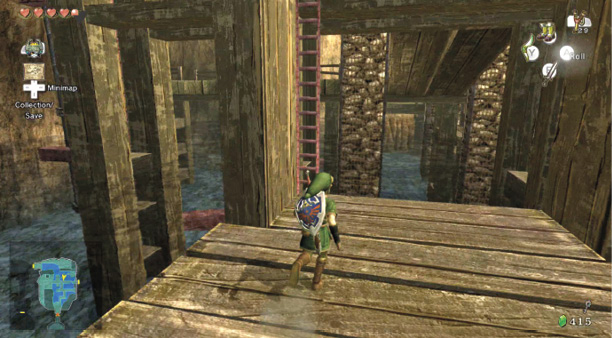
Leave the chest, rise to the surface without your boots, and clamber back on the water-level platform, then climb up the nearby ladder facing south, or the other ladder toward the west. If you took the longer ladder, you’re on the east-west wooden gantry within Bulblin archer range, so bring out your shield!
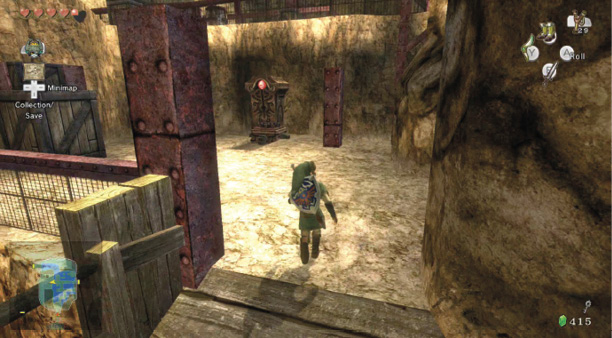
Run up the wooden gantry ramp to a small rocky alcove where a Beamos is guarding a door. You can’t reach the door or push the Beamos along the groove on which it sits. Instead, you must shield yourself or roll away from the beams it fires.
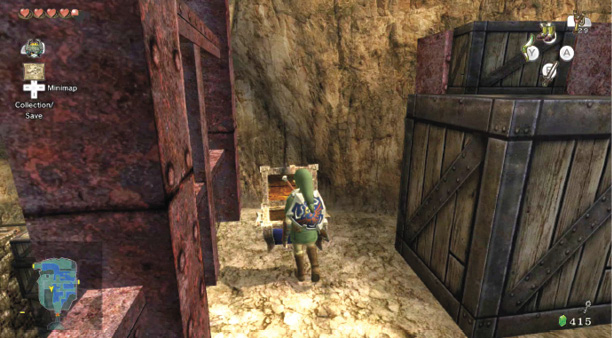
Treasure Chest: Ignore the Beamos because you cannot defeat it. Instead, move left while facing it, to the alcove’s corner, where you can kick open a chest to reveal a Small Key.
Treasure Chest #10:
Small Key
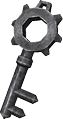 Small Key
You got a Small Key! This opens a locked door, but only in this area.
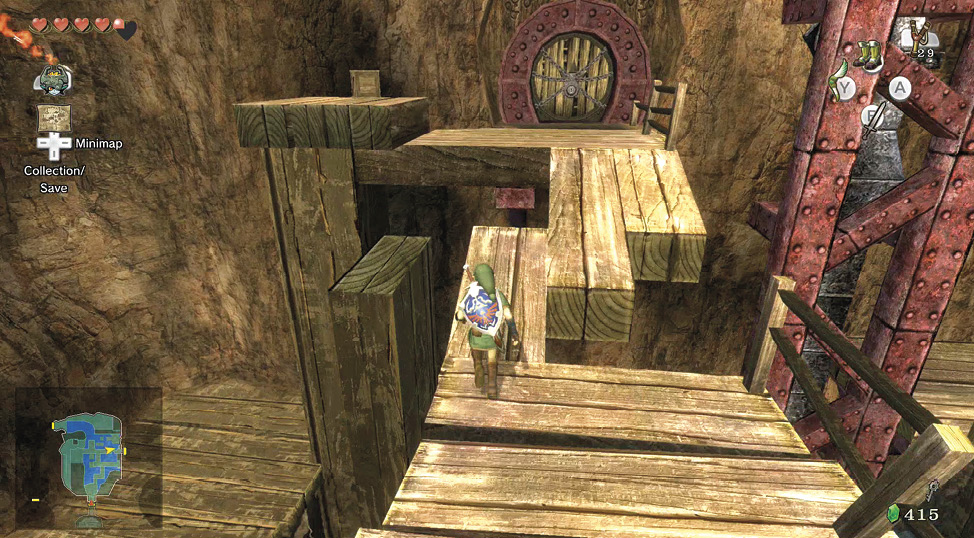
This key opens the door in the east wall, on the main gantry platform’s far end. Head across there from this alcove, traversing the three narrow planks. Before you exit, turn north and check out the three Bulblins. If you haven’t already, draw your Slingshot near the metal crate in the middle of the gantry platform, and arc in shots to hit each Bulblin, defeating them. You need to aim above their heads for the arcing shots to strike.
|
If you’re standing behind a wooden object, such as the small crates on the platform near the exit, these catch fire and burn if a Bulblin arrow strikes them, as does your Wooden Shield. Tackle these archers from far range, where they can’t reach you! |
|
Before you leave, stand on the platform to this exit door’s left, and look up at a high wooden structure above the heads of the Bulblins. There’s mesh netting draped over the side. This is the location of a treasure chest that cannot be accessed at any time during this dungeon exploration. You must return to this dungeon with the Clawshot (which you receive in Dungeon 3) to access this area. 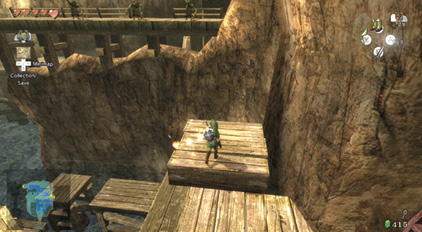
|
Missing Links
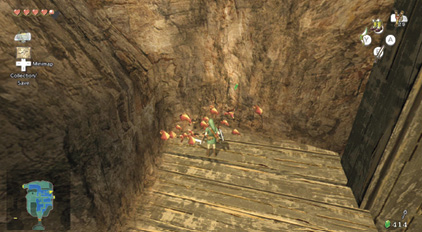
1. Barrels, Boxes, and Pottery Breaking
The scenery here is an excellent source of small Rupees and Hearts (and arrows after you pick up the Hero’s Bow). Check them near the southern entrance, the gantry’s eastern part. There are pots on either side of the Beamos, and two small crates on a small platform near the exit door (one holds a Heart).
Chamber 8: Mine Reservoir
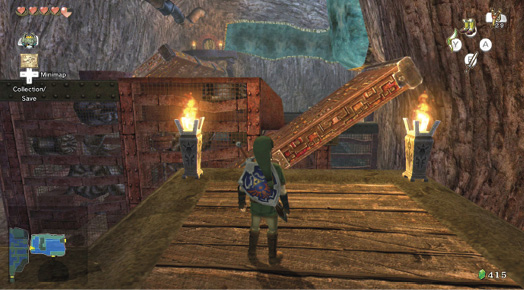
Unlock the door, and enter a large, rectangular chamber containing a couple of massive rotating platforms slowly turning. Don’t investigate them yet. Turn left and jump off into the water; there are lower level items to locate! Swim around and climb on the reservoir’s north bank, and defeat two Tektites.
FishingThis is optional, but you can take a break from exploring and cast a fishing line into the reservoir from the western bank facing east. There are only Greengills to catch, but you can grab a Heart for each one you reel in! 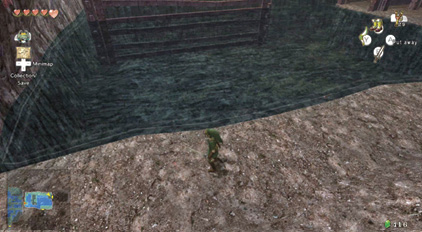
|
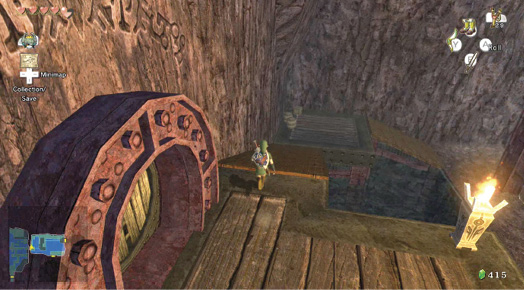
When you finish fishing, run up the metal ramp, optionally smashing the barrels and crates for a Rupee and Heart, and head to the entrance area. Stand between the two torches, wait for the rotating platform to stop, then hop on, and head across to the other side.
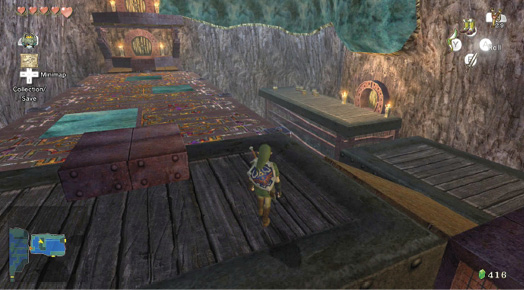
The exits to this chamber are on the east and south wall, but you can’t reach them yet. Instead, turn left and head up the metal ramp, then turn and stand on the small rusting platform overlooking a giant rotating platform filled with Goron symbols. Stop right there!
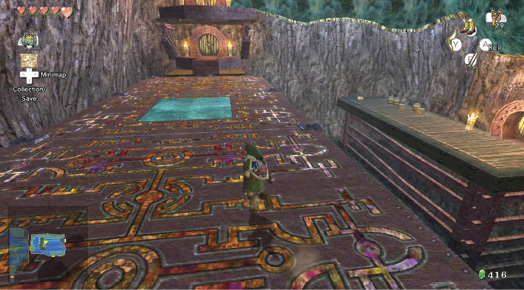
You need to cross this platform heading east, but you cannot run to the other side without the platform rotating. Fortunately, there are magnetic squares embedded into the platform for you to stick to. The optimal method to cross is:
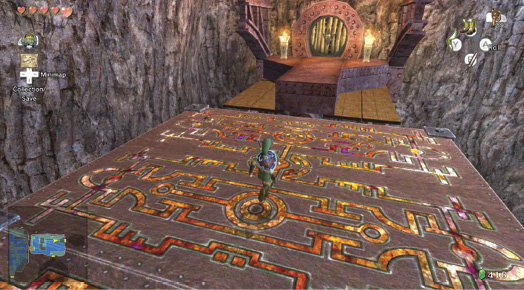
Step 1: Run on the platform as it finishes rotating; dash early, and make sure the platform side shows the single magnetic square in the middle. The other side shows two magnetic squares, but this takes longer to traverse.
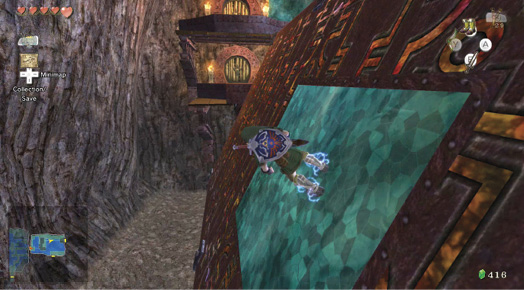
Step 2: Run to the metallic square’s edge, then put on your boots as the platform rotates. Stop where you are. When the platform rotates right side up, take off your boots early so you can run before the platform finishes rotating.
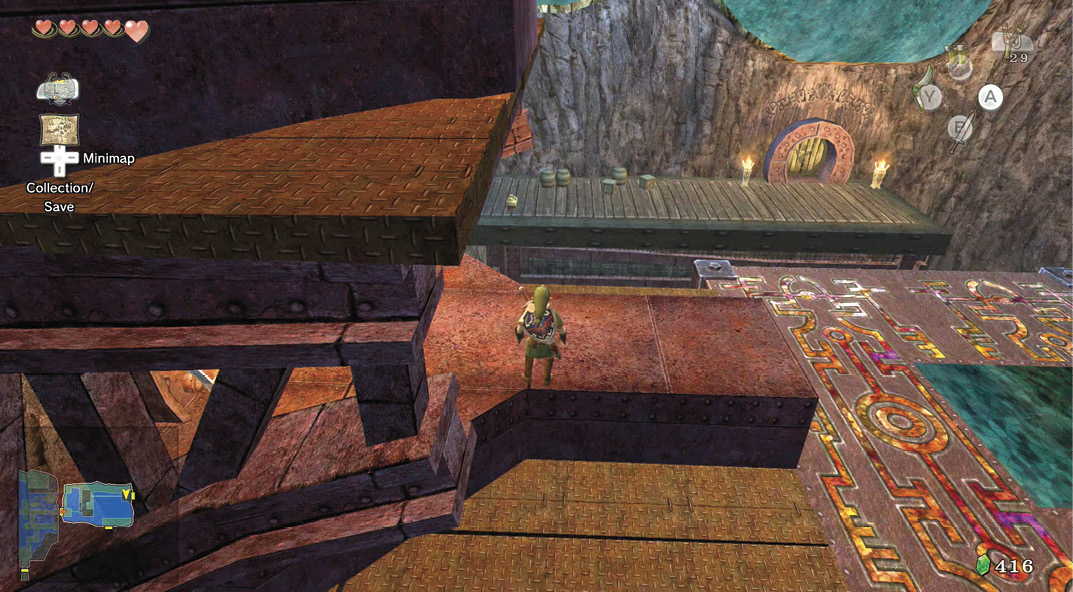
Step 3: Run ahead, but aim for the platform’s right corner, as this rotates up rather than down, giving you a spare second to reach the door at the opposite end. Run onto the solid metal floor, and enter this door.
Chamber 9: Gor Ebizo’s Shrine Room
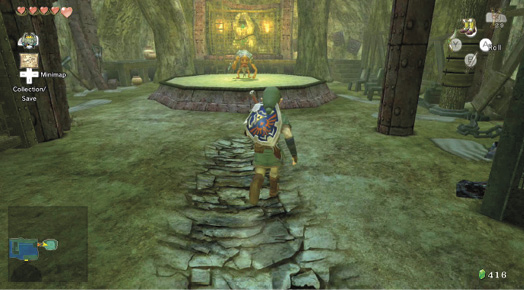
Roll down the passage into the chamber, which has the familiar look of Gor Coron’s wrestling ring. A hunched elderly Goron is standing with a weary expression on his face, and his back is slowly turning to stone! This is the room of Gor Ebizo, Goron elder.
Gor Ebizo: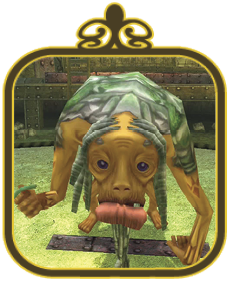
Countless years have rendered the long-haired Gor Ebizo old and frail. He is the second most powerful elder in Goron society. He is also easygoing and short, and he carries a device you need to assemble. His fondest wish, is to work with some type of young entrepreneur selling wares to adventurers. Perhaps his wish will come true some day. |
Speak with this stone-cold Goron and you’ll find he’s still sprightly. He offers you good luck on your quest. In fact, he’s extra helpful, as he provides you with the second Key Shard after you talk to him! You only need one more.
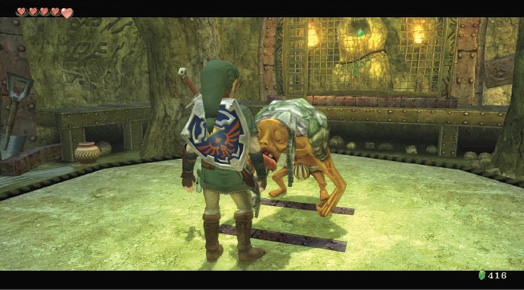
 Key Shard
You got a Key Shard! You need all three Key Shards to return the Big Key to its original shape.
Treasure Chest: When the conversation with Gor Ebizo ends, step off his ring and run around his chamber’s right edge, onto the shrine platform’s far side, and open a chest!
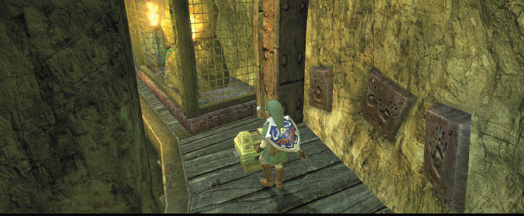
Treasure Chest #11:
Yellow Rupee (10)
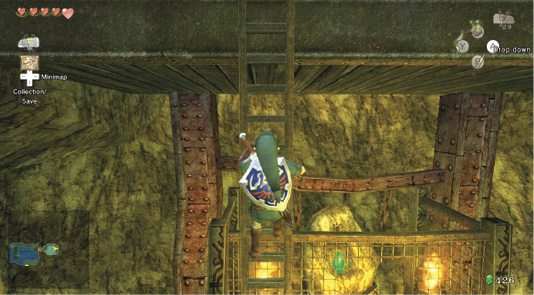
Depart this shrine room by climbing up the ladder to the left of the shrine. At the top, turn left. Run along the upper ledge, overlooking the wrestling ring, and exit via the upper door.
Missing Links
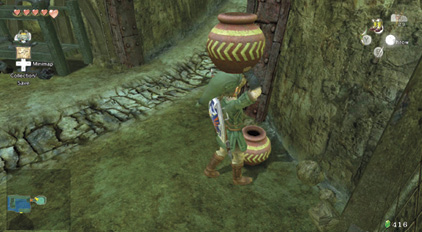
1. Pottery Pulverizing
Although Gor Ebizo doesn’t allow weapons in this room, you can still smash his collection of pots to the left of the shrine, and along the left wall. There’s a Heart in one of them.