
The Legend of Zelda: Twilight Princess HD Guide Dungeon 6: Temple of Time
Task 5: Maneuver the Statue Over the Scales of Time
Back to Chamber 10: First Return to Armos Guardian Room (8F)
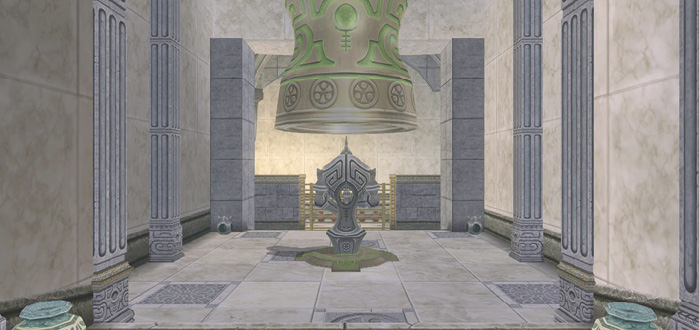
Return to the Armos Guardian Room, and you see another bell descend and deposit the statue in this chamber! The bell is using an ancient teleporting technology! Aim at the statue with your Dominion Rod, and activate it, then bounce along to the gate ahead. Raise your Dominion Rod, and bring it down. The statue does the same with its huge hammer, and the gate is smashed. Hop down with your new doppelganger, and head to the two Armoses. Position the statue between them, and drop the hammer twice. The Armoses explode, and you didn’t even get close to the combat!
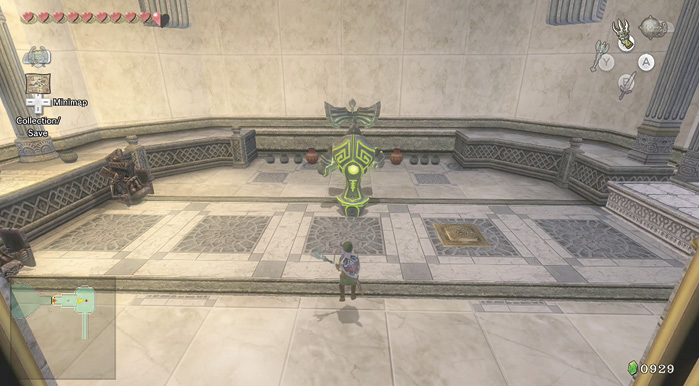
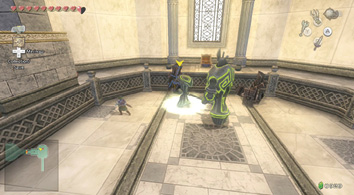 Be very careful with your new power! Don’t stand close in front of your statue friend and wave your Dominion Rod about! The statue brings down its hammer, and you’ll lose one whole energy each time! |
|
Have you lost your statue? Don’t worry; it appears on your in-game map as a red dot. |
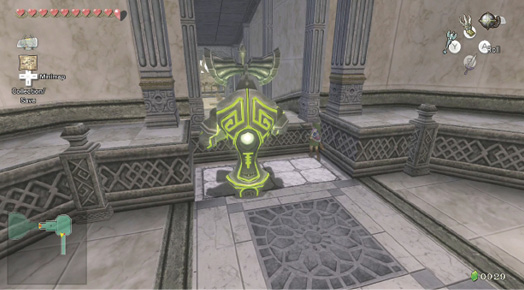
Now you must exit this chamber, so maneuver the statue so it’s facing south, find a pot from the many around you, and place it on the floor switch. This lowers a floor ledge at the exit. Now maneuver the statue onto the ledge, smash the pot, and climb up after it. Head downstairs.
|
Another way to solve this floor switch puzzle is to use a horned statuette instead of a pot. You can grab a statuette from the area near the bell, or possess the statuette with your Dominion Rod and maneuver it on and off the switch remotely. However, this takes longer. |
Chamber 9: First Return to Upper Spiketrap Corridors (8F to 7F)
Control your statue and let it bounce down the stairs in front of you. Control it so it passes through the electricity and lands on the floor switch, turning the electricity off. You need to stop controlling the statue, back up, then start again to get enough distance between you.
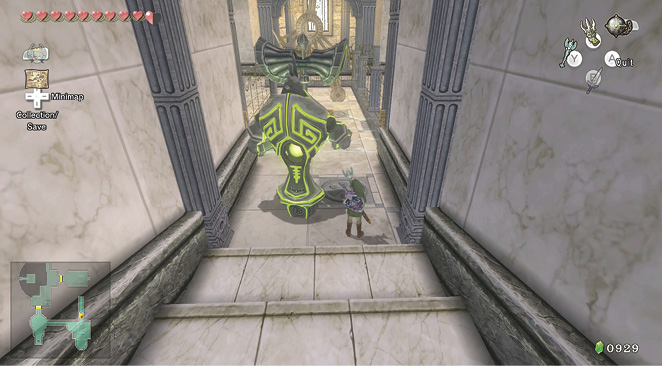
Now follow the statue and maneuver around the ground rolling spike traps. Bring the statue’s hammer down and destroy them, and your exit is easy! You can’t destroy the pendulum, but you can crack spiked Spinners and the White Beamos at the base of the next stairs. Do so.
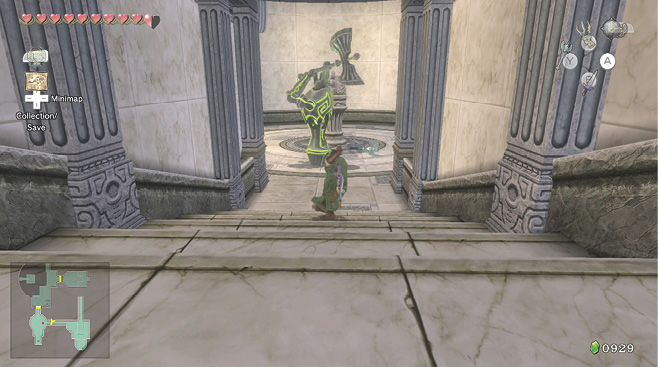
The statue needs to reach the next bell teleport, so maneuver it onto the ledge in front of the bell itself, and switch off the power. Run to the middle of the chamber, where the White Beamos was standing. There’s a floor switch here. Place a statuette on it, and the statue is raised. Fire your Dominion Rod and power up the statue, and maneuver it under the bell.
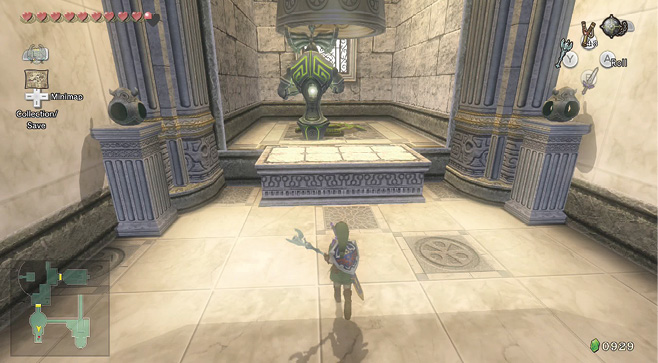
Chamber 7: Second Return to the Scales of Time (7F to 6F)
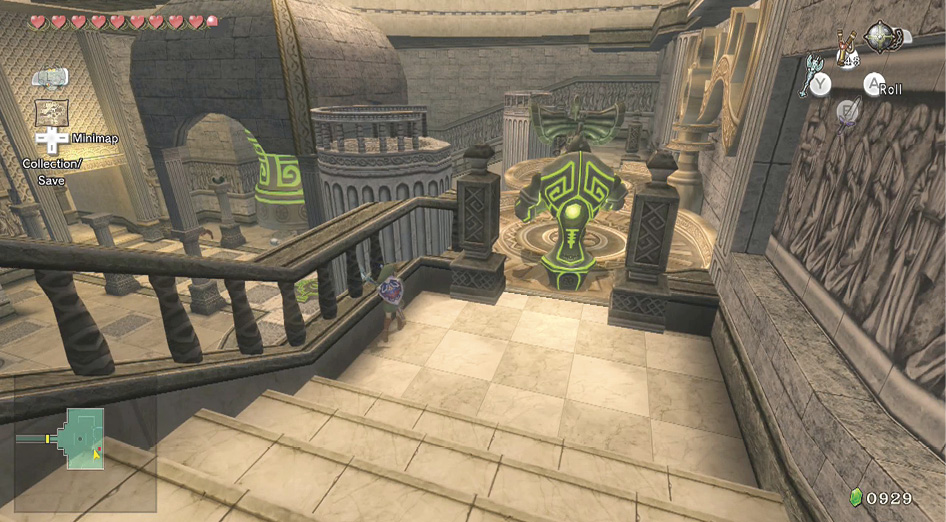
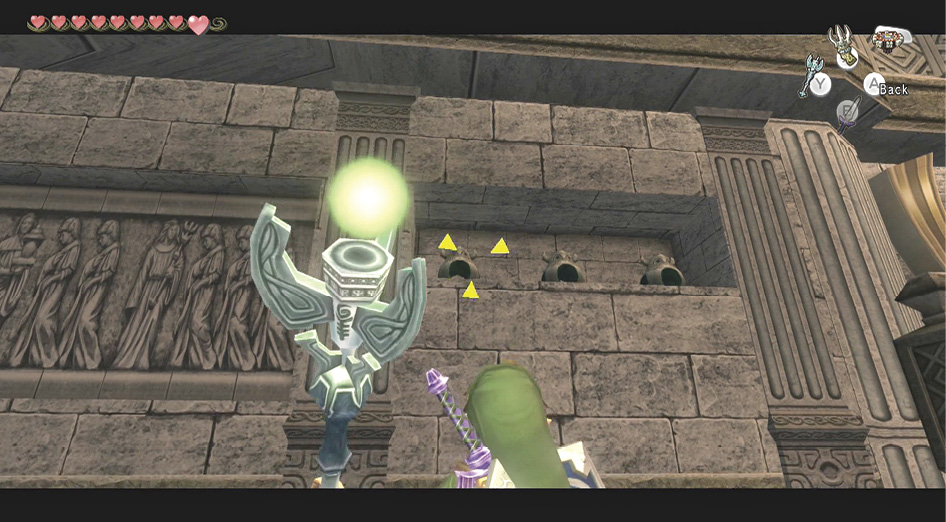
Enter the room with the giant Scales of Time, and possess the statue, dragging it all the way to the right scales tray. The tray immediately sinks and must be counterbalanced. Achieve this by removing any statuettes sitting next to the statue, so the statue is the only object on the tray. Then run around and up to the alcove with the three statuettes. Possess each one so they drop to the ground. Pick them up, and place them on the left tray.
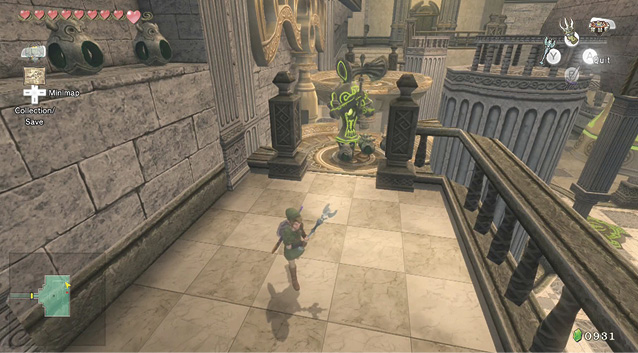
Once you have four statuettes (as shown) on the left tray, the balance to the scales is restored! Obtain the fourth statuette from the places indicated on the map (the ledge you Clawshotted to, the pillar in the courtyard, or most easily, the tray the statue is standing on!). Then activate the statue, and drag it onto the left tray.
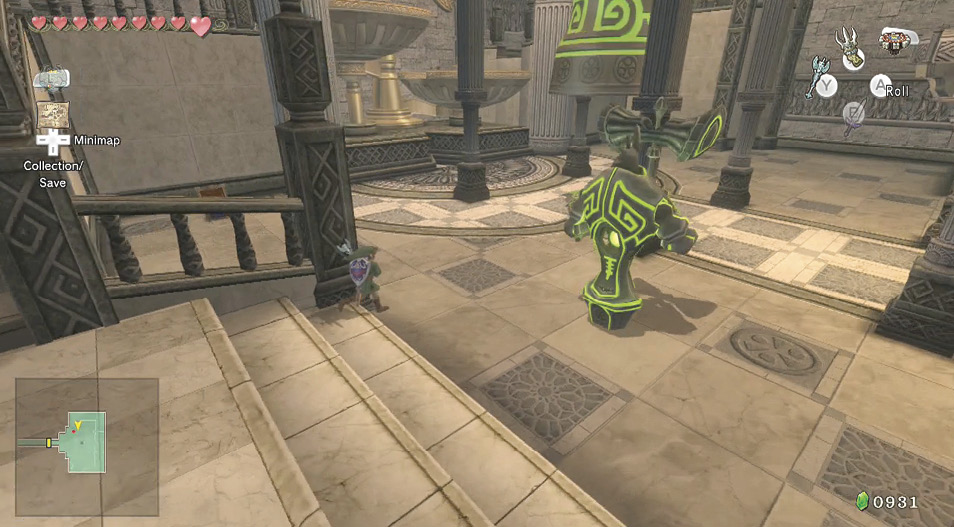
The tray sinks immediately, because it has all the weight of the statuettes and the statue on it. Step on this tray, pick up all four statuettes, and throw them onto the right tray that’s empty. This counterbalances the trays again, providing you step off! Now control the statue, and bring it down the stairs. Optionally pound the Gohmas in the courtyard below, then move the statue under the bell. There’s a red Rupee if you ring this one, too!