The Legend of Zelda: Twilight Princess HD Guide Dungeon 7: City in the Sky
Task 7: Activate the Fan Turbine In the Central Chamber
Chamber 16: Peahat Gardens (3F to 2F to 3F)
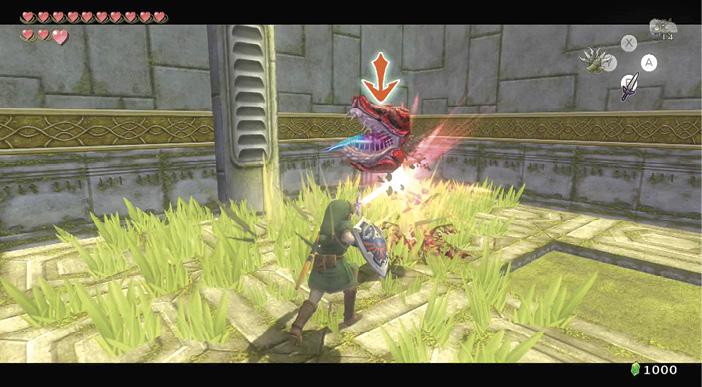
After entering the room, begin your brief visit here by slicing up the nearby Baba Serpents. There’s even a blue Rupee (5) in the Baba Serpent to the southeast, and two more blue Rupees (5) inside the pots on the promontory.
|
Have you tried juggle combos? Cut the Deku Baba’s stalk, and with a second slice, hit the head before it touches the ground! |
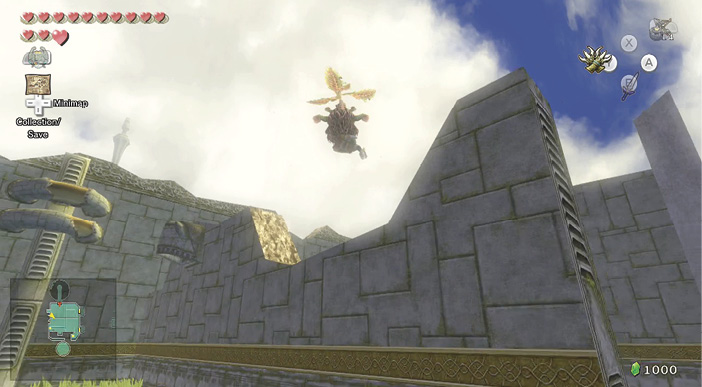
Stand on the western side of the garden andlook south at the broken wall. Soon you see a slow-moving Peahat gliding through the air, over the broken high wall.Clawshot onto the Peahat, hang down and travel south to the next part of the gardens.
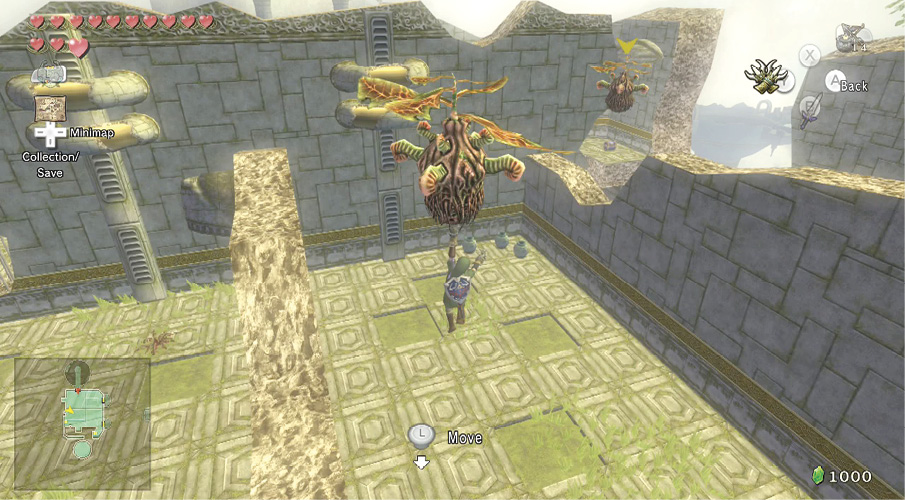
Optionally drop down to this section of gardens for some items. Then wait for another Peahat. It takes you over the next wall, into the southern part of the gardens.
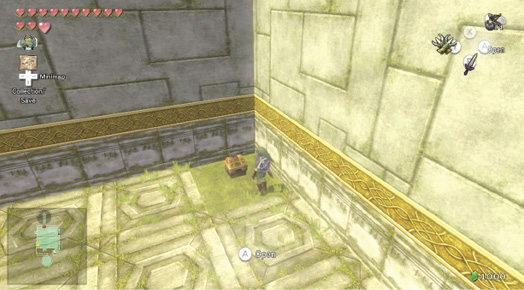
Treasure Chest: Carefully lower yourself down onto the platform just past the second broken wall segment. A Baba Serpent is waiting just below the wall for anyone who would be in too much of a rush to look before they drop. A small chest in the western corner contains a red Rupee (20).
Treasure Chest #16:
Red Rupee (20)
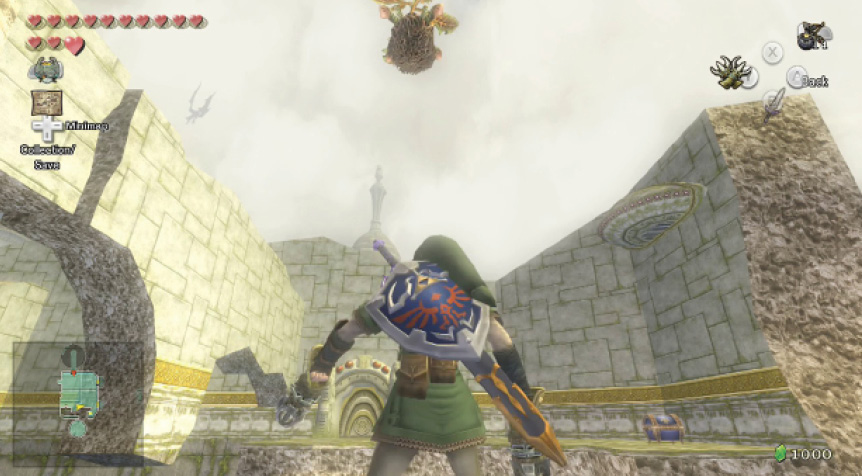
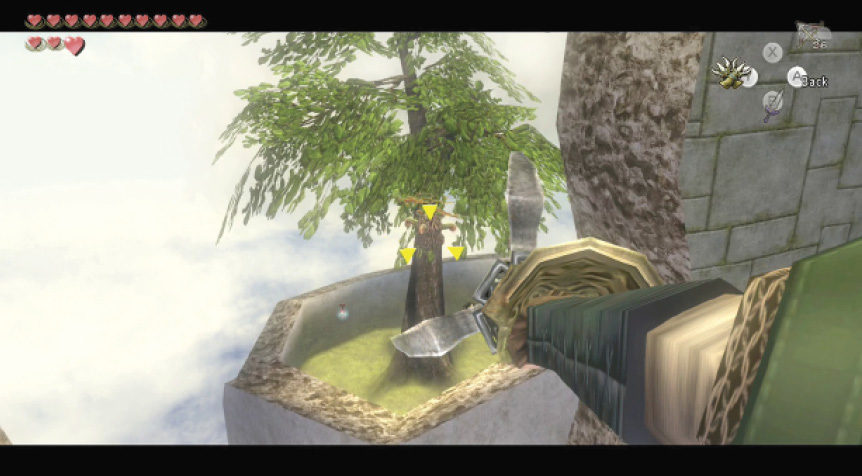
Treasure Chest: Turn and look to the east. There’s a chest across from you that you can’t reach, and a grassy area down below. But first, look up at the Peahat traveling from north to south. As it reaches the south end of its path, Clawshot onto it, then immediately face south and Clawshot on to the Peahat sitting on the tiny island with the large tree. Shoot yourself at it, and drop onto the island. When you’ve dealt with the Imp Poe, open the chest to obtain the G Hylian Letter Stamp.
Treasure Chest #17:
Hylian Letter Stamp G
Poe Soul #56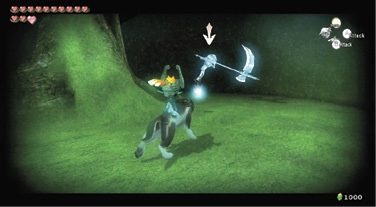
This island is also home to an Imp Poe. The daylight doesn’t bother him, so there’s no need to wait for the night. Bring out your fangs or Midna’s area-attack, and fight! Only four more to go!
|
 Poe Soul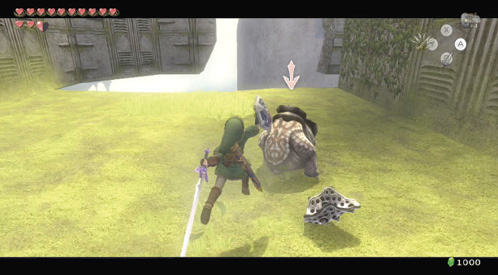
Clawshot back up to the Peahat, wait for the moving Peahat to return, then travel north and drop onto the lower grassy area. Draw your sword, dodge around each Helmasaur and Helmasaurus, and slice its rear! Then turn and fire arrows (or aim carefully with your Clawshot) at the Walltulas on the large vine wall.
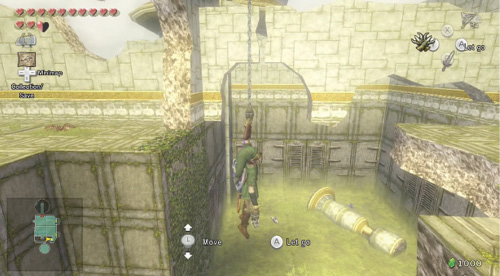
This lower area doesn’t hold anything of value, so Clawshot to the top of the vine wall. Wait for the north-south Peahat to arrive, then journey northward, lowering yourself so you pass under the vertical crack in the wall.
As soon as you pass through this crack, turn right and target another Peahat, then lower yourself immediately, because it’s moving north through another crack!
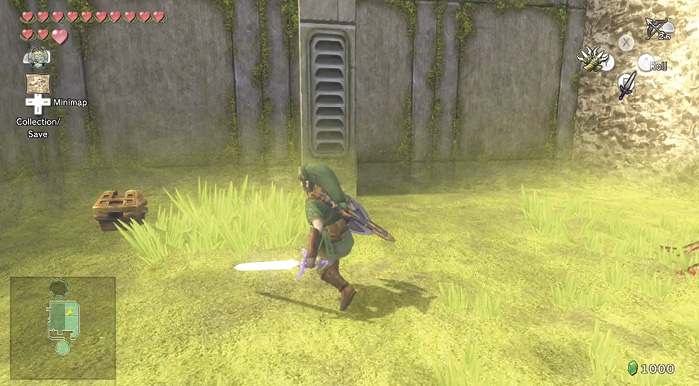
Treasure Chest: You arrive in the northeastern part of the garden, and you can drop down into the grassy area. Attack a couple of Baba Serpents, but don’t leave before you uncover a partially hidden chest in the southwest corner! Now use the Peahat to ascend to the ledge on the upper floor, and exit to the east.
Treasure Chest #18:
Bombs (5)
 Bombs
Bombs
You got bombs (5)!
You emerge on a tiny ledge with pots and a series of Peahats in a semicircle. Smash the pot for a Heart, ignore the gliding Kargorok, and Clawshot up to the Peahat. Continue ZL targeting and maneuver all the way around. Turn right to continue around to the ledge to the south.
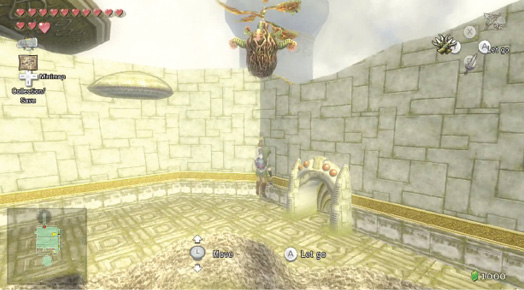
Treasure Chest: Land on the ledge and open the door. You’re back in the garden, but this time you’re on the ledge with the chest you couldn’t reach earlier. Stride over and take your awesome prize! Then return to the Peahats, and journey across the skies to the central tower.
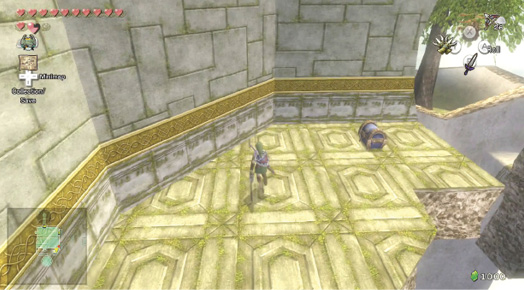
Treasure Chest #19:
Piece of Heart #42
 Piece of Heart
You got a Piece of Heart! Collect three more for another full Heart Container! Piece of Heart #42 of 45.
Chamber 3: Fourth Return to Central Fan Chamber (Exterior) (4F to 1F)
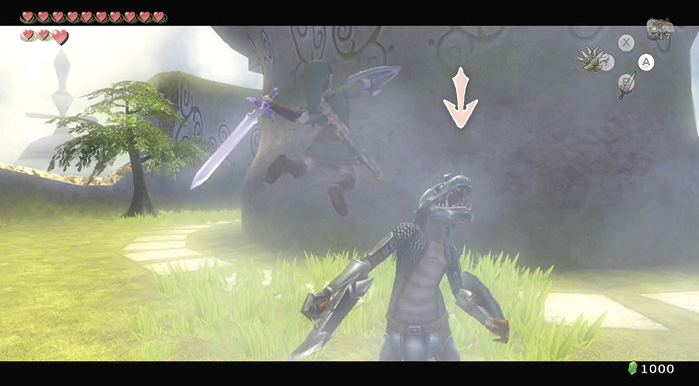
You’re now atop the Central Fan Chamber. Execute a tour of the exterior, running around counter-clockwise. Two Dynalfoses prowl around here. Introduce them to your Bomb Arrows.
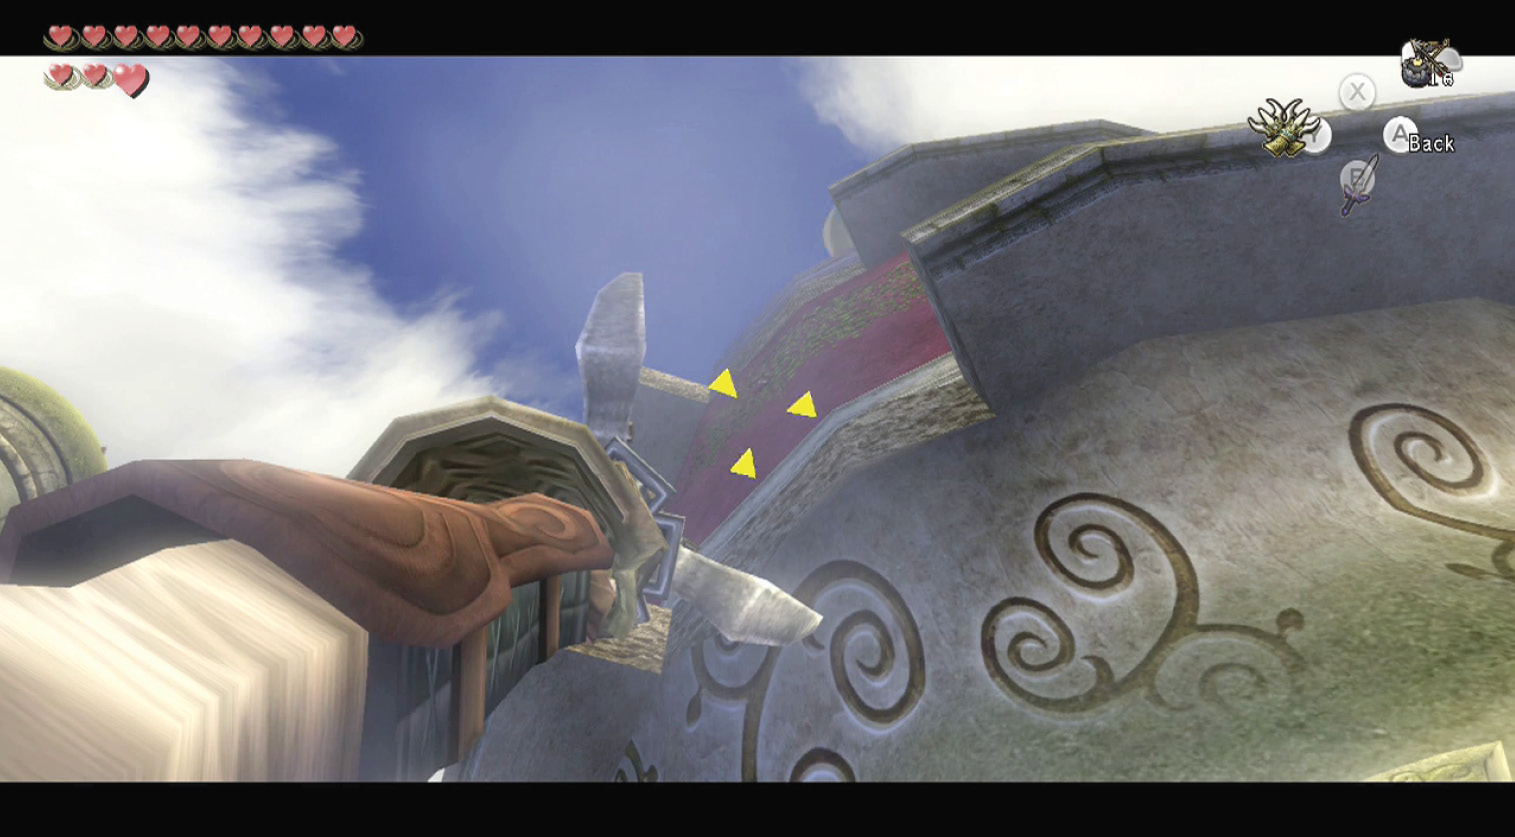
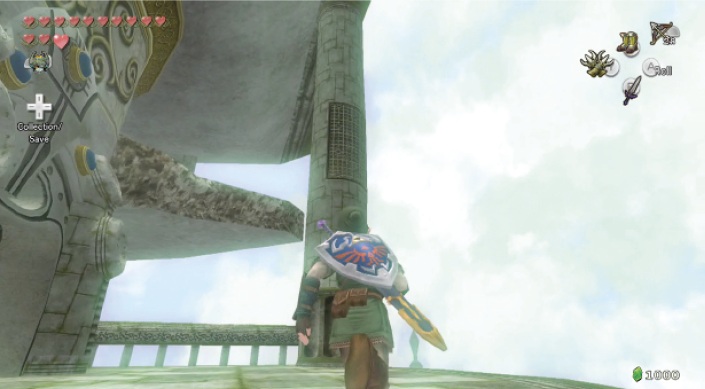
Now attempt to climb to the top of this domed structure. If you head to the south end of the dome structure and look up you’ll be able to see vines that are perfect for Clawshotting onto. It’s tricky to catch the vines from here (because you’re you’re not technically supposed to be climbing from this point), but it’s worth the effort. Stand to one side of the south door, and aim your Clawshot at the vines (you can’t see exactly where you’re aiming). Shoot upward, and land on the ledge. If you’re having trouble hooking onto the vines without dropping back to the ground, try repositioning yourself so you can shoot your Clawshot from different angles. If things just aren’t working out for you, you can head to the northwestern side of the chamber and hook onto the vines on the outer wall.
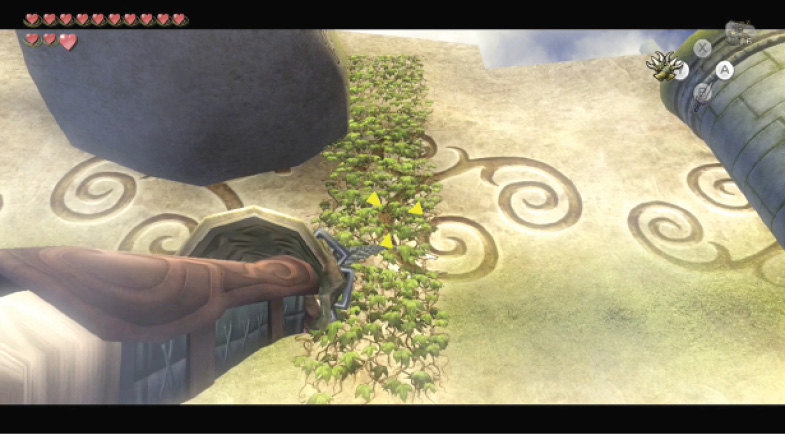
Climb up the vines to the ledge at the top. Bring out your Clawshot again and bounce it off the head of a Kargorok. It usually flaps back to its perch, to the north.
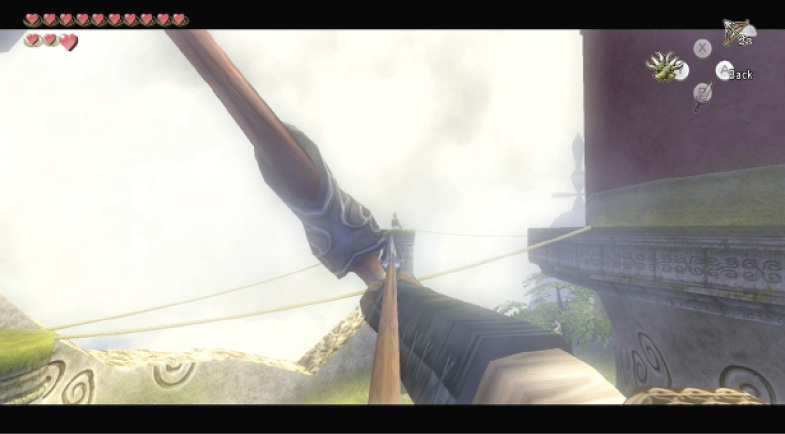
Bring out your Hero’s Bow and shoot the Kargorok, and a second one on a perch in the distance. Now these flapping foes won’t swoop at you in this area. Transform to the wolf, and walk along the rope spanning the ledge to the domed building.
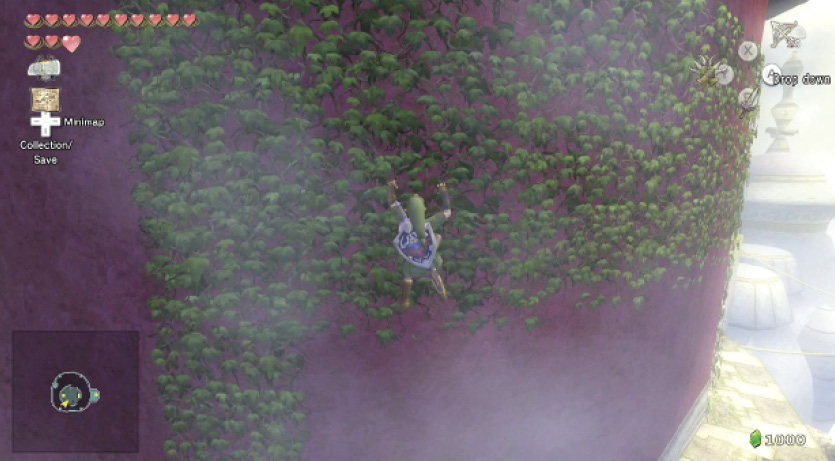
Treasure Chest: Turn right and walk around the narrow ledge to the vine wall (this is where you could use the shortcut). Aim up and shunt a couple of Walltulas off the vines, and then carefully aim as high and far across as you can, and clamp yourself to the vines. Shimmy right, and then drop as soon as the vines are vertical. At the bottom is a ledge with a chest. Open it!
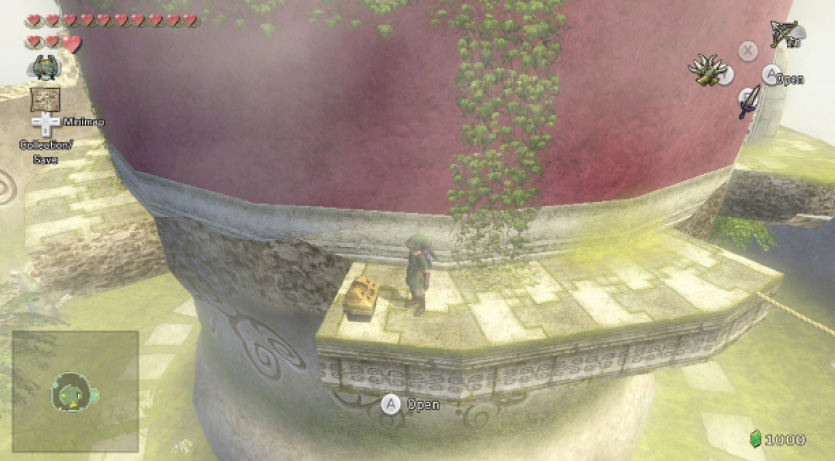
Treasure Chest #20:
Red Rupee (20)
From this ledge, look east to see a rope stretching out to a ledge. There may be a Kargorok to shoot. After the area is clear, change to wolf form and walk across the rope to this ledge, and again to a high section of outer wall with grass on top.
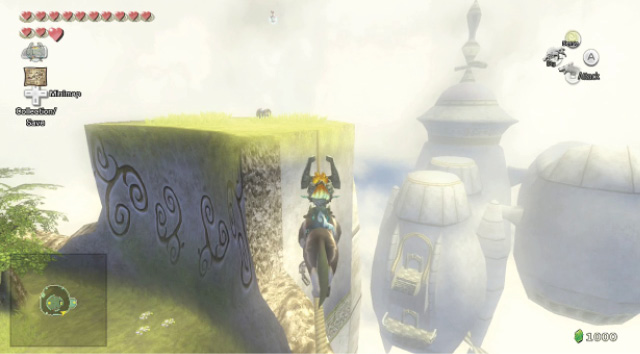
Poe Soul #57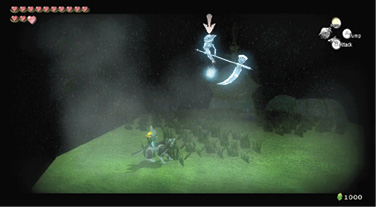
As you cross the rope, look to the sky above the grassy wall section ahead; an Imp Poe floats up here, and he descends to attack as you reach the grass. Bring him down, and finish your Poe hunt in this dungeon!
|
 Poe Soul
|
This marks the end of your Poe search in dungeons. The last three Imp Poes are in the Cave of Ordeals, which is in Gerudo Desert! Refer to the next chapter for details. |
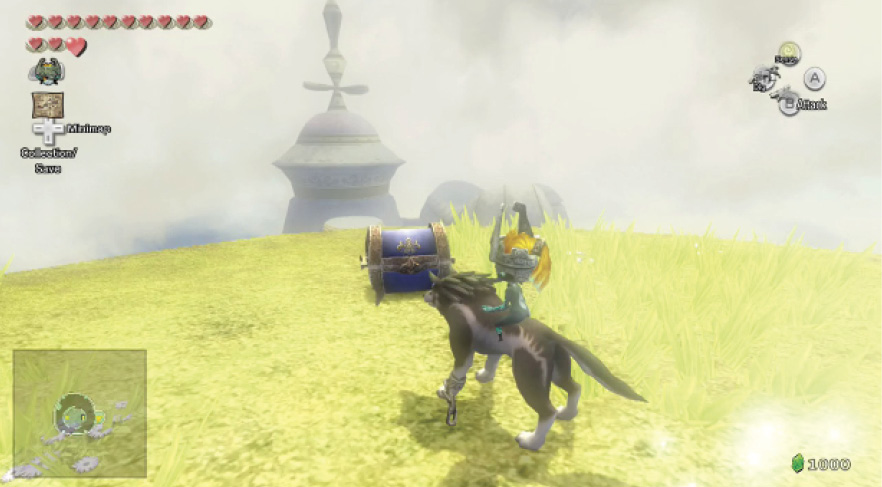
Treasure Chest: Now open the chest and take the Z Hylian Letter Stamp contained within. Once you’re done, drop to the grassy ground below.
Treasure Chest #21:
Hylian Letter Stamp Z
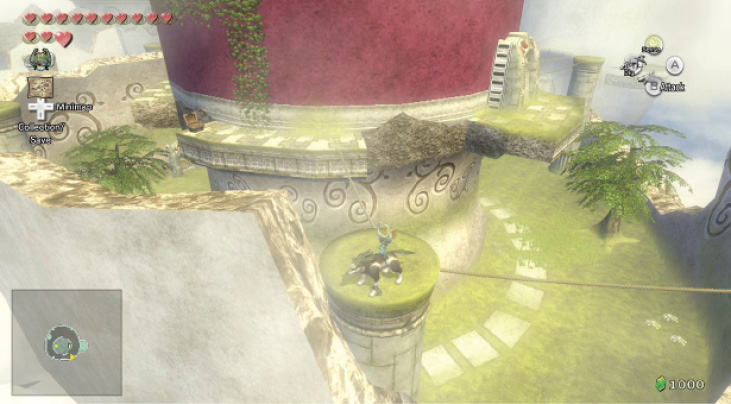
Head back to the initial ledge and rope and walk across. Turn left as you reach the ledge around the domed building, and walk to the next rope ahead. This leads to the perch the Kargorok was on. Step onto another rope, walk to the second perch, and then to another rope and a ledge on the dome’s east side. Enter the door you see here.
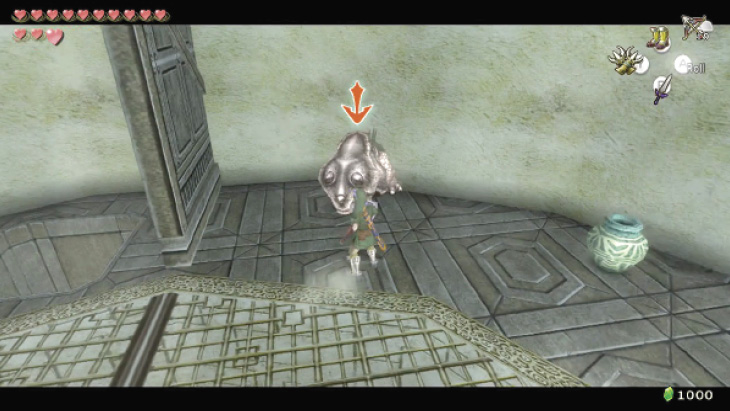
This area of the Fan Chamber is above the main floor; it comes complete with a rotating fan and two Helmasauruses to battle!
Keep to one side, away from the blowing air, and tackle each one at a time, stepping around as they charge, and slicing their rumps!
When you move to the room’s south side, don’t fall down the hole! Engage the other Helmasaurus, and then look up at the ceiling. Between the gap as the fan rotates is an ornate handle. Clawshot onto it. While hanging from it, equip your Iron Boots to make the fan stop spinning below.
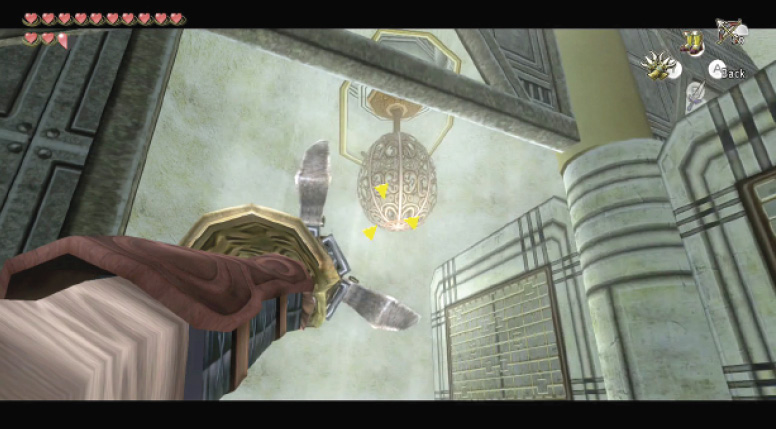
Treasure Chest: Drop down from the handle, and inspect the ornate chest between the two pots. The pots contain a green (1) and yellow (10) Rupee, but the big prize lies inside the big chest: it’s the Big Key!
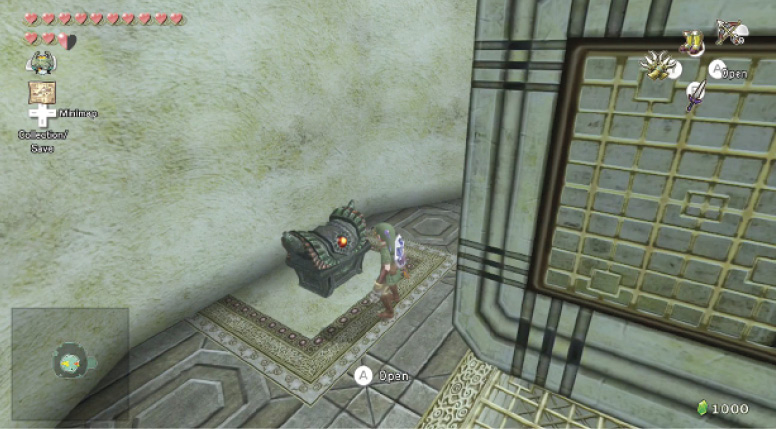
Treasure Chest #22:
Big Key
 Big Key
You got the Big Key! Use it to access the lair of this dungeon’s boss!
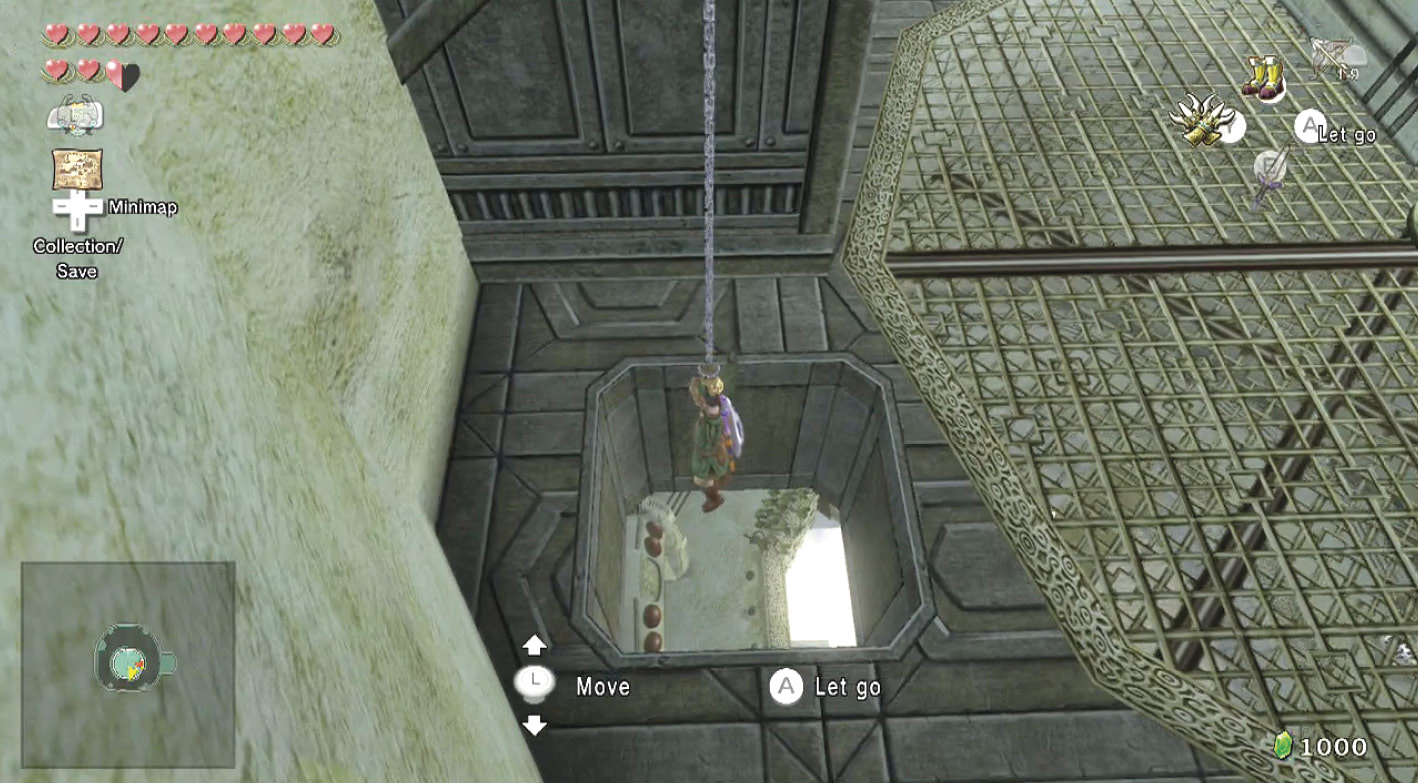
Treasure Chest: Head back to the southern hole and look straight up. Clawshot onto the grate above you and lower yourself into the fan room directly below you. Immediately and carefully defeat the two Helmasaurs; don’t let them shunt you down below! When you’re done, inspect the chest here.
Treasure Chest #23:
Red Rupee (20)
|
If you do fall down to the first floor, use the Clawshot and bound up the vine pillars, then shoot at the vines hanging down from the fan hole to return here. |
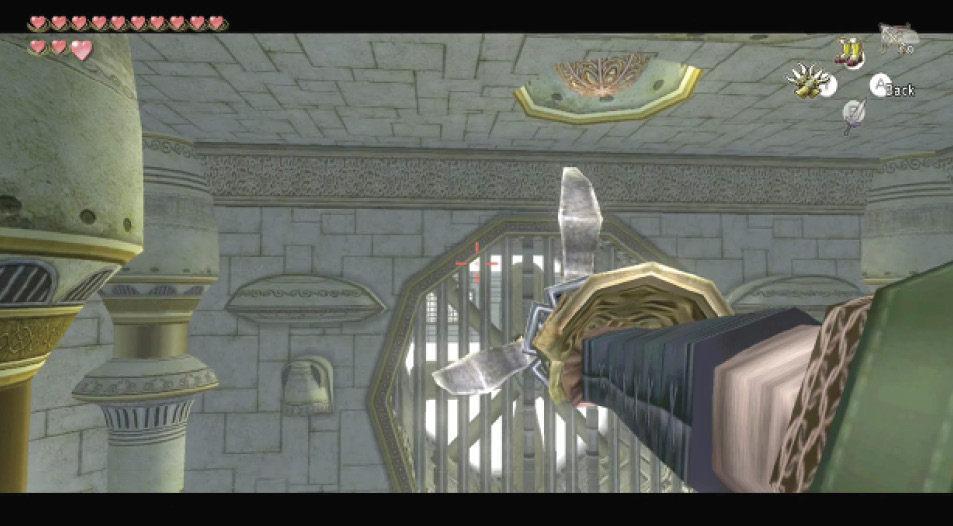
The time has come to activate the fans to the north, allowing you access to the lair of the massive dragon that frightened the Oocca earlier. Fire your Clawshot up at the grated ceiling from the room you’re in, and lower yourself through the stopped fan, into the large airy chamber below.
Make sure you’re facing north as you descend. Look north, and you see an ornate handle in the ceiling. Clawshot onto the handle and equip your Iron Boots to pull it down! Drop down, and exit via the north door.
Chamber 6: First Return to Rotating Fan Gorge (1F)
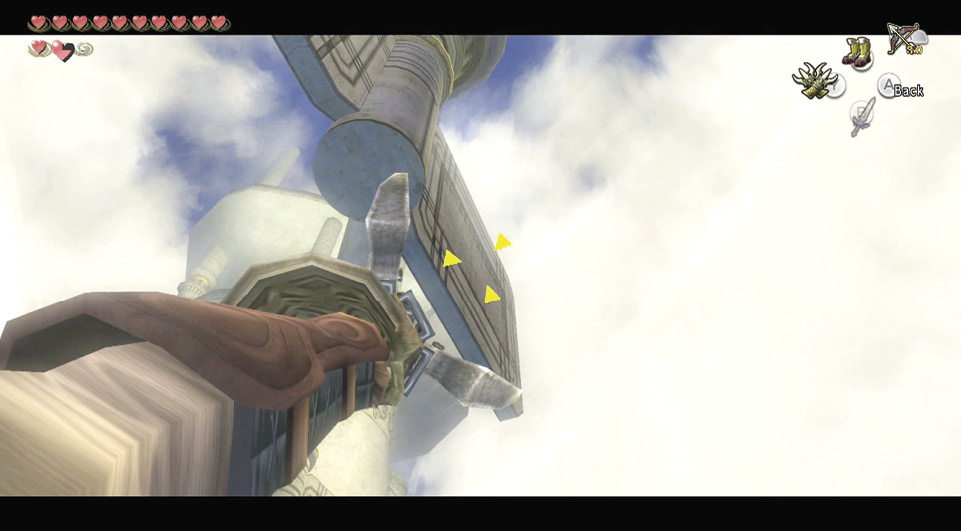
A giant fan turbine is now blowing air against the larger square-ended fans in the gorge to the north. Clawshot up to the first fan blade with the grated surface. Stay on here, make sure the fan rotates to the north, then Clawshot to the next fan. Repeat this all the way to the other side.
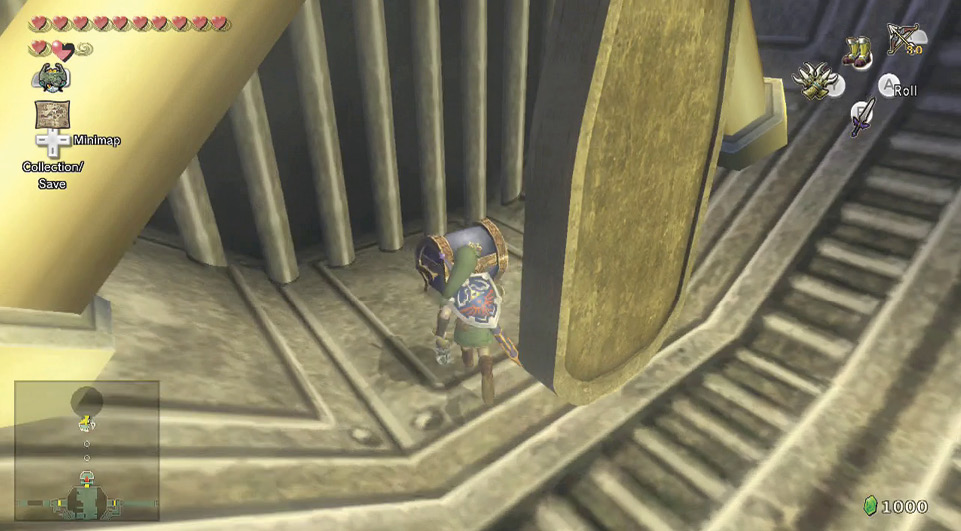
Treasure Chest: As you finish your fan-hopping, land on the stopped fan turbine ledge above the exit door. Inspect a chest behind here. Then drop down, smash the two pots with your Clawshot, then Clawshot the items—a Heart and a green Rupee (1)—and exit.
Treasure Chest #24:
Purple Rupee (50)
Chamber 17: Northern Fan Tower (1F to 5F)
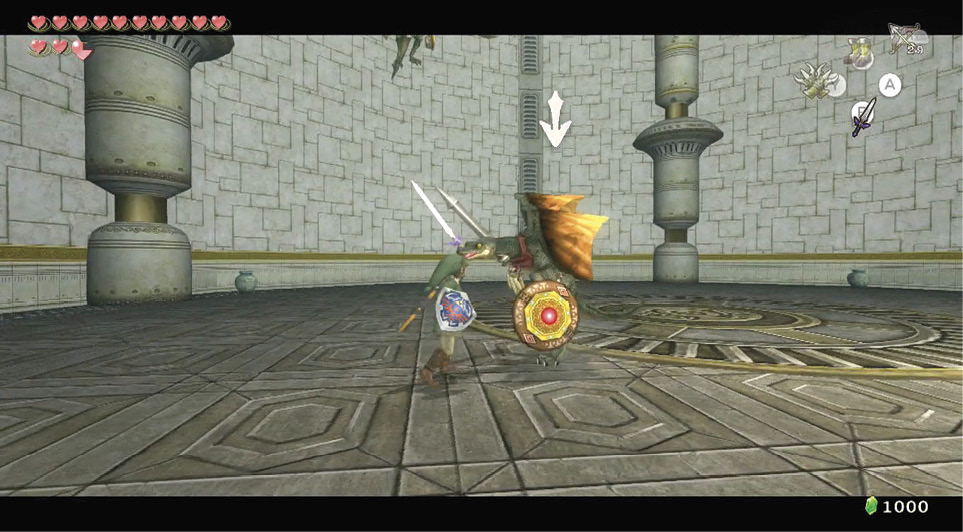
This gigantic tower is full of fans rotating all the way up to its top. Ignore them for the moment, as you have two nasty Aeralfoses to tackle! Remember your combat tactics from the previous battle: wait for them to hover, Clawshot their shield (you should be constantly ZL targeting them), and then bring them to the ground before striking them with your sword. Then run around the perimeter, smashing pots for Hearts.
Look above the entrance door to the south, and you’ll see a huge fan grating. Clawshot up here as high as you can, and turn to look up. Clawshot to the fan blade grating, and then look above the grating you just shot from. Fire at the diamond switch above it, and the fan you’re on begins to move.
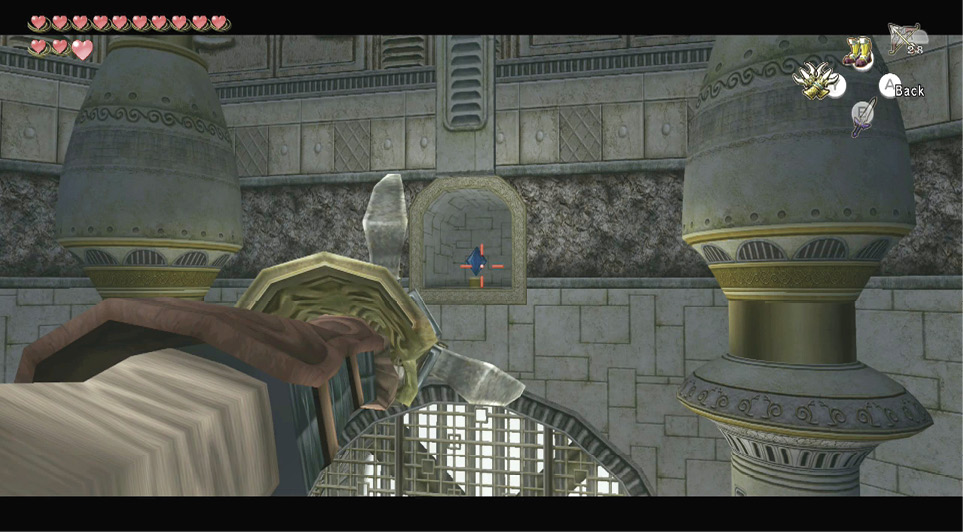
Stay on the moving fan as it rotates, and carefully aim at the fan blades slighly above you on the northwest side of the room. Fire and land on the grated blade, then drop off into the alcove below if you want a few Rupees.
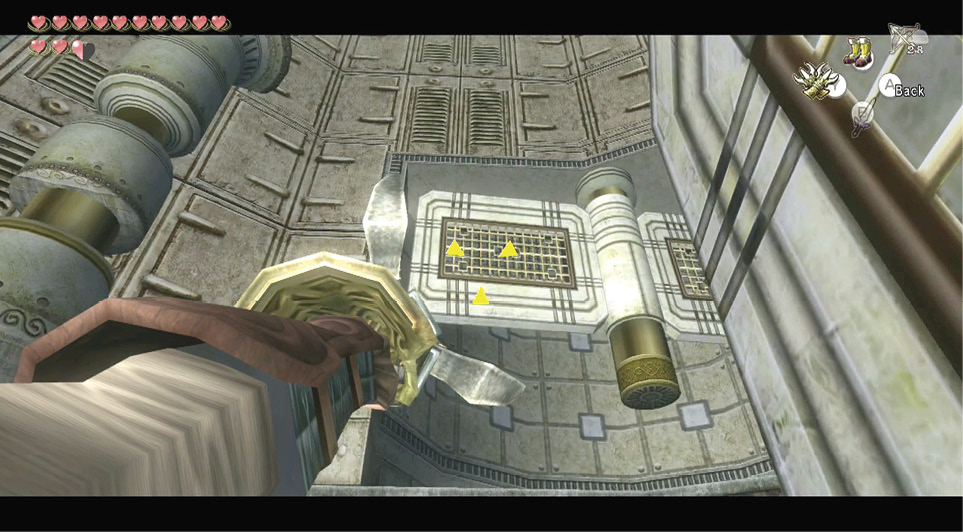
Look up, propel yourself to the central pillar and the fan up a level, and sit on it for a moment or two. You can now choose to propel to the fan in the southwestern area of the tower, and break open the three pots. They contain a yellow (10) and two blue Rupees (5), so ignore this if you wish.
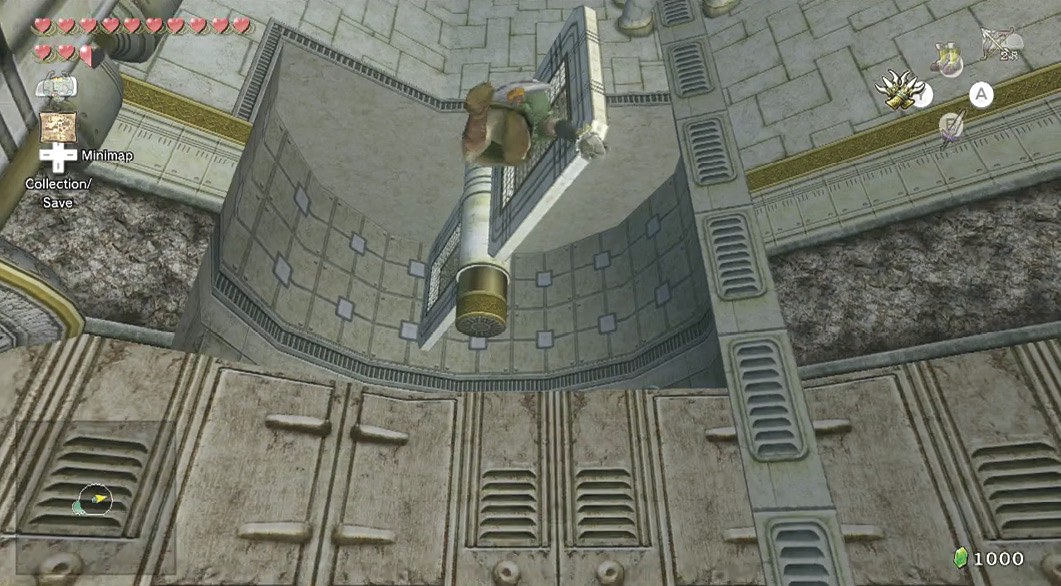
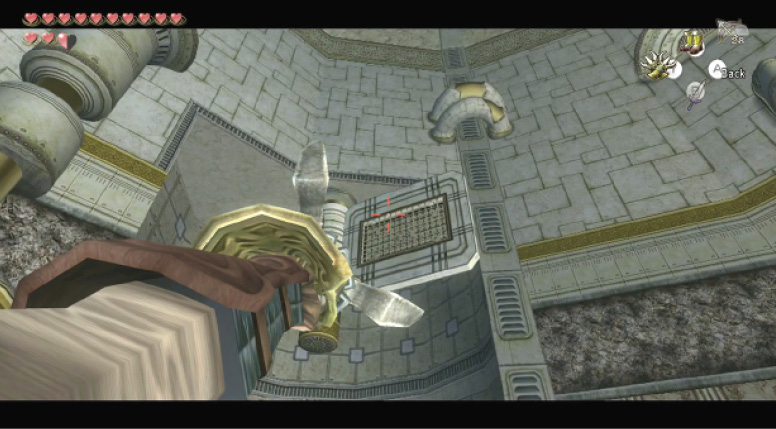
Instead, stay on the central fan and aim up and to the northeast. There’s a fan above you in an alcove with more pottery with blue (5) and yellow (10) Rupees. One of the pots contains a Fairy, so drop and grab it if you need it.
 Fairy
Fairy
You caught a Fairy in a Bottle! When you fall in combat, this faithful friend gives you Hearts.
Continue up to the next fan at the top of the central pillar, then look for a small alcove with a diamond switch in it (as shown). The fan you’re on isn’t moving, and this switch activates it. Now rotate all the way around to aim at the medallion above the exit door. Shoot at that, drop down, smash the pots, then use your Big Key to unlock the door.
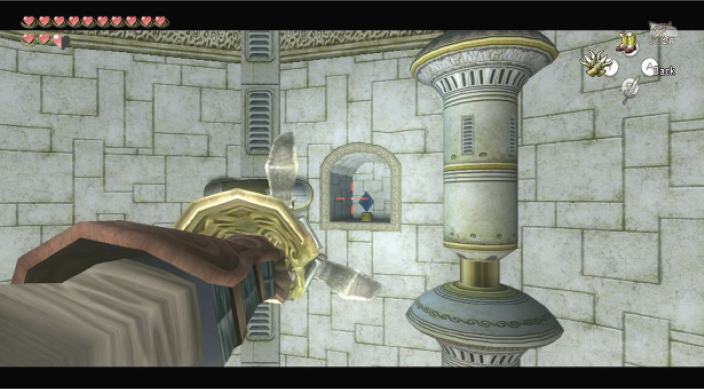
This brings you out and onto the top of the highest tower. Turn left, and look for a support pillar with a grating on it. Clawshot to here, then turn and look up. You’re searching for another pillar with vines growing on it. Shoot to it, then climb to the tower’s apex.