
The Legend of Zelda: Twilight Princess HD Guide Overworld: From Faron Province to the Goron Mines
Task 8: Meet Gor Coron and Gain Access to the Goron Mines
Up the Death Mountain Trail (Again)
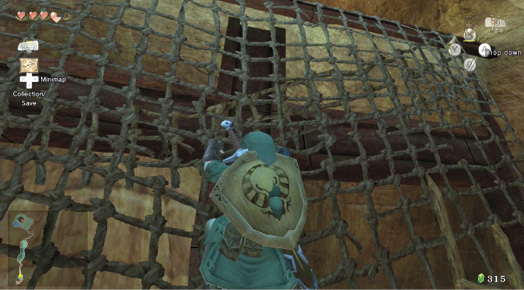
The time has come to test your strength against the Gorons! Leave Kakariko Village and head up the Death Mountain Trail’s start, to the large barricade with the mesh wall. Climb to the top, and ready yourself for Goron combat!
The Goron is surprised to see you again, but he begins his roll just as before. Put your Iron Boots on (set them so you press the Y button to access them on and off), then press the A button to catch the Goron, and throw him off the barricade!
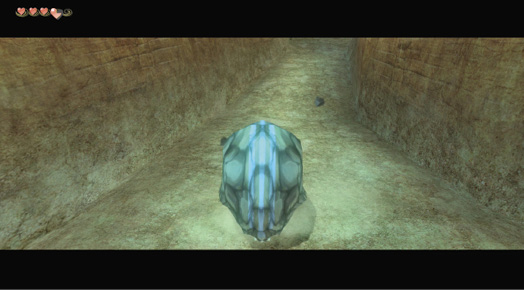
Take your boots off and continue up the path. When you see a second Goron rumbling your way, put the boots back on, catch him, and throw him as you would an Ordon goat! Catch a third Goron, then a fourth as you reach the second barricade. Flick those Iron Boots on and off, or you’ll be knocked flying.
|
You can lift up rocks and slash the grass for Rupees and Hearts. The locations of these items were shown previously, when you came here as a wolf. |
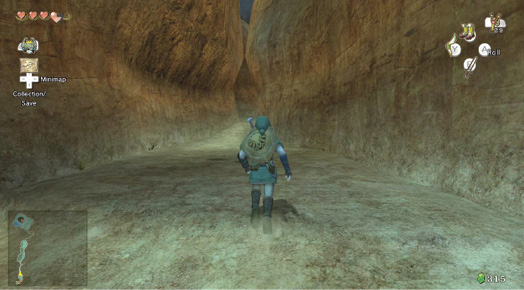
Reach the second barricade, and use the large steps on the left side to clamber on. Once at the top, run away from the barricade’s edge, put those boots on, then catch and lob another Goron. If you’re too close to the barricade edge, you get knocked back and off, boots or no boots! Run into the rocky clearing.
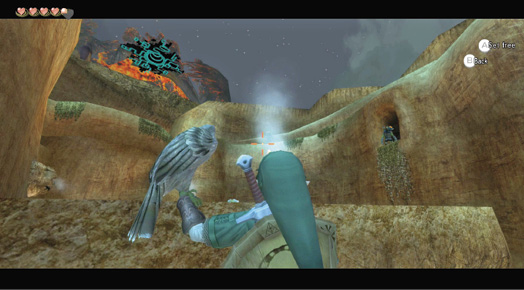
Nasty Bulblin Archers are up ahead, and you don’t have the necessary ranged weapon to deal with them…or do you? Move to this patch of Hawk Grass, and blow on it. Your hawk friend soars down and lands on your arm. Target the five Bulblin Archers with the bird, and knock them off their perches!
Or, you could bring out your Slingshot. It may not work as well as a bow (which you’ll find soon) would, but you can strike the nearer Bulblins with this weapon. If you’re out of ammunition, or want to use the hawk, there’s a second grass patch near the whistling rock. Target the last Bulblin in the alcove entrance with the hawk.
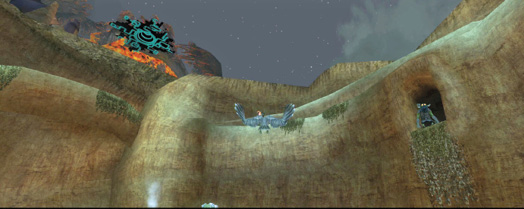
|
This area has various alcoves and an upper ledge you can’t reach yet. Come back here with the necessary equipment, and you can ransack hidden areas for more goodies! |
Leave the rocky clearing, avoiding those steam vents, and follow the rubble-strewn trail as it winds northward. Follow the erratic steps to the base of Death Mountain. Now you must negotiate the Gorons and find an entrance!
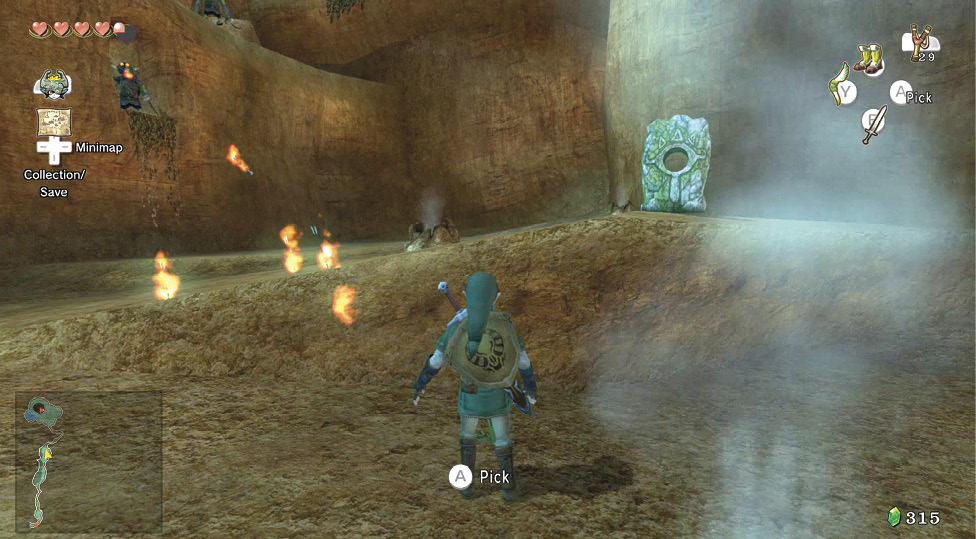
Entering Death Mountain
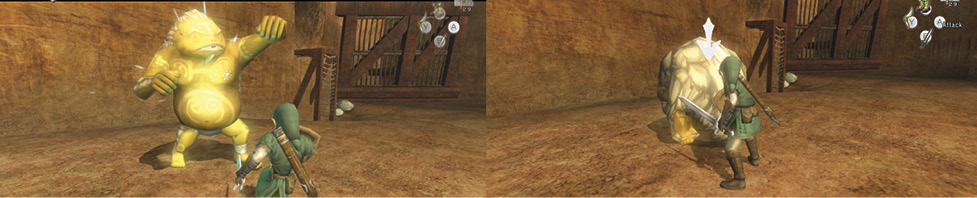
Jump down to the lower flat area, as Gorons propel themselves up and into an arched iron entrance at the top of the section you’re viewing. A Goron advances on you. Use your shield attack (Hidden Skill #2) to buffet him back. Watch out for the falling magma rocks, though! Raise the Hylian Shield, and even this strike won’t harm you.
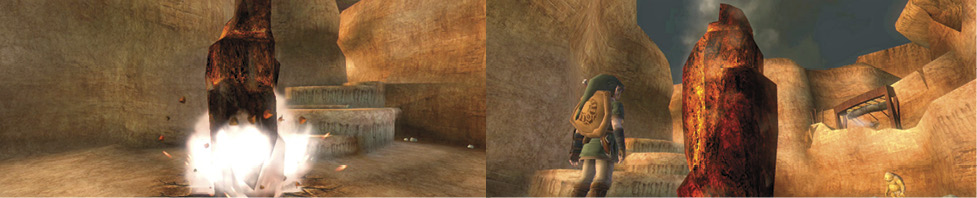
A giant shadow appears above you, and you leap away as a huge shard of molten rock falls from the skies and imbeds itself in the flat area where you once stood! Remember the location of this molten shard for later!
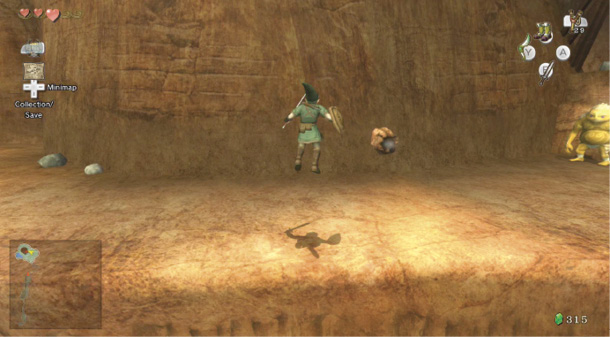
You need a way to ascend the exterior of the mountain; either move to one of the less-aggressive Gorons, or use your shield attack to strike one so he curls up into a ball. Move and leap on his back, and when he unravels, you’re propelled high into the sky. Make sure the camera shows the upper ledge, and land on it!
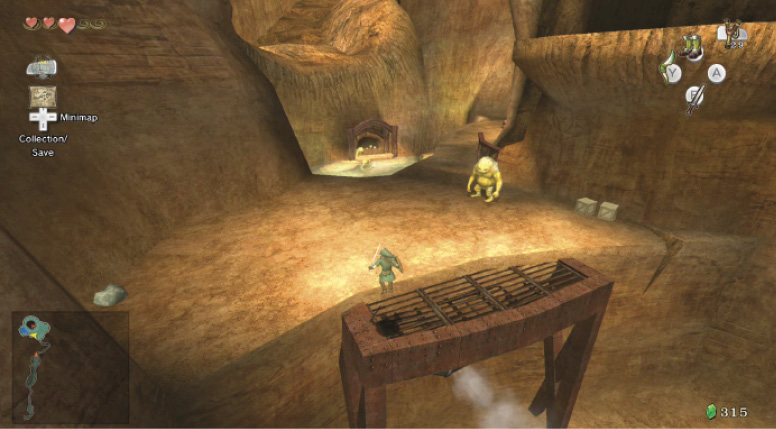
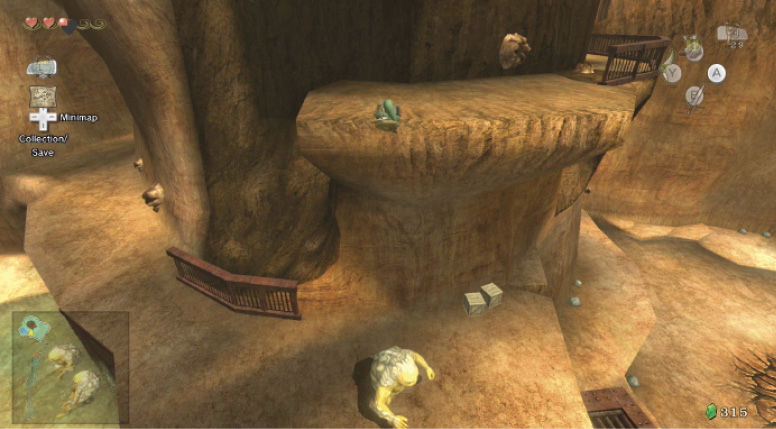
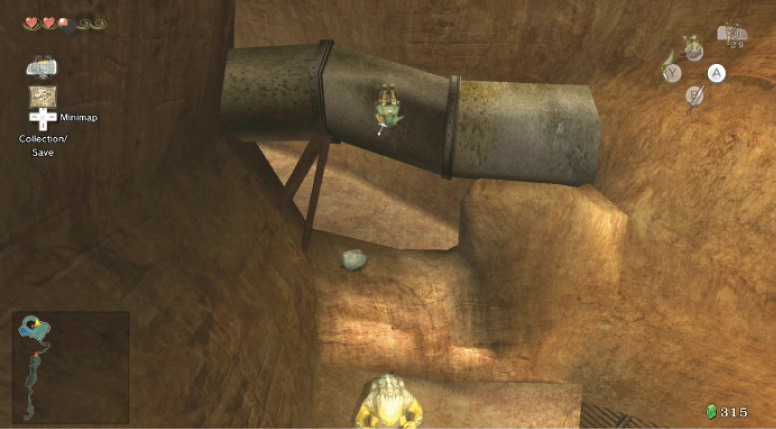
Route #1: Either turn right, or in this case, left, and run along the ledge to the crumbling wall and wooden support. Use a shield bash and a sword bonk to persuade the waiting Goron to curl up and propel you onto the next upper level. From here, you can investigate the Goron hot springs.
Route #2: Or, you can turn right, and persuade this Goron, standing near a barricade, to propel you up and onto a large iron pipe conduit. From here, you can drop to a path you haven’t explored before. Behind you are two barrels; smash them both for a Heart and Rupees. Run around the steaming vents, heading along the path.
This brings you in above the Goron hot springs. The Gorons can’t get enough of the warm water and volcanic bubbles! You have to drop down to visit them, as a steaming vent blocks your path.
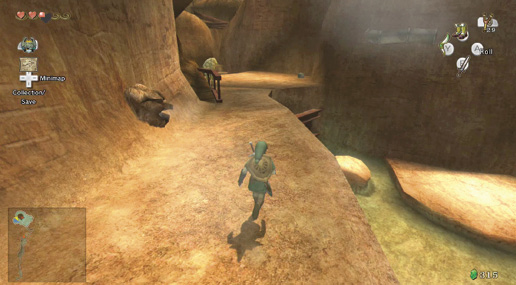
|
You can negotiate the steaming vent if you face it, raise your shield, and sidestep into the vent’s steam. The steam knocks you backward, but you can drop and hold onto the ledge, then hand-over-hand past the steam itself! You can also navigate the steam vents by wearing the Iron Boots. 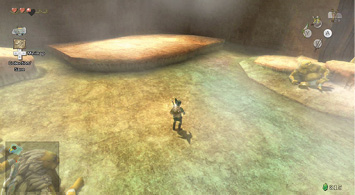 |
A Dip in the Hot Springs, then Skyward
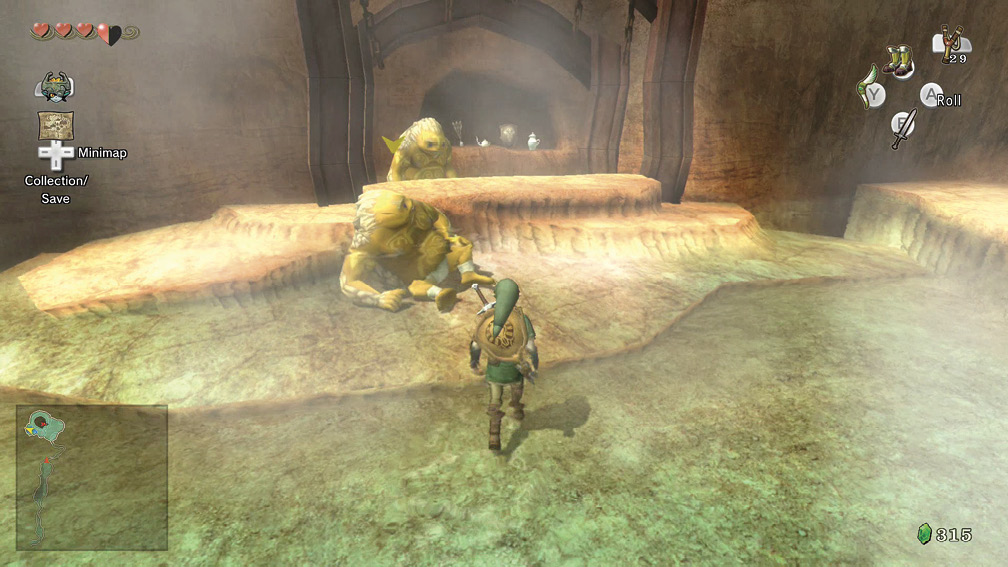
Speak to the Gorons in the water and they’re more amiable. There’s no need for combat. The Gorons tell you the water can imbue you with energy although there’s not enough to bottle currently! Visit the northern shop.
Store
Store
| Item | Name | Price | Effect |
|---|---|---|---|
|
|
Arrows (10) |
10 Rupees |
There are few ships in the area. If you use a bow, carry lots of arrows. |
|
|
Lantern Oil |
20 Rupees |
The mountains are dark at night! |
|
|
Wooden Shield |
50 Rupees |
It is wood, so if it catches fire, it may burn. |
|
|
Milk (2 servings) |
20 Rupees |
Chugging a glass of Milk after soaking is popular! |


|
There’s no need to purchase any of these items: If you’re low on Lantern fuel, purchase some, but don’t buy Milk. Your Hylian Shield is better than the Wooden one. And arrows are plentiful inside the Goron Mines, after you find the Hero’s Bow! However, you’re about to enter another dungeon, and there are many treasure chests to kick open. If you’re full of Rupees, you won’t be able to loot everything inside the dungeon, so buy everything you can if you want to ransack every dungeon chest! |
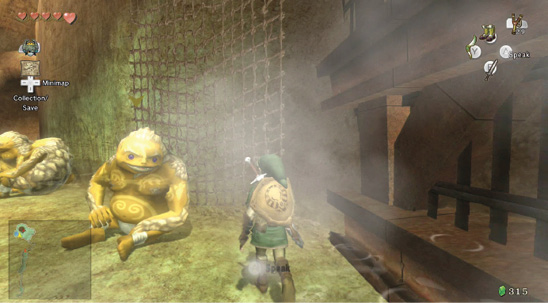
When you finish in the hot springs, move to the sitting Goron near the mesh draped over the wall, and climb up and out. Avoid or use the shield block and hand-over-hand technique at any steaming vents shooting out to the sides. At the next rocky outcrop, fight another Goron so he knocks you skyward even farther, as shown.
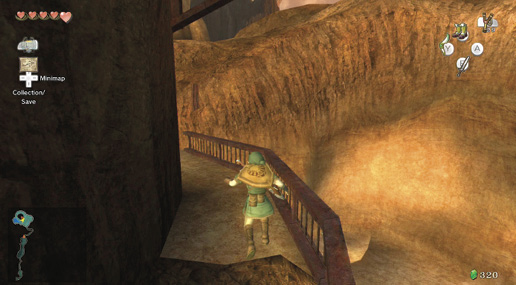
Run around the corner to another steaming vent. Block with your shield, then walk forward so the steam pushes you over the ledge; grab onto it. Then hand-over-hand to the right, past the steam. Climb onto the iron fencing, and drop on the ledge.
You can avoid the remaining steam vents easily, so continue around the fenced ledge to a cave in the mountain. When you see three barrels ahead of you, don your Iron Boots, catch another rolling Goron, and throw him to the side.
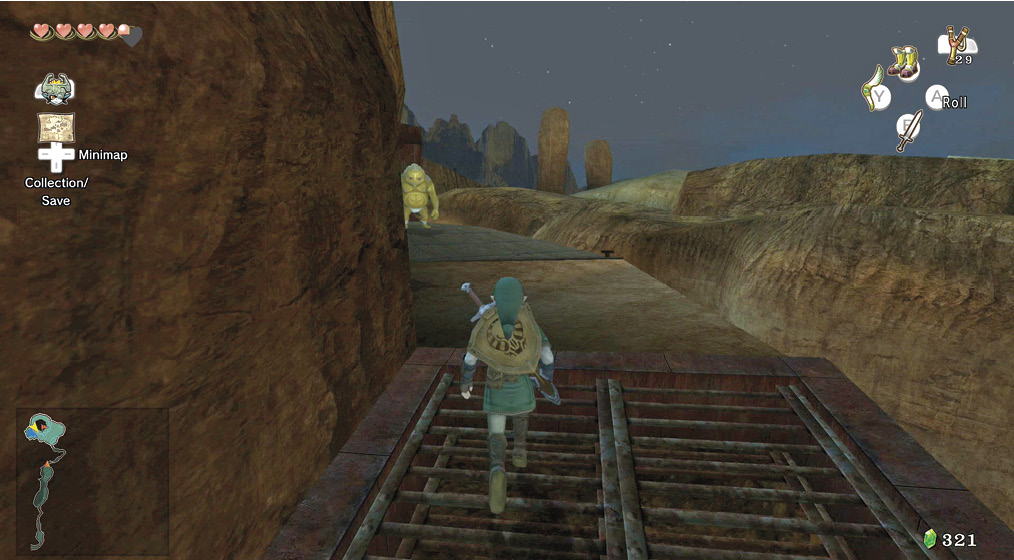
There are two more Gorons to battle into balls before you can enter Death Mountain. Strike the first one, then head onto his hide, but turn to face the mountain before he shoots you upward. This way, you’ll reach a hidden ledge with three yellow Rupees (10) on it!
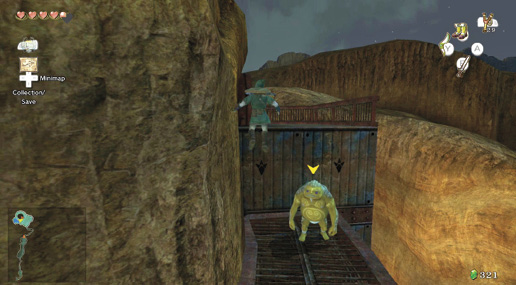
You can stand on the narrow ledge, take the Rupees, then edge right, to the iron archway and dungeon entrance. Or, you can drop, fight the final Goron, and propel yourself up and onto the entrance platform. Either way works, but don’t forget to break out that barrel near the doorway for a Heart.
Missing Links
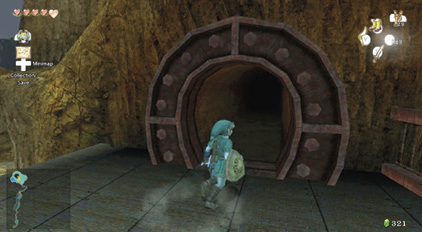
1. Rock and Roll
You should have learned which rocks hide Rupees and Hearts when you climbed around here as the wolf. However, after you negotiate the hot springs and reach the dungeon entrance, check this rock for Rupees. Don’t forget the ledge of yellow Rupees (10), too!
Gor Coron’s Wrestling Ring
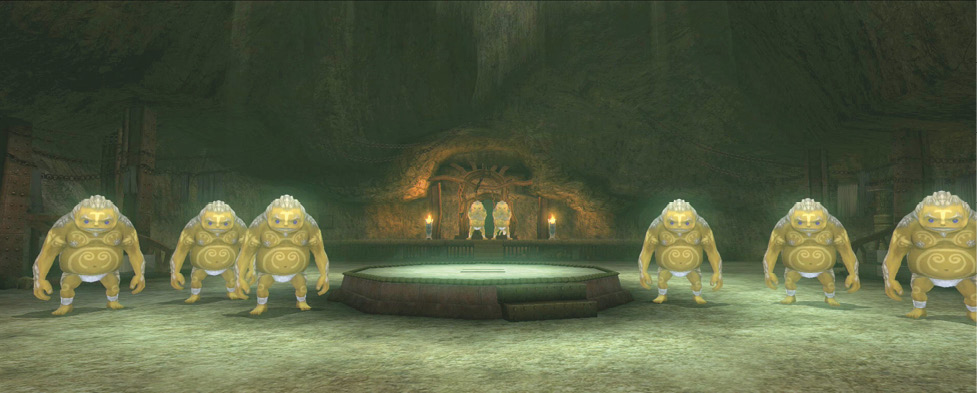
You step into the iron archway entrance, and six Gorons roll up and propel toward you! “ENOUGH!” a smaller, more wizened Goron calls out. The Goron elder, known as Gor Coron beckons you over. The Gorons part to let you through.
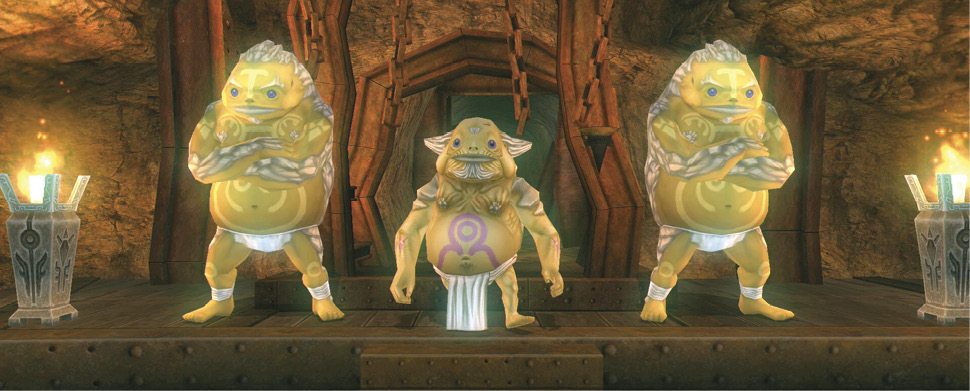
He is impressed that you made it this far. However, the mines are sacred to his tribe. “Outsiders are not allowed, unless…” Gor Coron smiles.
Gor Coron waddles onto the wrestling stage, and prepares for the bout. Ready? Fight!
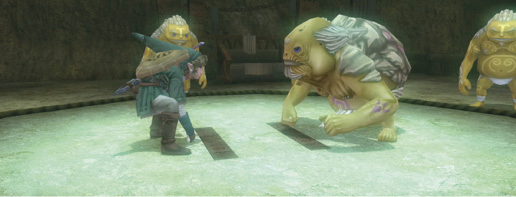
If you begin the match without donning the Iron Boots you acquired from Mayor Bo, Gor Coron slaps you out of the ring! There’s no time to grab or return any techniques, so stand up, put your boots on, move back to Gor Coron, and request a rematch.
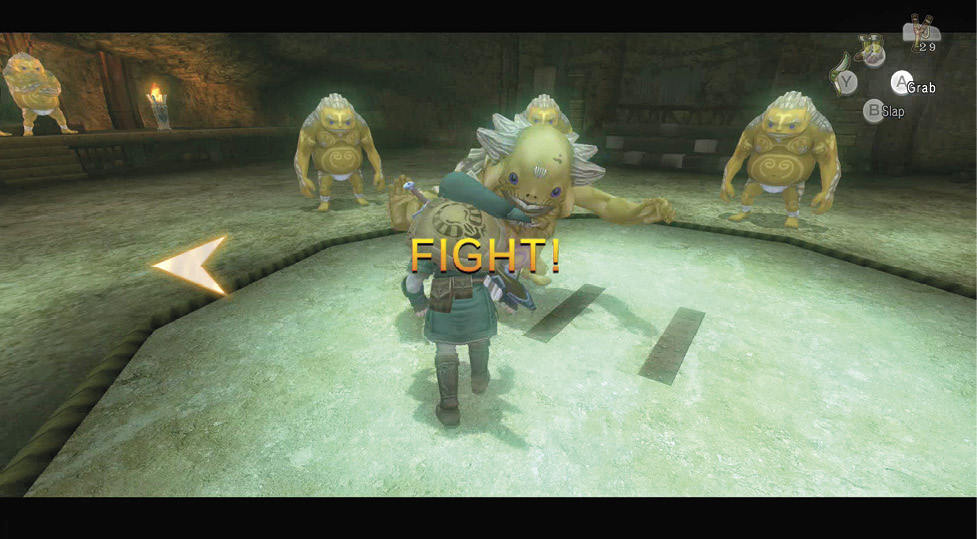
The match is a more frantic version of the training you received under Mayor Bo. You must choose a technique out of three possible moves, and hope Gor Coron doesn’t offer up a defense. You or your opponent may elect not to make a move, in which case any of the three attacks will work.
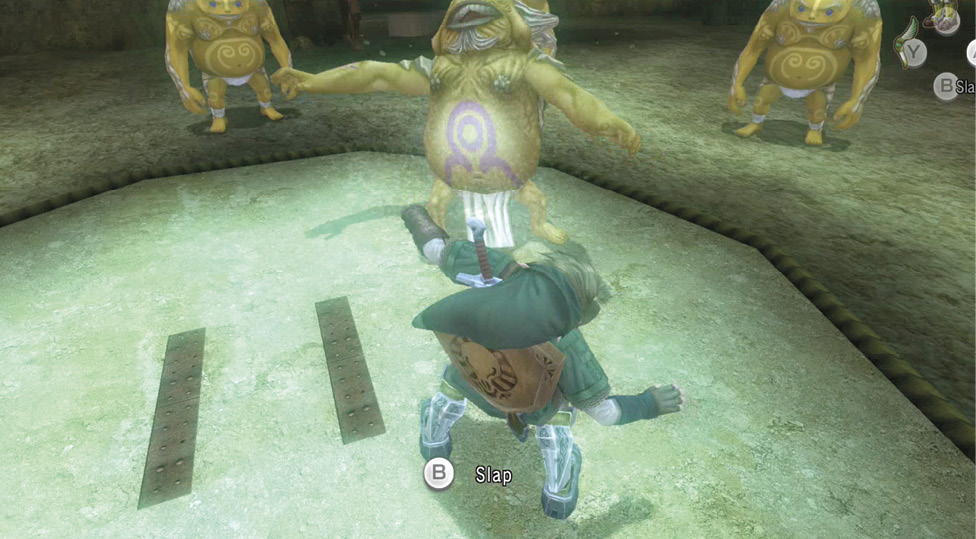
If you both attack with the same technique (in this case, the grab), you’ll both knock each other back.
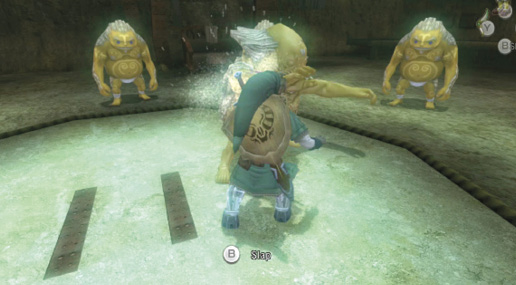
Attack 1: Counter the strike by sidestepping, then pressing the A button.
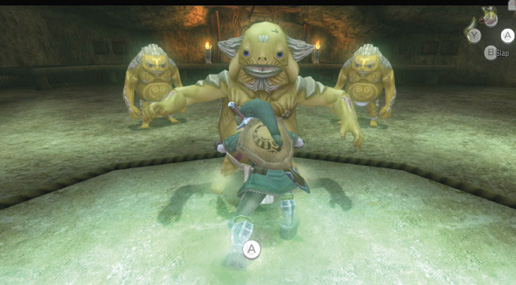
Attack 2: Counter the grab (press the A button) by sidestepping too, then grabbing. Rapidly press the A button to free yourself from a grab.
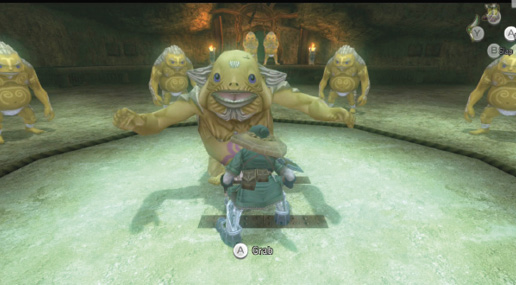
Attack 3: Counter either a grab or a strike with the sidestep (move left or right with the Left Analog Stick).
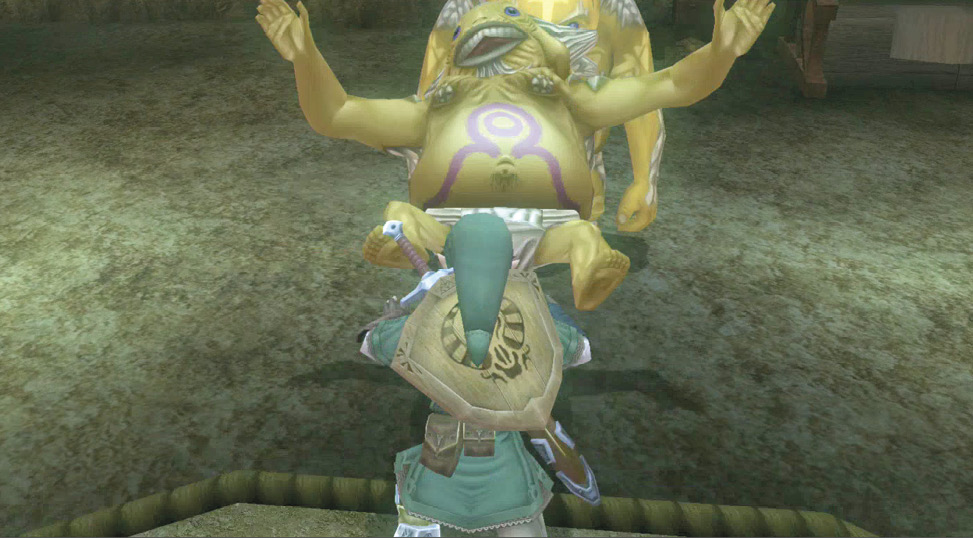
Combat may take a while, so sidestep, then either strike or grab. Keep this up while evading Gor Coron’s attacks, and wear those Iron Boots, and you’ll eventually (using the grab) push him off the ring, winning the bout, and his respect.
Gor Coron: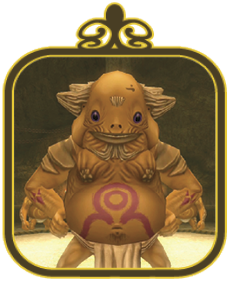 Gor Coron is an ancient Goron, and the most important elder of the four senior Gorons living within Death Mountain. He is responsible for isolating his tribe from the humans of the village below, as he doesn’t wish them to know the fate of their tribal leader, Darbus. Gor Coron partakes in this wrestling to judge strength, and he opens his heart to you after your victory. He is easygoing, but he speaks quickly and vigorously, commanding fear and respect from his brethren. |
Gor Coron speaks about a treasure that must be protected, and that Darbus reached for it and was transformed into “an unspeakable monster”! Gor Coron begs you to aid Darbus and find some way to transform him back. The two Gorons guarding the inner entrance step aside.
|
You can speak to every Goron in this chamber (all 10), including Gor Coron again and the two Gorons who blocked the entrance, for additional information. |
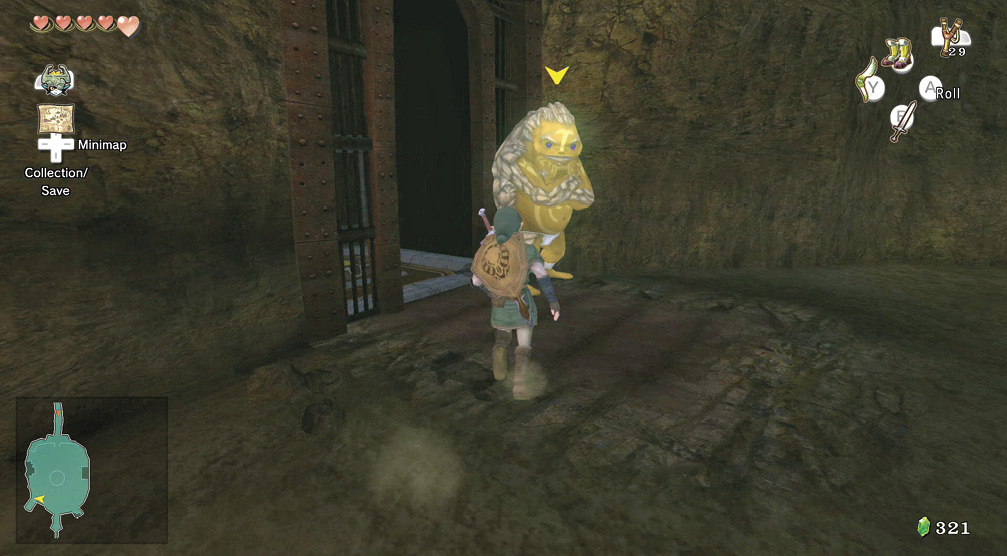
Before you journey into the mountain’s belly, run to the Goron on the chamber’s west side, who steps aside to let you use an elevator. Wear the Iron Boots and stand on the middle of the elevator floor switch.
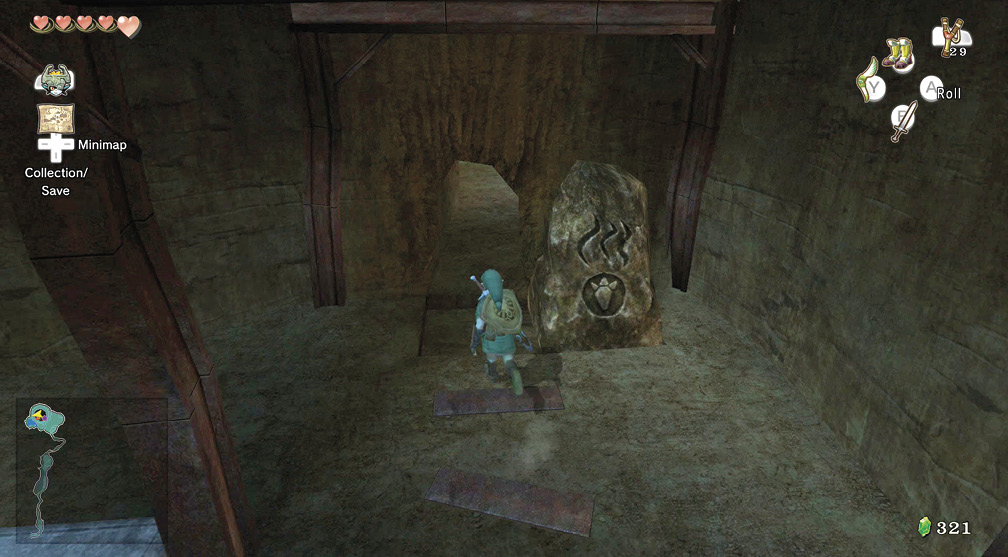
You appear outside the dungeon, on the Death Mountain trail, near the hot springs. But you can’t reach there yet. Step left, remove your boots, and push the ceremonial rock along the floor indent. This opens the small tunnel.
|
Do you remember the rock with the carvings on it from your exploration of the Death Mountain trail hot springs area? This is the only way to remove it, allowing access in and out of the dungeon easily! |
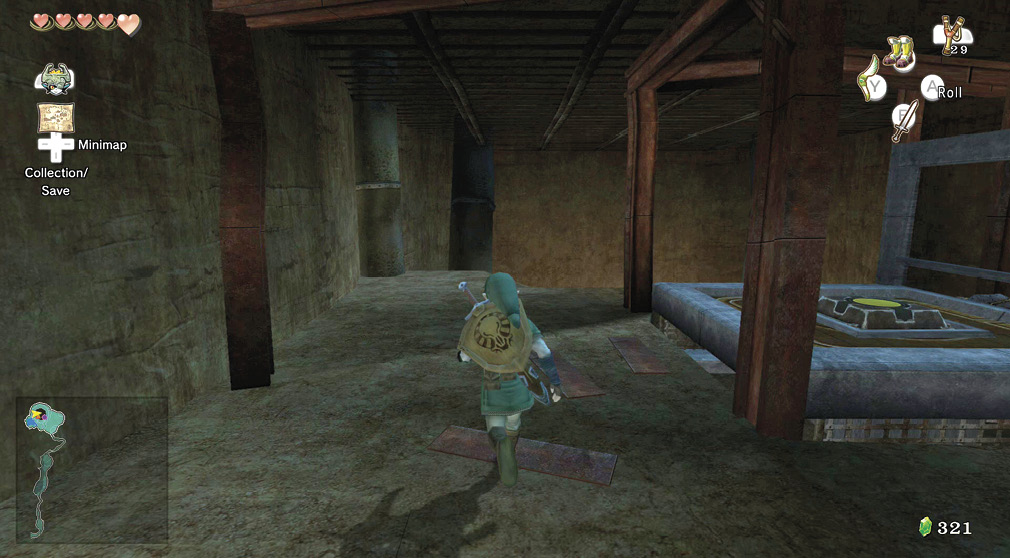
Run through the tunnel and outside into the hot springs. Now that Gor Coron has welcomed you, the Gorons are relaxing, and their shop has reopened. Check out the wares (they are listed after this dungeon), head into the elevator shaft area, and move to the opposite side.
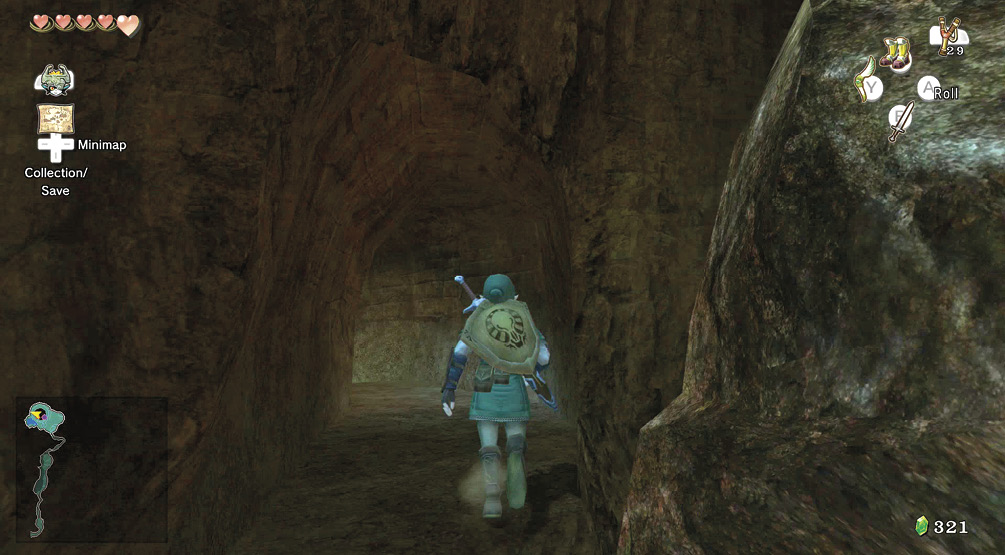
A narrow ramp zigzags down to a partially crushed mine cart. Jump or run down the ramp, and inspect a second ceremonial rock blocking another entrance. Push this rock out of the way, as before. When you’re done, head through the entrance to another narrow tunnel. This one leads almost to the mountain’s base, to the molten shard impact area!
|
Now, if you wish to return here (and you will, as there’s a chest in this dungeon you cannot reach yet), reach the meteor impact area, climb the net, enter this tunnel, and run up to the elevator. This shaves minutes off your usual ascension! |
|
Although you can’t currently tell, there are small dig spots in the elevator area. Return here in wolf form to unearth additional treasure! |
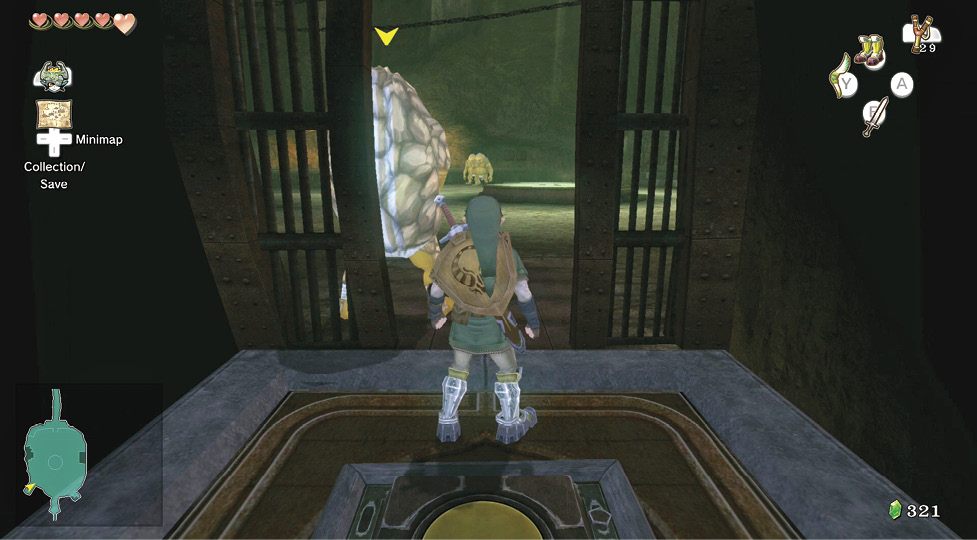
Step through the entrance to the Goron Mines and begin an epic dungeon quest to save the Goron tribe from its possessed and frightening leader, Darbus.
Missing Links
1. Hands Up
During your look around the wrestling room, you can speak to the Gorons for additional information, check the viewing seats, and spot Goron hand prints in the victory plaques around the arena.