The Legend of Zelda: Twilight Princess HD Guide Dungeon 3: Lakebed Temple
Task 6: Locate the Big Key
Chamber 10: First Return to Double Cog Cavern (2F to 1F)
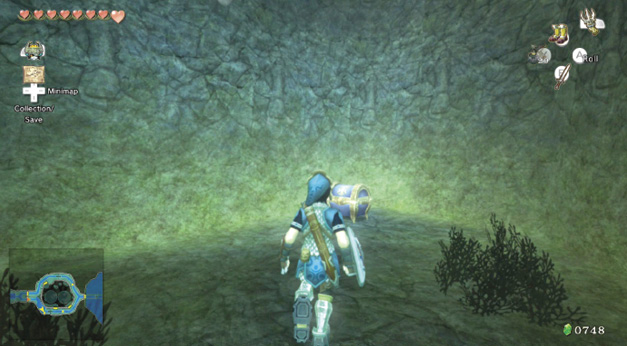
Treasure Chest: You’re in the Double Cog Cavern’s southern perimeter. As the water gushes down the channel, move to the small pool, and swim across the surface of it. Get out, and fire on the Bari from the ground. With that beast cleared, drop down to the eastern end to open this chest.
Treasure Chest #19:
Red Rupee (20)
When you’ve slain the remaining Bari and Shell Blade in this pool, swim east to the opposite side, and climb up to a waterwheel cog. Run between the blades, defeat some pottery, and enter the south door, back into the middle of the chamber.
Lizalfos (“Skull-face”)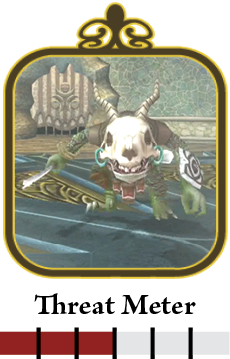
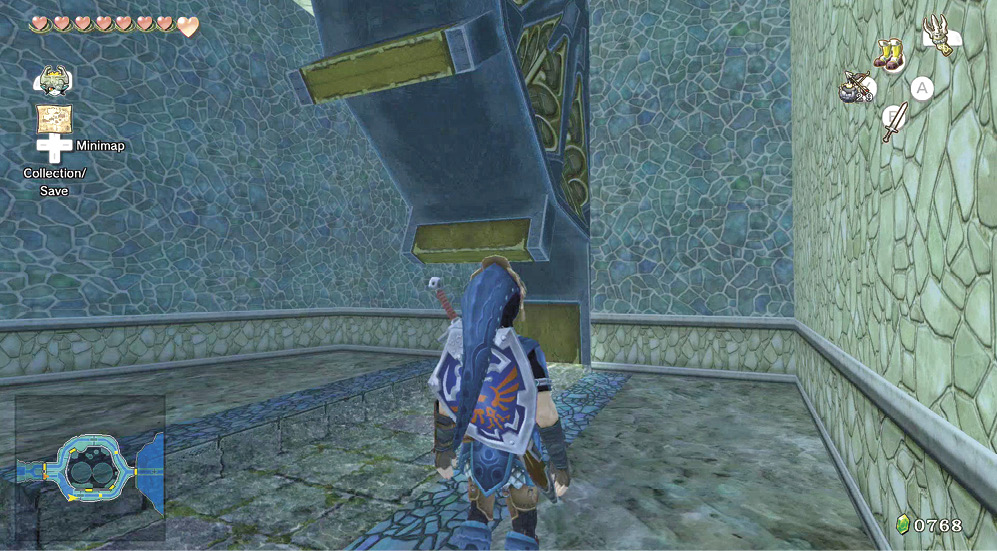
As you enter the inner chamber, a Lizalfos with a skull-shaped head trots into your view. Slay it with the same plan you used on the “axe-tail” Lizalfos: skip around to the back and slice. Then continue to the other cog, where a second Lizalfos engages you. Finish by knocking it off its feet, and skewer it! 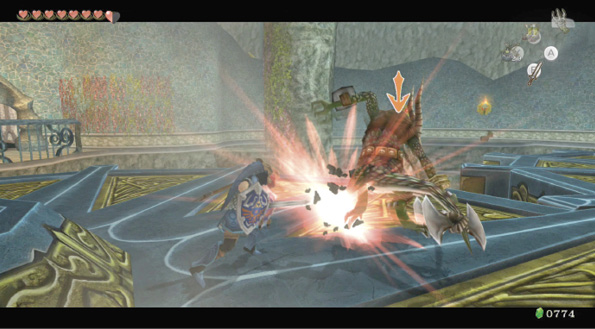
|
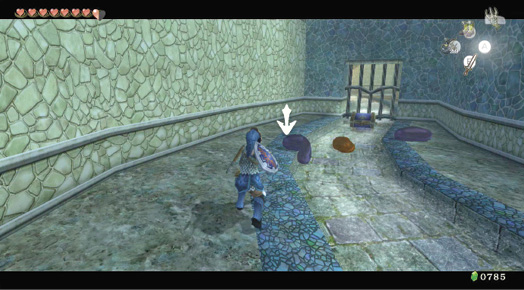
Treasure Chest: Before you leave via the southeast door, take the northwestern exit you propelled to earlier. This time, turn right when you exit, and you see the waterwheel moving. You can now roll between the blades and enter a previously unexplored area. Defeat a Chu Worm, three Purple Chus, and one Red Chu. The prize is a chest filled with bombs! Head to the two giant floor cogs.
Treasure Chest #20:
Bombs (20)
 Bombs
Bombs
You got bombs (20)!
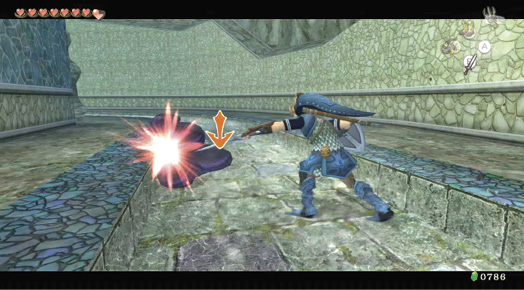
Treasure Chest: The only exit you haven’t been through yet is the one in the southeast corner, so use it, turn right, and inspect another treasure chest in the water channel. When you open the chest, Purple Chus drop from the ceiling. Prepare for battle!
Treasure Chest #21:
Red Rupee (20)
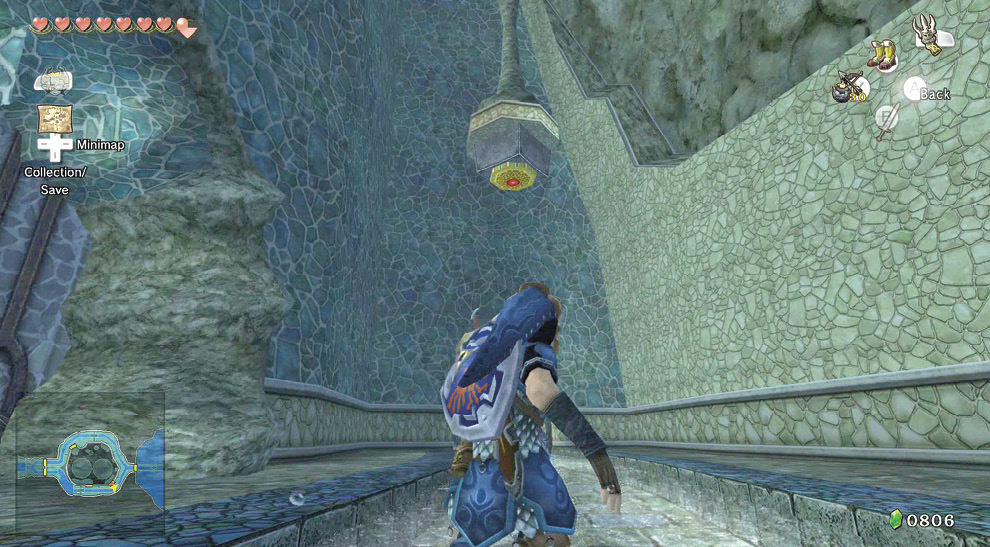
With the Chus taken care of, the only way to head is eastward. Look in this direction, and upward, to see a Clawshot medallion. Propel yourself, activating the switch that opens the sealed door below.
It isn’t time to leave this chamber yet! Return to the middle of the cog room, and locate this vine wall and ledge on the northern wall.
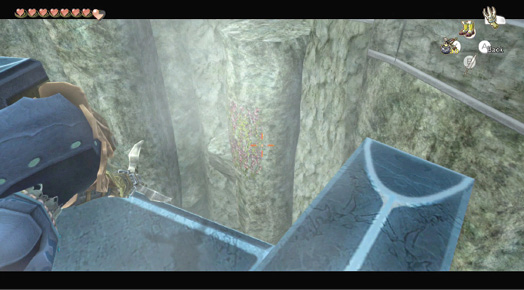
Take careful aim with your Clawshot at the medallion on the underside of the rotating cog, and aim at it. This takes some skill, so be patient.
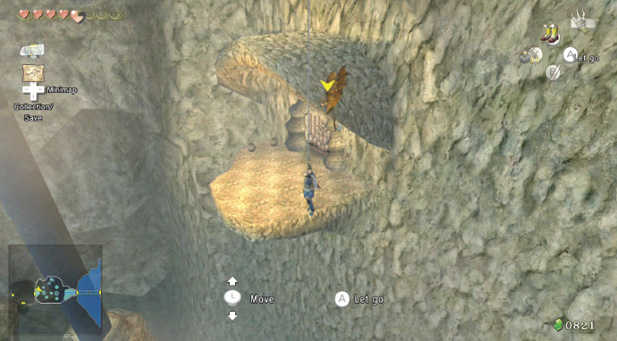
Press down on the Left Analog Stick to descend (but don’t release the Clawshot!) onto a small plinth for pots, or better yet, the ledge leading to a door on the western end of this chamber. Drop down, smash a couple of nearby pots (for Hearts), slay a Keese or two, then exit.
|
Aim your Clawshot at the two pots on the far-off plinth before you leave. There are two yellow Rupees (10) in it for you! |
Chamber 12: The Grotto and Underwater Maze (1F to BF)
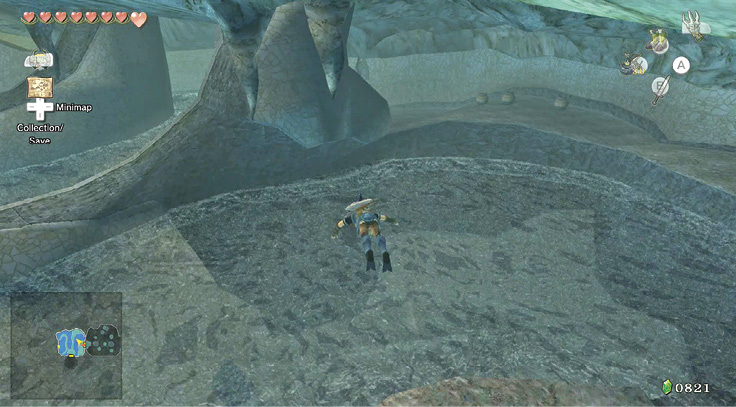
You appear in an enclosed grotto, with water to your right. Dive in from the ledge you’re standing on, and head southward. Swim toward an underwater shelf with a couple of pots and smash them for two blue Rupees (5). Remember your location because it’s easy to get lost down here!
Drop to the floor of the underwater grotto, under the shelf you landed on, and prepare to tackle a Shell Blade. Use your Clawshot to stun the Shell Blade into opening its mouth, then finish it with a spin. Wear your Iron Boots.
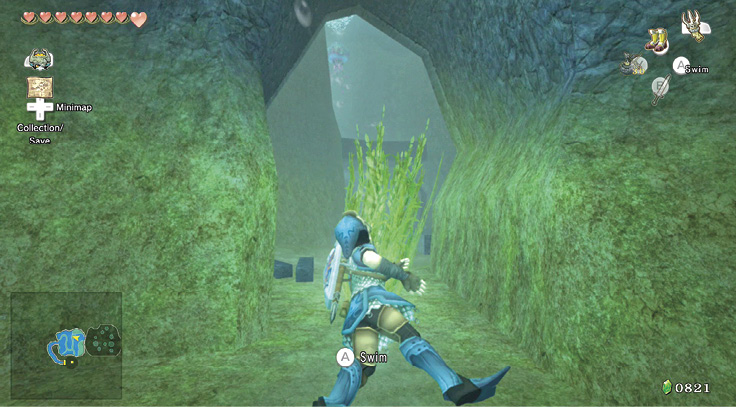
Swim or walk northward, along this grotto’s floor, until you reach an arch on your left side. Swim through to this area’s middle section, and turn to face south. Bring out your Clawshot, and pull the insides from a Bari. Swim to the surface. Something is chasing you….
Bombfish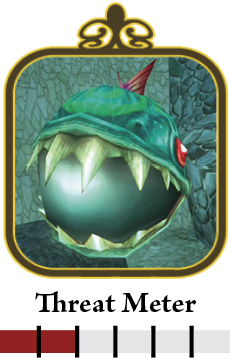
The Bombfish is a nasty little critter who doesn’t care about its own existence. It explodes as a defense mechanism! The only way to fight back is to attack from dry land, or underwater with your Iron Boots on, and ZL target with your Clawshot. Reel the fish in, and it sparks. Use it to explode a nearby rock, or throw it away from you before it detonates! 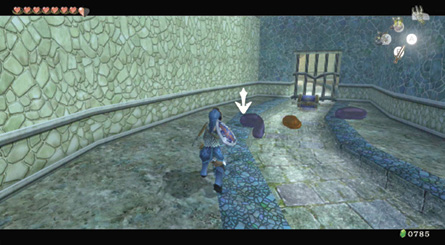

|
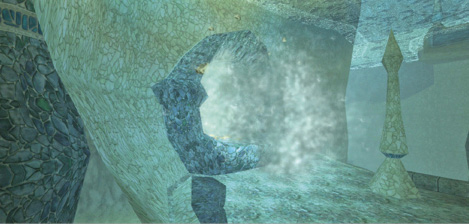
Look southward. Dive in and swim to a shelf halfway between the surface and the floor of the grotto. A Bombfish swims here, and a Bomb Rock is nestled on a platform. Use the Bombfish, or one of your own Water Bombs, and plant it against the Bomb Rock.
Head through the hole the Bomb Rock was covering, into the western portion of this maze, and look down. Another Bomb Rock is wedged in a hole below you. Sink down with your Iron Boots, and bomb this.
|
Notice a tunnel entrance along the western wall of the section you’re in but ignore this for the moment. Bomb the rock first! |
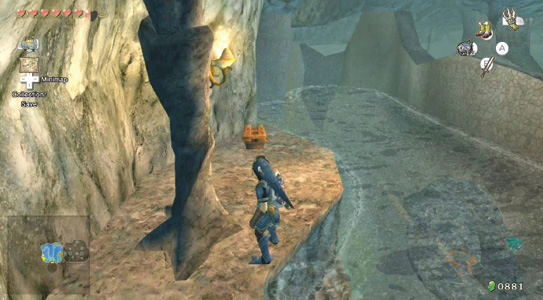
Treasure Chest: Before you enter through this hole, swim up past the tunnel entrance in the western wall, and surface. You must be in this grotto’s far western part. Open a chest on a small ledge, then return to the bomb hole. This is also useful if you’re out of Water Bombs and can’t bomb the rock.
Treasure Chest #22:
Water Bombs (5)
 Water Bombs
You got Water Bombs (5)!
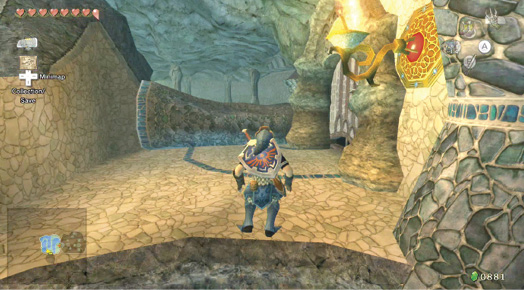
Dive to the bomb hole, and swim through. Put your boots on, and draw your sword because a Shell Blade is just around the corner, to your left. When the coast is clear, swim all the way up to the surface. You’re now at the southern end of this grotto and can enter an otherwise impossible-to-reach door.
Chamber 13: Big Key Plunge Pool (1F to BF)
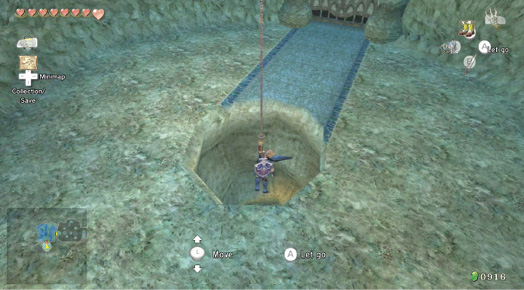
The door leads to a tiny circular chamber where a Chu Worm has made its home. Grab it with the Clawshot, introduce it to your Ordon Sword, and after it’s dispatched (giving you arrows), go on a pot-shattering expedition. Find Hearts, a blue Rupee (5), and three yellow Rupees (10) to find.
Now for the cunning part. Look up at the ceiling, and notice a Clawshot medallion. Hit it, and lower yourself through a hole in the middle of the floor. Delicately land on a tiny raised plinth, holding an ornate black chest. Inside is the most important key!
Treasure Chest #23:
Big Key
 Big Key
You got the Big Key! Use it to gain access to the lair of this dungeon’s boss!
|
Bring out your Fishing Rod and rest for a moment, catching some of the many Skullafish in this pool. There are tiny Loaches, too! |
Dive off the plinth holding the chest, and into the plunge pool. Move around the chamber’s perimeter, smashing pots for yellow Rupees (10) and Hearts. This is the best moment to fight Skullfish with your blade. Exit via the only door, and trudge down a long, curved tunnel, to the grotto area. On the way, remove the innards from two Baris.