
The Legend of Zelda: Twilight Princess HD Guide Dungeon 7: City in the Sky
Task 6: Locate and Enter the Peahat Gardens
Chamber 9: First Return to The Great Wind Tower (East) (B3 to B2)
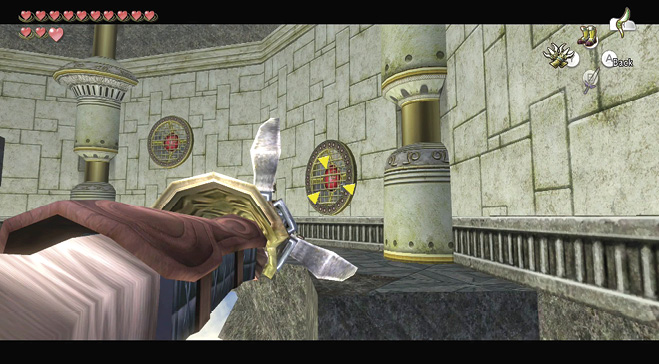
Back in the tower chamber, use the Double Clawshot on the medallions around the tower walls to scale up the tower counter-clockwise. Once you reach the southwestern ledge on B2, look up to find another ornate Clawshot handle. Now use your Clawshot to hook onto the handle.
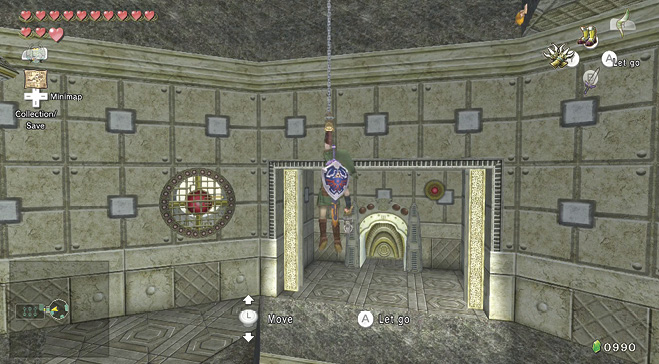
This opens a gate on the B2 level. With the Double Clawshot, you can lower yourself to the open gate, and aim at either medallion above the exit door. Propel yourself to the door, and the gate closes (as you let go of the handle and it retracts). Enter the door.
Chamber 14: Clawshot Ricochet Room
Approach the west edge of the platform you’re currently standing on, then use your Clawshot to hook onto the medallion on the southeastern pillar in the center of the room. Once the Clawshot has pulled you to the medallion, immediately ZL-target the next medallion and Clawshot to it. Repeat this swiftly until you reach the western side of the room, then press A to drop down safely in front of the western door. If you take to long to Clawshot from one medallion to another, the segments of the pillars will slip off and carry Link with them into the sea of the sky below.
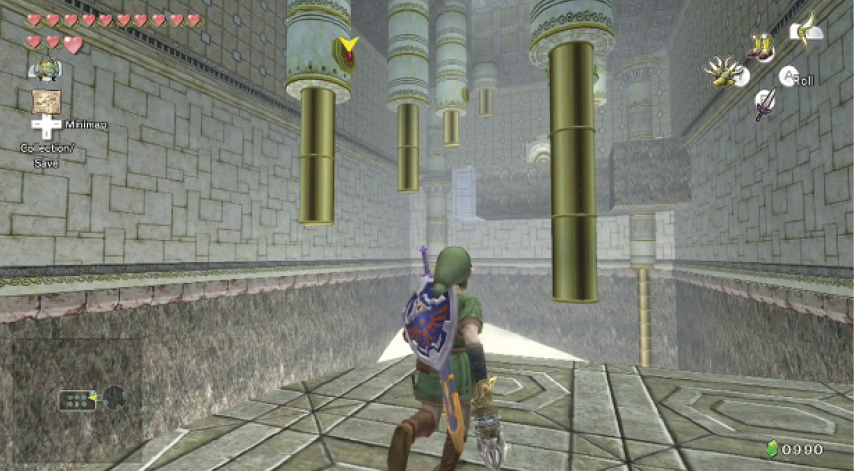
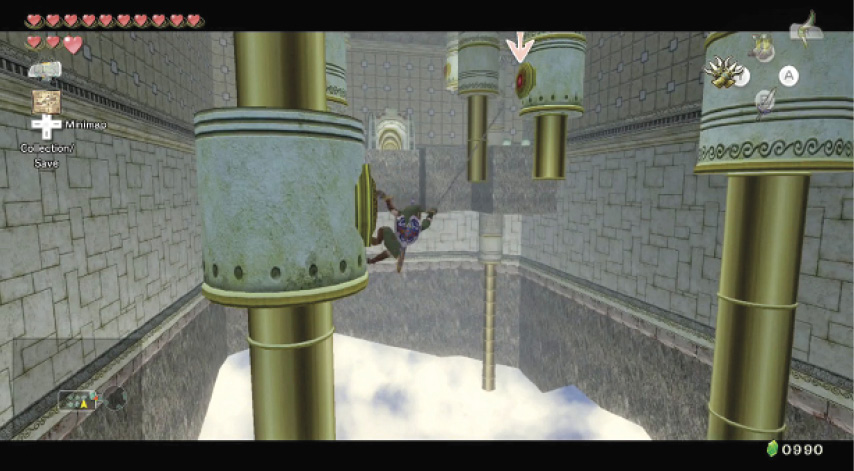
Treasure Chest: Once you drop off of the final segment, you’ll find two pots housing arrows and a Heart. A treasure chest with the Compass, and two more pots are on a sinking floor in front of you. Grab everything, and leave via the western door.
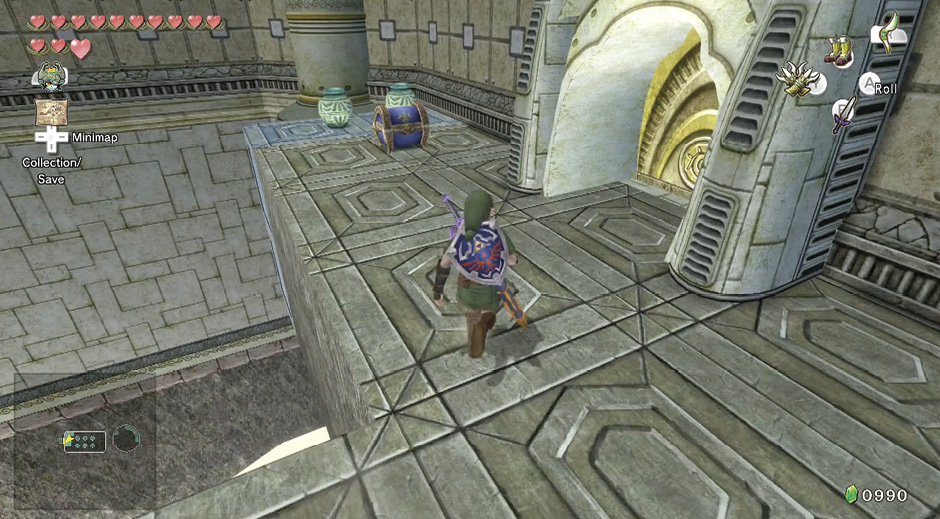
Treasure Chest #9:
Compass
 Compass
You got the Compass! This handy tool shows you where to find objects hidden in this dungeon.
Chamber 7: First Return to Central Sky Bridge (Underside) (B1 to 1F)
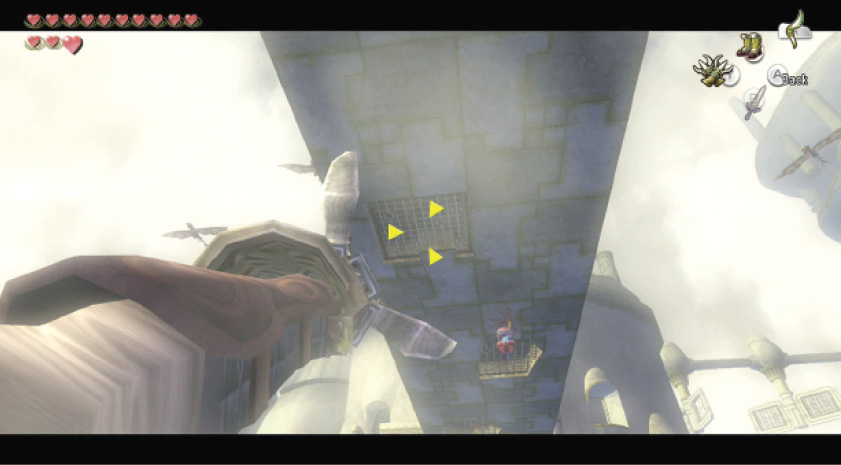
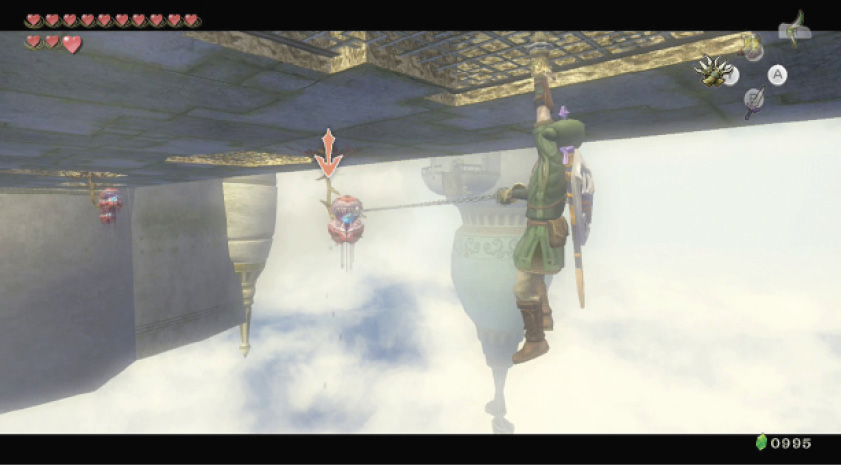
You enter this room on a small ledge underneath the Central Sky Bridge. Look up at the bridge and you’ll find a series of grates that are perfect for your Clawshot. Clawshot the first grate, then ZL target and Clawshot the Baba Serpent’s head. While it’s stunned, shoot it with your Clawshot one more time to cut it. If you can’t ZL target a Baba Serpent, look up at the grate you’re currently hooked to, then Clawshot closer to the edge of the grate. When you’ve crossed the bridge, Clawshot onto the vine wall to the southwest, and head to the central chamber.
|
If you’re having trouble with this plan of attack, simply stand at the initial ledge and shoot Bomb Arrows at all the Baba Serpents. |
Chamber 3: Third Return to Central Fan Chamber (1F)
Now that you have the Double Clawshot, you can easily explore the western tower you couldn’t reach earlier. Move to the doorway by shooting up at the medallion between the center of the room and the western door, then hook onto the medallion just above the western door and head through the door itself.
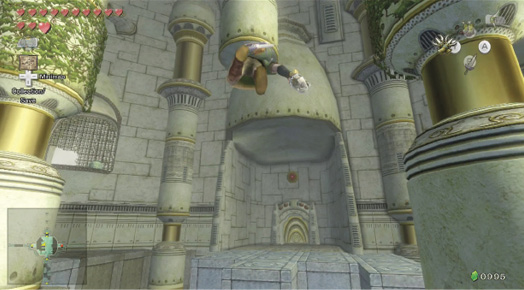
Chamber 4: Second Return to Peahat Wind Gorge (West) (1F)
The bridge may still be out, but you can cross easily thanks to a combination of your Double Clawshot and the floating Peahats. Always automatically ZL target and you’ll shoot from Peahat to Peahat in seconds, then drop down at the west end, watching the wind. Exit to Chamber 5.
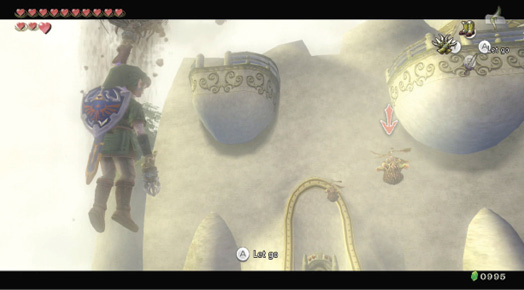
Chamber 5: First Return to Western Sky Tower (B1 to 3F)
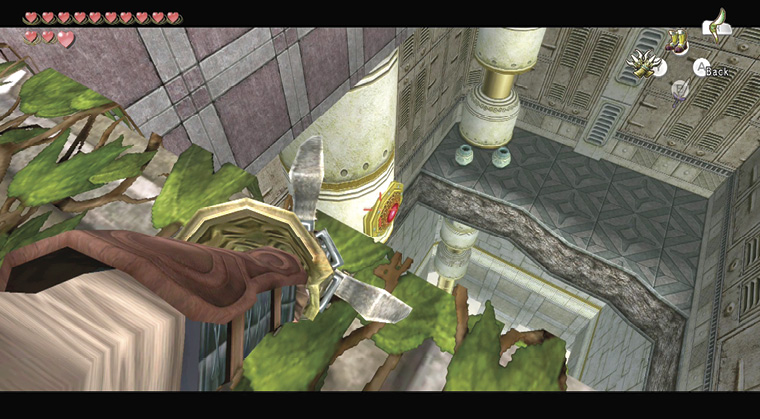
Run to the edge of the wall near the southwest end of the chamber, then peer down. Pull out your Clawshot and target the medallion below and slightly to your left.
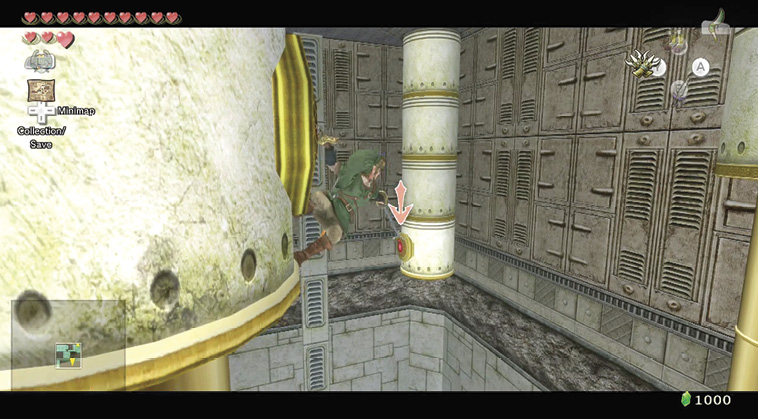
ZL target and shoot to the medallions along this series of falling pipes. Fall down and drop from the third and final pipe onto the ledge in B2.
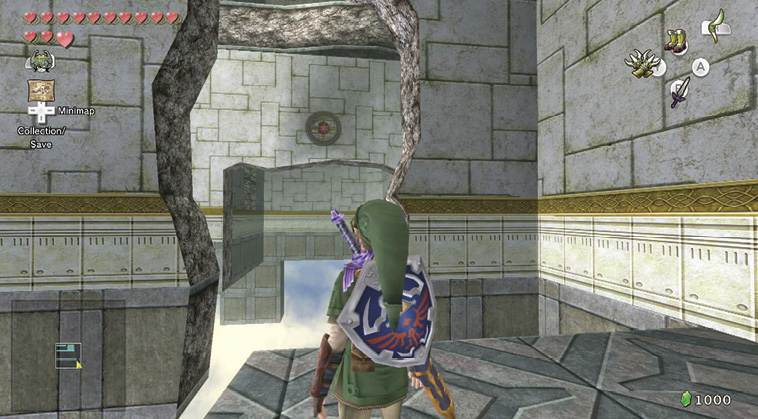
Turn, face north, and propel to this medallion, which is easy to miss.
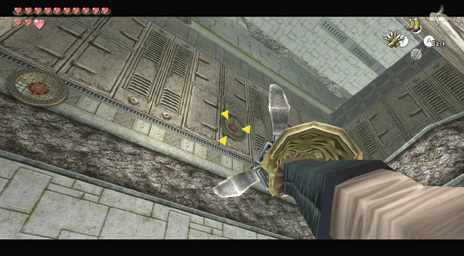
Turn, look up and south, and aim at rightmost of the two medallions and hook yourself onto it. You’re now on floor B1.
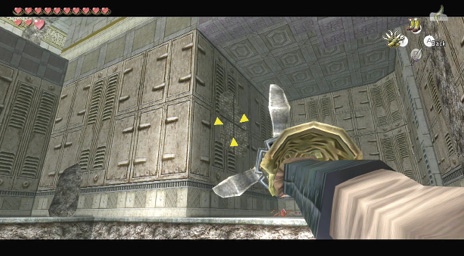
Hang from this medallion for a bit. You can shoot back down to the medallion below, then hook onto the medallion on the left instead of the right, and hook onto the grated wall on the left wall of the alcove north of you to reach a treasure chest containing 20 arrows. Or you can simply target the grated wall left of you to the west and head through the broken portion of the wall to the north.
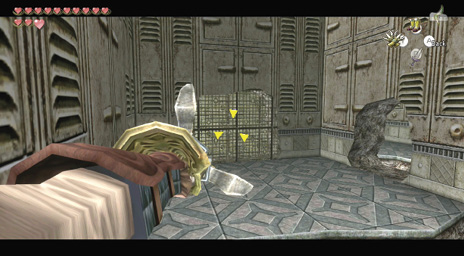
Once you’ve grabbed the chest, exit the alcove via the same medallion. Shoot yourself to the grating, drop onto the stone floor ledge, run through the hole in the north wall, and leap the gap.
Treasure Chest #10:
Arrows (20)
 Arrows
You got arrows (20)!
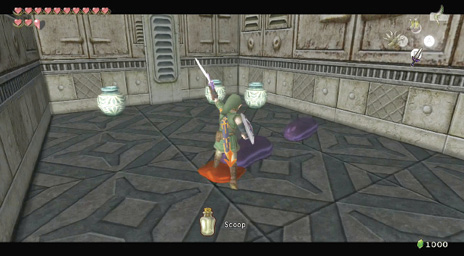
Turn left, and jump across the gap to the platform ahead.. A couple of Purple Chus and a Red Chu descend from the ceiling as you walk toward the west end of the platform. Attack the Red Chu first if you don’t want them to combine. Grab the blue Rupees (5) and arrows from inside the pots.
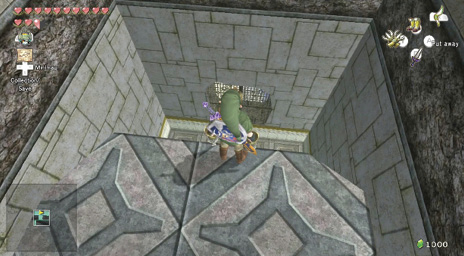
Head back to the east end of the platform, then pull out your Clawshot and look down. Hook onto the grating below you and you’ll be pulled back down to B2.
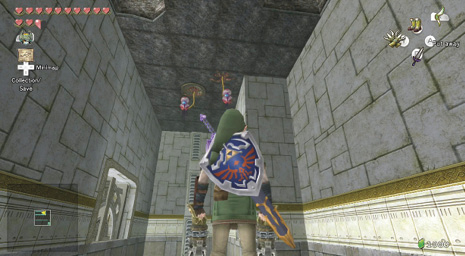
Drop onto the landing directly below you and look west and up to the ceiling. Two Baba Serpents writhe while hanging from the ceiling. Now snipe them with your Clawshot.
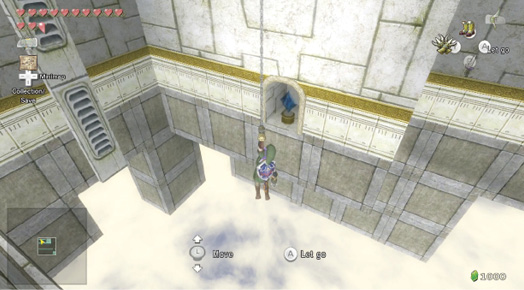
Hook onto the medallion the farthest Baba Serpent was hanging from and lower yourself down while facing north until you see a diamond switch. Shoot the switch, turn south, and look through the newly-opened gate. Shoot at the medallion, look up, and Clawshot all the way up (via gratings and medallions above you) to 1F.
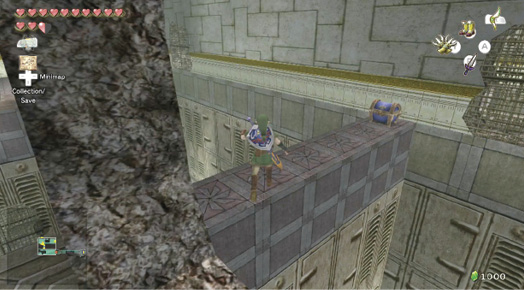
Treasure Chest: There’s a chest here, but don’t drop from the grating or you’ll miss the ledge! Instead, turn north and hook onto the medallion on the ceiling, past the hole in the wall. and shoot there. Then face south, carefully jump to the tiny ledge, and open the chest.
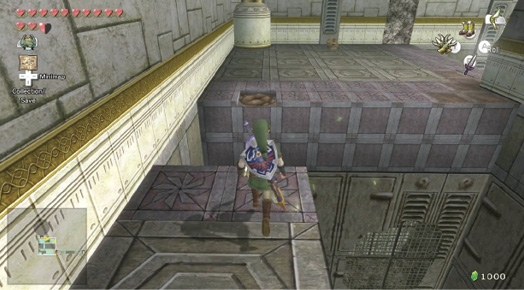
Treasure Chest: Now Clawshot back to the chamber’s northwest corner, but don’t exit yet. There’s another chest to locate. Head east along the ledge, use your Gale Boomerang to remove a Tile Worm from your jumping spot, then leap there. Leap, cling on, pull yourself up, and inspect this next chest. Head back to the northwest corner of the chamber and head through the door to reach Chamber 15.
Treasure Chest #11:
Ooccoo Stamp
Treasure Chest #12:
Bombs (10)
 Bombs
Bombs
You got bombs (10)!
Chamber 15: Big Baba’s Tower (1F to 3F to 2F)
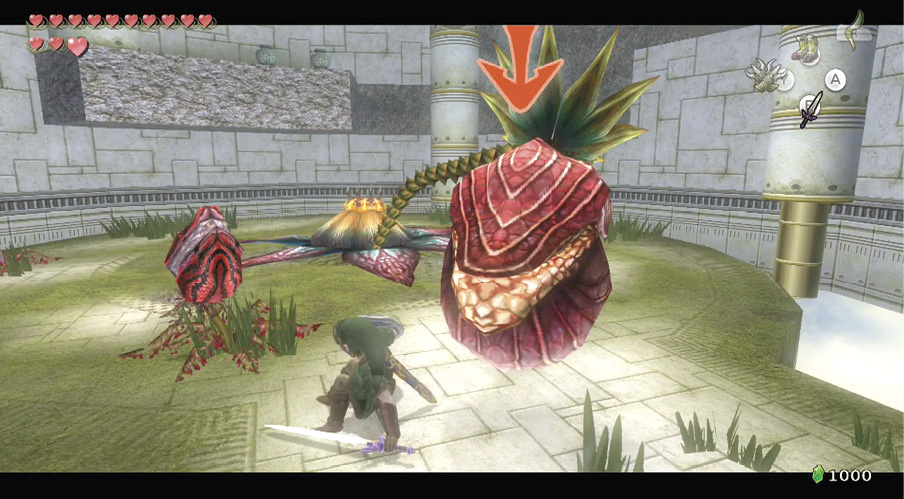
When you enter the circular chamber, a giant Baba plant can be seen resting in the middle. It’s the return of Big Baba! He’s not alone; there are a few Baba Serpents, too! Fortunately, defeating him is easy!
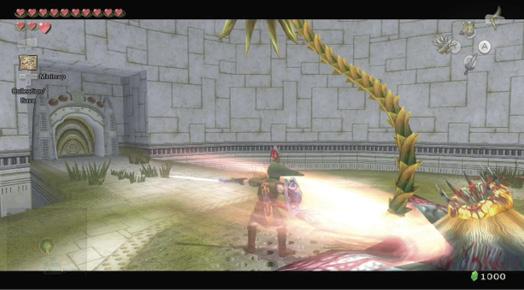
Step 1: Launch a strike at Big Baba’s head, ZL targeting him and trying a leaping strike or a spin attack. Continue this, defeating Baba Serpents too, until the head explodes!
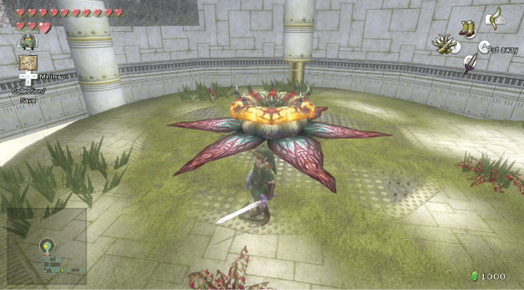
Step 2: When the Baba base begins to pulsate, produce a bomb or fire a Bomb Arrow, and let the maw consume the explosive. If you don’t have any bombs, either return to the store via Ooccoo, or return to the tower you came from, and open Treasure Chest #12.
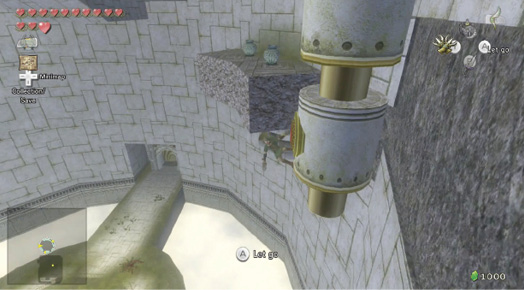
Head to the west end of the Big Baba’s platform and look up. You’ll find a medallion that is all-too ready for your Clawshot. Before you fire, know that as soon as you hook onto the medallion you’re going to need to immediately look left and hook onto the vines ahead. The medallion is on another one of those slippery pillar segments that will begin to fall as soon as you hang from the medallion. Don’t fall with it!
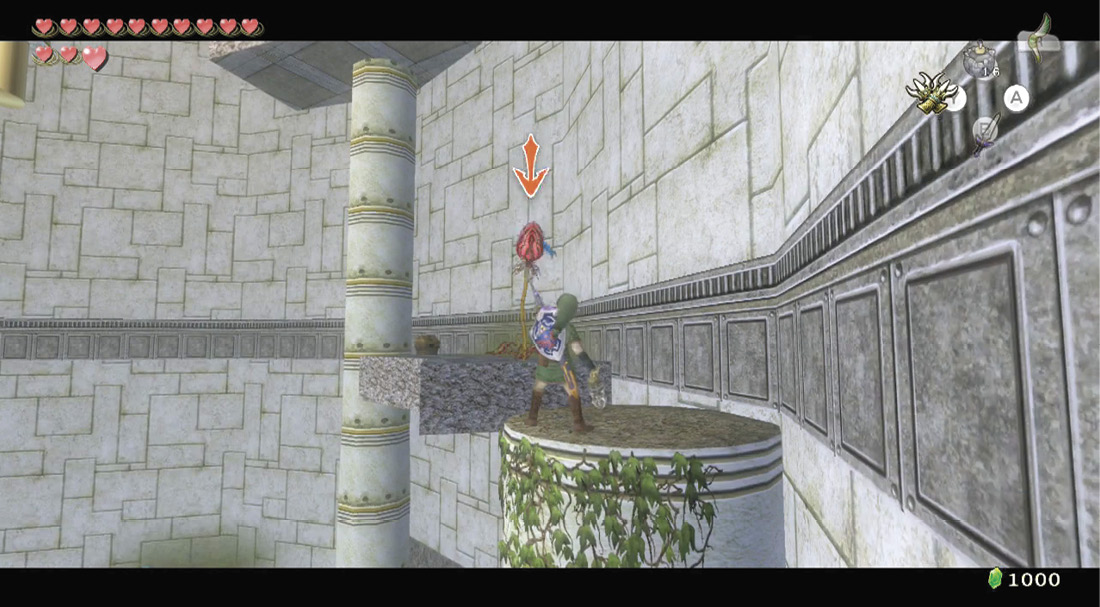
Treasure Chest: Climb to the top of the vine pillar and face Link to the southwest. Draw your Hero’s Bow, and blast a Baba Serpent with a Bomb Arrow, or use your Gale Boomerang, then leap to its ledge and open a chest.
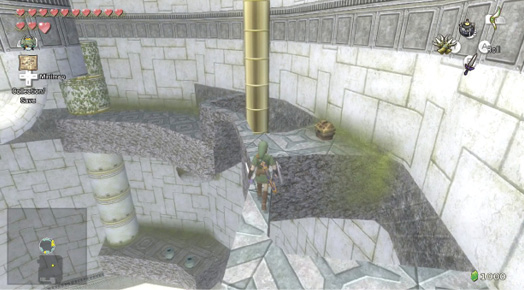
Treasure Chest #13:
Yellow Rupee (10)
Treasure Chest: Head back down the vine pillar and work your way clockwise around the tower until you reach a very narrow ledge. Stop and shoot any Keese so they don’t attack you. Walk to the small chest, and claim your small prize.
Treasure Chest #14:
Arrows (20)
Arrows
You got arrows (20)!
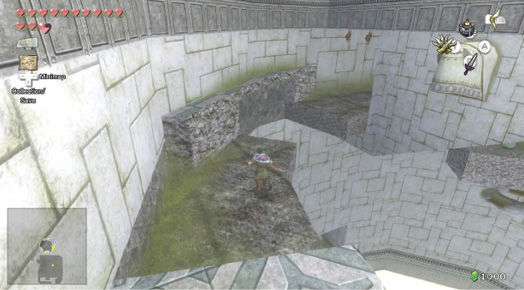
Continue clockwise around the tower, whip out your Clawshot and clip the Baba Serpent off of its stem. It’ll bounce its way off the ledge, making the path perfectly safe for you to cross (save for the very narrow pathway you need to cross). Now drop down, and run to this chamber’s southeastern part, and aim at the Keese under the floor above, nestling in this alcove. Make sure they’re dispatched.
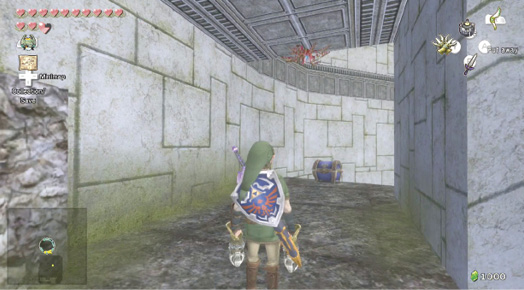
Treasure Chest: With the Keese defeated, turn left, and shimmy hand-over-hand along the lip of the broken ledge until enter the alcove the Keese were hanging from. Bring out the Bomb Arrows or sword, and tackle a Baba Serpent hanging from the ceiling before you open this next chest. The prize is worth the detour!
Treasure Chest #15:
Piece of Heart #41
 Piece of Heart
You got a Piece of Heart! Collect five pieces to form a new Heart Container! Piece of Heart #41 of 45.
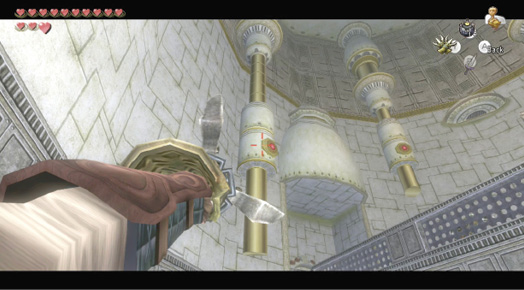
Retrace your steps, stand where you fought your last Deku Baba, and turn to look up at the platform in the center of the room. Aim your Clawshot at the tube to your left, and fire! Once you’re on the tube, a nasty-looking Dynalfos comes running along the bridge. Ignore him, and Clawshot across to the second sliding tube, then to the vine wall. Remember to ZL target! Bomb Arrows will also work a treat.
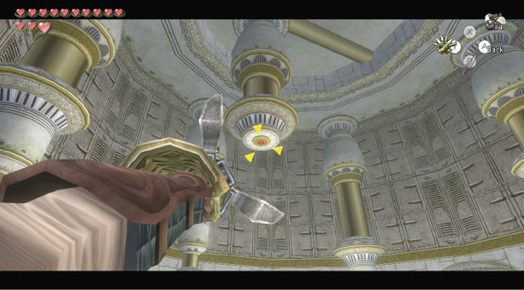
With the Dynalfos foiled, aim your Clawshot at the medallion above you in the center of the room, and drop to the platform below. Turn and run to the south exit.