
The Legend of Zelda: Twilight Princess HD Guide Overworld: Ascension to the City in the Sky
Task 2: Assault the Hidden Village; Rescue Impaz
Powering the Dominion Rod: Hidden Village Assault
|
The following strategy shows you the optimal method of defeating the 20 remaining Bulblins in this village. You may wish to use more aggressive tactics, but don’t expect to remain unscathed! |
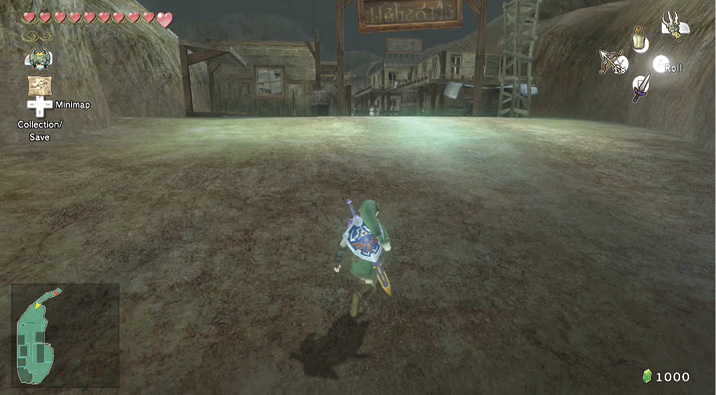
Stride to the entrance to Hidden Village. Ahead you see that 20 Bulblins, both warriors and archers, are holding their ground in this area. Bring out your Hero’s Bow: this place ain’t big enough for the 21 of you!
|
Once you begin your Bulblin takedown, the new icon in your screen’s bottom-left corner shows how many Bulblins you have left to tackle. |
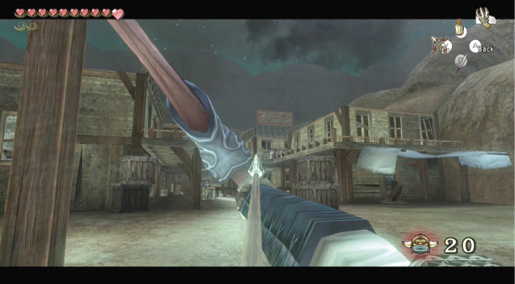
Bulblins 20 and 19: Step just inside the village limit, and sidestep left with your bow drawn. ZL target and move to the point shown in this screen, and aim at this upper balcony. There’s an explosive barrel here; shoot it, and two Bulblins bite the dust!
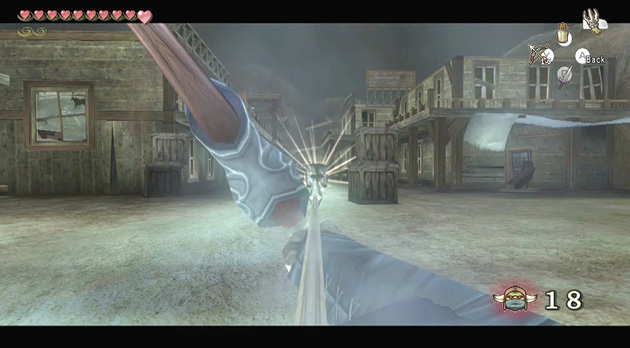
Bulblin 18: Sidestep right with your bow drawn, and shoot the explosive barrel on the ground ahead. A Bulblin investigates the disturbance; drop him from this distance!
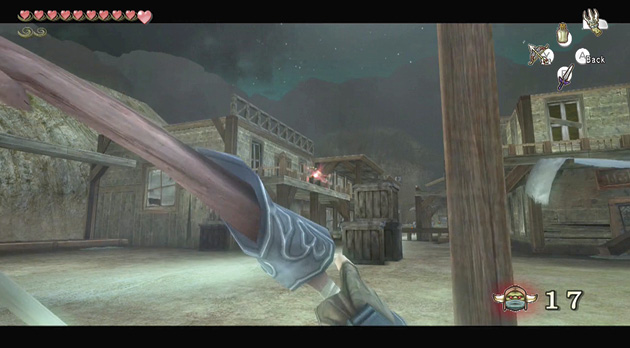
Bulblins 17 and 16: Continue sidestepping so you’re almost behind these crates, then aim up at the left building balcony, and tag another Bulblin here. Then drop your aim slightly, under the balcony, and shoot a Bulblin under here.
|
If you’re having trouble aiming at any of these Bulblins, combine the Hawkeye (bought at the Malo Mart in Kakariko Village) with the Hero’s Bow. You can now snipe easily! |
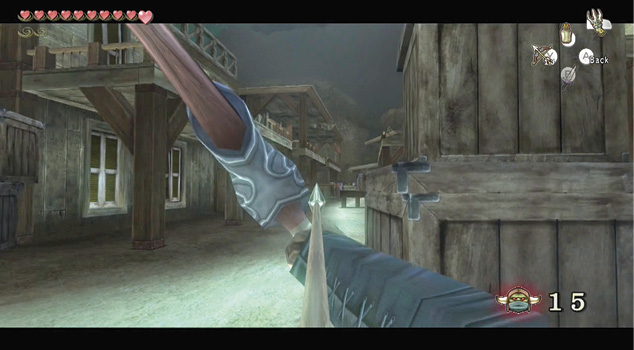
Bulblin 15: Edge forward until you’re standing next to the stacked crates at the village entrance. Aim along the left balcony. Shoot the Bulblin here; he topples to the ground.
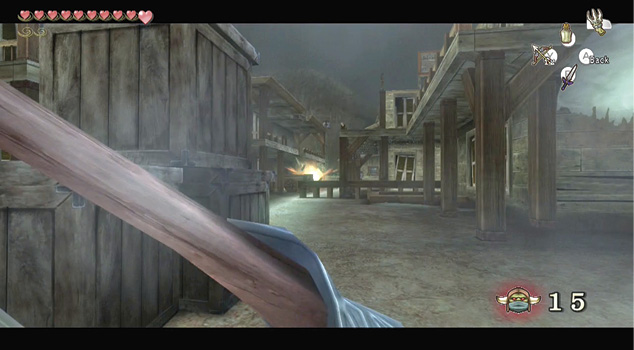
Bulblin 14: Now aim down to the street’s end, and take out the explosive barrel; this rocks another Bulblin.
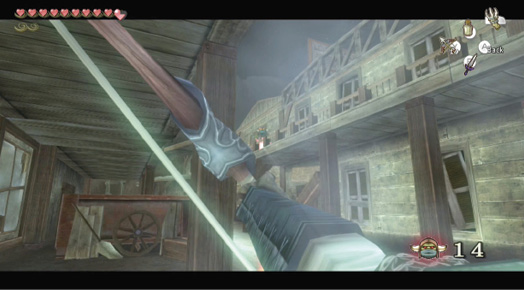
Bulblin 13: Continue your hawkeyed shooting; with your bow, take out the Bulblin standing midway down the right upper balconies.
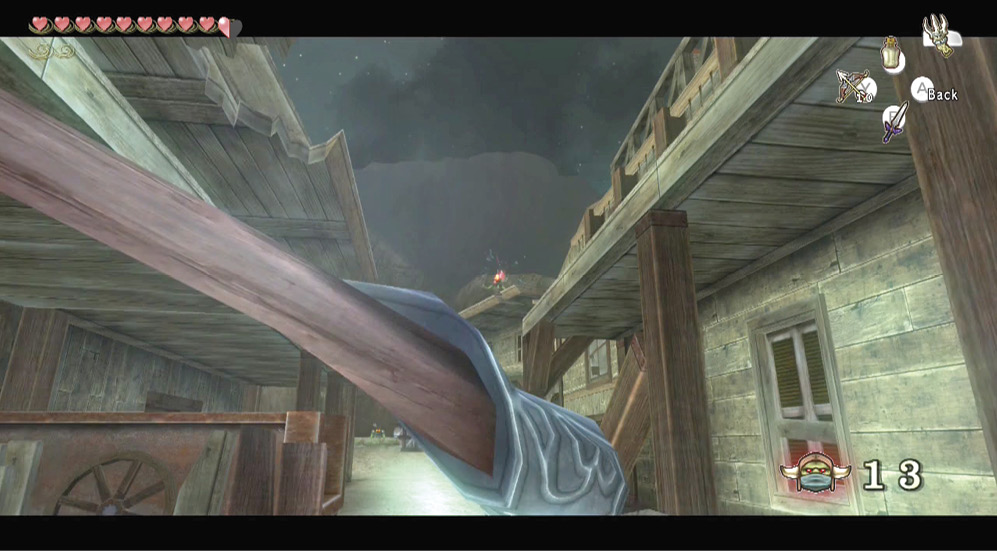
Bulblin 12: Slowly move down the street, and wait here, before the end of the first set of buildings. Use your Hawkeye and aim down, then right at the end balcony. Drop this Bulblin before he even sees you!
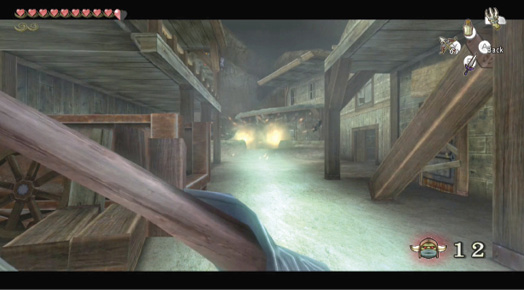
Bulblins 11 and 10: For two more easy takedowns, zoom to the street’s far end. One Bulblin is behind a short wall and another is behind some explosive crates. Take them both down!
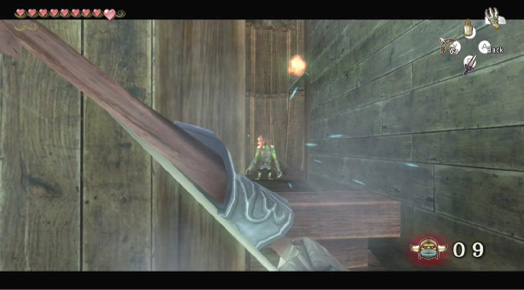
Bulblin 9: Your next Bulblin requires some closer combat; make an immediate left into the building you’re standing next to, and run quickly up the steps, avoiding incoming arrows (keep moving). Bring out your sword, and slash the Bulblin Archer here.
|
If you’re running short on arrows, use the Clawshot to hook onto this mesh above the cattle trough, and climb onto the upper balcony. Run left, around the back of the next building. There are two barrels at the end, one of which contains arrows. |
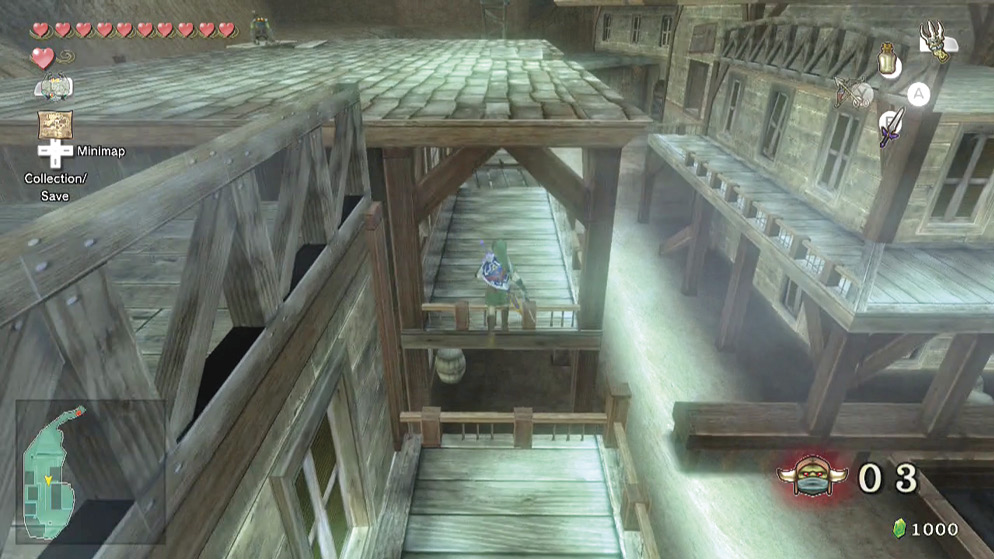
Bulblin 8: Use the Clawshot, propel up to the balcony on the street’s right side, and move to this point. There’s a Bulblin on a lookout tower. Aim at the barrel and blow it up!
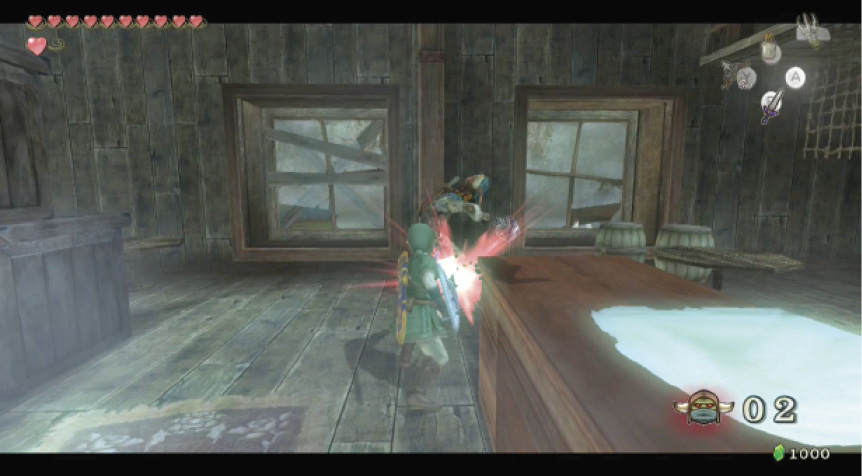
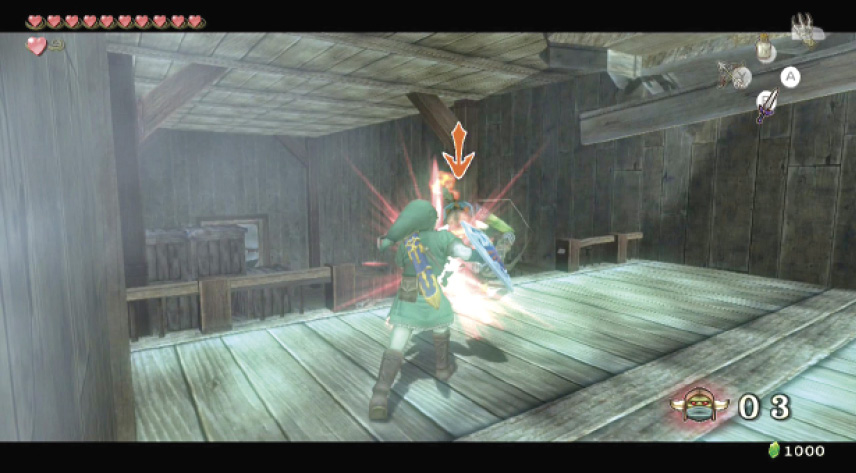
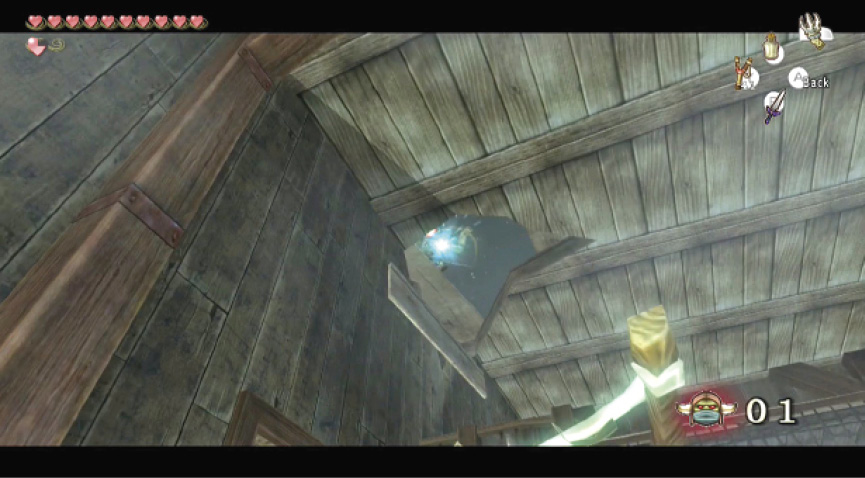
Bulblins 7, 6, and 5: Drop to the ground, and move to the second building on the left. Smash the first window you come to, with the barrel next to it, and enter with your sword drawn. Immediately run and defeat the Bulblin on the ground. Sidestep right, behind the crates, and fire at the Bulblin standing on the balcony above, to the south. Now move to the right end of the wooden desk. There’s a hole in the roof and another Bulblin here; fire at him before he strikes you with a fiery arrow.
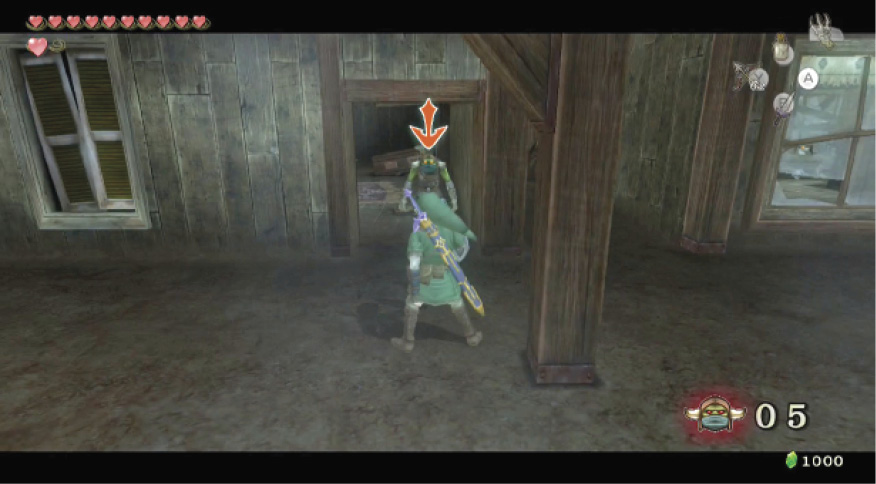
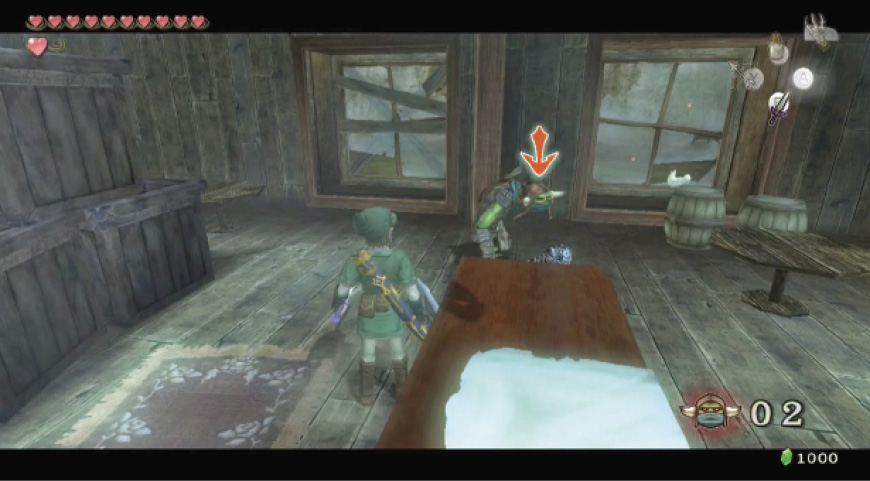
Bulblin 4: Head back into the main street, and look for this alley, to the right of the middle building. Bash the barrels, and run around to the alley behind the building. Dash to the archer at the end, ZL target him, block his arrows, and defeat him.
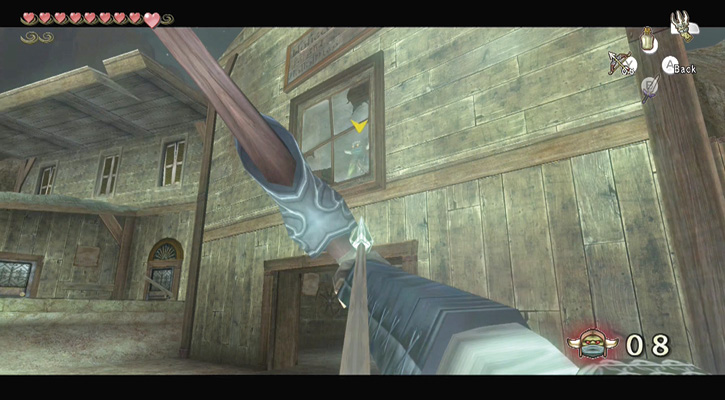
Bulblins 3, 2, and 1: The final three Bulblins are in the last building on the right, at the street’s end. The first is on the ground floor. Shoot him from the street or run in with a sword. The other two are on balconies above. From the street, shoot the first through the window; then enter and defeat the final Bulblin with arrows.
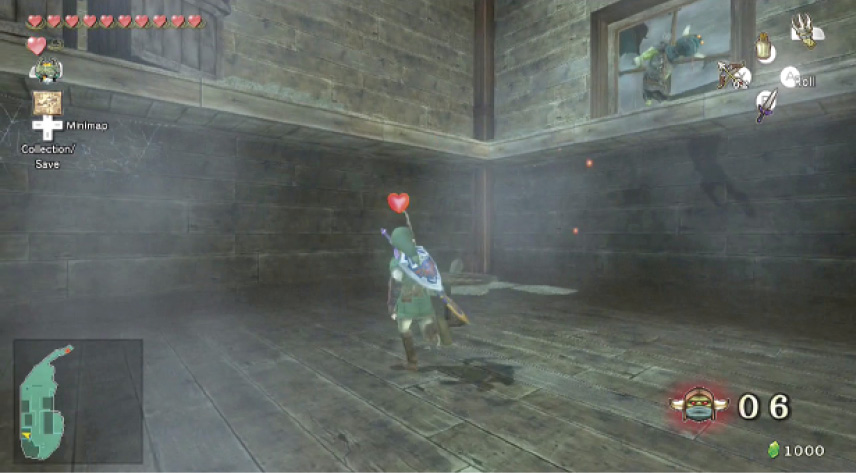
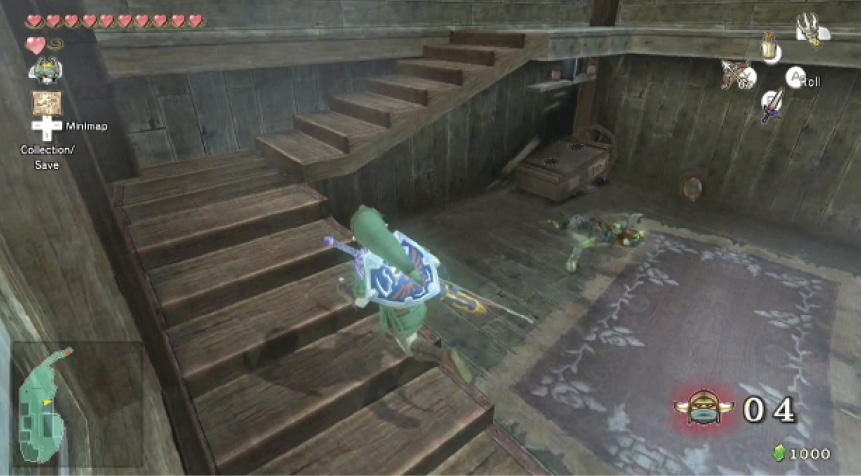
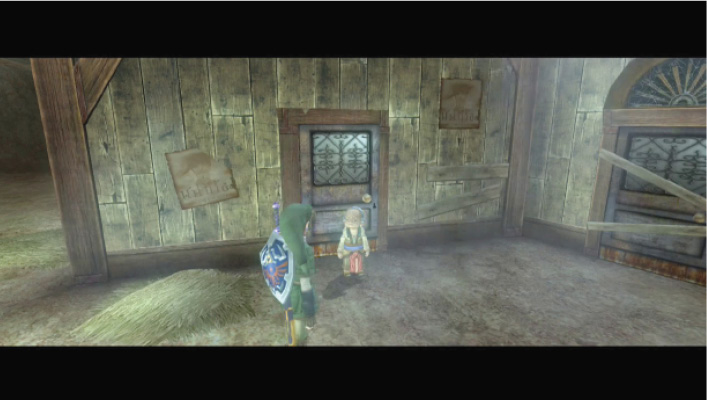
As soon as you defeat the last Bulblin, the door to the hut by the small wall opens. An old lady shuffles out. This is Impaz, and she thanks you for your help.
She has a gift for Ilia—the charm Ilia gave Impaz to protect her. She happily gives you the pendant that kept her safe for so long. Head south.
Impaz: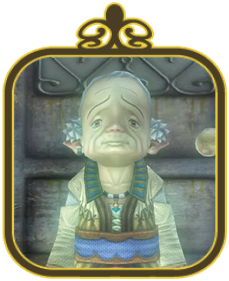
About 70 years old, Impaz is an aged woman living in fear in a hidden village, where Ilia was locked away. Impaz plays a part in freeing Ilia. Impaz is the last of her tribe, which used to live in this village. She is kind and speaks with a thin but firm voice. She thanks you profusely for saving her. |
 Ilia’s Charm
You got Ilia’s Charm!
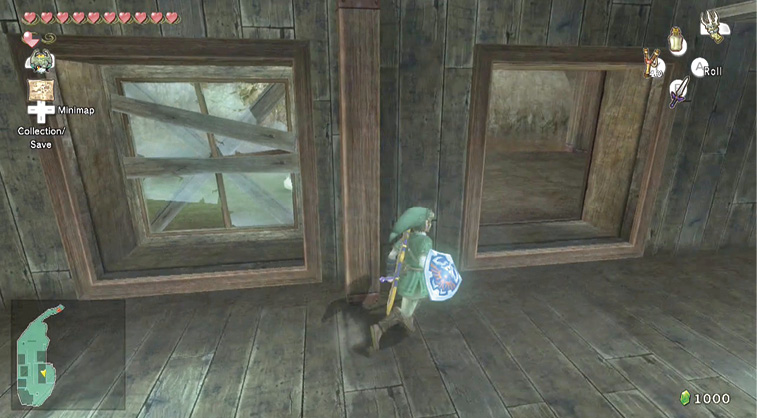
Before you warp back to Kakariko Village, head to the eastern row of houses, and enter the place where you defeated Bulblins 7, 6, and 5. The smashed outer windows lead to a grassy back garden; there’s a Windstone here!
Powering the Dominion Rod: Hidden Village Return
Poe Soul #55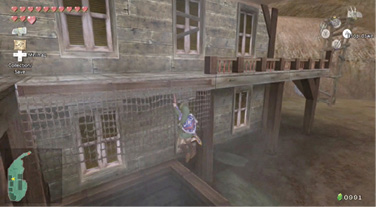
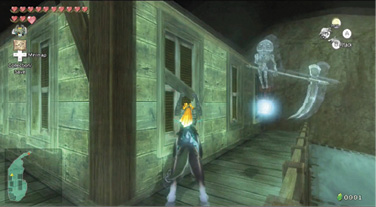
After you complete the cat hunt minigame, return to Hidden Village, ideally at night, as there’s an Imp Poe to secure around here. Head to the balcony of the building in the northwest corner. Access the balcony via a Clawshot and climb up the mesh. Change to your wolf form, run around the balcony’s corner, and face down your Poe foe! Only five more to go!
|
 Poe Soul
Hidden Skill #7Howling for the White Wolf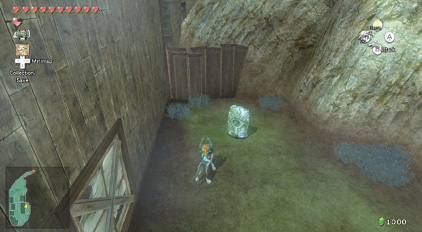
Immediately return in wolf form, and head back to this garden. A Cucco here tells you there are several dig spots to uncover here (search the grass for Rupees and Hearts). Then listen to the Windstone as the wind whistles a tune through the hole in the rock. Watch the tune, then replicate it. The pitch is as follows: Middle, Low (hold), Middle, High, Low (hold), High, Middle, High, Middle. Use up to howl high and down to howl low on your Left Analog Stick. For midrange howling, don’t move the stick. 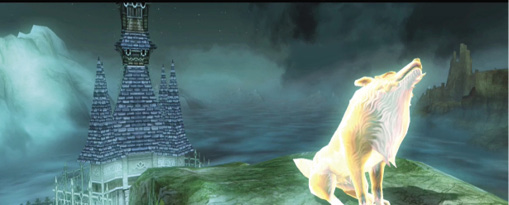
You appear as a wolf, high in the heavens with Death Mountain in the background. The White Wolf appears at the end of a leafy edge, above the spires of Castle Hyrule. You howl the tune again. The White Wolf tells you, “Let teachings of old pass to you….” The wolf leaps down into the land.
Great Spin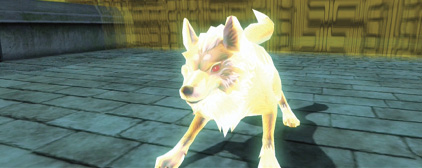
The White Wolf is sitting patiently at the entrance to Castle Hyrule. Head north from the fountain in Castle Town to reach him. The White Wolf waits for you to come, sword in hand! He growls at you, and pounces. The Hero’s Shade forms and tells you that this is a forgotten skill and the ultimate secret technique, testing the true courage of the one who wields it. 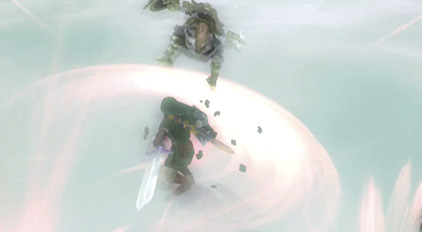
To ensure you learned the previous Hidden Skill correctly, your teacher asks that you show him you’ve mastered the jump strike. Simply ZL target and hold A until just as the blade finishes shining; then release your strength. “Excellent!” utters the warrior. “Let the great spin be hewn into your mind!” Because of your past techniques, you can now magnify the power of your spin attack, but only when your life energy is full. Try it! Great Spin: Simply execute a spin attack when you have full energy. This hits more targets and for more damage, at greater range. The Hero’s Shade congratulates you. “Go and do not falter, my child!”
|
 Hidden Skill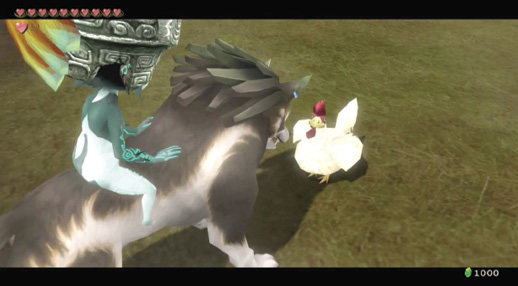
Return to Hidden Village in wolf form, and head to the back garden where you spoke to the Cucco and howled at the Windstone. The Cucco has a game for you; there’s a special prize if you can locate the 20 cats that are hiding in the village.
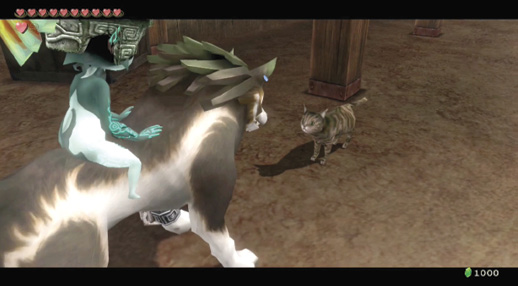
The cats have returned from Castle Town, and parts unknown, and are waiting for you to talk to them all. Conduct a thorough search of the area to ensure you find them all! When the 20th cat is found, your mini-game is over.
Cat Hunt Minigame!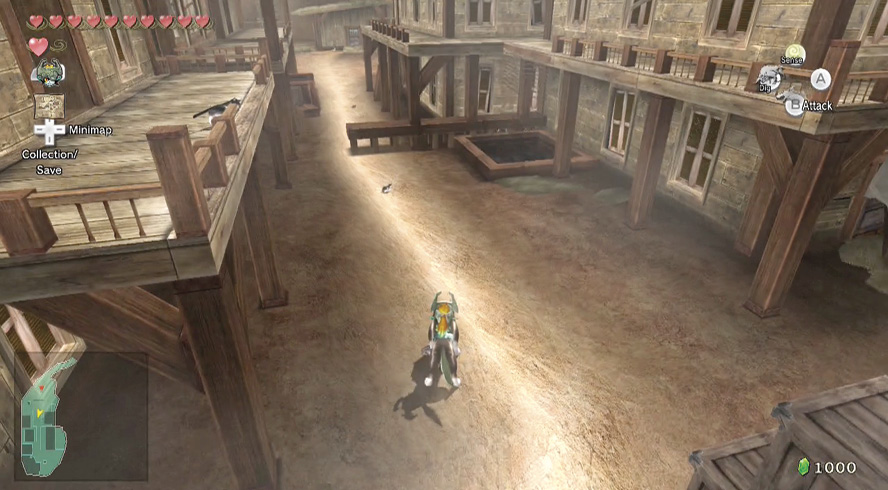
The goal is to speak with all 20 cats who have recently taken up residence within the Hidden Village. There’s no time limit, so work methodically. The kitties move around the village, but they mostly stick to their favorite “turf.” Working north to south, here’s the location of each Hidden Village cat: 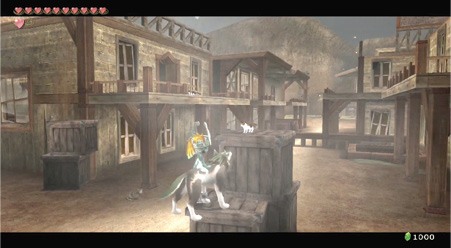
#1: Atop the north stack of wooden crates (target with the ZL button). 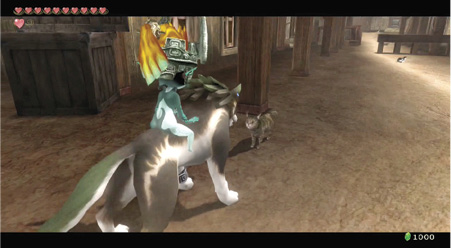
#2: In the street near the north stack of wooden crates. 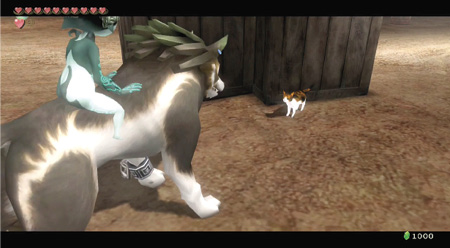
#3: Also in the street near the north stack of wooden crates. 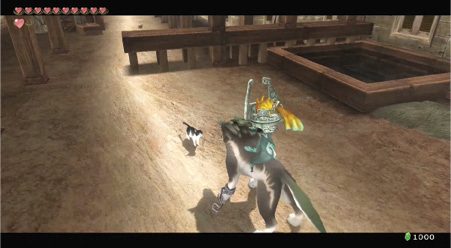
#4: In the street between the village’s two northernmost buildings. 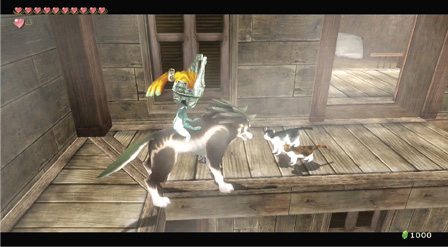
#5: Inside the northeastern-most building; second-floor balcony. 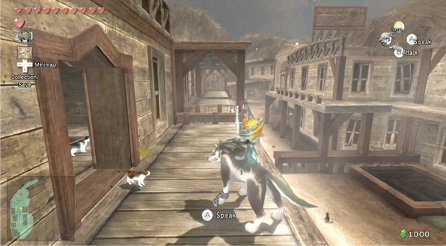
#6: On the northeasternmost building’s outside balcony. 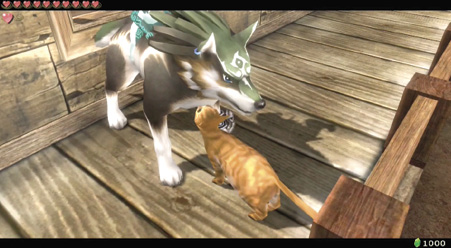
#7: On the northwesternmost building’s outside balcony (use Clawshot to reach). 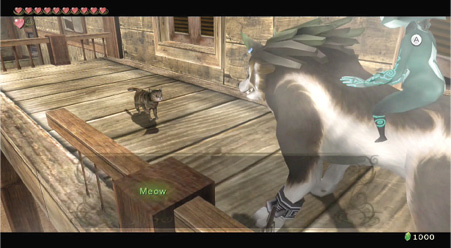
#8: On the west building’s outside balcony. 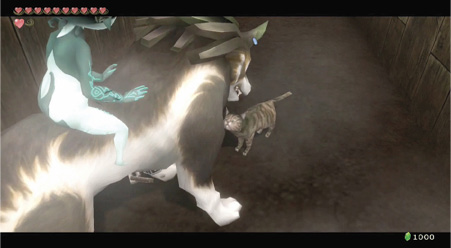
#9: In the village’s west alley. 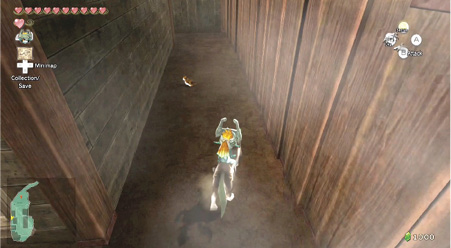
#10: In the alley between the east and northeasternmost buildings. 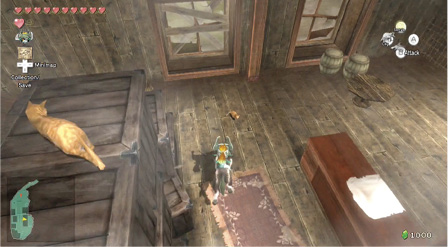
#11: Inside the east building; first floor. 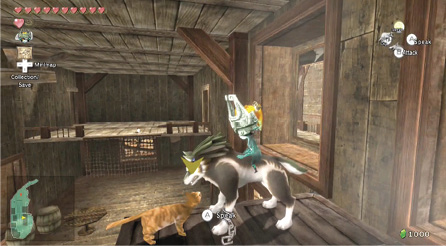
#12: Inside the east building, also on the first floor. 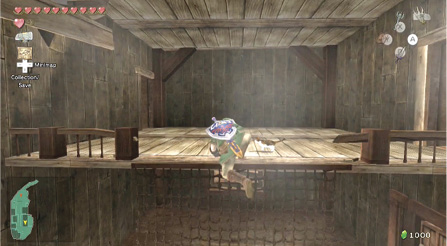
#13: Inside the east building; second floor (use Clawshot to reach). 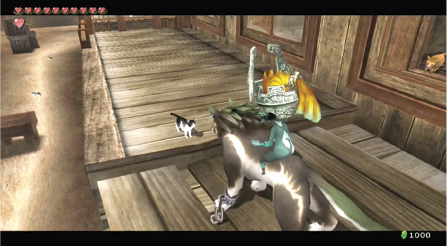
#14: On the east building’s outside balcony. 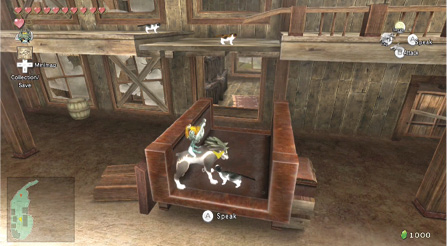
#15: In the street between the village’s west and east buildings. 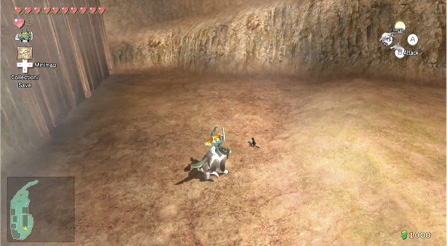
#16: In the lot just south of the village’s east building. 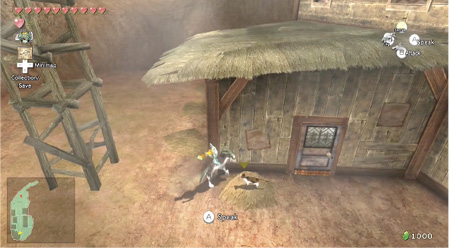
#17: At the south end of the village, near Impaz’s house. 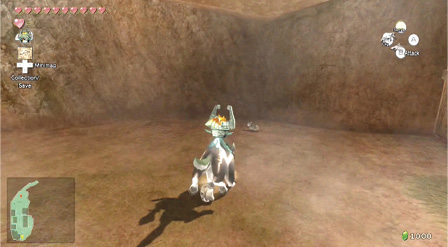
#18: In the village’s southernmost nook. 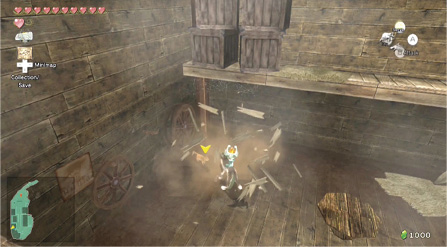
#19: Inside the barrels in the southwesternmost building (smash the barrels). 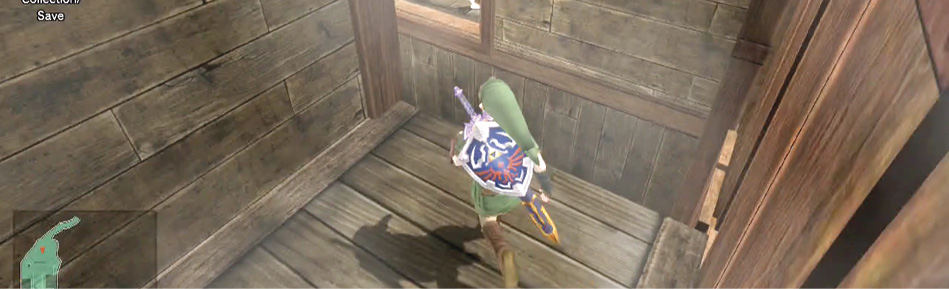
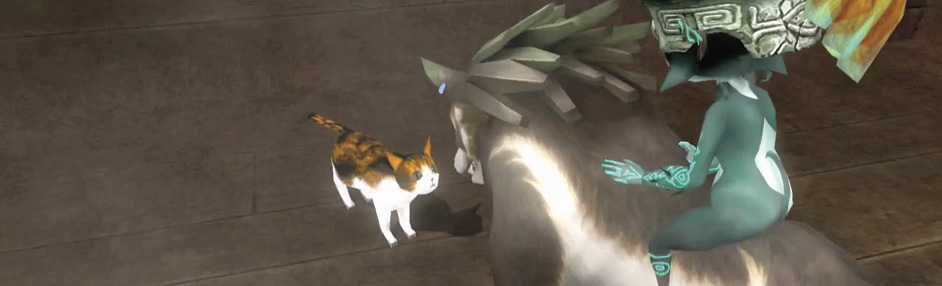
#20: Inside the southwesternmost building, on upper balcony (jump through second-floor window to reach). For finding all the cats, you win a prize. Outside of Impaz’s house is a Piece of Heart! Collect it, and then return to Kakariko Village to try and jog Ilia’s memory. 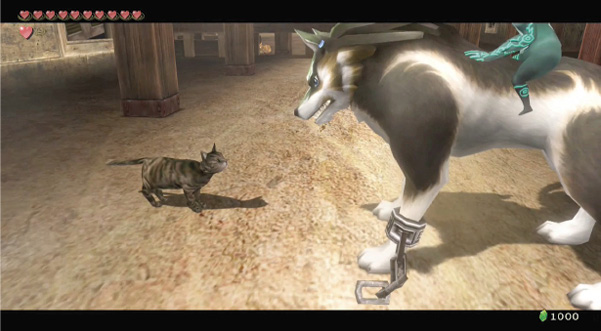
|
 Piece of Heart