
The Legend of Zelda: Twilight Princess HD Guide Overworld: Thorough Explorations and Saving the Zora Prince
Task 4: Thoroughly Explore the Fields and River
Hyrule Field (West): Bug and Wolf Hunting
Golden Bug: Female ButterflyCollection: 13 (of 24)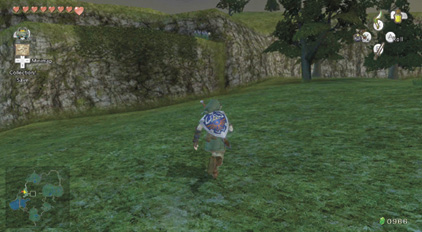 Journey on horseback to the area of Hyrule Field where you entered Castle Town, and prepare for a minor fracas with a Bulblin Archer or two. When you’re done, check the rocky outcrop above and right of you, along the north rock wall. In the long grass on the outcrop’s edge is a Female Butterfly. Catch it using your Gale Boomerang.
|
 Female Butterfly
Golden Bug: Male ButterflyCollection: 14 (of 24)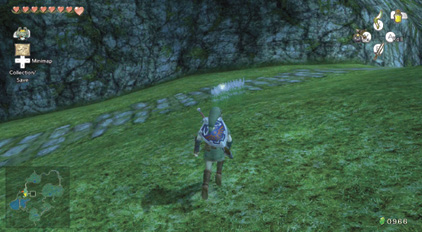 While you’re in this area of Hyrule Field, journey south, to the left of the outcrop where you found the Female Butterfly, to a small clump of tall flowers. The Male Butterfly is here, near the entrance to the amphitheater. Catch that bug!
|
 Male Butterfly
Hidden Skill #3: Back Slice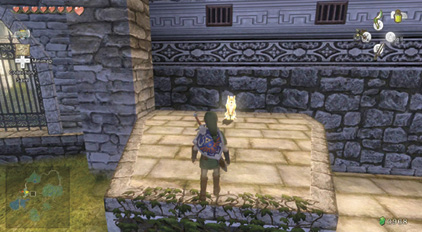 Your exploration of this area shouldn’t end with the bug hunt. There’s an incredibly important meeting you need to attend with the White Wolf, who’s sitting patiently on the plinth in front of the Castle Gate entrance. Head here, slaying a Bulblin along the way, and climb up the short vine wall onto the plinth. The White Wolf waits for you. You awaken in the ghostly ether. The undead Hero’s Shade asks if you wish to learn your next skill. The answer is yes! 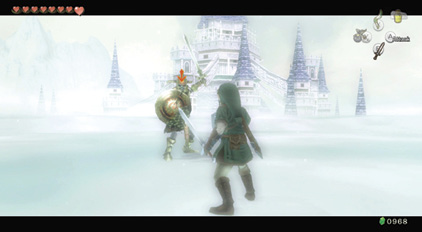 Your teacher first ensures that you learned the previous Hidden Skill correctly and asks you to show him that you’ve mastered the shield attack. Simply ZL target and move your Nunchuk forward to push the Shade back, then attack with a sword slash. Satisfied, he will now teach you the back slice. This technique is useful to counter a foe that has a shield and armor, preventing a front attack. They frequently expose their backs to attacks, and this technique takes advantage of that. Now you try it. 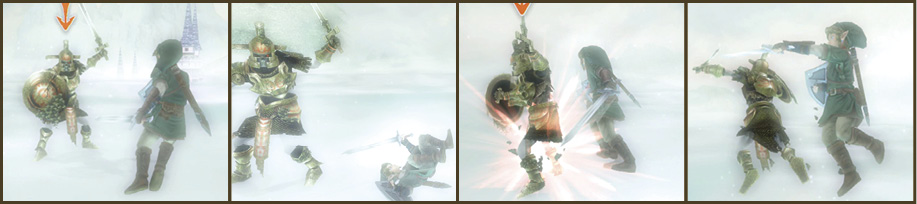 Back Slice: ZL target and press the A button while tilting left or right on the Left Analog Stick to jump and roll around your foe; then perform a jumping slice by pressing the B button.
|
 Back Slice
After you’ve mastered your skill, continue on your Bomb Rock quest and find the two in this part of the land. The first is just in front of the castle wall. Fight a couple of Bulblin warriors, then plant the bomb. Expect two yellow (10) and three blue (5) Rupees from this haul. Then head north and plant a second bomb at this rock, also near the castle wall. There are three green (1), one blue (5), one yellow (10), and one red (20) Rupee in this one!
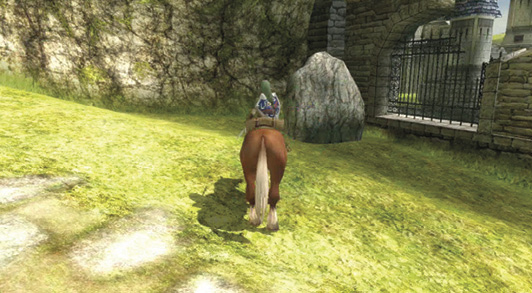
Hyrule Field (North): Breaking Through to the Other Side
Ride north to the adjacent field and thoroughly inspect this area. The first rock, at the fork in the path, isn’t a Bomb Rock, so ignore it.
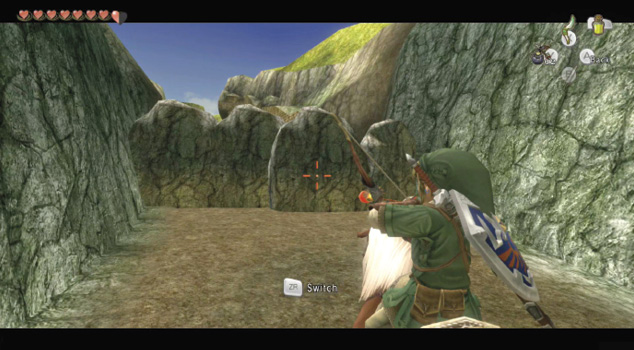
Instead, head to the banked road with the wooden fence along the side; the road takes you out of this field to the west but is blocked with this rock barricade. However, after a swift bombing, you clear the path and can freely travel forward. The bombs leave three yellow Rupees (10).
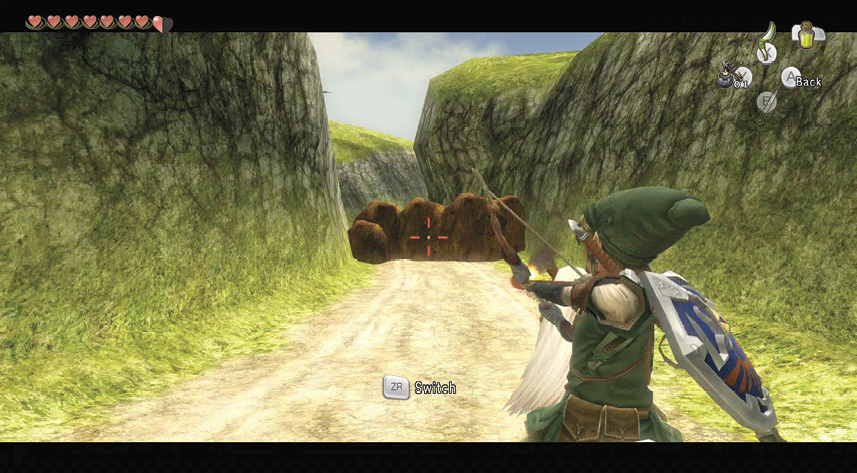
This path winds along a canyon road with towering walls on either side, some of which have an odd groove pattern chiseled into them. Perhaps some sort of spinning device is needed for their secrets to be revealed? Pass the Bulblin, and you’ll reach another rock barricade. Once through, this leads straight to the Great Hylian Bridge.
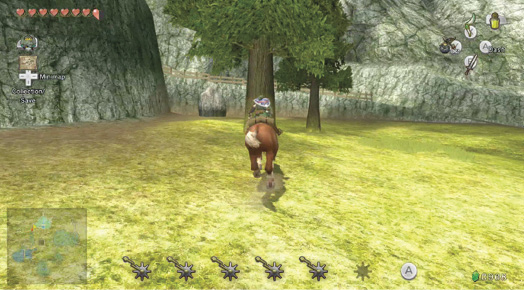
There’s little point in heading to the bridge right now, so double back and journey to the northern Hyrule Field. Begin a search for Bomb Rocks; there’s one in the western corner just below the elevated path you came from; destroy it for a purple Rupee (50).
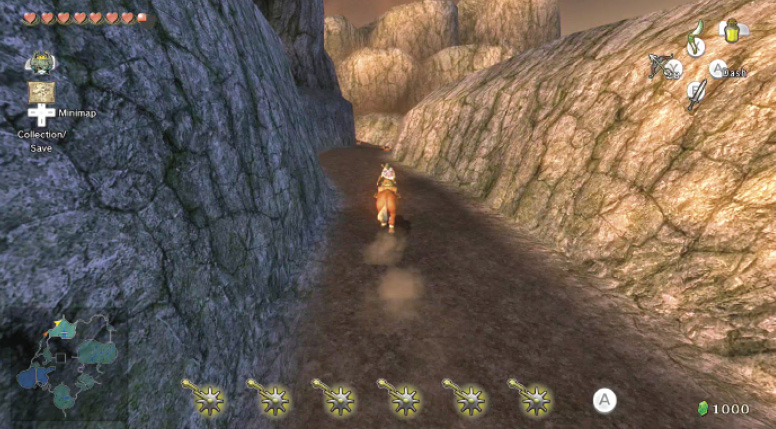
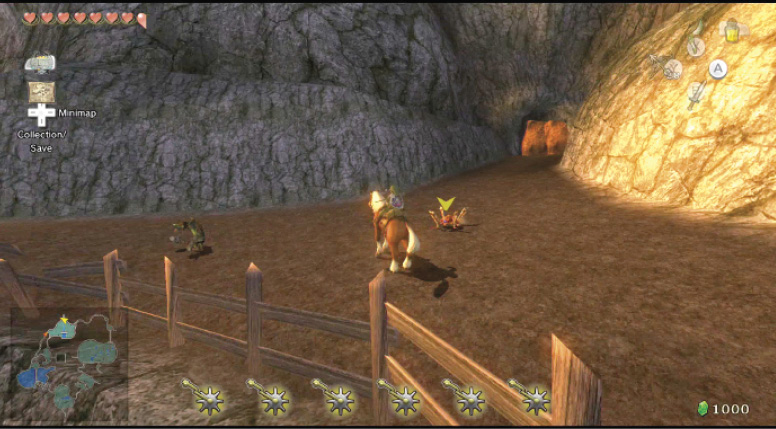
Now head northeast, following this area’s northern edge, into a rocky path with stone walls on each side. Take the left fork in the road, staying close to the north wall, and bring out your sword to whack a Tektite. At the next junction, where a Bulblin and Tektite fall to your attacks, turn left toward the path heading into the northern wall. Remove the rock barricade with a Bomb Arrow. This way is now open!
|
After you pillage Hyrule North of all currently available bugs, goods, and treasure, head north into Zora’s Domain and uncover more paths that link the different provinces together. |
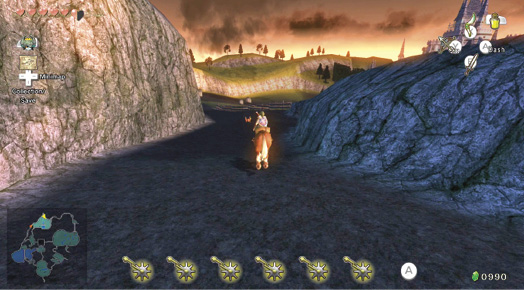
Turn south and with a great view of Hyrule Castle, ride left, along the fenced path, and then cut in at the next junction to a rocky clearing just south of the exit you just bombed. Slow Epona down, and slice a wayward Tektite before dismounting.
Golden Bug: Female Stag BeetleCollection: 15 (of 24)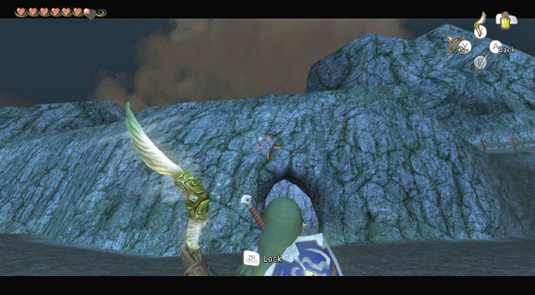 There are a couple of interesting elements to this clearing. First, check out the shining dot above this blocked cave entrance. That’s another Golden Bug, and your trusty Gale Boomerang is excellent for collecting it. Pick it up and pocket it. That’s quite a collection!
|
 Female Stag Beetle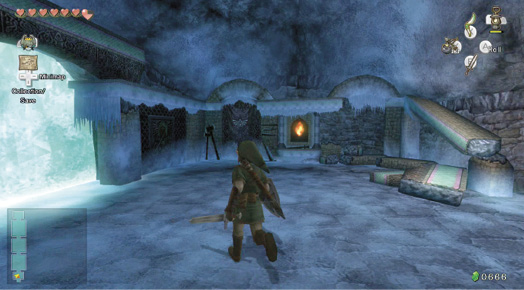
The other area of interest is the blocked cave entrance. Shoot it with your Bomb Arrow and it explodes, leading to a very icy cavern. You can enter only into the first initial chamber, as an icy blockade stops you. Return here with a ball-and-chain-style item that can shatter this tough ice. Now look for the other insect in this area.
Golden Bug: Male Stag BeetleCollection: 16 (of 24)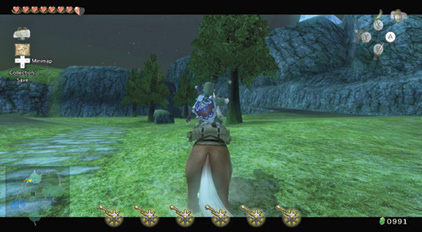 Finding this next beetle is easy. Maneuver around the western part of the plains, crossing the bridge in this direction. Keep straight, and the next tree on your right, at the junction, contains your insect. Gather it with the Gale Boomerang.
|
 Male Stag Beetle
Before you explore Zora’s Domain, dive into the water in this field’s southern part, and swim directly to the sealed gates. The chest you saw when this was dry is still behind a small cage, but you can use your Iron Boots and sink to the chest. Open it for a new addition to your Stamp collection!
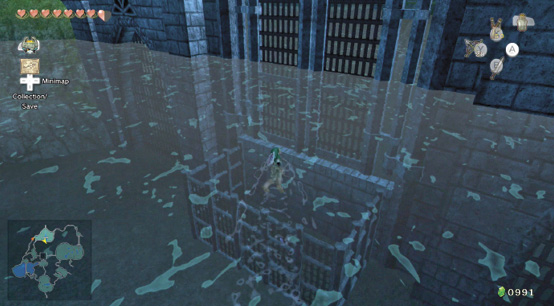
Overworld Chest #44:
Hylian Letter Stamp F
Bug Hunting in Zora’s Domain
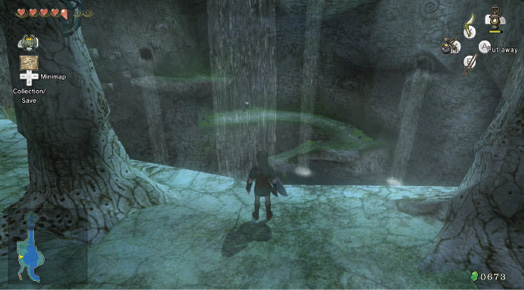
The rock wall you destroyed in the north boundary leads directly to Zora’s Domain. Head down there and locate a couple of Golden Bugs. As you enter, peer out over the long balcony ledge. There’s something flitting around the eastern ledges. Bring out your Hawkeye to see that it’s an Imp Poe.
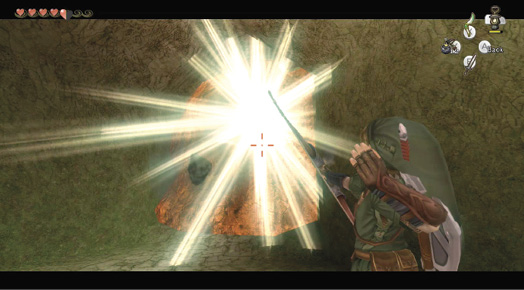
This is where the next Golden Bug is located, but there’s some interesting exploration you can do first. Head north, and instead of diving into the waterfall pool, turn left, and run up the tunnel stairs to the rock blocking your path. Place a bomb and explode this Bomb Rock.
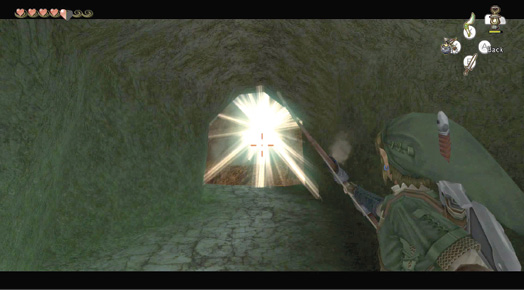
Take the two green (1), one blue (5), and one yellow (10) Rupees left behind, and continue up this tunnel to a second Bomb Rock. Bring out the Hero’s Bow and fire a Bomb Arrow into this rock, clearing the tunnel that leads to the throne room in Zora’s Domain. Afterward, grab the green (1), blue (5), and yellow (10) Rupees. There’s also a blue Rupee (5) in the water as you reach the top of the waterfall.
|
If you place a regular bomb to remove this rock, it rolls down the steps straight at you. If you don’t have arrows, find some or plunge into the waterfall pool and get a Zora to take you to the top of the waterfall; then bomb this from the other side. |
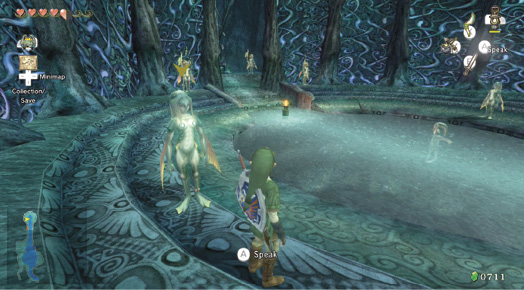
Sprint north, into the throne room, where the heat from the molten shard makes for a relaxing bath! Unfortunately, the mood is somber after the death of Queen Rutela. The guards you speak to are waiting for the return of Prince Ralis.
|
It isn’t all doom and gloom here, though. Check the wall behind the throne to find the Postman hiding here. He’s having trouble finding a “Mr. Zora” to deliver the letter to. It could be any of these fishy folk! |
Before heading south, down the waterfall to locate the next Golden Bug, produce your Lantern. There are two unlit torches here, and you must swing the Lantern at both of them. Once lit, they reveal a secret chest that appears just below the water, in the plunge pool area. Sink down with your boots, and open the chest for a Rupee prize. Then head back south.
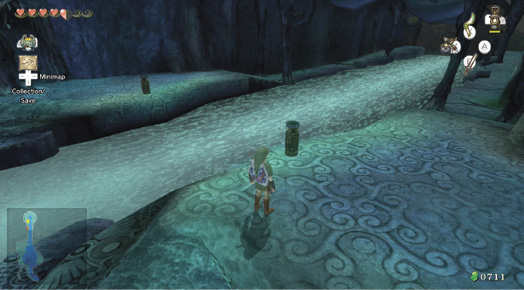
Overworld Chest #45:
Purple Rupee (50)
Head back to the balcony or to the waterfall, and look where you saw the Imp Poe. The Poe shouldn’t trouble you too much, but there are a couple of bugs to capture near it. Drop down into the waterfall pool and swim across toward the rock. Clamber onto the ledge behind the rocks and run up the grassy ramped ledge.
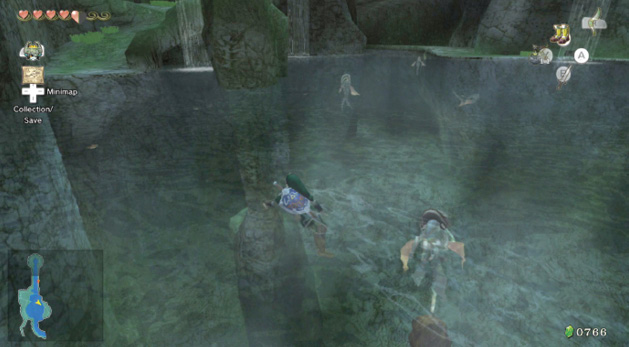
Golden Bug: Male DragonflyCollection: 17 (of 24)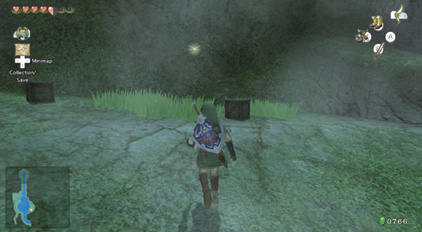 As the ramped ledge turns, a Male Dragonfly flits about above the patch of grass, near a crate. To catch him, wait for him to descend. If this takes too long, use the Gale Boomerang, wait for the bug to fall, and grab him.
|
 Male Dragonfly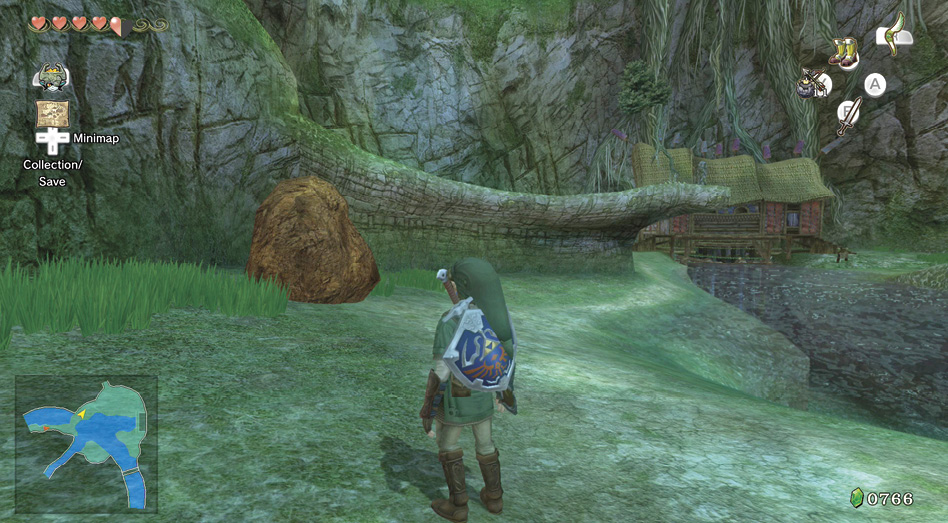
Head south, out of Zora’s Domain and into the upper river area, where (if you have any bombs left) you can explode the Bomb Rock on the river’s north bank. There’s one green (1), four blue (5), and one yellow Rupee (10) inside, adding 31 to your total. Then move to toward Iza’s dwelling and wait a moment.
Golden Bug: Female DragonflyCollection: 18 (of 24)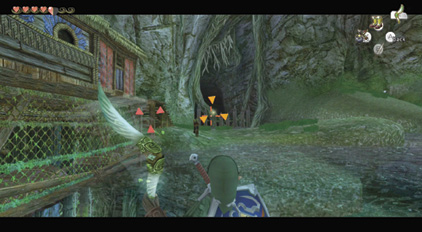 Run to the signpost and look for the next insect, which is flying over the rapid river, out of reach. The only way you can currently grab this creature is to target it with your Gale Boomerang. Stand on flatter ground or it flies out of reach again. This takes a little wrangling to grab, but it’s worth it!
|
 Female Dragonfly
|
Gone Fishing: Exploring
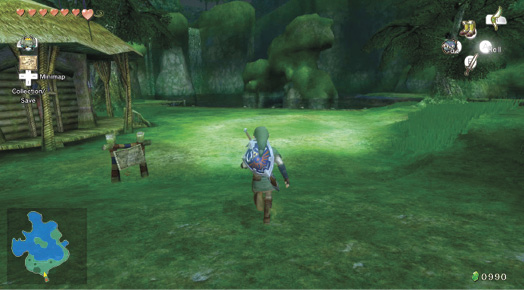
The fishing note, also in the Upper River area, is now open for business. Enter it via the door in the north wall of this zone, and you’ll be in a self-contained, tranquil place where you can really get relaxed and learn the intricacies of fishing.
|
There are some items you should try to claim right now, as they will help you on your quest. |
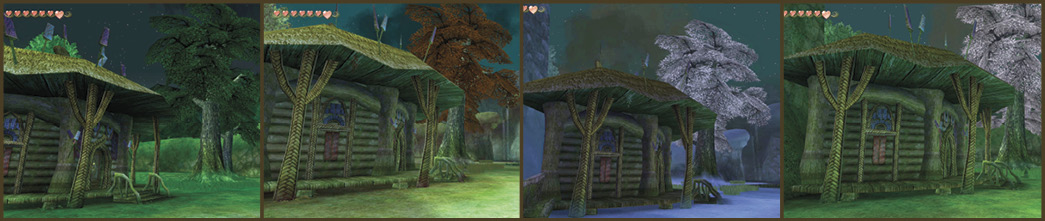
A fishing hole for all seasons.
Enter the fishing hole, and you’ll be in a wonderful summer glade. However, when you leave this place and return (even if you just close the door, then come back in), the season changes. When you’ve chosen your seasonal mood, head toward the hut that has the sign reading “Bobber fishing open to public. Check in for lure fishing! Sinking lures prohibited.”
|
Bobber fishing is simply you, your fishing rod, and appropriate bait (either a Worm, a Bee Larva, or a special gift the Zoras give you later on). Lure fishing is in a boat, with a guide if you choose, and a selection of lures. Lure fishing allows you to add fish into a tank inside the fishing hut. Lure fishing, unfortunately, is not recorded in your Fish Journal, so if you’re trying to capture a big fish, you can either get it recorded but not visible in the store tank or you can land it from your boat and look at it in the hut, but not in your records. |
Enter the fishing hut, and you’re greeted warmly by Hena, the shop proprietor and an ace fisherwoman. Here, you can view her large tank, talk to her parrot, view her photos, and play her little minigame.
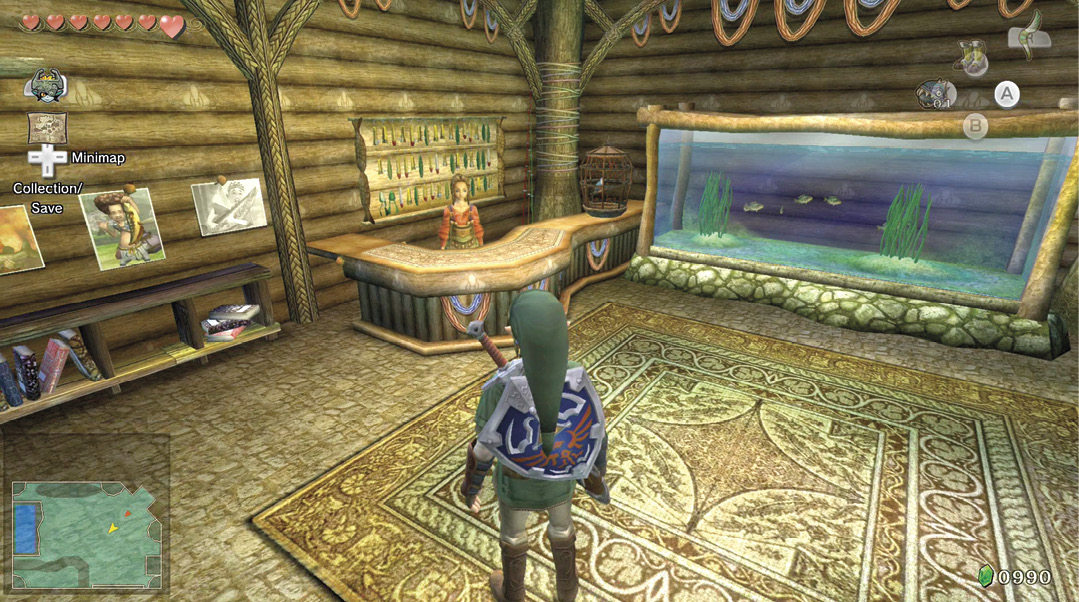
Hena: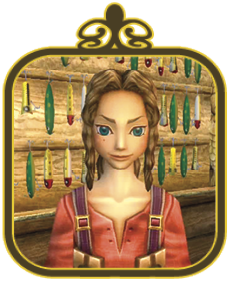 Hena is between 10 and 20 years old and is sister to Iza and Coro. She takes an active and healthy enjoyment in fishing, caring for fish in her tank, keeping a photographic record of the largest past catches, and renting out boats (and her advice) to those who wish to fish! |
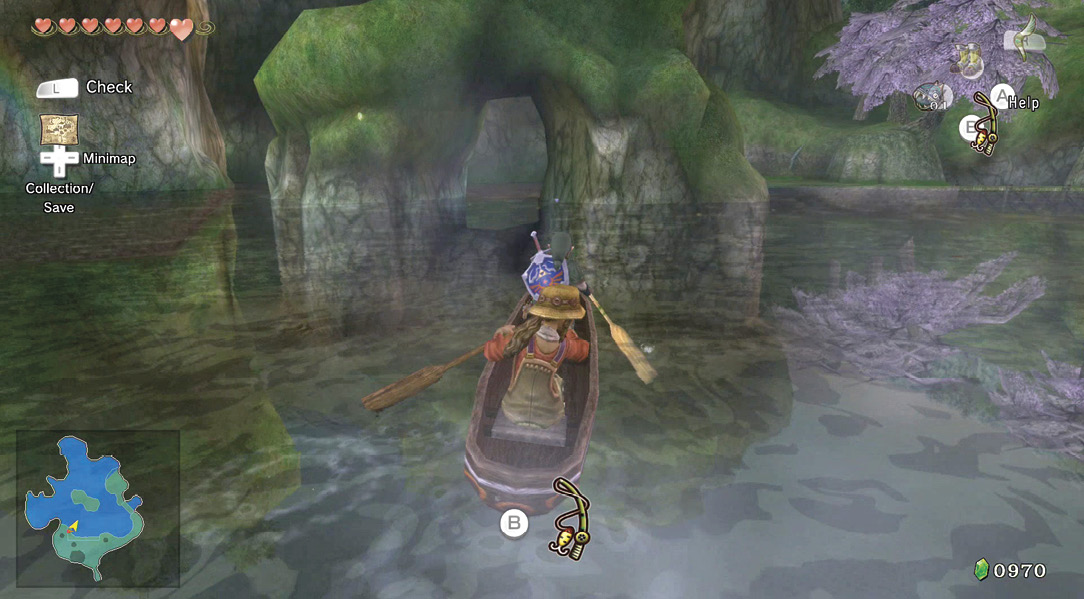
Ah, this is the life! Pay Hena 20 Rupees (or 100 each subsequent time), and paddle out on the lake for a relaxing fishing experience.
When a place is called a Fishing Hole, it’s no secret that you can catch lots of fish there! As a matter of fact, you can land each and every type of fish that appears in Hyrule just by fishing along the east bank near the wooden bridge. All except for one, that is… the distinctive Reekfish is only found in Zora’s Domain!
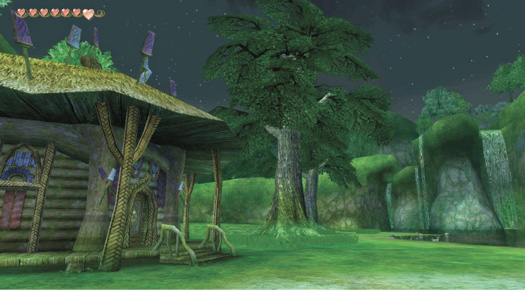
Just to be thorough, here’s a list of the different types of fish you can catch here while bobber fishing at the Fishing Hole:
- Greengills
- Hylian Loaches
- Hylian Pike
- Hyrule Bass
- Ordon Catfish
Frog Lure

- Required to advance?: No.
- First chance to get?: After Dungeon 2: Goron Mines. (After saving Spirit Lanayru.)
The Frog Lure is a special lure. It attracts all types of fish—especially Hylian Bass and Loaches—but it can only be used for lure fishing. This is one of only two lures you can use to land the legendary 27-inch Hylian Loach.
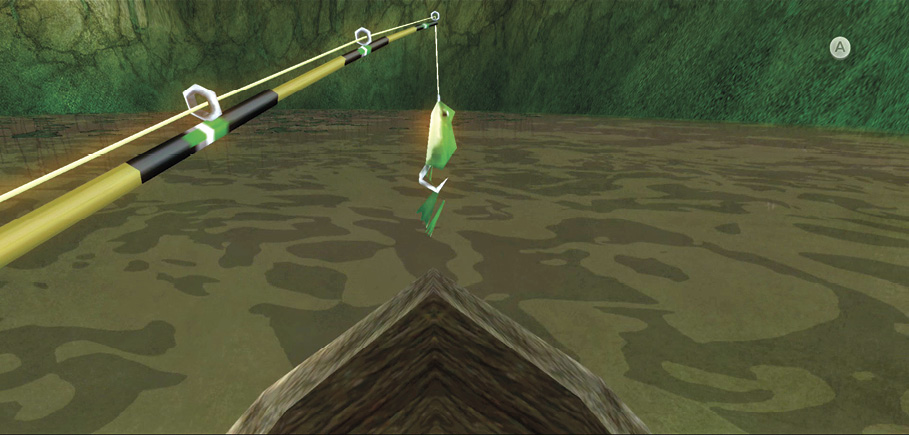
To get the Frog Lure, you’ve got to win a short but challenging minigame found inside Hena’s cabin: the Rollgoal minigame! Press the Right Analog Stick in to examine the small, teal-colored game board on the shelf in the cabin’s northwest corner. Hena notices your interest in the game, and asks you if you’d like to try it for just 5 Rupees. If you win, you get 10 Rupees as a reward… but there’s a much greater prize to be had! See the “Rollgoal Minigame!” sidebar for details.
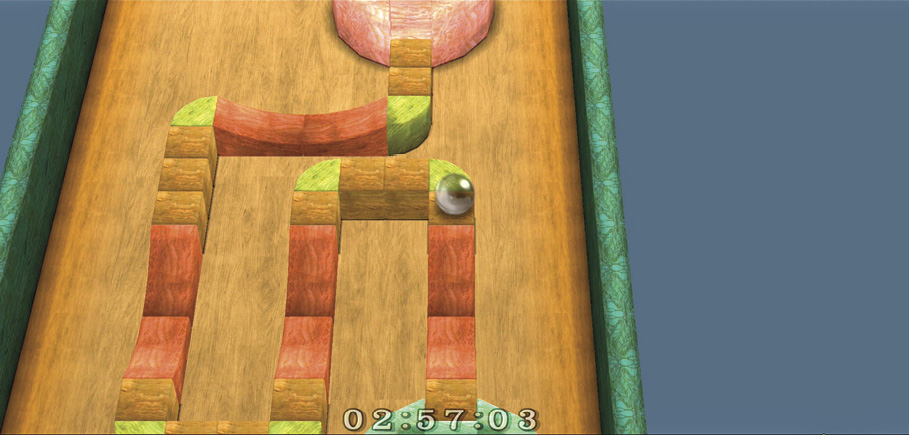
Rollgoal Minigame!
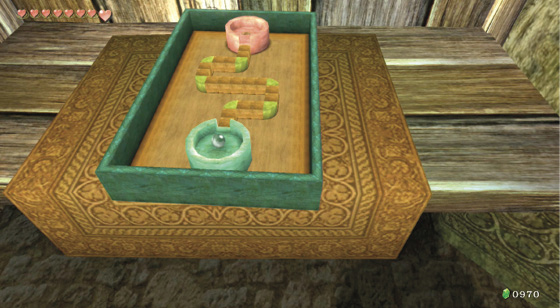
Hena’s Rollgoal minigame is made up of eight different levels, and each level contains the same eight boards. You begin at level 1-1 (level 1, board 1) and work your way up through 1-8 (level 1, board 8). If you beat level 1-8, you win the Frog Lure and begin at level 2-1 the next time you play (level 2, board 1). The eight boards are exactly the same throughout each level; you’re just given less time to reach the goal.
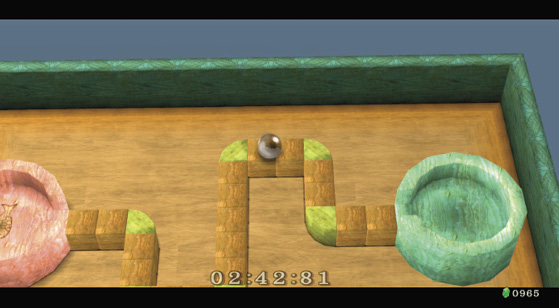
The object of the game is to maneuver the small glass ball along the short narrow path and into the finish cup. If the ball drops off the path, you lose and must pay another 5 Rupees to try again. Reach the finish cup within the time limit (which is very generous at first) to clear the board and collect your Rupees.
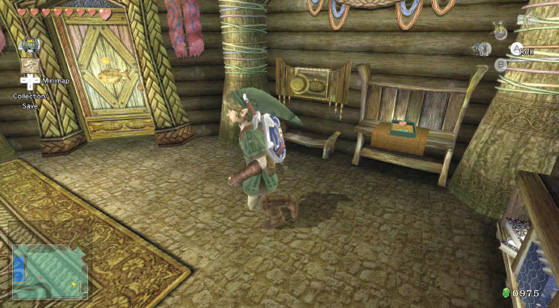
After winning a board (for example, board 1-1), leave Hena’s cabin and then reenter. Hena changes the board when you leave to surprise you with a new one on your next visit (in this case, board 1-2). If you don’t leave the cabin, you can continue to play the same board for the 5-Rupee prize you get each time you win… but you’ve got to play through board 1-8 if you want to win the Frog Lure!
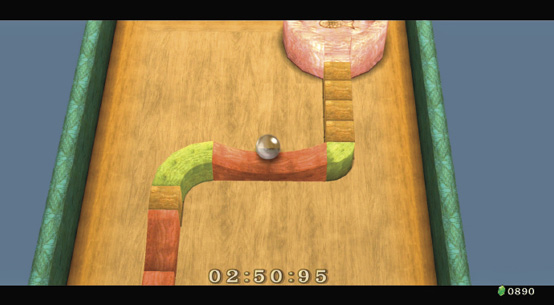
Naturally, the boards become progressively more difficulty to win. Later boards feature more corners, and some even have steep dips that are quite tricky to handle. The worst thing you can encounter is a dip followed by a corner; approach these with caution, as it’s easy to overshoot these troublesome spots!
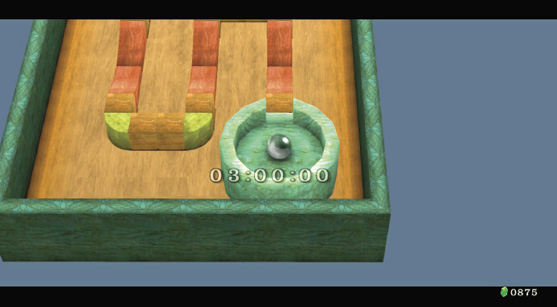
Keep in mind that Rollgoal—in character with the Fishing Hole itself—is a game of relaxation and enjoyment. Though you’re playing under a time limit, you’ve got three whole minutes to reach each board’s finish cup (when playing through the first level). Don’t feel like you’ve got to speed through the boards; stop whenever you feel it necessary and just take your time. Make minor adjustments to avoid mistakes; slow and steady wins the game.
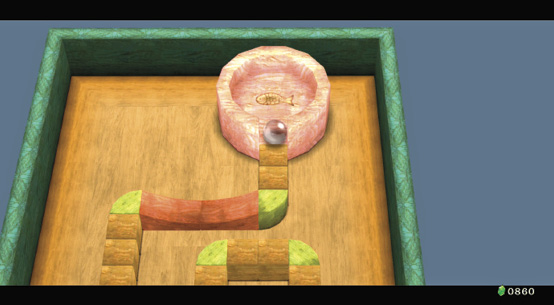
Beat board 1-8 to win the Frog Lure from Hena, and if you’re really enjoying yourself, play all the way through board 8-8! If you clear the eighth level, Hena fills your current wallet to the brim, no matter how many Rupees it takes!
 Frog Lure
You got a Frog Lure!
Here’s what each board looks like:
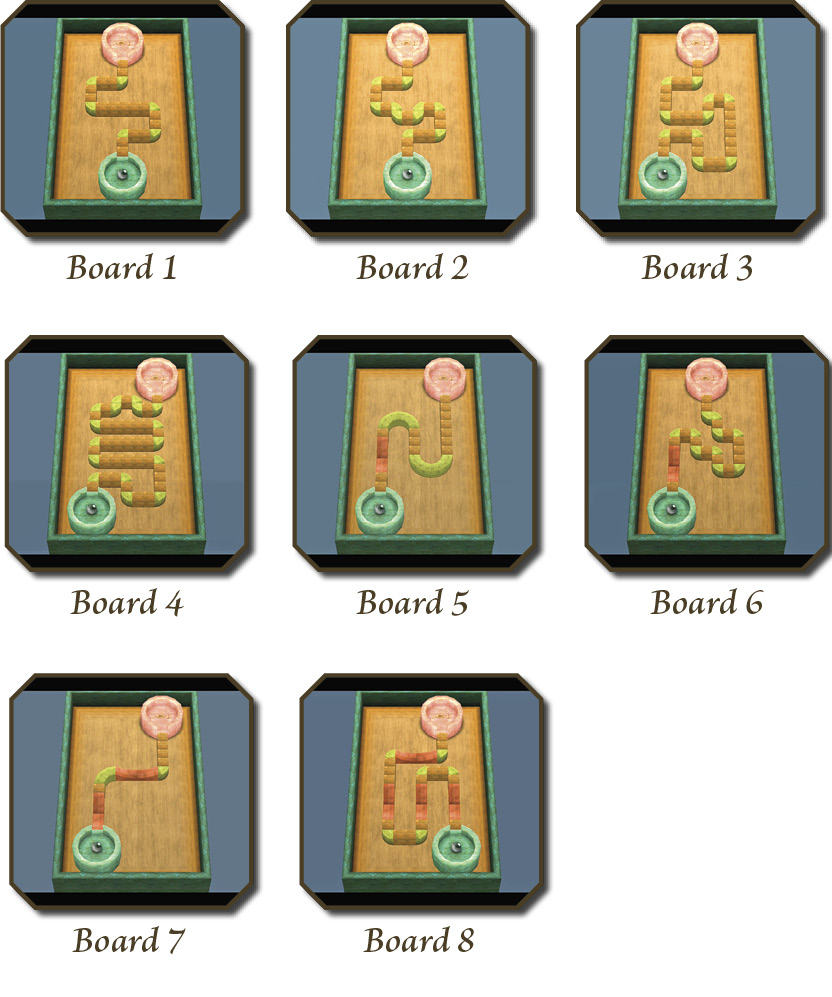
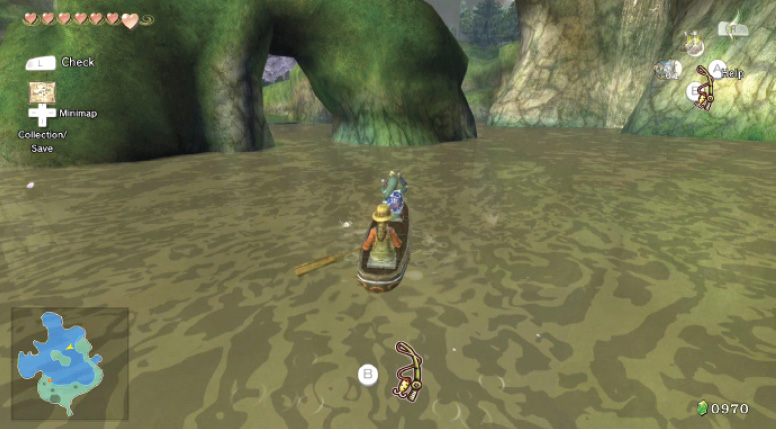
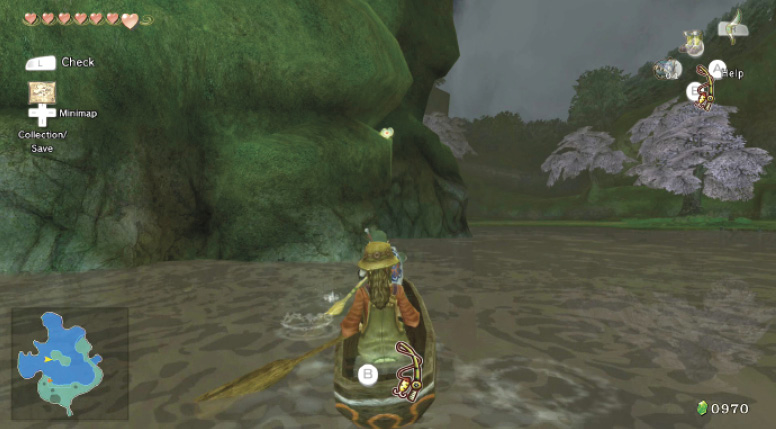
Even if you’re not a fan of fishing, you must take the boat out at least once and paddle to this particular spot, just north and west of the central arched island.
Swing your lure (any type is fine) at the Piece of Heart that’s sitting on the underside of the arched rock, and reel it in. You’ve grabbed another fifth of a Heart Container!
Now you can experiment with lures, areas of the lake, and seasons, and land the three different types of fish (Bass, Catfish, and Pike), and even the legendary 27-inch Hylian Loach!
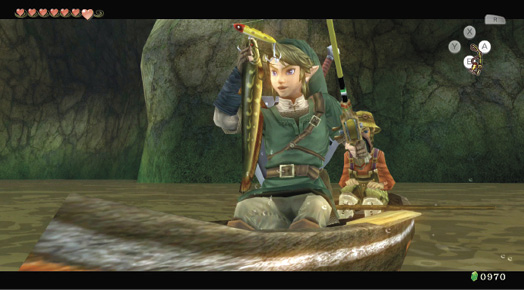
 Piece of Heart
You got Piece of Heart #17! Collect 3 more for another full Heart Container.
The Legendary Hylian Loach!Once you’ve acquired either the Frog or Sinking Lure, you’re able to snare the granddaddy of all fishies; the legendary Hylian Loach! This bad boy is unlike any of the loaches you can catch while bobber fishing; it’s nearly 30 inches long and by far the most difficult fish to land in the game! 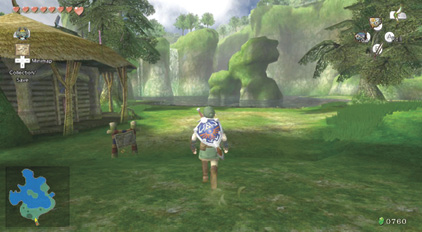 First thing’s first; the legendary Hylian Loach only appears during the summer season. Leave the Fishing Hole through the main door and reenter until the place looks like it’s summertime (as pictured). Next, armed with either the Frog or Sinking Lure, rent a canoe from Hena. (Don’t have her come with you if you’re planning to use the Sinking Lure!) Paddle out to the north-most tip of the Fishing Hole, then cast your lure into the collection of lily pads. This is where the legendary Hylian Loach is found! 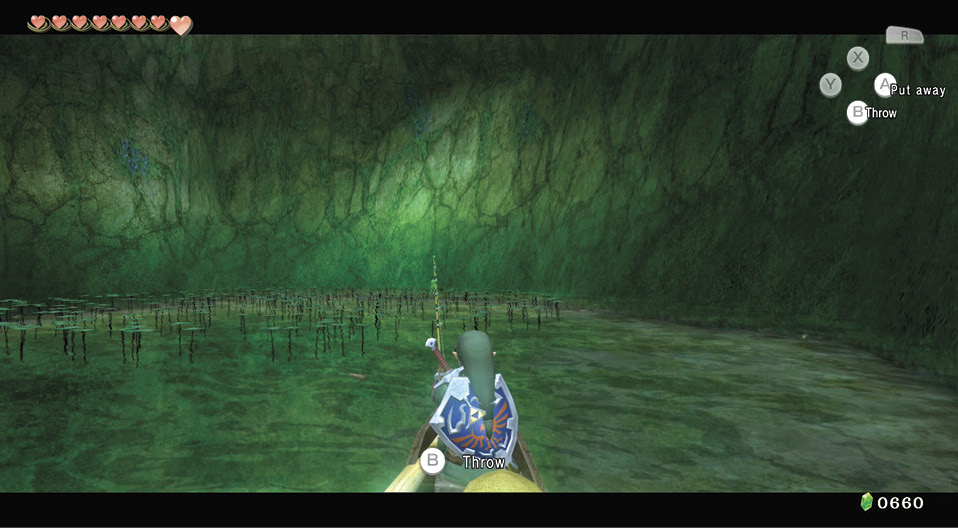 Once you’ve located the big guy, do everything you can to get him interested in your lure. This isn’t hard to do as long as you’re using the Frog or Sinking Lure, the tough part is reeling him in!
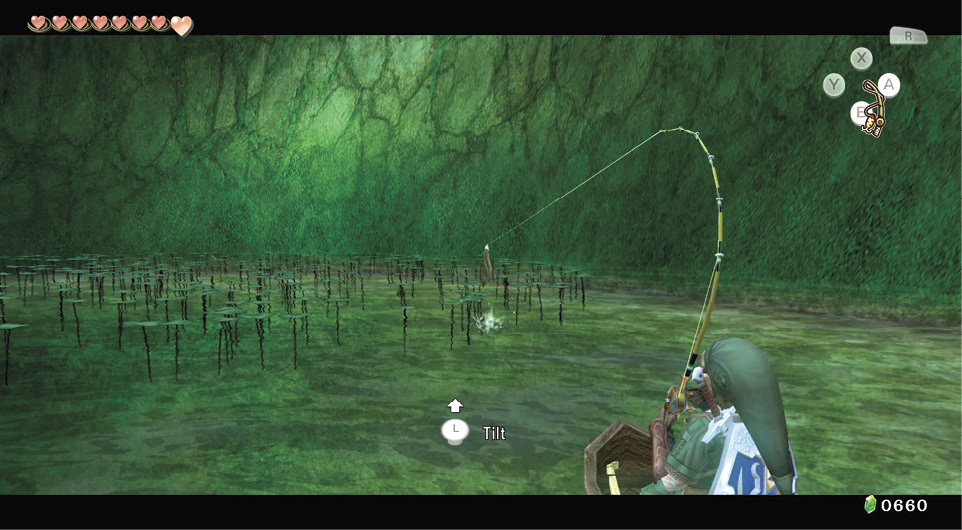 Once you’ve snared the loach, prepare for an epic battle of man against fish. Reel it in as fast as you can, but always be ready to stop reeling whenever he jumps out of the water. Keep on reeling until you get it near the boat. 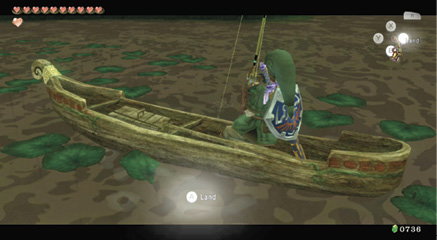 Your opportunity to land the legendary Hylian Loach comes in a window of about a half-second. Watch for the “land” icon to appear at the bottom of the screen and be ready to slap the A and your assigned buttons the instant you see it. Well done! Even Hena is impressed by your catch; she praises your skill when you return to her cabin. Stop for a moment to admire the legendary Hylian Loach as he swims about her fish tank. 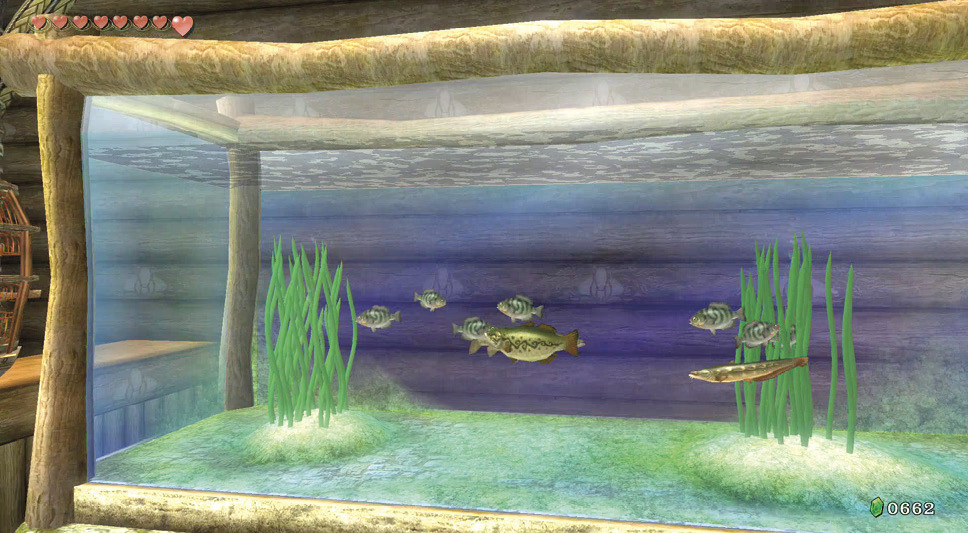 |
The Empty BottleHead to the fishing hole’s northern section, to this small rickety bridge. Here you can fish for an Empty Bottle. That means you can store Fairies, oil, potions, water, and anything else you might want to keep. This is the second of four Bottles to find. 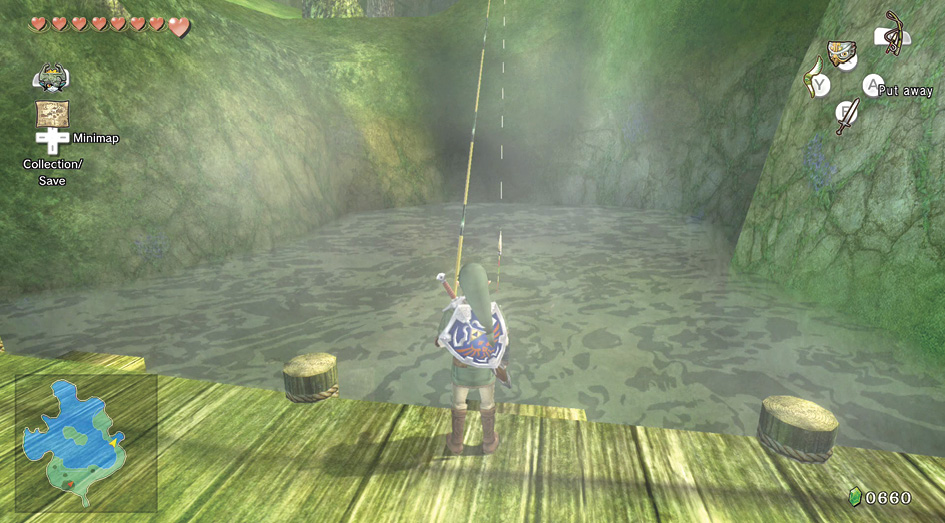
|
 Empty Bottle
The Sinking Lure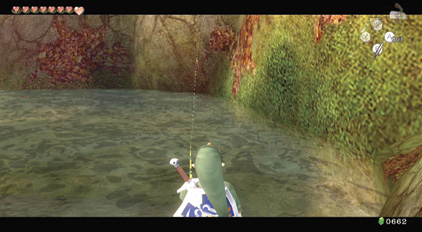 Finally, you can attempt to fish for the completely illegal Sinking Lure, which attracts every type of fish without fail! You must meet some objectives before finding this, but here’s the place to stand. When you’re finished in here, journey to Castle Town via the western entrance. The Sinking Lure is a special lure. Considered unsportsmanlike by Hena (but not so much by her brother, Coro), this shiny, metal lure attracts fish like pins to a magnet! To get the Sinking Lure, pay 20 Rupees to rent Hena’s canoe, then catch (and keep!) the following three types of fish while lure fishing: 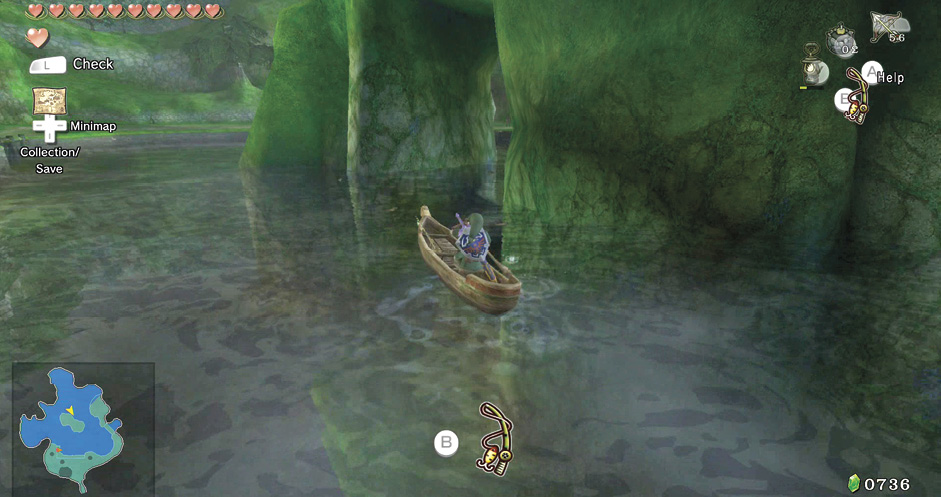 Hylian Pike: Fish the waters north of the pond’s arch-shaped rock formation. 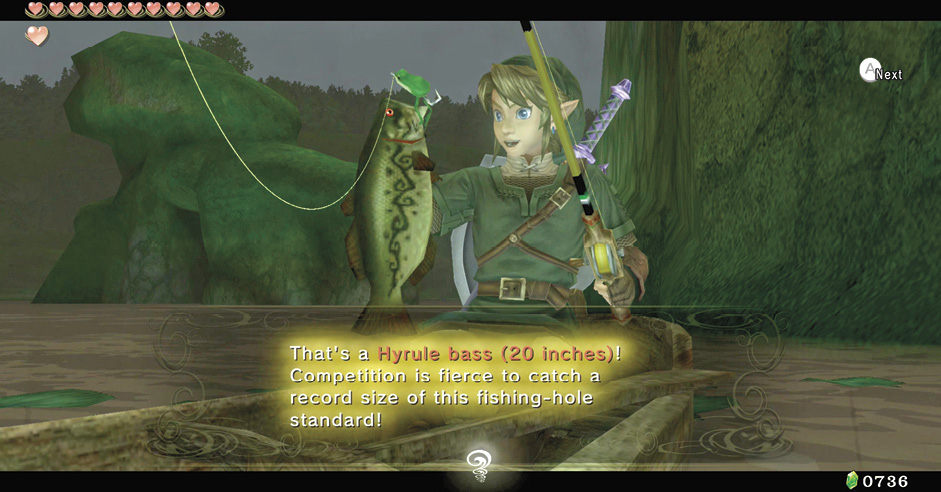 Hyrule Bass: Often found in the waters between the pond’s arch-shaped rock formation. 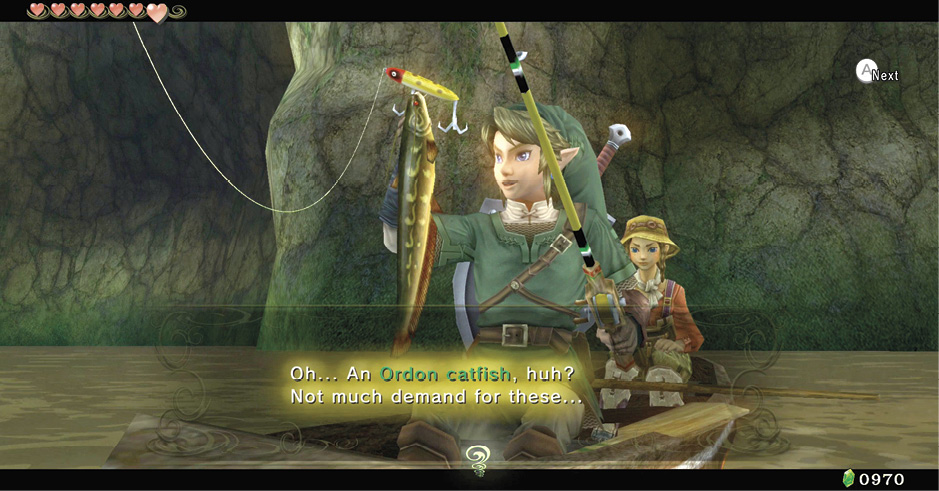 Ordon Catfish: Easily caught in the waters south of the pond’s arch-shaped rock formation. Make sure to keep one of each type of the above fish so they are stored inside the fish tank in Hena’s cabin. Once you’ve done this, leave the Fishing Hole through the main door and then return to change the season. Do not warp out of the Fishing Hole or your recent catches won’t be recorded! Standing for the Sinking Lure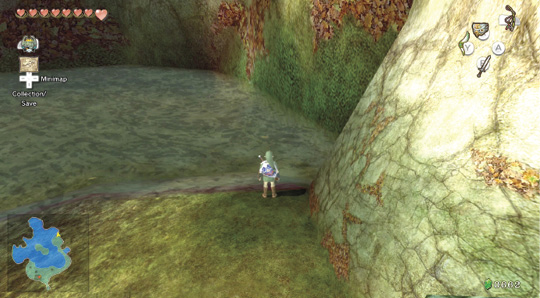 It’s important to stand in just the right location when attempting to secure the sinking lure. You must fish from this exact position; facing north at the far end of the grassy bank, past the bridge where you can catch the Bottle. Cast your regular line a number of times from here, and eventually you’ll secure this item. Having problems? Then exit the Fishing Hole, return and try again.
|
 Sinking Lure
|
Don’t let Hena catch you using the Sinking Lure! If you bring her along in the canoe with you and then equip this lure, Hena takes it away! You can always get it back by fishing in the same spot to drag it up. |
Missing Links
1. Tank Trouble
If you’re mischievous, you might want to stir up a little trouble by rolling into that large fish tank. Hena shouts a warning the first time. She asks you to leave the third time you try, and you won’t be able to hire a boat until you apologize.
2. Who’s a Purdy Boy, Then?
Hena’s pet bird is called Purdy, and if you listen closely, he sometimes says strange things. We can’t tell you what though—it’s a surprise. You can also be asked to leave if you roll into Purdy’s cage repeatedly. What were you thinking?!
3. Fascinating Fish Photographs
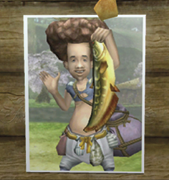
Hena has assembled a great collection of fishermen and their catches. Check them to find out the local records and fishing legends.
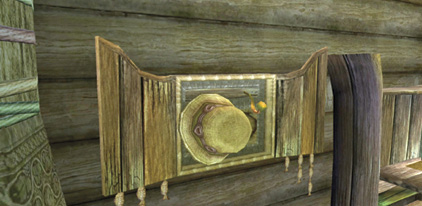
4. Hanging Your Hat
Inspect the hat rack on the fishing hut’s wall, and Hena mentions it’s polite for everyone to do this! Unfortunately, your head gear is staying where it is.
5. Pot Luck
There’s no point in trying to slam into the wall with a roll and knock the pots down so they smash. Hena asks you to leave if you try that caper more than once!
6. Catch of the Day!
When you finally do manage to catch all four types of fish (including the legendary one), return and view them in the fishing tank.
7. The One That Didn’t Get Away
Hey! How did that picture get on the wall? We’re not telling, but if you want legendary photos, you’d better catch a legendary fish!
8. Grass Slashing
The entire area surrounding the fishing hole has patches of grass to trim, trees to run into, and Rupees and Hearts to gather after your mowing is complete!
9. Duck Luck
Finally, don’t forget to return here in Wolf form when you can; the two ducks are definitely chatty, and they don’t like refuse in their fishing hole, either!