
The Legend of Zelda: Twilight Princess HD Guide Dungeon 3: Lakebed Temple
Task 3: Open the Floodgate in the First Reservoir Tower
Chamber 4: Fifth Return to Connecting Bridges (2F)
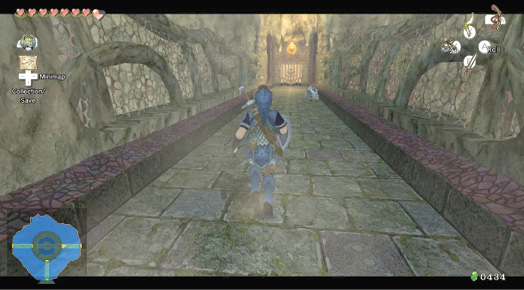
The locked door leads onto the connecting bridge platforms. This is one you haven’t visited before, so ready a sword or prepare to flee from the Helmasaur. You can easily open the door at the far end.
Chamber 6: First Return to Single Cog Cavern (2F)
Treasure Chest: It may not be obvious, but you’re above the Single Cog Cavern area you just negotiated! Compare your in-game map levels. The difference is that you’re currently negotiating the outer passages surrounding the central cog. Turn right to deal with the Tektite. Run to the corner and open an easily overlooked chest.
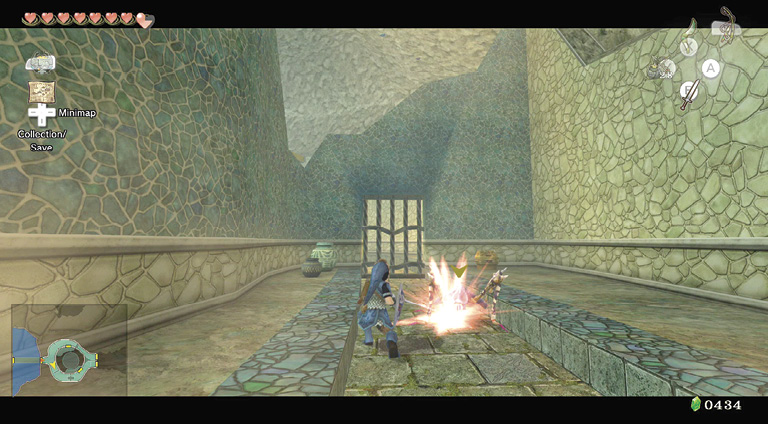
Treasure Chest #7:
Water Bombs (5)
 Water Bombs
You got Water Bombs (5)! You can use these bombs in water, but not while swimming.
Head across to the opposite side and smash some pots (which contain arrows), and inspect the grating to the south. This is firmly sealed, and you cannot continue in this direction. Instead, turn and move north, to a sealed door to another seemingly closed-off area. However, if you look up, you’ll see two stalactites.
Bring out the Bomb Arrows and blast both of them! Then move and leap onto the nearer platform you created, and scramble up the vine wall.
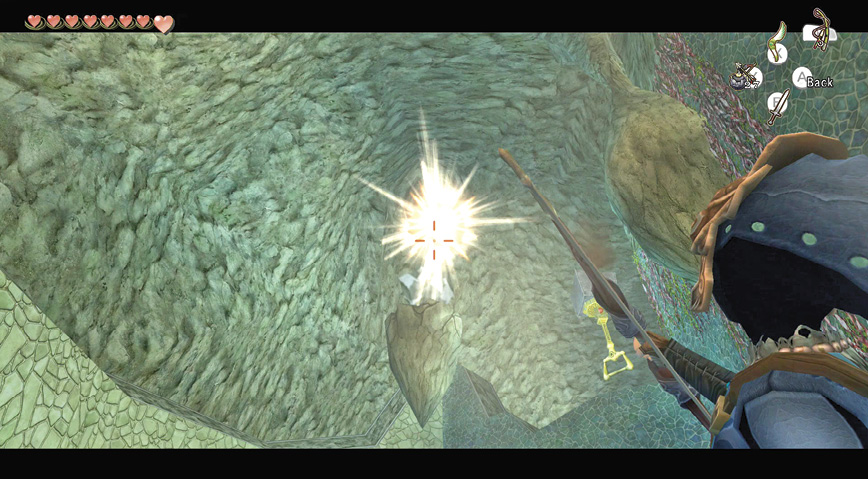
As long as you blasted both stalactites, you can access an area of broken wall near the vines, which has a gold handle on the eastern side. Line yourself up and jump, pulling the handle down. This activates the sealed door below you.
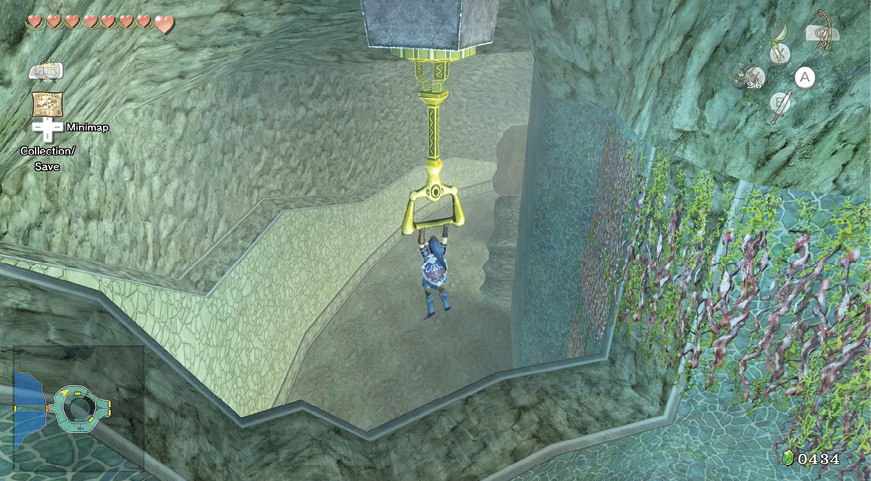
Author NoteWere you stuck on this puzzle for ages, despite having all the clues (the vines, the chest with bombs, and the arrows in the pot) needed to solve it? Don’t worry; we had the same problem! |
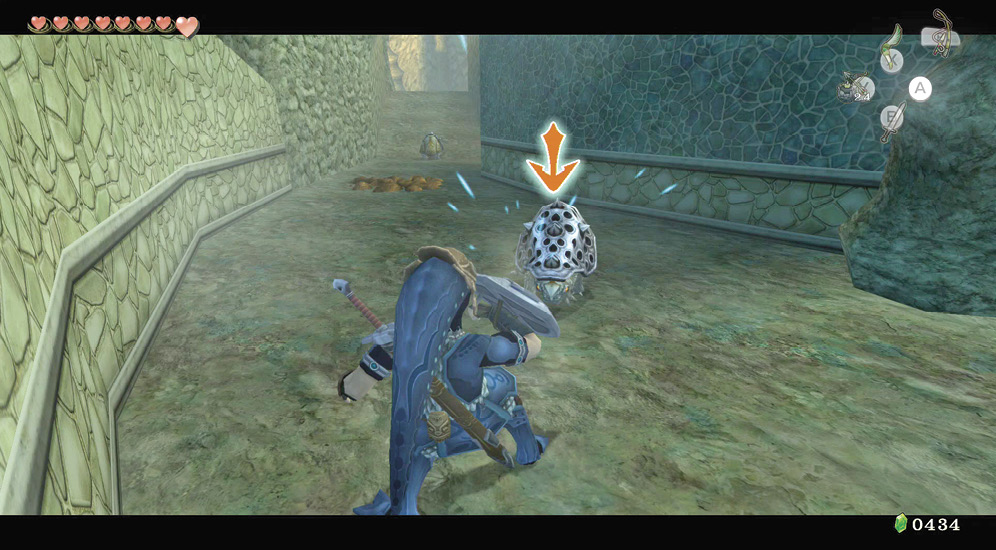
Run eastward around the cavern’s perimeter, and pass by a door in the south wall that leads to the middle of this chamber. Instead, inspect that large rock blocking your path. A quick Bomb Arrow destroys the rock. Beyond is a short dirt ramp, with two Helmasaurs ready to charge. Back up away from the rubble to deal with them. Head up the dirt ramp to a door, but open it in a moment.
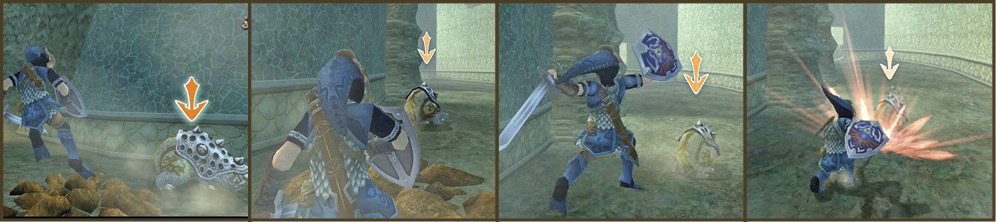
Back up, leap to the side of a charging Helmasaur, and dish out some damage to its rump!
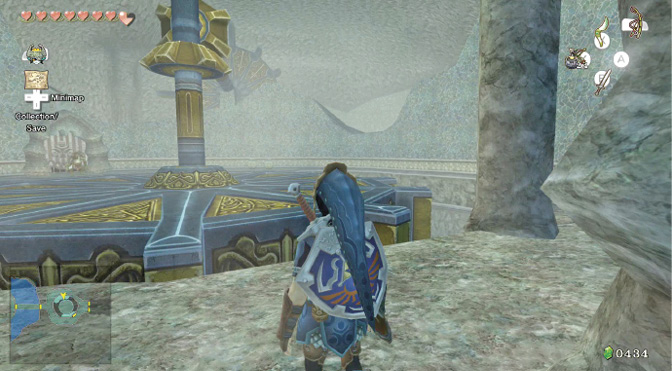
First, backtrack to the north wall door and open it. This leads to the giant cog you saw with the chained circular platforms hanging from it. You’re on top of this area, in the chamber’s central part. Begin your exploration by heading right.
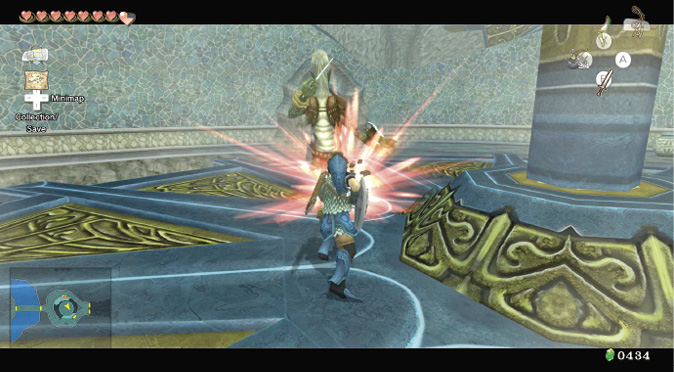
Smash pottery if you wish, then leap onto the gigantic cog. A Lizalfos guarding a southeast door trots over to deal with you. A swift collection of strikes should knock it down to size. Investigate the southern ledge, then leave via this door.
|
Are you feeling particularly satisfied with this, or any other takedown? If you defeated a strong enemy, such as this Lizalfos, you can finish your sword-based attack with a flourish! Stand still and press the A button, and you perform a heroic sword sheathing twirl. Impressive! |
After you’re in this southeast perimeter path, take a right and investigate another gigantic cog, which looks like it’s water-powered but stationary. Smash the pots, then inspect the chest on the outer wall. A Keese who flutters in waylays you. The chest contains a Small Key that will be useful in a forthcoming chamber!
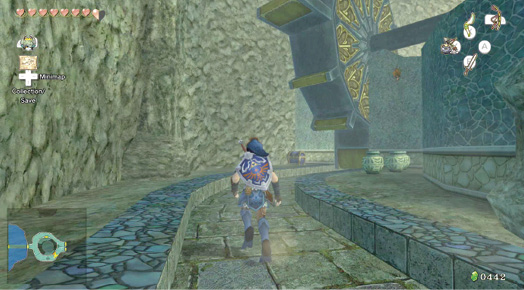
Treasure Chest #8:
Small Key
 Small Key
You got a Small Key. This opens a locked door, but only in this area.
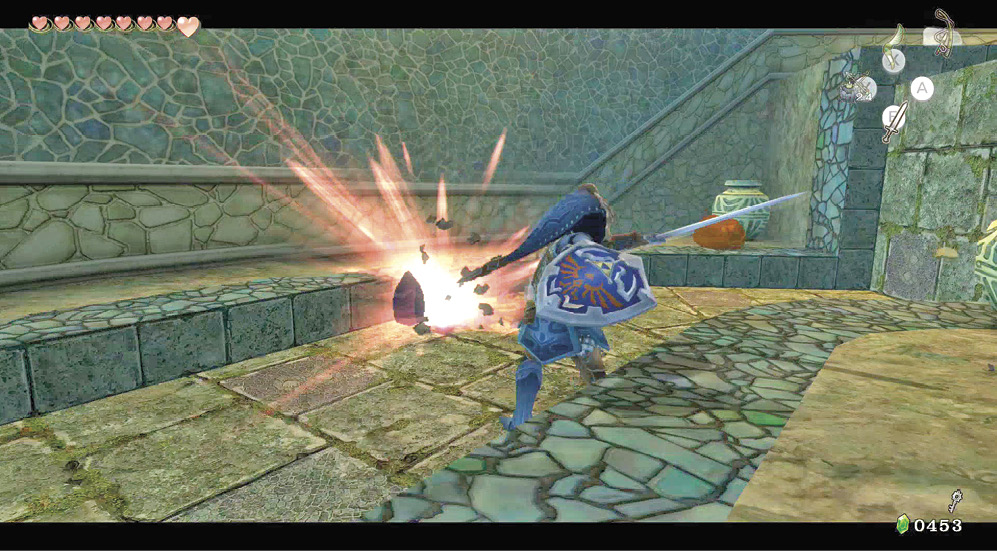
This perimeter corridor’s opposite end has a number of pots to smash, plus gloopy Chu enemies to fight. Slice up a couple of Purple Chus and one Red Chu. Aside from the pottery, there’s little else to do here. There’s a door to the east, but you can’t climb the wall with the water channel embedded in it. Instead, run to the dirt ramp and the unlocked door.
|
The door at the dirt ramp’s end is actually right next to the one you couldn’t reach when you were fighting the Chus. You can easily access this door now, but only in one direction! |
Missing Links
1. Pulverizing Pottery
This general area has a number of pots that need smashing. Here are a few locations to look for:
- The perimeter corridor, next to Treasure Chest #6: arrows
- The northwest ledge in the central cog chamber area: Rupees and Heart
- The south ledge in the central cog chamber area: Rupees and Heart
- The perimeter corridor, next to Treasure Chest #7: blue Rupees (5) and Hearts
- The perimeter corridor, near the Chus in the eastern dead end: Rupees
Chamber 7: Eastern Reservoir Tower (2F to 3F to 4F)
Chu Worm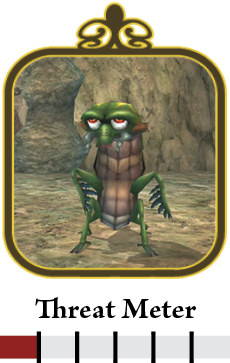
Step through into an enclosed chamber, where an odd wormlike fellow hops into a large Chu Jelly bubble and bounces around. The bubble is impervious to your sword strikes, but the Chu Worm isn’t safe from Bomb Arrows. Simply ZL target the wriggling foe, and launch a Bomb Arrow. 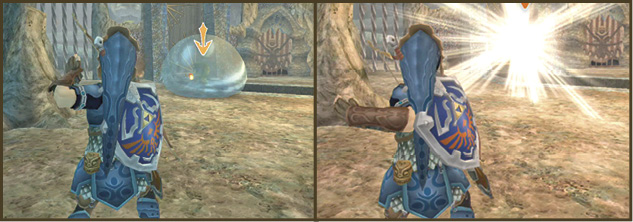
That bubble shield explodes, leaving the creature exposed. You can fire another Bomb Arrow as it weakly hops away, but it’s better to finish this foe with a flurry of sword swipes. Don’t forget to try the Clawshot against this creature later on; the results are very satisfying! 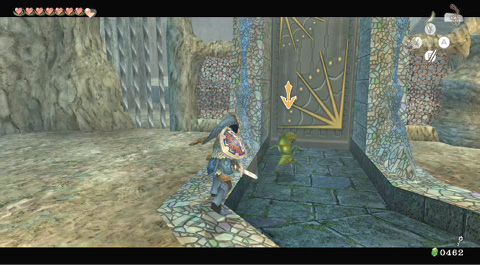
It’s a wonder the Chu Worm has survived in the Hylian wilds. It’s one of the least aggressive mites around! 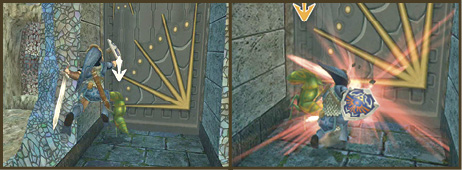
|
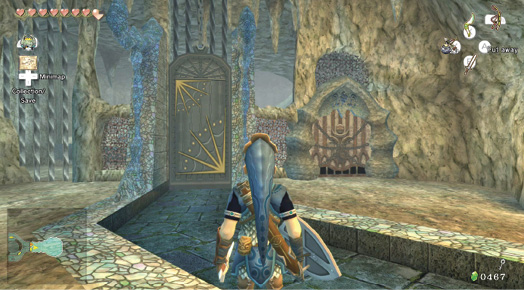
Step into this small chamber and check it out thoroughly. A water channel leads to a door just to the right of the one you came through. This leads back into the perimeter of chamber 6, where you fought the Chu. Don’t head there yet! Instead, move to the only locked door, opposite the one with the channel under it. Use the Small Key you just found.
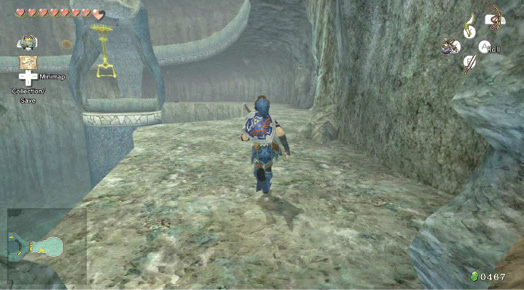
You arrive in a tall, circular room with a winding water chute curling up the exterior wall. This is one of two reservoir channels for the entire temple, and releasing water into these channels should activate the waterwheel cogs you’ve seen elsewhere.
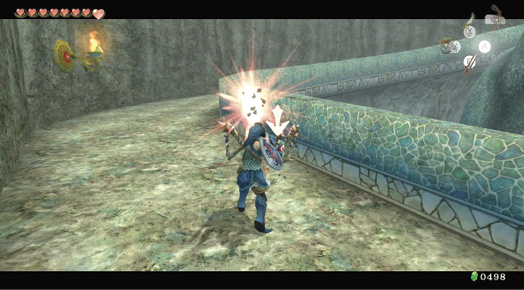
You have to jump into the pit below the ledge you’re standing on. Ignore the gold handle you can see (but not reach yet). Climb over the channel wall, and climb the chute. As you climb from the second floor to the third floor, fight a couple of Tektites.
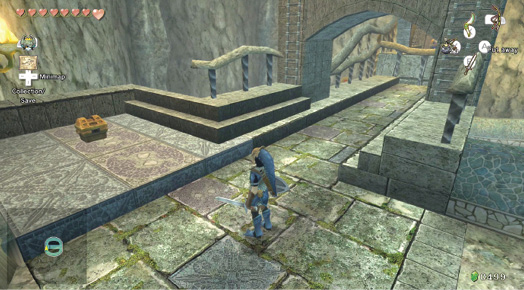
Treasure Chest: Continue to the chute’s top, facing another Tektite on the way. As you reach the top, the channel flattens out, and there’s a bridge to cross. Before you do so, head straight across the channel, to this small chest, and secure a few more bombs for this operation. These aren’t Water Bombs, so use them with your Hero’s Bow against enemies on land.
Treasure Chest #9:
Bombs (10)
 Bombs
Bombs
You got bombs (10)!
Turn to the chute’s top and investigate this area. There’s a squared off arch with two ladders embedded in each side. Choose one ladder, scale it, and at the top, peer to the opposite side. A treasure chest is here, but you can’t take it yet. Instead, line yourself up with the gold handle and grab it.
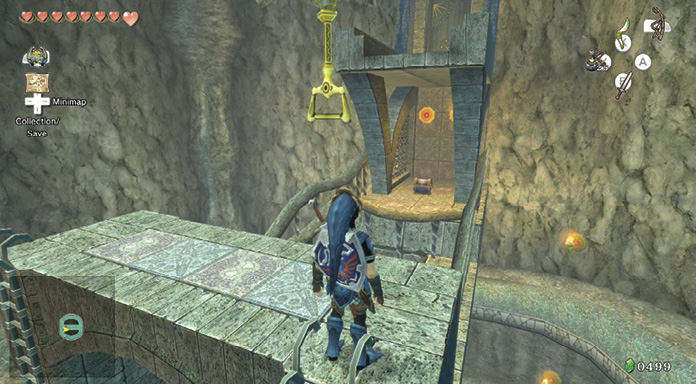
A cascade of water tumbles out of the roof gates (siphoned from Lake Hylia), and runs down the chute into the circular reservoir at the chamber’s base. Drop down onto the channel, and head to the chute. You can ride the water down (it’s slightly uncontrollable, but fun!). But beware: once you start the ride, you can’t stop!
|
You could also run along the chute’s outer channel wall, or jump off the chute into the water. |
|
To return to the chute’s top (if you forgot to open Treasure Chest #9, for example), you must jump onto the chute wall, don your Iron Boots, and slowly clump to the top. This takes ages, but it’s the only way to ascend after the water starts. |
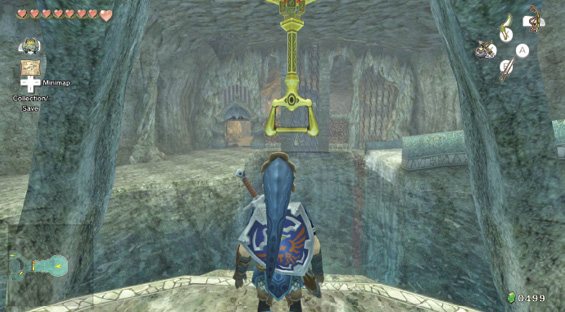
Once at the reservoir, swim to the platform at the central tower’s base, clamber on, and then line yourself up with the gold handle and leap to grab it. This opens a floodgate at the opposite end of the chamber, and allows water to flow down the channel you saw along the perimeter of chamber 6. Head back there now.
Missing Links
1. Pulverizing Pottery
Inanimate jars don’t stand a chance when you’re searching for Rupees and Hearts. Look around the eastern ledge (second floor) for four pots containing Rupees and Hearts. The western pit near the vine wall has three pots. They contain two blue Rupees (5) and one yellow Rupee (10).