
The Legend of Zelda: Twilight Princess HD Guide Dungeon 6: Temple of Time
Task 2: Unlock the Door in the Central Mechanical Platform Chamber
Chamber 4: Central Mechanical Platform (3F to 4F to 5F)
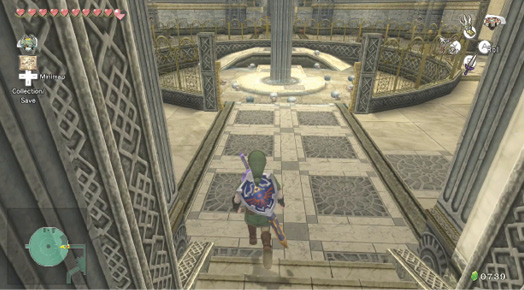
Head north up the steps to a corner with a Keese to dispatch, then turn left and run toward the door at the end. Open it and step forward into a giant, cylindrical chamber with a circular and ornate fence in the middle. Dozens of tiny Gohmas scuttle around here. Don’t venture too close to this area, or you’ll be zapped by an electrified fence.
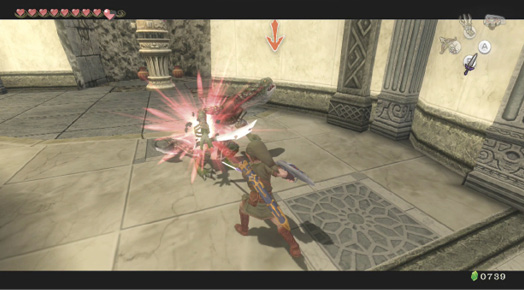
Turn left, and begin to secure this third floor (the floor you’re currently on). Run around to locate three Lizalfoses, and engage them in combat. The most entertaining way to defeat them is by shield attacking so they’re stunned, and then jump striking them to deliver a dispatching blow in a single attack!
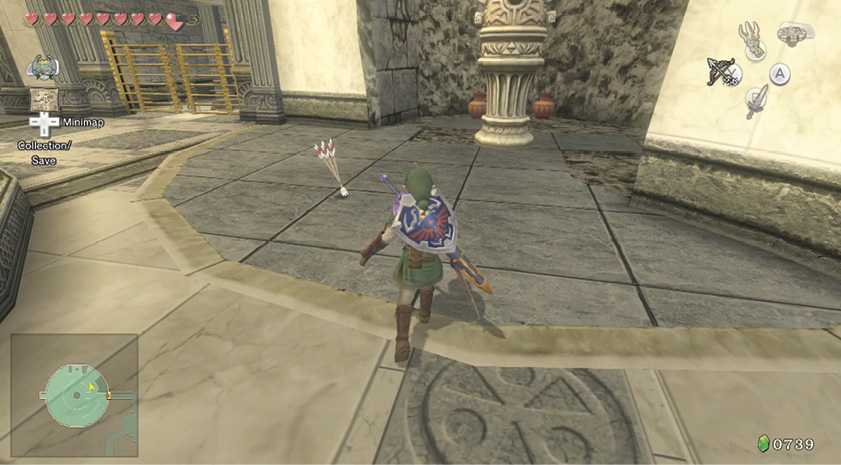
Continue around to the north side of this chamber. As you reach a gate to the west, you see two pots to smash, and a small alcove you can’t reach. Return here later. For the moment, run north, and avoid the pink laser fire from a Beamos. Back up, then finish any remaining Lizalfoses.
Beamos (White)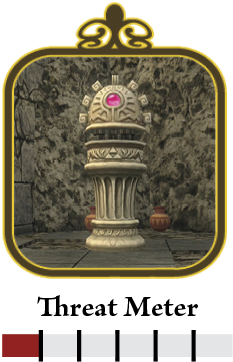 The Ceremonial Beamos, or White Beamos, is stationary, activates when you move too close, and sends out a short-range laser that can cut into your energy. Simply step back, and fire an arrow (no need for Bomb Arrows) out of its laser range. To utterly destroy a Beamos, you may need a giant hammer carried by a robotic servant to finish the job! 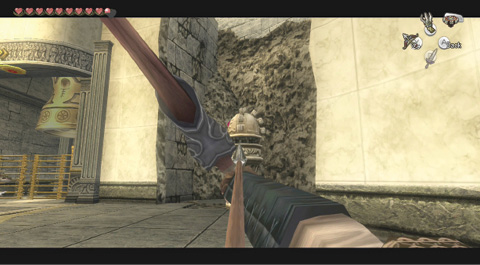 The White Beamos has a pink laser. Otherwise, it reacts the same way as the previous Beamoses you’ve faced. Deactivate it with an arrow in the eye!
|
Missing Links
1. Hearts Aplenty
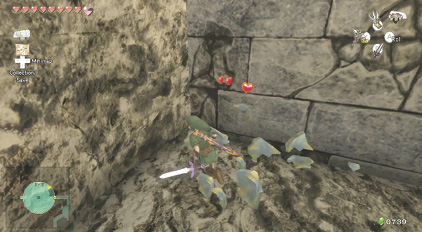
Thoroughly inspect the pots in this room, as they contain arrows, Rupees, and in the case of the pot behind the Beamos, three Hearts! Grab them if you’re feeling low on energy. Inspect every pot in the rest of this dungeon.
2. Ring My Bell
Don’t forget you can ring a bell in almost every chamber! There’s one on the top floor of this chamber, for example, and almost all give you a red Rupee. Use a Ball and Chain to strike the bell.
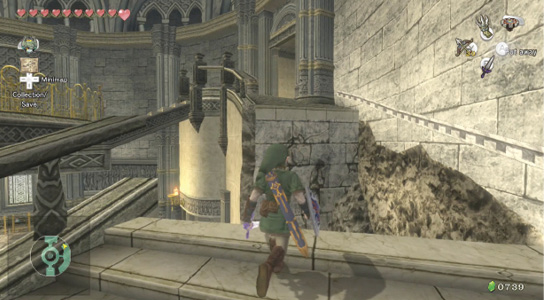
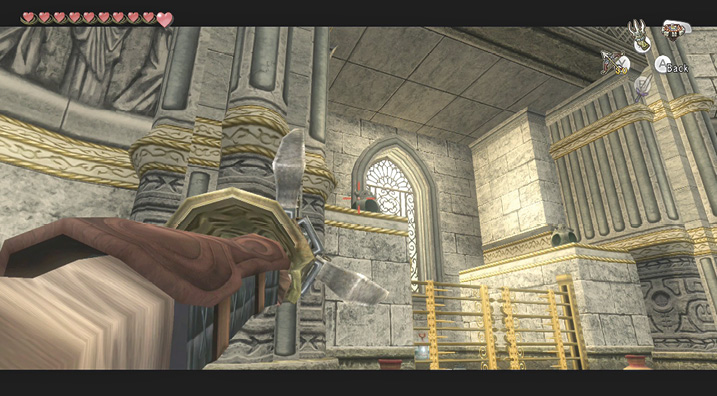
Head up to the fourth floor of this chamber now. Climb up the stairs to the point where they’ve given way. You can use the Spinner, so catch the groove in the wall, and ride up to a locked door in the north area.
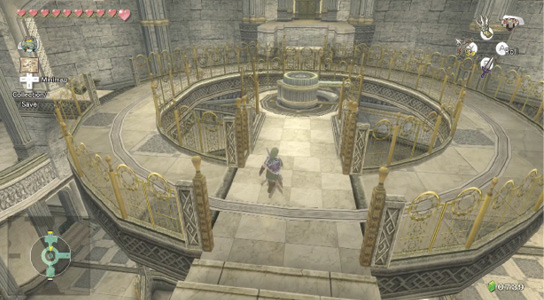
You need to get a key to open this door. Turn and face south, and run down to a large ornate circular platform. Two spiked Spinners are rotating around in different directions. Avoid them by dodging between them, and move to the eastern ledge, where a lone horned statuette stands. Take this.
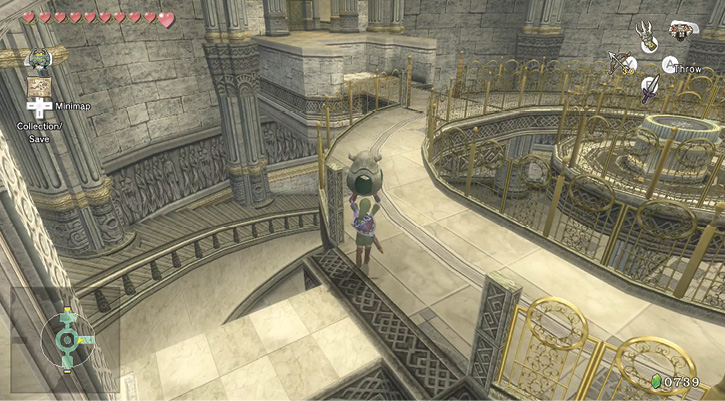
Run around to the platform’s south side, to a ledge leading to another similar-looking doorway in the south wall. This one appears unlocked but has two pressure switches on the floor. You can’t climb up to reach the door yet. Walk over and place the horned statuette on one of the plates. You now need to find the other.
|
Previously, you may have been fooling around, throwing these statuettes at the floor switches instead of placing them. Don’t do it this time because the horned statuettes may land on the upper stone area, or fall off to the third floor below, and delay your exploration! |
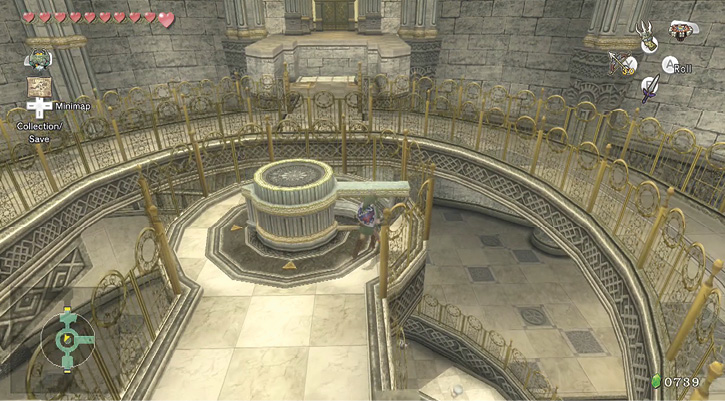
Now head to the middle of this elaborate platform, to a large handle and cog system. Push the handle counter-clockwise and the platform descends. Push it in the opposite direction and it ascends. Descend the platform back to the third floor, where you started. Head off and you see a horned statuette ahead. However, you’re in the circular fenced area with the Gohmas. Fight!
Baby Gohma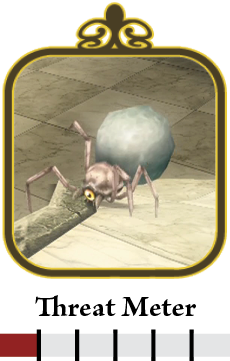 Baby Gohmas look disgusting, as they haven’t formed into their hairy, one-eyed brethren yet, but they aren’t aggressive. However, they are tricky to quickly dispatch as they run directly away from you. You can fire off Bomb Arrows, or quickly tag them with a Clawshot, but an easier plan is to just run forward and slash from side to side, as if you were cutting grass. Keep this up until all Baby Gohmas are defeated.  |
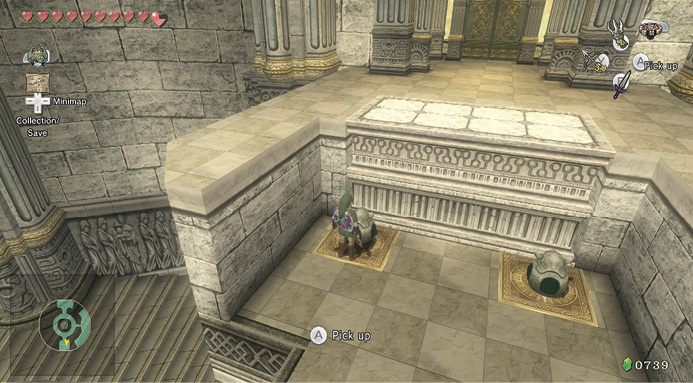
When you’ve dispatched all the Baby Gohmas, the electrical charge on the fence dissipates, and you can easily get from the outer ring to the inner platform on the third floor. This is useful if you dropped a horned statuette, but for now take the statuette at the top of the shallow ramp and place it on the platform. Turn the handle and rise to the fourth floor. Then place (don’t throw!) the statuette on the other pressure switch.
 |
Chamber 5: Armos Antechamber
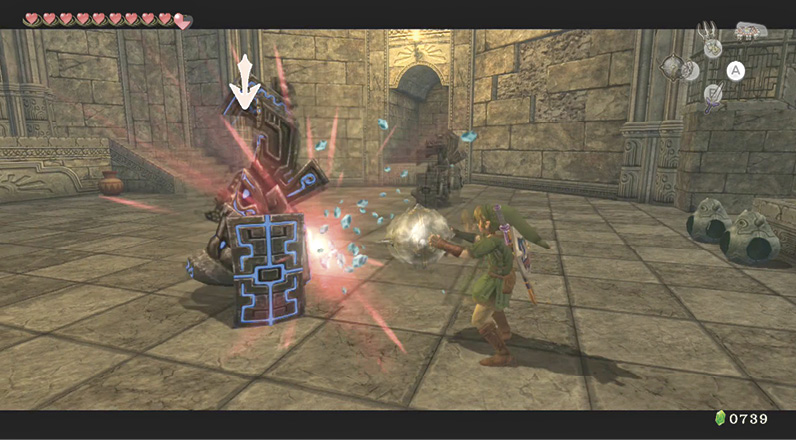
Step into a long stone chamber guarded by two Armos machines ahead of you. Bring out a weapon (try the Ball and Chain for a one-hit dispatch if you’re quick enough), and defeat both of them. Either before or after you fight with the Armos machines, break the pottery between the two sets of steps for arrows.
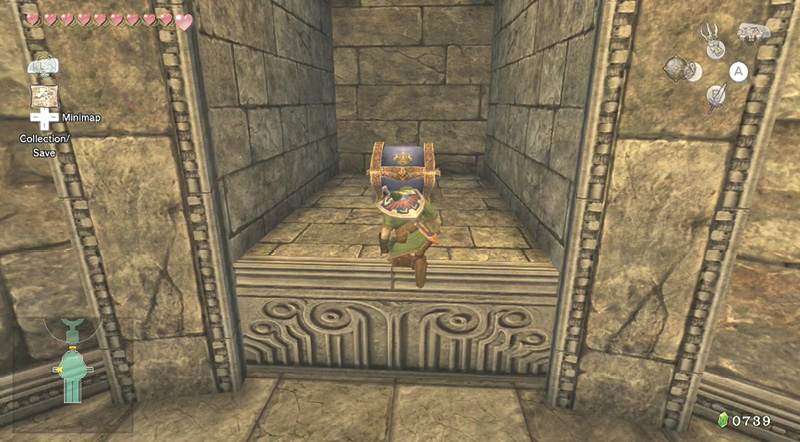
Treasure Chest: As soon as the fight is over, a chest materializes in a tiny alcove over on the western side of the chamber. Open it to discover a Small Key.
Treasure Chest #5:
Small Key
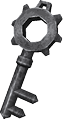 Small Key
You got a Small Key! This opens a locked door, but only in this area.
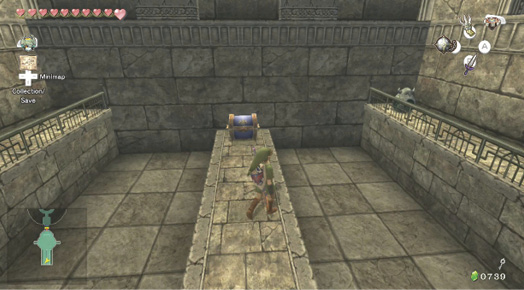
Treasure Chest: The hunt for treasure chests doesn’t end here. Head south, to the area of the chamber you haven’t yet investigated, and check the raised channel between the two sets of stairs. At the far end is a small chest that’s easily overlooked. Open that for Hylian Letter Stamp L.
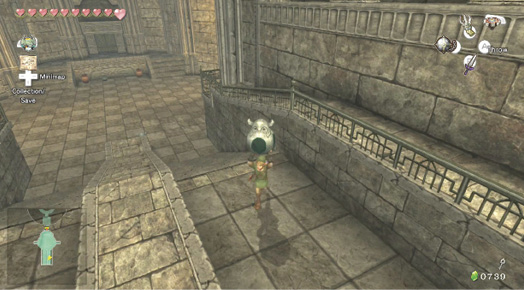
There’s another secret part to this area, but you can’t activate it yet. Practice your throwing by lobbing one of the two horned statuettes you can pick up (the third is behind the low metal fence on a narrow ledge you can’t reach) into the narrow ledge on the left. Remember to come back here later, then leave.
Treasure Chest #6:
Hylian Letter Stamp L
Chamber 4: First Return to Central Mechanical Platform (5F)
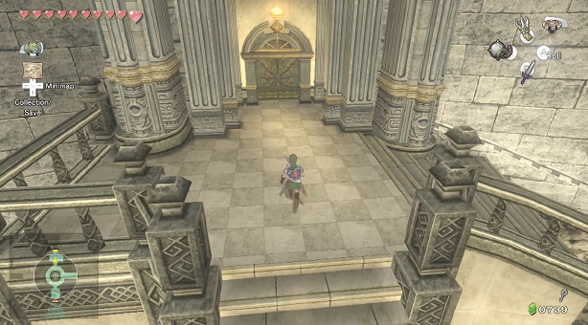
Now that you have the Small Key, return to the Central Mechanical Platform chamber, and run across the platform itself. There’s no need to activate it. Simply head north, across to the locked door, and open it.