
The Legend of Zelda: Twilight Princess HD Guide Dungeon 9: Hyrule Castle
Task 2: Defeat King Bulbin in Final Combat
Chamber 2: First Return to Eastern Grounds (1F)
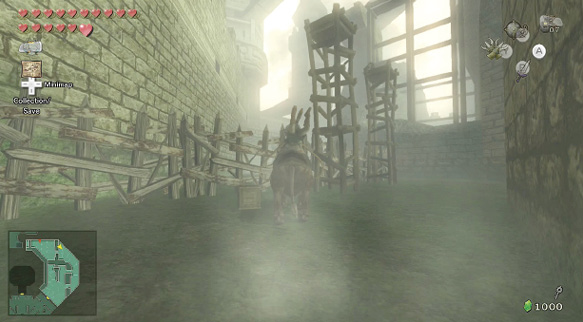
Return to the wind fan pillars, and head east, through the gap in the wall. The Bulblin towers have been rebuilt, so turn north and secure a new Bullbo mount near the two barrels you can smash for a blue Rupee (5) and a Heart, and careen through all the barricades, all the way back to the Southern Grounds.
Chamber 1: First Return to Southern Grounds (1F), to Chamber 4: Western Grounds (1F)
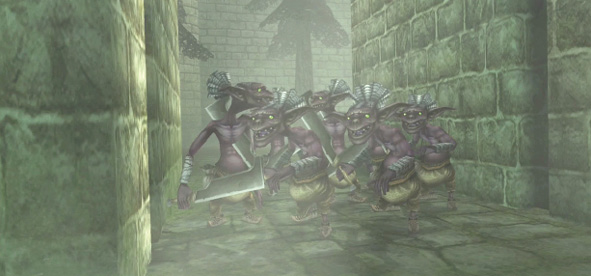
Once in the Southern Grounds, you may be tempted to enter the main castle door. Don’t! You can attempt some optional exploration if you head across the grounds to the northwest door. Open it, and enter the Western Grounds. Run past the wooden barricades, and into a grassy field. An energy wall closes around you, and out trot eight Bokoblins. Draw your sword and spin! Once the wall recedes, inspect this area; some grass to the west gives you a Heart.
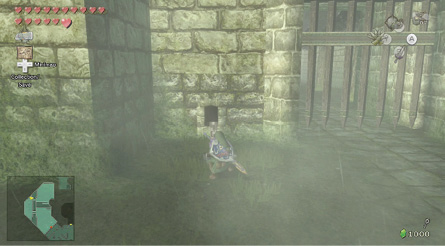
Continue your progress by heading west through the gap in the wall the Bokoblin horde came through. This leads to a pleasant and small formal garden, with some grass to slash for a Heart and to uncover a chain! Grab and pull this chain and a portcullis grinds open, allowing you to enter the north section of this chamber. Turn left after you pass under the portcullis; there’s a blue Rupee (5) in the grass near the wall. Stride into the open, and an energy wall forms. Who’s there? An old friend…
King Bulblin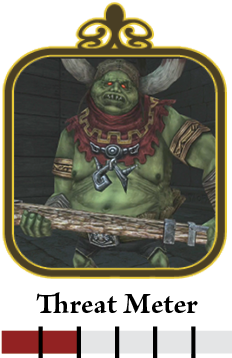
Step 1: If you recall the battle you had with King Bulblin in his tent outside Arbiter’s Grounds, you know how to defeat this hulking brute. First, dodge his giant axe by backing up when he raises the weapon. Fortunately, he swings it so slowly that it’s difficult to actually get hit by it! Then roll around to his rear, and strike with three quick slicing moves, or spin attacks, or finish with a back slice. Continue this technique five or six times, and the brute finally yields! 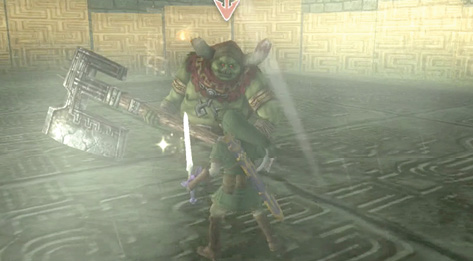
“I have come to play!” says King Bulblin. End the game quickly by attacking his exposed back, and hack! 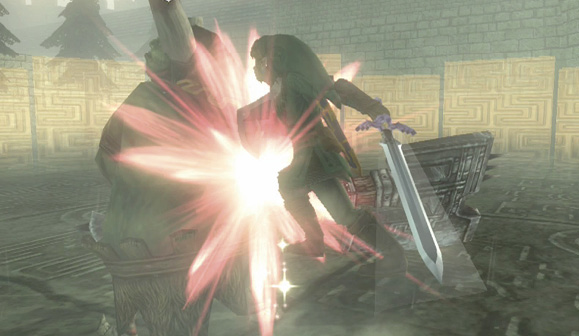
|
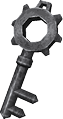 Small Key
You got a Small Key! This opens a locked door, but only in this area.
Treasure Chest: With your Small Key in hand (you should have two now; check the screen’s bottom-left corner, above your Rupee count), you can inspect this area. Head north. There’s a small chest here near a patch of grass you can slice a Heart from. Claim the Rupee prize, then turn directly around and face south. A difficult-to-spot staircase stands in the southeastern corner of this section of the grounds. Head here.
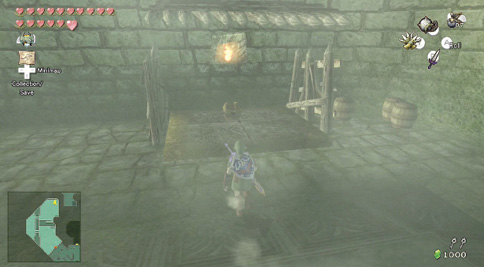
Treasure Chest #7:
Red Rupee (20)
Treasure Chest: Run to the top of the steps, and you’re on top of a wall between the sections of grounds in this chamber. Break open barrels along this wall for a Heart and a blue (5) and yellow (10) Rupee. When you reach the gap in the wall lip to the east, carefully drop down to a lower ledge and a small chest. Claim a blue Rupee (5) from a barrel on this plinth, and a Red Rupee (20) from the chest.
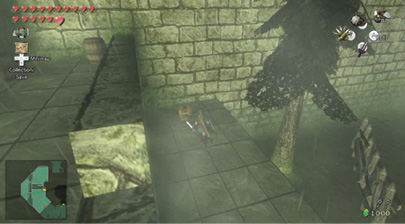
Treasure Chest #8:
Red Rupee (20)