
The Legend of Zelda: Twilight Princess HD Guide Dungeon 3: Lakebed Temple
Task 4: Locate the Fabled Clawshot from a Bloated Deku Toad
Chamber 6: Second Return to Single Cog Cavern (2F)
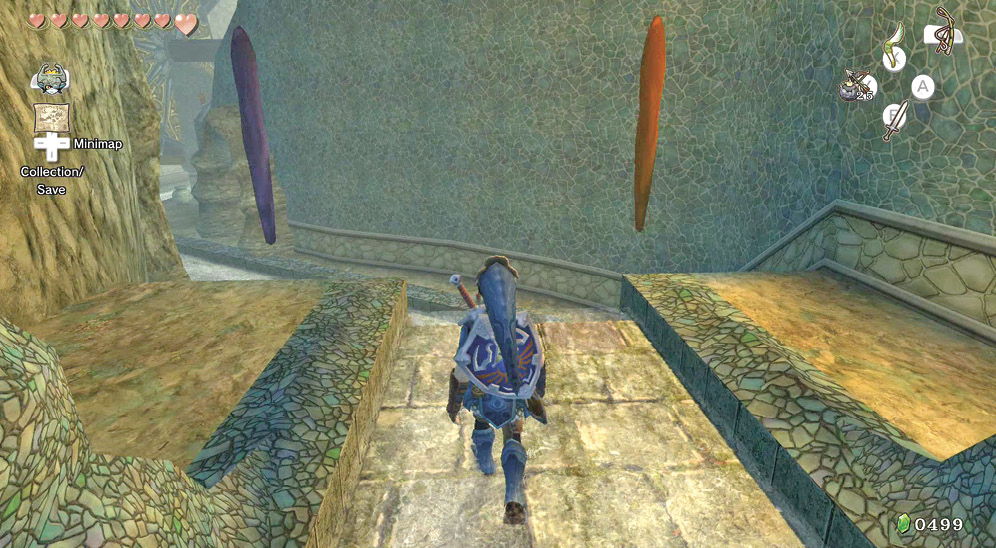
Run across to the two doors, and choose the one on the left with the rushing water underneath it. Step into the perimeter of the cog cavern, and leap off the end. Fight a couple of Chus if you wish. The pots have also respawned! Head to the waterwheel cog next to the open chest (#7), and pass between the wheel’s blades.
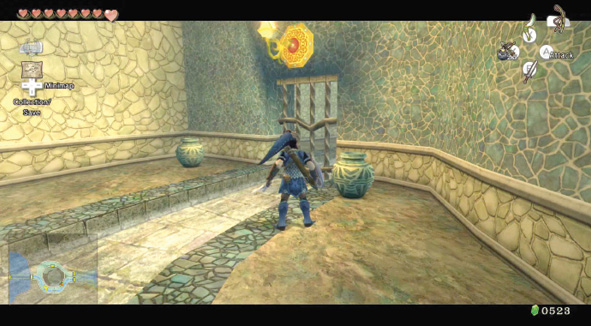
This leads to the final part of this chamber’s perimeter and a dead end. The gate you saw when you first entered this perimeter area is the same one you’re facing now. Smash both the pots. The one on the left houses a Fairy! Produce one of your three Bottles, and capture it.
 Fairy
Fairy
You got a Fairy in a Bottle! When you fall in combat, this faithful friend gives you Hearts.
Attack a Purple Chu that’s dropped down, as you retrace your steps under the waterwheel cog.
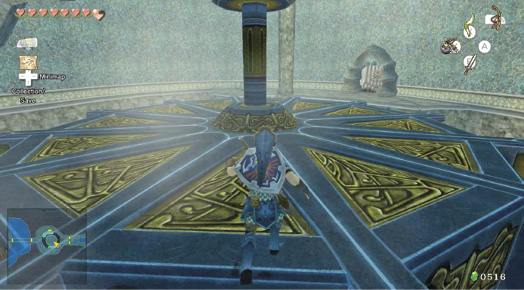
Head to the door leading to the middle of this chamber, and open it. The gigantic cog has started to move after the water turned the waterwheel, and the three circular chain platforms below are now rotating. Drop through the cog to get back there, or secure treasure: Exit via the north door and head west, to the main hub.
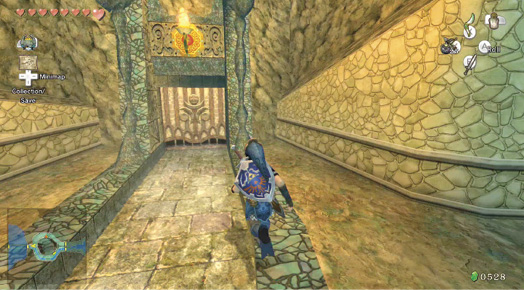
Chamber 4: Sixth Return to Connecting Bridges (2F)
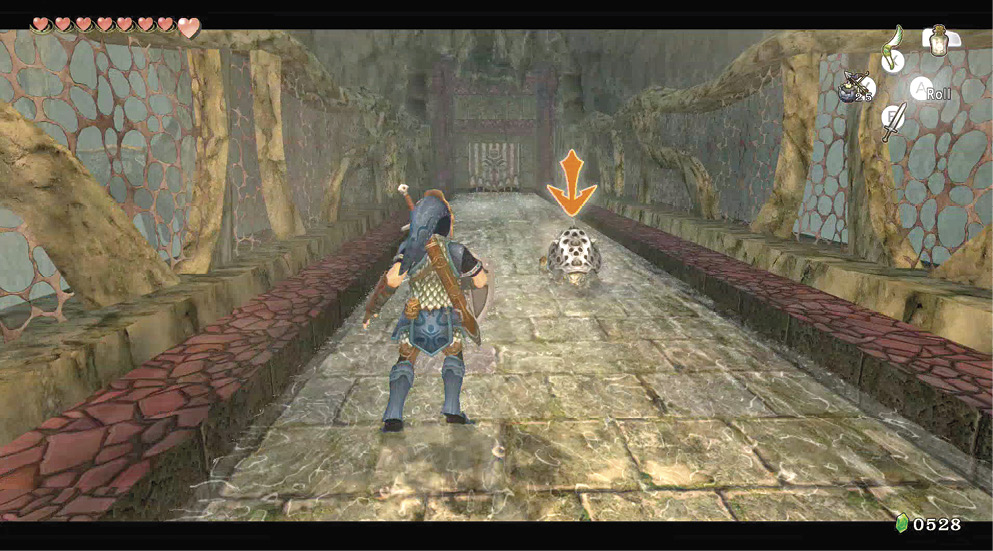
First though, you must negotiate the connecting bridge platform running east to west, and the fearsome Helmasaur on the way. Exit via the door opposite.
Chamber 5: Fourth Return to Lakebed Column Hub (2F to BF to 1F to 2F to 1F)
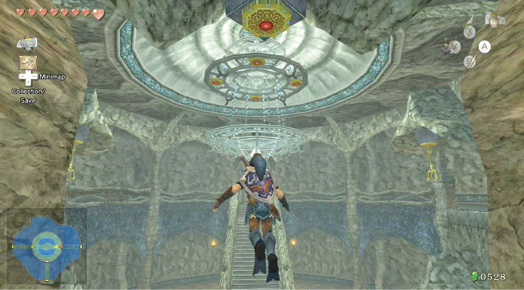
Treasure Chest: Once across the bridge, you see that the floodgate you opened is flooding this central chamber. Dash forward, and dive off the ledge’s edge (dive to one side so you don’t hit any steps below) into the plunge pool. Ignore the Skullfish, and swim to the central pillar. You can now open the chest in the pillar alcove you spotted before.
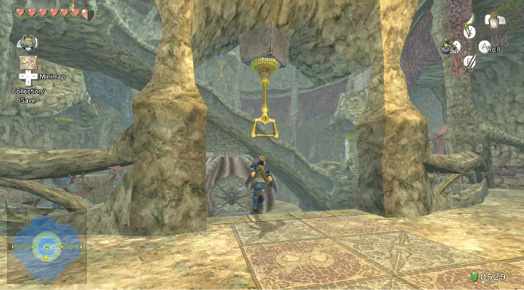
Climb back up to the first floor, and run around to the southern side of the ledge. Face north, and leap to pull the gold handle so the stairs trundle and stop in a north-south orientation. Run up to the second floor, jog around to the west side of the ledge, and grab another gold handle, bringing the stairs to an east-west orientation. Run down these stairs, and directly ahead is a door to the east. Slay a Tektite, and head through.
Treasure Chest #10:
Hylian Letter Stamp K
Chamber 4: Seventh Return to Connecting Bridges (1F)
Open the door, and speed across the connecting bridge. Your Helmasaur foe is here, but it’s as easy to roll past it as fight it. Open the door at the far end, and you’re back at the cog chamber.
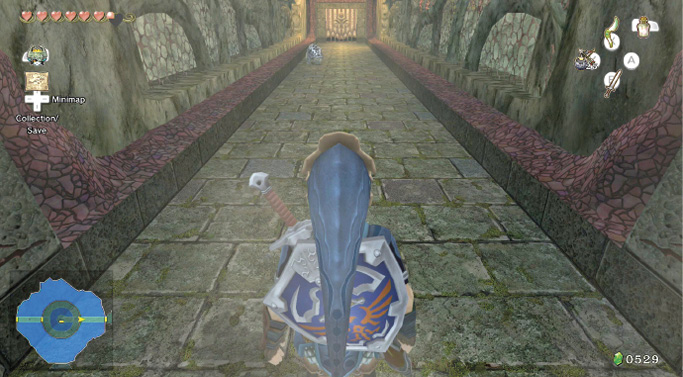
Chamber 6: Third Return to Single Cog Cavern (1F)
The rotation of the platforms hanging from the cog by chains allows you to reach a couple of previously impossible-to-reach ledges, each with a door. Begin your expedition by leaping to the door in the north wall, and open it.
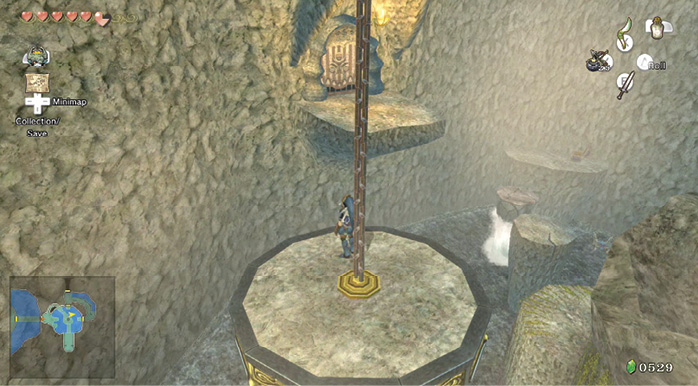
Chamber 8: Crescent Cavern and Snaking Waterway (1F)
Treasure Chest: This leads to a curved cavern with two sections. The other section is accessed via the other door in chamber 6. Now that you’ve entered the door in the north wall, don’t continue north, as a dead end to your right contains a treasure chest. Inspect this to find a Small Key.
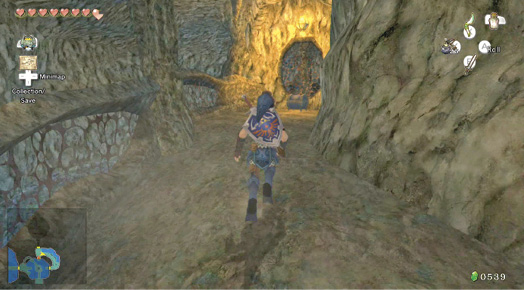
Treasure Chest #11:
Small Key
 Small Key
You got a Small Key! This opens a locked door, but only in this area.
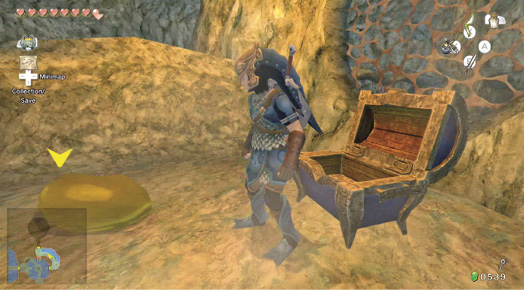
Watch out! When you open the chest, expect to be rained on by a Purple Chu and a Yellow Chu, too! Face them down, optionally scooping the Yellow Chu if you require Lantern fuel. Then check the door to the north.
Chamber 9: Lair of the Deku Toad (1F)
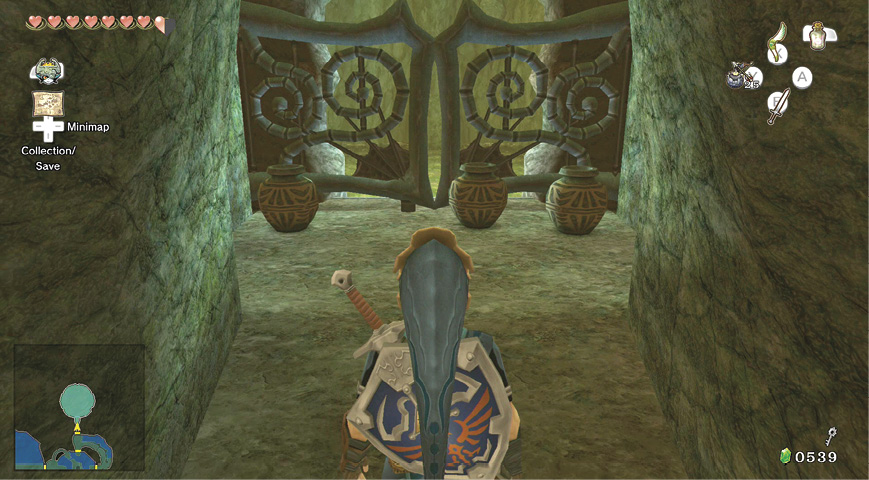
This door leads to a sealed gate, and what looks like a damp, green circular chamber beyond. You can’t enter this area yet, so smash the three pots for a blue Rupee (5) each, and return to the Crescent Cavern, then back to the Single Cog Cavern.
Chamber 6: Fourth Return to Single Cog Cavern (1F)
Back in the familiar cog room, wait for a rotating platform to arrive, jump and land on it, and journey to the other door; this one in the east side of the room. It leads to the other part of the Crescent Cavern.
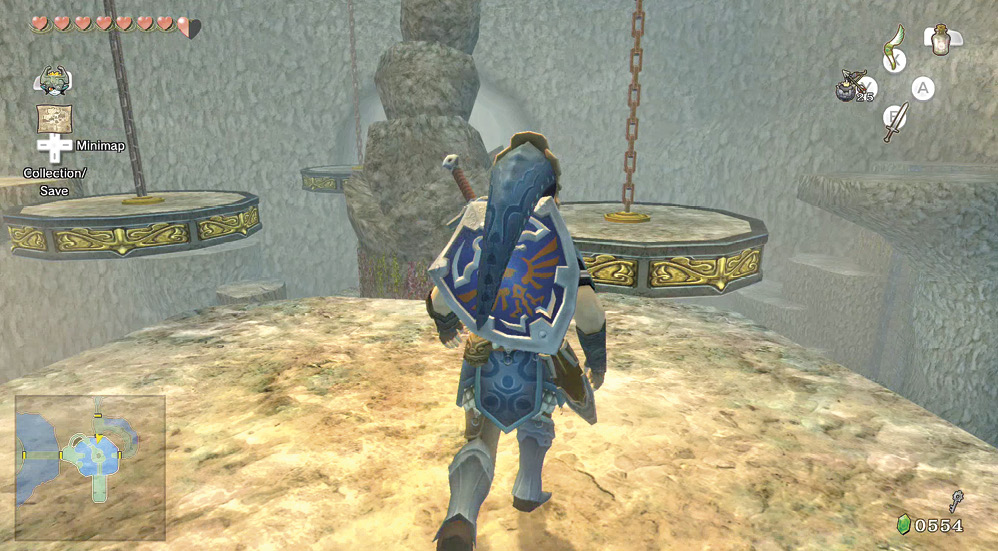
Chamber 8: First Return to Crescent Cavern and Snaking Waterway (1F to BF)
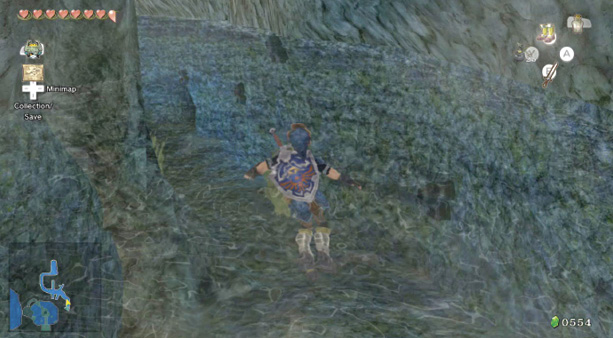
Enter the Crescent Cavern to see a locked door ahead of you. This is the reason you grabbed that Small Key earlier! Before you open the door, head left to a dead end and defeat a Helmasaur. Break open the pots here for some blue Rupees (5) and a Heart.
Unlock the door and head through. You can now explore the area below the Crescent Cavern (BF). This is a snaking waterway containing nasties to battle or avoid. Swim through the lagoon, and then wear your Iron Boots and trek along the floor, avoiding the electrical discharge of the Bari.
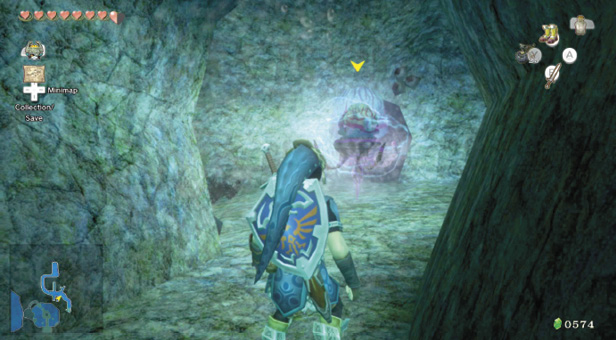
Treasure Chest: The middle section contains four small dead-end passages. Trudge along until you reach the openings on each side. Check the opening on the left first, using your Iron Boots so the current doesn’t blow you about. Open the chest at the passage’s end.
Treasure Chest #12:
Red Rupee (20)
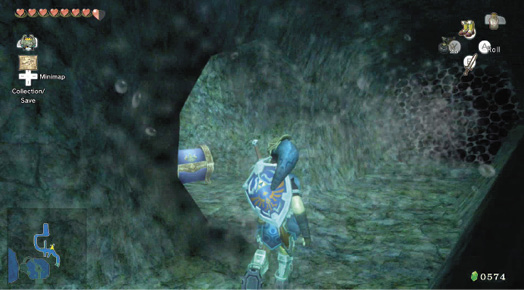
Treasure Chest: Turn and head north, along the side passage in the opposite direction, and continue forward. A tiny alcove on the side wall hides a chest containing bombs.
|
These are regular bombs if you’re full of Water Bombs, otherwise, expect to find Water Bombs in these (and other) chests containing this item type. |
Treasure Chest #13:
Bombs (5)
 Bombs
Bombs
You got bombs (5)!
The other two upper passages aren’t interesting, so stomp west, until you reach a Bomb Rock. Produce a Water Bomb and drop it at the rock. After it explodes, enter the gap in the scaly membrane, and maneuver into a winding underwater channel. Slay a couple of Shell Blades and swim north. You emerge in an odd, circular chamber.
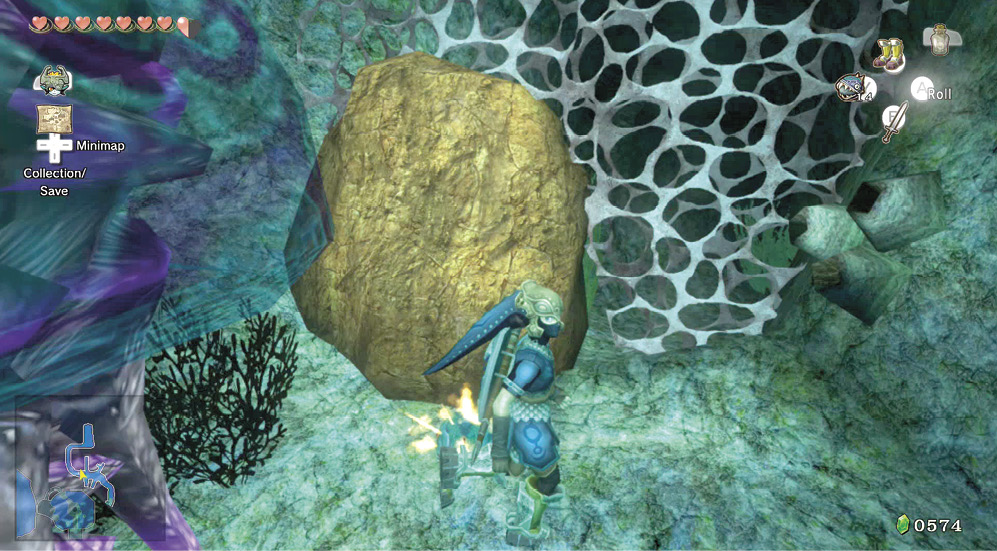
Chamber 9: Lair of the Deku Toad (BF to 1F)
Toado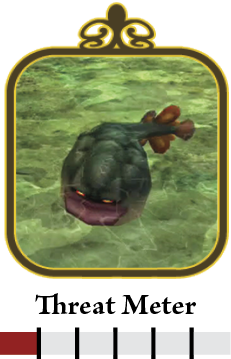 The room is silent, aside from water splashing. That’s not coming from you! A couple of fat Toadoes swim up and aim for your ankles, nipping as they go. The Toadoes are easily countered. Just wait with your sword at the ready, then spin attack and defeat the two Toado attackers with a single swipe. 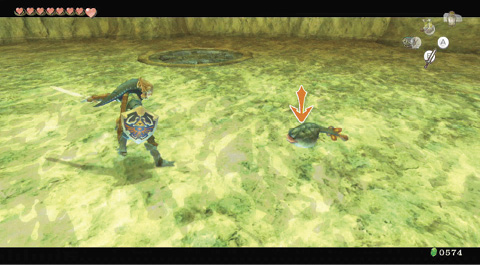 Toado attackers harangue you in twos and threes. One spin attack dispatches all comers at once!  |
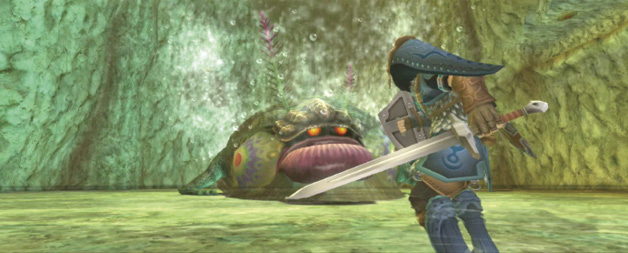
You speak to Midna, who has a bad feeling about this. You look out. A gigantic Deku Toad is latched onto the ceiling, and it’s dropping spawn from its back! These are the Toadoes you’ve defeated. The Deku Toad wakes up, belches, falls off its stalactite, and shakes off its brood!
Deku Toad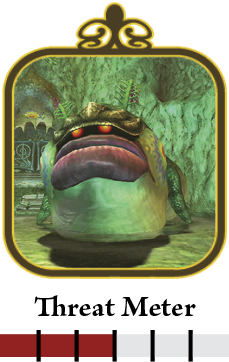 Step 1: The first attack isn’t from the Deku Toad at all, but the dozens of baby Toadoes swarming you. Optionally back up to the edges (so you can’t be attacked from behind), then spin attack, and mop up with slices before and after. Continue with this tactic until the last Toado is defeated. 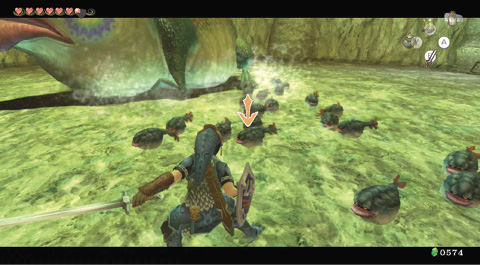 With dozens of Toadoes attacking you, there's only one move to try: spin, Link, spin!  Step 2: The Deku Toad leaps high into the cavern, leaving you in peace for a second or two. You see its looming shadow as it falls to earth. Flip out of the way so you aren’t caught in the disgusting belly flop! 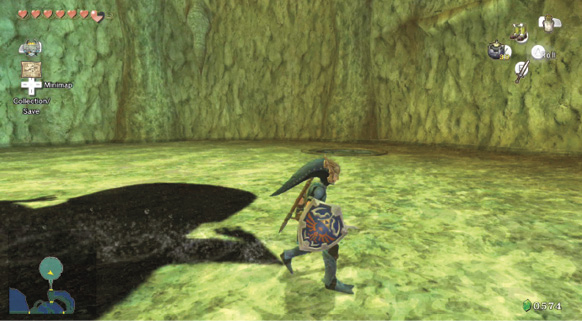 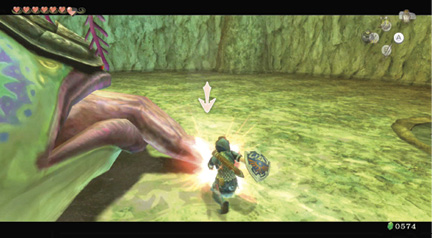 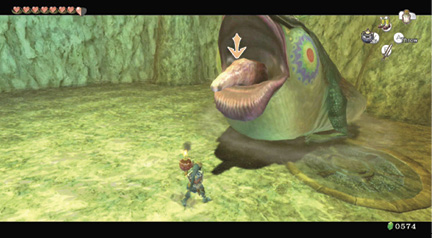 Step 3: The Deku Toad then lies on the ground, exhausted, with its tongue lolling on the ground near its open maw. Draw your sword and immediately dash to this area, ZL targeting the snaking organ, and slicing it until the Deku Toad rears up in anger and pain! It then waddles upright and sounds a massive roar! Take this opportunity to lob a bomb (either regular or water) into that maw! You must be close to be successful. 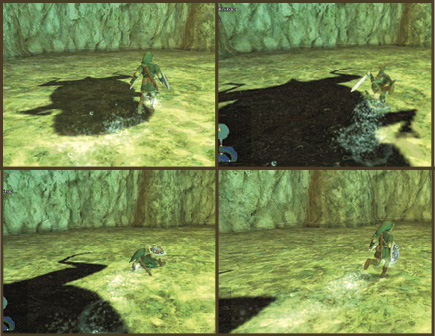 If a bomb strikes the Deku Toad, he will not leap or shake off Toadoes.  Step 4: Cut onto that giant tongue, but to ensure you strike with your bomb, combine your arrows and ZL target the creature as soon as it stands up. Just as it is about to open its mouth, fire. Then wait, and the bomb explodes inside its gullet, and it collapses! Run in, slice that tongue, and when it stands, aim another Bomb Arrow. Complete this twice, and your foe…croaks! 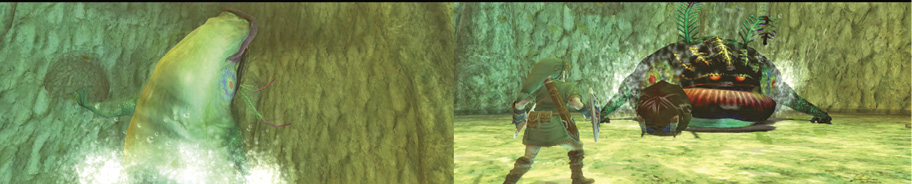 When the Deku Toad ingests two or three bombs, it thrashes in the water, before belching up a dirt bubble and collapsing, deflated. The creature disappears, and the dirt falls away, exposing a chest. |
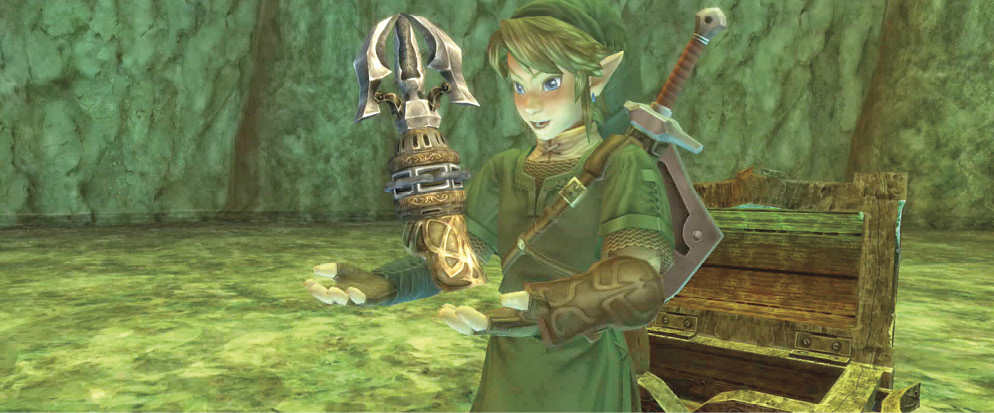
Run over and open the chest. It contains one of the greatest pieces of equipment you’ll ever own: the Clawshot!
Treasure Chest #14:
Clawshot
 Clawshot
You got a Clawshot! It’s a long chain with a claw.
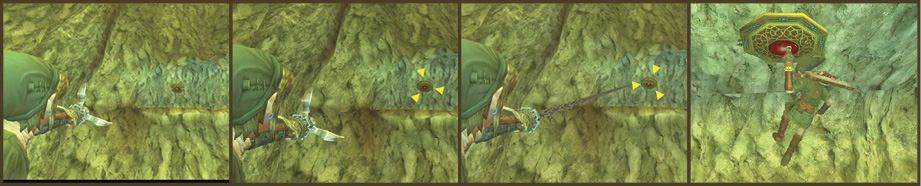
Clawshot Clawshot: One of the most versatile, useful, and entertaining pieces of equipment you’ll own, the Clawshot is unique because it’s both a weapon and an item. Aim with the Left Analog Stick or by moving the Wii U GamePad around, and fire with the Y button. Here’s what you can do with it:
 |
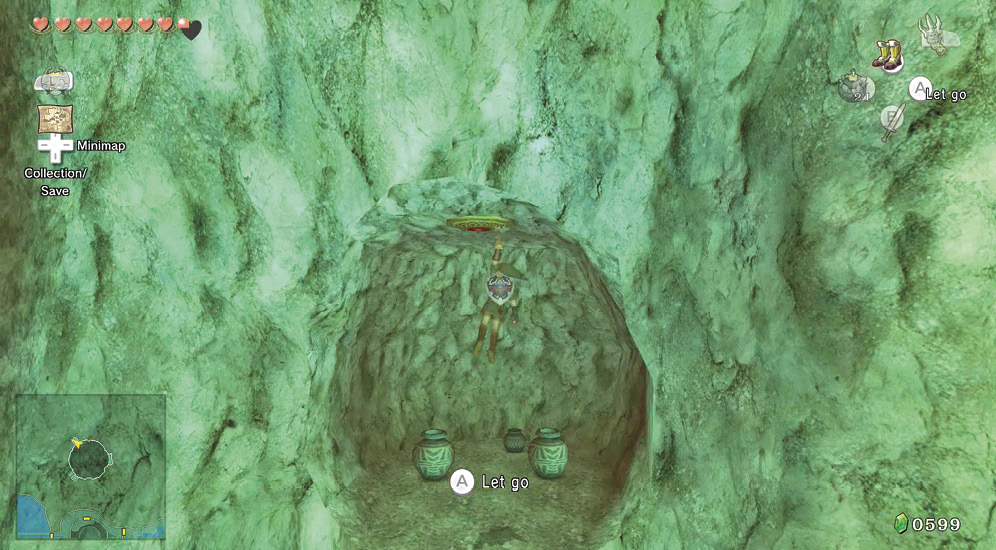
Practice with your new item, making sure you replace your current item on the Wii U GamePad menu with the Clawshot. Aim and move up to the high alcove in the north wall. Drop and smash the pots for a Heart, and blue (5) and yellow Rupees (10). Do the same in the southern wall too. These pots contain blue Rupees (5) and a Heart. Clear the alcove in the west wall for yellow Rupees (10).
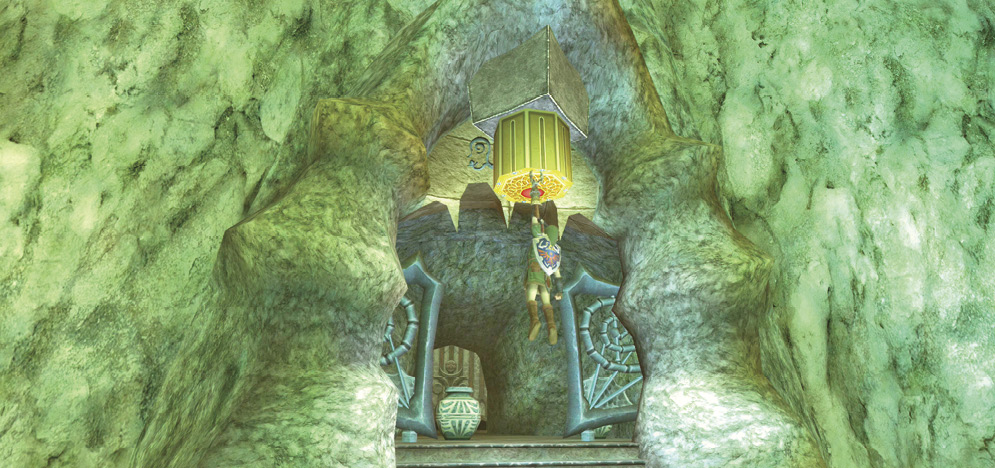
The easiest way to exit this chamber is via the south door. Aim at the Clawshot medallion, then hang from it by pressing down on the Left Analog Stick. Your weight opens the gate, and you can drop to the steps, smash the pots, and leave.