
The Legend of Zelda: Twilight Princess HD Guide Dungeon 5: Snowpeak Ruins
Task 5: Defeat All Imp Poes
Chamber 3: 4th Return to Yeta’s Hearth
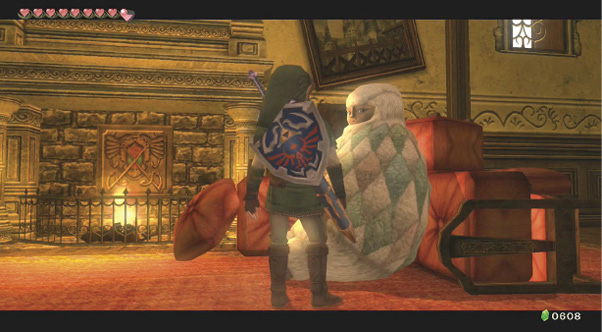
Head back from the kitchen and into Yeta’s Hearth. She suddenly remembers that the key must be in the northwestern chamber, on the second floor. She opens the door in the western wall to let you through.
Chamber 17: (1F) Freezard Pens and Alcove
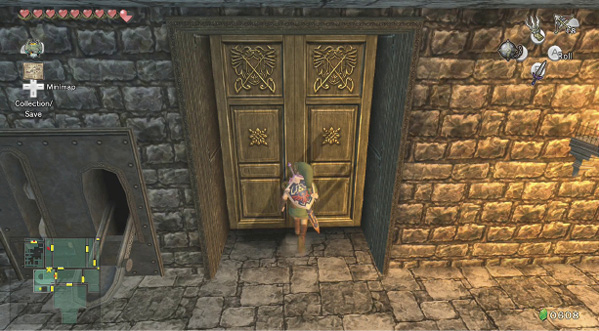
Open the door to the west and enter the first floor of the Freezard Pens. Ahead, you can see a Freezard in a large circular pen, unable to escape. Ignore him for now and face north. There’s a door with a cannonball holder. Open the door.
Chamber 14: 1st Return to Western Walled Courtyard Passage
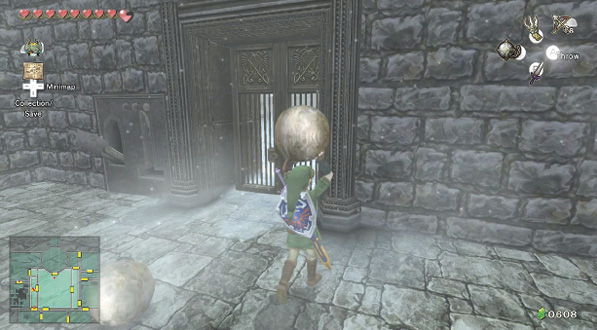
Enter the walled courtyard area where you picked up a cannonball. Ahead is the crate you couldn’t shift earlier. Push it so it drops into the sloping ground below. Then run north, pick up the nearest cannonball, and bring it back to the door. Pull the lever, place the cannonball on the holder, and head back into the Freezard Pens. Turn and press the lever again, and grab the cannonball. Place it on the floor.
Chamber 17: (1F to 2F) 1st Return to Freezard Pens and Alcove
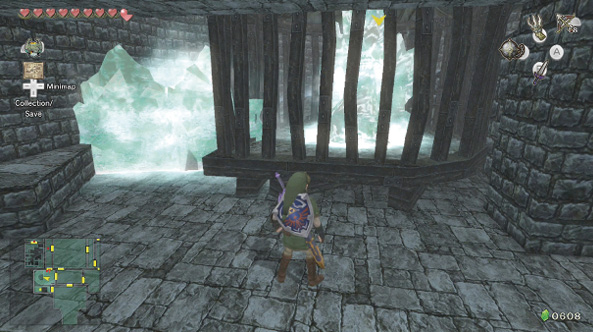
Ahead of you is a large cage, and inside is a Freezard. Watch as the Freezard breathes an icy blast right and left. When he is turning away from you, quickly run up, turn eastward, aim through the gap in the cage, and smash him twice with your Ball and Chain.
Run to this chamber’s second floor, and you’ll encounter another Freezard breathing his freezing plume. Wait until he turns completely to the left, then run onto the small ledge opposite the open part of the cage. Back up so you aren’t caught by the blast as he turns left to right; then run to the opening and smash him twice before he turns back toward you.
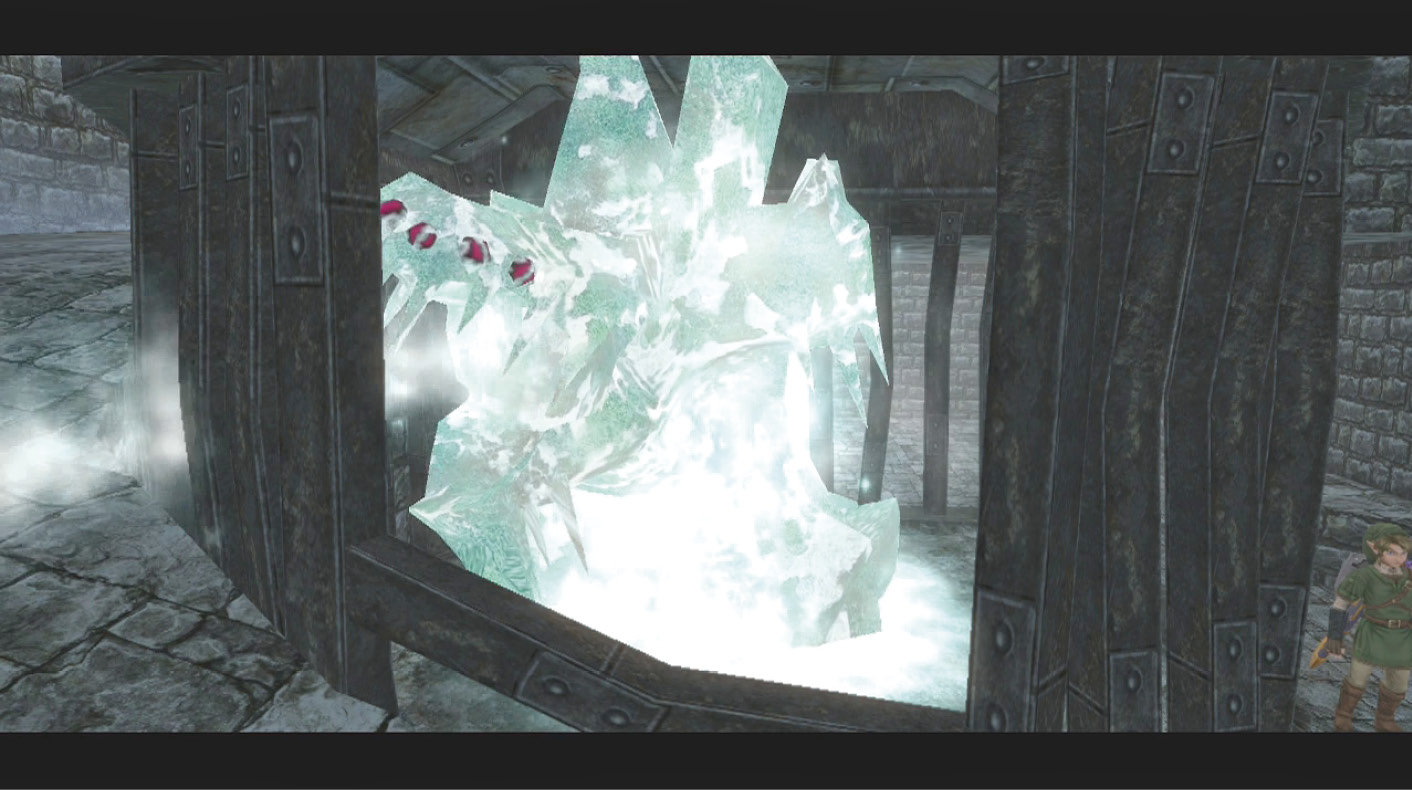
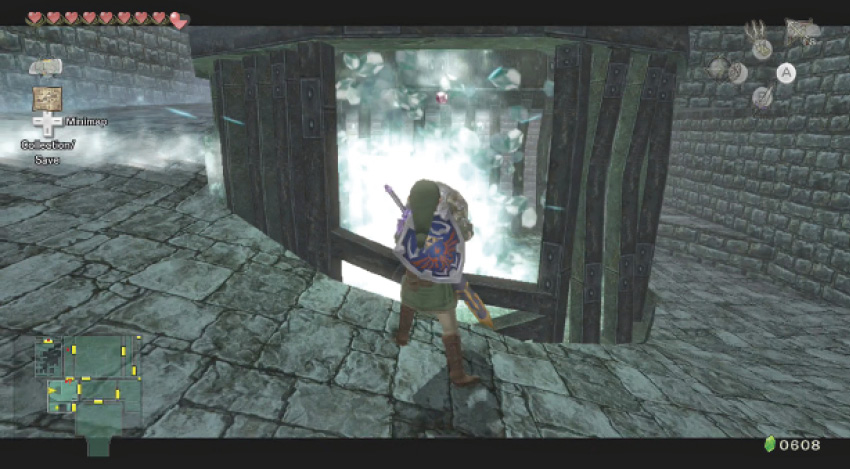
With only Mini Freezards bouncing about in the cage now, you can smash them up for Rupees (use the Clawshot to grab the Rupees), or leave them be. Return down the slope for the cannonball, and bring it up to the second floor. Deposit it next to a wall of ice, then smash the ice with your Ball and Chain, revealing a cannon in a turret alcove.
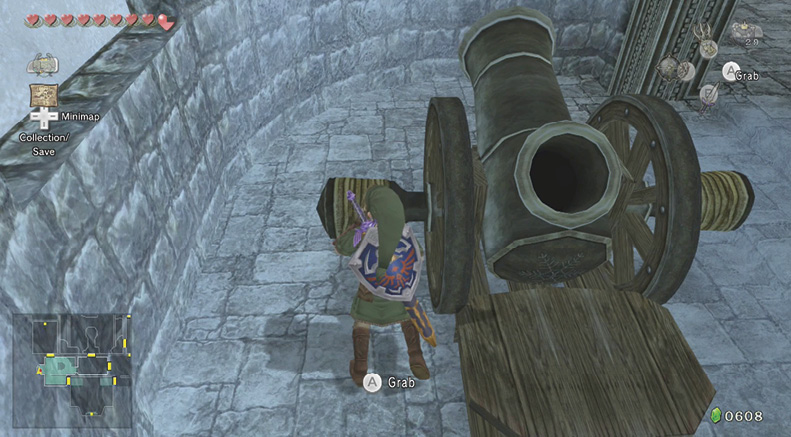
Quickly switch to your sword and slash the two Ice Keese that swoop in from the alcove. Pick up the cannonball, place it in the cannon, and turn the cannon to face east. Don’t fire it yet; a couple of metal crates block the trajectory path.
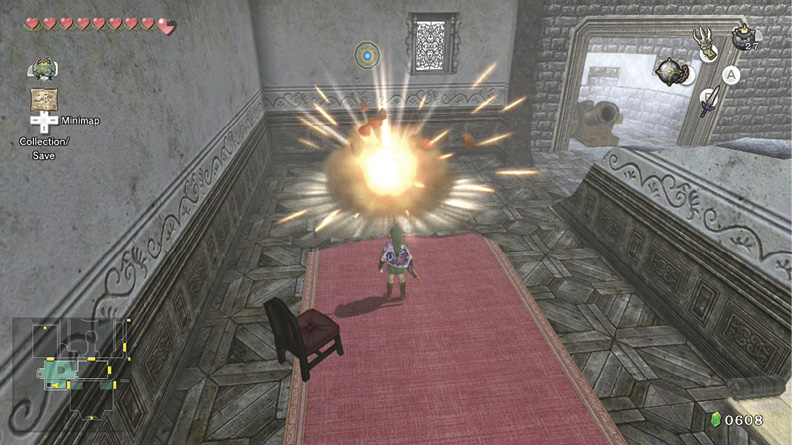
Instead, move into the adjacent room, which has a red carpet and a locked door. Check the floor. The section in the southwest corner looks unstable. Place a bomb on the cracked floor and it splinters, creating a hole.
Chamber 2: (2F to 1F) 1st Return to Bottomless Pit Storage Room
Treasure Chest: Drop through this hole; it leads back to the second chamber you encountered in this mansion. You’re on the other side and can easily walk to the chest. Open it, take the Piece of Heart, and then use your Clawshot to return to the second floor.
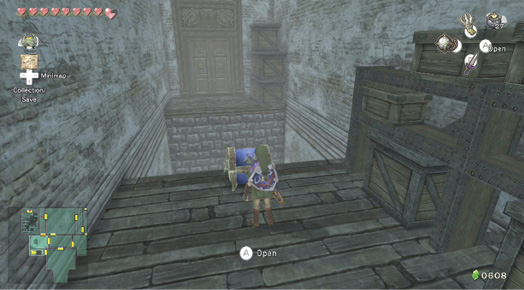
Treasure Chest #13:
Piece of Heart #31
 Piece of Heart
You got a Piece of Heart! Collect 5 Pieces to form a new Heart Container. Piece of Heart #31 of 45.
Chamber 17: (2F) 2nd Return to Freezard Pens and Alcove
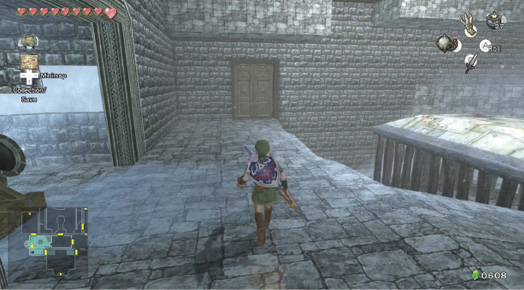
Return to the alcove area and the red carpet. There’s still no way to open the locked door yet, so move north, past the cannon, and open the door in the north wall.
Chamber 13: (2F) 1st Return to Dilapidated Drawing Room
Open the door and step into the upper floor overlooking the dilapidated drawing room downstairs, where you found the Compass. Immediately run across the wooden floor and slice into a Chilfos. You can use your sword and spin attack, sending it flying off the side into the bottomless pit below. Or, you can smash it with your Ball and Chain.
Missing Links
1. Ball and Chain Bashing
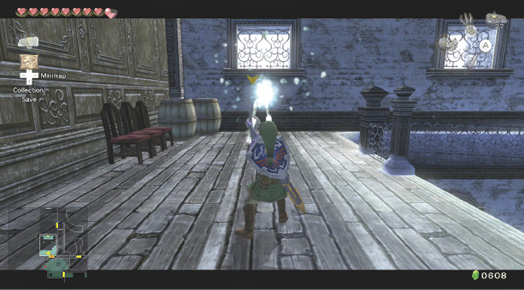
Now that you have the Ball and Chain, you can smash almost any piece of scenery, such as tables, chairs, sofas, and barrels. Although fun, only barrels ever contain anything, usually Rupees (like the yellow Rupee [10] in this barrel). Bash through every room in the mansion if you must destroy everything in sight!
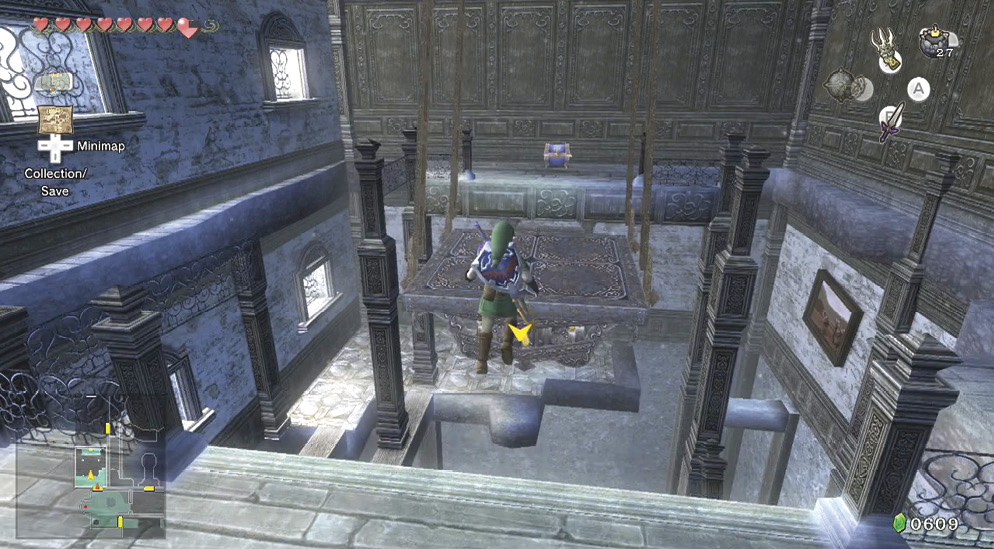
Look across the room to see a chest on the north ledge. In the middle of the ceiling is a metal chandelier; use this to reach the ledge. Bring out your Ball and Chain, and smash the ice block on the right wall; this reveals a Clawshot medallion. Now strike the chandelier. As soon as it begins to swing, quickly put your Ball and Chain away, and wait for it to swing near you. Then leap onto the chandelier, and hop off onto the ledge.
|
If you don’t have enough momentum, the chandelier slows and you miss the jump. Make sure this is swinging vigorously before you leap on, and leap off as quickly as possible. If you’re stuck, Clawshot to the medallion you just uncovered. |
Treasure Chest #14:
Small Key
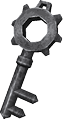 Small Key
You got a Small Key! This will open a locked door, but only in this area.
Chamber 17: (2F) 3rd Return to Freezard Pens and Alcove, to Chamber 1 (2F) 2nd Return to Dilapidated Hallway
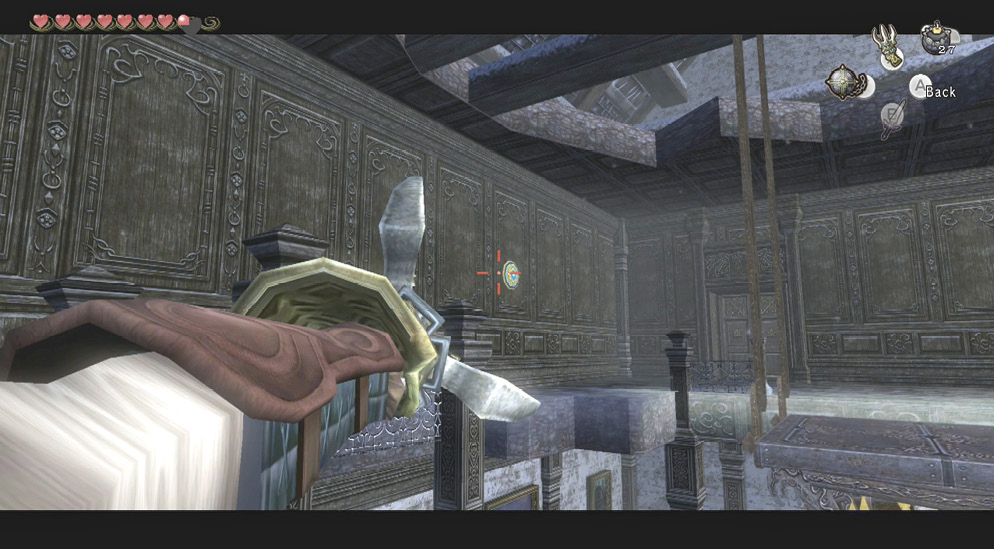
Use the Clawshot medallion to reach the wooden ledge on the opposite side, and exit back to the Freezard Pens and Alcove. Now run to the area with the locked door and the hole you just made in the floor. Open the locked door, and step back into the first chamber you visited. This time, you’re on the second floor. Smash the ice block to your left to reveal a Clawshot medallion. Then fire a Bomb Arrow at the Chilfos across the way.
|
Smash the ice block to reveal the medallion, as this allows you to head back up here easily if you fall down to the first floor. |
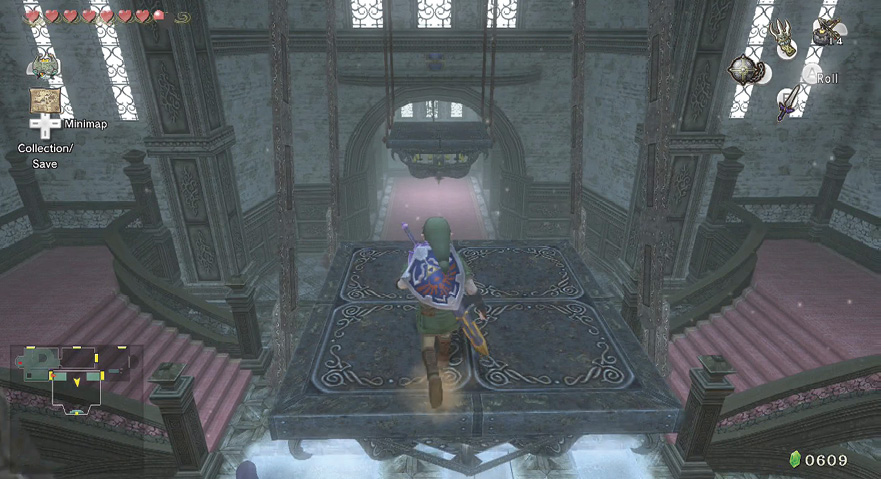
Treasure Chest: Although you can smash a Ball and Chain into the chandelier and cross to where the Chilfos was standing, you should instead leap to the first swinging chandelier and face south. There’s a second and third chandelier, with a chest on a high ledge at the opposite end. Bash the first chandelier twice, leap on quickly, then bash the second twice, leap onto that, then off it and grab the ledge the chest is on. The prize is worth effort!
|
Remember to ZL target each chandelier and make quick Ball-and-Chain throws after one rotation. Be quick! |
Treasure Chest #15:
Piece of Heart #32
 Piece of Heart
You got a Piece of Heart! Collect 4 Pieces to form a new Heart Container. Piece of Heart #32 of 45.
Chamber 18: The Icy Reception Room
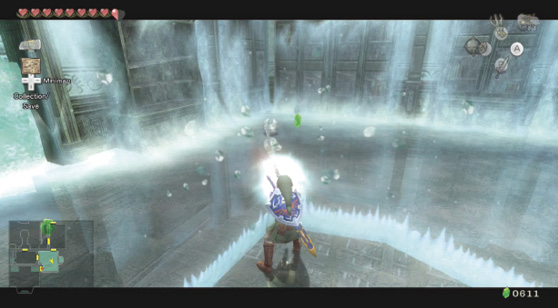
Use the Clawshot to return to the second floor, then cross to the door the Chilfos was guarding. It leads to a room completely encased in ice. Immediately bring out your Ball and Chain, as there are eight Mini Freezards heading your way. Whirl attack, keeping your weapon twirling close to you, then advance slowly while holding ZL. Keep this up until you shatter all the Mini Freezards.
Poe Soul #48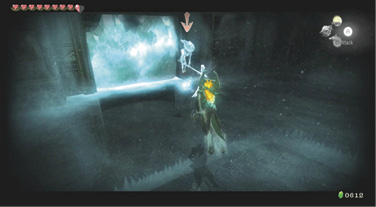
Move toward the ice wall on the room’s east side. An Imp Poe floats out before you can smash the ice, so transform into the wolf and snag his soul before he floats back behind the ice.
|
 Poe Soul
|
There’s a locked door in the west wall of this room. Remember this for later! |