
The Legend of Zelda: Twilight Princess HD Guide Dungeon 2: Goron Mines
Task 7: Search for the Great Volcanic Passage
Chamber 12: First Return toBeamos Star Chamber
Exit into the Beamos Star Chamber, and head south, toward the last Beamos you haven’t moved yet. Grab and shift it so you can squeeze in the doorway behind the monolith, and open the unlocked door beyond.
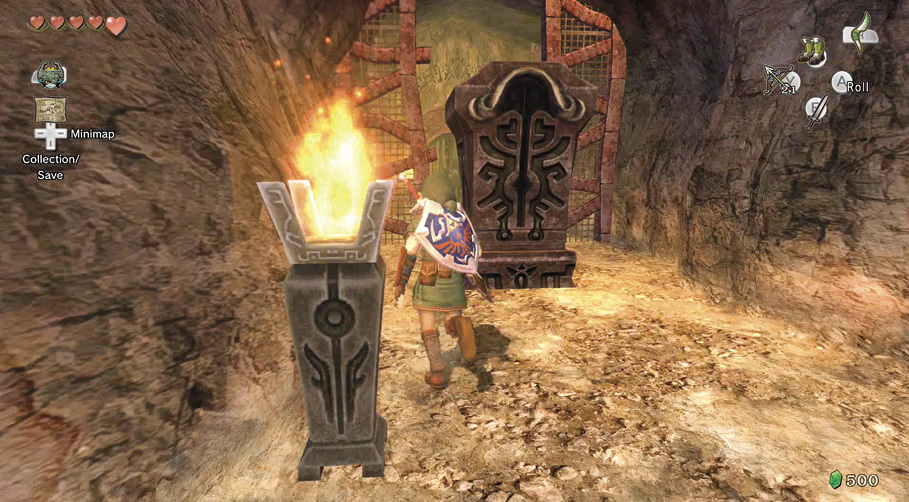
Chamber 14: Stalactite Cavern
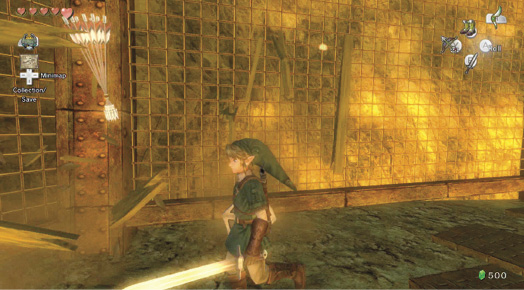
Upon entering this irregularly shaped cavern, you spot groups of Torch Slugs stuck to the ceiling, and a diamond switch inside a small grotto on a far-off wall. Step forward, walking along toward a square-shaped piece of mesh wall. Spin attack three Fire Keese.
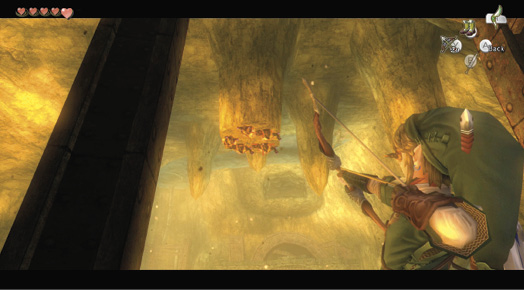
When you defeat the Keese, bring out your Hero’s Bow and aim it up at the flat stalactite in the middle of the chamber. There are five Torch Slugs here; hit each one with an arrow. Move right and drop five more Torch Slugs on another stalactite. Aim at the curved rock wall beyond that and dispatch two final Torch Slugs.
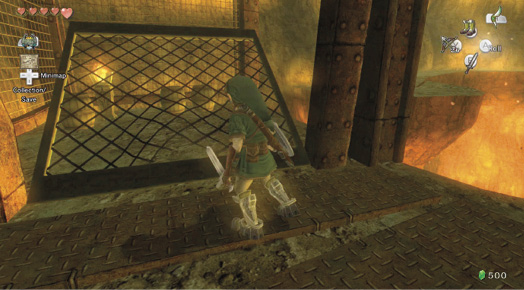
Roll or spin into the square piece of fence, and it falls forward, allowing you to reach the initial passage’s far end. Turn right, then look up, and fire at three Torch Slugs. Or, leap across to the rock ledge, bring out your shield, and spin attack when they drop.
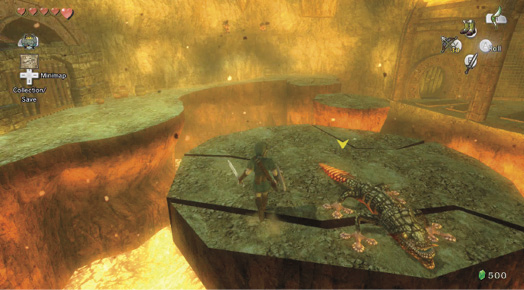
Watch out! These Dodongos are difficult to dispatch on the tiny rock island. You may be knocked about if you don’t dispatch one from range!
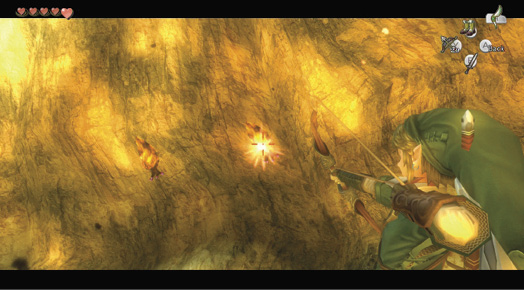
Take out your Hero’s Bow and target the tail of one of two Dodongos prowling the stone island in the middle of the cavern. Dispatch one with arrows, then jump and defeat the second with your usual tail-end tactics. Providing you shot all the Torch Slugs on the ceiling, continue across.
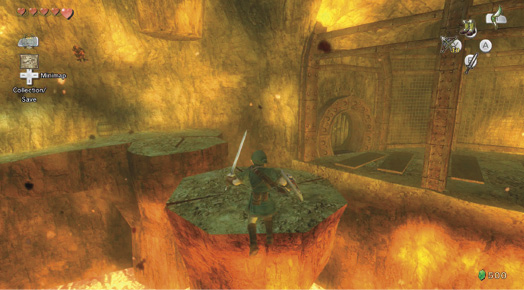
Leap and cling to the edge of the next, smaller island, then climb onto it and jump to the northern part of the cavern’s ledge. The exit is sealed using the same mechanism you saw earlier; you need to activate a diamond switch to leave.
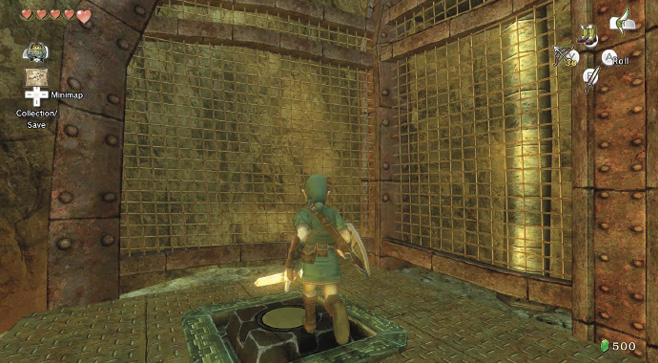
Run past the sealed exit to the southwestern corner. Stand on the floor switch, bring out those trusty Iron Boots, and activate the magnetic beam. After you’re on the ceiling, spin the camera around to see where you’re going.
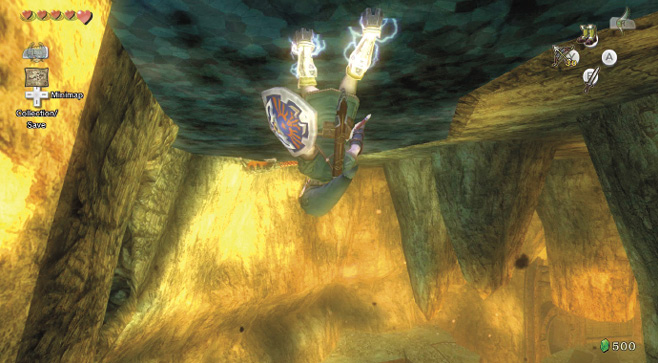
Those Dodongos have learned new tricks! One is advancing toward you on the ceiling, so draw your Hero’s Bow and fire it three times at the tail. The Dodongo is struck, loses grip, and drops (upward) to the ground below! Of course, you could aim at the Dodongo from the ground, but that isn’t quite as satisfying.
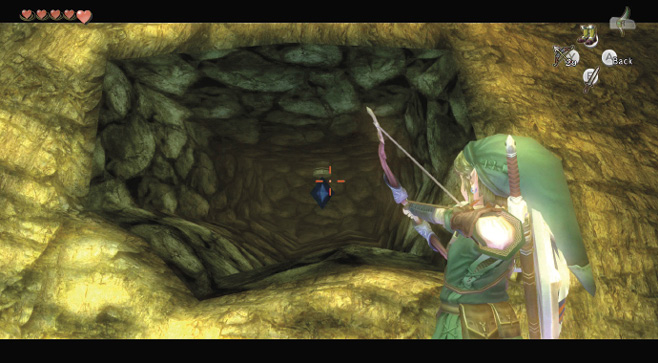
Clump along in your Iron Boots until the grotto opening appears on your left. Spin the camera around and locate the diamond switch. Draw your Hero’s Bow and fire at the switch. It turns yellow. You have only five seconds to exit before it turns back again! When you fire, lose the boots, drop, and move to open the door.
Missing Links
1. Barrels of Fun
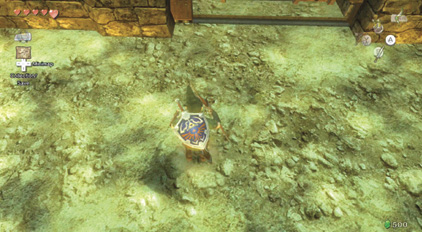
The barrels near the entrance hold a Heart and arrows. Fire at the Torch Slugs before you break these open, and you’ll obtain more arrows. The Barrels after the mesh fence also hold a single Heart. The barrel in the north wall’s alcove holds a blue Rupee (5). The barrel and pots near the exit have two Hearts to claim.
Chamber 2: First Return to Volcano Forge (Second Floor)
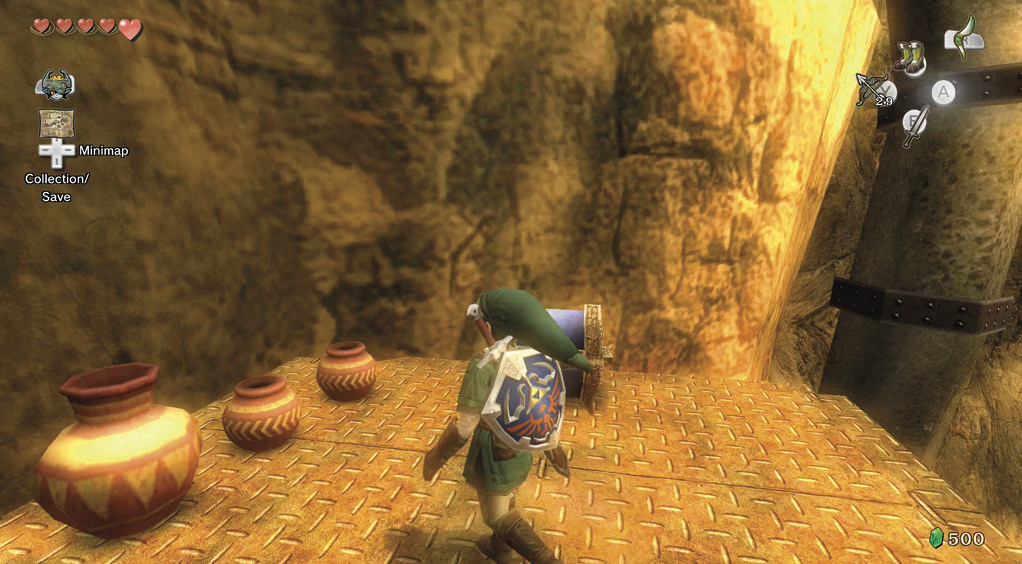
Treasure Chest: Although this is the fourth time you’ve been in the volcano’s crater, it’s only the second time at this height. You arrive at the topmost part of the chamber, along the east wall. Turn left and leap the gap. Optionally smash pots for a Heart and arrows, then pry open your next treasure chest.
Treasure Chest #16:
Purple Rupee (50)
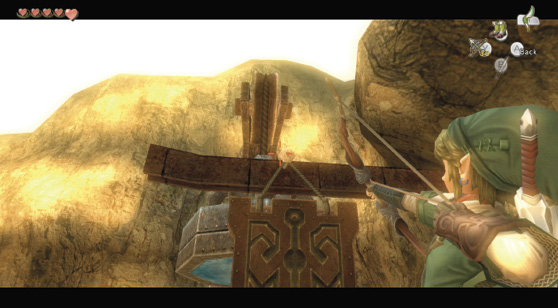
Leap back and run past the entrance door, to a jutting ledge, and look across at a drawbridge. Bring out that Hero’s Bow and aim it at the rope, dropping the drawbridge. Head across, and once again, use the Iron Boots to summon a magnet.
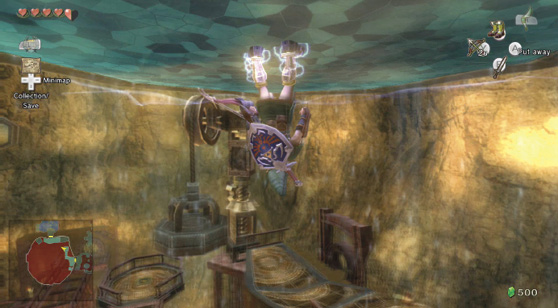
Ride this magnet crane (the third in this chamber) 90 degrees to the north ledge where you were dropped off earlier. Check your map to spot a couple of chambers in the northwest part of this dungeon you couldn’t reach. Not so with the Hero’s Bow! Optionally smash the pots and barrels for Rupees and Hearts, and attack the two reappearing Fire Keese. Leave via the north door.
Chamber 6: First Return to Diamond Switch Chambers
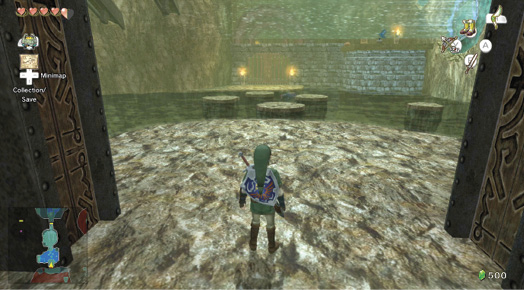
Enter the chamber with the diamond switch, and prepare for combat! Not with the Tektites, who have disappeared, but with two large Water Toadpolis.
Water Toadpoli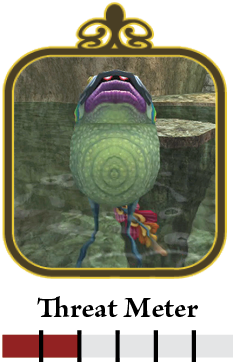
The aquatic versions of the Toadpoli, Water Toadpolis swim faster but can be dispatched in the same way. Shield block and wait until the Water Toadpoli spits out its projectile, then bounce it back. Or, use an arrow, which is faster, but less satisfying! 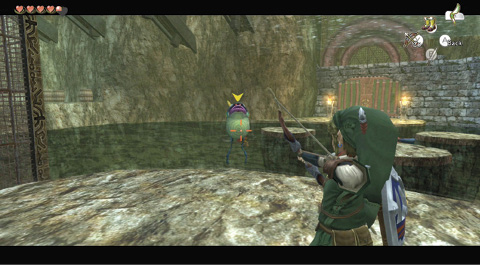
Yes, you can maneuver about for minutes, attempting to bounce spitballs back at a Water Toadpoli, or you can pierce his belly with an arrow! 
|
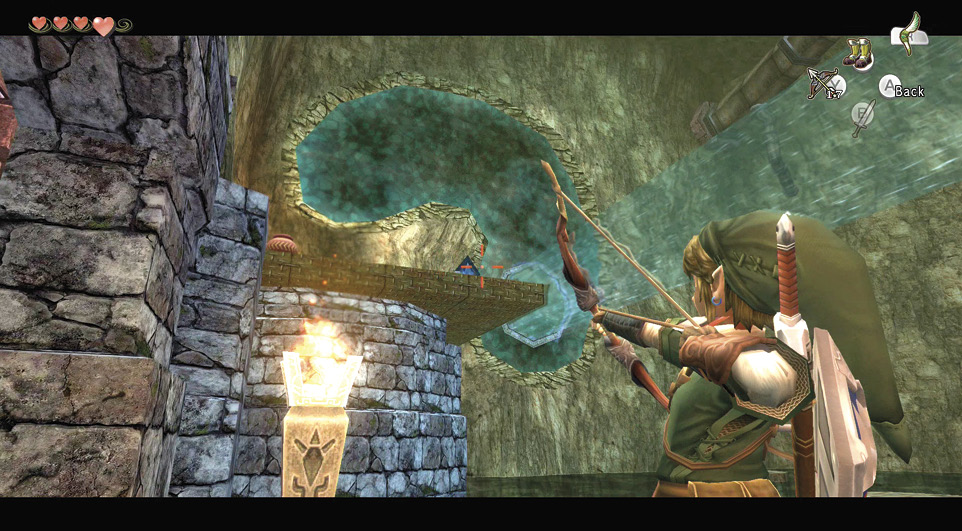
Hop over the stepping stones after you defeat the Water Toadpoli. Stop at the sealed door entrance. Use your Hero’s Bow to activate the diamond switch for a quick exit!
Author NoteNaturally, we forgot about the ranged power of the Hero’s Bow and trekked across the entire room using the Iron Boots and the magnetic ceiling. |
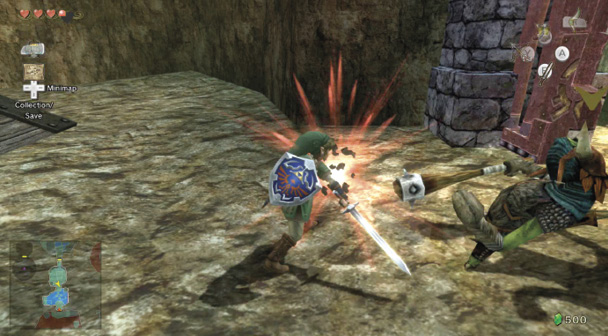
Head into this linked chamber’s northern part, and bring the full weight of your sword into the hides of the two Bulblins who challenge you. Stop at the foot of the ramp.
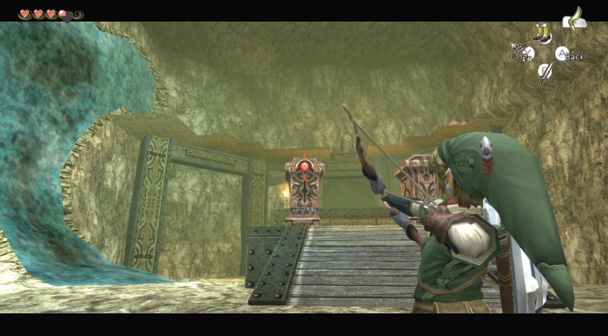
The Beamoses, who troubled you earlier, are no match for your Hero’s Bow, so fire a shot into each eye, and stroll between their steaming hulks, up to the drawbridge, and exit.
Author NoteQuick challenge: Fire at and strike one in the eye, then the other, before they both rotate their eyes out of your range. You need quick reflexes! |
Chamber 7: First Return to Mine Loading Dock
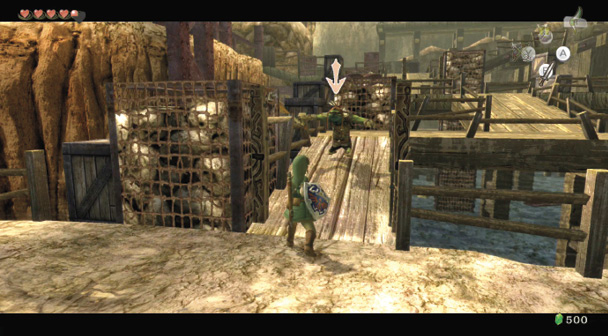
Smash the barrels for Hearts and arrows, then head up the wooden gantry ramp with your sword drawn. A Bulblin prowls this area, and he may surprise you. Continue up the gantry, and stop at the first right turn.
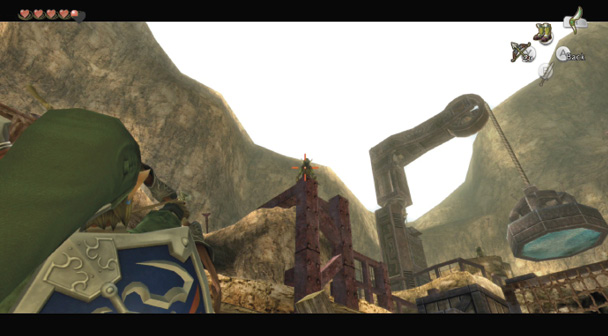
It’s time for precision shooting! There are more Bulblin archers here this time, so aim and dispatch them before they even know you’re here. From the gantry’s lower part, turn and aim up and left at the Bulblin archer on the metal structure. Turn and aim at the second archer on the metal structure of the east rock wall.
You can stay in this position, without any of the archers seeing you, and aim from left to right at the Bulblin to the left of the magnet arm, the group of three on the upper wooden platform, and the Bulblin right of the trio.
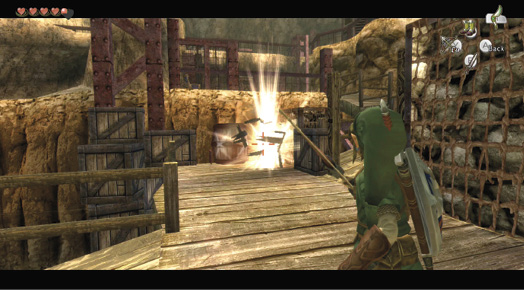
The scenery has reappeared since your last visit, and the pots on the eastern end of the docks now break open to reveal arrows. Grab these, then stop at the dock junction area where the two small crates are. Two explosive crates have appeared. Detonate them from range with one arrow; don’t strike them with your sword.
One in the eye for the denizens of the dark! You can finally shift that Beamos.
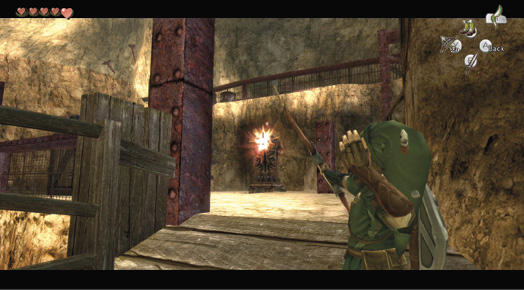
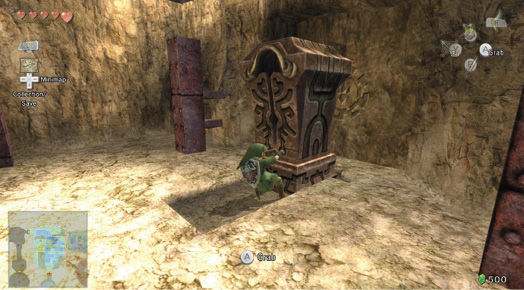
Move up to the dock’s upper part, at the same level as the eastern exit. Turn left and stop at the alcove containing the rotating Beamos. Strike it down with one arrow, then move in and grab the defunct monolith, pulling it out of the way. A rock wall behind it rumbles open to reveal a new path!
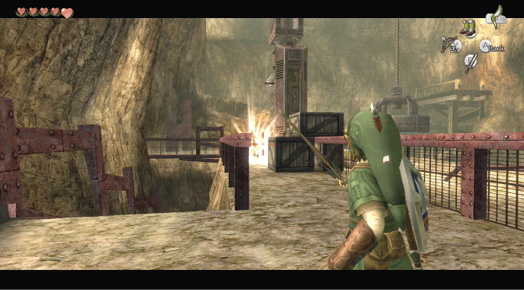
Run to the ramp’s top, appearing on the loading area’s western part, and watch out for two Bulblin archers. Their first shots strike an explosive crate. Stay behind the sturdy square crates as the explosion occurs.
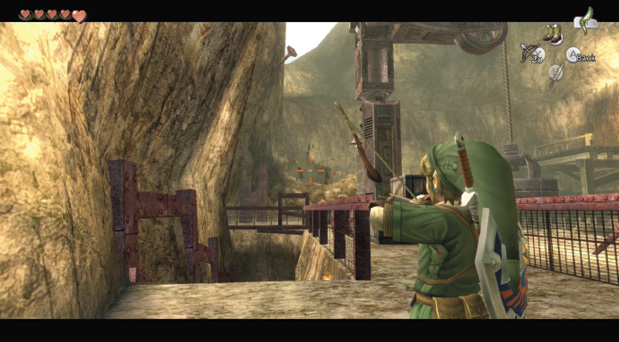
Aim at the explosive crate that’s behind the two Bulblins, and shoot one arrow straight and true. It lodges in the crate and explodes, dispatching both Bulblins, who fall off the rise on which they were standing. Head northward, toward the giant magnet crane. There’s a Heart in a pot at the foot of where the Bulblins fell.
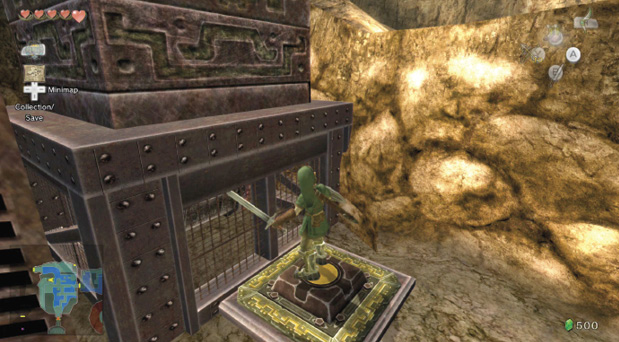
You’ve found the floor switch for the magnet crane in this area! Use your Iron Boots to stomp on it. The crane arm rumbles into life. It spins back and forth, so head east, and jump off the gap in the metal fence, landing on the square platform. Put your boots on, and you’re sucked up onto the magnet.
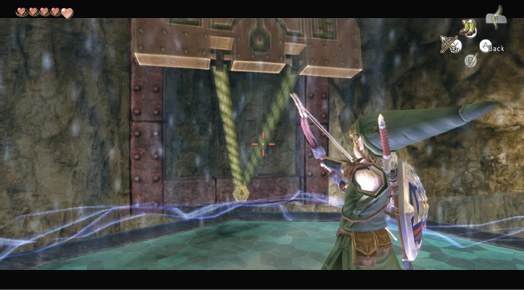
Turn and look at the giant drawbridge in this area’s northwest corner, and aim an arrow at it as you travel upside down to this new area. Rip the rope with an arrow, and the bridge falls, allowing you access out of here! If you drop down without activating the drawbridge, you land in the water and have to retrace your steps.
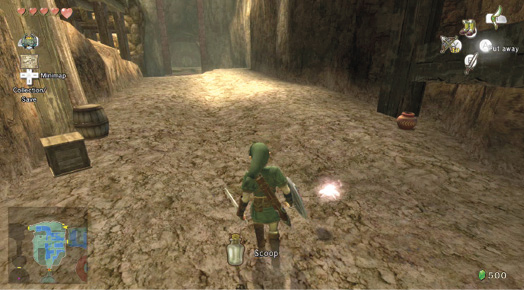
Move to the northeastern dirt area, opposite the drawbridge, and rummage around smashing pots and obtaining Hearts and arrows. One of the pots in the far-left corner contains a Fairy! Capture it with an empty Bottle; you should have two Bottles handy. Exit via the door behind the fallen drawbridge.
 Fairy
Fairy
You caught a Fairy in a Bottle! When you fall in combat, this faithful friend gives you Hearts.
|
Your Compass may be telling you there’s still a chest you haven’t opened in this area, and this is true. However, you cannot currently access it. It is high above you, and you must return here after Dungeon 3 with the Clawshot to obtain the item inside! |