
The Legend of Zelda: Twilight Princess HD Guide Dungeon 3: Lakebed Temple
Task 7: Find Both Pieces of Heart
Chamber 12: First Return to The Grotto and Underwater Maze (BF to 1F)
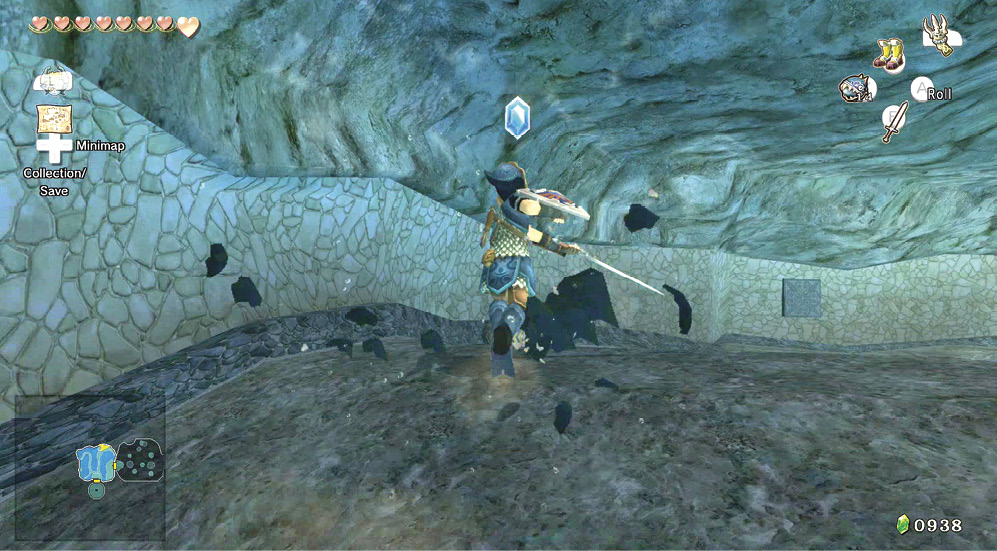
The tunnel snakes around and you appear in the western wall, in the grotto. Swim to the surface, locate the northern dry ground, and head east, smashing a couple of pots for blue Rupees (5). Swim and emerge onto the exit ledge where you first arrived.
Chamber 10: Second Return to Double Cog Cavern (1F)
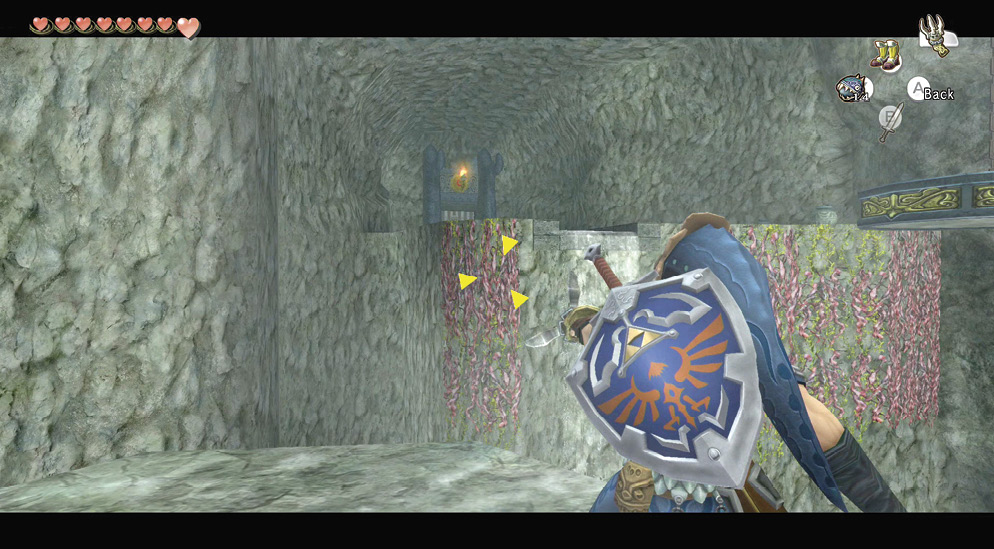
Negotiate this cavern, staying on the same level, by shooting a Clawshot at one of the moving cogs, then dropping to this ledge where you found Treasure Chest #15. From here, use the Clawshot to hit the vines. Climb up and exit via the eastern door.
Chamber 4: Tenth Return to Connecting Bridges (1F)
You must negotiate the connecting bridges to the hub. The waterwheel is rotating against you, so roll from the side, into the space, and back out again. Open the door to the east.
Chamber 5: Sixth Return to Lakebed Column Hub (1F to 2F)
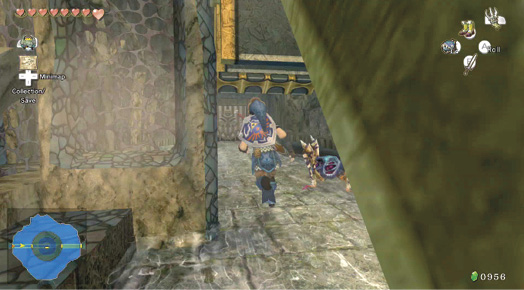
You’re in the staircase-rotating chamber, and this time you must ascend the steps that are cascading with water. On the way, tackle two Tektites.
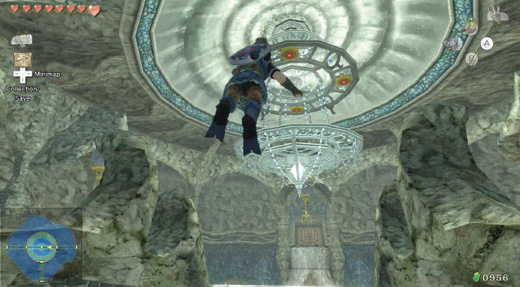
Once atop the steps, turn and face the middle of the chamber. If you remember the chandelier, now is the optimal time to fire your Clawshot at the medallions above it, and land on the light itself. A chest awaits your prying, and the results are well worth it; you’ve secured your first Piece of Heart.
Treasure Chest #24:
Piece of Heart #19
 Piece of Heart
You got a Piece of Heart! Collect one more for another full Heart Container.Piece of Heart #19 of 45.
Chamber 4: Eleventh Return to Connecting Bridges (2F); to Chamber 6: Sixth Return to Single Cog Cavern (2F)
Before you try to use the Big Key, there’s the small matter of the chest you couldn’t reach, at the Eastern Reservoir Tower’s top. Run to the east exit of chamber 5, then dash around the north perimeter of chamber 6, past the Helmasaurs, and enter chamber 7.
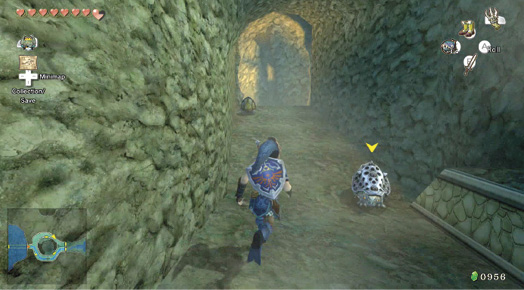
Chamber 7: First Return to Eastern Reservoir Tower (2F to 3F to 4F)
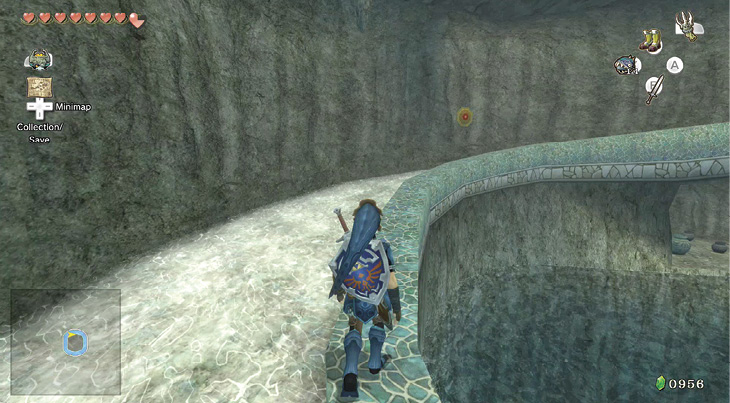
Enter chamber 7, and run to the water chute. Climb over the chute wall, don your Iron Boots (or you’ll be swept into the reservoir), and trudge up the chute. Quicken your pace by climbing on the chute’s inside lip and running up, but watch your step! Jump down, after putting the boots on, each time you encounter a Tektite. You could also use your Clawshot, but this isn’t as fast as heading up the inside lip.
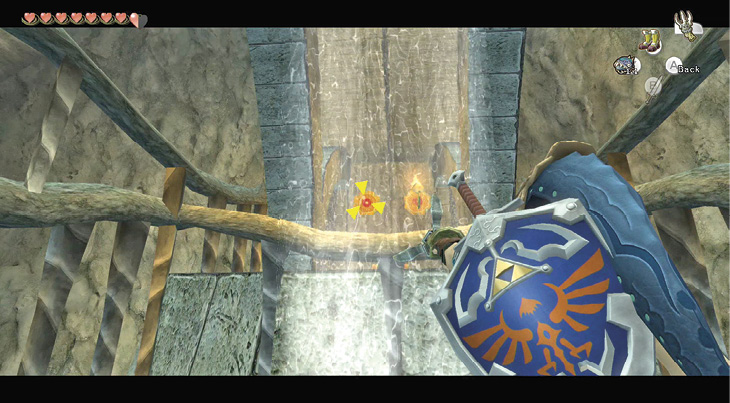
You reach the chute’s top and can bring out your Clawshot. Aim at either medallion, fly through the waterfall, and land by the chest you couldn’t reach earlier. The prize you came all this way for? Why, no less than the Y Hylian Letter Stamp!
Treasure Chest #25:
Hylian Letter Stamp Y
Chamber 4: Twelfth Return to Connecting Bridges (2F); to Chamber 6: Seventh Return to Single Cog Cavern (2F); to Seventh Return to Lakebed Column Hub (2F to 1F)
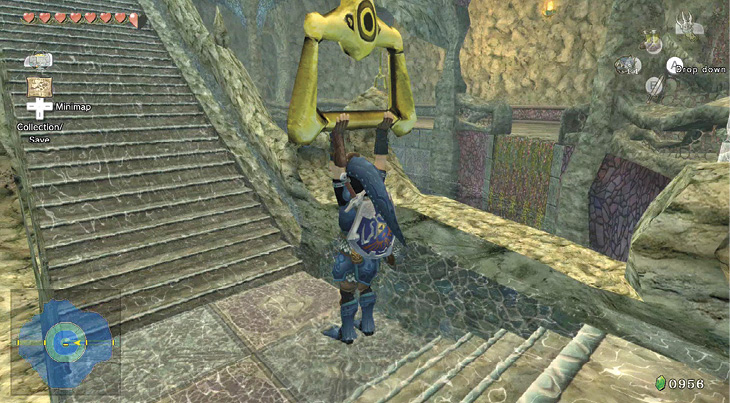
Head through the dungeon to the Lakebed Column Hub, and drop to the first floor. You’re looking for this gold handle, in the eastern area. Pull down hard on it, and divert the water flow from the dungeon’s western part, into the east, for the first time.
Chamber 4: Thirteenth Return to Connecting Bridges (1F); to Chamber 6: Eighth Return to Single Cog Cavern (1F)
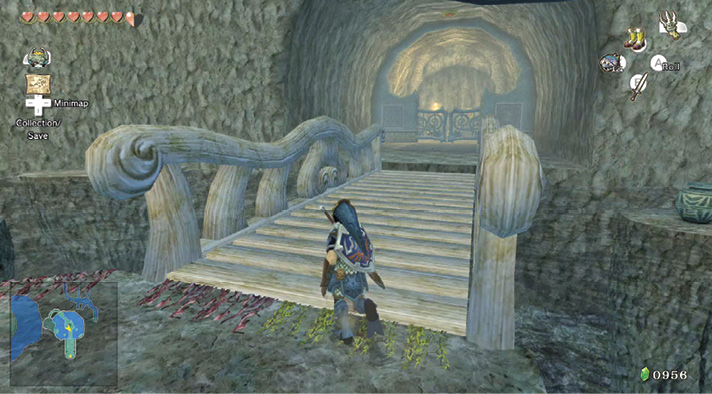
Backtrack to the Single Cog Cavern, making sure you’re on the floor with the rotating circular platforms. Remember that bridge at the bottom of this chamber? Well, the water you just diverted into this chamber has raised the bridge. Head down to it.
Cross the bridge, heading south, to a tiled floor leading to a sealed gate. One of the tiles is pressure-sensitive. Stand on it and the gates swing open, and out charges a Lizalfos! Engage it in decisive combat, rolling and back slicing its rear. Cut down a couple of Tektites, too!
Treasure Chest: After the fight, stand on the pressure sensitive tile, but stay on it. The gates are open, but they close when you leave the tile. Aim your Clawshot at the medallion on the south wall, and propel yourself there. You get there before the gates close, and you can open the chest here. The reward is well worth it this time! When you’re ready to leave, depart via the Clawshot medallion on the ceiling.
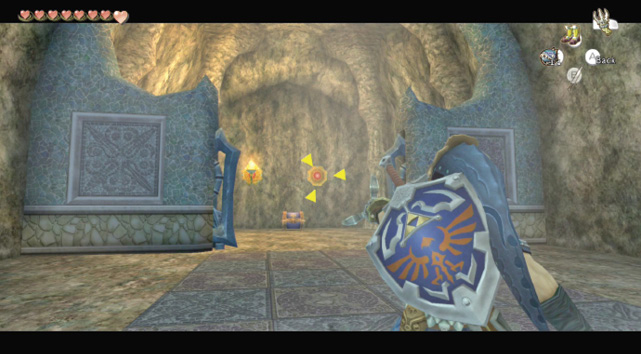
Treasure Chest #26:
Piece of Heart #20
 Piece of Heart
You got a Piece of Heart! You collected five Pieces and formed a new Heart Container. Piece of Heart #20 of 45.