
The Legend of Zelda: Twilight Princess HD Guide Overworld: A Wolf Howls in the Twilight
Task 6: Learn Your First Hidden Skill and Enter the Forest Temple
The Light Returns to Faron Province

As soon as the last Twilit Parasite is captured, no matter where you are, you’re whisked back to the Faron Spring. The spirit thanks you and Midna leaves you. Then the spirit returns in the form of a giant monkey. Your own form has changed, too!
The green tunic that is your garb once belonged to the ancient hero chosen by the gods. Now that hero is you! You must now attempt to seek a forbidden power deep inside the Forest Temple. Midna returns to push you toward that Forest Temple.
Faron: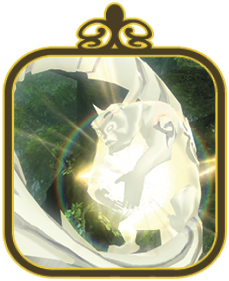 The embodiment of the land of Faron, this magical spirit takes the form of a monkey and resides in the spring near Faron Woods. It seeks the light. |
 Hero’s Clothes
You got the Hero’s Clothes! It is said that these clothes were worn by the hero who long ago saved Hyrule from danger.
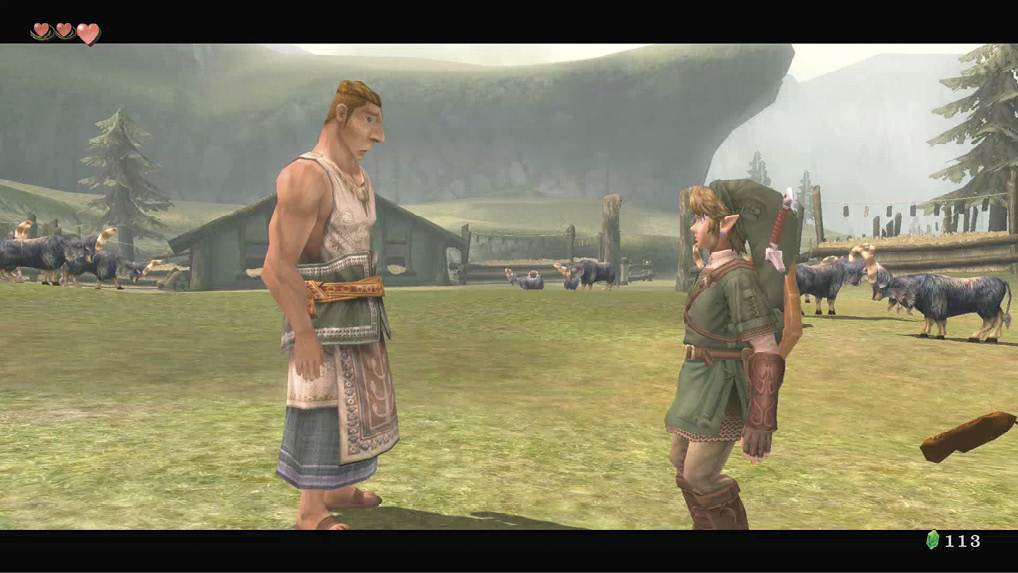
Head to the Forest Temple entrance at your earliest convenience. If you decide to return to Ordon Village, you can visit Fado in the pasture, but Epona cannot be summoned. Fado remarks on your outfit and tells you to find the children. The rest of the villagers have the same request.
Sera, in the shop, is worried about Beth. Hanch is on the rock, fearful of the fate of the tots.
Jaggle is standing by his bench, and Pergie is sitting dejected in her house. Even the puppy is yelping!
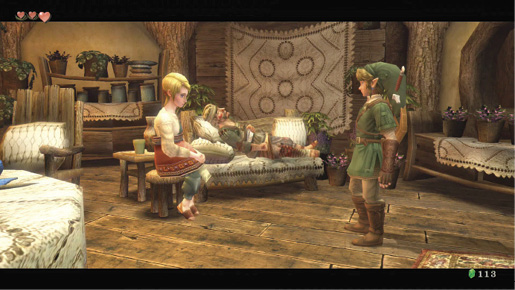
Rusl and Uli are inside their house. They remark on your clothing, as Rusl is nursed back to health. They’re happy you managed to get the sword back from that evil wolf who stole it!
Into the Murky Mists, and an Audience with an Old One
The mayor is away, so head north, over the bridge and into Faron Province. When you’re battling the Deku Baba in the winding path to the Dark Tunnel entrance, Midna tells you how to block with your shield: hold the ZL button. Try it! It makes combat much easier, as the Deku Baba usually hits your shield and is stunned. Finish it easily, and the two others!
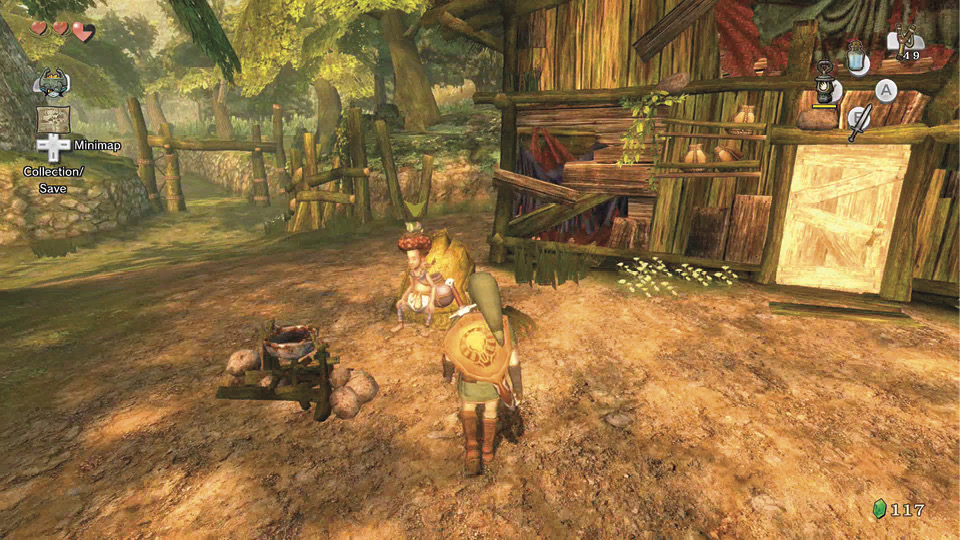
The gate to the Dark Tunnel is locked, and you can’t use the dig hole as Link, so head toward Coro and speak with him. He looks you up and down. You seem to be ready for the challenge, so he hands you a Small Key that opens the gate to the Dark Tunnel leading to Faron Woods. If you need Lantern oil, now’s not the time to buy it.
|
Your Lantern is about to be stolen by a monkey! As long as there’s some fuel left in, don’t put any more in, as the monkey uses the entire Lantern’s fuel supply during the next woodland romp. |
 Small Key
You got a Small Key! This opens a locked door, but only in this area.
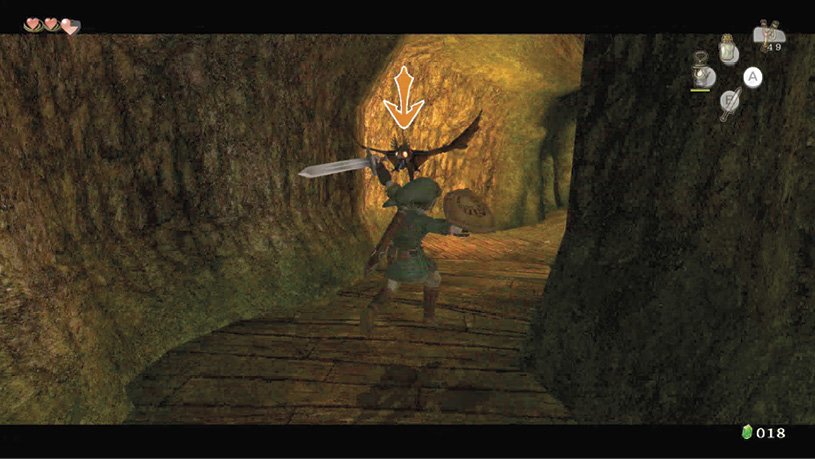
You can’t head north (Midna doesn’t let you), so unlock the Dark Tunnel entrance and head inside. The same enemies and tactics apply during this run-through of the area. Keep moving and take the right fork to appear at Faron Woods.
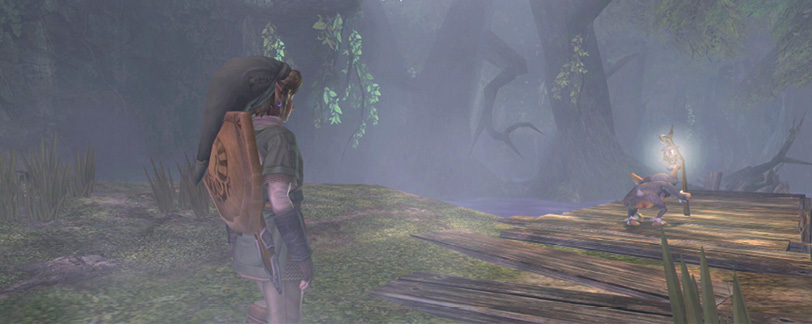
The lower ground is still filled with mist! Bring out your Lantern. As soon as you do, that cheeky monkey grabs it and waves it about. She hasn’t stolen it; she’s beckoning you to follow her! Drop off the wooden pier and draw your sword. Carefully follow the monkey northward, into the woods.
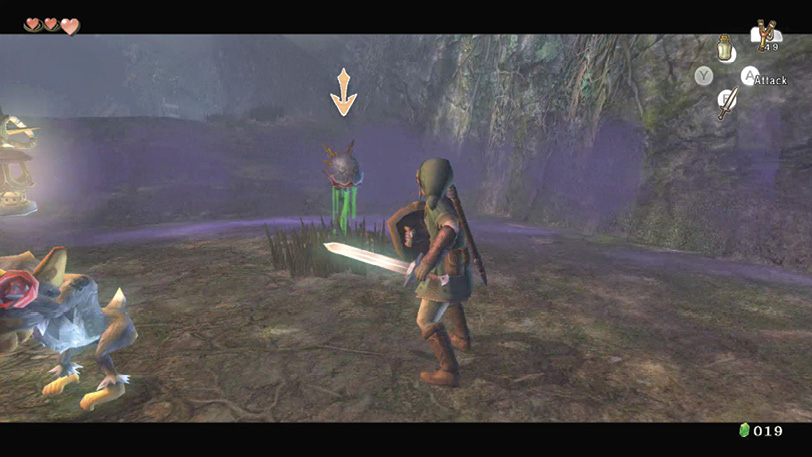
The monkey takes you on a long route, around the right side of the giant tree. On the other side, tackle a Keese, then keep up with the monkey. She runs through the arch in the tree and is scared by a Keese. Keep going, and defeat a Deku Baba. Do not try leap attacks that take you into the mist, or you’ll have to retrace your steps!
The monkey throws the Lantern down and escapes toward the Forest Temple. Pick up your Lantern again. It is empty, so head directly toward Trill’s Shop. Slay two Bokoblins along the way, then dip your Lantern into the oil, and optionally fill your bottle. Don’t forget to pay the bird!
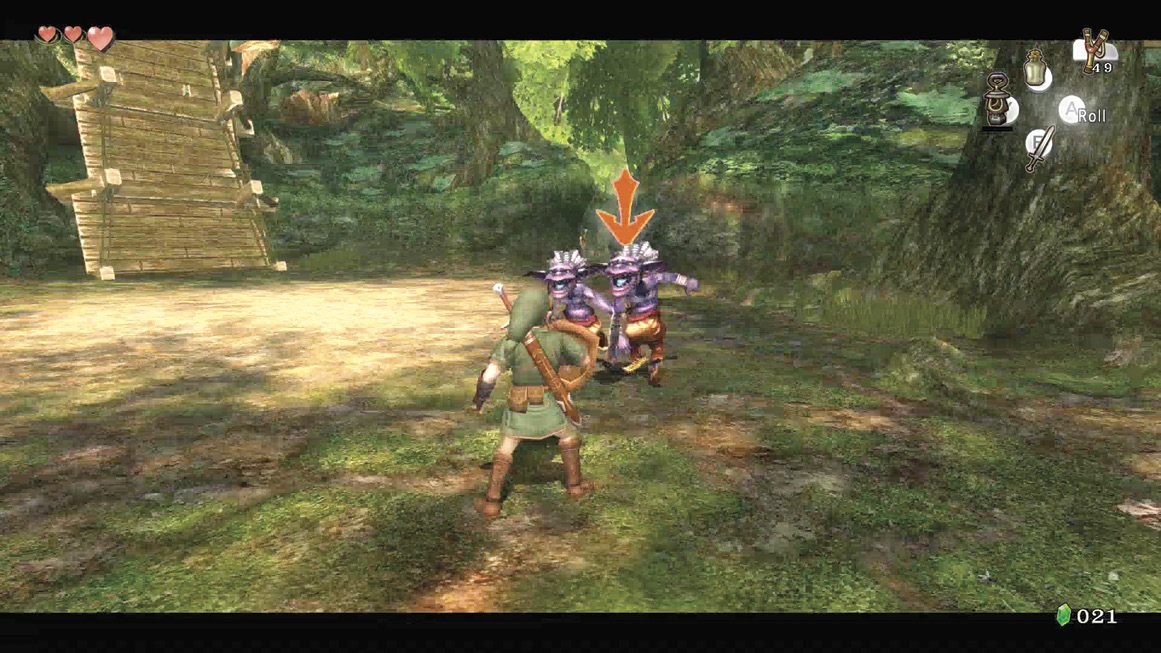
 Lantern
You got the Lantern back! It ran out of oil while you were following the monkey around.
Did you notice a chest that appeared in Faron Woods? It was on the upper of the two stump platforms on the giant tree in the middle. It wasn’t there before! If you’re after every chest, head back to the mist-filled woods, bring out your Lantern, and wave it using the X button. Step into the mist!
|
Do not press the A button! If you do, you’ll put your Lantern away, and choke on the murky mist! |
Overworld Chest #7:
Red Rupee (20)
Follow the path the monkey made in reverse. Move right around the base of the giant tree, then to the edge of the mist that has receded, and wave your Lantern again. Keep this up until you reach the two stump ledges. Climb to the upper one, and open the chest.
You can actually leap off and succumb to the mist now! You’ll teleport to the entrance to the Forest Temple and Trill’s Shop, and lose only a quarter Heart energy! Or, drop slowly down, wave the Lantern, and carefully head southwest out of here! Head back toward the Forest Temple immediately!
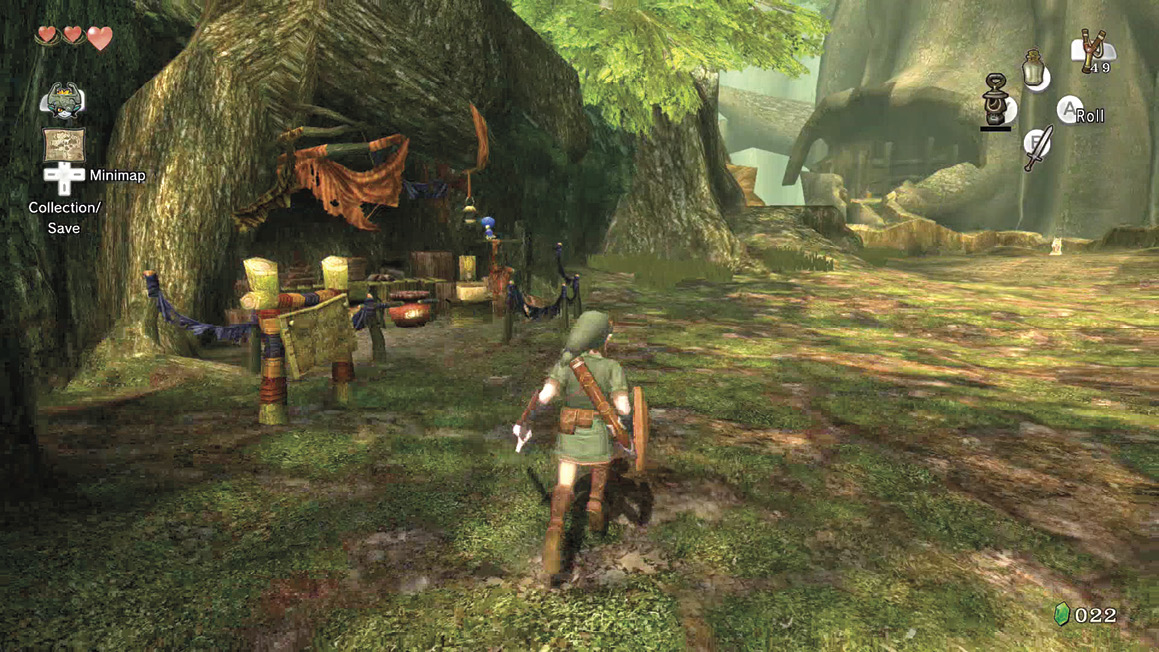
Hidden Skill: Ending Blow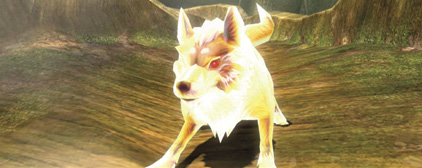 As you reach the entrance trail to the Forest Temple, you spot a ghostly White Wolf with red eyes. It looks fearsome, but strangely, you feel you know this creature! It pounces on you, and you both disappear into the ether! You are transported into a strange, cloud-like area with Castle Hyrule partially submerged in the distance. The White Wolf has turned into a heroic, armored skeleton of old. Could this be a past adventurer, appearing from beyond the grave to teach you new combat techniques? 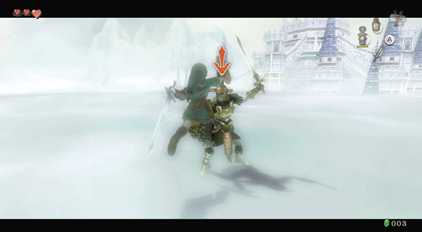 Target the undead hero, and attempt to strike him. You are knocked back. “A sword wields no strength unless the hand that holds it has courage.” But you are still ready to learn the ending blow. “Enemies that are filled with energy will quickly recover and attack again even when stunned by a powerful strike. The ending blow is a secret technique you can use on stunned enemies to end their breath before they spring back into action.” Knock the undead hero on his back or front, then complete this technique. 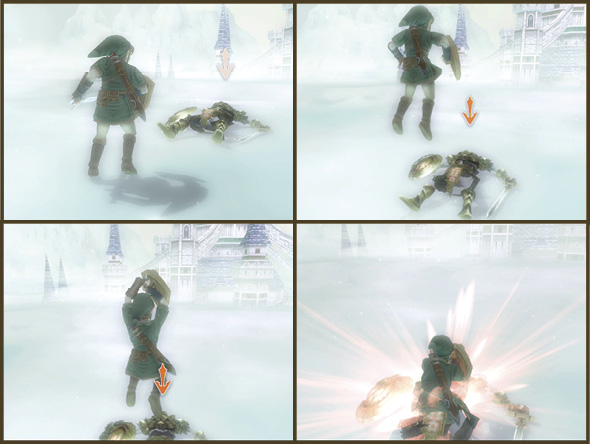 Ending blow: press the ZL trigger to target and then press the A button when an enemy is stunned on the ground.
|
 Ending Blow
Hero’s Shade: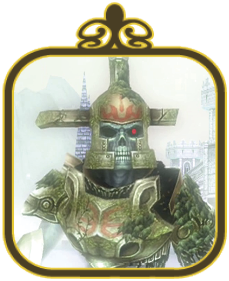 A spirit covered in armor, the Hero’s Shade lives in a visionary world and teaches the art of weapon-play to you. He talks politely and classically, like an old-fashioned master of the sword. |
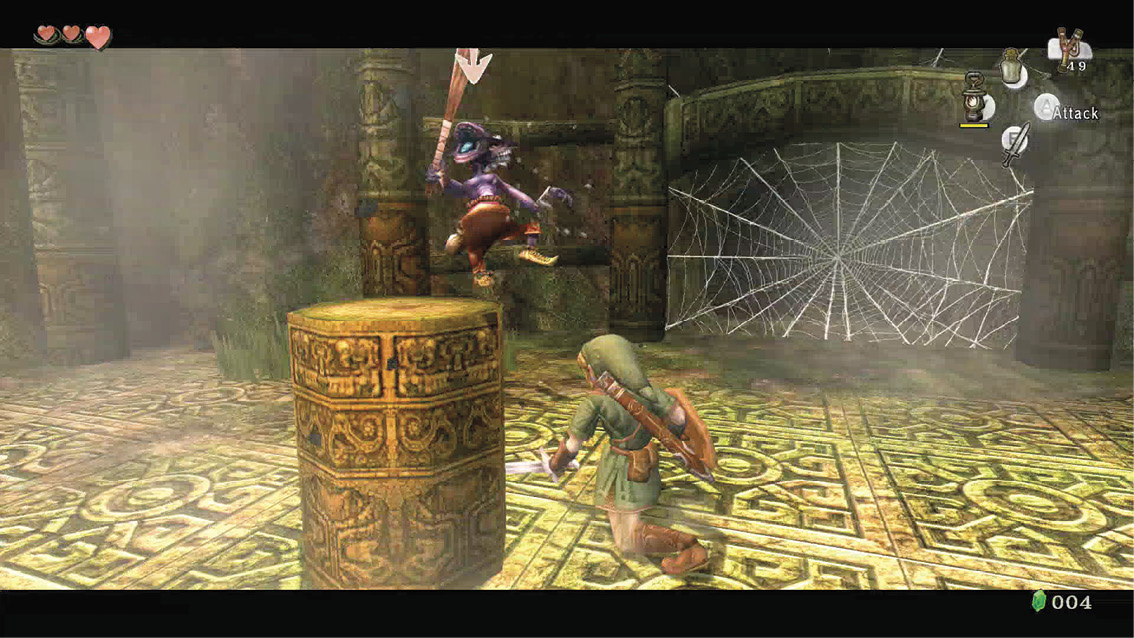
Run up the trail to the Forest Temple entrance, and attack two Bokoblins. Try knocking them off their feet with an ending blow. Then burn the Skulltula web with your Lantern, and enter your first dungeon, the dank and murky Forest Temple!