The Legend of Zelda: Twilight Princess HD Guide Overworld: From Faron Province to the Goron Mines
Task 1: Smell the Scent, Learn the Danger
Entering Hyrule Field (Faron Province)
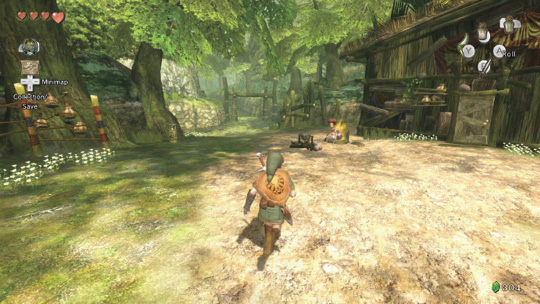
You’re at the Faron Woods Spring and can optionally bathe here to restore your energy to full (four Hearts, as you’ve just slain the dungeon boss!). Epona is still nowhere to be found (the Horse Grass has no effect), so set off toward the only unexplored area: the open gate north of where Coro is selling his oil. Optionally buy some if you wish.
Missing Links
1. Cutting Coro’s Grass
As with all areas you’ve previously visited, you can run around, slashing grass, hitting scenery, and generally disturbing the area where Coro resides to obtain the odd additional Hearts and Rupees.
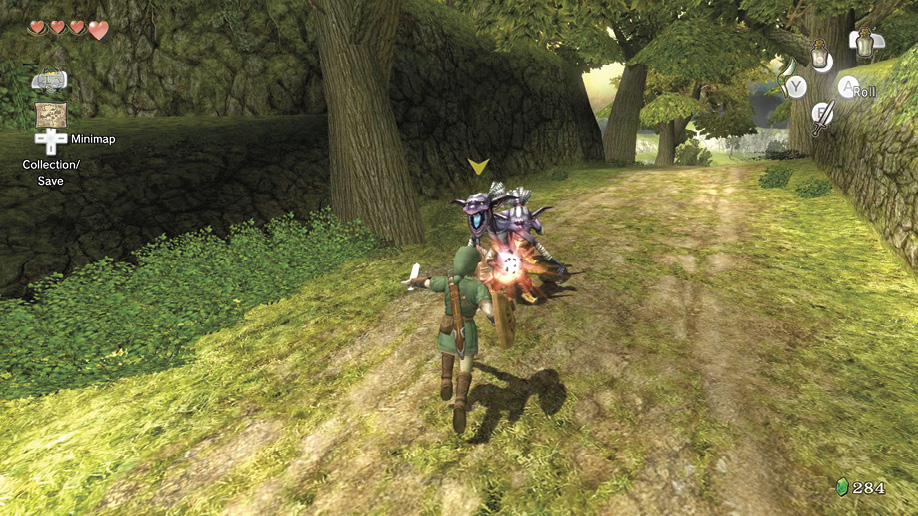
Leave Coro’s hut behind and venture onward, into a long narrow grass-filled path toward the huge, open Hyrule Field. This is the northern part of Faron Province, and the path is guarded by a couple Bokoblins. Bring them down with some sweeping swordplay.
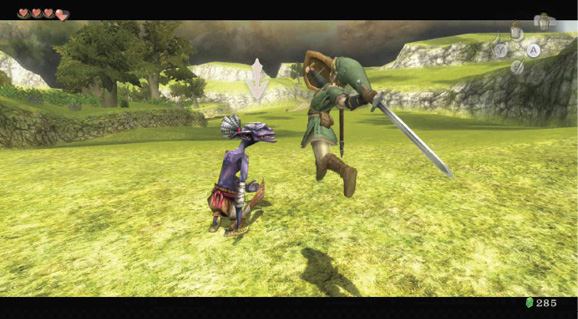
Then you enter Hyrule Field (Faron Province) itself! In the distance, the evil glow of twilight pervades the lands. Slice at a roaming Bokoblin!
|
Begin to wander through this open expanse of area. The Missing Links section shows exactly what you’ll find during this investigation of the large new area. As you reach the middle of the field, however, your progress is halted by a thin man in very tight attire. He’s yelling at you! This must be the Hylian Postman! 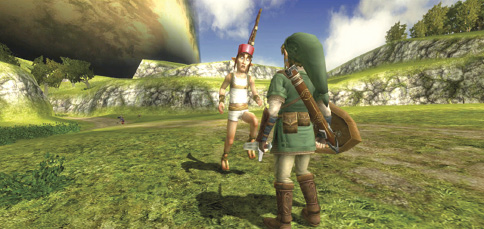
He tells you to go no farther, as a black wall blocks the path ahead! He then introduces himself and hands you your first letter. Press down on the D-Pad to open your Collection screen and select the letter. The letter is from the Postman himself, telling you not to flee when you see him approach at high speed!
|
 Letter #1
Kargarok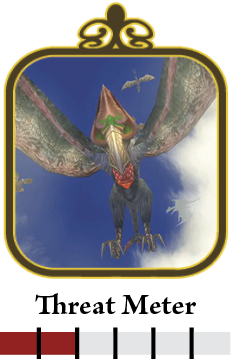
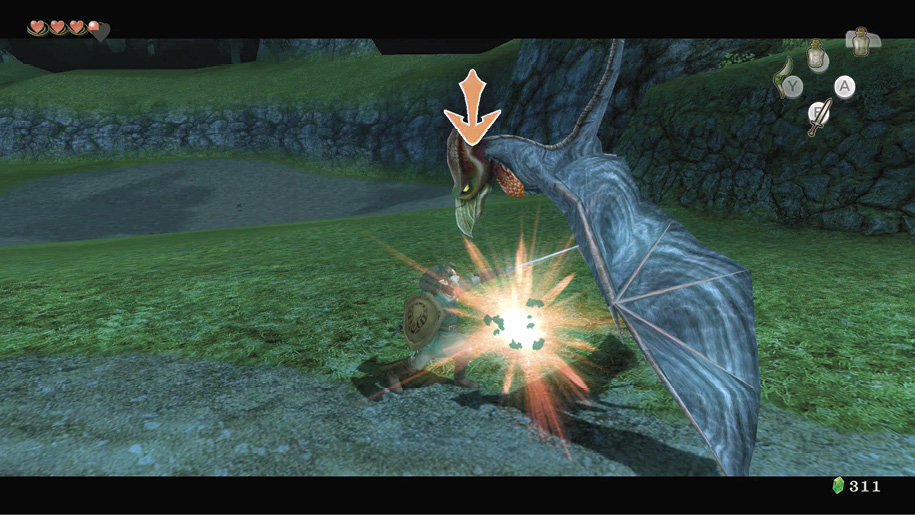
If you’re traveling along the main path, you’re usually set upon by a couple of Kargaroks: giant, bony birds with a nasty bite that can be troublesome if you’re not defensive with your posture. Target each bird one at a time, somersault back, then attack with a leaping slice. This sends the flapping foe down to the ground. Finish him here with an ending blow, or wait for multiple Kargaroks to flap about and then use your always-dependable spin attack. Watch the ending blow though; if you miss, your sword gets stuck in the ground, and the Kargarok gets a free attack! 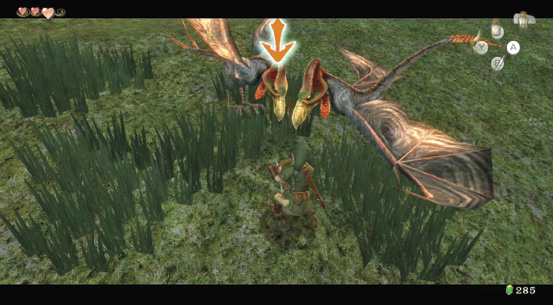
Auto-target each monstrous bird, leap back, and attempt a jumping strike. Then locate the fallen flying fiend and finish him! 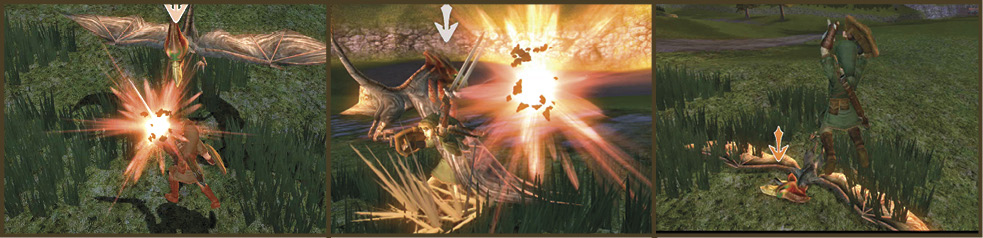
|
Stalhound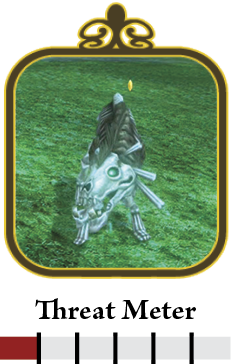
As night is falling, you’ll also encounter a couple of skeletal dogs known as Stalhounds. These undead beasts dig up from the ground below, follow you and attack if you engage them or slow down, then burrow down back, only to reappear from the same place again. Two spin attacks are all that’s needed, but a couple of leaping strikes also provide an entertaining way to rid yourself of these bony brutes. They tend to drop Rupees, too. 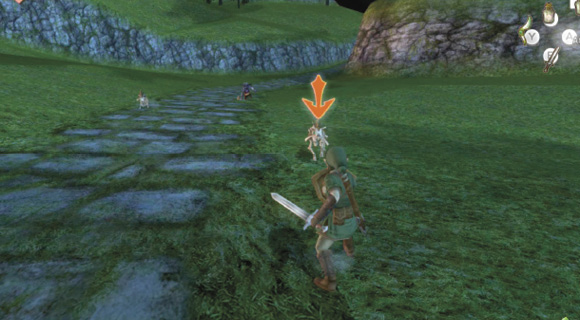
The Stalhound is an undead dog with a bark far worse than its bite. Slash it twice, and it crumples into dust! 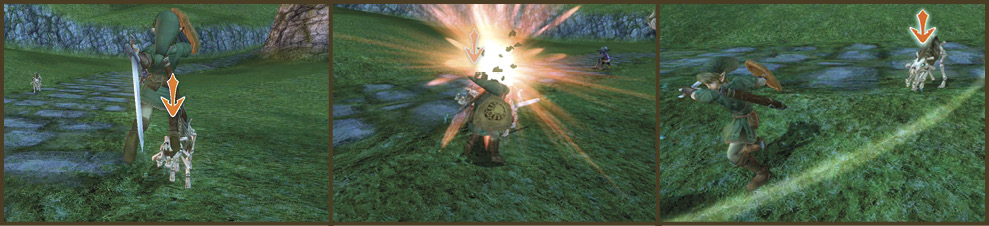
|
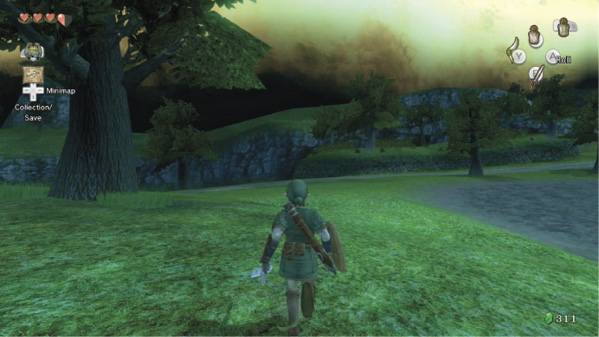
Move to the middle of this area and look east, to a group of trees on a bank you can’t climb. Do you notice something twinkling or glowing on one of the trees?
Golden Bug: Female BeetleCollection: 1 (of 24)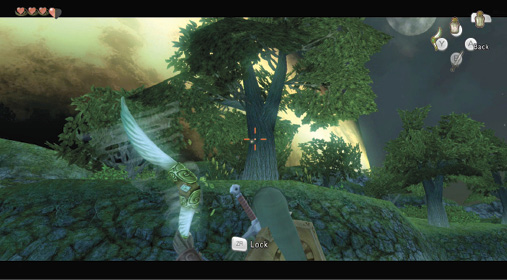
Yes, there’s definitely something sitting on the side of that tree! Bring out your Gale Boomerang and aim it at the insect. The wind brings the bug back. Put the Gale Boomerang away and look for the bug flitting about nearby. Walk slowly toward it, waiting for it to descend, and when the “Pick up” message appears, grab it!
|
 Female Beetle
|
Golden Bugs are scattered throughout Hyrule, and it’s your (optional) job to find them all! Here are some bug-hunting tips:
|
Continue maneuvering around the Hyrule Field and you encounter a few more flapping Kargaroks, plus a rise of trees, a shallow lake, and a bridge you can cross over and run under. Move into the southwestern area of the field. A stone ground slopes gradually into the shallow lake, and there are a couple of Bokoblins to take down.
Golden Bug: Male BeetleCollection: 2 (of 24)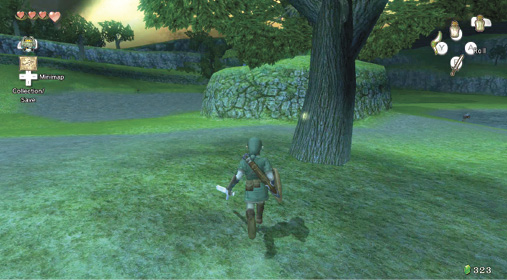
Sitting on a tree within reach, near where the two Bokoblins roam, is a Male Beetle! It buzzes and flits away as you near, so follow it slowly, watching it as it lands in the grass a little ways away.
|
 Male Beetle
|
You’ve found a pair! This gives you an additional reward if you can find someone interested in insects! |
Bomskit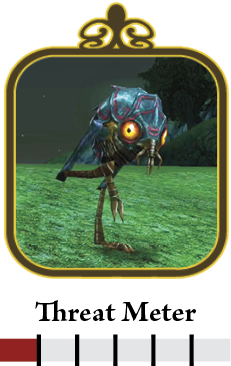
Now move into the south and western part of Hyrule Field, and you spot another strange critter. This one is really odd—a two-legged, scaly, bug-eyed foe that scuttles away from you as soon as it sees you! It drops a series of exploding organic bombs that cause minimal damage. Mainly defensive in nature, the Bomskit flees when you near; you can’t catch it unless you auto-target and run it into a wall so it turns and tries to escape near you. Simply hit it with any projectile weapon if you want to dispatch it, but there’s no need because these aren’t that aggressive. 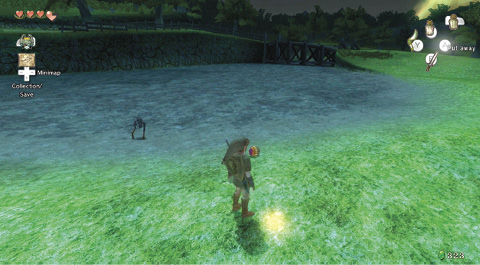
|
 Worm Bait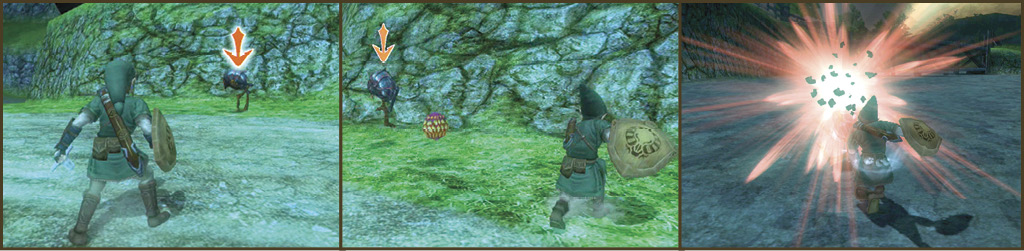
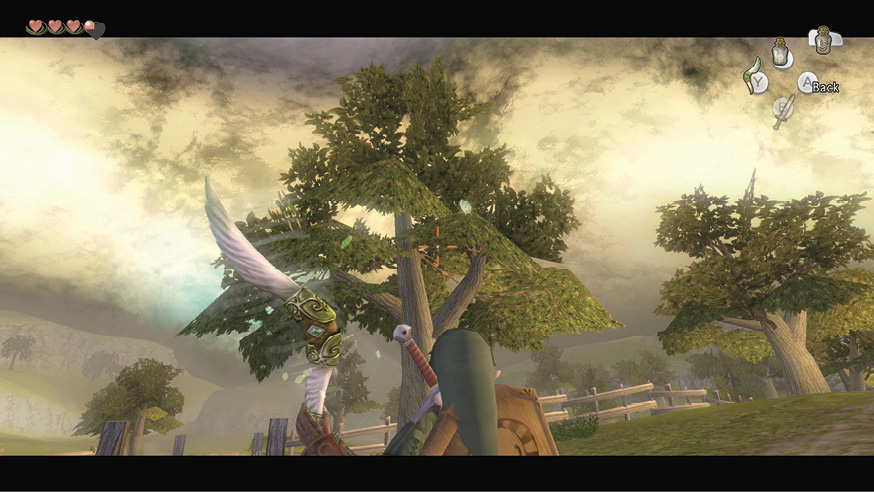
Continue your exploration of Hyrule Field (south) by walking back to the main path and locating the southern end of the bridge, near the paths. Look for a tree to the right of the entrance. Did you spot something rotating on one of the branches? It looks like a Piece of Heart! Bring out your Gale Boomerang and target this object. The wind whipped up by the Gale Boomerang brings this item back to you. Excellent!
 Piece of Heart
You got a Piece of Heart! Collect 1 more for another full Heart Container. Piece of Heart #4 of 45.
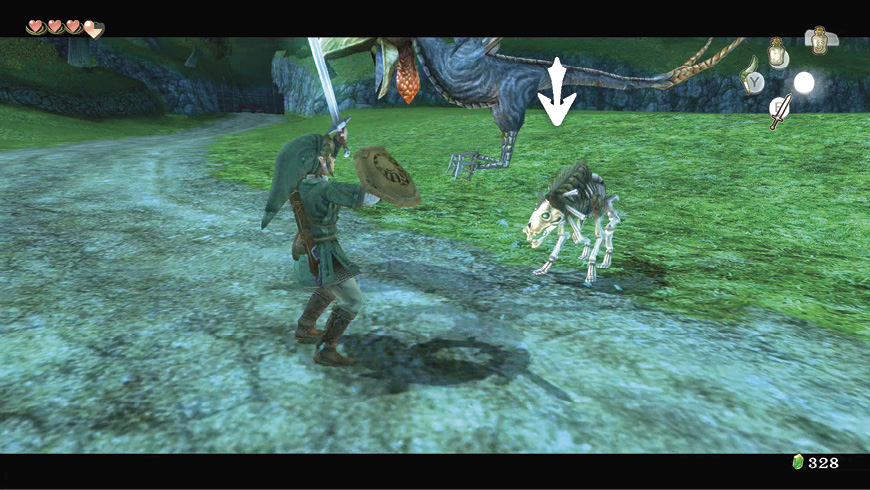
With this valuable item stored in your Collection menu, move around the western side of the field, keeping a close watch on the fearsome foes that reappear after a while. Dish out sword damage to two more Stalhounds and Kargaroks.
Head northward, optionally following the path, and you discover that the path heading to the northwest is sealed by a Bulblin gate. Two warriors guard this area with their lives, which you should cut short. Afterward, journey east, across the grass. Your trek continues as you cover the remaining area after a thorough search of this field. Defeat a Bokoblin near the path that winds north. Move across to this path. The northern path is blocked by a rock fall.
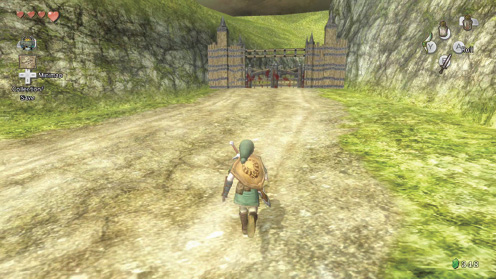
Journey northward to see a firmly sealed gate guarded by a couple of none-too-bright Bulblins. Ending blows seal the victory!
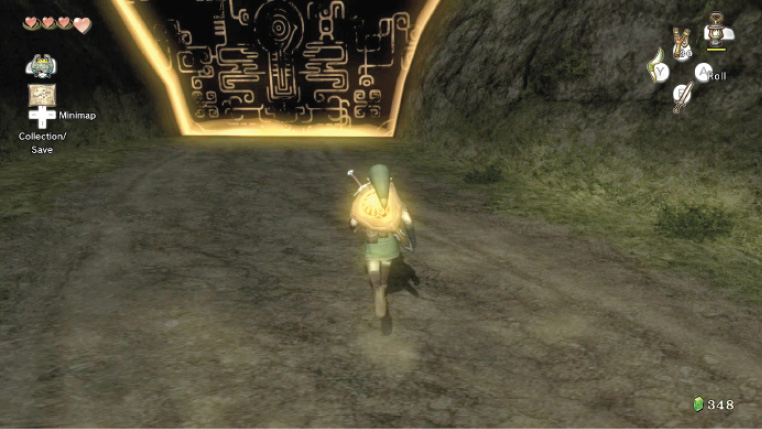
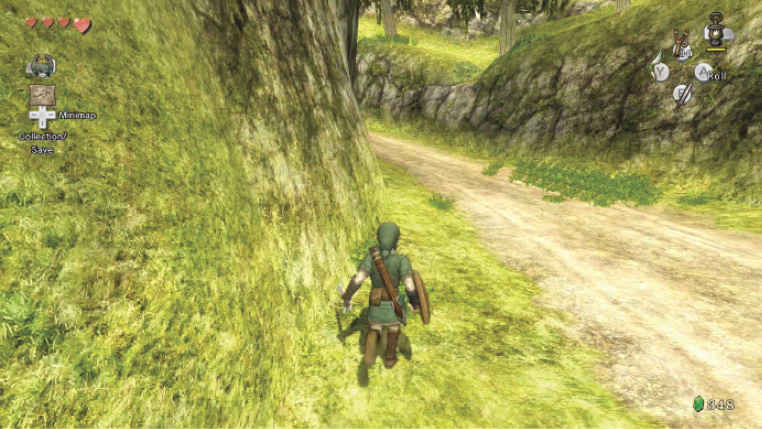
The far eastern part of Hyrule Field is the only available exit, so move to the path and run (and roll) out of here. The path closes in on both sides, before you reach an imposing black barrier. Walk forward, and Midna appears. She tells you it’s a good idea to head this way, but you’ll transform into a wolf. Head toward the wall.
Missing Links
1. Hyrule Field: Southeast Area
This part of the field is a gently rolling hill with a copse of trees to your left, and a small clump of grass or two on the edge to slice. This is a shortcut to the eastern path.
2. Eastern Path
As the sun sets, check out the eastern path. Some clumps of grass near the trees reveal multiple Rupees with a single slash. Rolling into trees doesn’t seem to offer any more money, though.
3. The Middle of the Field
Aside from a roving Bokoblin, there’s little to trouble you here. Some grass gives multiple Hearts near the shallow lake and large tree. Check the shallow lake for Bomskits to scoop.
.jpg)
4. Under the Bridge
Closely inspect the bridge and you’ll see a large chest underneath the southern end! Alas, you can’t reach it yet, and there’s some strange gold medallion on the underside of the bridge, too. Perhaps you need the fabled Clawshot for this?
5. The Northwest Area
Exploring the northwestern part of Hyrule Field nets you little except sore feet after a lengthy walk, but there are some small patches of grass near the Bulblins’ gate.
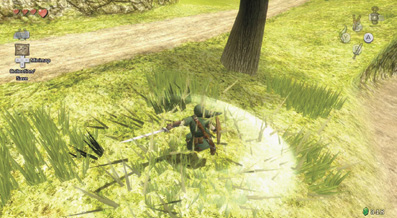
6. The Ring of Grass
As you cross from west to east, over the large mound of grass, notice a ring of grass in the middle of this section. Be on the lookout for these; although they don’t offer anything at the moment, a wolf could have fun digging here!
7. By the Black Barrier
The patch of grass near the black barrier, on the eastern exit path, is filled with a Rupee and three Hearts; this is a great place to re-energize!
A Wolf in Eldin Province: The Scent of Danger
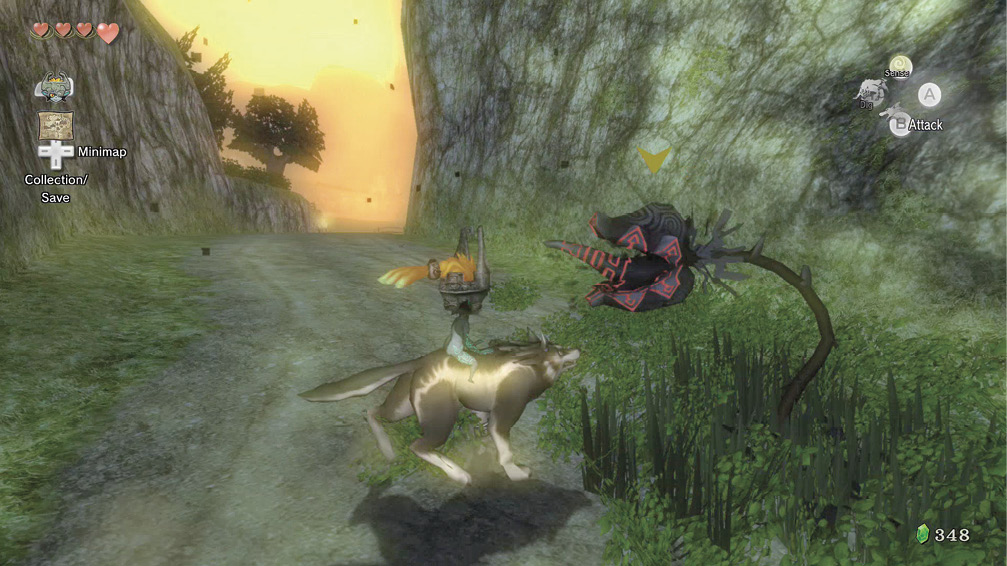
Midna asks if you wish to enter the twilight. Agree, and you’re grabbed by her giant orange hand and pushed through the wall of twilight. You’re transformed into a wolf and cannot return, so proceed up the winding path. Attack the Twilit Baba on the way.
Youth’s Scent
Continue to the top of the pathway, and sniff the Wooden Sword that’s stuck in the ground. Use your sense view to discover a yellow mist emanating from it! This is a scent; the smells of Talo, Malo, Beth, and Colin! That Wooden Sword is the one you gave to Talo.
|
 Youth’s Scent