
The Legend of Zelda: Twilight Princess HD Guide Overworld: Journey Through Lanayru Province
Task 7: Locate All 12 Twilit Parasites: Face Twilit Bloat
Lake Hylia: Twilit Parasite #1
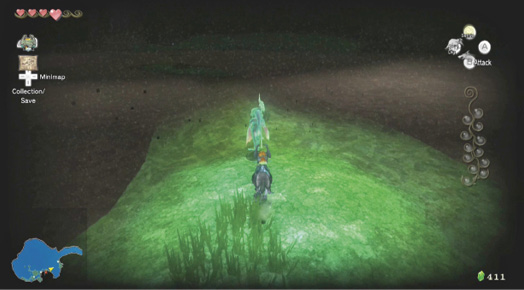
Your map now has several white dots indicating the locations of the 12 Twilit Parasites. You begin in Lake Hylia and can attack the Parasites in any order. We chose to head north and east, toward a Zora worried about a strange fluttering foe.
|
When you reach the small jetty, Midna says you can blow on the Bird Grass over on the small promontory and ride the Twilit Carrier Kargarok up to Zora’s Domain. There’s no real need to do this, however, as you can warp there. |
Walk along the series of half-submerged tiny islands that stretch from the spirit cave to this small jetty. Collect items from the grass slicing if you wish, then prepare to fight a nasty Twilit Parasite when you reach this place. Grab the orb it explodes into.
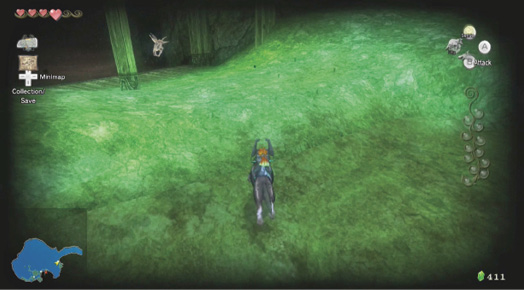
Lake Hylia: Twilit Parasites #2 and #3
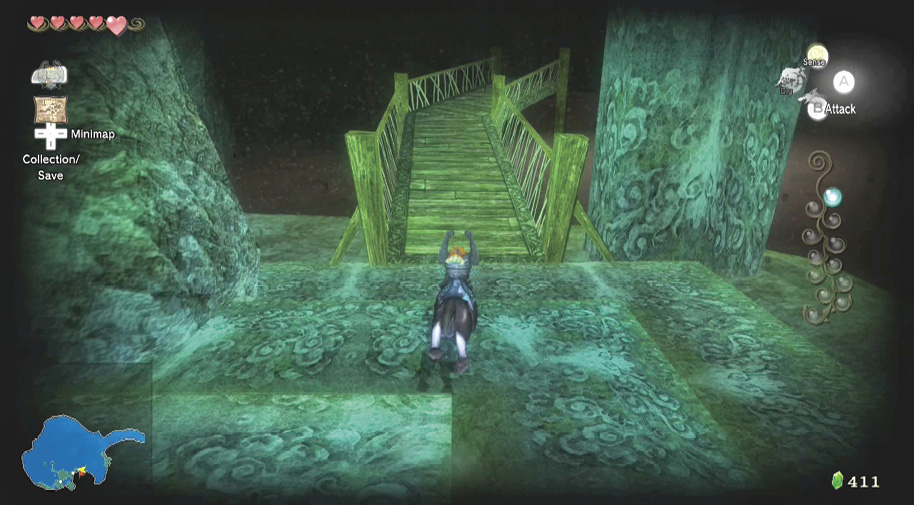
Retreat back to the spirit cave entrance, then journey along the wooden bridge to a series of small grassy islands in the lake’s southern part. As soon as you leave the wooden bridge sections, you see a Parasite scuttling about. Switch to your sense view, then target and leap on it. Collect your second orb.
Warp Portal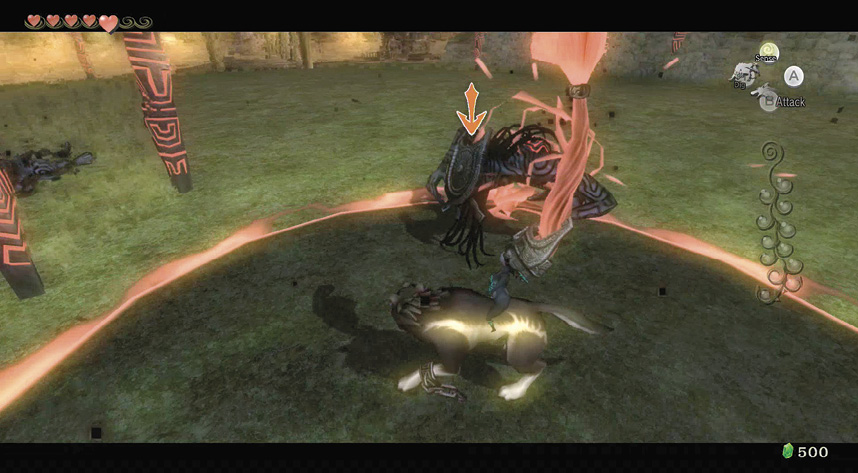
Continue heading toward Fyer’s odd-looking hut, and you enter a circular plateau of grass where you hear the familiar sounds of three incoming Twilit Messengers. Run to the fence’s opposite side, dispatch the one standing away from the other two, then coax the remaining Messengers closer to each other. Defeat them as normal, using your area attack. You can now warp to and from Lake Hylia. |
|
The warp portal point at Lake Hylia is one of the most important. You’ll use this a lot during your collecting. |
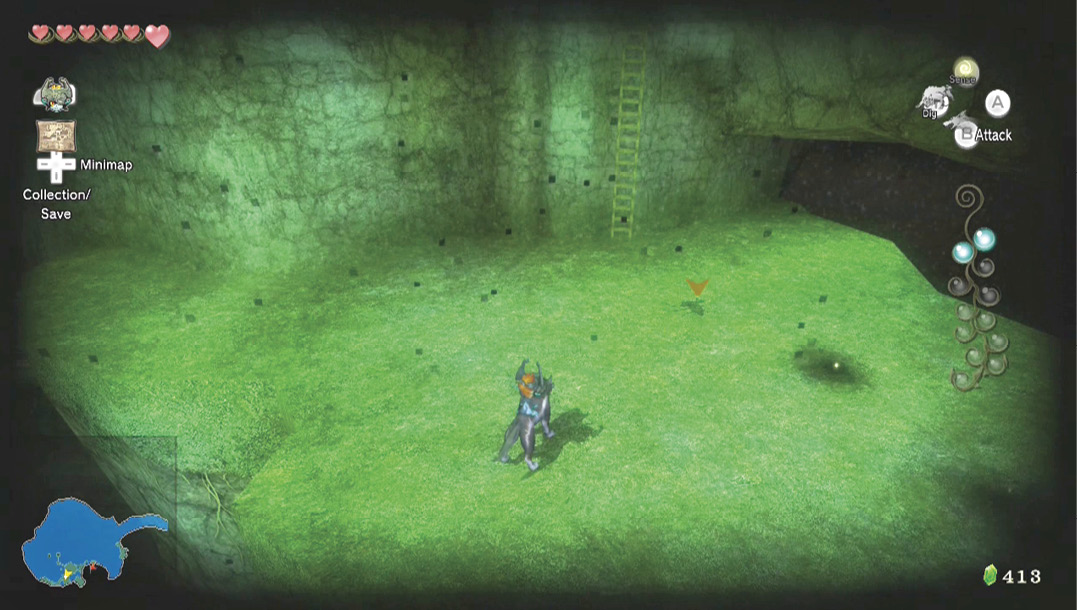
Now that the Twilit Messengers have gone, you can concentrate on locating the next Parasite.
Cross the small wooden bridge on the plateau’s south end. You’ll find the Parasite underground at the plateau on the other end of the bridge.
You’ve removed the Twilit Parasite problem from Lake Hylia, but these vermin appear in other places. The next place to look is up the Zora’s River. You must call the Twilit Carrier Kargarok to fly you there. Perform a howling at the tiny island adjacent to Fyer’s hut or at the promontory jetty where you found Parasite #1. The pitch is as follows: High, Low, High, Low (hold).
Missing Links
1. Lake Hylia (during the Hunt for Parasites #1–#3)
Now you can investigate the upper ground of Lake Hylia. Locate these areas for Rupees and Hearts:
- Grass: The mound the Zora is standing on (Rupee) during Parasite #1 hunt
- Grass: Half-submerged just east of the Zora during Parasite #1 hunt (Rupee)
- Grass: The tiny island east of the Zora, on the way to Parasite #1 (Rupees and Hearts)
- Grass: The half-submerged grass at the end of the tiny island’s path (Rupee), near Parasite #1
- Dig spot: Under the location of Parasite #1 (Rupees and Hearts)
- Grass (around four areas): On the grassy ledge, in the eastern area of Lake Hylia (Rupees and Hearts)
- Dig spots: Three or four areas on the eastern grassy ledge, Lake Hylia (green [1], blue [5], and yellow [10] Rupees)
- Dig spots: On the flat plateau the Twilit Messengers appeared on (Rupees and Hearts)
- Dig spots: On the smaller connecting island near the wooden walkway to Fyer’s hut (Rupees)
- Grass and dig spots: There’s plenty on the small grassy rock where you dug for Parasite #3 (Rupees and Hearts)
Zora’s River: Parasites #4, #5, and #6
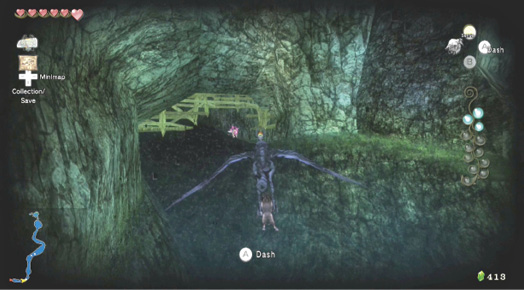
Once on the Twilit Carrier Kargarok, slow down and switch on your sense view right away. The map tells you the four locations you can find each Parasite. To defeat each one, you must dash (A button) into it. Don’t worry if you miss; the Parasites usually fly after you. Simply slow down, wait for the Parasite to pass, then ram it. Continue with this plan until you defeat all four Parasites; the orbs automatically coalesce into you.
Upper Zora’s River: Parasite #7
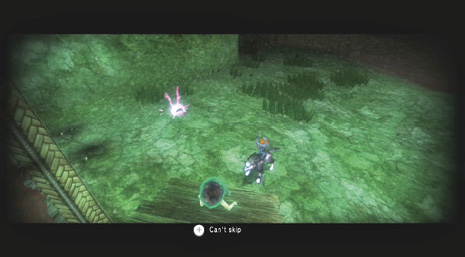
You’re back at Iza’s dwelling, and she’s relaxing on the steps. Speak to her, and the electrical discharge from the Parasite freaks her out. Locate the Parasite, which is behind you, and pounce on it. Iza doesn’t know what to make of this sparkling (as you’re invisible to her)!
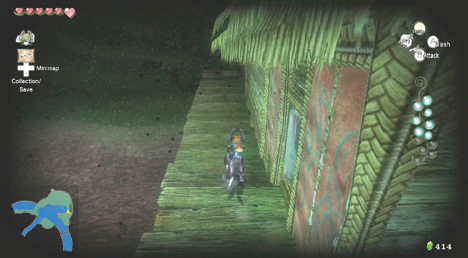
With the water now running through the river, you can access the platform linking the north and south banks of this area. Run across here, and read a sign about the boat trips. Then head down to the north bank and explore; there are the usual spots to locate.
There’s an interesting locked door in the north wall. The sign next to it lets you know there’s a Fishing Hole beyond. Remember to come back here. A Bomb Rock is on the upper area here as well.
Missing Links
1. Upper Zora’s River (after the Hunt for Parasite #7)
The north bank of Upper Zora’s River near Iza’s hut is packed with goodies:
- Grass: Against the rock wall, just to the side of the dwelling (Rupees)
- Crates and dig spots: To the side of Iza’s dwelling (Rupee and Hearts)
- Grass: In the middle of the bank, leading to the Wind Stone (three Hearts)
- Dig spot: Behind the sign for the fishing hole (yellow Rupee [10])
- Grass: Just left of the path to the fishing hole (Rupees)
- Grass: Darker grass on the Wind Stone promontory (Heart)
- Dig spots: Under the Wind Stone promontory (Hearts and Rupees)
- Dig spots: On the lower bank, near the water’s edge, west of the Wind Stone (Rupees)
- Grass: Two places before and after the Bomb Rock on the upper ground (Rupees)
Hidden SkillHowling for the White Wolf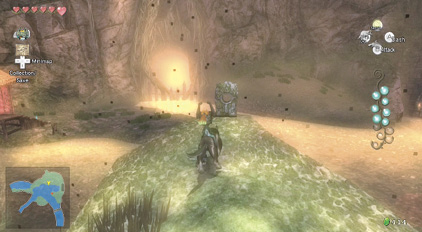
Before you continue, it is vitally important that you investigate that strange ceremonial stone on the nearby rocky promontory. Listen to the tune the wind whistles through the hole in the rock. You must now recite the tune. Watch the tune, or follow the instructions here, then replicate it. The pitch is as follows: Low (hold), Middle, Low, High (hold), Middle, Low. Press Up to howl high and Down to howl low on your Left Analog Stick. For midrange howling, don’t move the stick. You appear as a wolf near some snowy peaks. The White Wolf appears at the end of a leafy edge, on the world’s opposite side. You howl the tune again. When you finish, the White Wolf tells you, “Let teachings of old pass to you….”
|
Zora’s Domain: Parasite #8
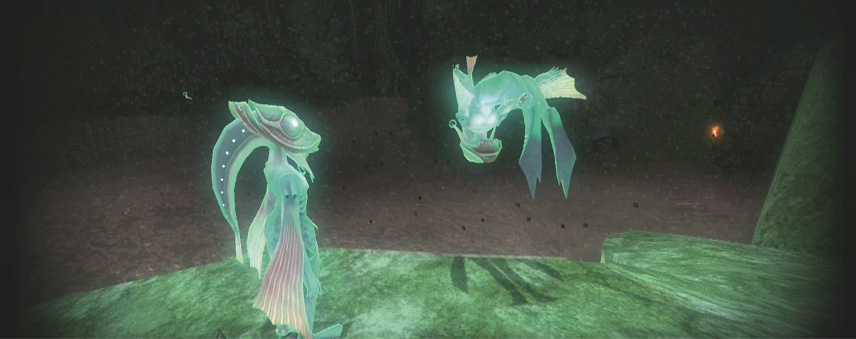
When you’re done howling, move to the far end of the upper bank to the natural bridge, upon which two Zoras stand. They are searching for Prince Ralis and dive into the water, where they swim down the stone tunnel with the torches on each side. Don’t swim just yet.
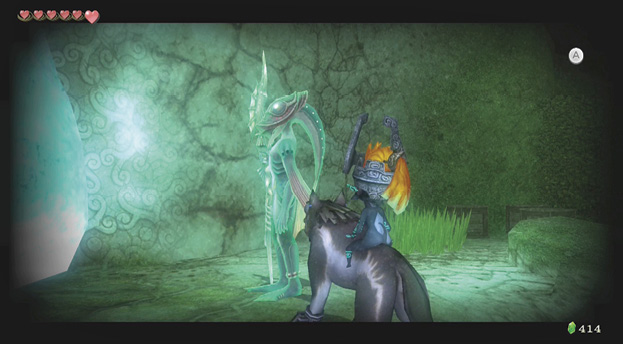
Instead head north into Zora’s Domain, as there is another Twilit Parasite to locate. Move along the western bank and listen to the Zoras talk about falling molten shards. Continue farther along to a Zora looking at an icy blockade; the route to Snowpeak is impassable!
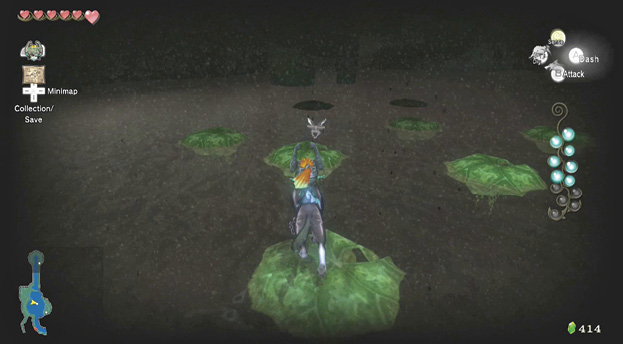
Drop to the water now and swim into the middle of this area. Use your sense view to locate the Twilit Parasite buzzing about the series of tiny islands here. Climb on an island and be patient. If you miss, climb on another tiny island before you’re zapped. Keep this up until you defeat the Parasite and collect its orb.
Zora’s Domain: Parasite #9
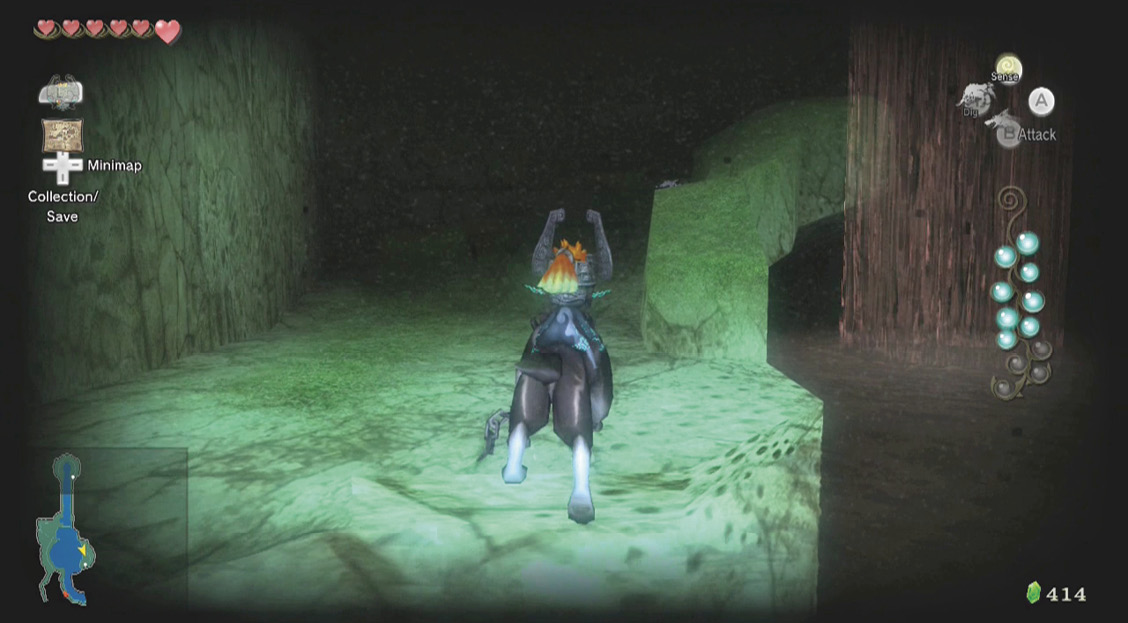
When you’re done with the Parasite in the middle of the waterfall pool, swim east toward a small and large rock. Climb onto an area of stone. Head up the grassy ramp and locate the shadow in the earth, near a crate. Dig up the bug in the shadow, then pounce on it quickly, or it will fly above you and torment you for several minutes before dropping low enough for you to jump and grab it.
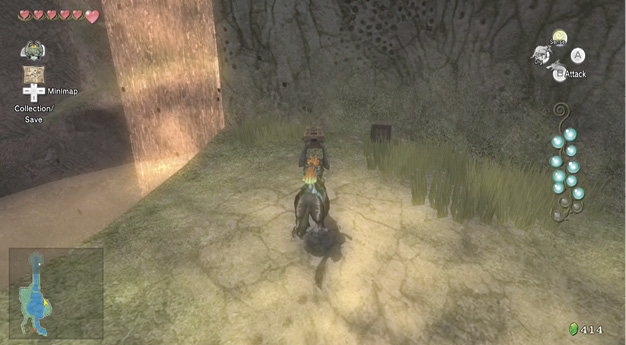
Continue along this sloped ledge, heading north and picking up spare Rupees and Hearts from the Missing Link locations. At the ledge’s end, almost hidden behind grass, is a small chest. Open it up for a small reward.
Overworld Chest #18:
Yellow Rupee (10)
Up to the Top of Zora’s Domain: Parasite #10
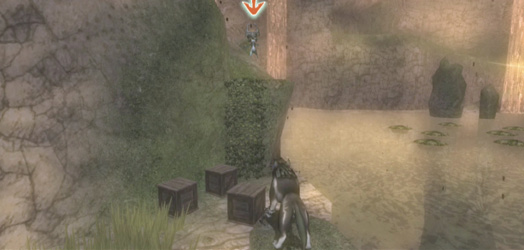
Locate the small grassy ramp to the right of the ice blockade, and utilize Midna to leap onto a ledge. Use her again to leap another gap, then run along the narrow ledge until you’re near the waterfall and some aquatic carving on the outside wall.
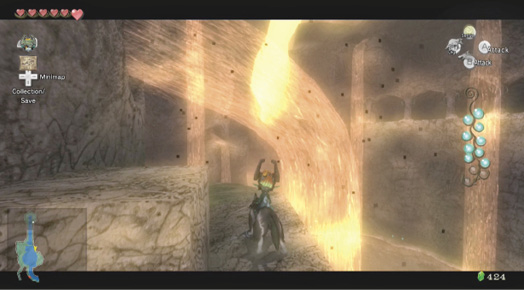
Continue along this ledge’s edge to another shallow ramp where you can summon Midna. Leap across to the vine-covered ledge above. Keep going, leaping another couple of very narrow and small rocks protruding from the wall, and you’ll be able to head behind the waterfall, along a very narrow stone ledge.
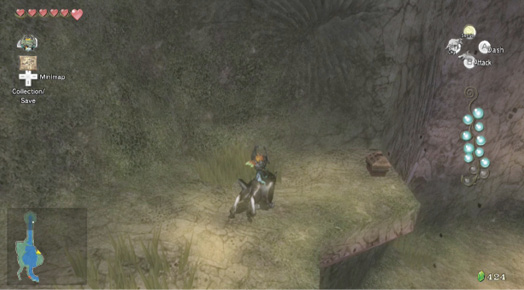
After you pass behind the waterfall, the ledge leads to a sloping grassy ledge that contains a chest at the far end. Break open the chest for a reward.
Overworld Chest #19:
Red Rupee (20)
Double back, heading to the narrow stone path with the waterfall. Locate a shallow stone ramp on the inside of the rock wall, and use Midna to leap up to a series of tiny square rock ledges. Leap across them all, and wind your way up along another narrow ledge. Use Midna to leap again, and then run down a grassy ledge, collecting green Rupees (1).
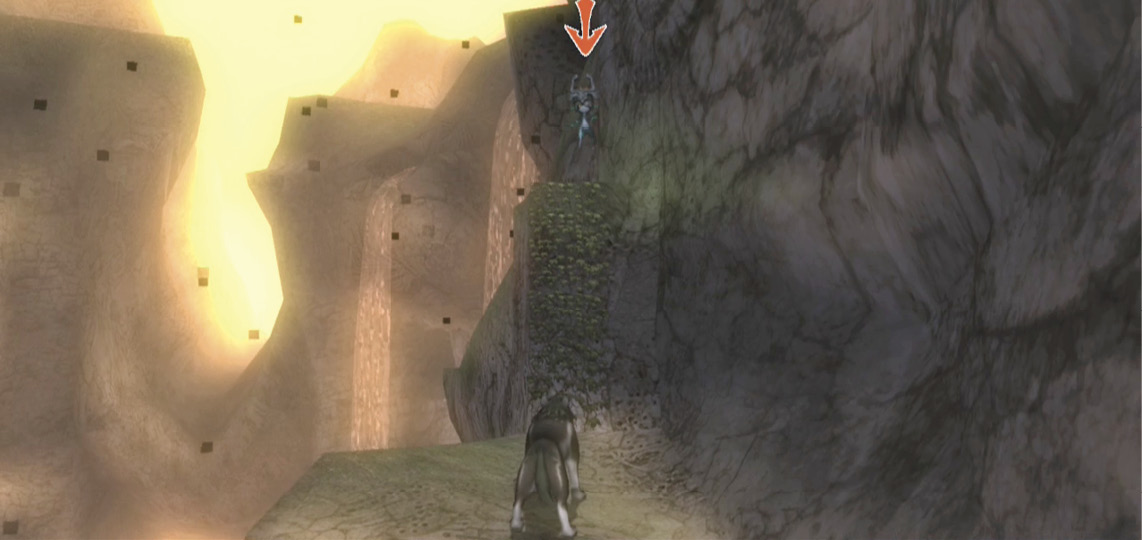
|
There’s a southern exit to this balcony, which is currently blocked. Remember this for later, though; this is a quick way to get from Zora’s Domain to Hyrule Field (north)! |
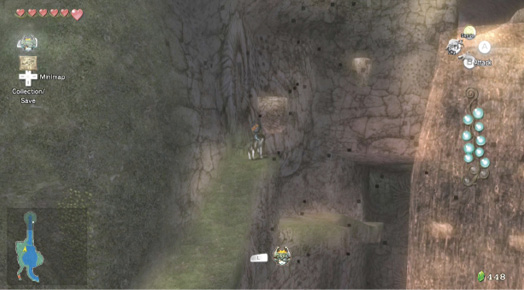
Now turn around and use Midna to leap across the next set of tiny, protruding rocks.
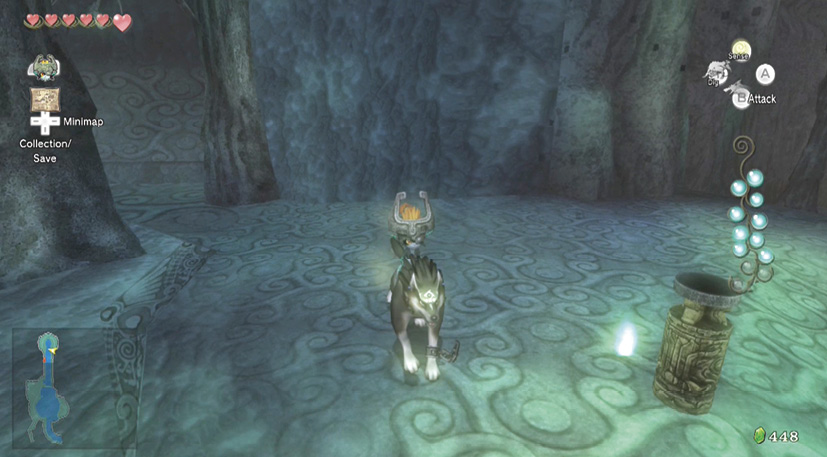
You finally reach the top of Zora’s Domain and can maneuver past the grass and crates you checked earlier. Instead, head to the chamber where the Zoras are recovering. Locate this wall, near an unlit torch and a stretched-out Zora. Charge and ram it! This dislodges the Twilit Parasite that’s resting on the surface. Wait for it to descend, then chow down.
Missing Links
1. Zora’s Domain (during the Hunt for Parasites #7–#9)
As with your previous searches in these areas, check crates, the ground, and grass for the following items:
- Crate: Southwest water level ledge (Heart)
- Crate: Western rock wall, next to ice blockade (Rupee)
- Grass and crate: On the far side, near the base ledges where Midna is summoned (Rupees and Heart)
- Grass: First ledge, on the way to behind waterfall (Heart)
- Grass: Near empty crate where Parasite #12 is dug up (Rupees)
- Grass and crate: Eastern edge, ramped area after Parasite #12 (Rupees)
- Grass: On the water’s edge side of the ledge right next to chest #18 (Rupees)
Castle Town: Parasite Found
Your last Twilit Parasite is waiting for you in orb form outside Telma’s Bar in Castle Town (or behind a crate if you didn’t find it when you entered the bar for the first time). Get there as quickly as possible, but definitely try a spectacular leap from the main waterfall.
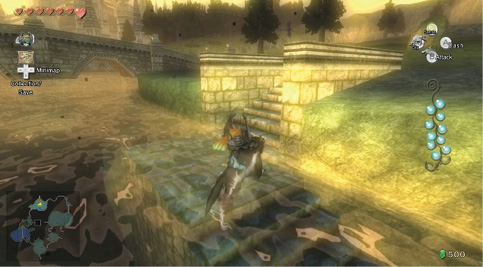
Swim or run along the ledge and head south, out of the waterfall pool. When you reach the Zora at the end of the natural bridge, turn around and face southwest. See that tunnel with the torches in front of it? That’s where we’re going. Go back over the bridge, then jump off of the plateau’s south end into the current running into the torch-laden tunnel.
You appear in the water channel on the north part of Hyrule Field with Castle Town in the distance. Swim to a set of steps and climb out. Take the southwest path out of here. Remember there are roaming Twilit Bulblins to slay.
|
If you’re lost, locate Ilia’s Scent and follow it; you’re using the same route as before. |
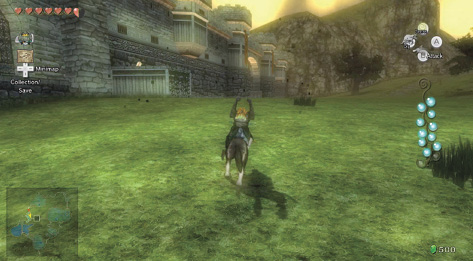
Travel into the western part of the Hyrule Field next to Castle Town, and enter via the same place as before. On your way, you pass the White Wolf (if you howled at the Wind Stone in Upper Zora’s River; if you didn’t, do this now!), who is sitting on the vine-covered plinth. Come back here when you’re human.
Warp PortalAs you reach the Castle Town entrance bridge, just past the White Wolf, three more Twilit Messengers fall from the sky. Run past the two closest to you, and savage the third near the entrance. 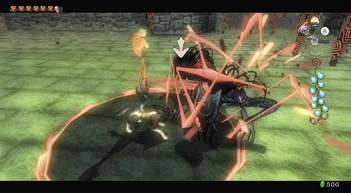
With the first Twilit Messenger down, run around in front of the energy wall and coax the two others together, launching Midna’s area attack as soon as you’ve targeted the remaining two Twilit Messengers. They crumple as you skewer yourself through them. The warp portal to Castle Town is formed. |
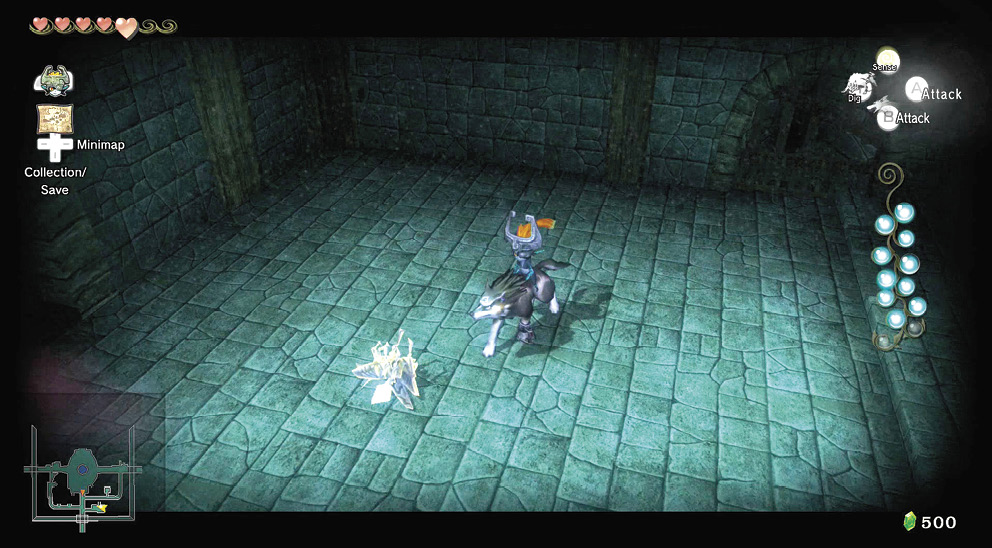
Travel into Castle Town. Nothing has changed. The area is still bathed in twilight, so head directly south, then around to Telma’s Bar via the alley that leads past the tent, Agitha’s Castle, and the fortune teller. The orb you formed earlier is still here; grab it.
|
If there’s no orb here, it means you didn’t shatter the crates in the far upper corner of the courtyard, releasing the Twilit Parasite. This is where he’s hidden. |
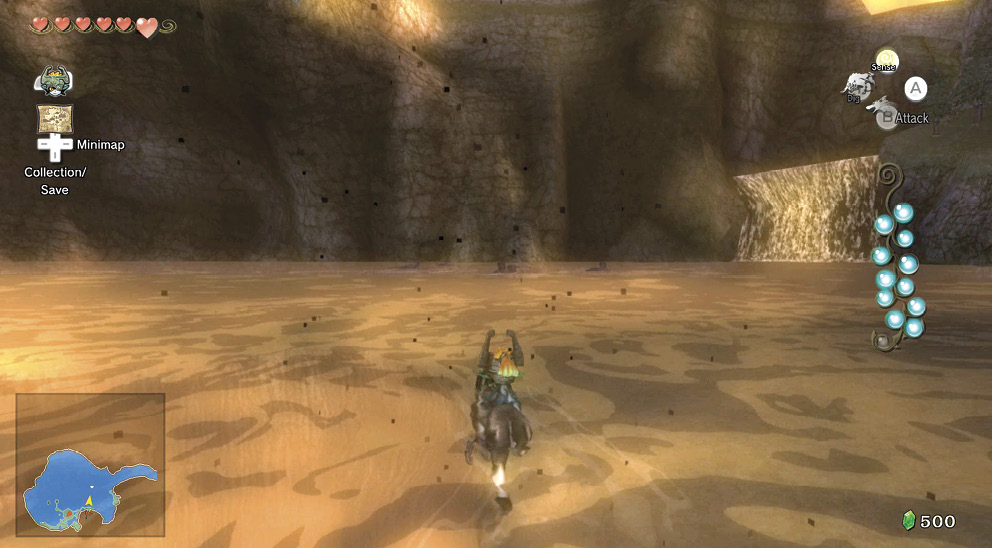
Gather all the Parasites on the map. There’s one that’s just appeared in Lake Hylia. Warp there at once, paddle out to its location, and you see something a lot bigger, and a lot more frightening, charging through the waters.
The Feeder of Darkness: Twilit Bloat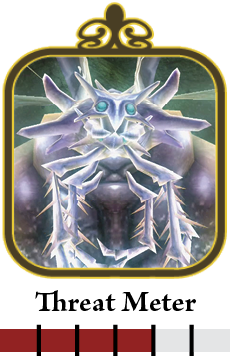
You reach a series of rickety boards bobbing in the lake. Crates begin to shudder as the water bubbles and boils. Suddenly, a massive electrical discharge bursts from the water and takes the form of a gigantic, pustule-ridden parasite! 

Step 1: This massive pustule with wings immediately begins to aggressively attack, wobbling down through the air and attempting to zap you with an electrical attack (as shown). Simply run around and jump to a different floating platform, away from the attack. As it descends, double back straight at it! 
Step 2: The beast takes a short breather. With your sense view on (necessary to target this foe), leap and ZL target the beast. Latch on to its disgusting belly. Gnaw on the stumpy tendrils until one bursts and the beast is propelled away from you. Land and secure a Heart from any crate if necessary. The beast is ready to attack again. 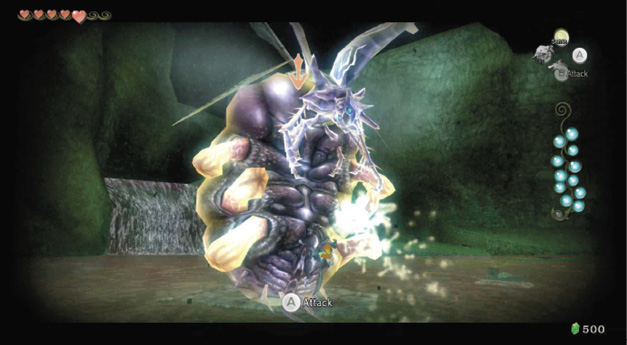
Dodge a charge, leap on, and gnaw a pustule-filled tendril. Let the light shine in! 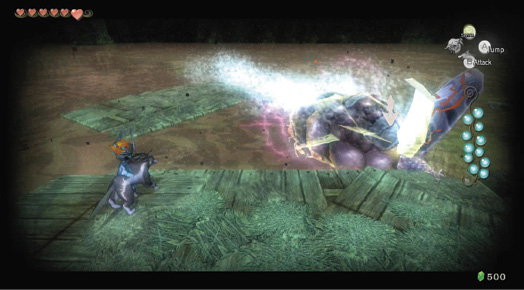
Step 3: The beast now speeds around underwater, circling you. Stay away from the water or you can get zapped by this maneuver. Then the beast rises and attempts to slam into you again. Repeat Steps 1 and 2. Step 4: After three successful gnawings, the beast gives up and plays dead in the water. Immediately take this opportunity to climb on the thing’s belly. Use Midna’s area-of-effect attack to cover the entire beast and let go. Each tendril is severed! 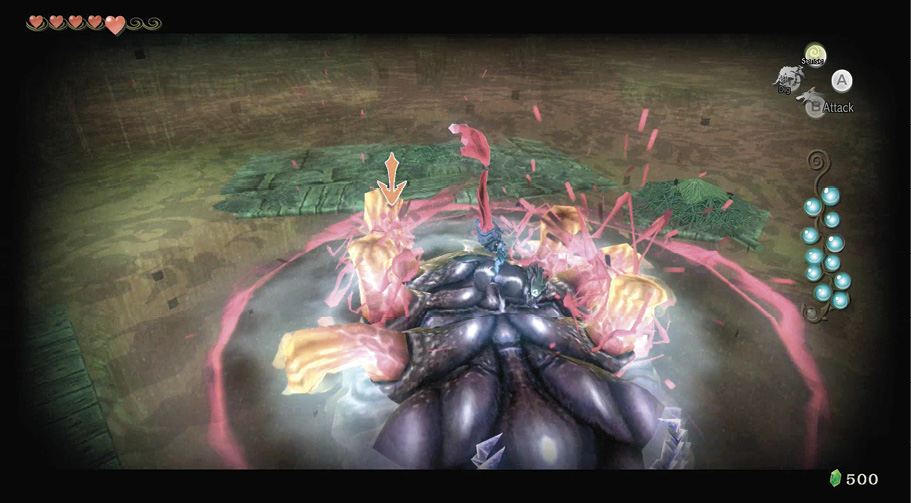
The bloated parasite lolls from side to side, hanging upside down, and then deflates slightly, landing on the lake with a dull splash. It then explodes in a shower of shadow. Bound over and collect the final tear. Your Vessel of Light has been filled! 
|