The Legend of Zelda: Twilight Princess HD Guide Dungeon 1: The Forest Temple
Task 7: Escape with Monkeys Seven and Eight
Chamber 11: First Return to the Giant Forest Tree Chasm
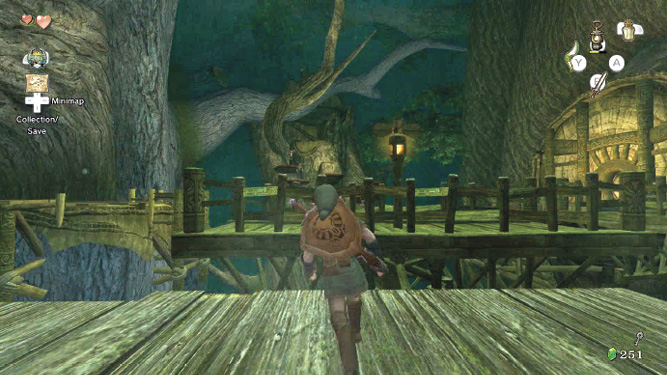
Backtrack to this tree and chasm, and run right along the rock ledge to the vines, grab hold, then drop down to the wooden deck below. Step down to face the nearest platform bridge.
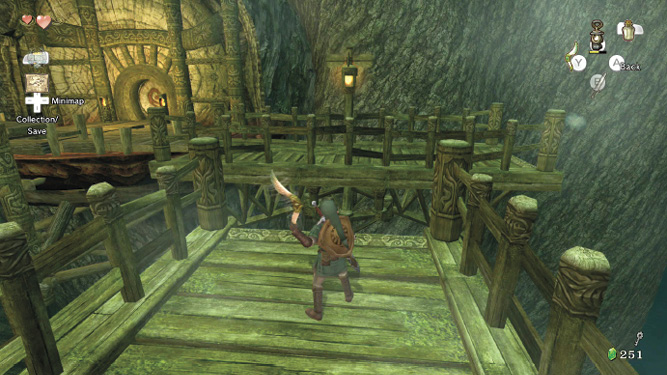
Use the Gale Boomerang to activate the bridge, step onto it, then target both bridge fans with a single Boomerang spin, and activate the second bridge. They both turn simultaneously, allowing you to run across. Then turn the second bridge again, and leave.
Chamber 5: Second Return to the Wind Bridge Crossroads
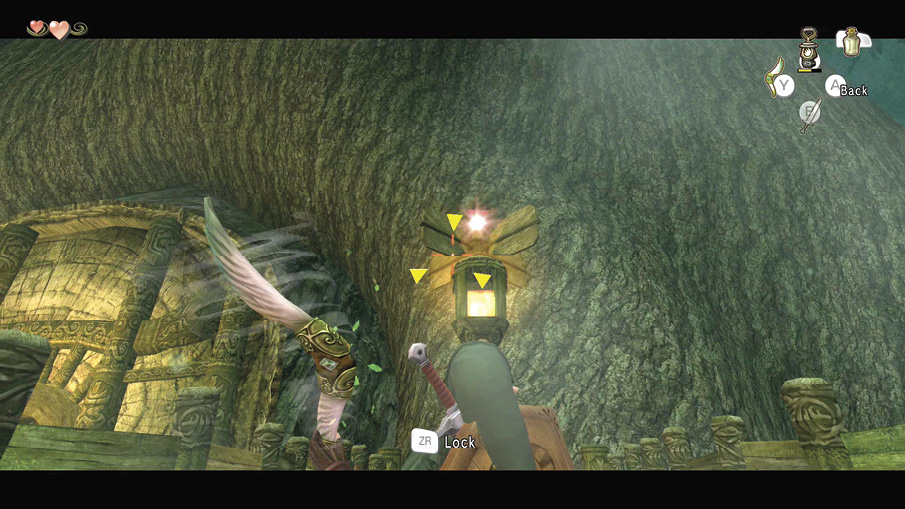
Head south, entering the Wind Bridge Crossroads, and spin the bridge platform so you can enter it, and again so it faces west to east. Now investigate both of the side rooms, in either order. Don’t forget to tackle the Bokoblins if you didn’t knock them off the wooden platforms earlier! In this case, we headed west.
Chamber 13: Nest of the Skulltulas
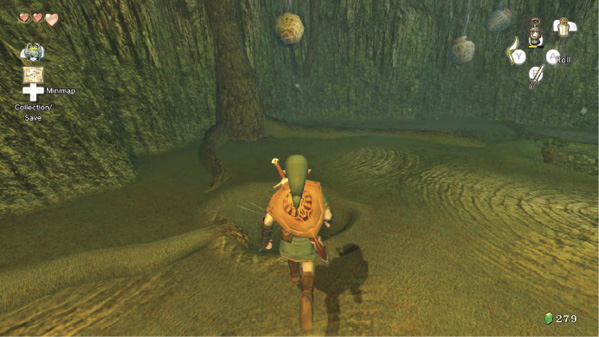
The webs on the floor should be a clue. Arm yourself with the Boomerang, and target the bodies of two Skulltulas before they descend to ambush you. Fight them one at a time, or both at once, using swordplay.

Spin to catch both Skulltulas off guard, then execute a leaping stab to pierce arachnid flesh!
Now inspect this chamber, and you’ll notice three holes in the ground. Two have webs covering them, so move to the hole in the north of the room, bring out your Lantern and swing it, burning the web and dropping you down. You’ll land (if you chose the correct hole) on a giant tree stump. Smash that cage with a spin, and set the monkey free!
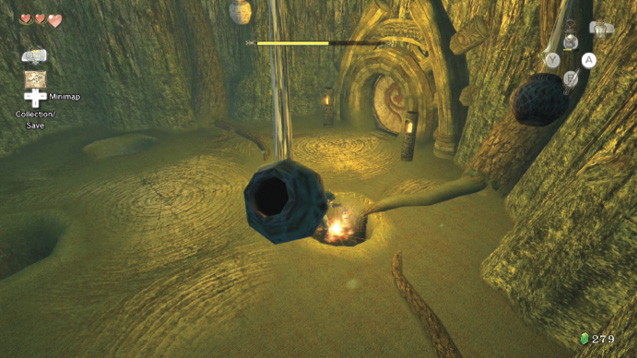
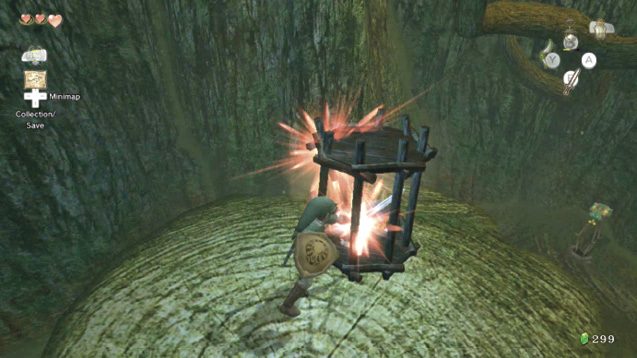
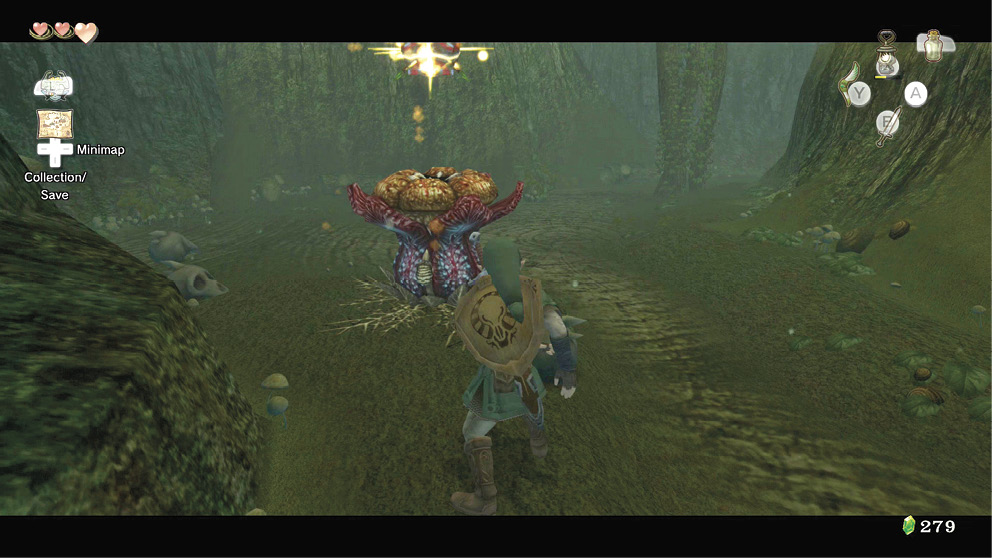
If you used another method (dropping down the hole, or burning the south web hole), prepare for battle with a Skulltula! Finish it off, then use the Bombling to blow up the Deku Like if you wish; it holds a red Rupee (20). When you’re finished, climb the vine and exit the chamber.
Missing Links
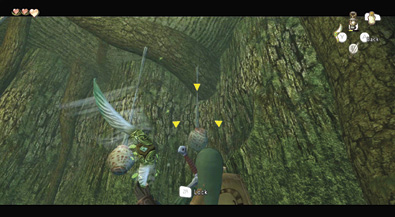
1. The Seven Hanging Pots
Be sure you cut down more than just the Skulltulas; seven pots are suspended by webs, and many contain Hearts and Rupees. Target the web string, not the pot.
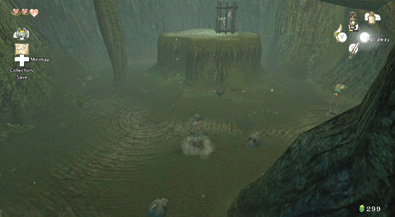
2. Scattered Skulls
The lower portion of this lair has ape-like skulls scattered about the floor. These are like rocks; pick them up and toss them at walls and they explode. Or simply slice them; they sometimes contain goods.
Chamber 5: Third Return to the Wind Bridge Crossroads
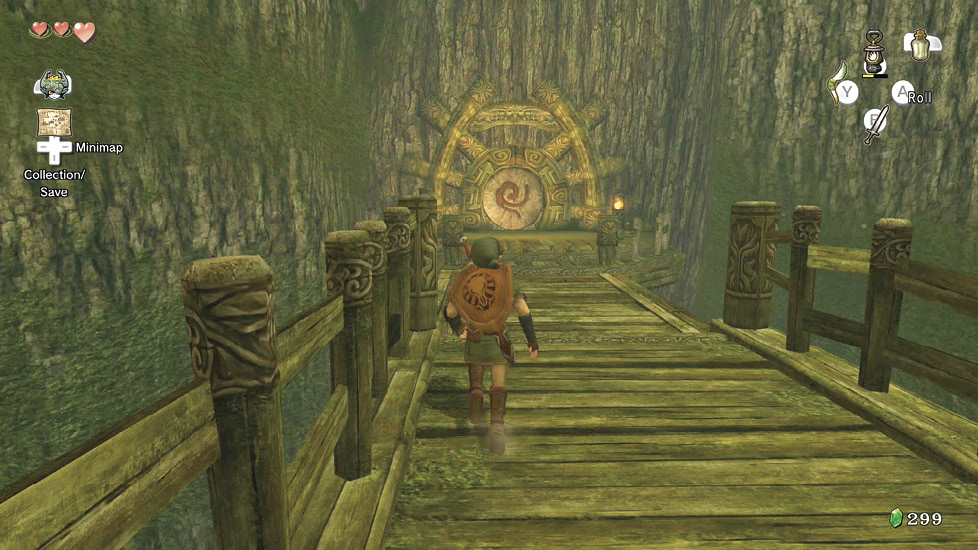
Now investigate the locked chamber on the opposite side of the crossroads. Dash across the bridge platform, and use the Small Key you found in the Waterlogged Cavern (1L) to open the door. This leads to a long, irregular chamber.
Chamber 14: Small Cave Maze
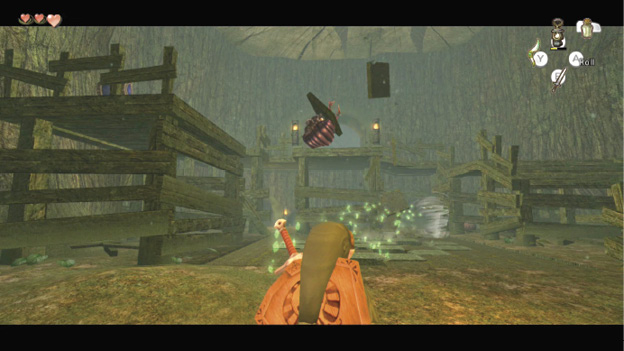
Enter the chamber, and concentrate on targeting the Tile Worms hiding on the floor in front of you. Unearth three using the Gale Boomerang. Finish the first two off with swords, then move forward and left for the third.
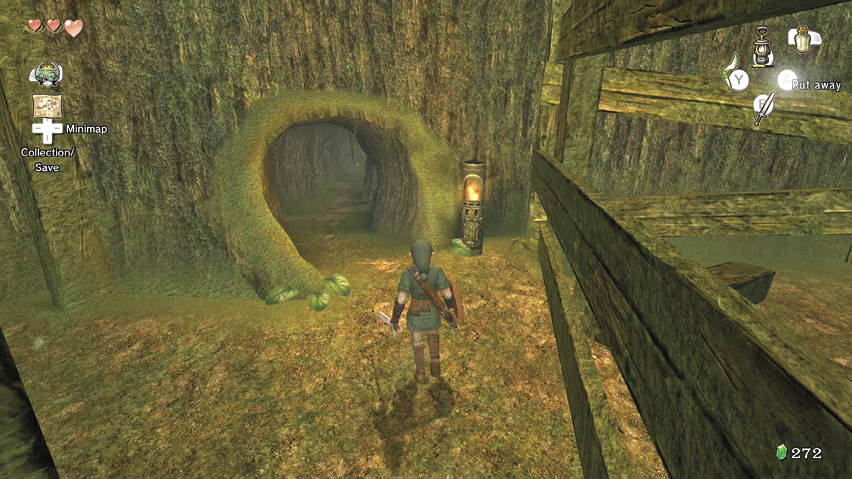
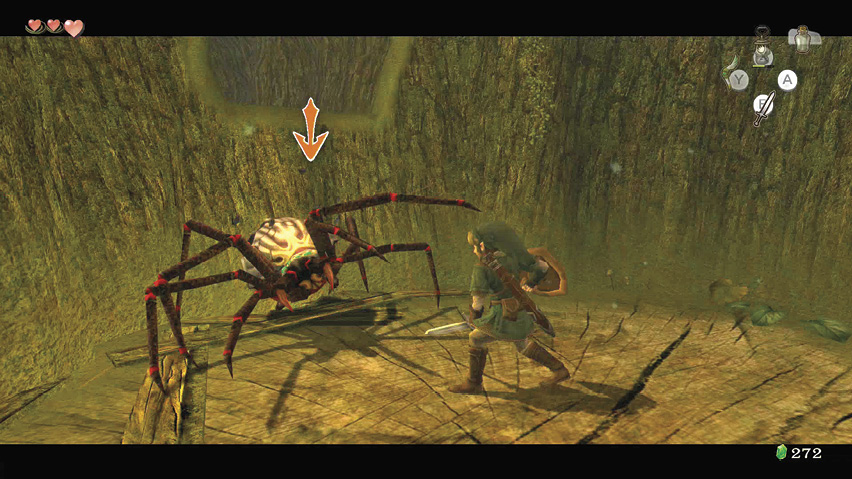
You can’t climb the giant wooden supports, so head east, and find the tunnel entrance in the northeast corner. Head on through to a small sunken chamber with a nasty Skulltula to fight! Bring out your Gale Boomerang, stun the spider with a single hit, then leap in and finish the beast with your sword!
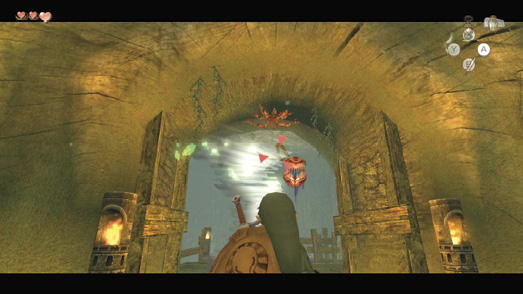
Knock the Walltulas off the vine wall with your Boomerang’s ranged attack, then climb the vine wall to the upper cavern area. Face west (back toward the Wind Bridge Crossroads chamber), and chop the stem off a Baba Serpent using the Boomerang. Finish it with your sword.
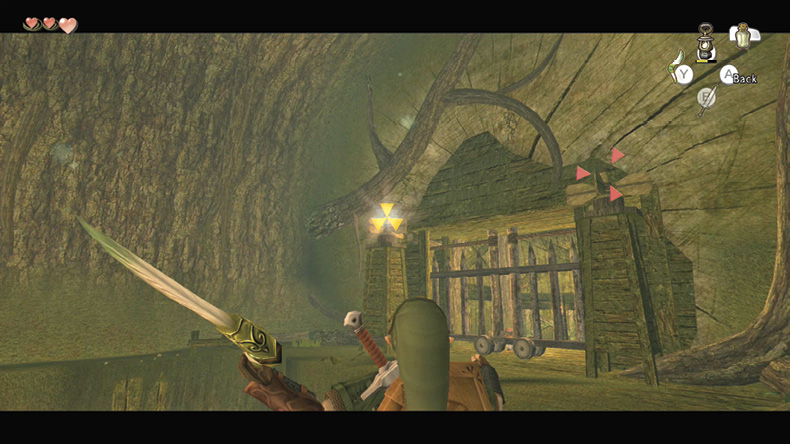
Now turn and face the opposite direction. With all beasts defeated, aim at the two fan columns on either side of the locked gate where you can see a shrieking monkey. The Boomerang spins the fans and opens the gate, freeing your final monkey!
Treasure Chest #13
Hylian Letter Stamp N
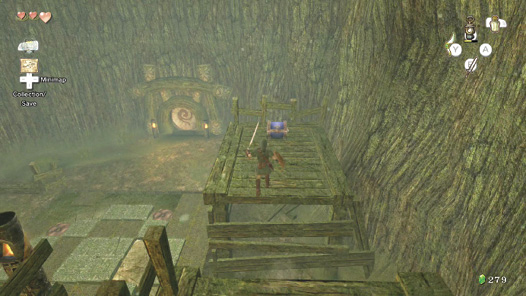
Before you leave, head to the upper part of the tiled room. Now on the wooden platforms, you should see a treasure chest on a platform along the north wall. Head around and leap across, grabbing the platform and pulling yourself up. Then open your 13th chest before leaving.
Missing Links
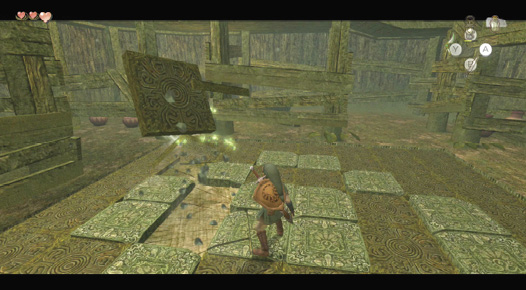
1. Retiling the Floor
As well as defeating the tiresome Tile Worms, you can lift all the brown tiles off the floor, leaving the green tiles where they are. That way, you know no Tile Worms remain.
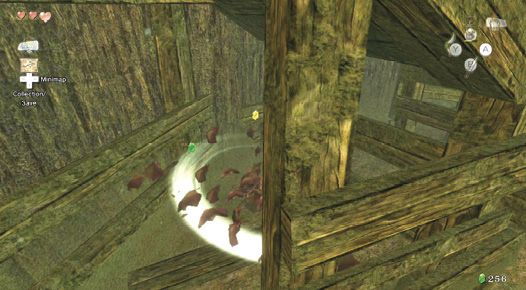
2. Grass and Pottery Pulverizing
Slice the grass near the monkey doors and the pottery behind the monkey and under the wooden platform supports for various small Rupees and Hearts.
Chamber 5: Fourth Return to the Wind Bridge Crossroads
|
Check your status! Have you:
If so, head northward! |
After checking that you’ve accomplished all your previous tasks, enter the Wind Bridge Crossroads. Step onto the bridge platform, spin it to face north-south, move onto it, then go through the door into the Giant Forest Tree Chasm.
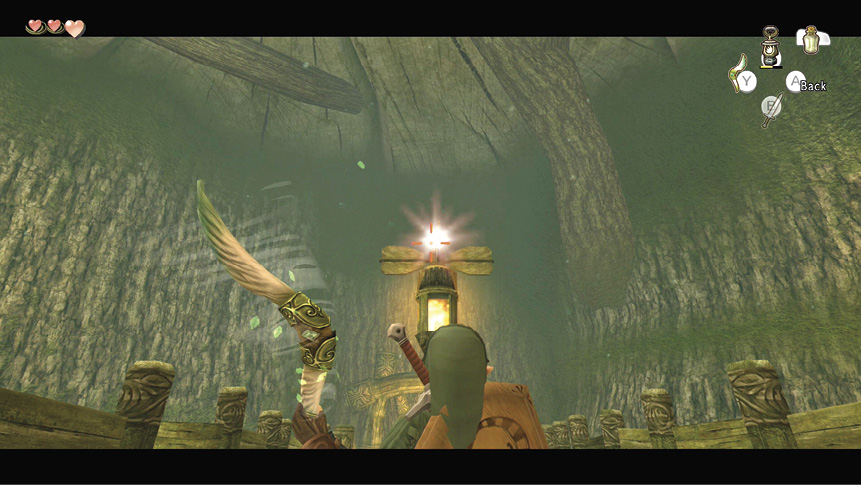
Chamber 11: Second Return to the Giant Forest Tree Chasm
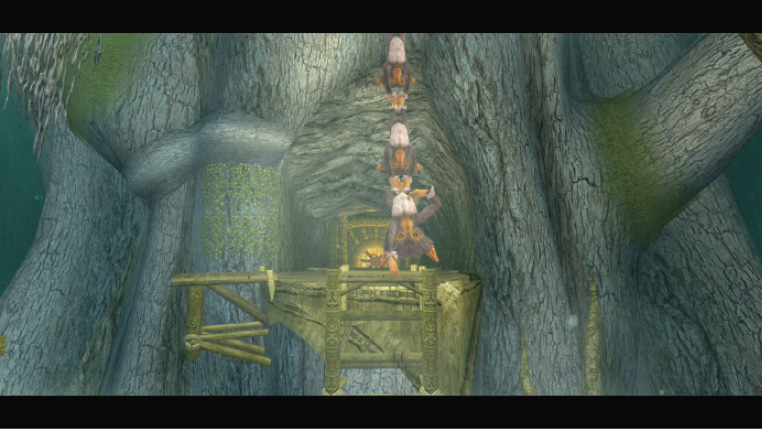
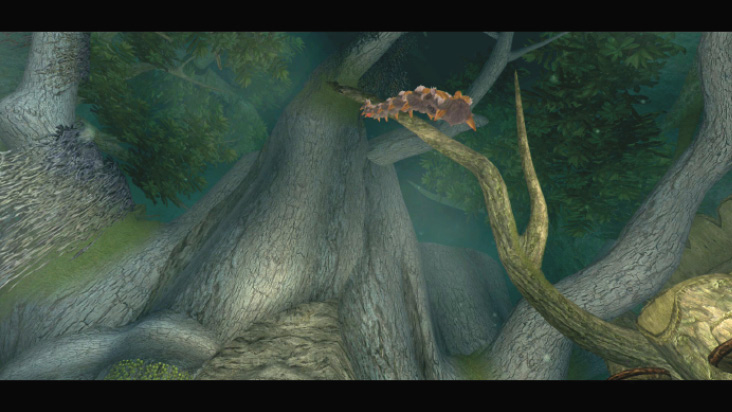
Enter the chasm with all monkeys freed, and they excitedly leap along the huge branch of the giant forest tree to make an eight-strong single monkey rope!
Move off the north-facing platform in front of you (you’ll automatically jump and grab) when the monkey chain is swinging toward you. Let go when the chain swings near the north wooden platform. This is easier than it sounds!
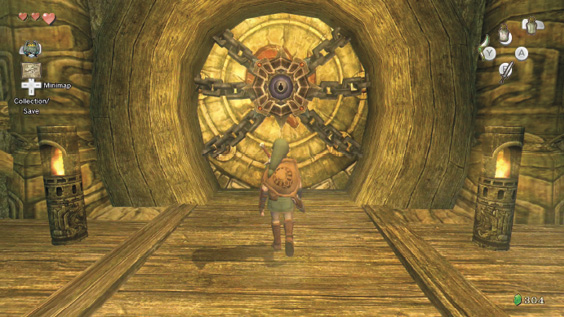
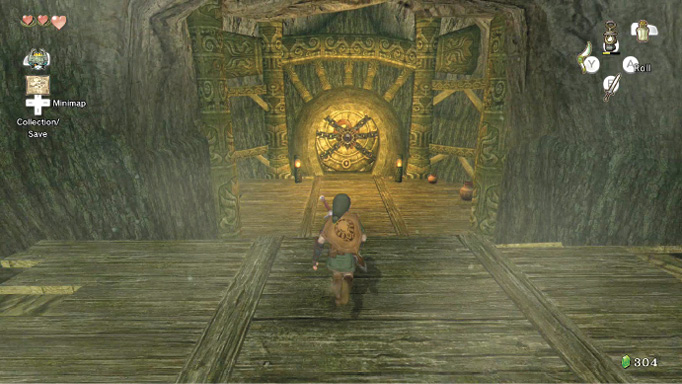
Then run toward the locked door ahead of you. Produce the Big Key, optionally smashing pots on the right side, but don’t open the door yet!
Empty the Bottle if it contains potions or Lantern fuel. The reason is simple: there’s a Fairy in the pot to your far left. Make sure you have the empty Bottle selected (with the Y button), smash the pot, and swipe the Fairy with your Bottle!
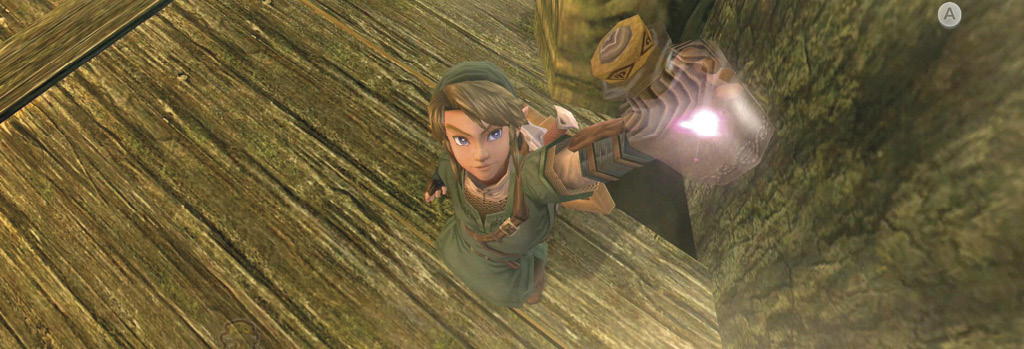
 Fairy
Fairy
You caught a Fairy in a Bottle! When you fall in combat, this faithful friend gives you Hearts.
|
The Fairy is an excellent healing device. Heed these instructions!
|
With Boomerang at the ready, move to the huge door and unlock it. Don’t attempt this until you’ve secured the Fairy and cleared this room, or you’ll face a fearsome foe without additional Fairy help!