The Legend of Zelda: Twilight Princess HD Guide Dungeon 5: Snowpeak Ruins
Task 7: Locate the Bedroom Key (Final Attempt)
Chamber 21: (2F) Chilfos Chapel
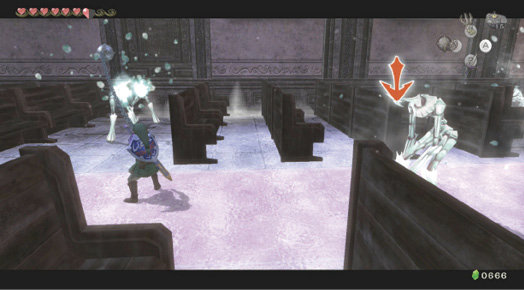
Now you know why this chamber is known as Chilfos Chapel. Just pray you can emerge victorious!
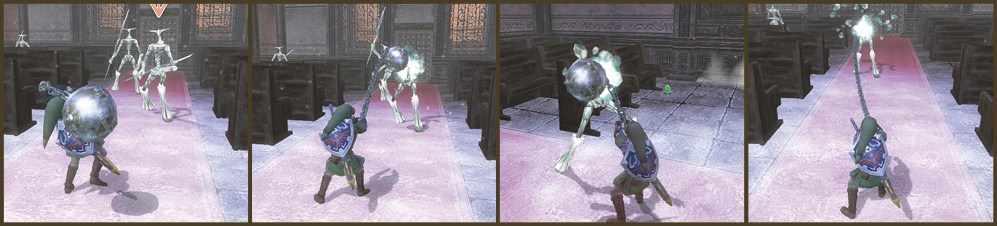
As you enter the chapel, the doors seal, and a total of six Chilfos welcome you. Draw your sword and begin to advance; there’s some frantic combat in your future. You can also try staying at extremely long range and quickly blasting Bomb Arrows twice in a row.
If you’re having trouble with this technique, switch to your shield, and block the incoming ice spears. Then try a leaping strike followed by a spin attack; the spin is excellent for damaging multiple foes. Concentrate on one Chilfos at a time, and eventually, with some rolling, shielding, and a little luck, you’ll prevail.
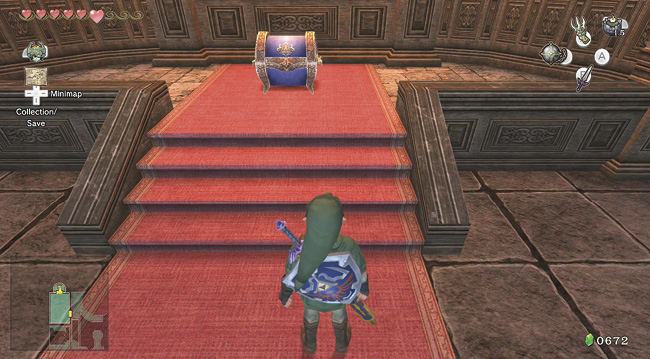
Once you’ve smashed the final Chilfos into pieces, the doors unlock and you’re free to move about the chapel. The pews can be hit, but nothing is in them. Enter the chapel’s north section and open the chest. That’s the key you’ve been trying to find!
Treasure Chest #17:
Bedroom Key
 Bedroom Key
You got the Bedroom Key! This will let you access the bedroom that houses the Mirror Shard.
Chamber 7: (2F to 3F) 6th Return to Central Outer Courtyard
Finally! This metal key is designed to unlock Yeta’s tower bedroom. In fact, she meets you on the curved stone balcony that leads to her room. Follow her here, and unlock the door.