
Mobile Gaming Guide — Tips, Tricks, and Strategies for Today's Hottest Mobile Games The Room
Chapter 2
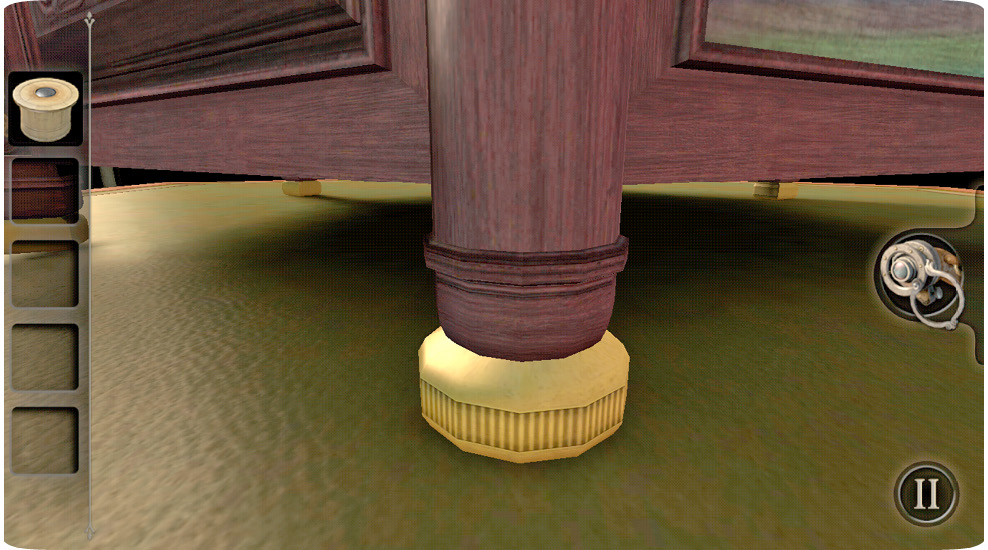
You must break three seals on this box before it opens. Start out by locating two gold bands. One is near the top of a leg. The other is also in a leg but near the floor. Spinning these gold bands reveals a telescope and a piece of cotton.
Focus on the square with number dials. Tap on the eyepiece and pan around to see four numbers. Enter the number 5 on the left, 2 on the top, 7 on the right, and 6 on the bottom. Flip the switch behind the panel to open a side of the box.
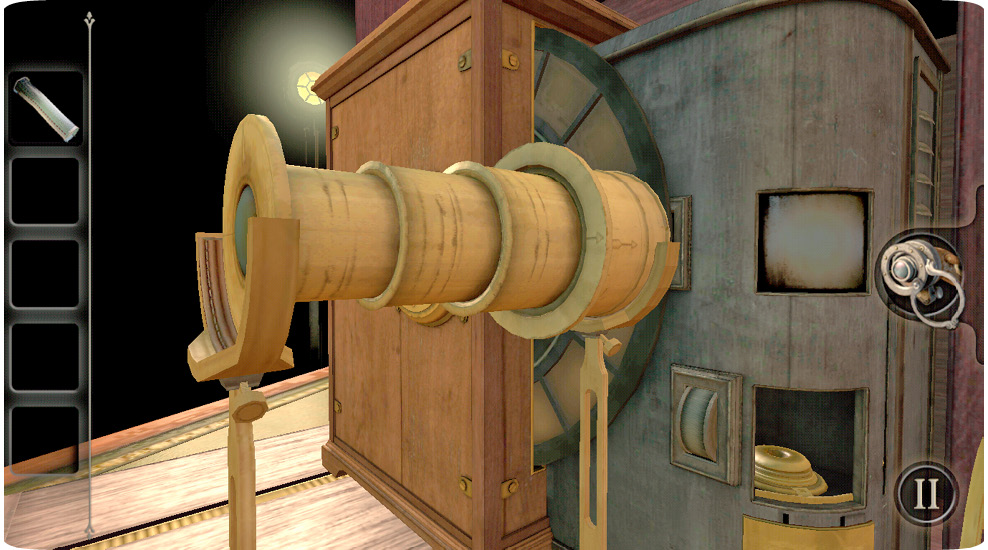
Place the telescope on the metal stands after you extend it to its full length. The piece of cotton goes into the lighter below the stands. Flick the igniter, then raise the lever to the right of the lighter.
Tap on a decorative leg to reveal a book. Rotate the discs so the clasp on the book can be opened. The winding key from inside the book turns gears near the stands where you placed the telescope.
Equip the eyepiece for both of the next steps. Look through the telescope, then turn the rings that were revealed to form a ram’s skull. The letter you find goes into a blank spot next to four dials. Spell out T-R-I-A-L to open the first seal.
Open the top of the panel that just slid open. There are four orbs to light up inside by tilting your device. Note the symbol on top of the revealed panel. Equip the eyepiece and adjust the camera until that shape comes into view again.
Focus on the square plate with four symbols on it. Spin each dial until the symbols match what is shown in this screenshot. The cast-iron key opens the keyhole you revealed earlier.
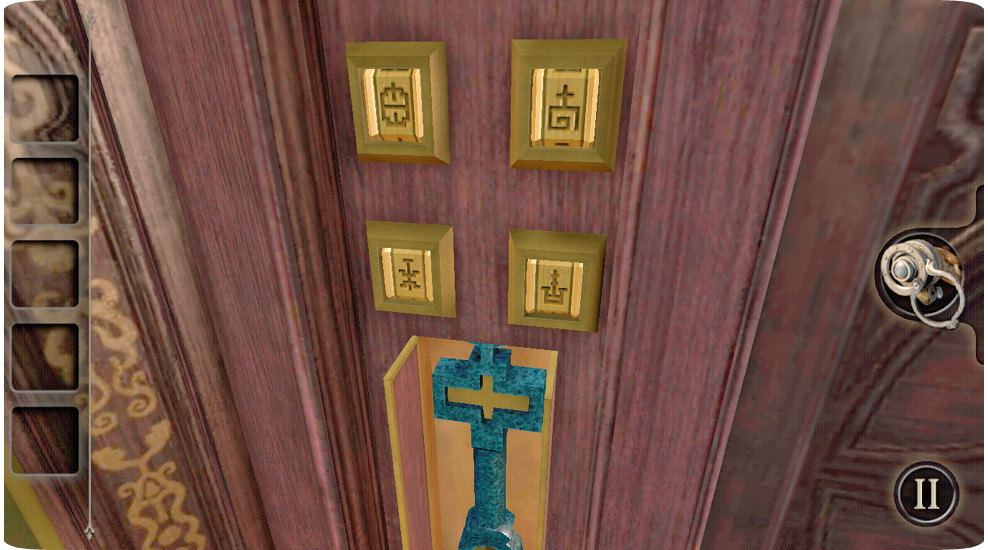
The cabinet key from the drawer fits the keyhole at the front of the panel. The brass star fits into a spot on the top of the box. Take the metal ring from the top and place it on the dial on the side of the panel. Turn the dial to slide the tumblers into the place. Left one tumbler, right until two tumblers move, left for one tumbler, and back right until two switches appear.
The key fits the large keyhole on the front of the panel but must be adjusted to fit. Use the knob on the round center of the plain door to open the second seal. Align the gears on the left side of the clock panel and turn the crank, which reveals the locks and the first key for those locks.
Turn the dial on the top of the leg halfway around and note that the top left lock moves at the same time. The second dial is at the feet of a knight on top of the box. The third dial is next to the gears. The fourth dial is on the opposite side of the panel, behind a white square.
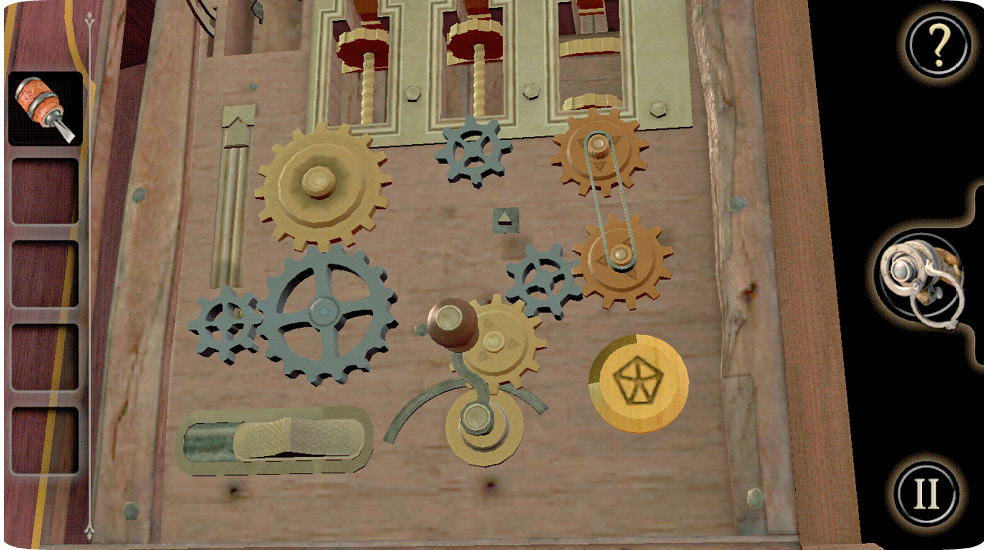
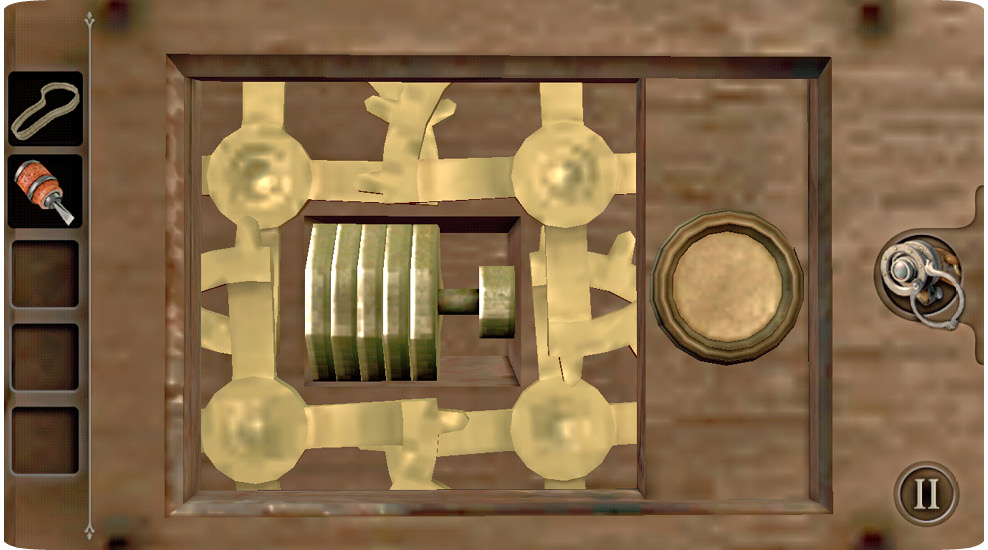
Take the elastic band and cog to the gears. Add the cog to the gears to get a screwdriver. Remove four screws on the opposite side of the panel. Press the button to stop the gears at the right time to get a key. The key opens a drawer on top of the box once you adjust it.
Place your new cog in the center row and put it to use. Surprise! Another cog. Move both to the right-side row, then connect them with the elastic band. Press the button above the clock until a steel tube appears. The steel tube has two surprises inside.
The key opens a small panel that you must view with the eyepiece equipped to reveal a shield. The shield belongs to a figure on top of the box. Place the gemstone you receive on the clock’s face. Equip the eyepiece and set the clock to 6:05.