Mobile Gaming Guide — Tips, Tricks, and Strategies for Today's Hottest Mobile Games NEO Scavenger
At Least It Comes with a Manual
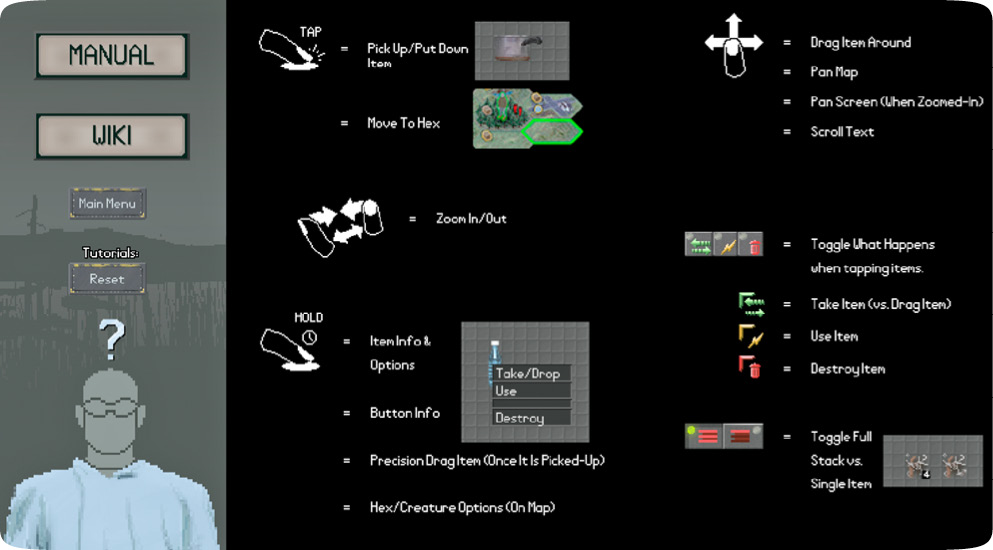
While there will be a great deal of trial and error (and death) while you learn how to survive the world of NEO Scavenger, the game doesn’t leave you totally in the dark. The Help screen includes a PDF manual that covers the commands available to you. If you’re playing on mobile, ignore the Controls section in the manual and use what’s on the Help screen.
Abilities and Flaws
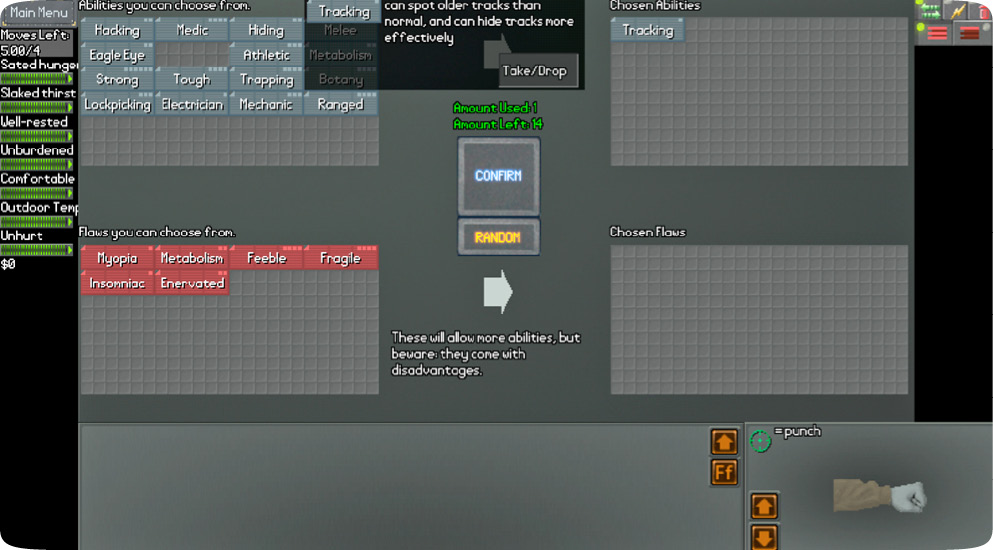
The first action you take in each game of NEO Scavenger is to select abilities and flaws. Abilities increase the number of options you have when interacting with the world and its inhabitants. Flaws increase the difficulty of the game. Touch and hold any ability or flaw for a brief description.
The dots in the upper right indicate the value of the ability or flaw. You start off with 15 points you can spend on abilities, but choosing flaws adds points to your abilities pool. Some flaws and abilities are incompatible (e.g., Eagle Eye and Myopia), meaning you can’t choose both.
Navigating the World
NEO Scavenger is essentially a text adventure with still images. To get around the world, you need to be familiar with the various screens used by the game.
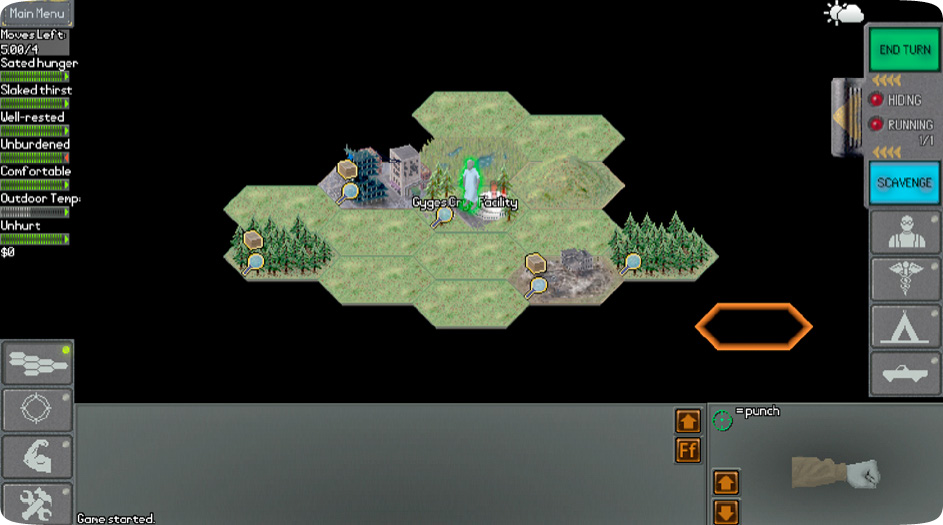
The left edge remains the same on every screen. The main menu button appears at the top, directly above the number of actions you can take, your current status, and the outdoor temperature. Yes, even the temperature is out to kill you, so you must find clothing before the onset of hypothermia.
Map Screens
The world is a series of connected hexagons. The icons on a hexagon tell you what you might find there. A few examples are a wooden chest (items on the ground), a magnifying glass (locations you can scavenge), and red footprints (someone or something passed through the area).
Moving between hexagons typically consumes one of your action points. However, if you’re suffering from penalties, or if the terrain is rugged or forested, moving may consume more than one point.
Encounters Screen
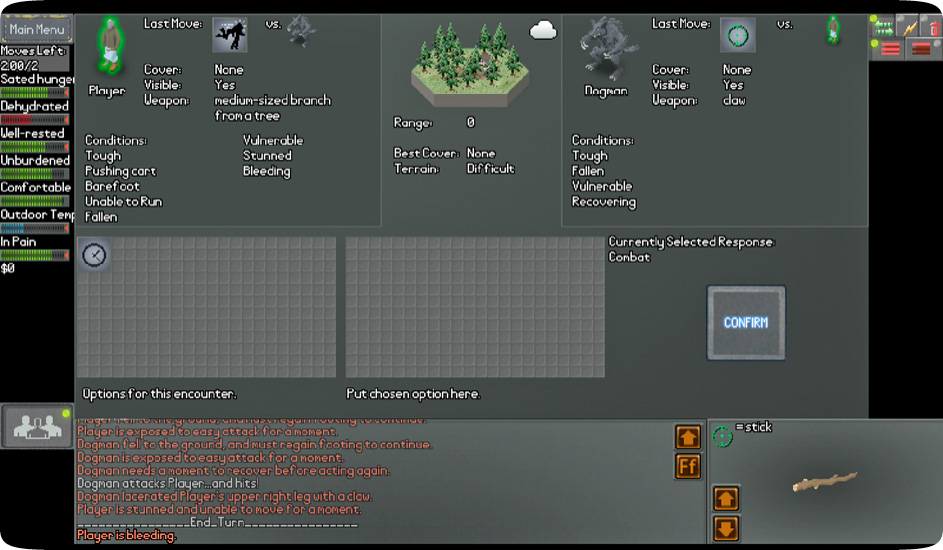
The Encounters screen comes up when you meet another person or creature. Tap your choice from the Options for This Encounter box to make it appear in the Put Chosen Option Here box. Check the summary text above the confirm button before confirming your action. The text box on the bottom of the screen updates you on the action and any changes to your status. You must resolve or escape the encounter to return to another menu screen.
Items and Vehicle Screens
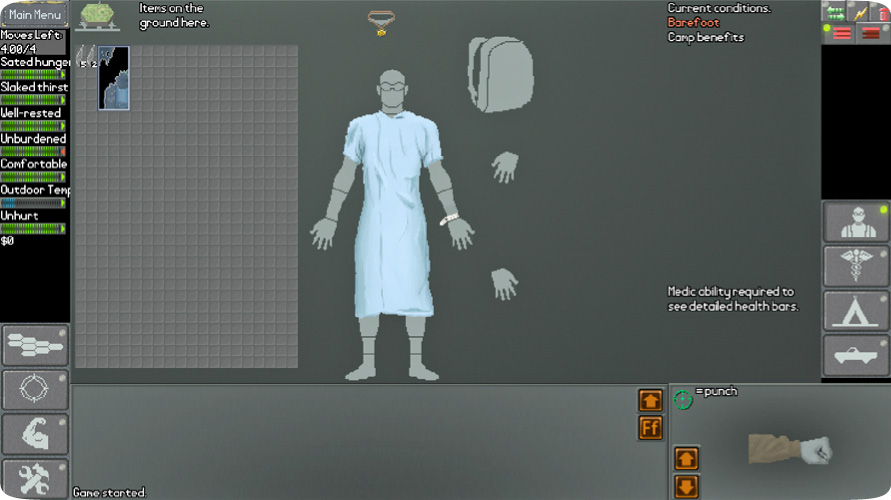
When you find items on the ground, use the Items screen to pick them up. You can carry items in your hands and in any pouches or pockets you have. Finding a vehicle allows you to store extra items. Vehicles are great until you get caught in a fight. Some cause you to lose the ability to run, and they also remove a few combat options.
Player Conditions Screen
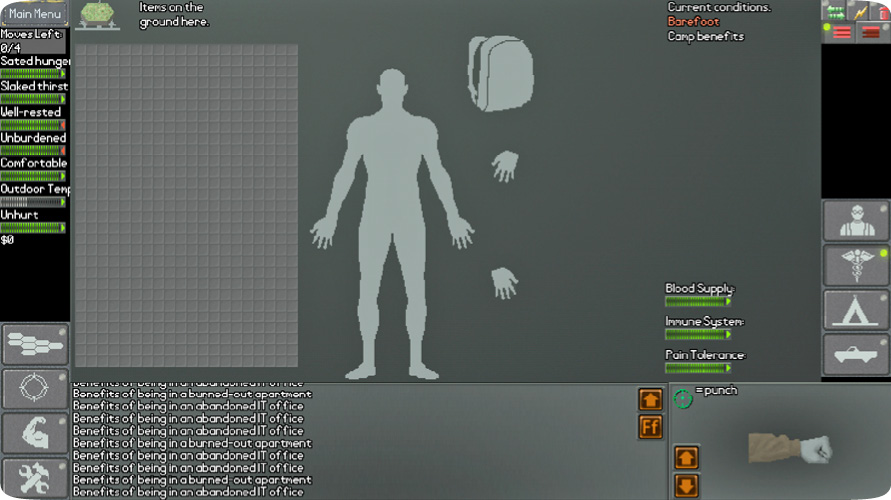
The Player Conditions screen shows damage taken. If you have medical items in your inventory, you can use them here. The Medic ability allows you to see three additional status bars on this screen: Blood Supply, Immune System, and Pain Tolerance.
Camp Screen
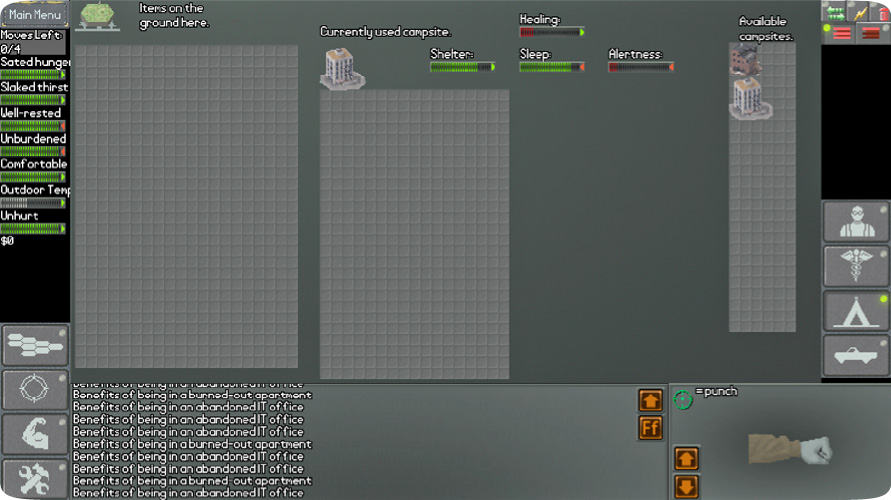
Use the Camp screen to find a good place to rest in your current location. Not all campsites are equal, so compare the stats of each available site before you settle on one of them.
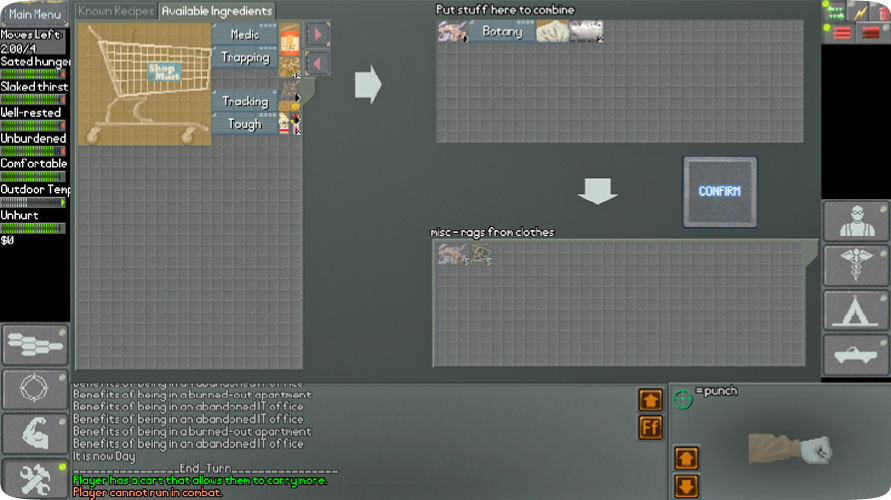
Crafting Screen
You start out with a few recipes already known, including ways to make fire. Check scraps of paper you pick up for new recipes. You can also learn from experimenting on your own. Your choice of abilities also affects what you can craft.