Pillars of Eternity Guide Walkthrough Main Quest: Act IV
The Watcher of Dyrwood: Sun in Shadow
Part 1: The Fearsome Depths of Breith Eaman
New Quest: Memories of the Ancients
Objective: Enter Sun in Shadow
Quest Completed: Council of Stars
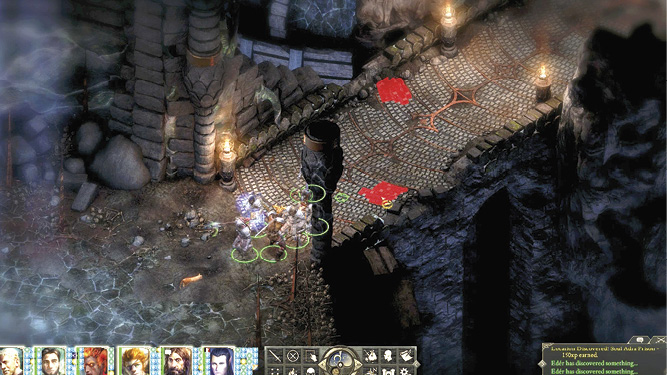
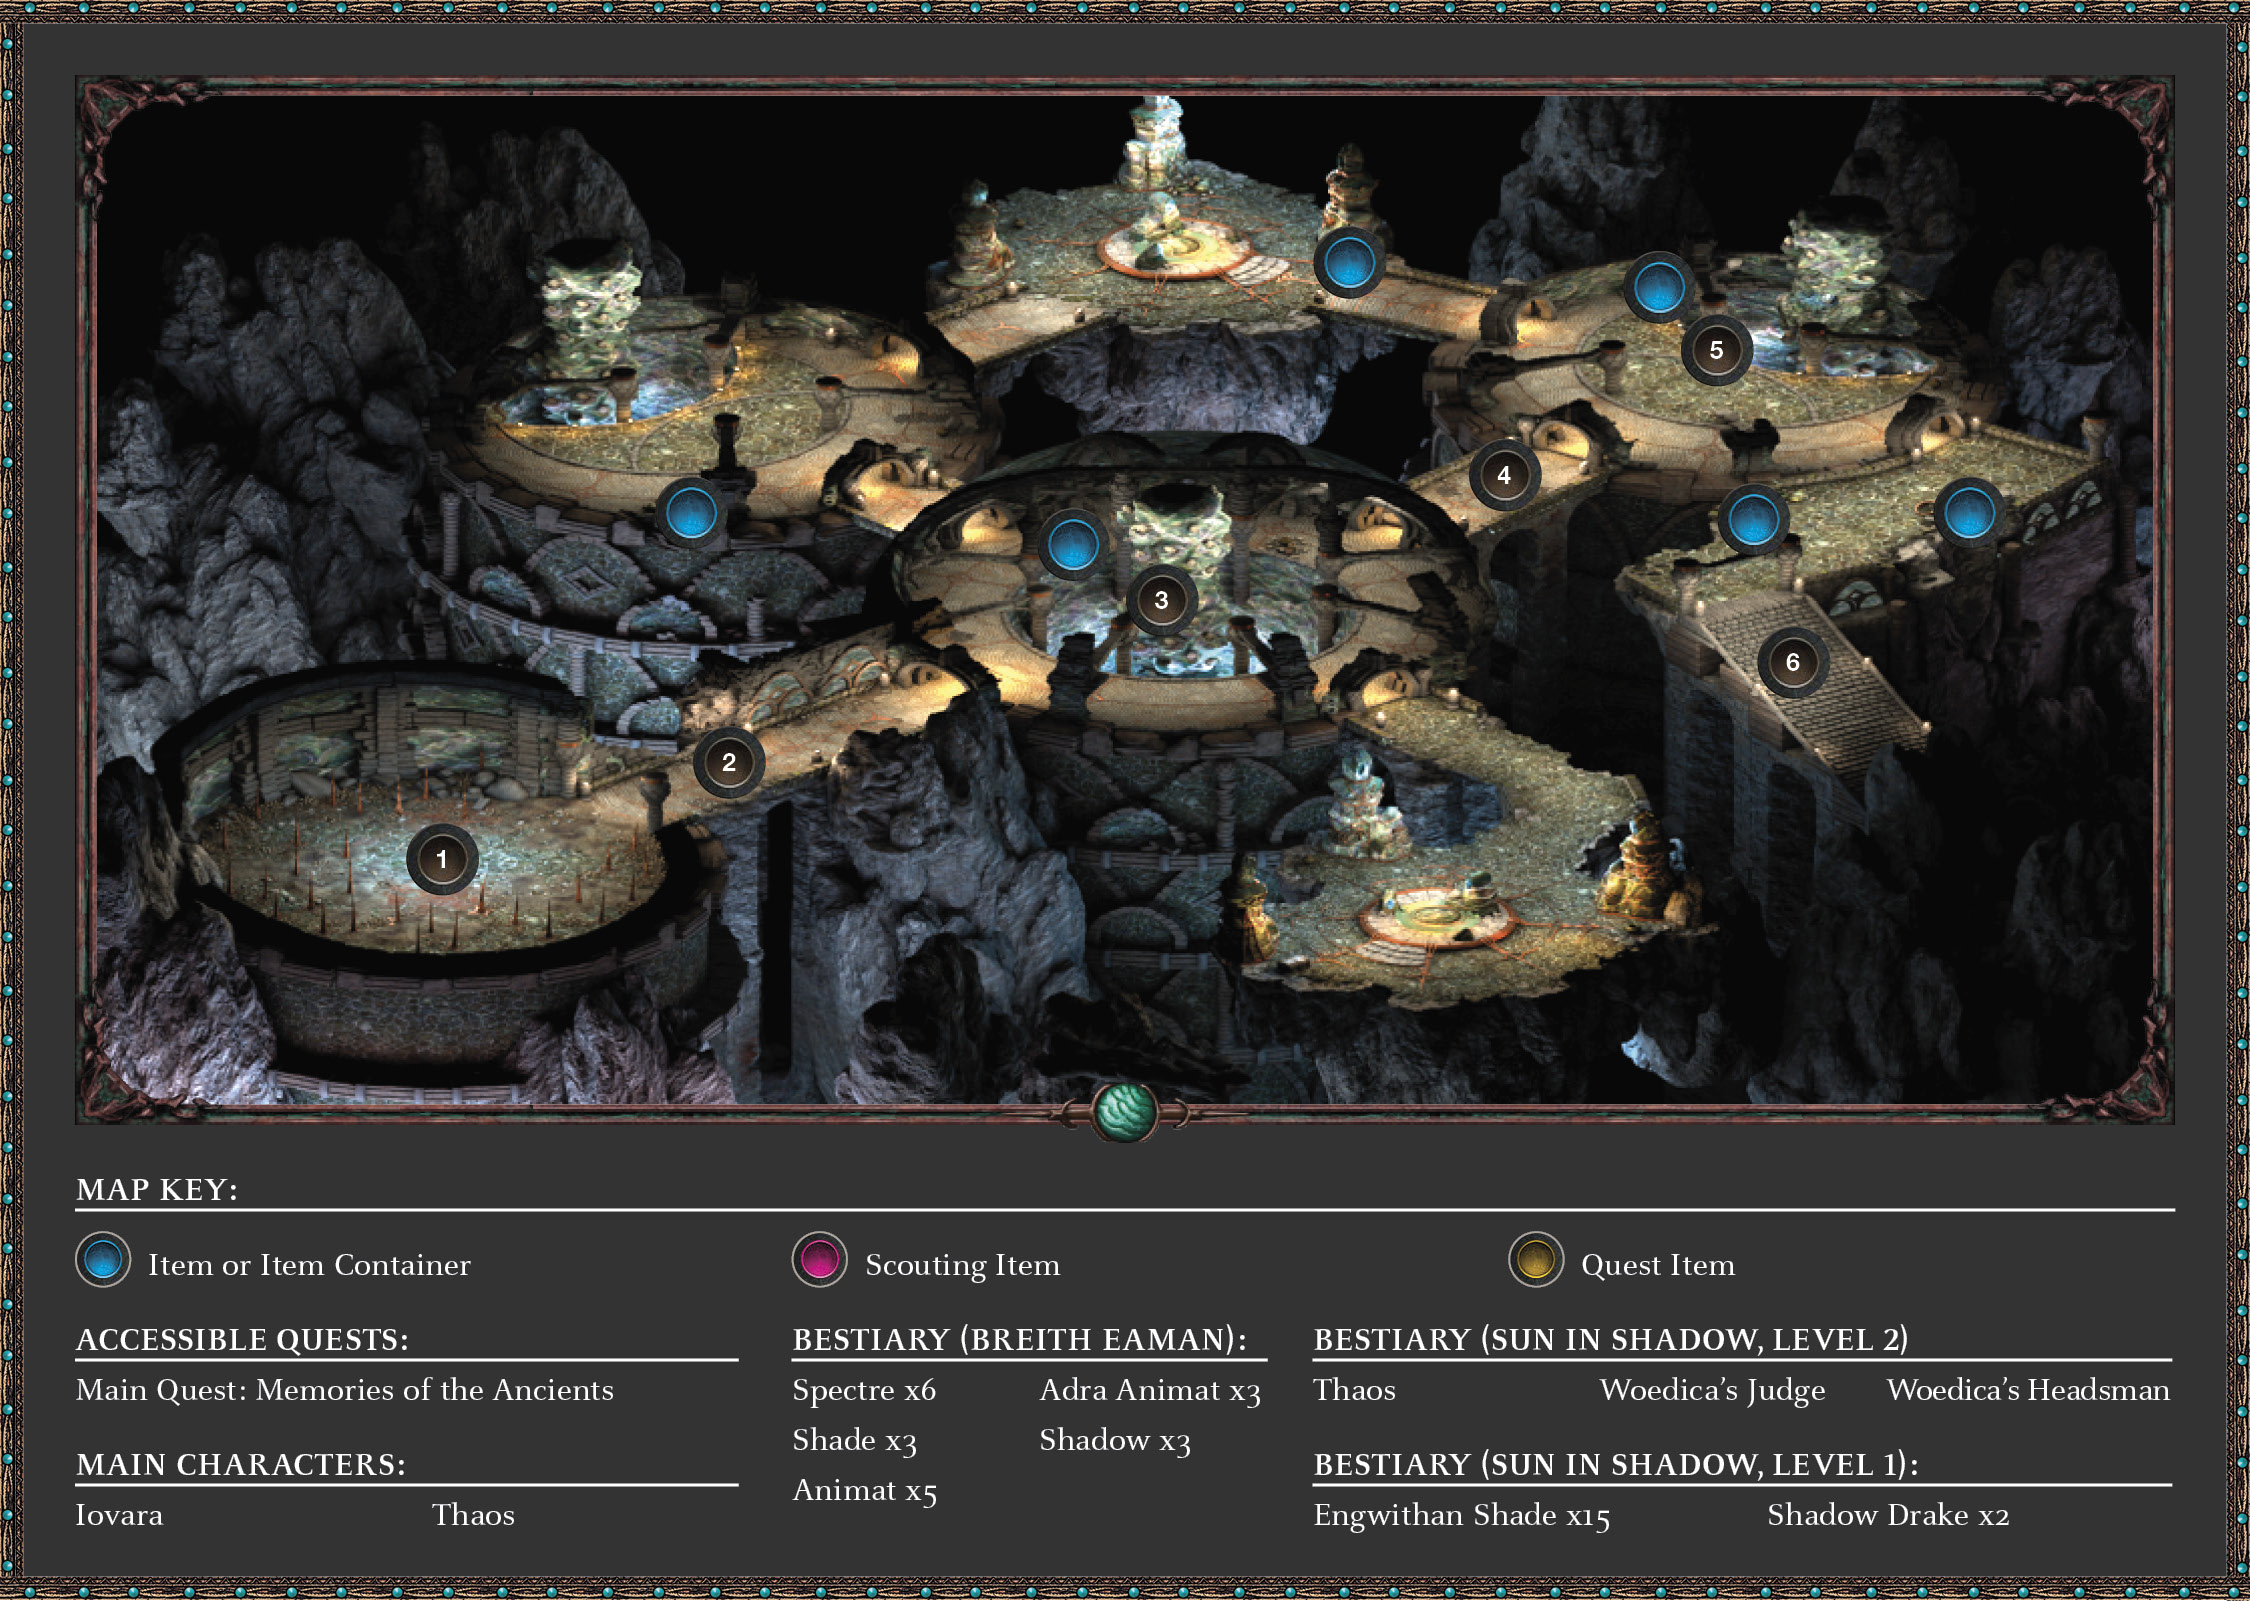
You have done as the Delemgan advised and are carried in relative safety to the depths of Breith Eaman. Your pact with the gods means Thaos must be stopped before he can send souls of Dyrwood’s Hollowborn to be consumed by his goddess Woedica. The voices in your head increase their babble; you must remain sane or be lost as Maerwald was. Begin (1) by venturing along the large cobblestone bridge, watching carefully for a trap to trigger (2). Scout slowly forward and disarm the two traps before moving everyone beyond the bridge. Move into the central Adra tower chamber (3).
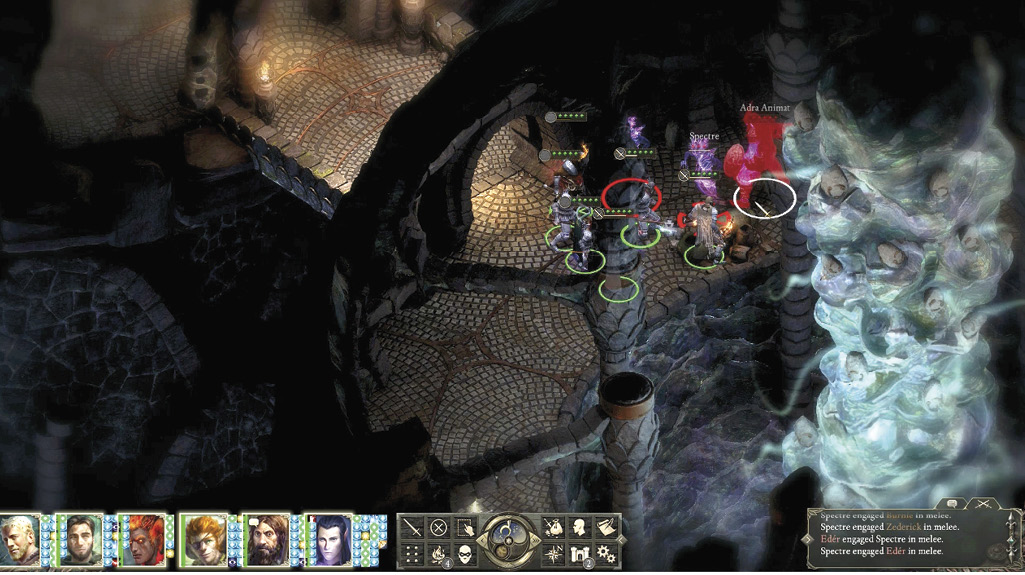
Proceed counterclockwise around the balcony, fighting Shades and Spectres guarding a broken bridge, until you reach more spirits and an Adra Animat guarding a bridge to the northeast (4). Cross the bridge, slaying two more Animats and watching for a trap. Open the door and head through.
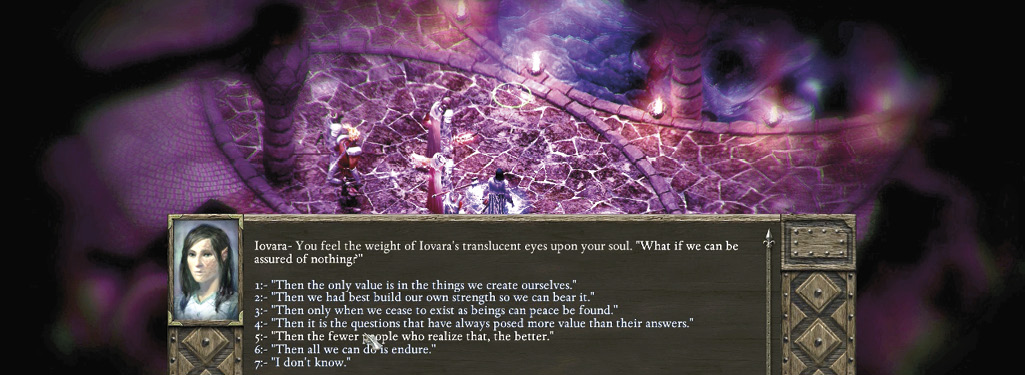
Step into the chamber of towering Adra (5), where the image of Iovara appears before you. You have much to discuss with her; your answers affect the ending to your adventure, so speak carefully. Her essence and yours are intertwined, and your discussions (as well as those of other party members) serve to press you forward. Exit this chamber, heading right (southeast), and take an immediate southwest walk to the stone steps leading down (6). Searching the containers in the chamber before you exit yields much needed Camping Supplies.
Part 2: Out of the Darkness
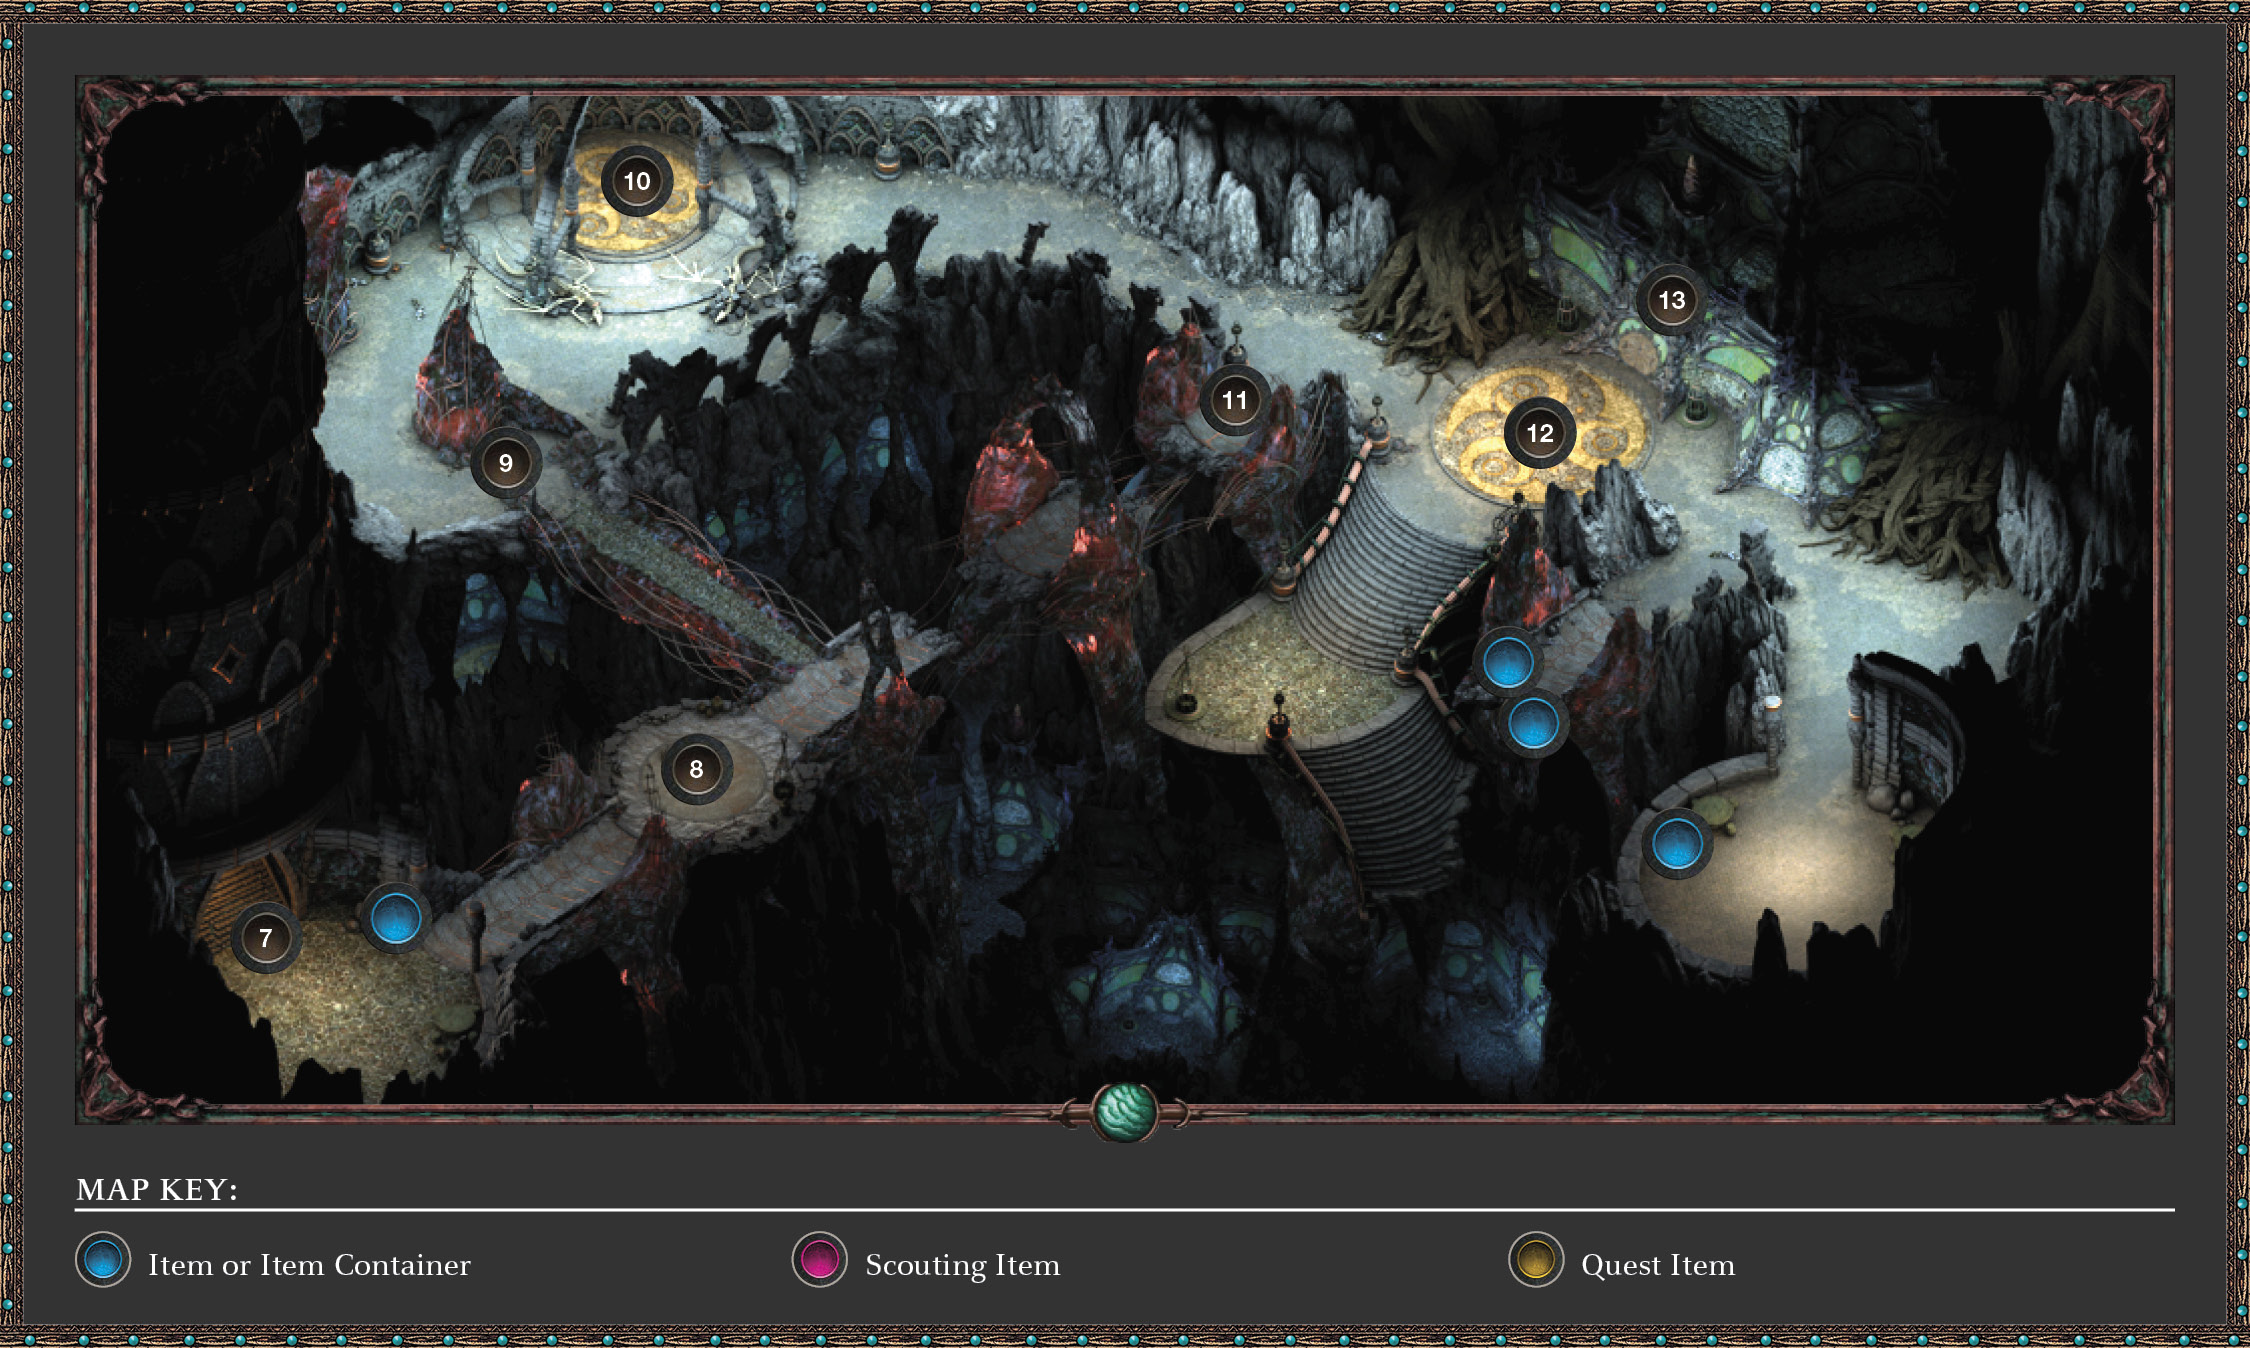
Sun in Shadow (Level 1)
Quest Updated: Memories of the Ancients
Objective: Search for Thaos
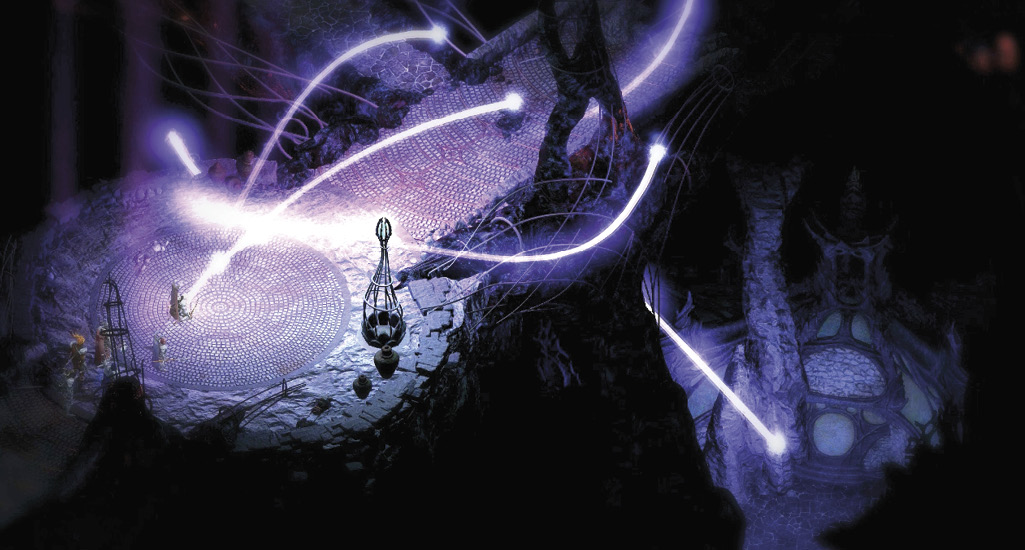
The base of the stairs (7) leaves you waist-deep in darkness. This is the Sun in Shadow. Wade through the fog, passing the ashen remains of the ancient Engwithans. Head northeast toward a dim purple light (8). As you stride near it, orbs of light explode from you and travel to the various lamps in the area, thus illuminating the chambers here.
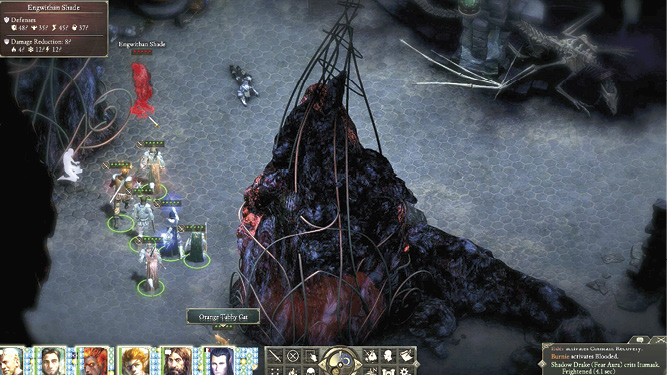
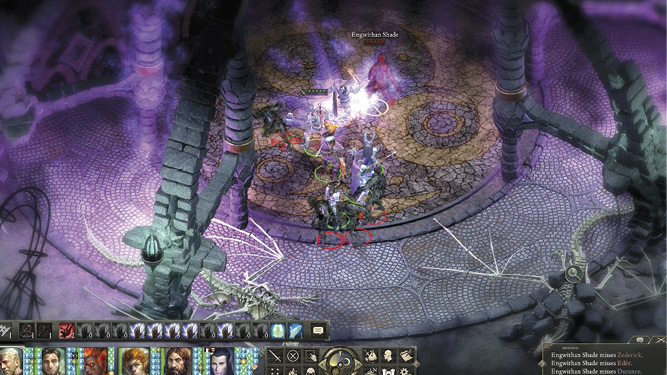
Turn left (northwest) and cross the strange lava bridge, as the more ancient path to the northeast is cut off. Face three Engwithan Shades as the trail leads to a wider pathway (9). Head east, stopping at the skeletons of two drakes. The Guardians’ Dome (10) (the chamber behind them) contains another illumination pillar. Enter and you light the pathways ahead as you did in the beginning of this level. But this also awakens five Engwithan Shades. Defeat them, concentrating on one enemy at a time or splitting your team in half and working on two at a time.
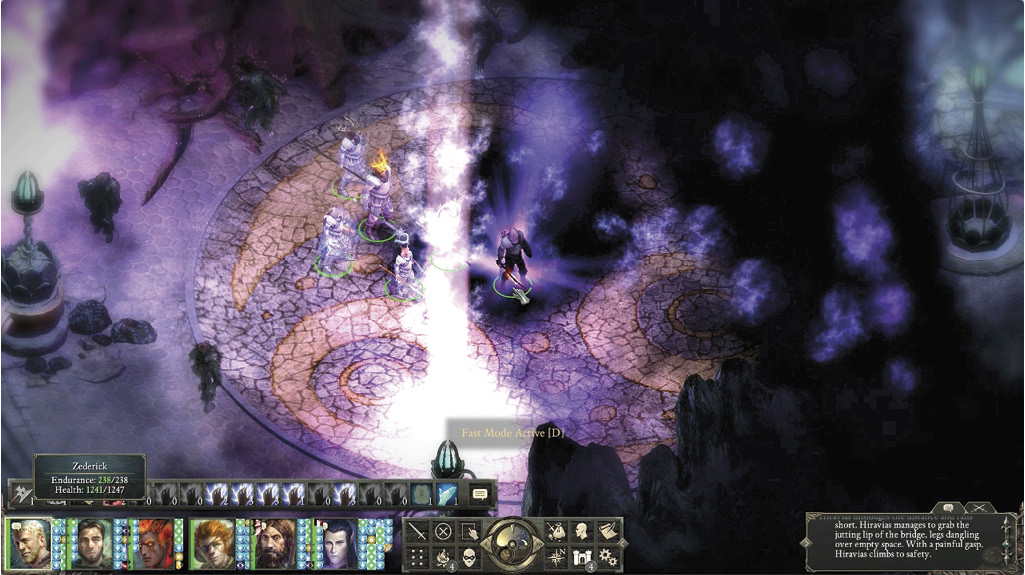
The path turns to the southeast, with a foggy junction providing access to the southeast and a broken bridge to the southwest. Along the way you come across upright, charred corpses. Collect the fine items they contain. The side passage leads nowhere except to the remains of an Engwithan bridge (11). You can leap across this bridge, the Walk of Souls, but only to get back to the entry area. Leaping to the Walk of Souls allows you to loot nice items and a set of camping supplies from an Engwithan carbonized body. Alternatively, you can use this as a shortcut to the Court. Instead, continue southeast, through the black fog, to a second dim purple light (12) that explodes as you reach it. Again you light the area and have to deal with the five summoned Engwithan Shades. Open the revealed Court doorway (13) to the northeast after the battle ends.
Part 3: And into the Light
Sun in Shadow: Court
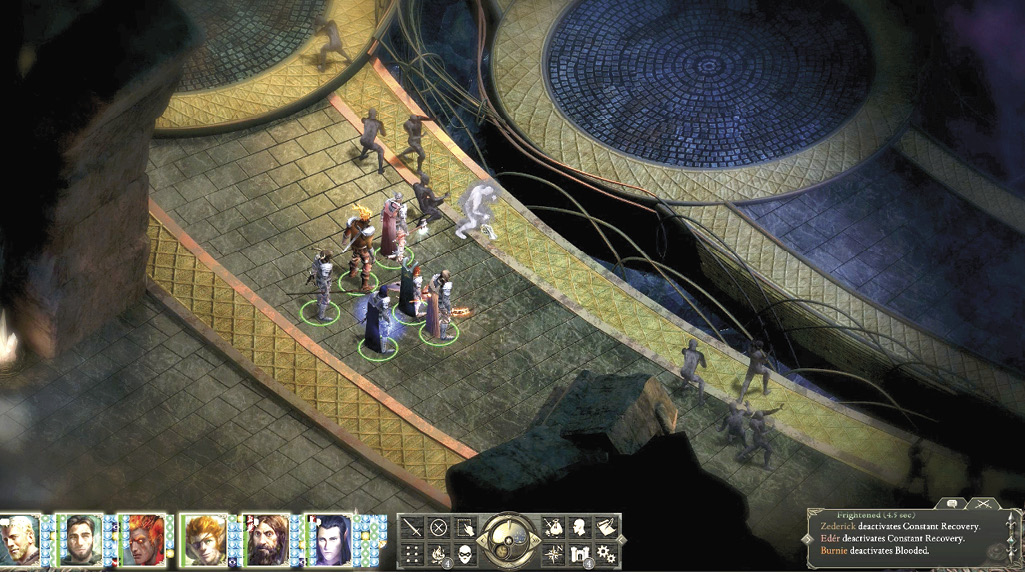
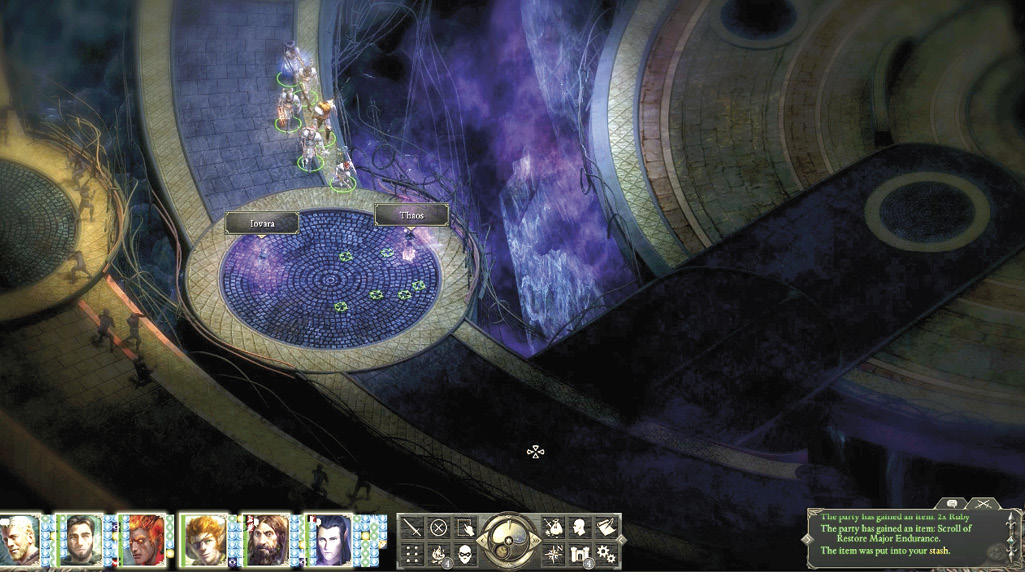
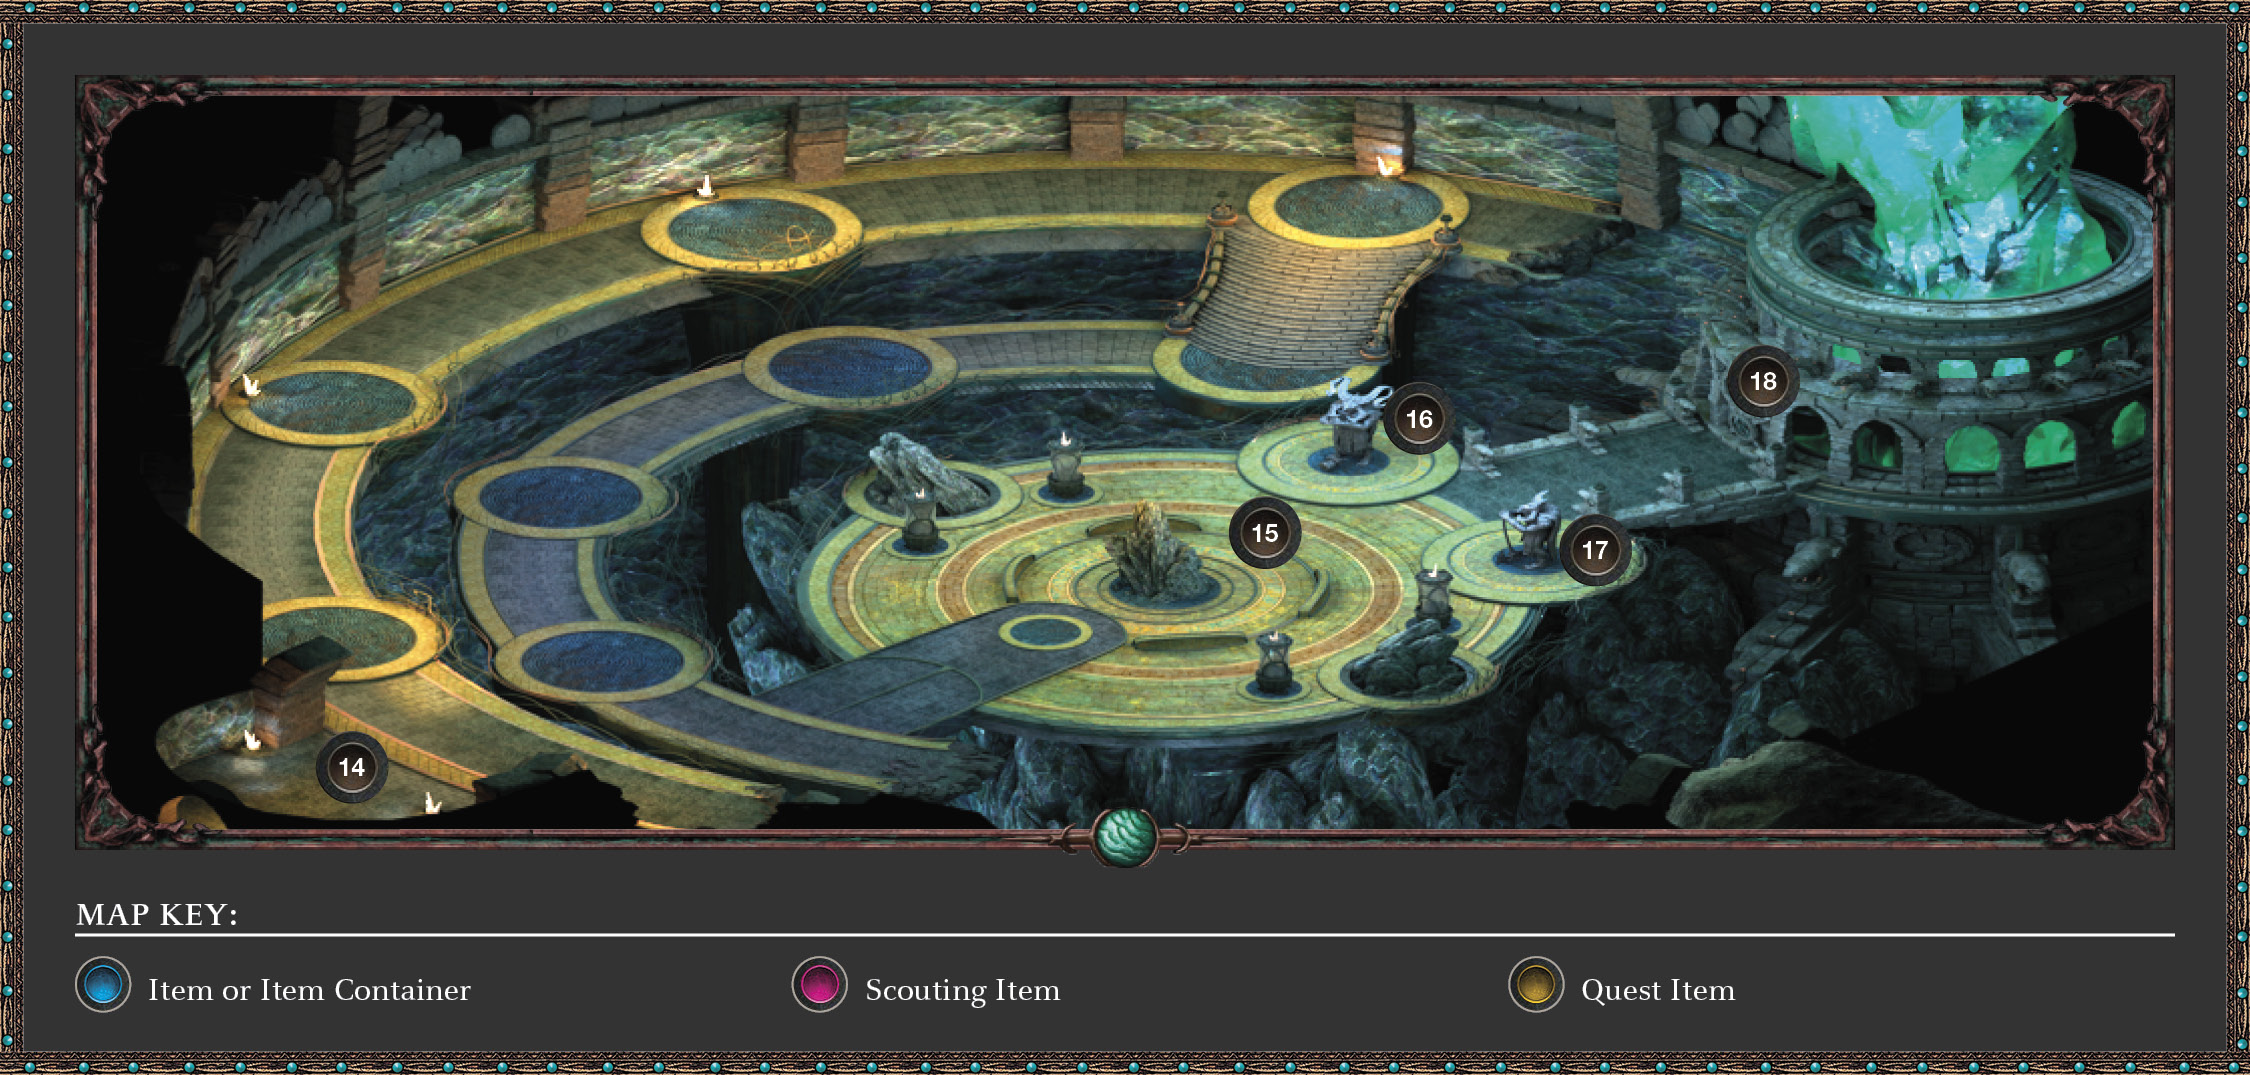
Enter the Court. You’ve reached the spiral walkway that leads to the center of the Sun in Shadow (14). Below is a whirling maelstrom of purple light, beneath the Adra formations. Head north and work your way around this ceremonial walkway, until you reach the central platform chamber with the Adra rock in the center of it (15). Along the way you encounter ghosts with words of “encouragement.”
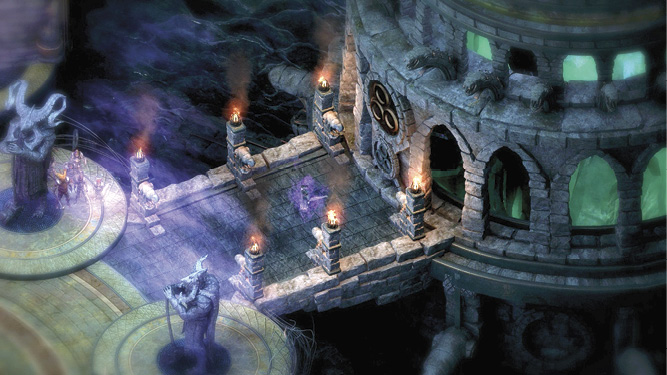
You’ve finally found Thaos in this giant domed chamber. He stands before the great pillar of Adra. Flanked by two imposing statues (16) and (17), you begin a vision with Thaos here within the sanctum holy to Woedica. After the vision is over, the imposing figure of Thaos strides toward your party. After the second conversation (when he moves to the pillar), you can:
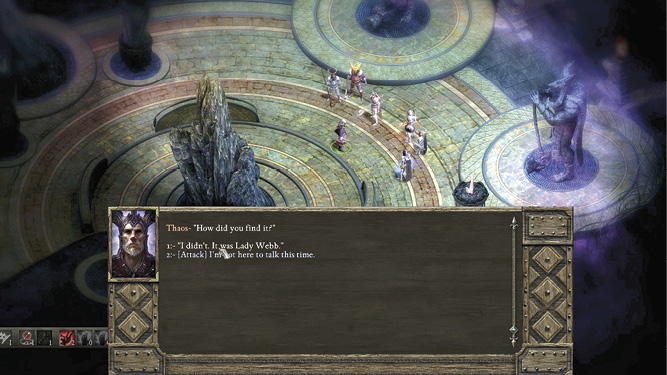
- Converse with Thaos at length, which delays the inevitable; your discussion ends at a violent impasse.
- [Attack] Choose to end your link with Thaos violently. It is inevitable.
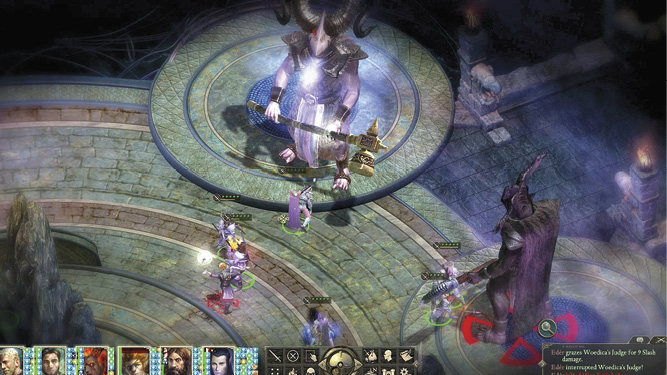
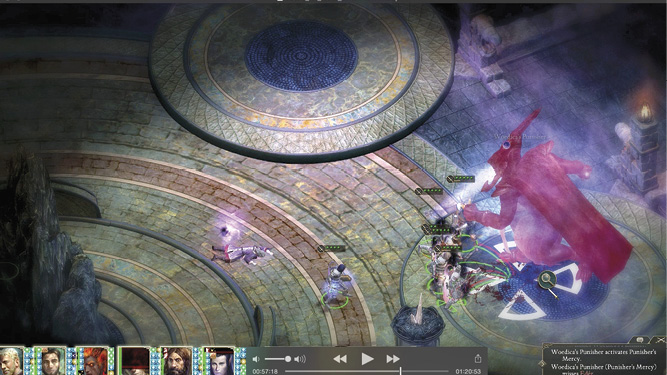
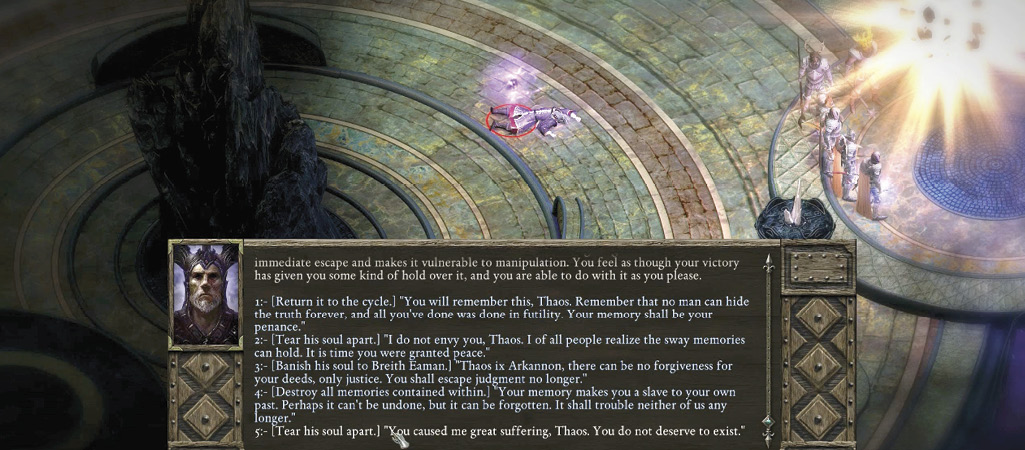
You are plunged into combat not just with Thaos, but also the two giant statues flanking this chamber—Woedica’s Judge and Woedica’s Headsman. We suggest you put your magic users on Thaos and do your best to hold him and keep him from attacking while you split your remaining team into two and put a team on each of the statues. Once this epic confrontation is over and you emerge victorious for the final time, you may explore and control the flickering soul of Thaos and choose its fate. Pick from one of five options, which affects your ending:
- [Return it to the cycle]
- [Tear his soul apart] (“It was time you were granted peace.”)
- [Banish his soul to Breith Eaman]
- [Destroy all memories contained within]
- [Tear his soul apart] (“You do not deserve to exist.”)
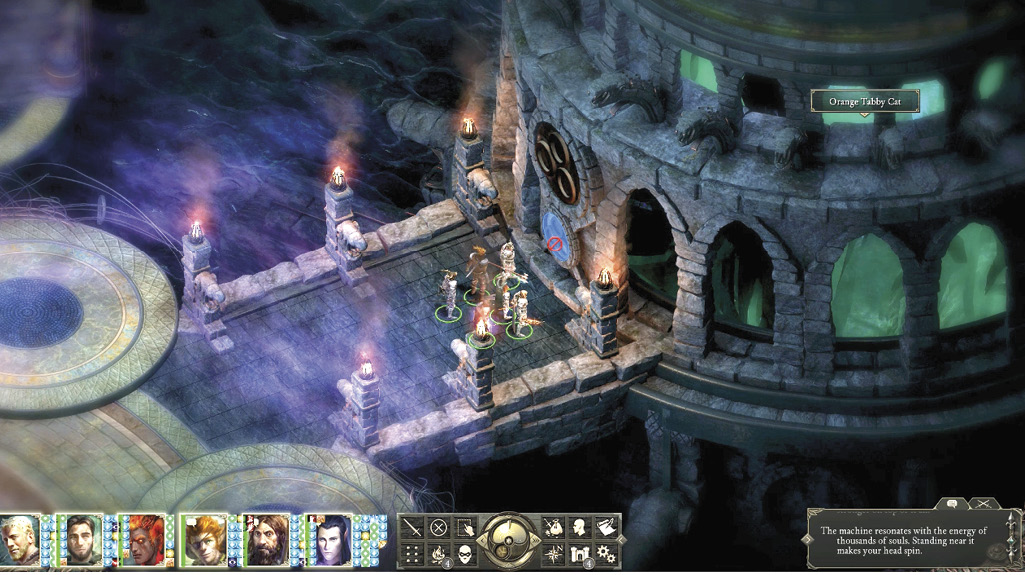
Your final act is to move to the machine and press the glowing blue area (18) and redirect the souls that are shrieking and waiting for their fate to be decided. Choose from one of six options, which affects your ending:
- [Send the souls back into the reincarnation cycle.]
- [Return the souls to the bodies they were intended for.]
- [Entropically disintegrate the souls, ending their existence.]
- [Distribute the essence to existing souls in Dyrwood to strengthen them.]
- [Allow the souls to pass through the vein to Woedica.]
- [Disperse the souls to an unknown location.]
Once you make your final choice, the Watcher of Dyrwood’s adventure concludes.