
Pillars of Eternity Guide Walkthrough Act II: Side Quests
The Bronze Beneath the Lake
Part 1: The Search for Lle a Rhemen
Copperlane
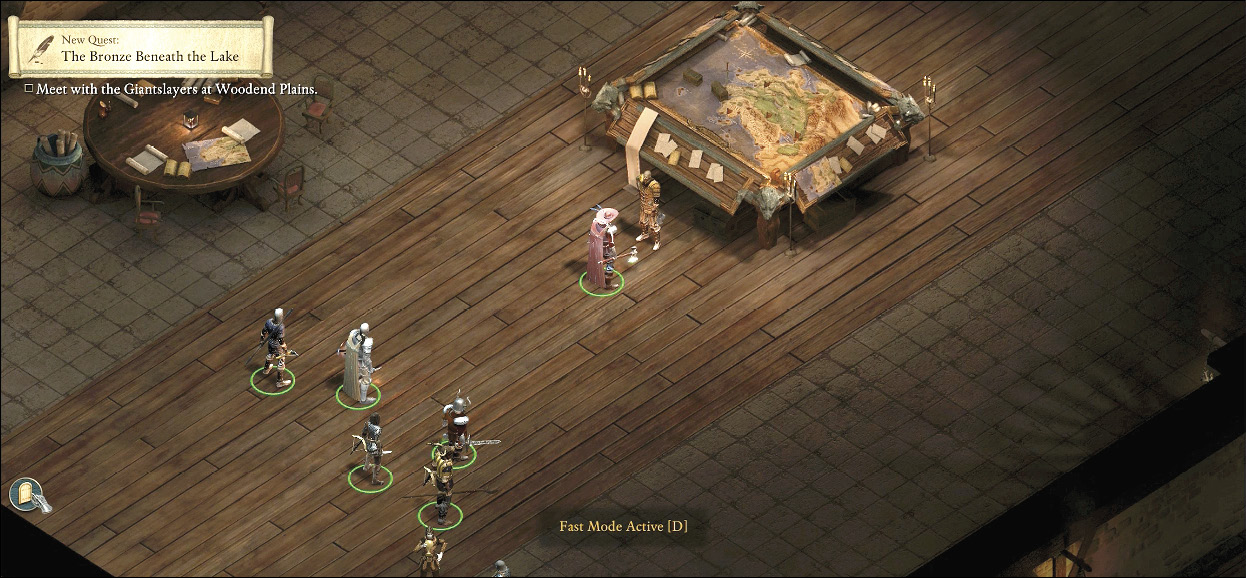
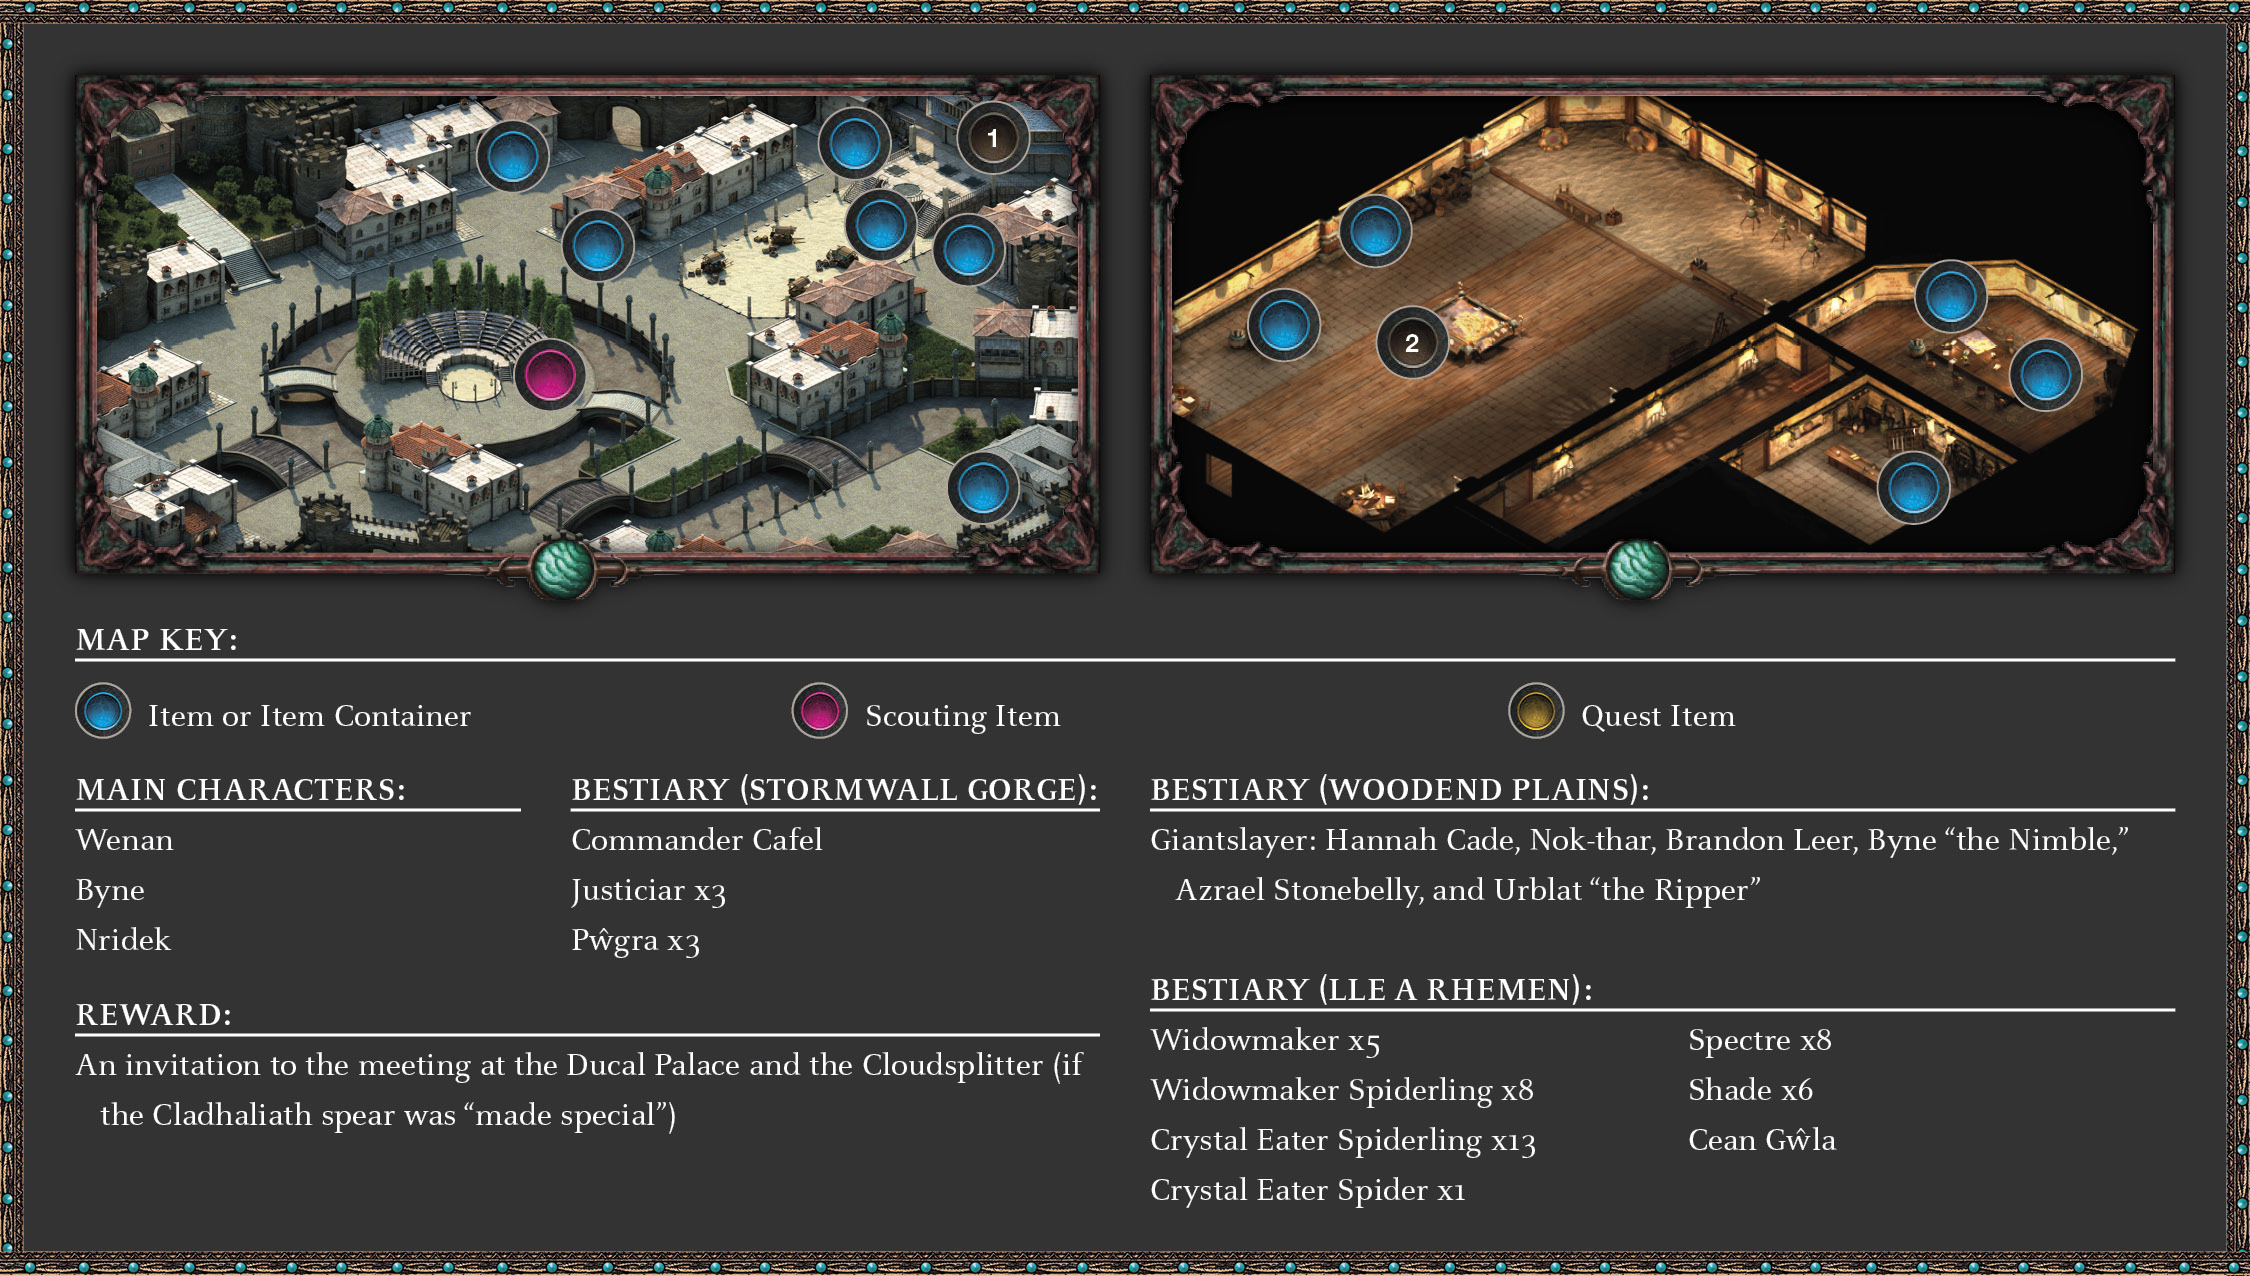
Enter Expedition Hall (1) in Copperlane. Now that you’ve won favor with Osric, you can meet up with Wenan (2) at the map table within Admeth’s Den and ask about an invitation to the animancy hearings. He has a favor to ask, one that won’t endear you to the Crucible Knights or the Doemenels. Agree to it, and you’re told of a place called Lle a Rhemen, which is supposed to hold some of the greatest Engwithan weapons ever forged. Wenan’s brethren—a band of adventurers called the Giantslayers—were sent to find the weapons, but they’re better fighters than treasure hunters. Meet them in Woodend Plains.
New Quest:The Bronze Beneath the Lake
Objective: Meet with the Giantslayers at Woodend Plains
Woodend Plains
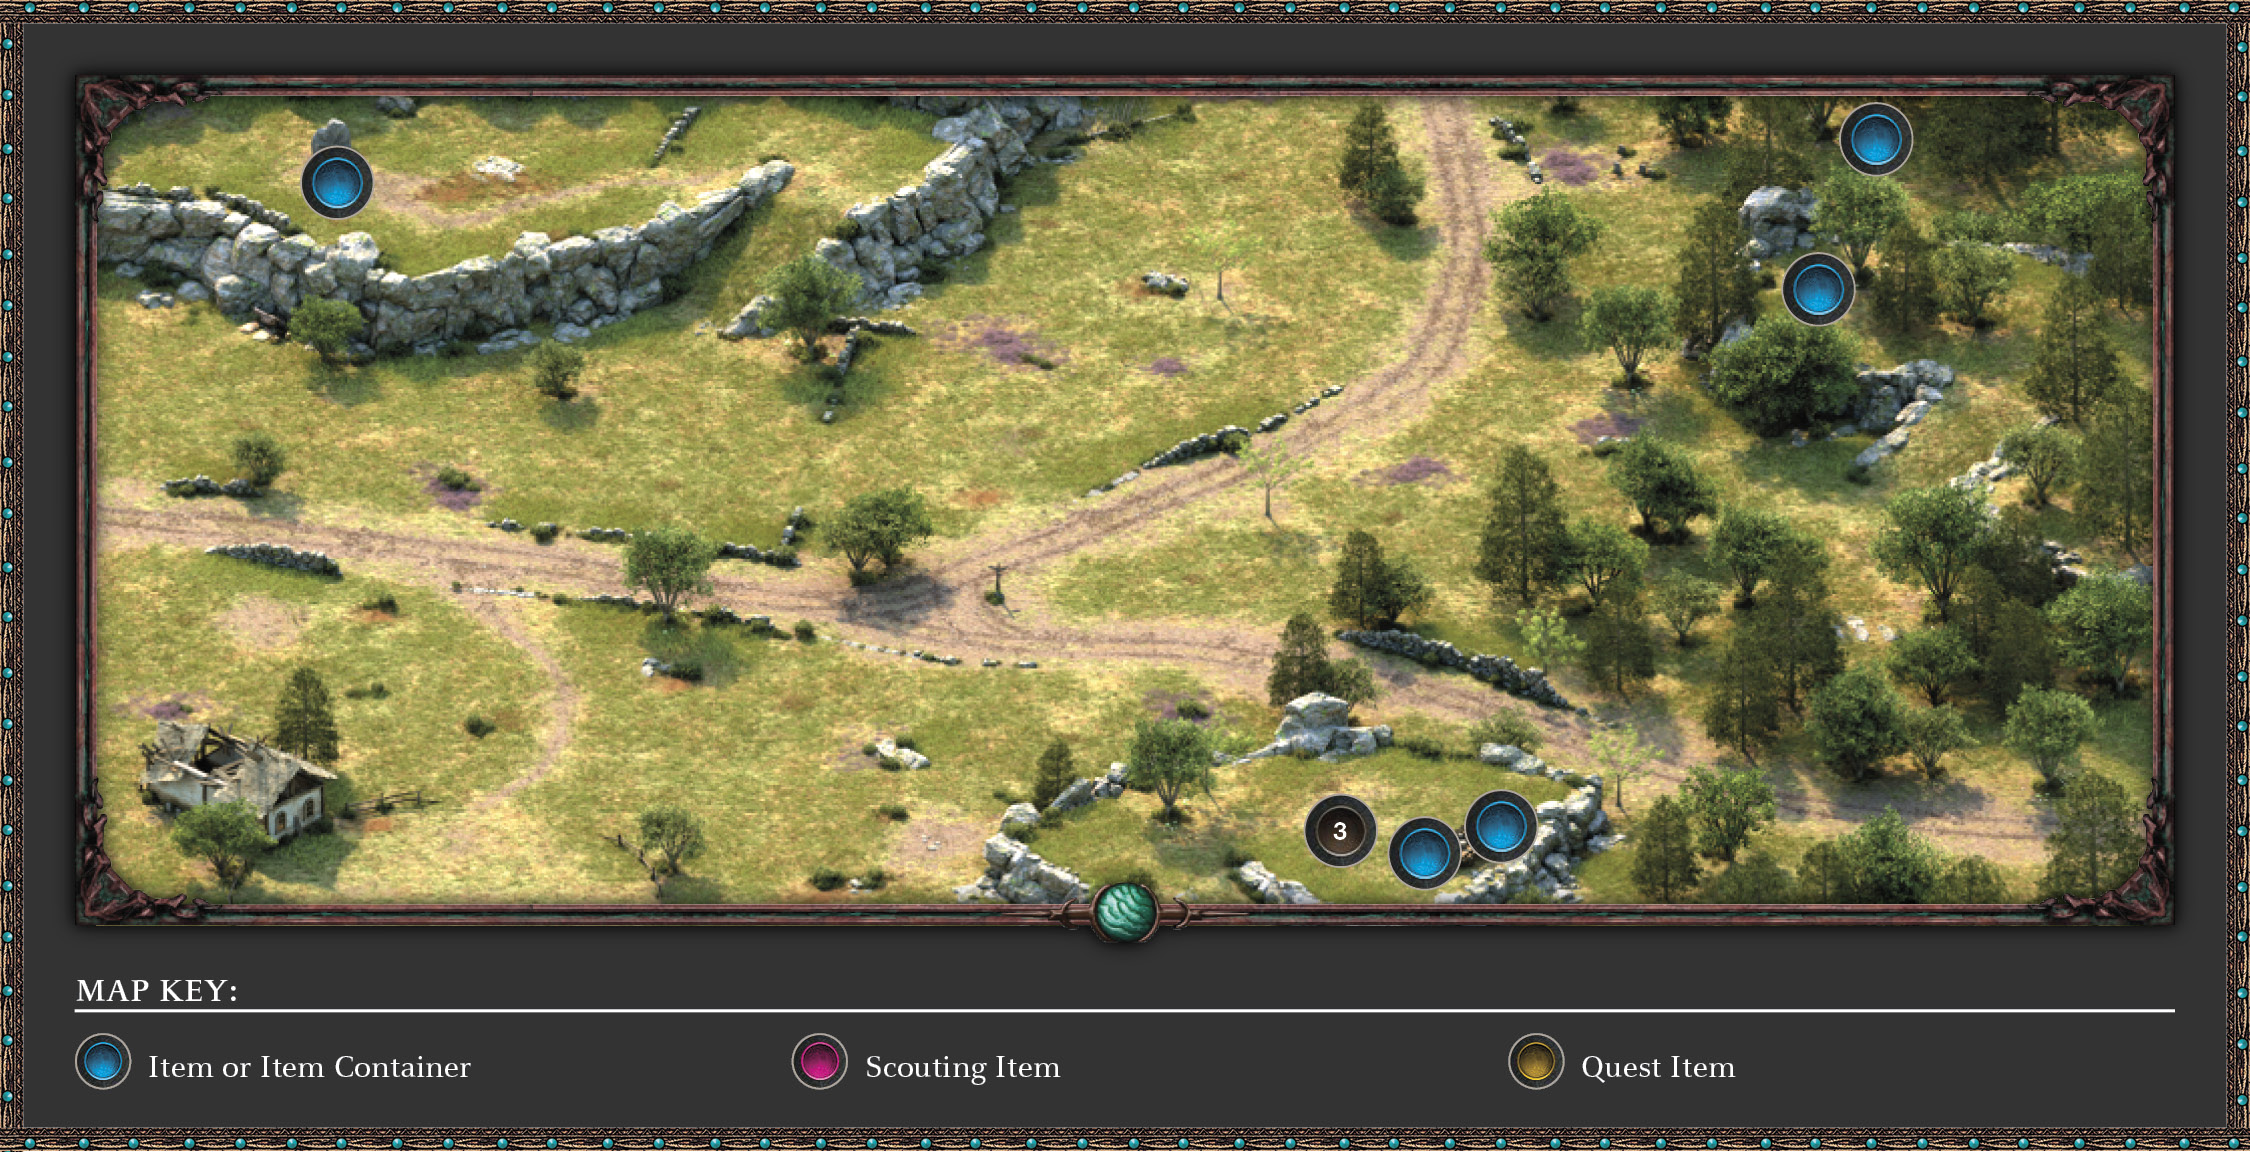
Transition to Woodend Plains and head to the elevated hill in the southeast section, where the Giantslayers (3) have made camp. Approach and speak to their leader Byne, who has scouted the area near a ruin within Stormwall Gorge, but hasn’t managed to enter the flooded structure. You can:
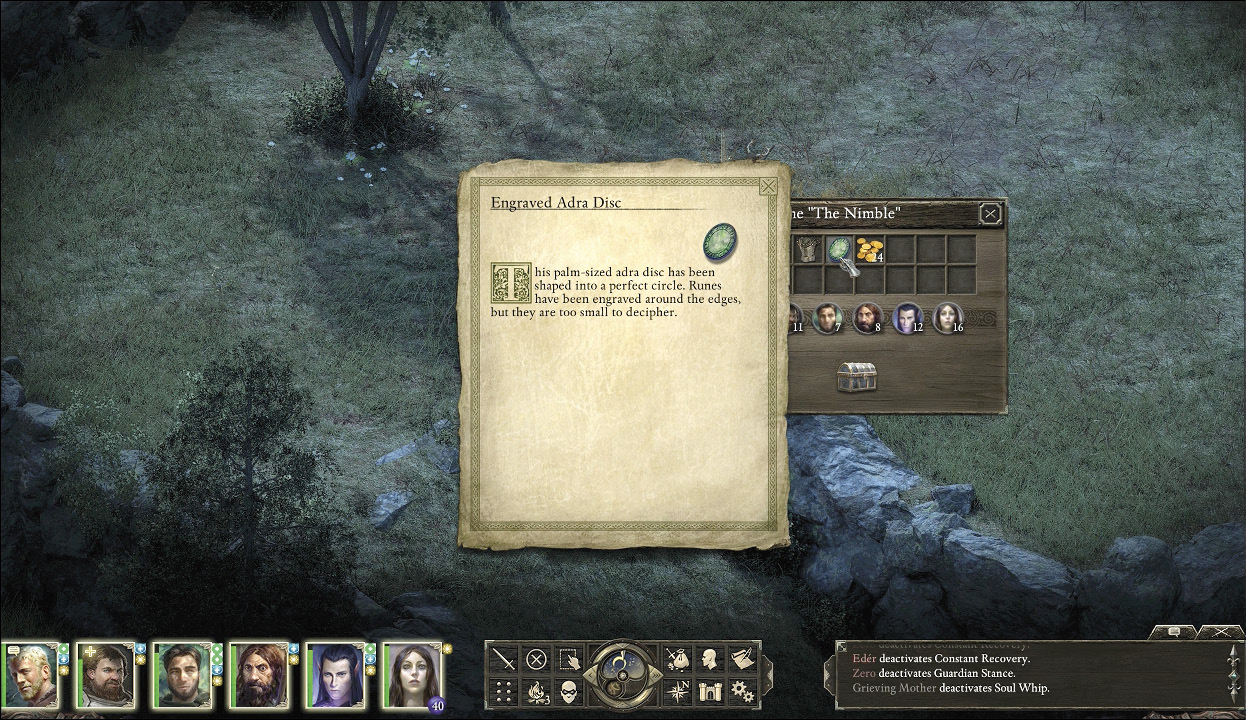
- Avoid combat with Byne and the Giantslayers, and retrieve the Engraved Adra Disc through conversation.
- [Attack] Slay the Giantslayers and loot the Engraved Adra Disc from Byne after force.
Part 2: Down the Drain
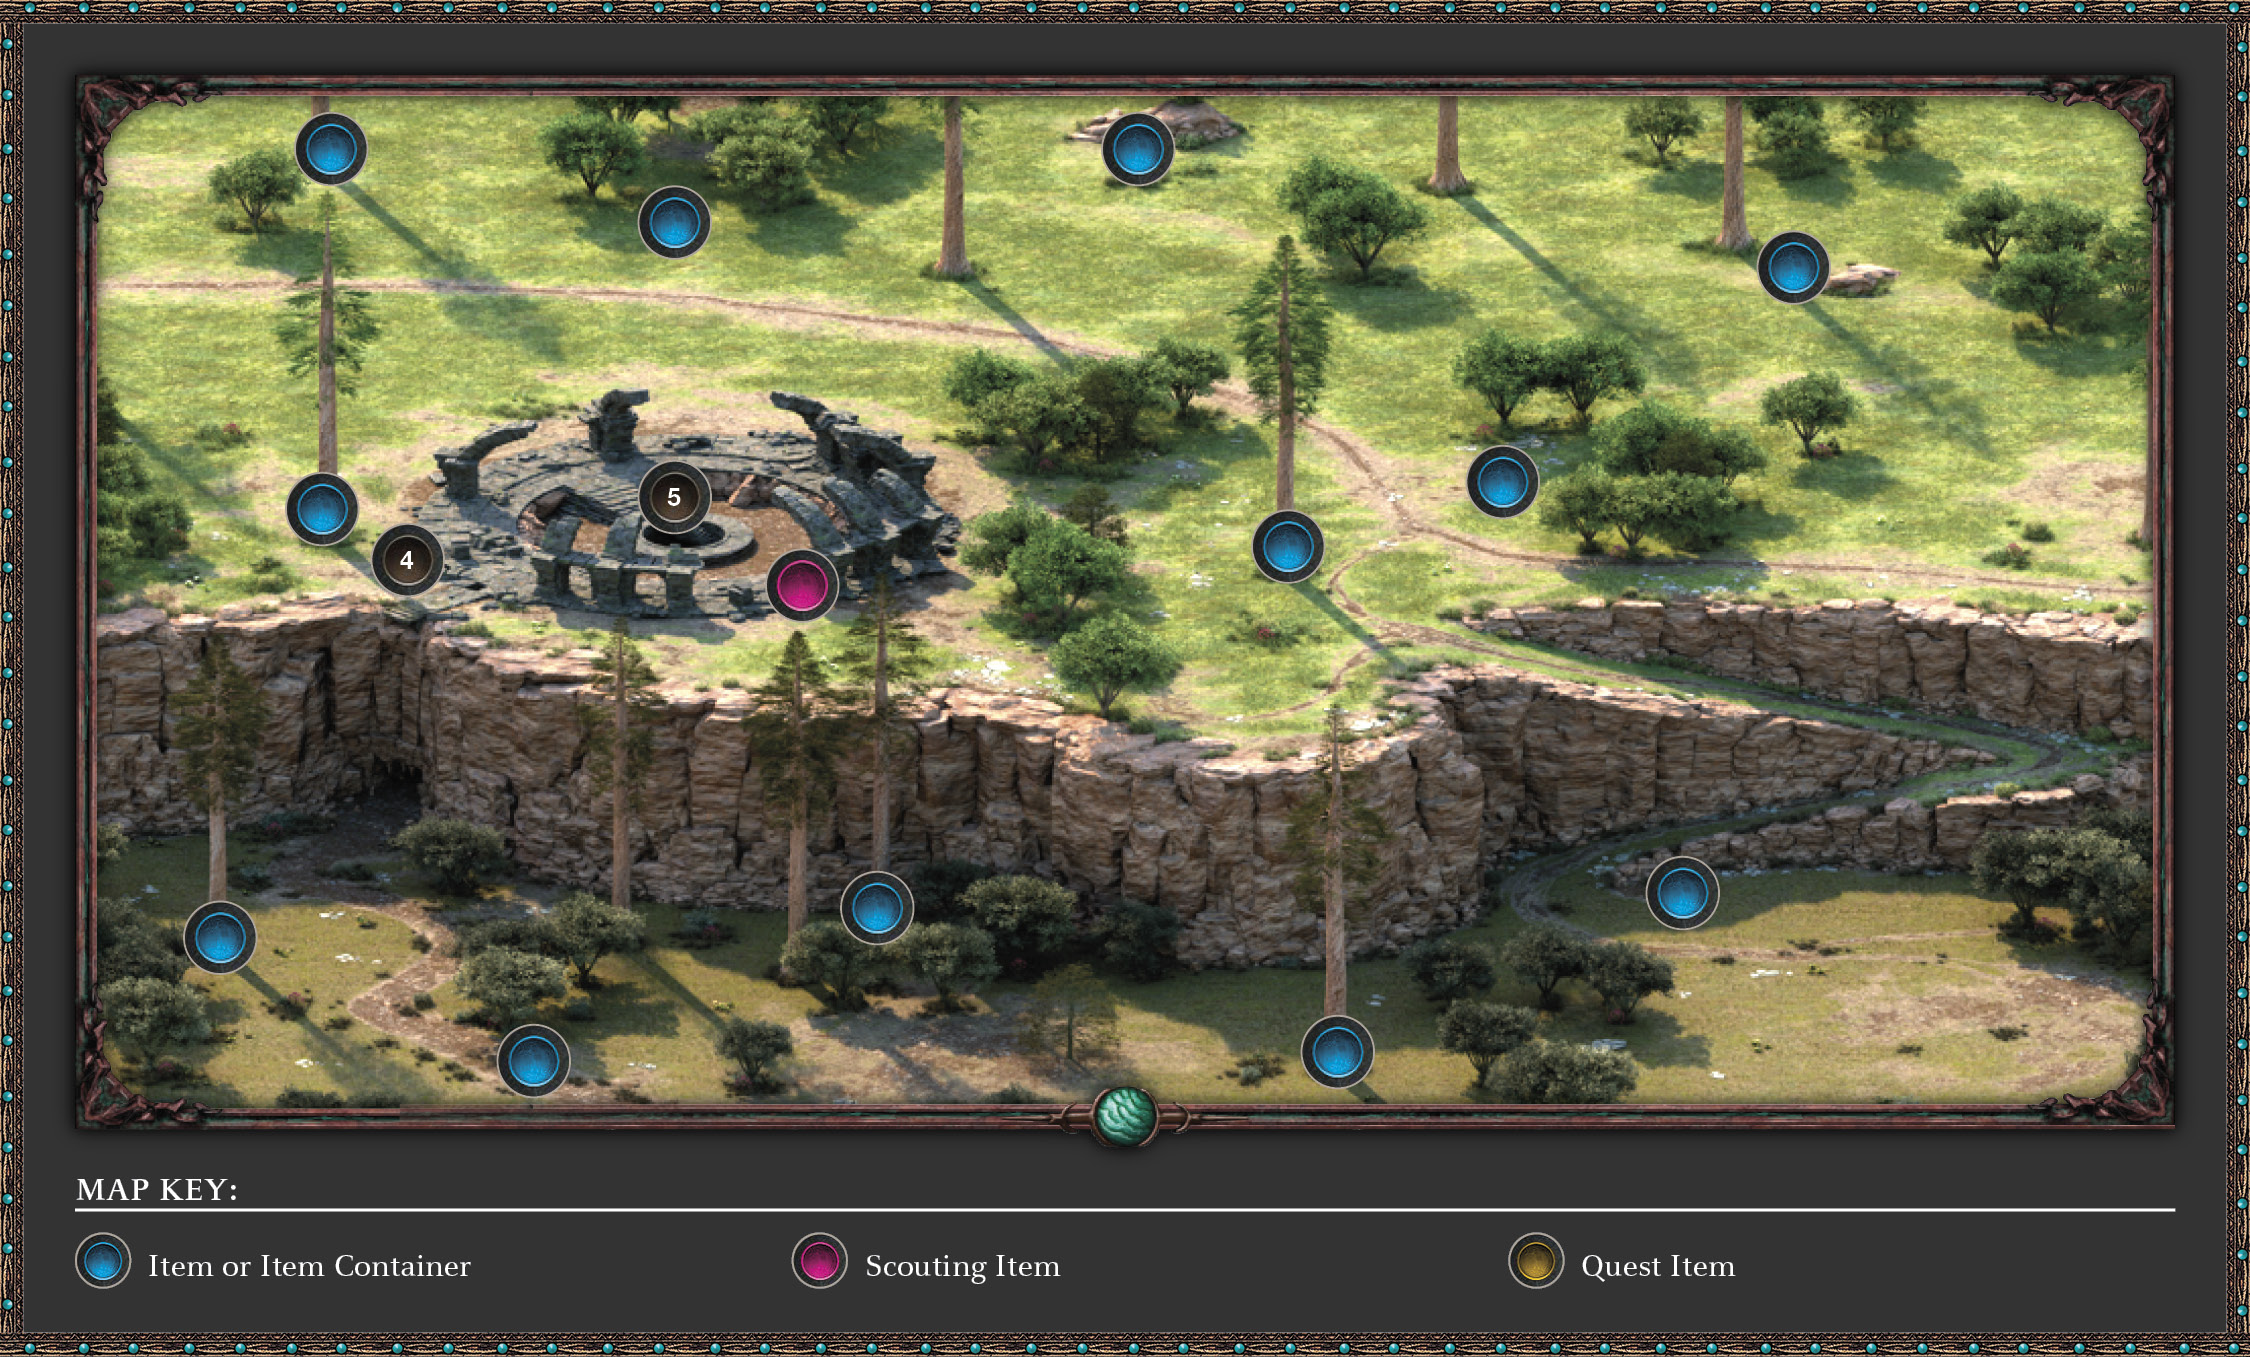
Stormwall Gorge
Quest Updated
Objective: Enter the ruins via Stormwall Gorge
Head east from Woodend Plains and enter Stormwall Gorge. You may have already explored this area on your way to Defiance Bay. As you explore, you run into a patrol of Crucible Knights. Expect to face them in combat before or after you reach the ruins.
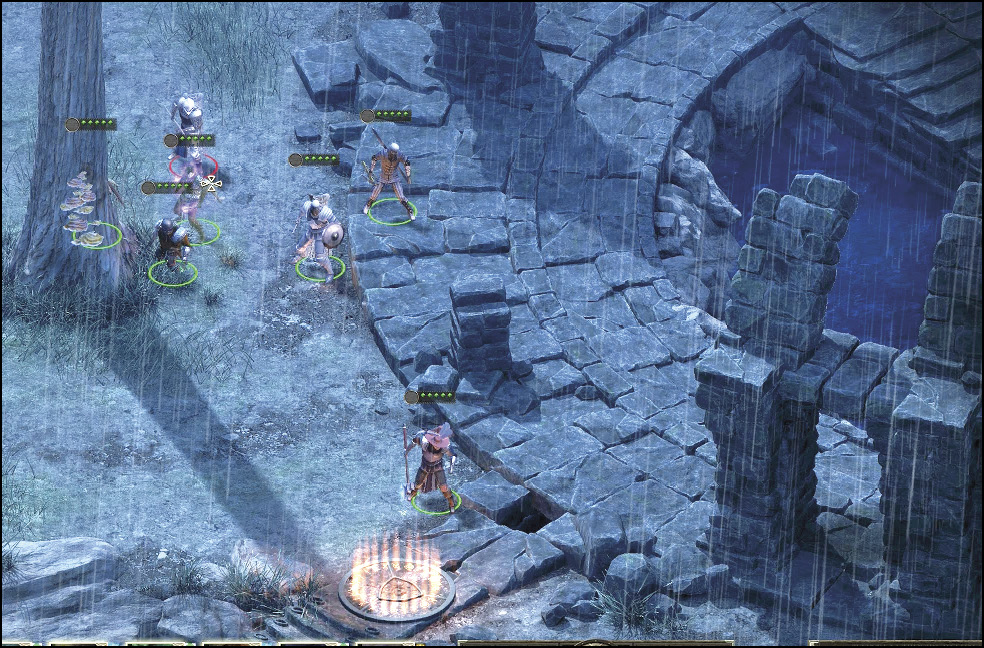
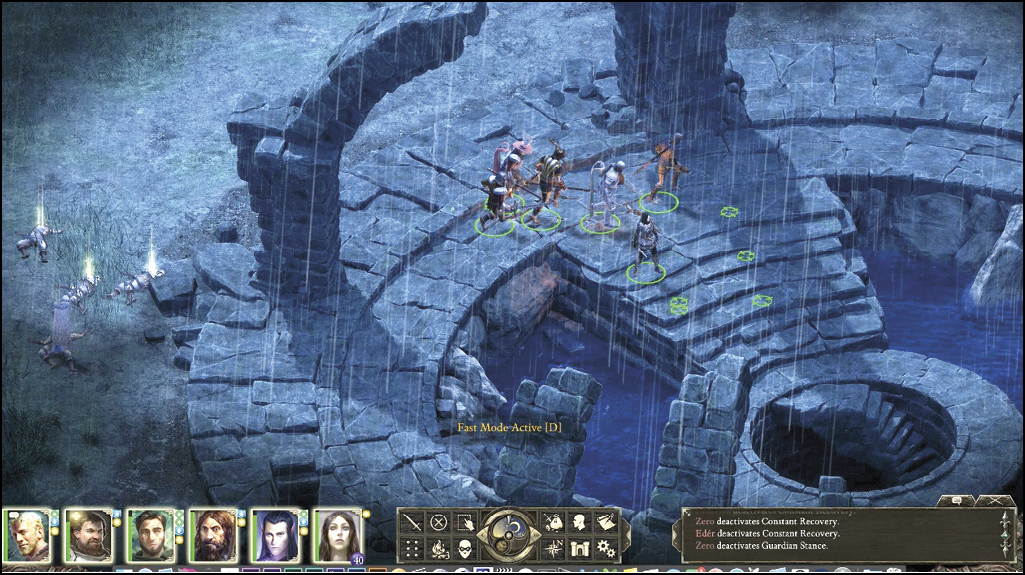
Head south to the circular ruins in the western part of the Gorge, which is guarded by three Pwˆ gra (unless you dispatched them on your previous visit). The ancient ruins they guard are of significant interest to you, but the barrow entrance is flooded. Head to the strange circular carved stone (4) on the outer stonework, and examine the circular indentation. Next, insert the Adra Disc retrieved from the Giantslayers into this indentation, and the water drains away from the pool. If it is not right, you can use the Wait option in the Scripted Interaction to pass the time.You’re now free to descend into this newly discovered Engwithan temple through the stairwell in the drained pool area (5).
Part 3: Lhe a Rhemen: Voices in Your Head
Lhe a Rhemen
Quest Updated
Objective: Find the weapons of Lle a Rhemen
Entry Room to Hallway
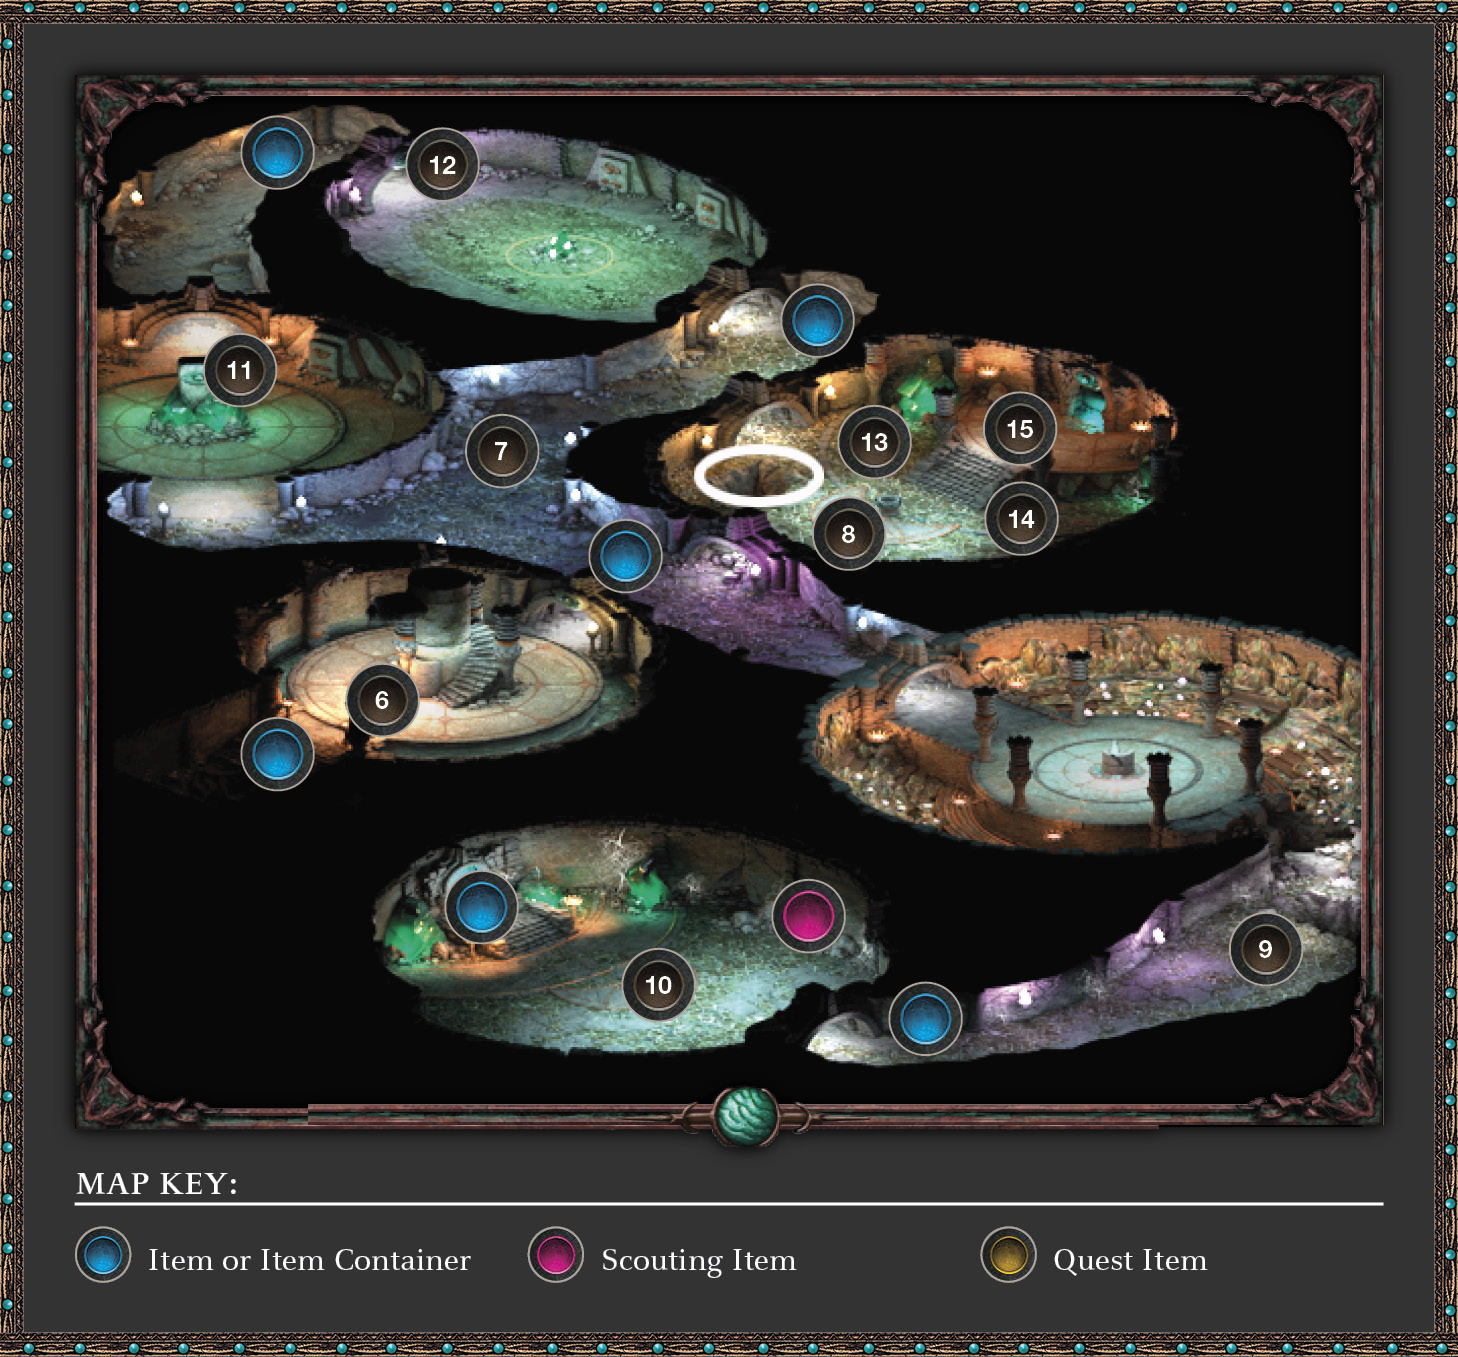
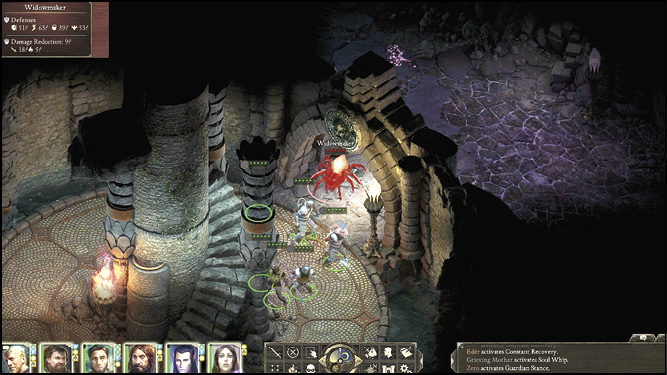
There’s an entrance to the northeast at the bottom of the spiral stairs (6). Above this entrance, a stone head tells you to turn “twice to the left” to “prepare your soul for reckoning.” This isn’t your overriding objective, so ignore this head, pass under the entrance, and defeat the Widowmaker; then head north into a curved hallway. Approach and slay three Crystal Eater Spiderlings (7) as you continue north.
Chamber of Transference
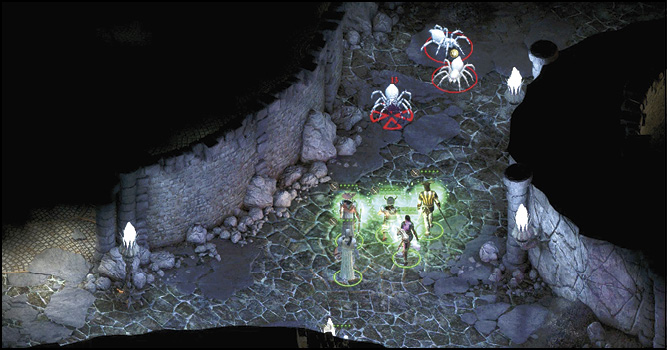
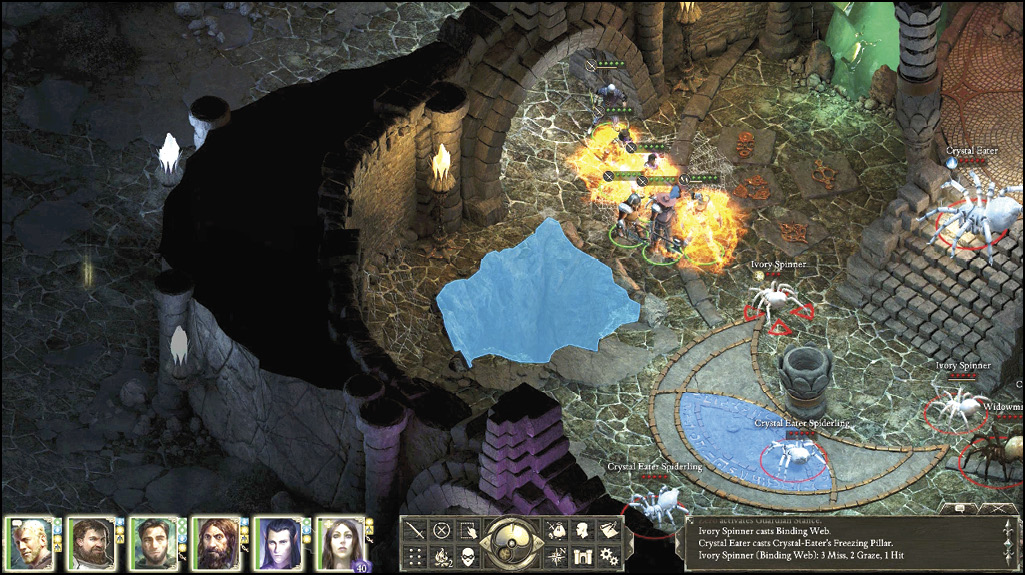
Follow the hallway as it curves to the right (east). Head through the arched entrance on your right (southeast), into a large chamber (8) filled with Crystal Eater Spiderlings, Ivory Spinners, a Crystal Eater, and a Widowmaker. Remove these threats, ignoring the worrisome voices in your head. Then inspect the large tunnel along the southeast wall of this chamber.
You can:
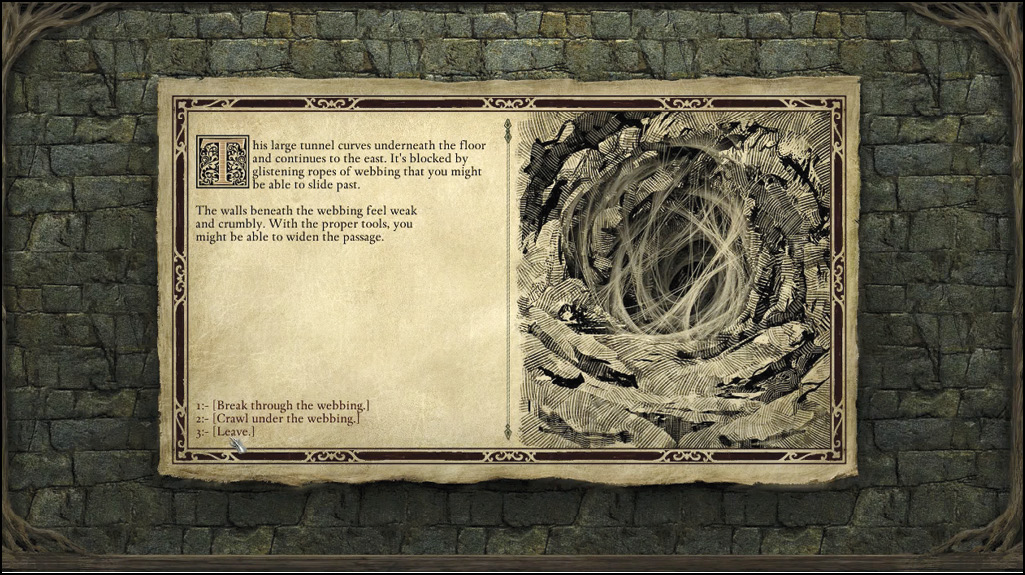
- Break through the webbing, choosing the member of your party with the appropriate Might [Might 16+].
- Crawl under the webbing.
When breaking the webs, you disturb a few more Widowmaker Spiderlings, which must be slain before inspecting the tunnel again. Enter the cleared tunnel.
Webbed Hallway to Artifact Hall
You emerge in the map’s southeast corner (9) and face down three more Crystal Eater Spiderlings and a Widowmaker. Defeat them and advance west to the otherwise-inaccessible Artifact Hall (10).
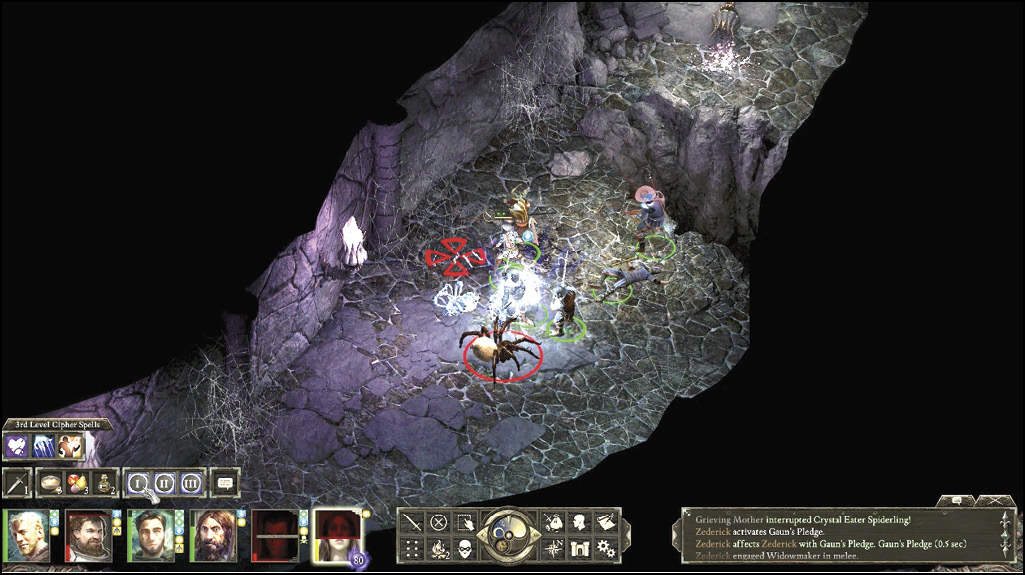
Ten spiders are milling about here, seemingly under the control of a robed, gangling creature, whose voice projects directly into your mind. This is Nridek the Vithrack. He seems fearful of you. You can:
- Ask what he plans to do with the stone he’s carrying, and then tell him to leave without resorting to combat. He obliges, taking all the Engwithan weapons with him, and you fail this quest!
- Tell him, “Go, and may there be peace between our kinds” [Benevolent—Minor]. He leaves and the weapons remain and there is no fighting.
- [Attack] Resort to violence and slay Nridek and all his spiders [Aggressive—Minor].
When your confrontation with Nridek is over, inspect the weapon rack he was guarding. Gather the Ancient Engwithan Weapons you came for and the Cladhaliath. If you defeat Nridek, you can take his brain and, more importantly, the Soul Vessel (Adra) from his corpse. Use the Adra and the Cladhaliath to make a special weapon, the Cloudsplitter. The quest updates. If you would like more information on making a special weapon, skip to the end of this quest.
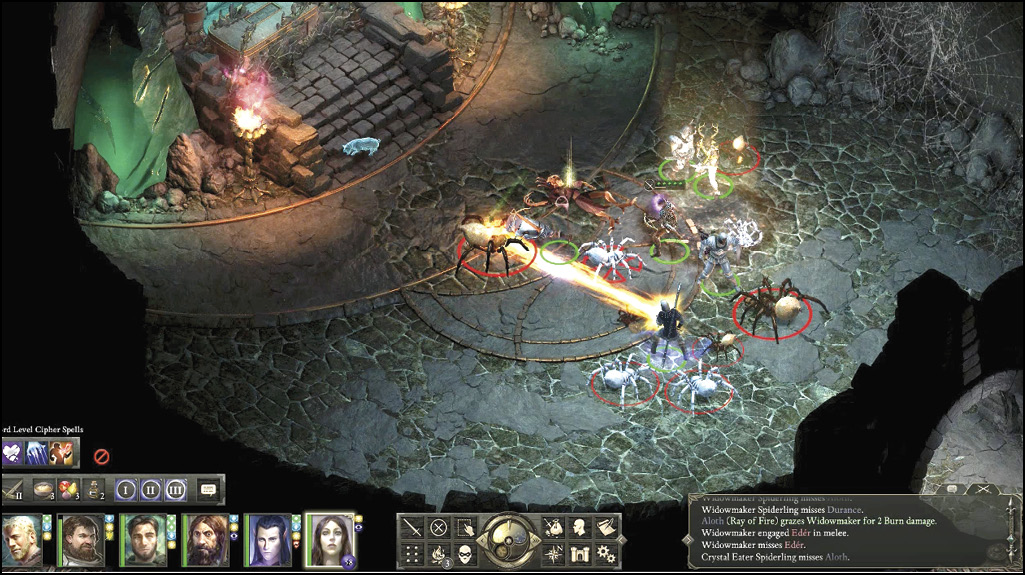
Quest Updated
Objective: Bring the weapons to Wenan at the Expedition Hall in Copperlane.
Part 4: Conclusion: Tarnished Relics
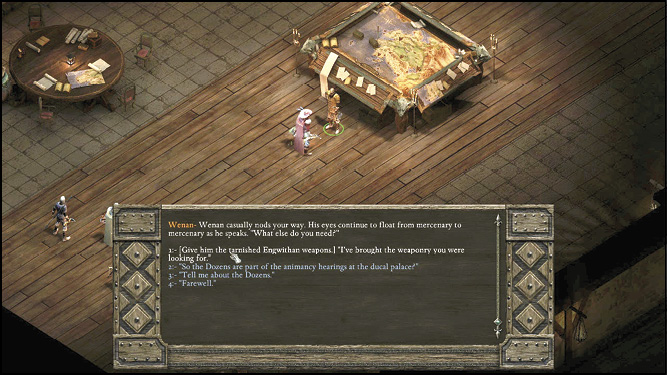
Exit Lle a Rhemen, transition from Stormwall Gorge back to Copperlane, and head into Admeth’s Den (1) to confer with Wenan (2). Hand over the weaponry he was looking for, and when asked how to “make them so special,” answer, “The Engwithans used to fill them with fragments of their own essence.” Assuming you’re allying with the Dozens, choose positive conversation choices when speaking with Wenan, and his additional talking points.
Reward: An invitation to the meeting at the Ducal Palace (which allows you to return to Lady Webb)
Reward: Cloudsplitter
Bonus Adjective: Making Cloudsplitter
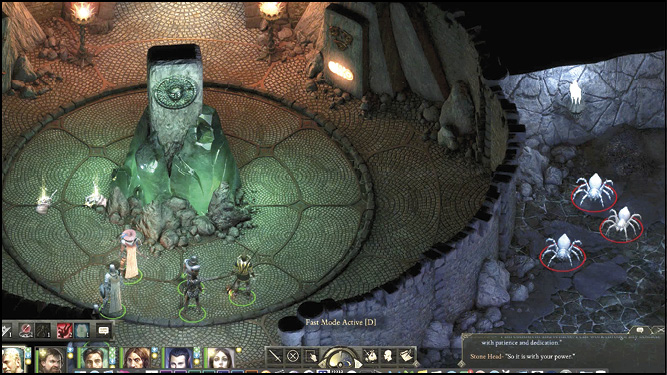
You must defeat Nridek and take the Soul Vessel from his corpse. You can also obtain his brain from his corpse. Since Wenan is looking only for the Ancient Engwithan Weapons, the Cladhaliath you found in the same chest is yours to keep. Take this into the first forging chamber (11) and interact with the stone head on the pillar. Answer its question and then move to the second stone head, located on the doorway arch to the next room (12). Interact with it and answer its question. Now you have two symbols that represent your personality. The matching symbols in the Transference Chamber light up when you walk over them.
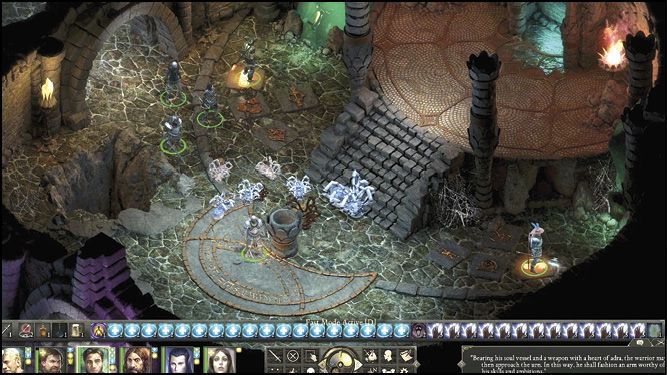
To make the spear, your character must have the soul vessel in hand with two companions on the corresponding symbols they chose in the other rooms. The symbol should light up beneath each companion when they step on the pressure plate (13) & (14). Once both are activated, walk up to the top of the stairs in the Transference Chamber (8) and a cutscene triggers. A dialogue occurs and the soul vessel becomes an “infused soul vessel” once you’ve performed the ritual. When the ritual is complete, another cutscene plays and a glowing orb appears over a little podium at the bottom of the stairs. Interacting with this podium brings up the enchanting window. Place the spear and the vessel into the crafting pane (15) and hit enchant to give the spear its special properties.