Pillars of Eternity Guide Walkthrough Act II: Side Quests
Cinders of Faith
Part 1: A Crisis of Faith
First Fires
Ducal Palace
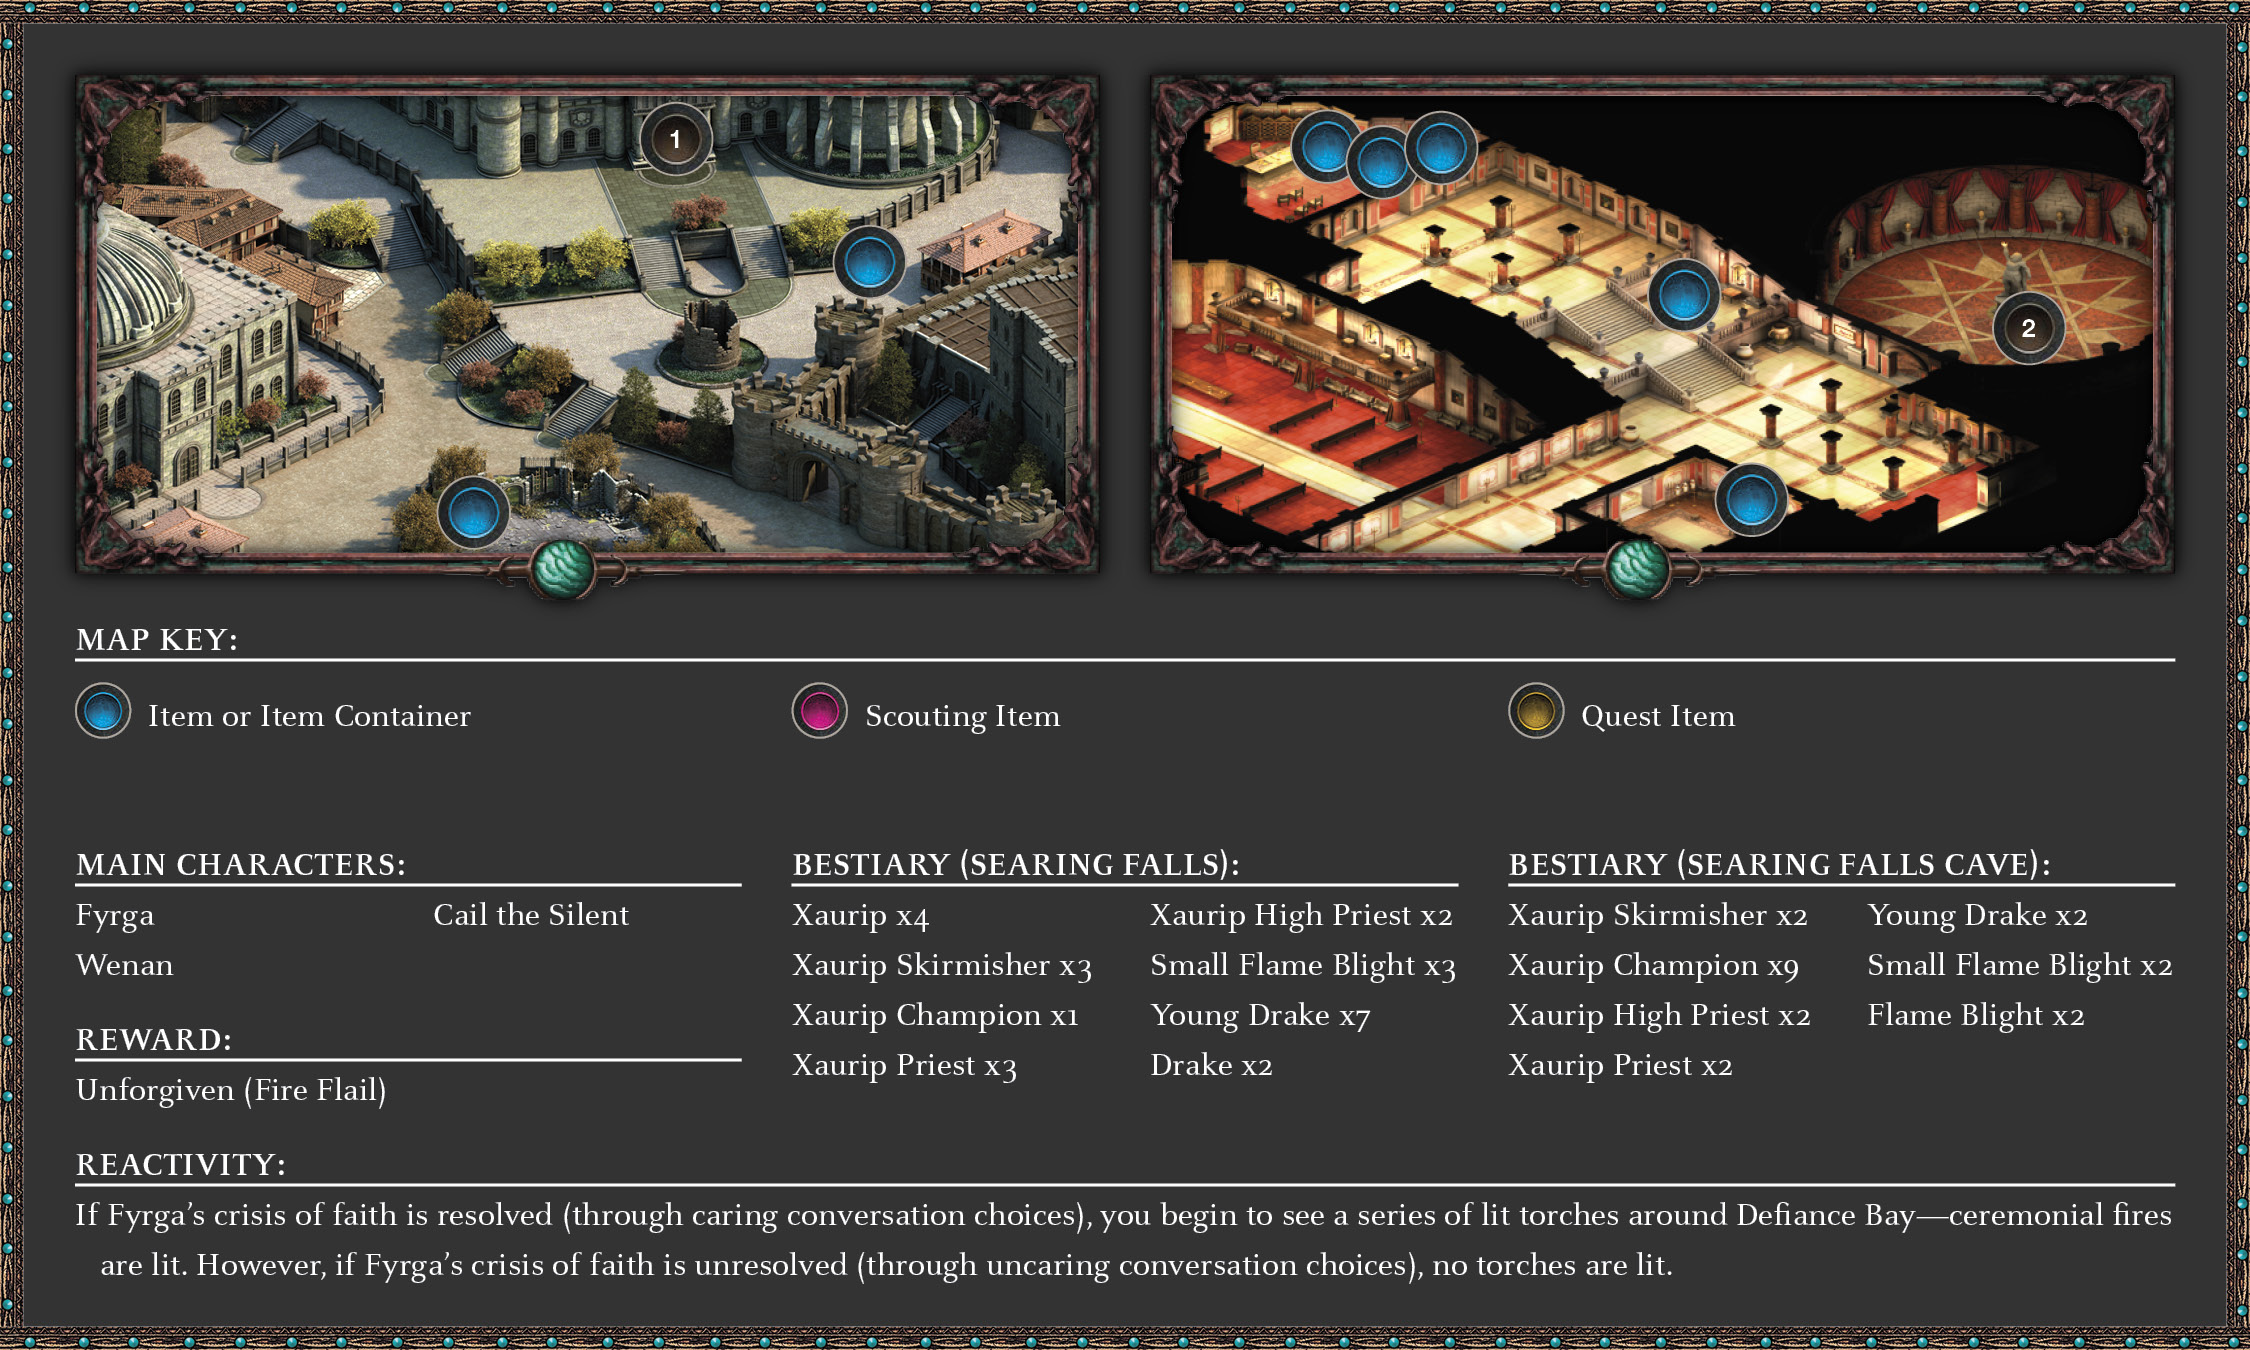
Fyrga, Tranquil Ardent of Magran, has had her faith shaken by the Hollowborn crisis in Defiance Bay. As a result, she’s been unable to keep the city’s sacred fires lit. They are a symbol of triumph and protection, and they’re more important than ever.
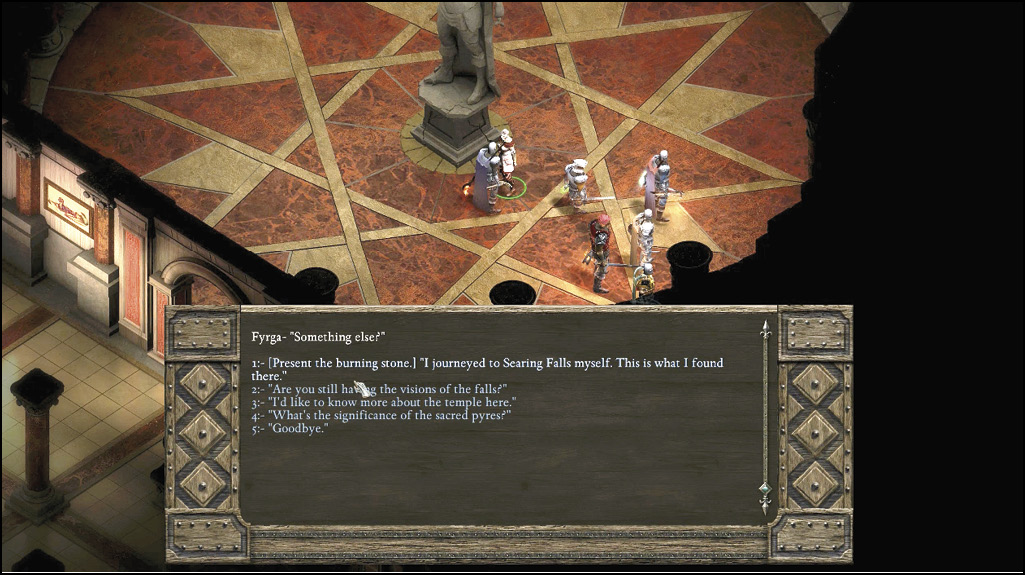
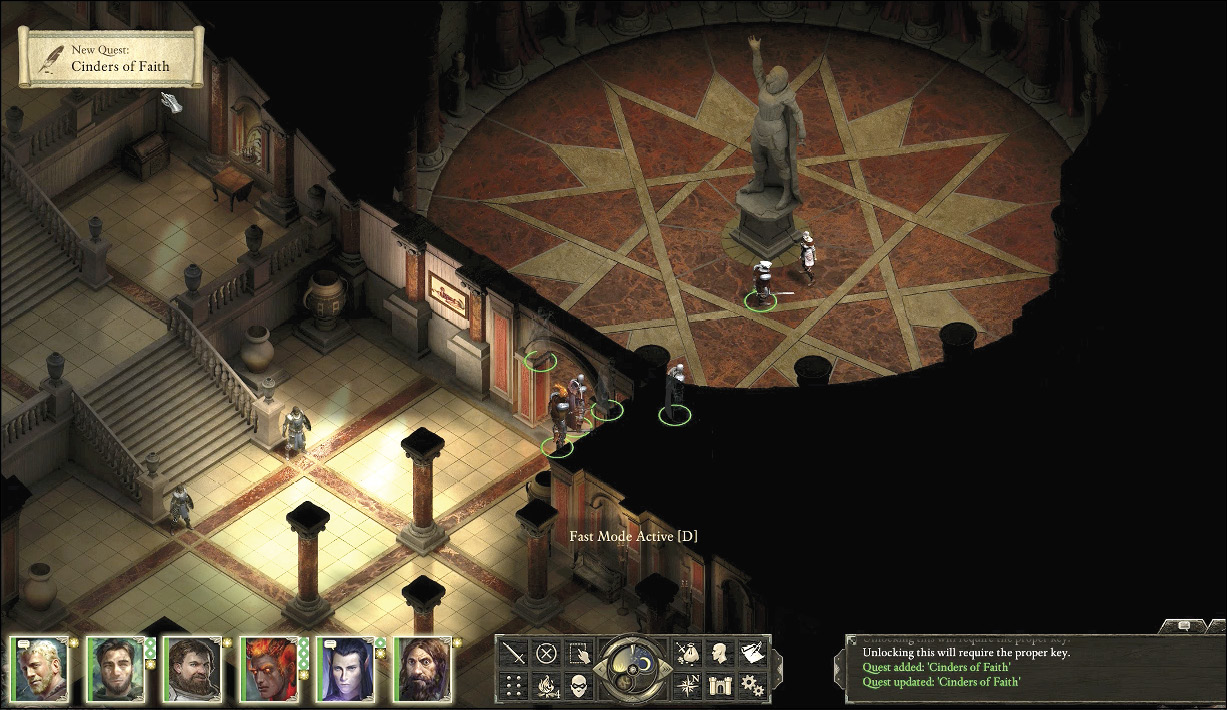
While you’re in First Fires (at any time before the end of Act II), visit the Ducal Palace (1). Step into the grand hallway, and then turn right to reach the Tranquil’s Chamber. Speak to Fyrga (2), who is standing by the statue of Magran. Through your conversation choices, learn about her crisis of faith and agree to help her. She speaks of visions involving a cave “at a place with multicolored pools.” This location isn’t immediately obvious to you, but a quick check of your quest log indicates someone at the Expedition Hall might know where this is.
New Quest: Cinders of Faith
Objective: Travel to the cave from Fyrga’s vision
Copperlane
Expedition Hall
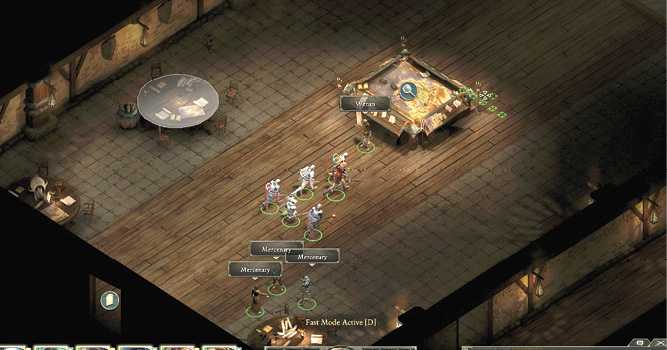
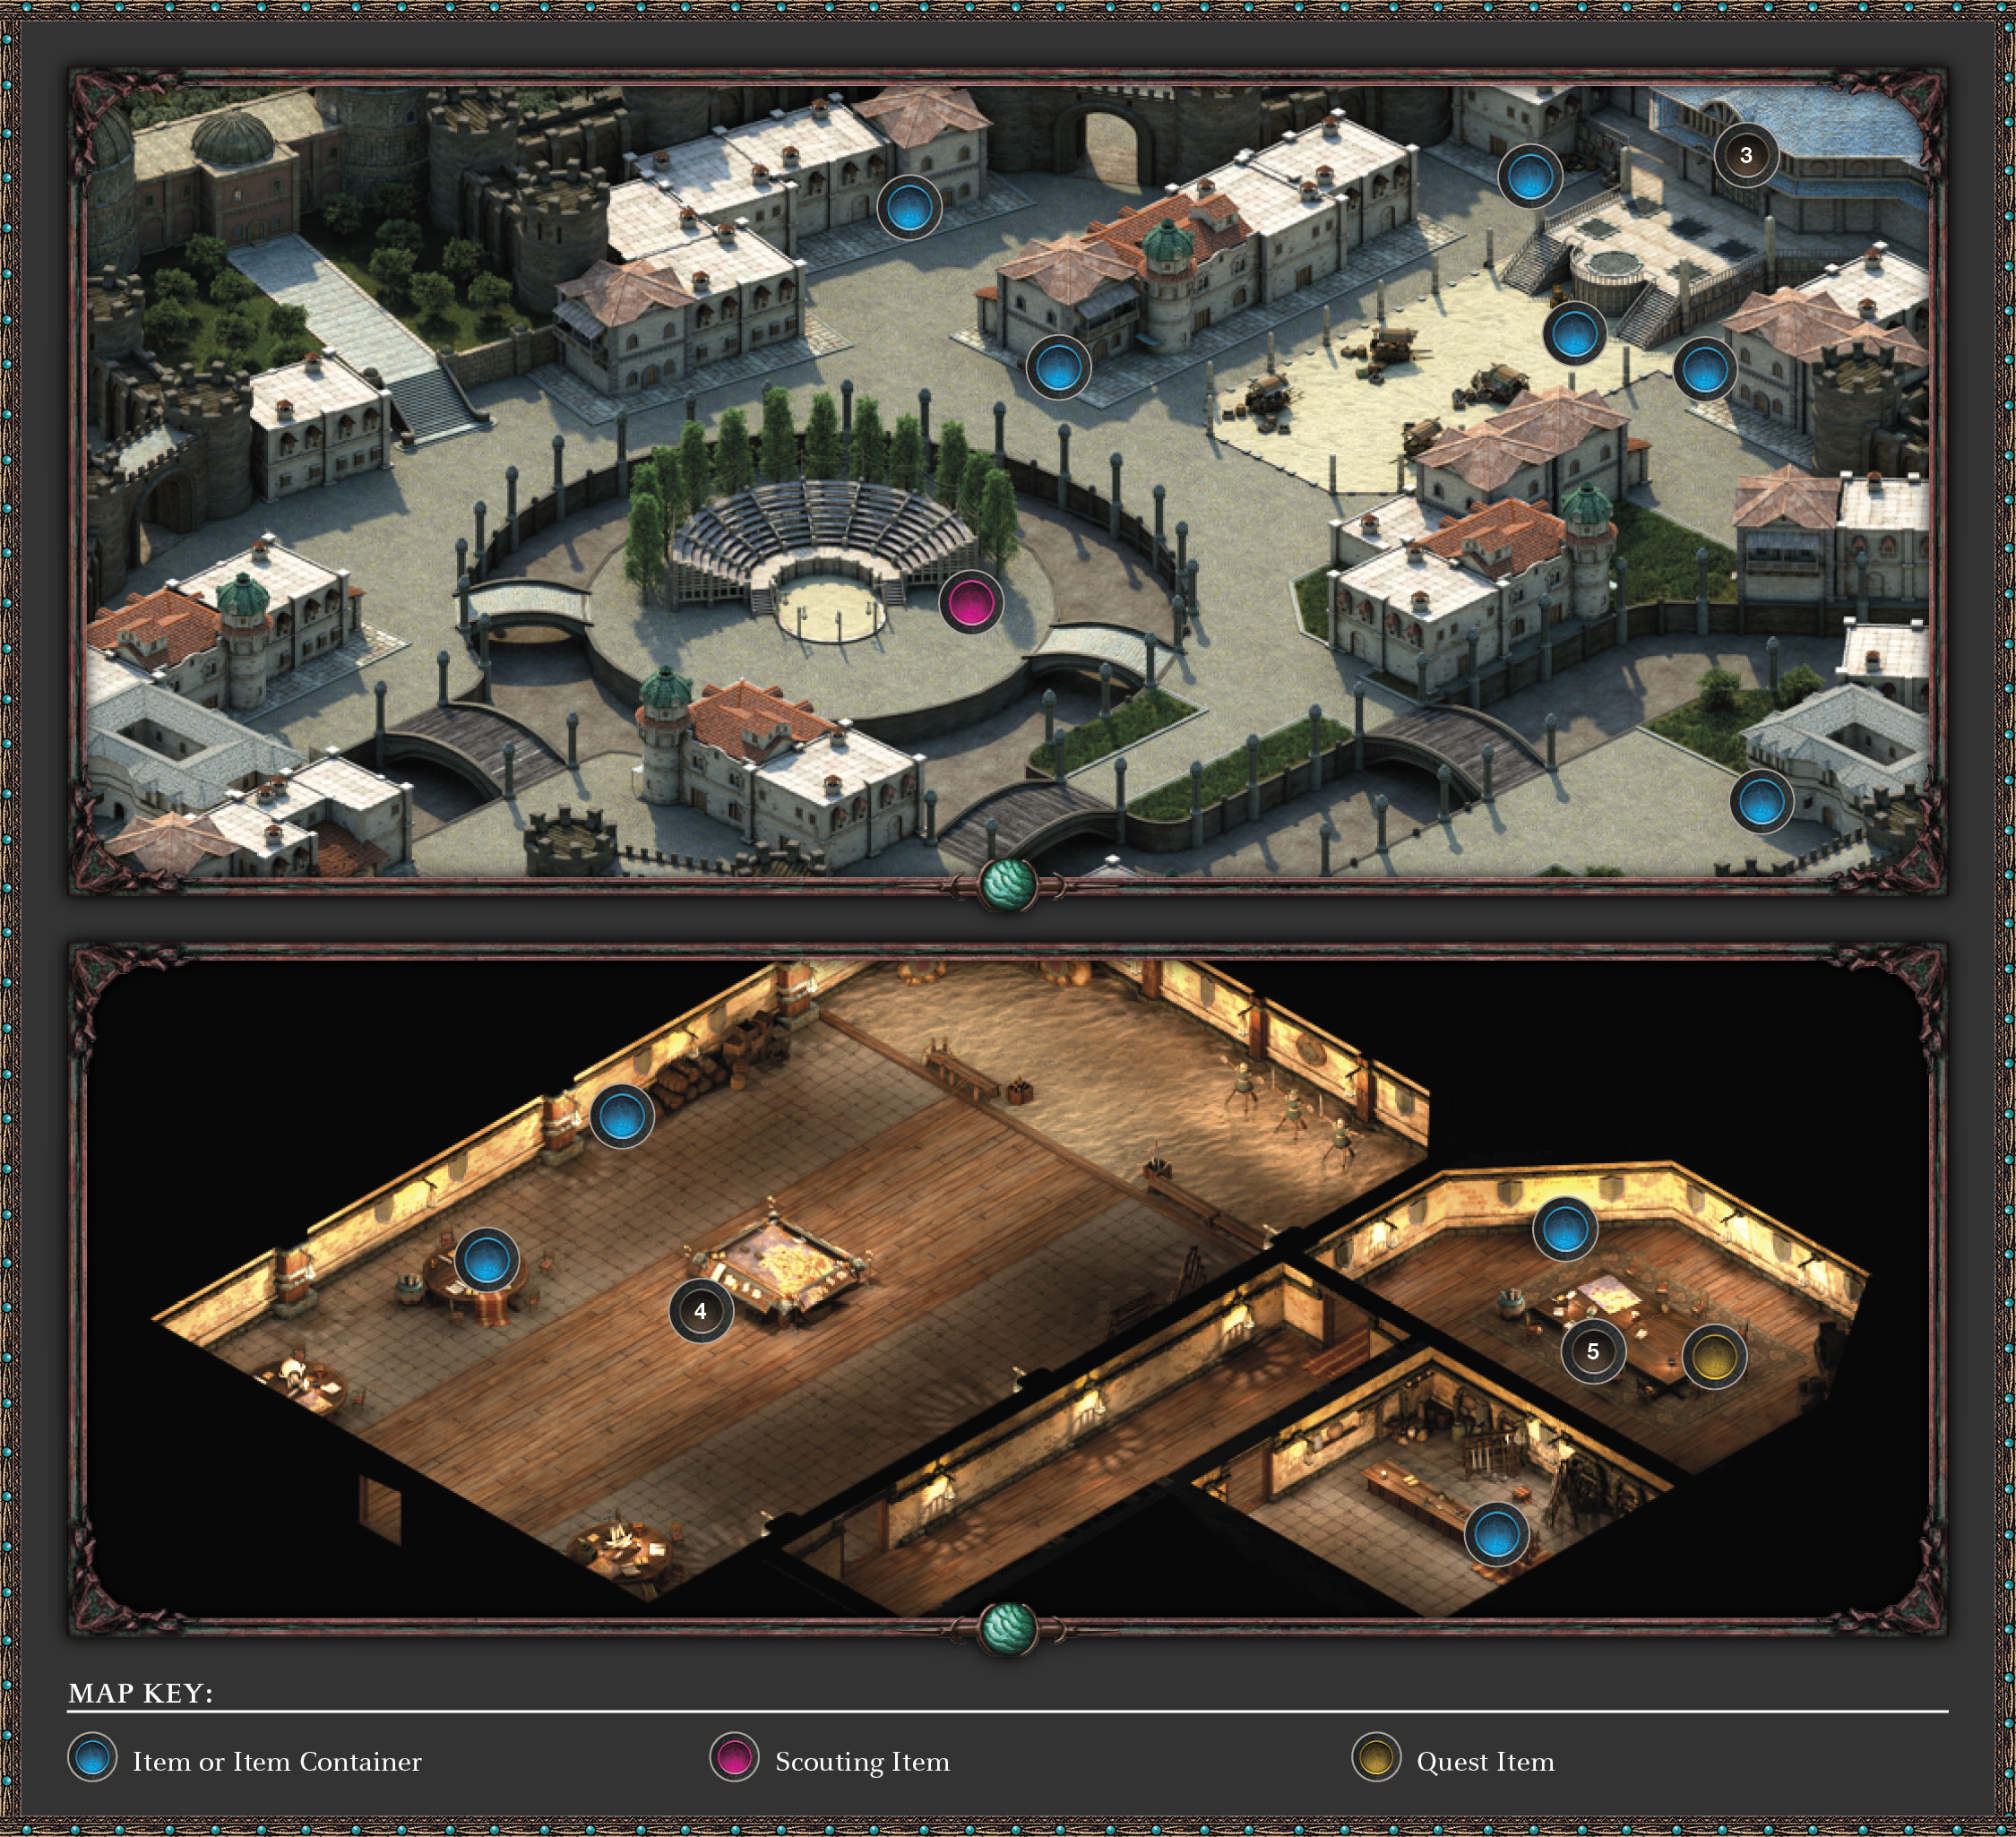
Cross over to Copperlane and head northeast, passing the markets and heading up the steps to the platform and entrance to Expedition Hall (3), home to the Dozens faction. At the large map in the center of the great hall, ask Wenan (4) about the place from Fyrga’s vision. He knows of it, and you can have the map show you where it is for the princely sum of 50 coppers. You can:
- [Pay 50 cp] Pay the man, and he tells you where to gather the map.
- Refuse to pay, stalling this quest.
- [4 Mechanics + 5 Lockpicks or 5 Mechanics] Head to the small chest in the back room (5), behind Sonild’s shop, and unlock the chest manually.
- Or, ignore this area altogether, and find your way to Searing Falls without the aid of the map (see below).
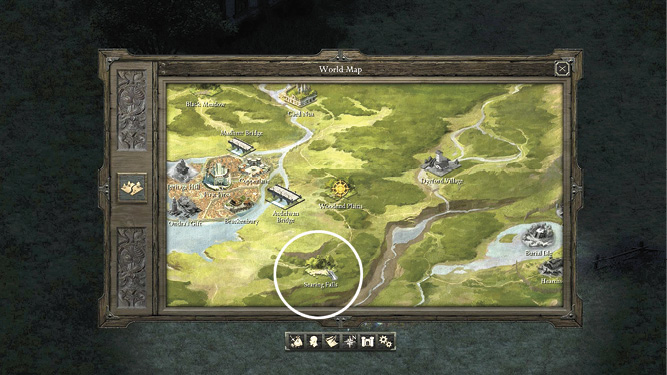
Leave Defiance Bay and head into Woodend Plains. Go south, passing the tumbledown farm guarded by Spectres and a Shade. Exit via the southwest corner of this map. Searing Falls should now be accessible on your World Map.
Part 2: Encountering the Great Drake
Searing Falls
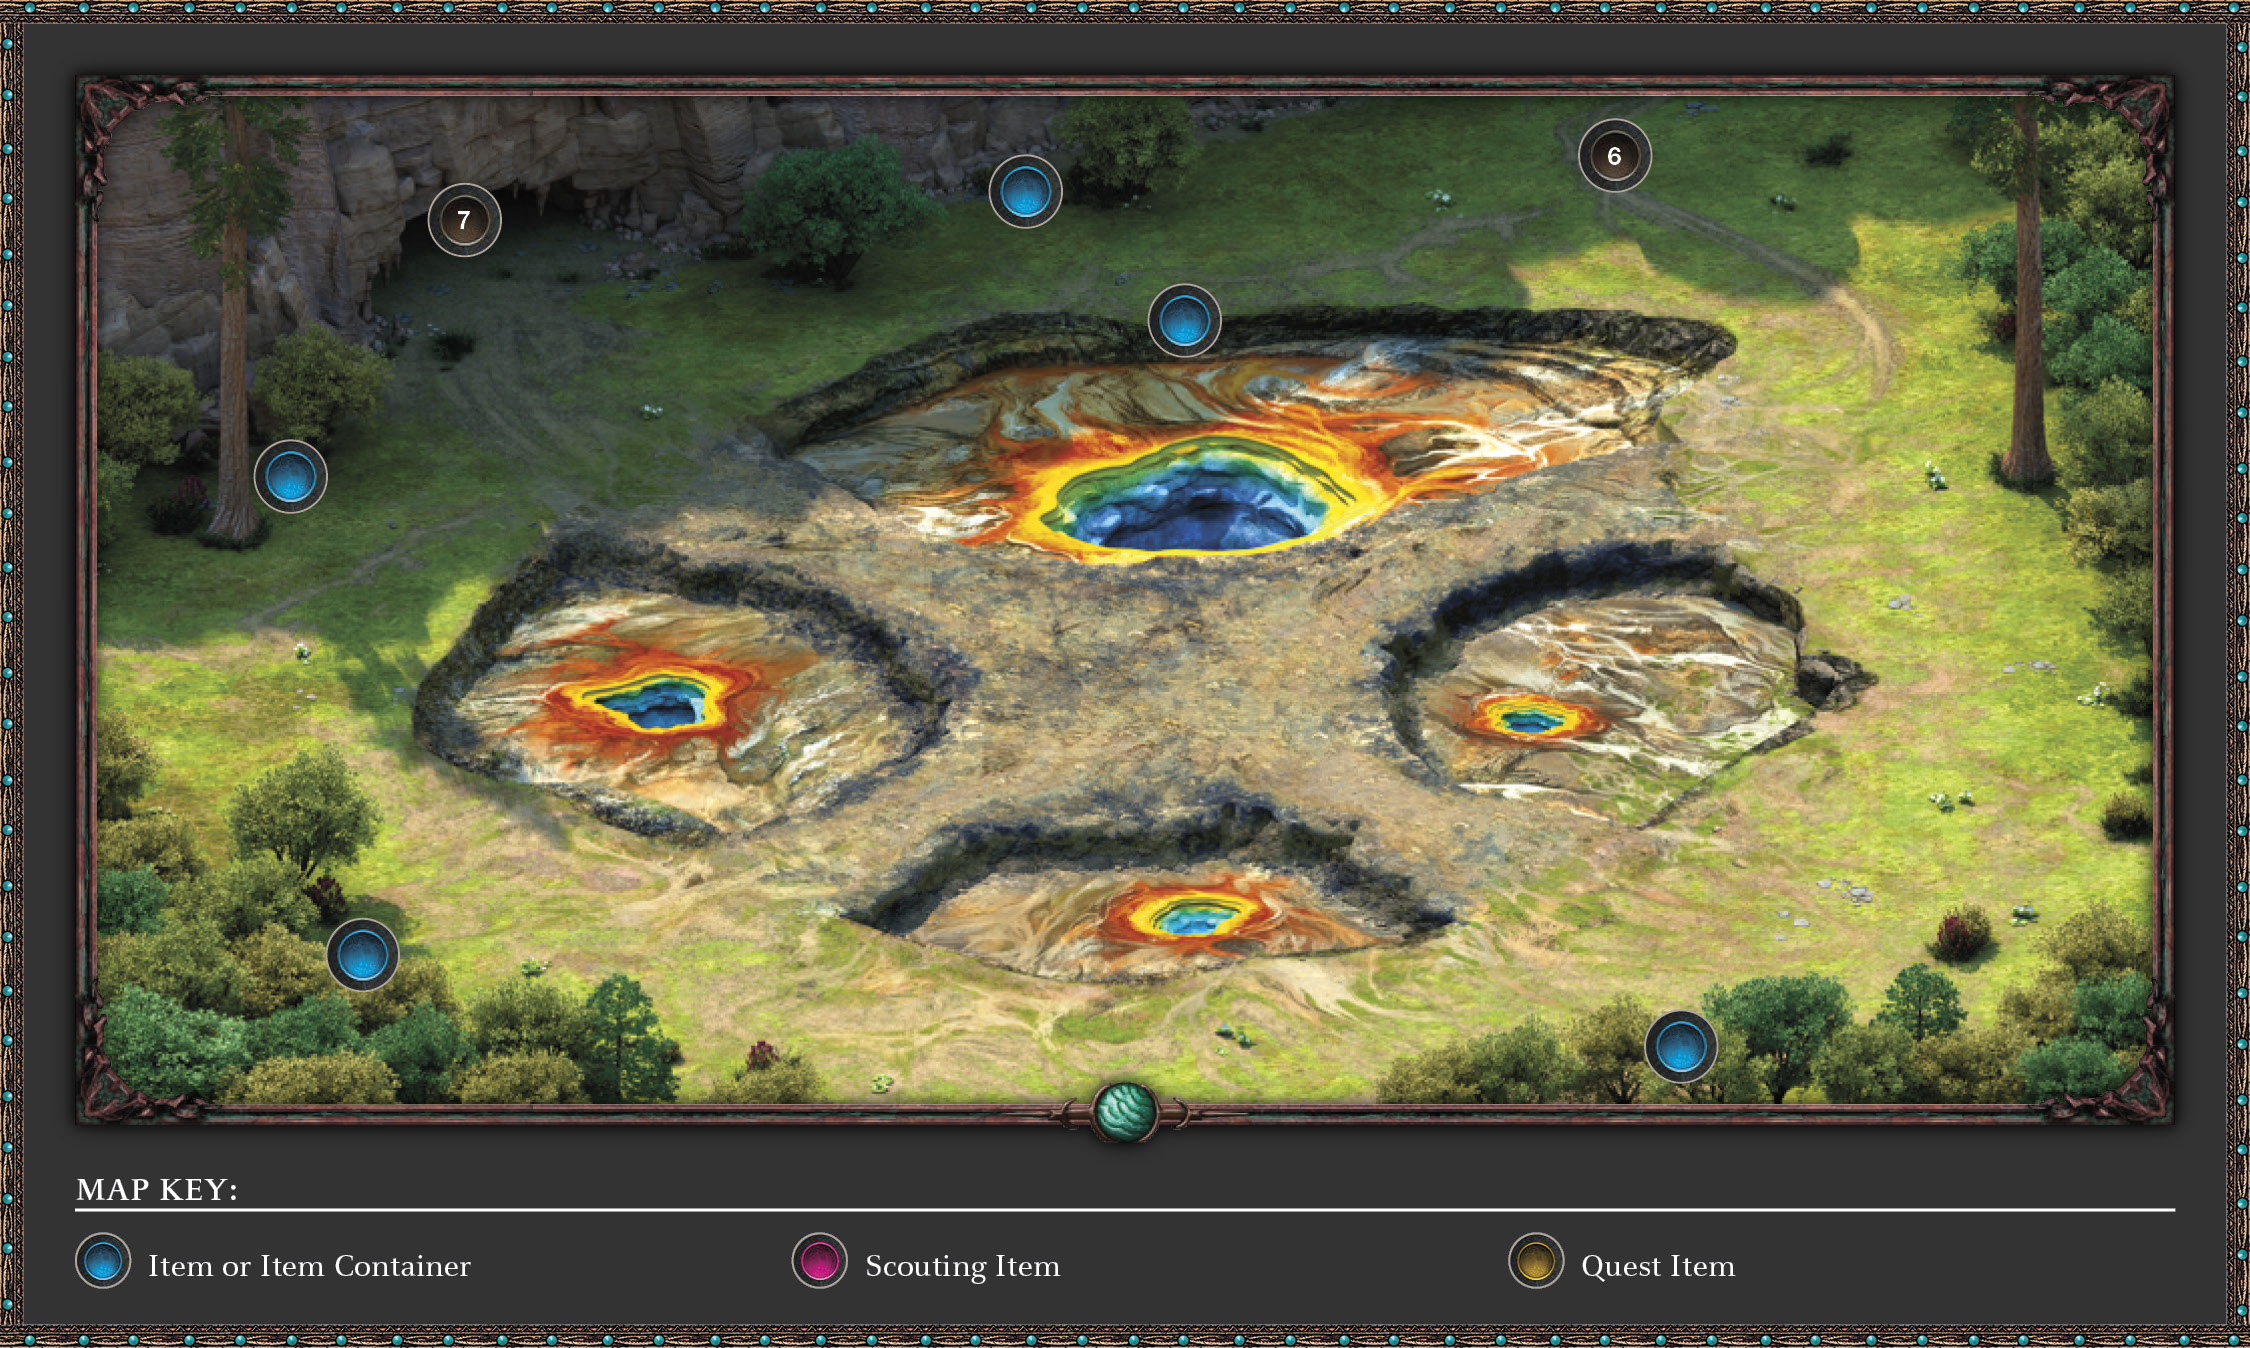
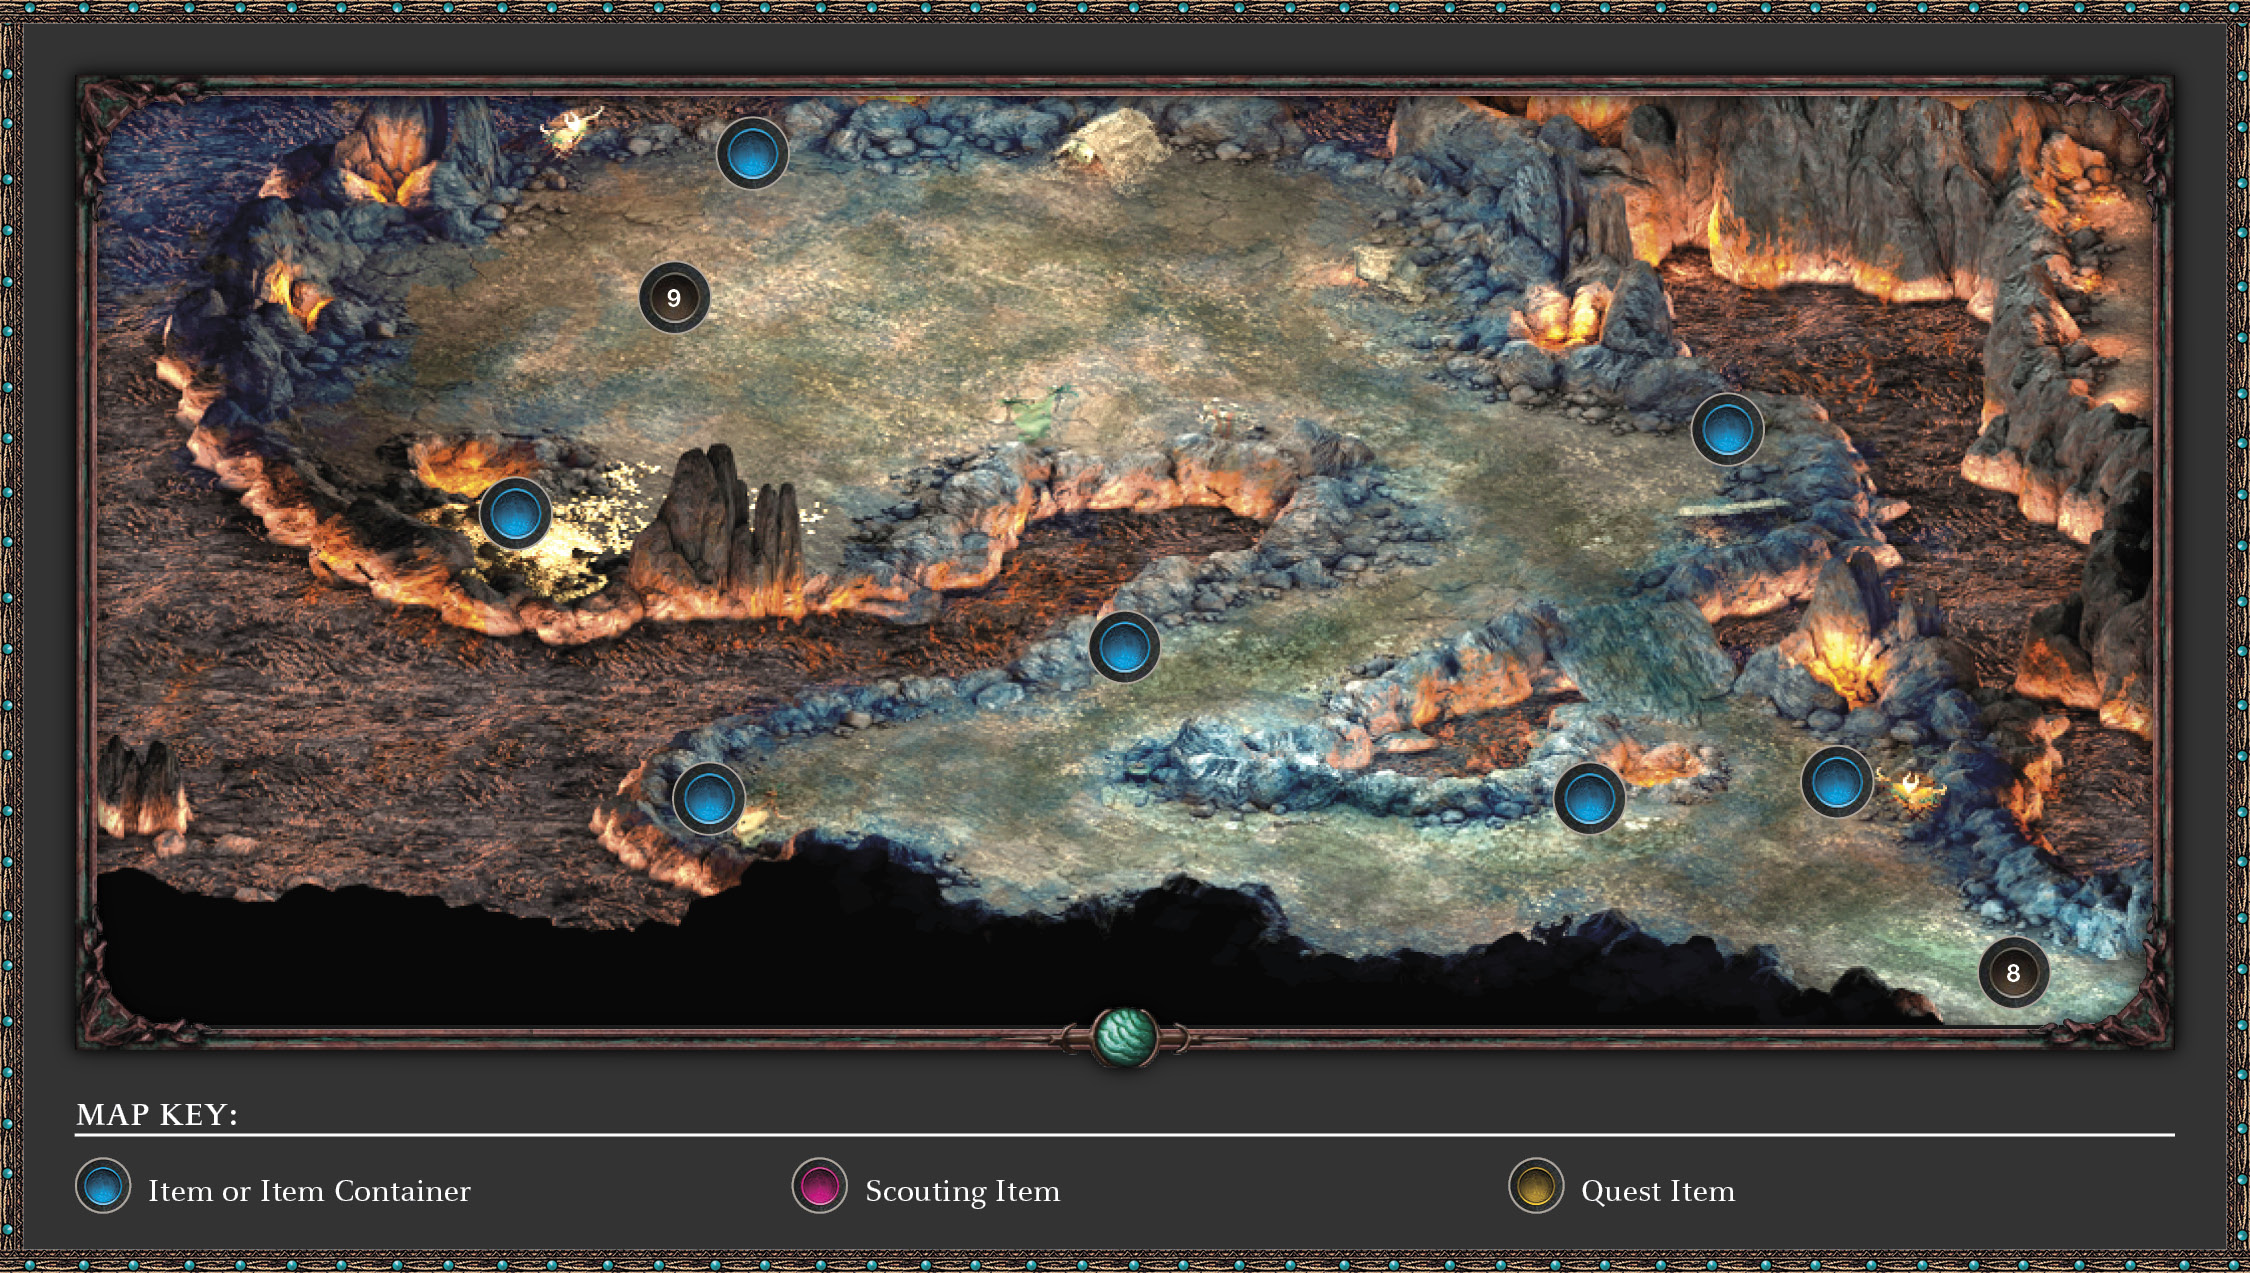
As you head from the northeast corner (6) into Searing Falls, the oily rainbow pools match the vision Fyrga had. There’s a cave to explore along the northern perimeter (7), in the northwest corner. Head there while tackling up to five Xaurips and three or four Young Drakes as you go. Now enter the cave.
Searing Falls Cave
Quest Updated
Objective: Find the token of Magran
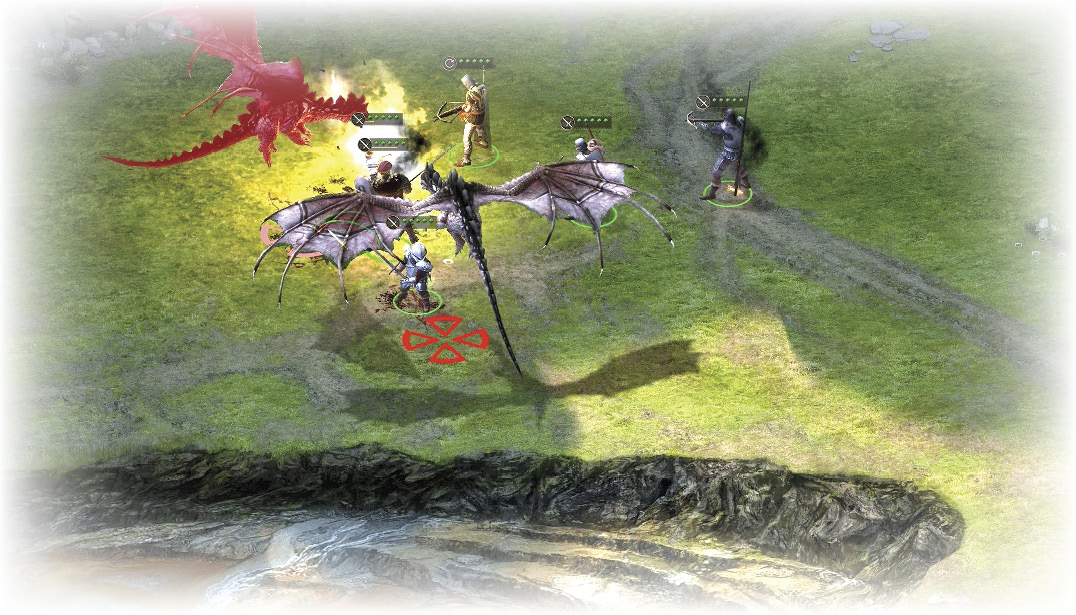
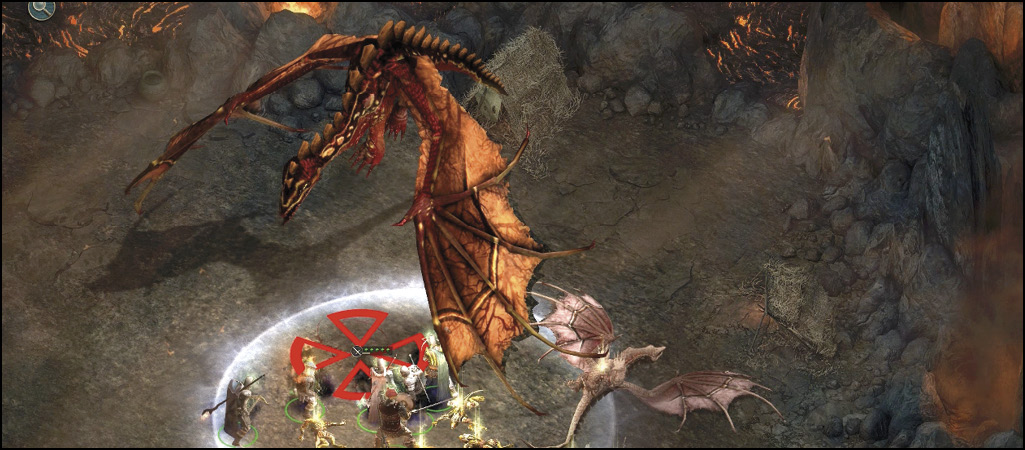
Once inside the sweltering cave (8), begin to look for a sign of Fyrga’s goddess Magran. Gather items from the urns as you wind up the path above the lava through troops of oddly nonaggressive Xaurips, until you reach a circular arena-like promontory (9). Edge forward and you encounter a group of five Xaurip, two Young Drakes, and a huge, red-scaled flying serpent—the dreaded Cail the Silent! You can:
- Engage in a (fruitless) conversation with the large Drake, which unfortunately only ends in combat.
- [Attack] Or, forgo any chatter and leap into the fray.
After a hard-fought battle, pick over the corpses of the fallen, paying special attention to Cail the Silent. He carries a Burning Stone, the token Fyrga seeks! If Durance is in your party, he explains that the glowing stone is actually a fragment of the Godhammer bomb, a powerful weapon that was built with Magran’s divine aid.
Quest Updated
Objective: Bring the “spark” to Fyrga
Part 3: Conclusion: Resurrecting the Fires of Defiance Bay
First Fires
Ducal Palace
Retrace your steps to return to the Ducal Palace (1) in First Fires. Give the fragment of the Godhammer bomb to Fyrga (2). Her faith is still in crisis, and your conversation choices can be either sympathetic or uncaring. Either way, you must hand her the Burning Stone to conclude this quest.