
Pillars of Eternity Guide Walkthrough Main Quest: Act II
The Watcher of Dyrwood: Catacombs and Temple of Woedica
Part 1: The Stench of Death
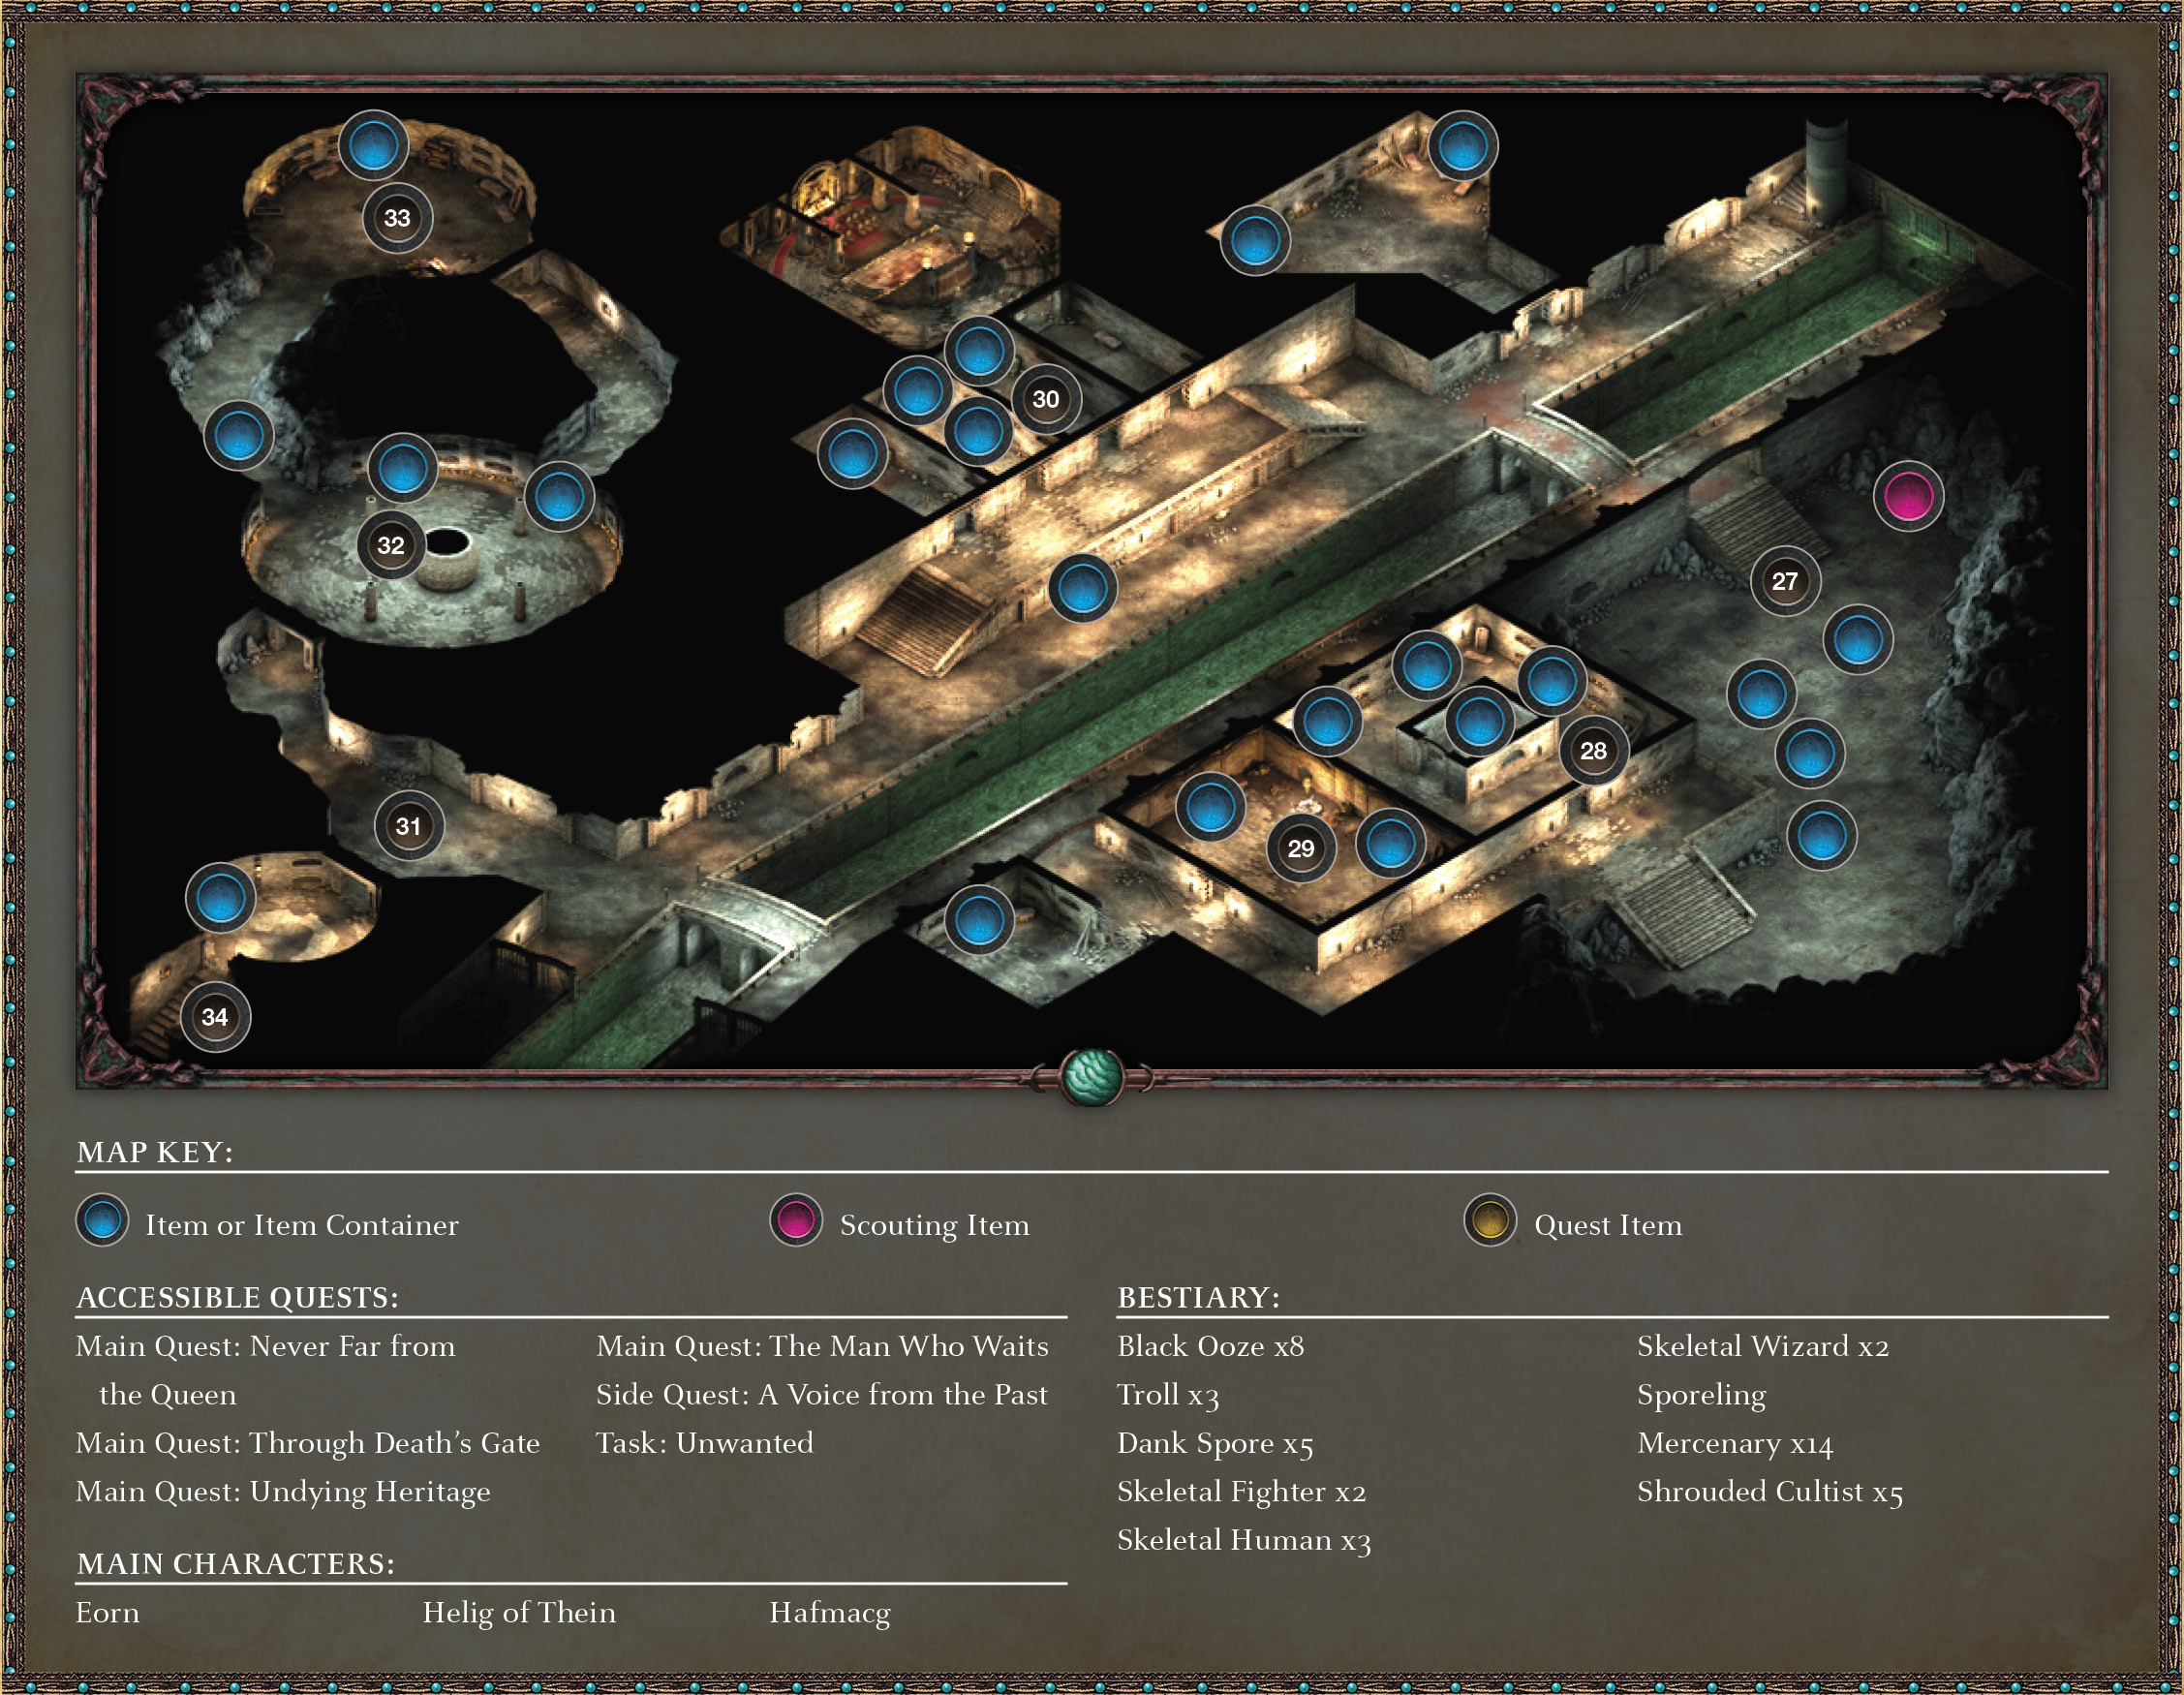
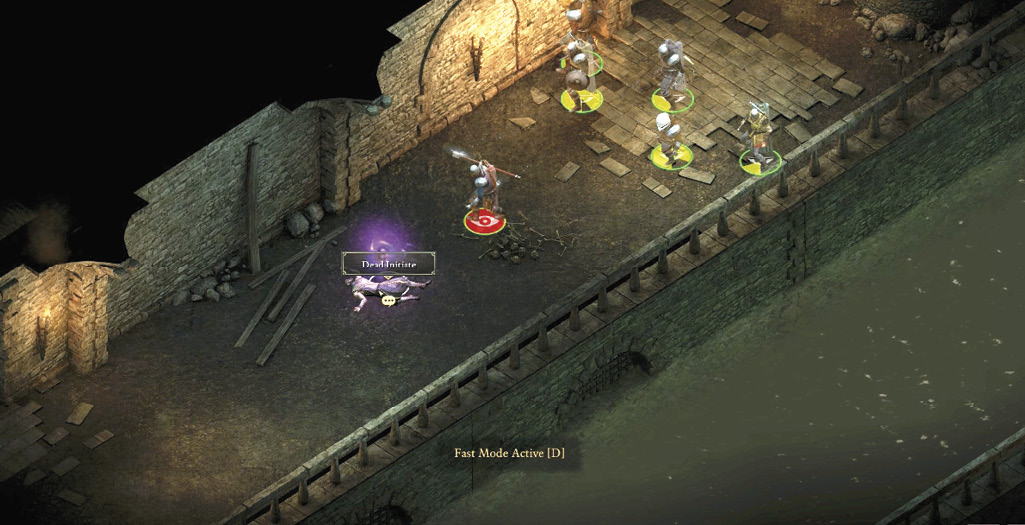
Interact with the dead initiate (26) to read the thoughts of its fleeting soul; then begin to explore the fetid Catacombs underneath Copperlane. Your path follows Grogan’s Canal; head southwest along the edge of this filthy water, optionally checking the side chamber to the northwest for Black Ooze foes and some items to gather inside two wall crypts. At the first canal bridge, expect three more Black Oozes and a Troll advancing over the bridge.
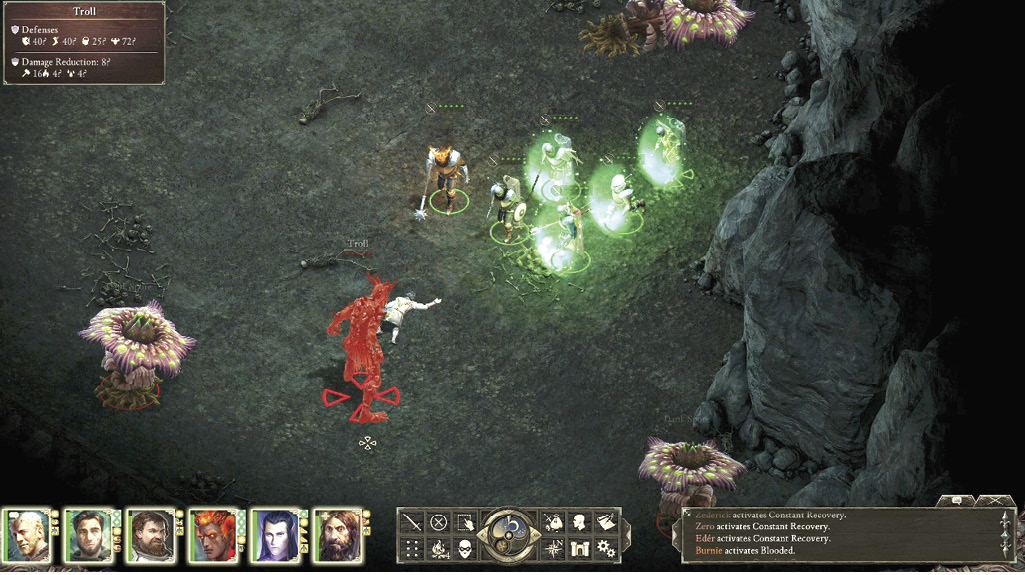
(Optional) Explore the southeast side (27) of the Catacombs by crossing the bridge. Head down the large set of stone steps and into the Flooded Warrens; here you face Sporelings, three large Dank Spores, and two more Trolls. After a protracted battle, head south, then northwest up the second set of large stone steps. This door (28) at the top of the stairs is locked with a 2 Mechanics + 3 Lockpicks or 3 Mechanics lock.
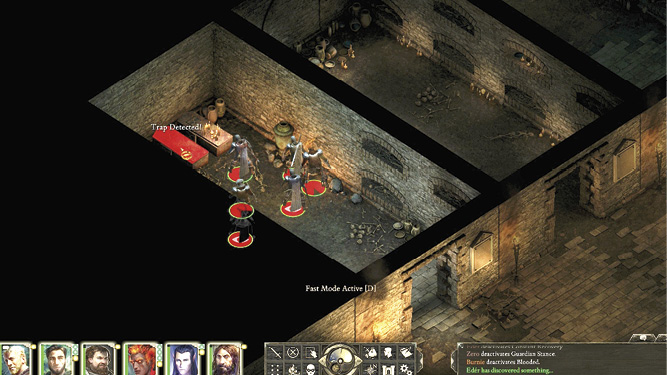
Inside the mausoleum are Human Skeletons, a Skeletal Wizard, and a Skeletal Fighter (the Fighter is in the vault inside the chamber). Defeat the undead, focusing on the Wizard first; then gather any treasure from the wall crypts that are accessible.
Exit the mausoleum and find a closed, unlocked door to the southwest, around the corner on the same platform. Inside the room is Eorn (29), a small Orlan man hiding from the Crucible Knights. He accidentally killed a knight.
Cross back over one of the canal bridges to return to the Catacombs’ northern part; continue to battle more Black Ooze along the way. Search the noble ossuaries accessible atop the brick balcony steps overlooking the canal. Watch out for the wall trap in the chamber with the ornate tomb (30) and the coffin trap in the last chamber on the left (two doors down).
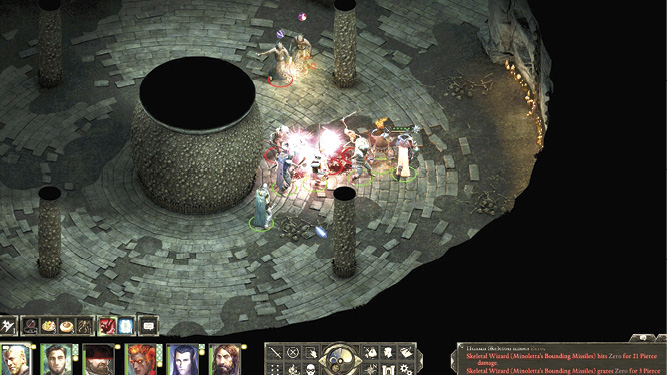
Battle up to five Black Oozes along the canal edge as you head southwest, and then enter a hallway junction (31) that connects a circular transitional sepulcher to your left and stairs down into the Temple of Woedica. Or, continue your search by following the passageway to the north before you take the stairs. If you wish to finish your exploration of the catacomb, then wind your way up to the vault of rebels (32), where a group of Skeletal Fighters, Human Skeletons, and two Skeletal Wizards begin a drawn-out attack; watch the ranged attacks from the Skeletal Wizards. Have your party’s magic users counter the Skeletal Wizards while you pit your fighters against theirs.
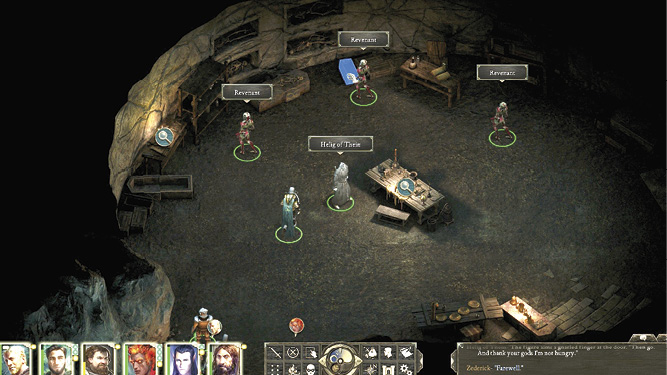
Gather treasure, then use the left tunnel (the right has traps) to continue up to a second large circular chamber and into the Ducal Mausoleum (33). Here you meet Helig of Thein and three Revenants. Don’t be alarmed; they won’t hurt you. This is part of the side quest “A Voice from the Past” (see “Side Quests & Tasks” for more information). Watch for traps as you return via the south passage, back southward to the exit stairs (34).
Part 2: Hallucinations and Hafmacg’s Mercenaries
Temple of Woedica
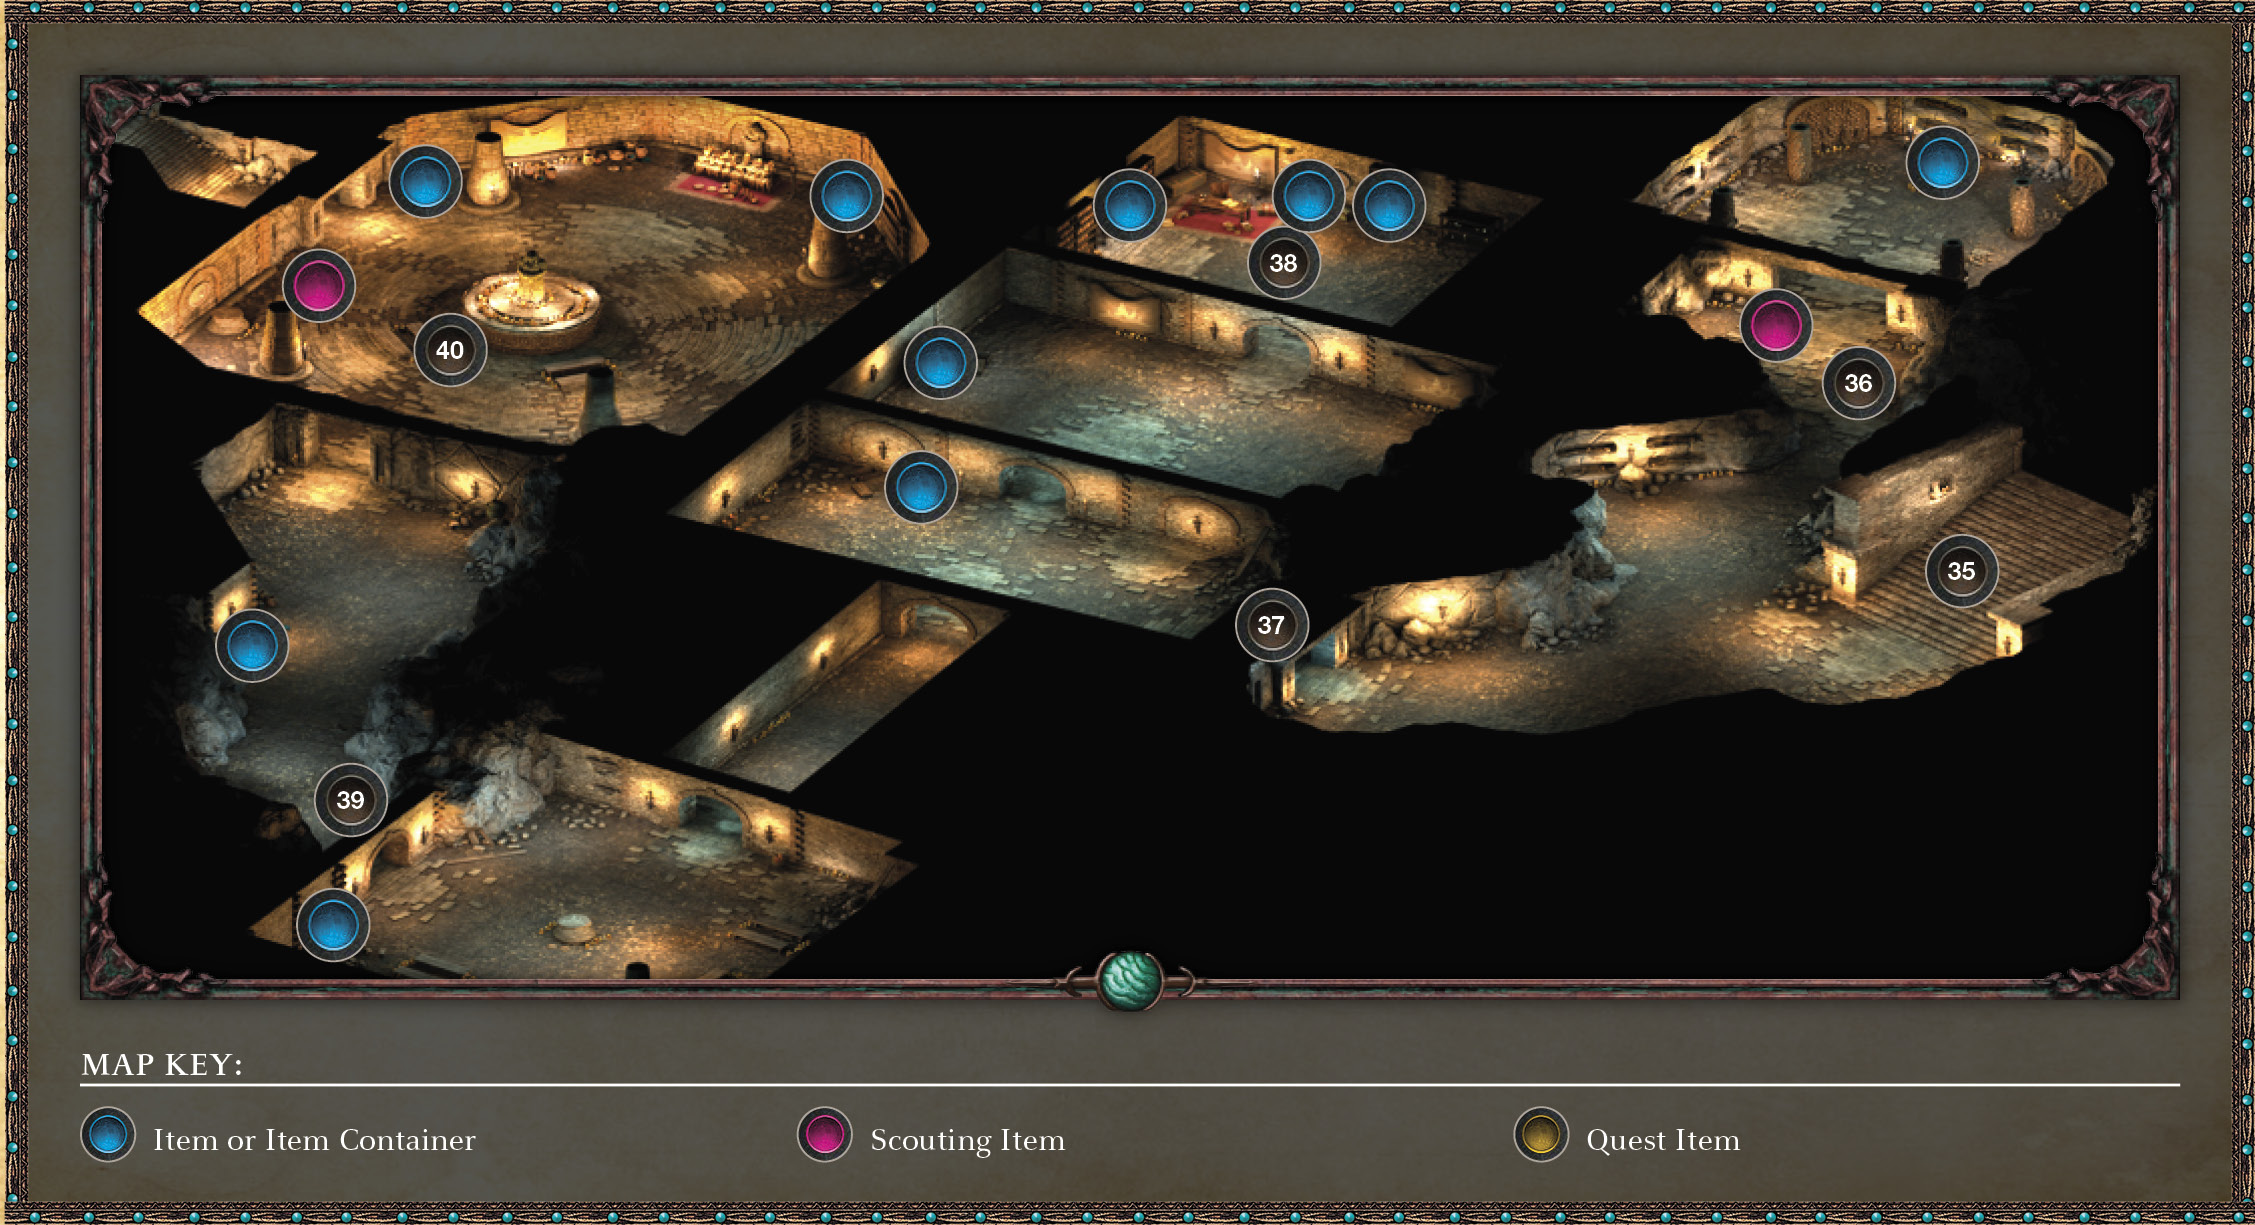
Quest Updated: Never Far from the Queen
Objective: Investigate the Leaden Key’s activities
You enter the subterranean Temple of Woedica and are immediately greeted by the ghostly hollow image of an older robed man (35). Speak with him as you wish, before the hallucination disappears. Your quest is then updated. You must now investigate the Leaden Key’s activities.
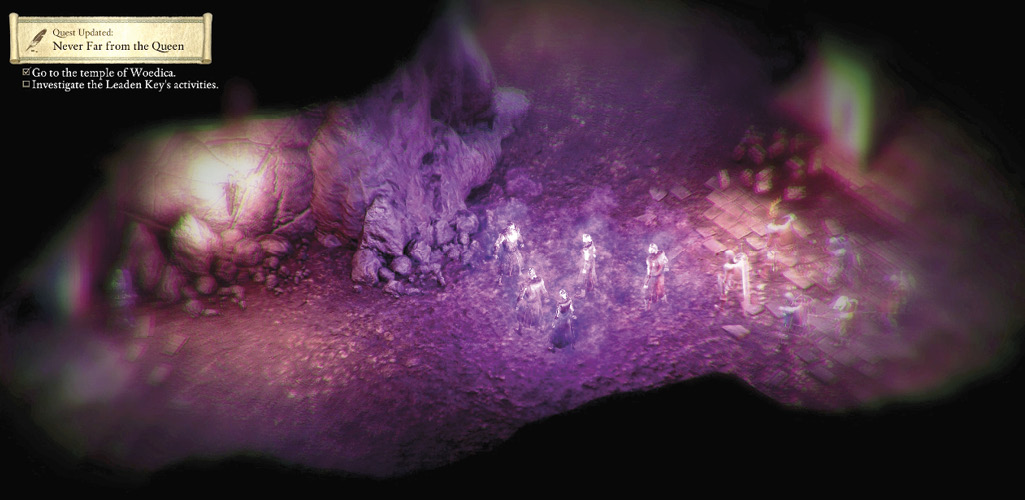
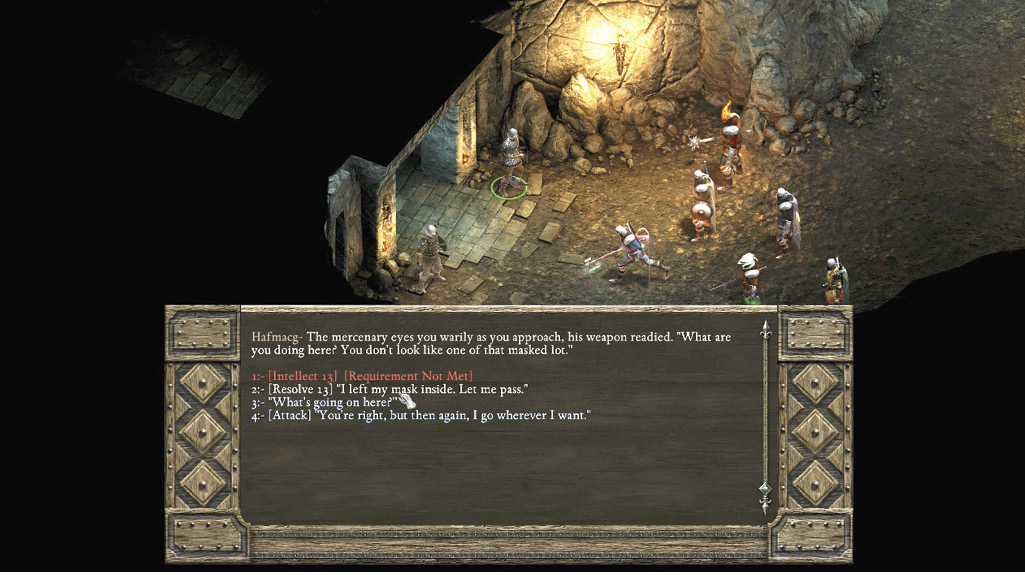
Head toward the temple’s entrance (37), which is flanked by two mercenaries. One is named Hafmacg, and he soon realizes you’re not wearing the appropriate attire for this place. You can:
- [Intellect 13 or Resolve 13] Bluster your way past Hafmacg with an excuse about leaving your mask inside. You’re free to move about the place without anyone becoming hostile (for the moment).
- Other choices: Any other choices lead to Hafmacg and the rest of the Mercenary guards attacking. You’re forced to wade through this place with combat in almost every chamber. Expect combat with around 14 Mercenaries before you reach the final chamber.
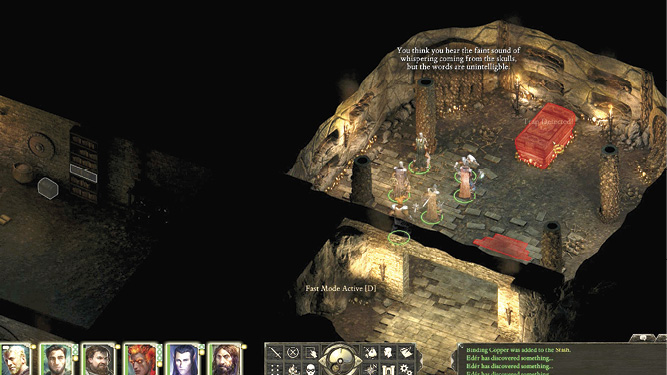
The passageway (36) immediately north of the stairwell entrance is tricky to find at first because it looks like the small vault room is closed off, but there is a narrow passageway that leads to another small chamber. Activate Scouting to find a pressure plate brick on the ground; select it to reveal a grand crypt with a trapped sarcophagus and a whispering wall of skulls. Enter slowly and remain in Scouting mode so you can detect the floor trap at the entrance. Dismantle the trap on the crypt, gather any treasure, and return to the guarded doorway (37).
Continue west into the connecting chamber, heading north to two similarly sized chambers with more Mercenaries and containers to ransack. The northernmost chamber (38) has an Initiate, who is pacing the floor trying desperately to memorize something. There are two things you need from him to make it through this meeting without a battle: a hood and the answers to the security questions you will be asked before the meeting begins.
Getting the Hood
Talk to him. He asks where your mask is. Tell him:
- It was itchy and you’ll put it back on before the meeting.
Then when he warns you not to let anyone inside see you without it, answer back:
- “Can I borrow your hood?”
He reacts negatively. Reply:
- [Resolve 14] I promise that I’ll bring it right back.
Or…
- [Might 14] you can threaten him to give it to you.
Getting the Passphrases
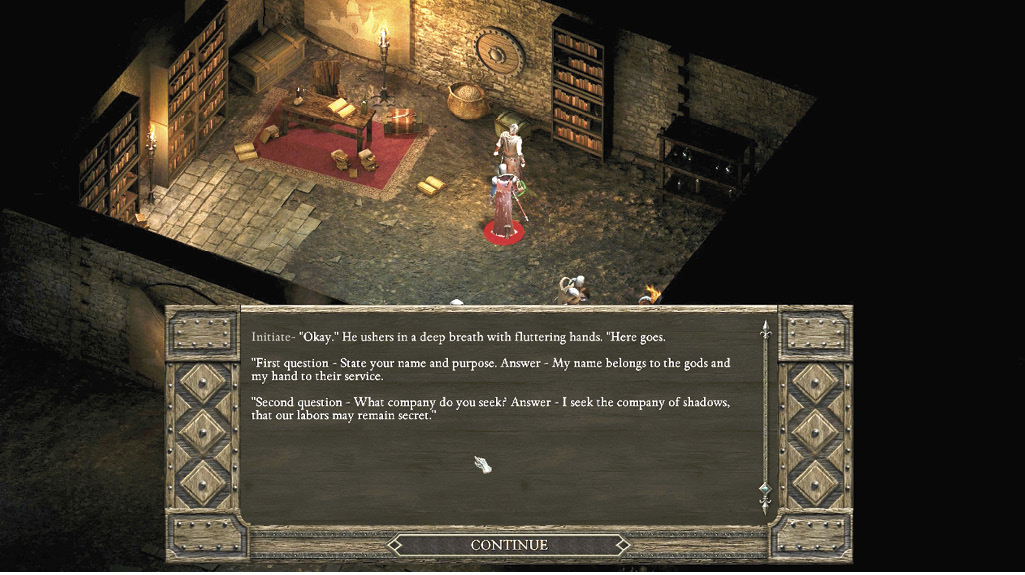
Now that you have the hood, continue talking to the Initiate. Ask him what he’s doing, and when he tells you he is practicing the passphrases, offer to allow him to practice on you. These are the passphrases that will get you into the meeting:
First question: State your name and purpose. Answer:“My name belongs to the gods and my hand to their service.”
Second question: What company do you seek? Answer:“I seek the company of shadows, that our labors may remain secret.”
Third question: Tell me of your labors. Answer:“To see that the craft of kith and wilder does not disturb what bones the gods have buried.”
Fourth question: How do we know your purpose? Answer: “You shall know it by the confession of my tongue, the deeds of my hand, and the oath on my soul.”
Part 3: Sanctum of the Shrouded
Head south, down the narrow passage and into a secondary crypt. Open the door (39) to the west. This leads northward up a rough tunnel (check the area for treasure as you go); pause as Aloth (if he’s in your party) staggers. Some force up ahead is making your party members feel most uncomfortable.
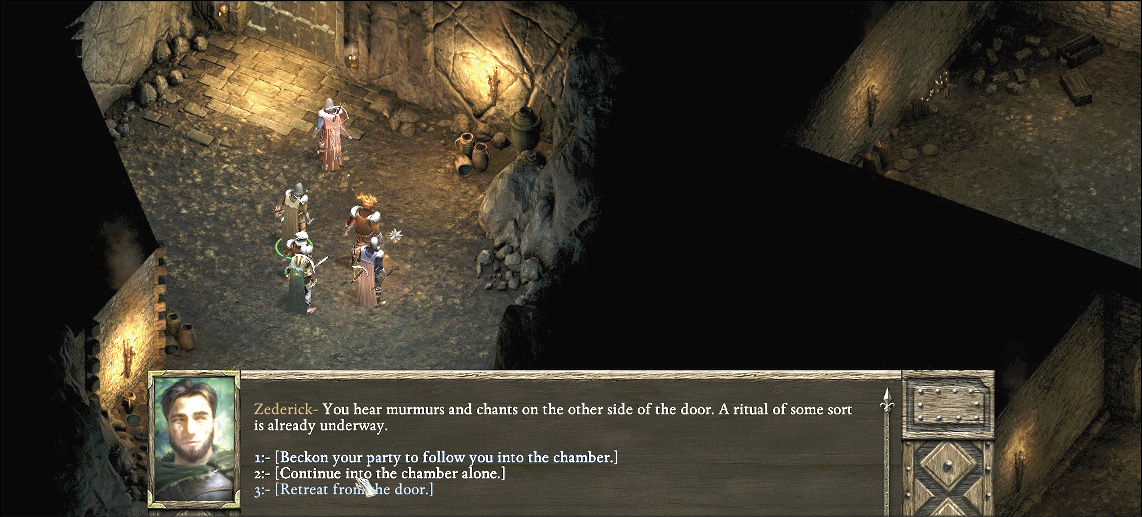
Stop before the closed door to the meeting chamber (40). You hear murmurs and chants from the other side of the door. The ritual is already under way. You have three choices: take everyone into the chamber, continue into the chamber alone, or retreat from the door. Choose the second. That’s right—you’re going in alone, and make sure you are wearing the hood.
If you do not wear the hood inside, the group of shrouded cultists reacts angrily to your presence—their leader yelling, “Interloper!” at you—and combat begins. You’d have to fight all of them.
With the hood and the passphrases ready, the woman asks you to state your name and purpose. Provide the four answers in the order we listed above and you will fool them all. You can fumble through the last few questions and be okay. Answer “Yes” to the next two questions, and then to avoid a battle, answer the final question with “I shall.” After the grilling, you can ask the shrouded woman all five of the questions to get more information about what’s going on.
If you chose to do battle instead, then approach the corpse of the shrouded woman who yelled at you before. Her voice howls in your ears, and amid the befuddlement, you begin to see flashes of a tower, a prisoner, and a ruin. You know where you must go. And if you don’t, your quest updates to help you.
New Main Quest: Through Death’s Gate
Objective: Travel to Dyrford Village
New Main Quest: Undying Heritage
Objective: Find the tower
New Main Quest: The Man Who Waits
Objective: Find the “place of misery and madness”
Quest Completed: Never Far from the Queen
Search the shrine to Woedica thoroughly, Scouting in the northwest part of the shrine to uncover a floor pressure plate. This opens a secret wall and reveals stairs that lead up and into the fresh air of First Fires.