
Pillars of Eternity Guide Walkthrough Main Quest: Act II
The Watcher of Dyrwood: Brackenbury
Part 1: A Stroll Around Brackenbury
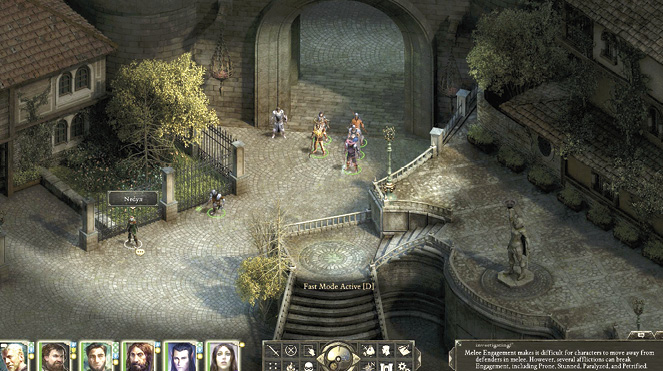
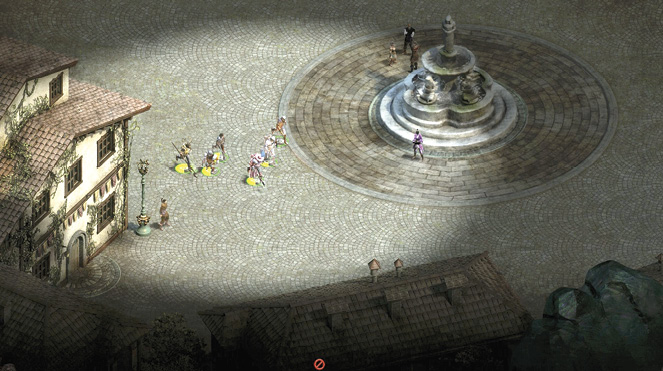
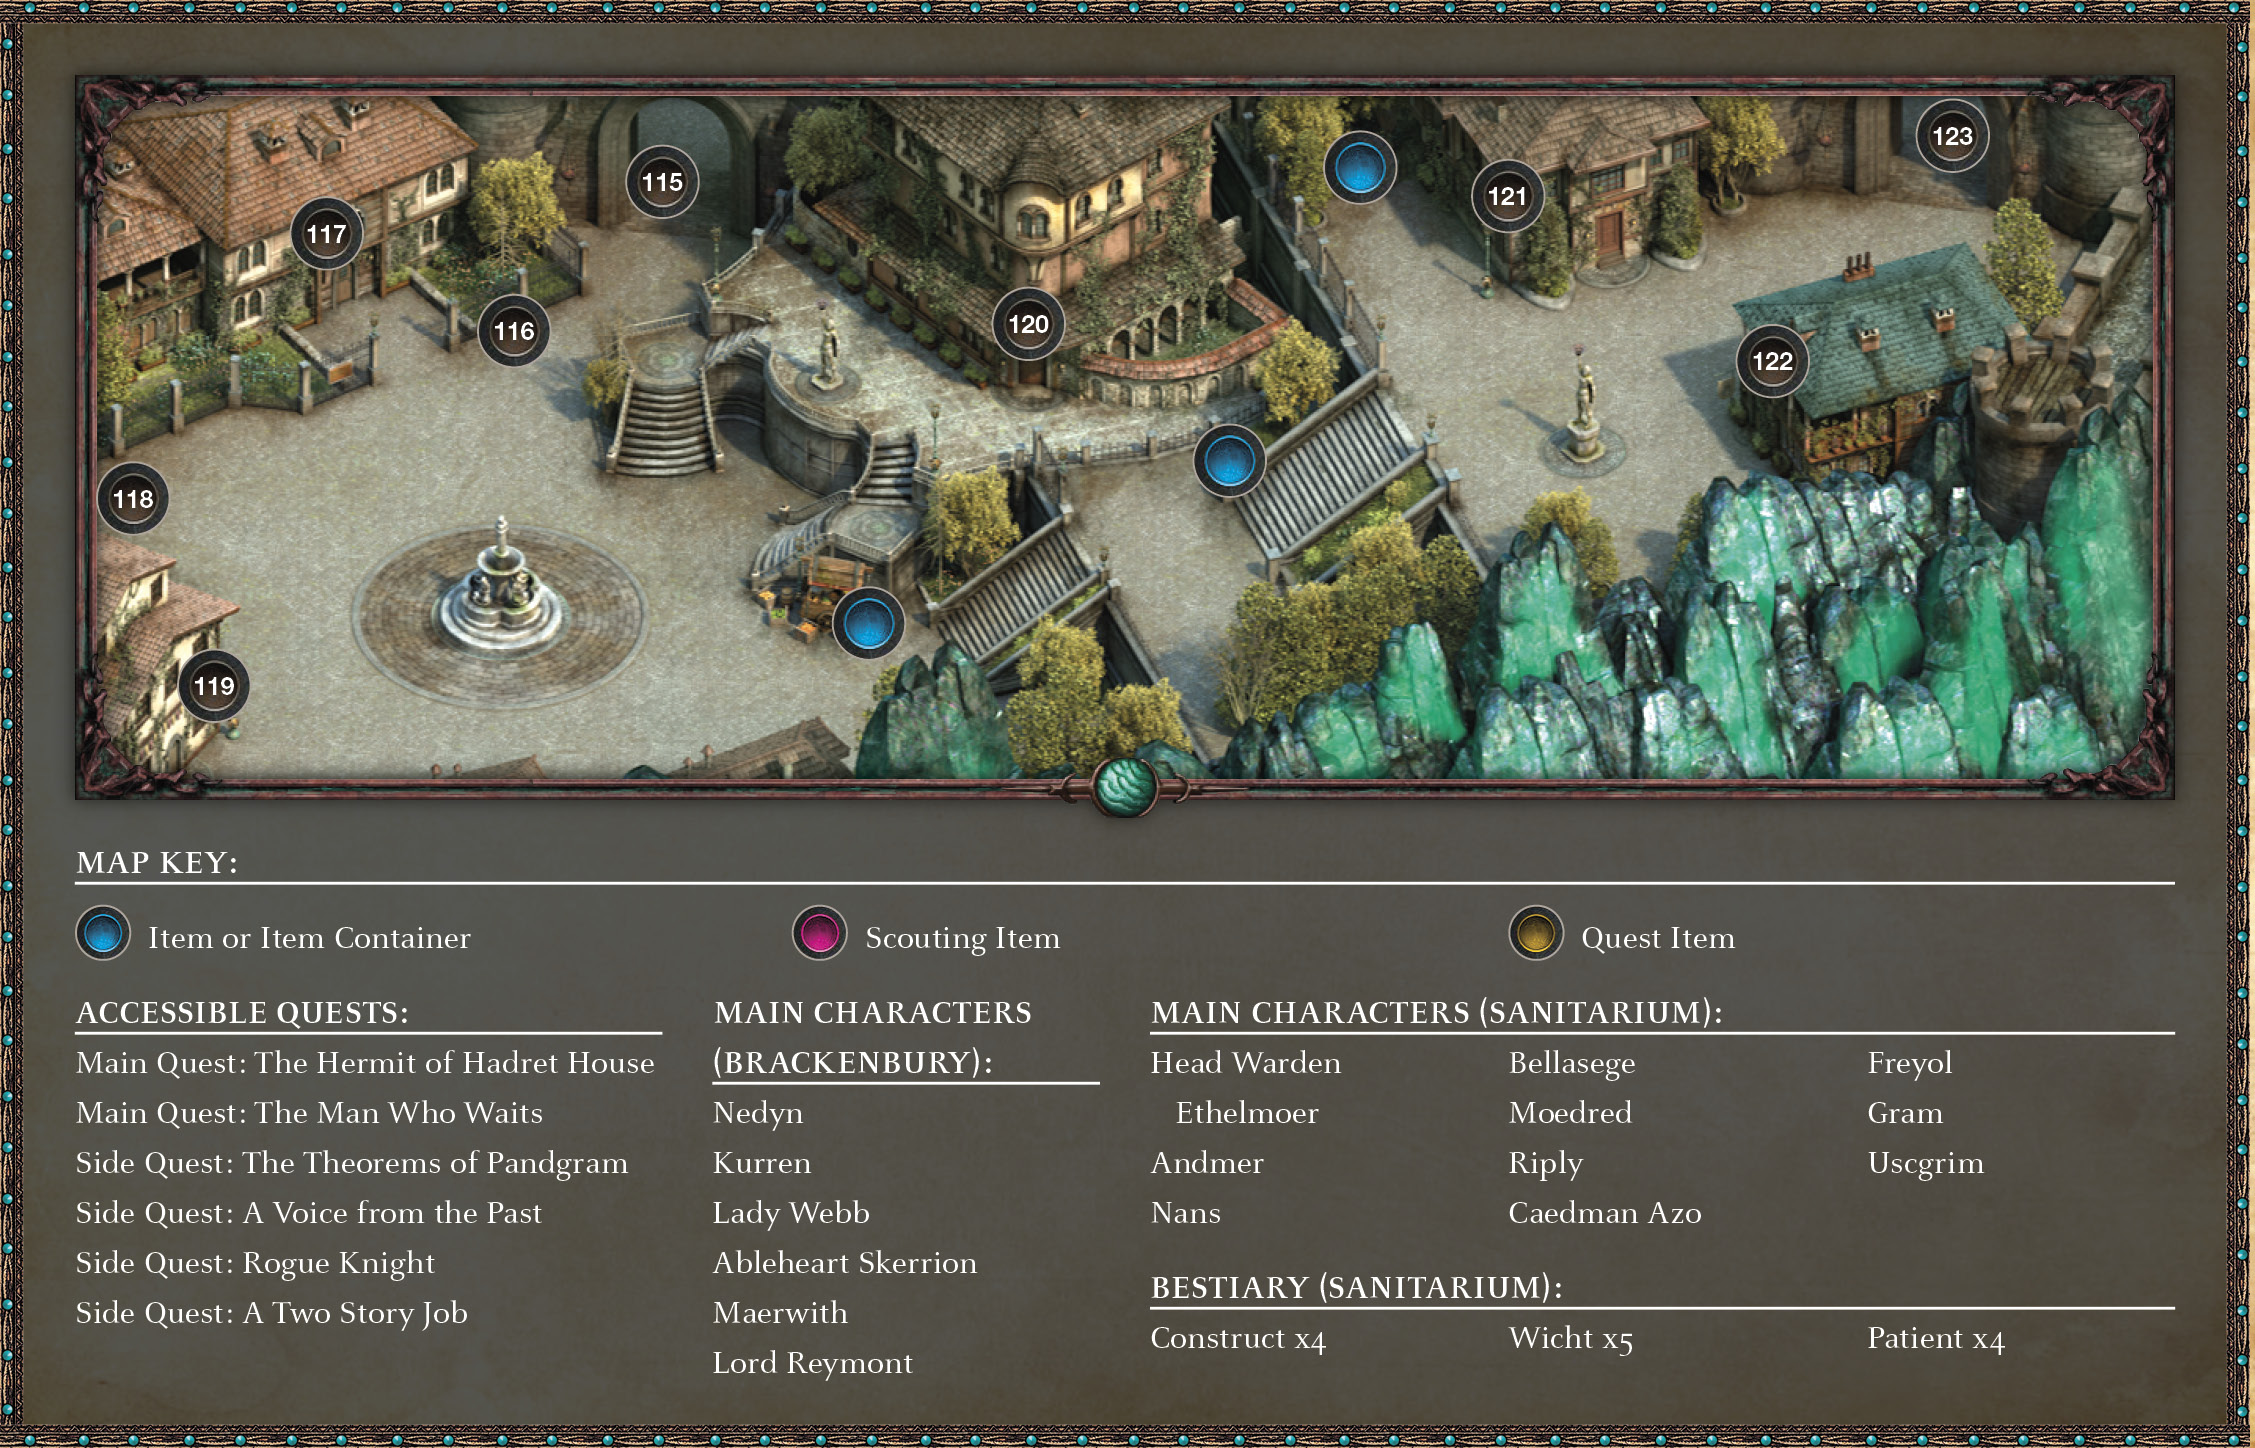
Enter Brackenbury (115) and immediately talk to Nedyn (116) (or save “The Theorems of Pandgram” side quest for later); then head toward the southwestern corner of the district. Pass the Sanitarium (117) to the northwest (you thoroughly explore there in a moment), and move to the Hadret House (119) to the southwest, where a Courier is waiting. He stops you and offers the gift of a rare antique pistol, a gift from an anonymous well-wisher for freeing the curse of Heritage Hill. Perhaps this is the elusive Lady Webb?
Part 2: A Tangled Webb
Hadret House
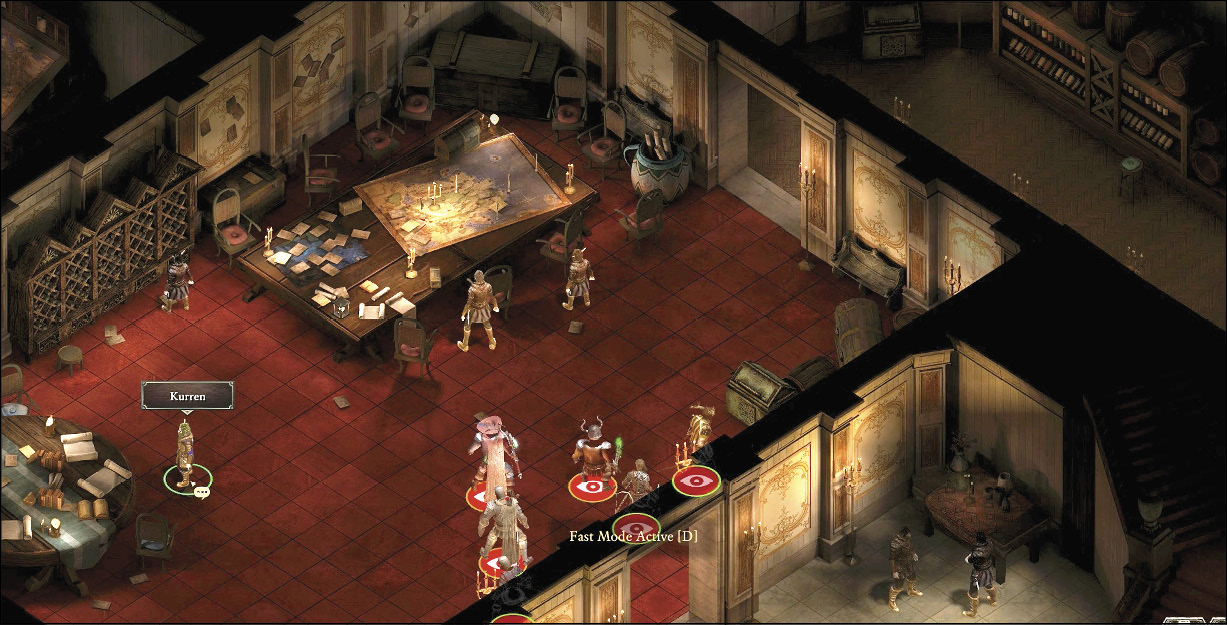
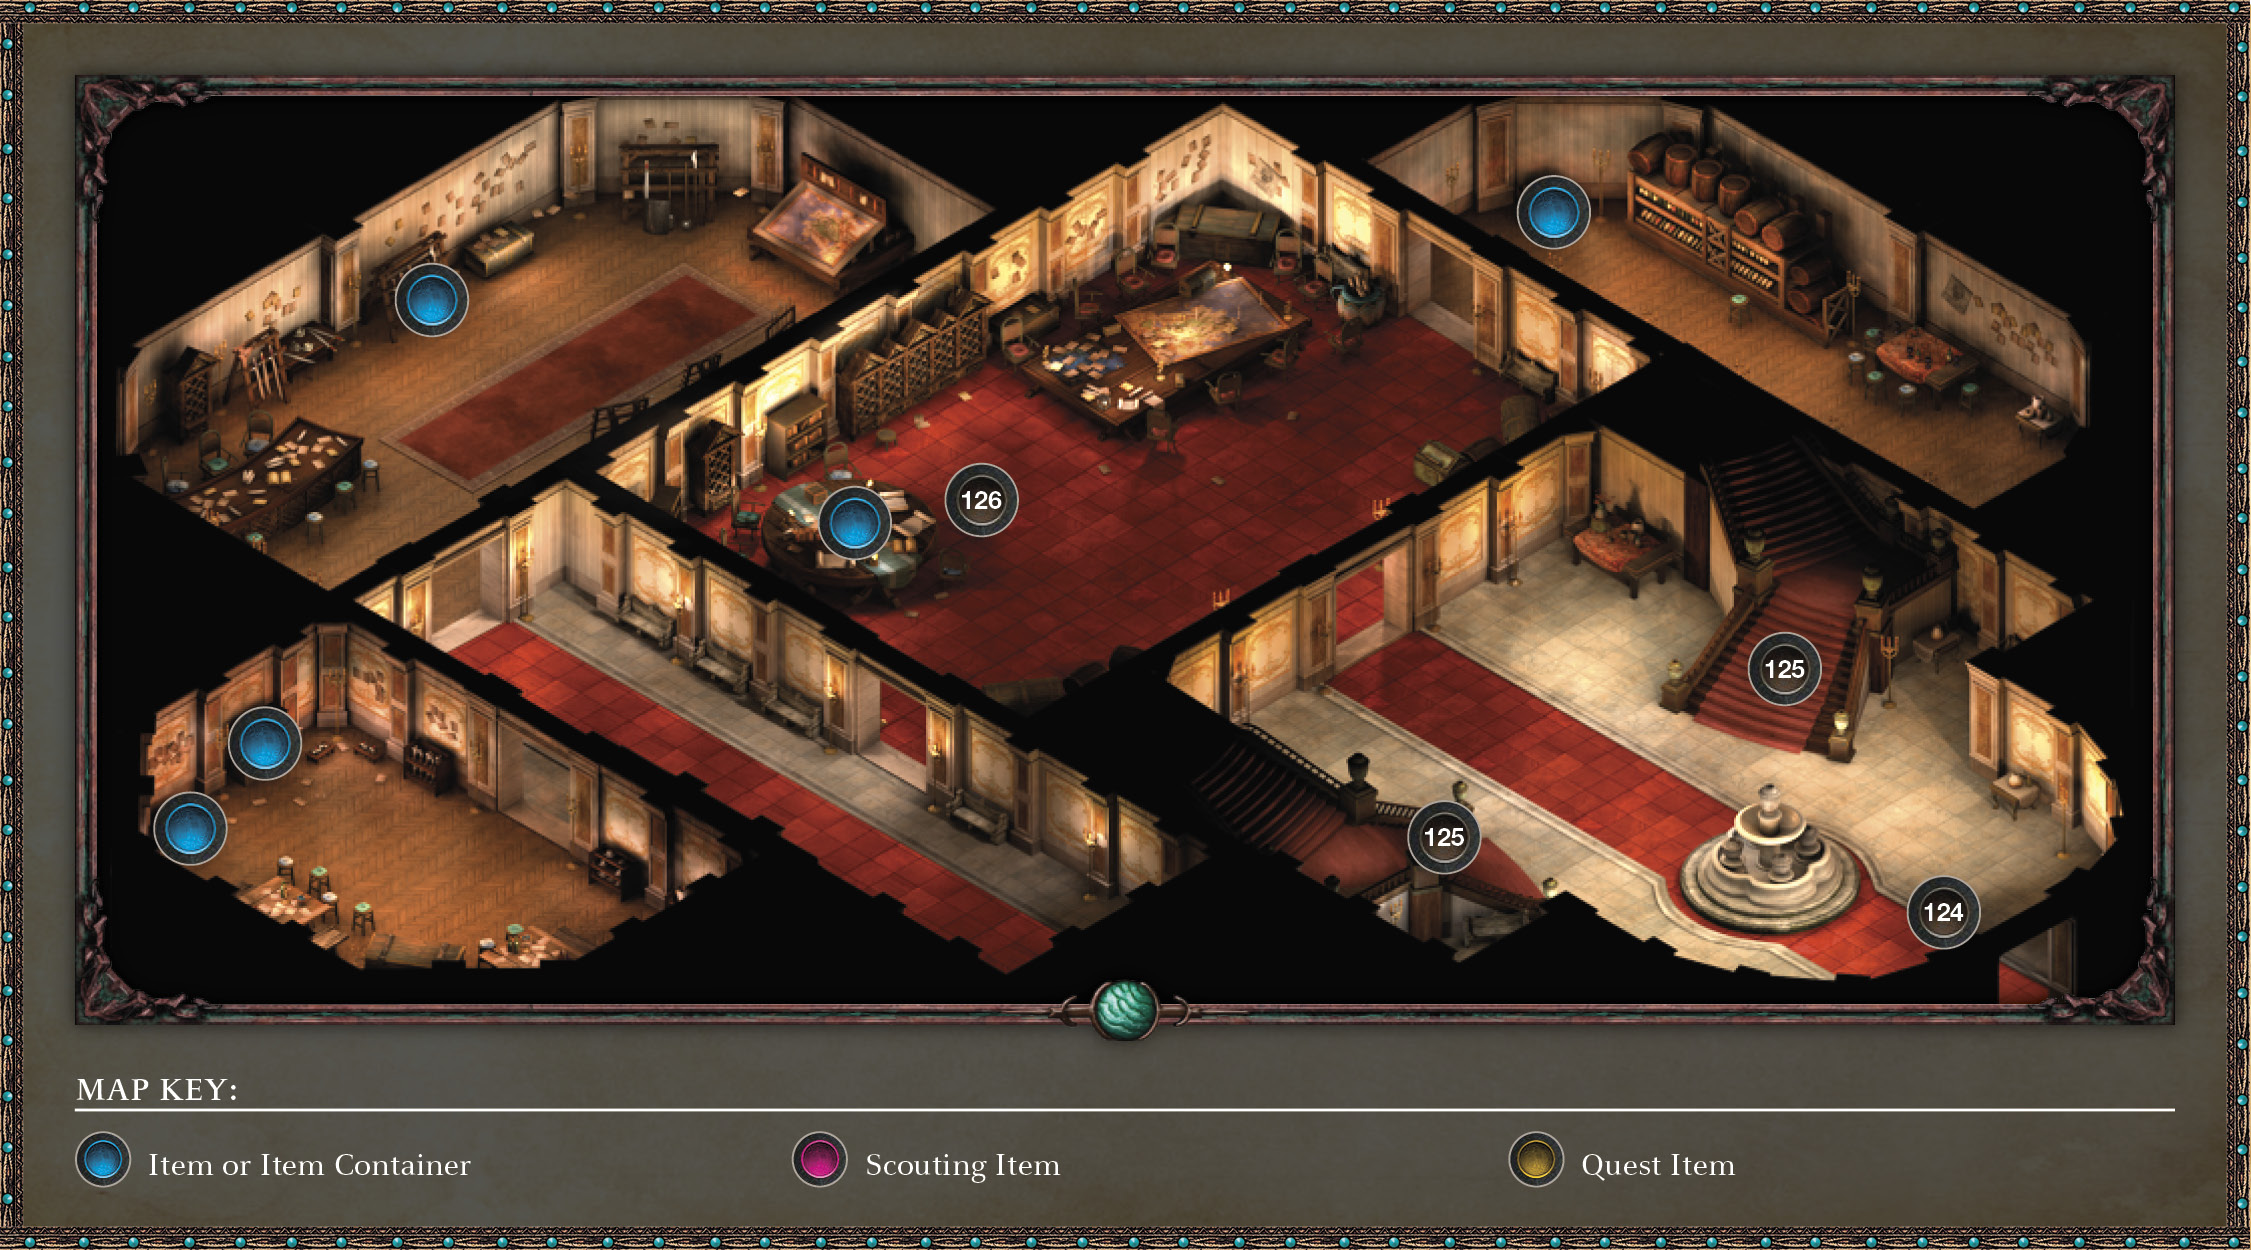
Step into Hadret House (124), which is filled with Agents, and head northwest into the main ballroom; this is now a hive of Agent activity, with strewn papers and maps. Speak to Kurren (126), who already knows all about you. This Orlan can provide a variety of information regarding his workload, skills, and whether he’s looking for help. Mention that Lady Webb invited you here (and offer him the Penhelm affidavit if you’re completing Side Quest: Rogue Knight).
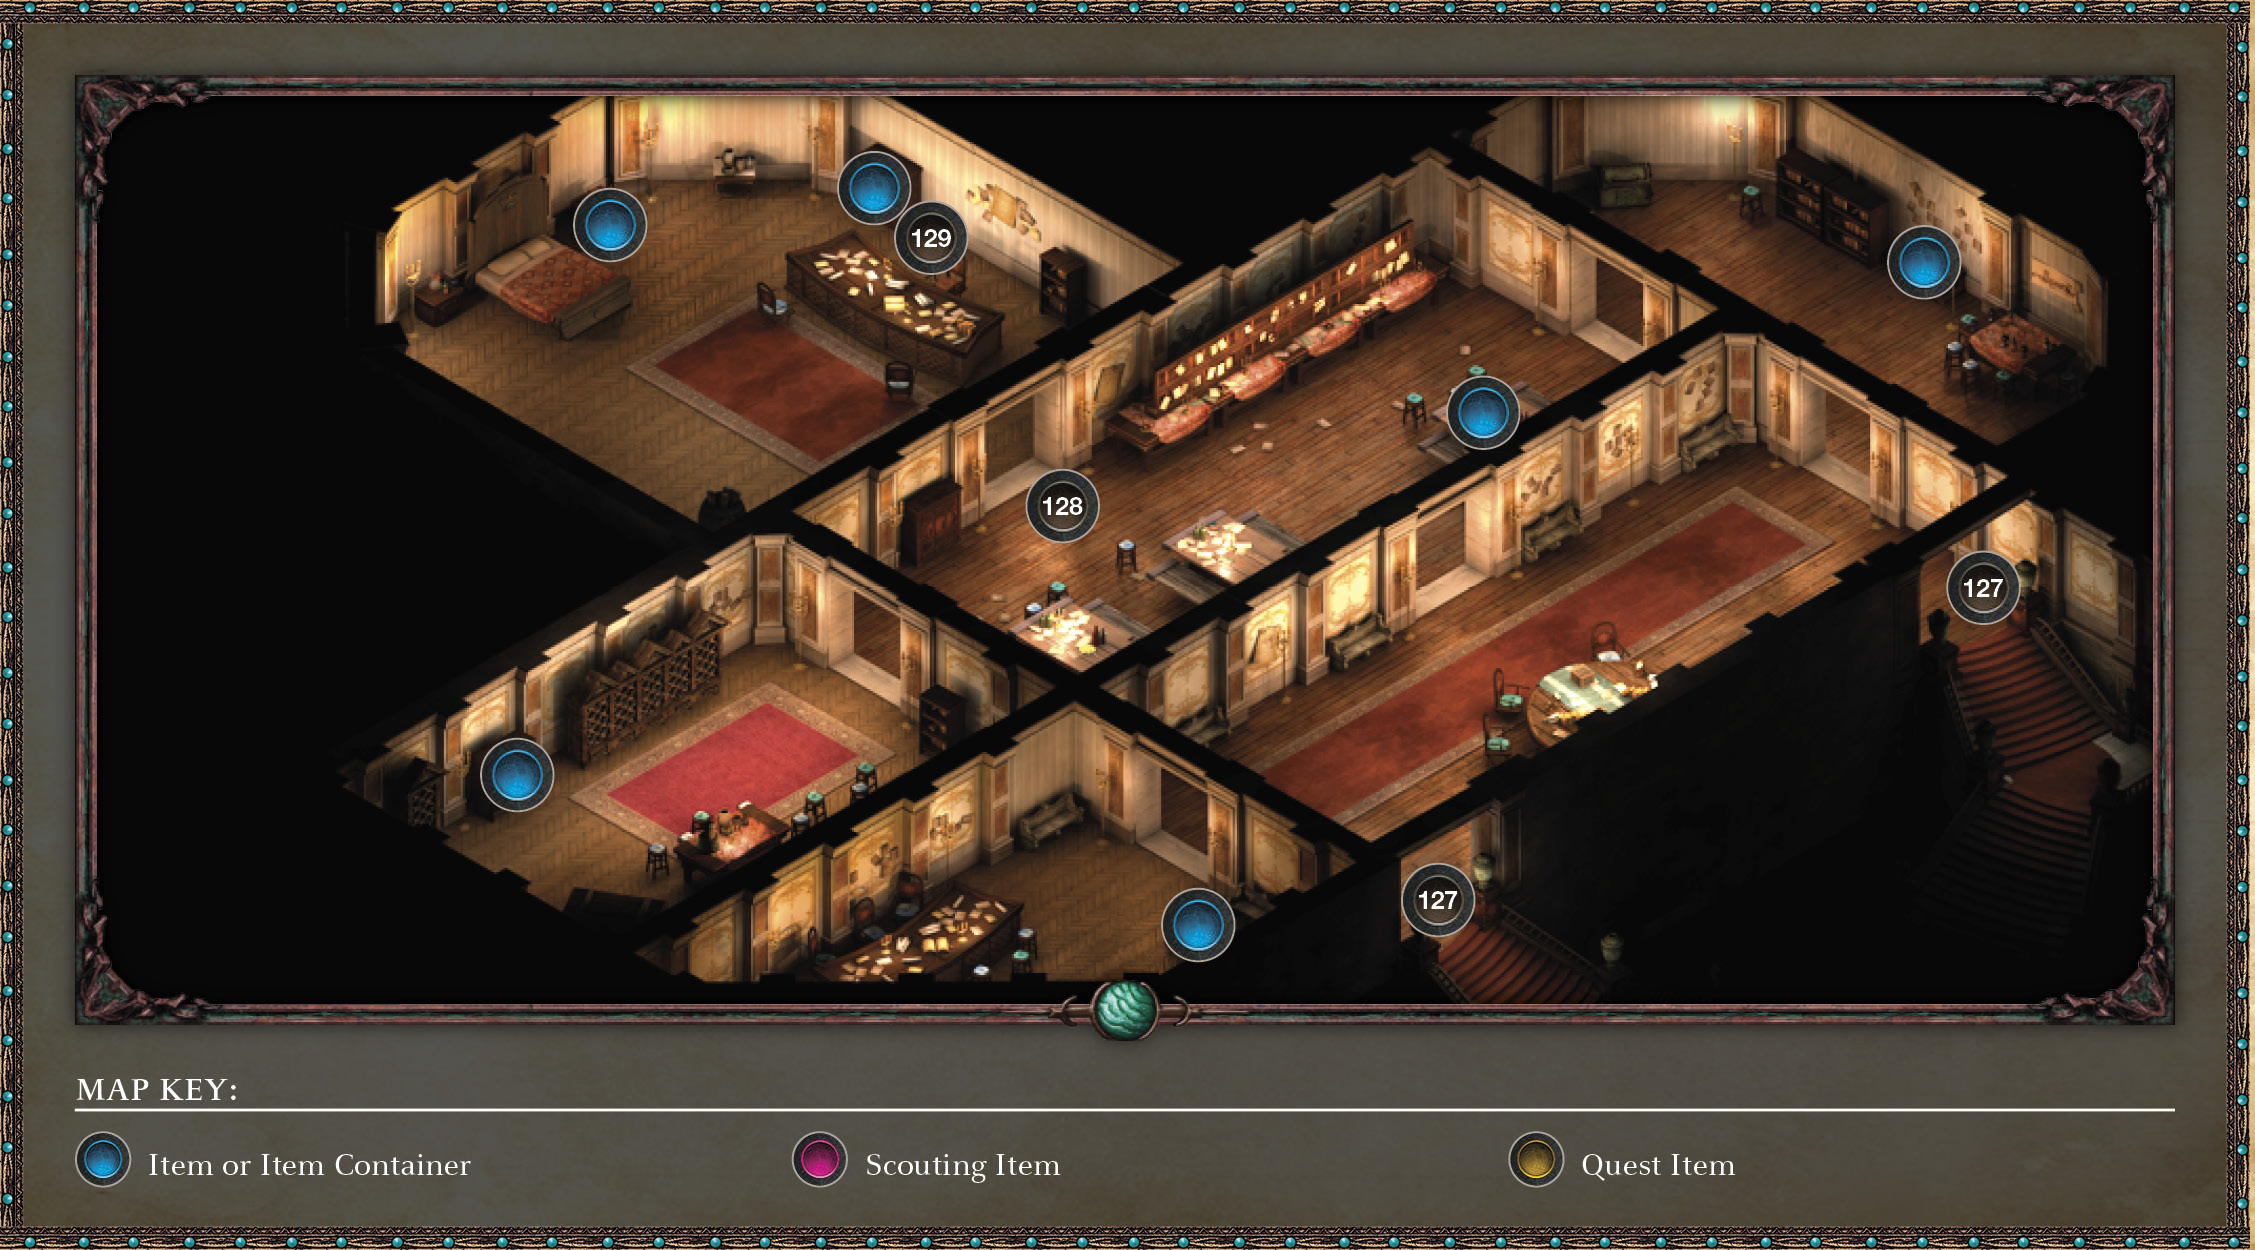
Hadret House (Second Floor)
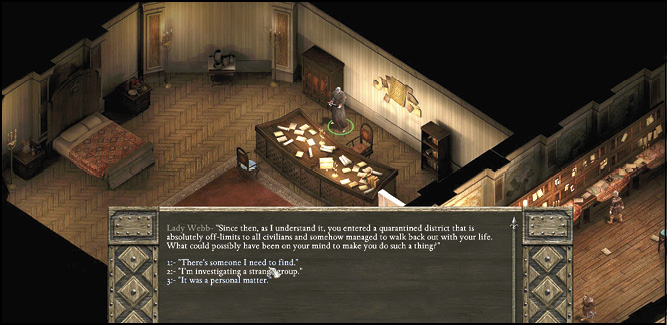
Head up to Level 2 via either set of stairs (125) and into the middle corridor (127) and a long office (128) filled with scattered paper and Agents. To the northwest is a guarded and locked door. One of the guards lets you through.
You greet a spindly fingered woman clutching thick stacks of parchments. Lady Webb (129) seems to know an awful lot about your adventuring considering you’ve never met her before. Tell her about your investigation about finding Thaos and everything you know about the Leaden Key.
Quest Updated: The Hermit of Hadret House
Objective: Inform Lady Webb about the Leaden Key’s activities
Part 3: A Stony Reception at the Sanitarium
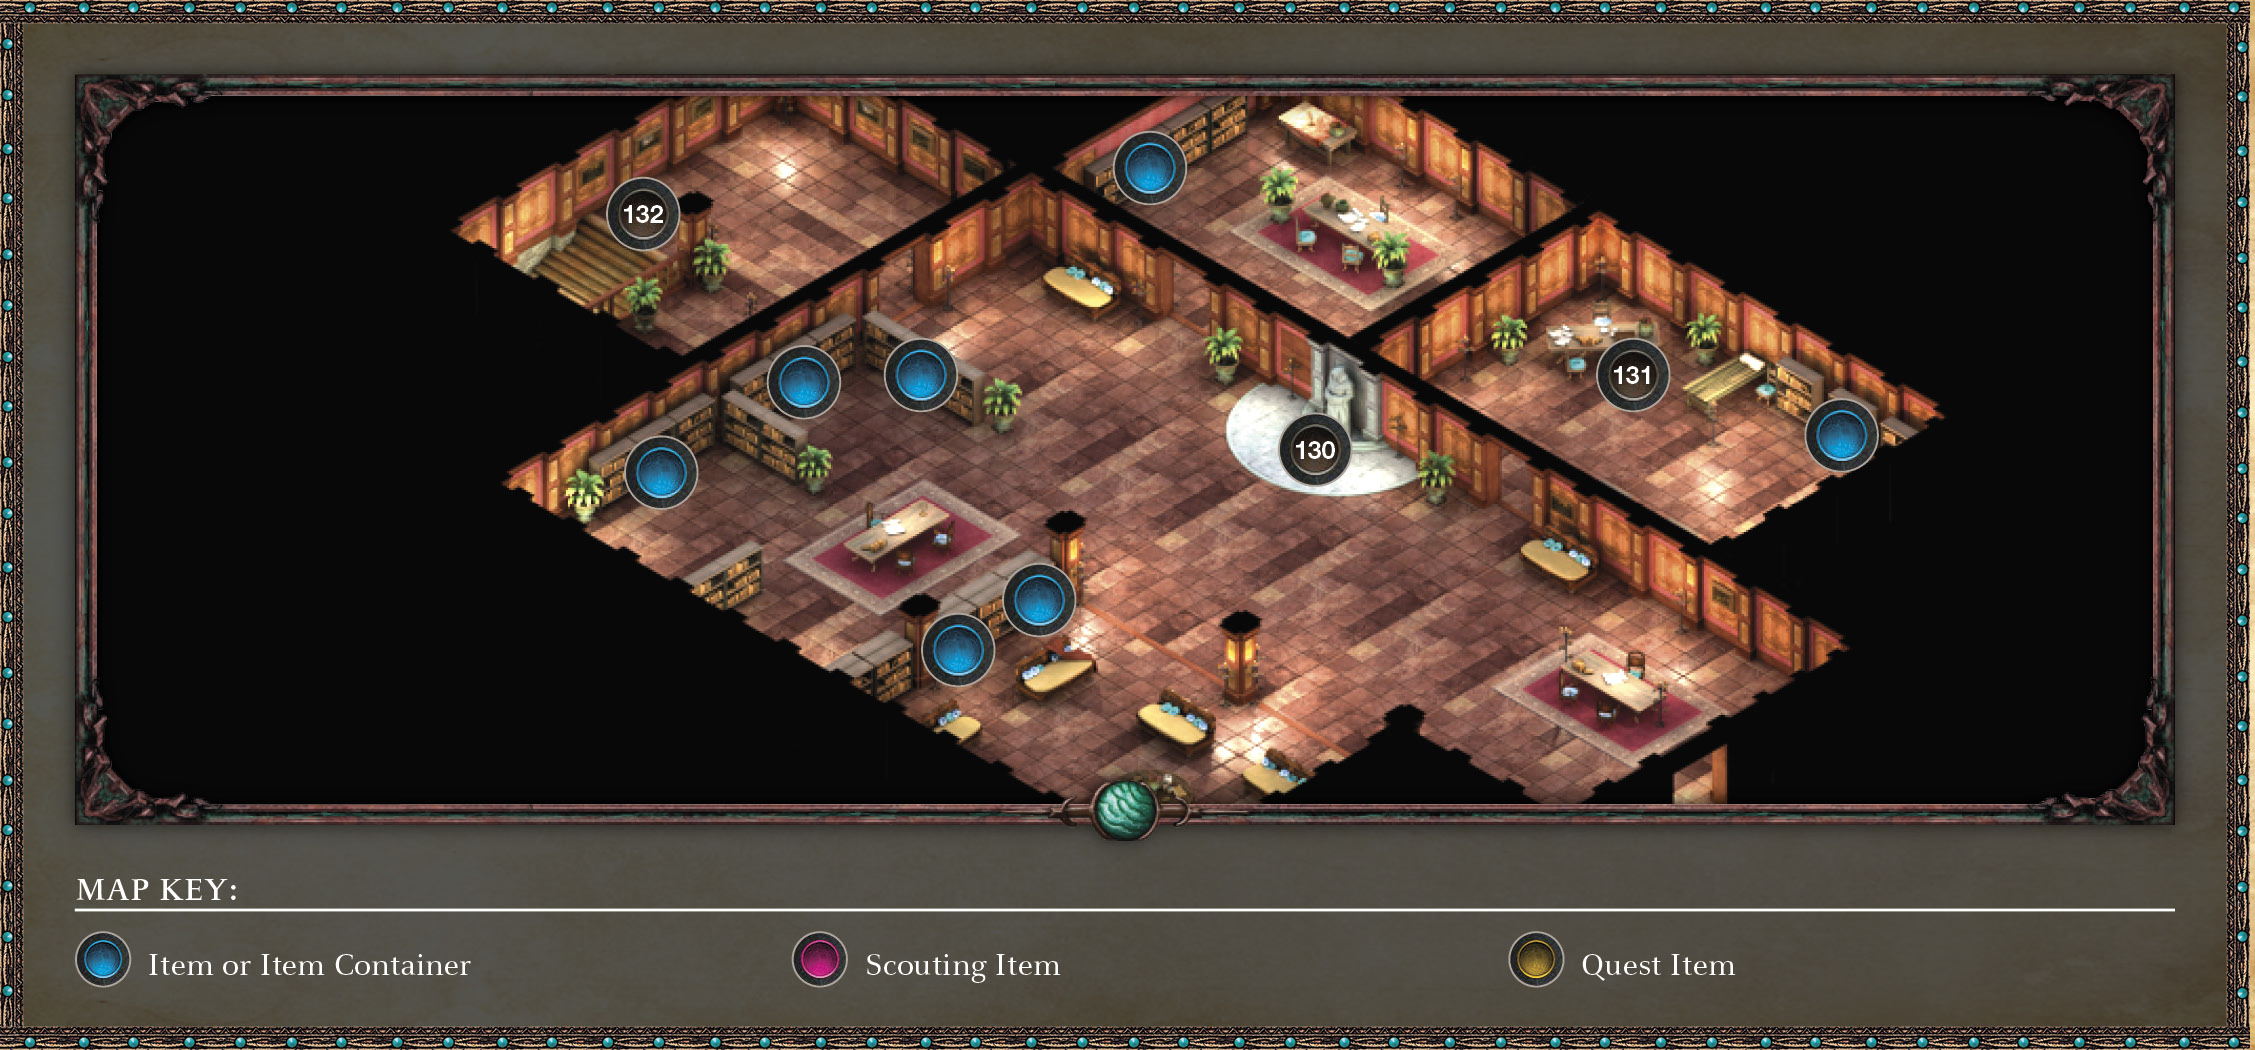
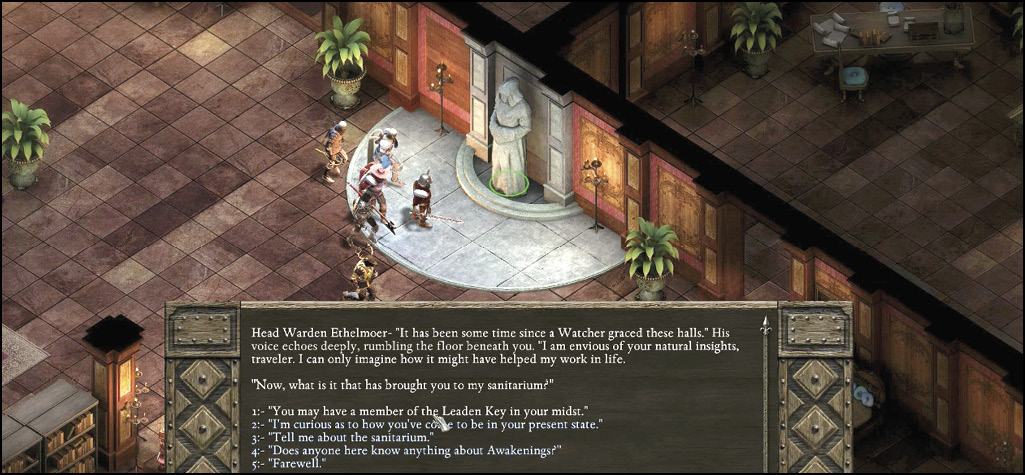
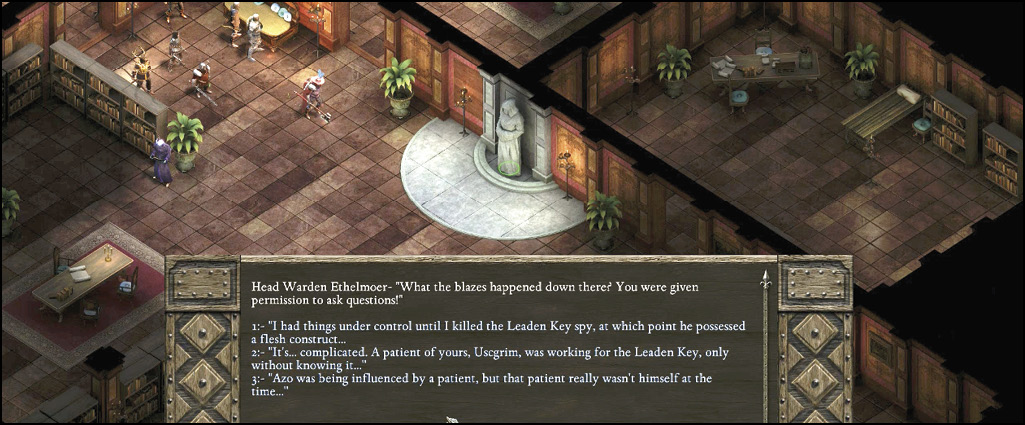
Enter the Sanitarium (117), and look around the main hallway and library areas to the west and southwest. Various guards, nobles, and animancers are located here, but you’re here to see Head Warden Ethelmoer. Look for the well-maintained statue presiding over the room in the northeast wall. This living block of carved stone is the warden (130). Speak with him about the member of the Leaden Key, the animancer Moedred, and his current predicament, and chat about the Sanitarium. Afterward, your main quest updates.
Quest Updated: The Man Who Waits
Objective: Question the animancers about suspicious activity
Though you can head down into the lower levels of the Sanitarium right now, it’s better to question the animancers on this floor first. Head to the eastern chamber, and gain an audience with Audmer (131). After your questions, he tells you that if anything strange was happening, it would be taking place in the lower level.
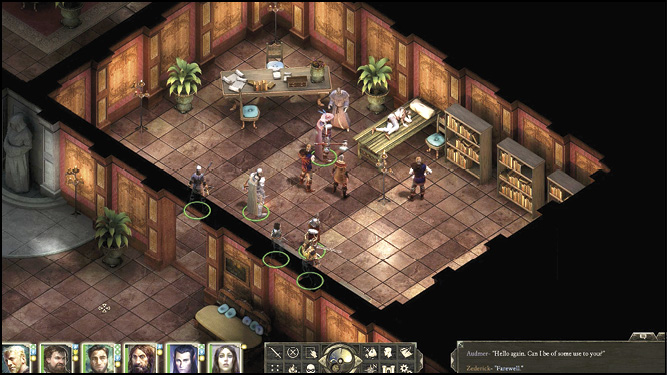
Visit the ornate office of the elderly Nans, and ask her similar questions. Aside from some additional history of the place, she tells you she’s been too involved in her own research to know about any suspicious activities. Now is the time to head west and down the stairs (132).
Part 4: Sanitarium: Patients Are a Virtue
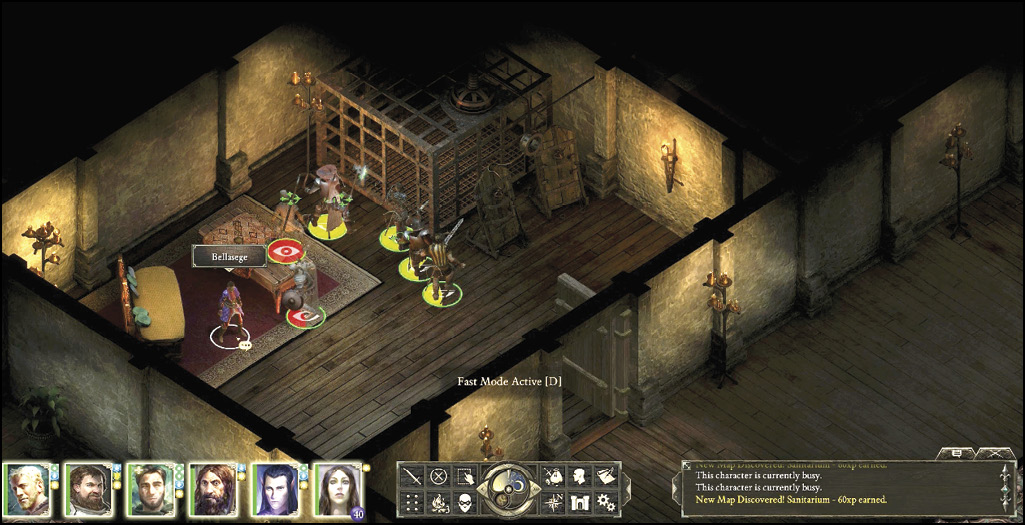
From the lower-level stairs (133), head down the hallway and through the door to the northeast. Head along the large hallway northeast, pausing at the closed (unlocked) doors on each side. Speak to the following folk as your investigation continues:
Bellasege (134): Enter this room, and speak to this mumbling woman. Aside from some Lore, she admits she isn’t the correct person to ask about anyone’s behavior. If you are on the “Two-Sided” side quest, then talking to Bellasege and exhausting communication options completes that quest.
Moedred (135): This fellow has little to add to your main investigation, but he does comment on Helig, as part of the “A Voice from the Past” side quest.
Riply (136): Meet the easily startled Riply in her chamber, and you finally receive some quality information; it seems Caedman Azo has been absent from his office, running some secret experiments. It might not be part of your investigation, but it’s worth bringing to the Head Warden’s attention. Before you leave, pick the lock of the wooden box on the desk in this room and acquire the patient records to add an addendum to the main quest.
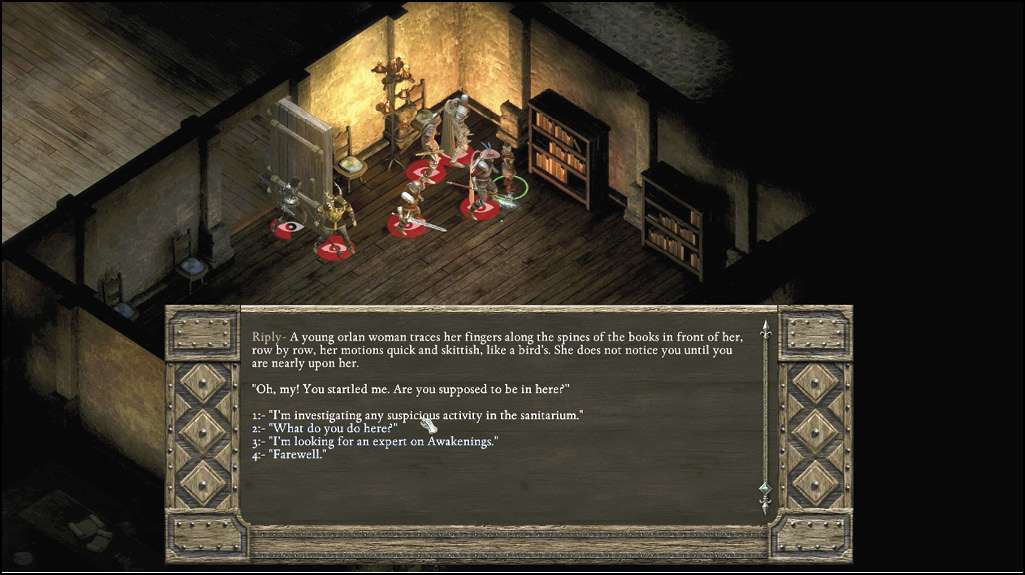
Quest Updated: The Man Who Waits
Objective: Talk to Ethelmoer about Azo
Return to the ground level and speak to the stony Head Warden (130) again, mentioning Azo’s experiments. Ethelmoer grants you access to the patient ward (137).
Quest Updated: The Man Who Waits
Objective: Investigate the patient ward
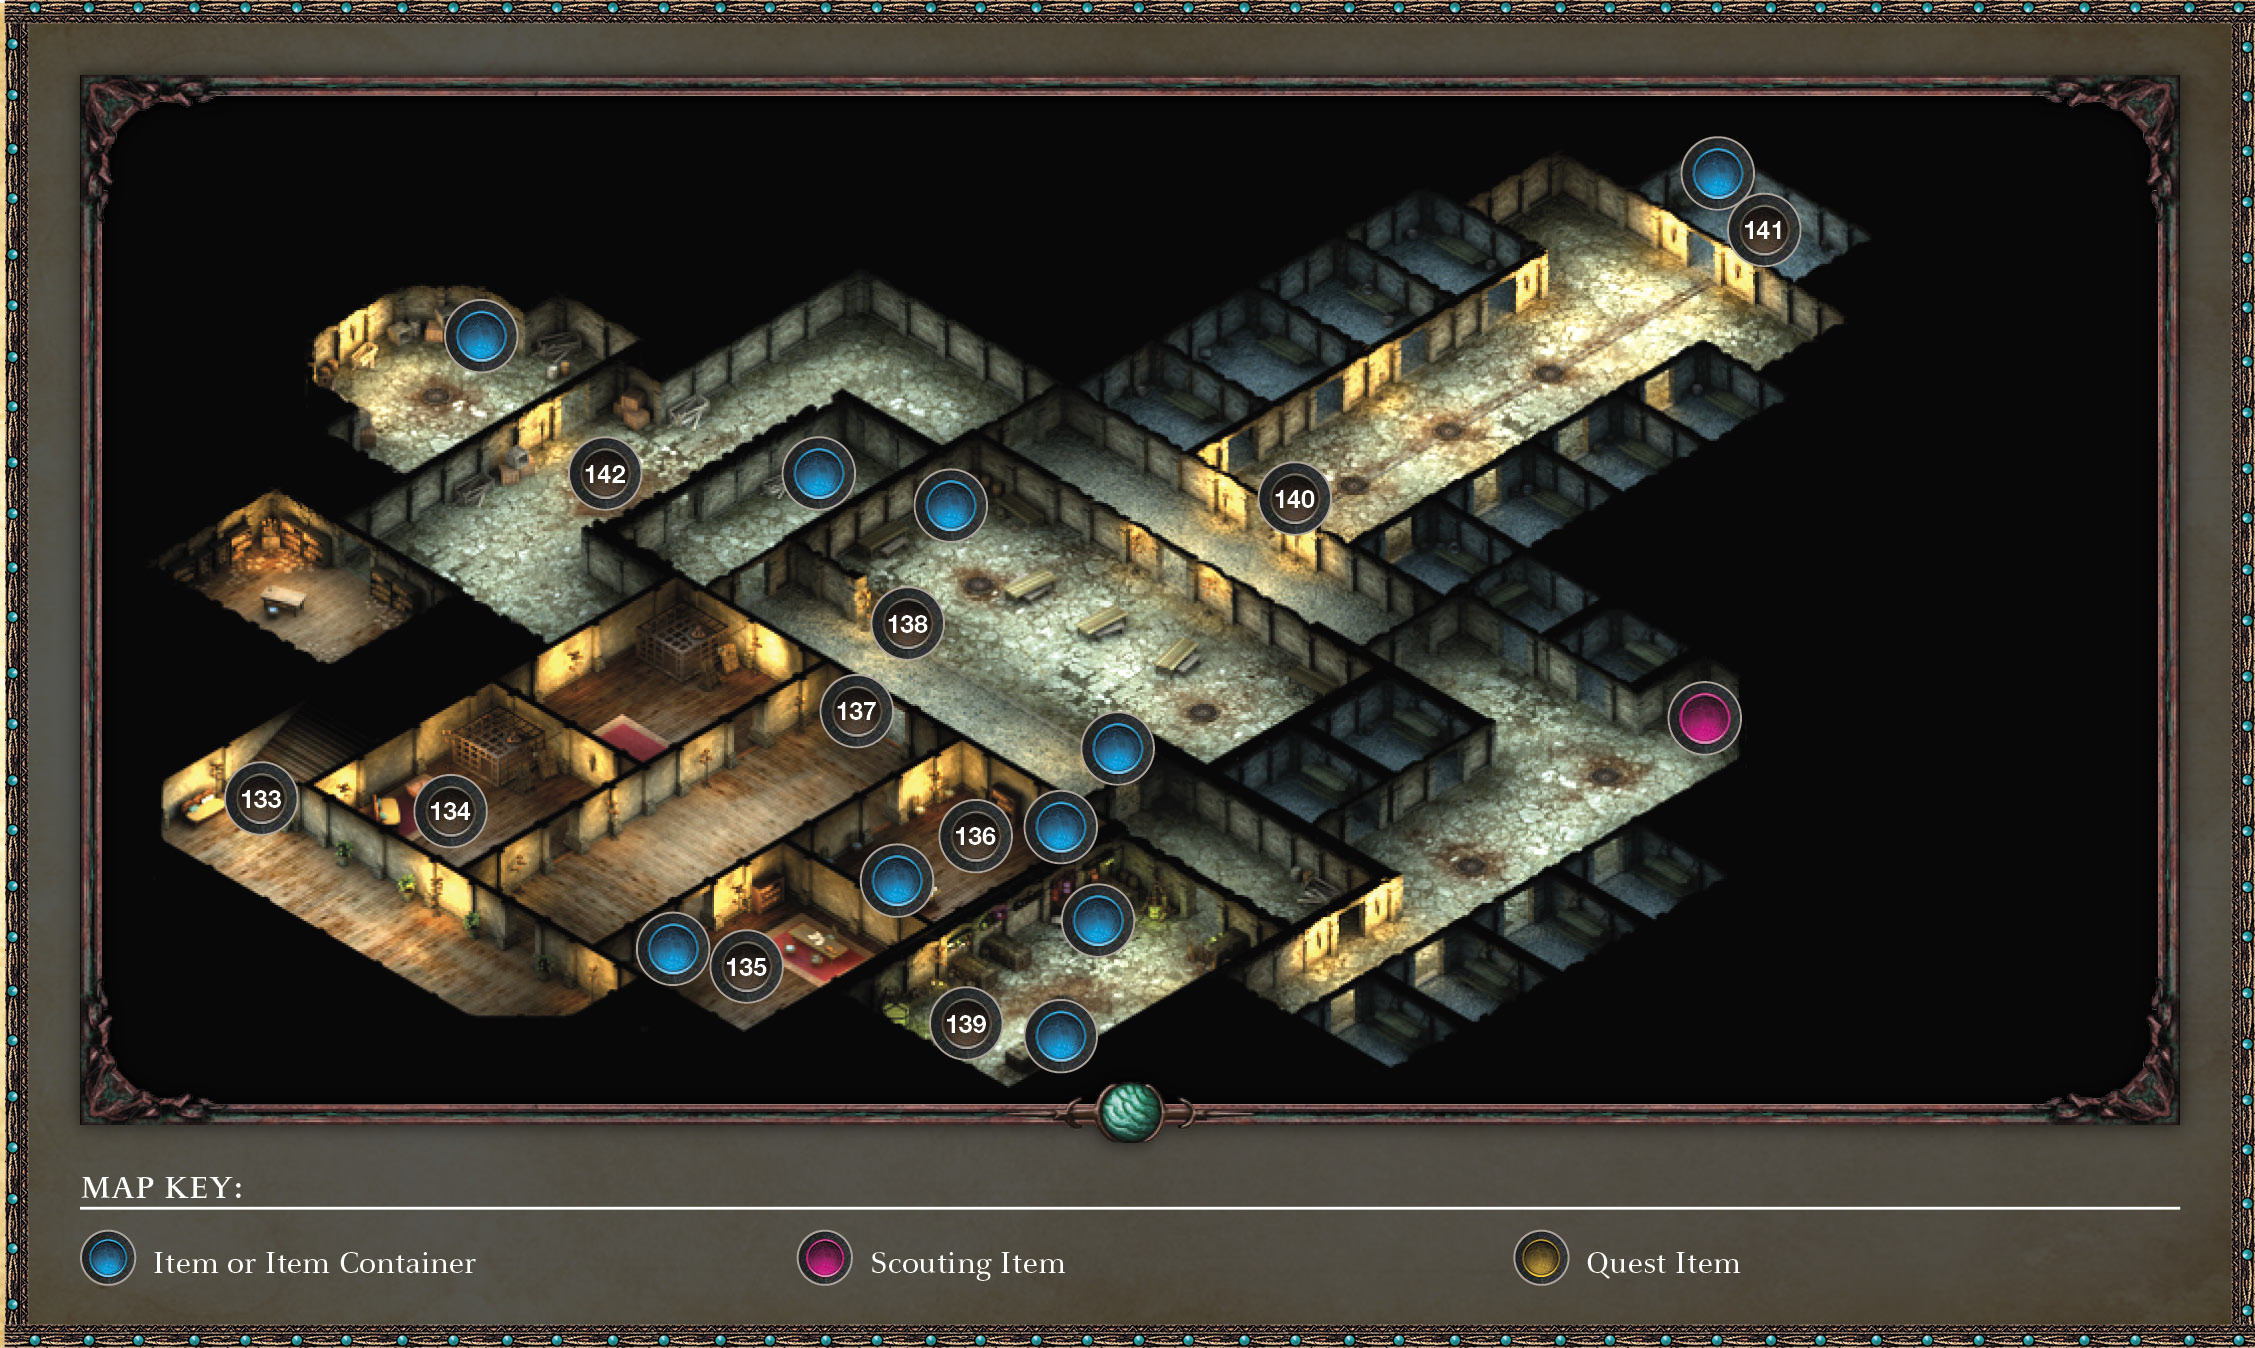
Descend back down into Sanitarium lower level, and move to the far (northeast) end of the main hallway. The guard (137) lets you through the previously sealed door. Just beyond is a large mess hall, with the emphasis on mess; scattered tables and roaming Flesh Constructs abound in this place. Speak with Freyol (138). Quiz her about some unusual patients and Caedman Azo’s activities. Her responses are interesting, but don’t yield specific results.
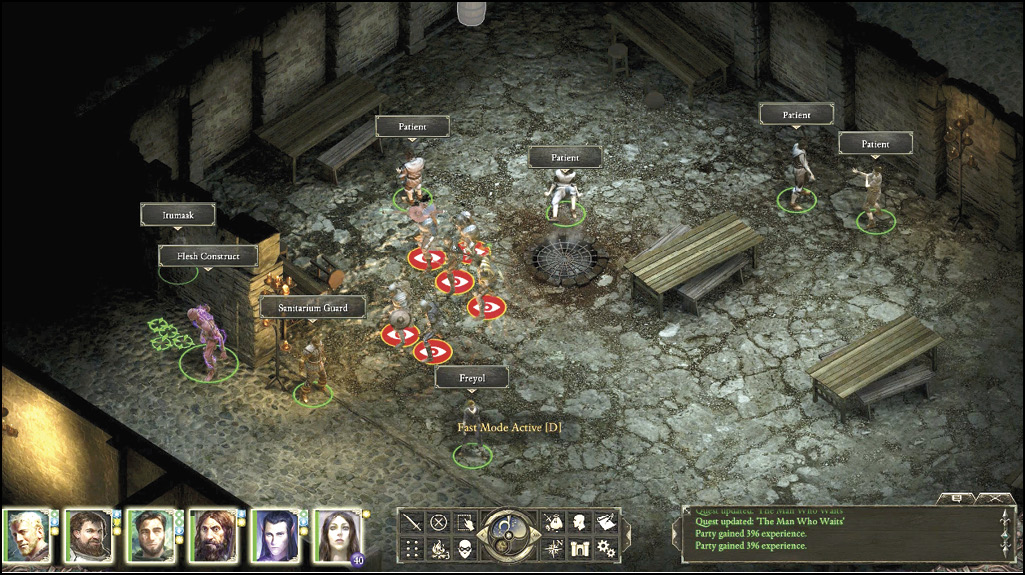
Pass by the patients, and take the door to the southeast; the door in the southwest wall leads into Azo’s chamber. After some unpleasant conversations, Azo (139) hands you the North Ward Key and then stomps off in a storm of petulance.
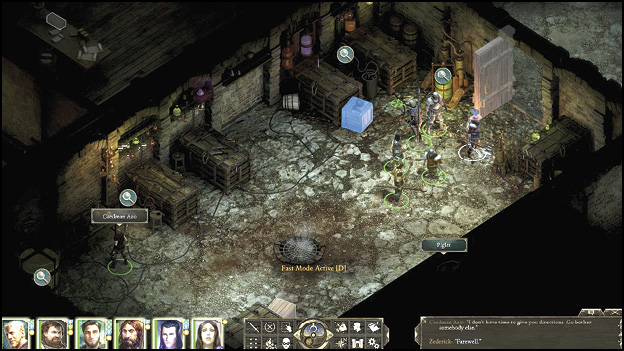
Head back out of Azo’s chamber; turn right (southeast), exiting via the doorway with two torches, and head northeast past the patient cells. Continue until you’re at the door (140) to the North Ward, just northeast of the mess hall.
Unlock the door, and check the following cells, optionally speaking to the lunatics locked up inside each one. Gram, though deranged, offers his mind to you to inspect; he has a misshapen soul. Peer into it, and feel the madness! If Kana is in your party, he speaks up about the patient’s treatment afterward.
Inspect the cell to the northeast, at the far end of the Ward corridor. Inside is Uscgrim (141), a willowy boy. Inspect his soul, interacting with a strange golem and viewing some major revelations. When the realization hits you, speak to the boy, who unfortunately attacks and must be slain.
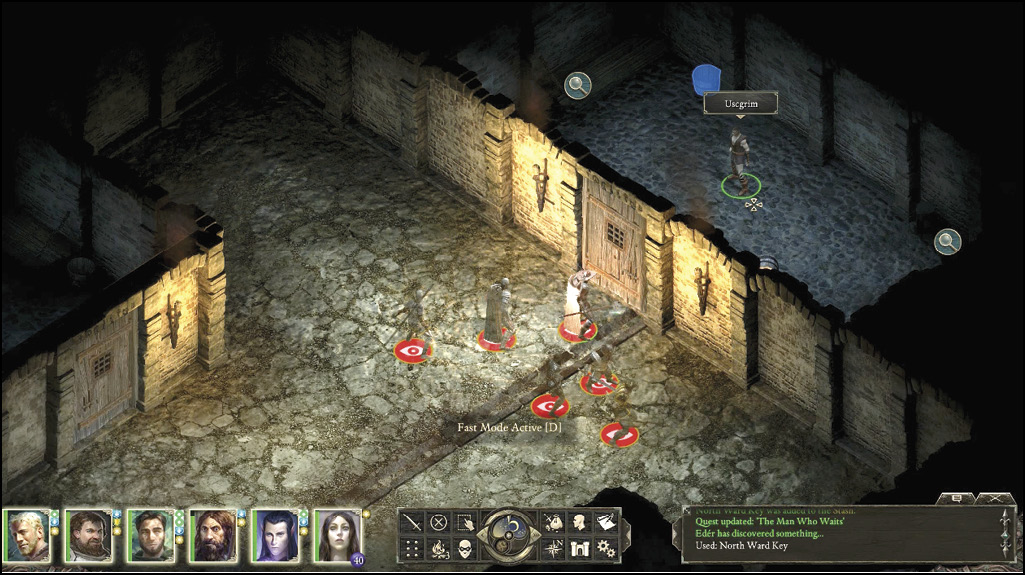
The boy drops his corporeal form, and his soul leaps into one of the three Flesh Constructs that are lumbering up behind you. Main Quest: The Man Who Waits completes as the Construct lumbers off, leaving two others to fight.
Quest Completed: The Man Who Waits
Sanitarium Battle
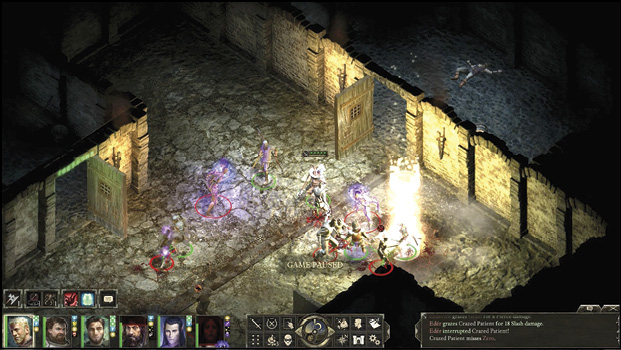
The Flesh Constructs throughout the Sanitarium are now hostile, as are most of the patients. First battle your way back out of the North Ward. You battle three Flesh Constructs and six patients. Head back into the main ward and turn northwest, passing a Construct, and into the northwest part of Level 1. There are five Wichts roaming this corridor (142), which ends in a storage room to the north and a library to the west. Now work your way back to the upper level of the Sanitarium.
Speak with Head Warden Ethelmoer again (130), choosing any of the conversation options to explain how the willowy boy escaped in the body of the Construct. Your time at the Sanitarium is at an end. It is time to talk to Lady Webb again.
Hadret House (Second Floor)
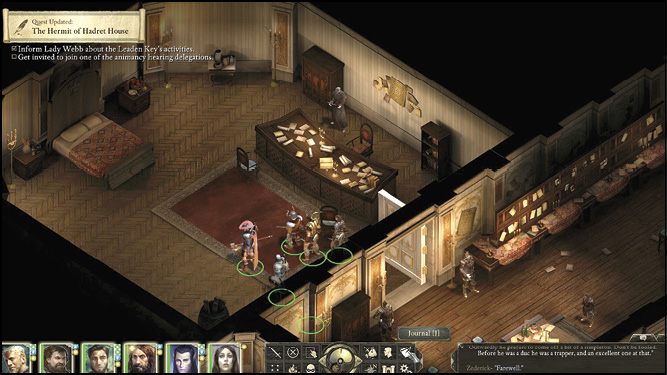
Back at Hadret House, and after much chatter, Lady Webb (129) insists you should attend the forthcoming animancy hearings at the palace (if she doesn’t, exhaust the conversation choices until Lady Webb insists you attend the animancy hearings at the palace). However, for this to occur, you need to be sponsored by one of the three main factions in attendance: the Knights of the Crucible, House Doemenel, or the Dozens.
Part 5: A Fork in the Road of Your Adventure
At this point, the main quests split into one of three options: gaining favor with one of the three main delegation factions. This involves completing some side quests, which are mandatory only if you’re intent on favoring a particular faction. See Act II Side Quests & Tasks to accomplish this undertaking, and then rejoin the main quest at the animancy hearing.
- The Knights of the Crucible: They have a keep in First Fires. Complete the “Built to Last” and “Winds of Steel” side quests.
- House Doemenel: They have a manor in Brackenbury. Complete the “Two Story Job” and “Changing of the Guard” side quests.
- The Dozens: They are based out of the expedition hall in Copperlane. Complete the “Rogue Knight” and “Bronze Beneath the Lake” side quests.
Part 6: Activities in Brackenbury
Optionally choose the following interactions as you wander around this part of Defiance Bay:
Side Quest: The Theorems of Pandgram
Speak to Nedyn (116) on the cobblestone streets near the Sanitarium, and accept her offer to search for some rare manuscripts (see Act II Side Quests & Tasks).
Activities at the Charred Barrel Inn
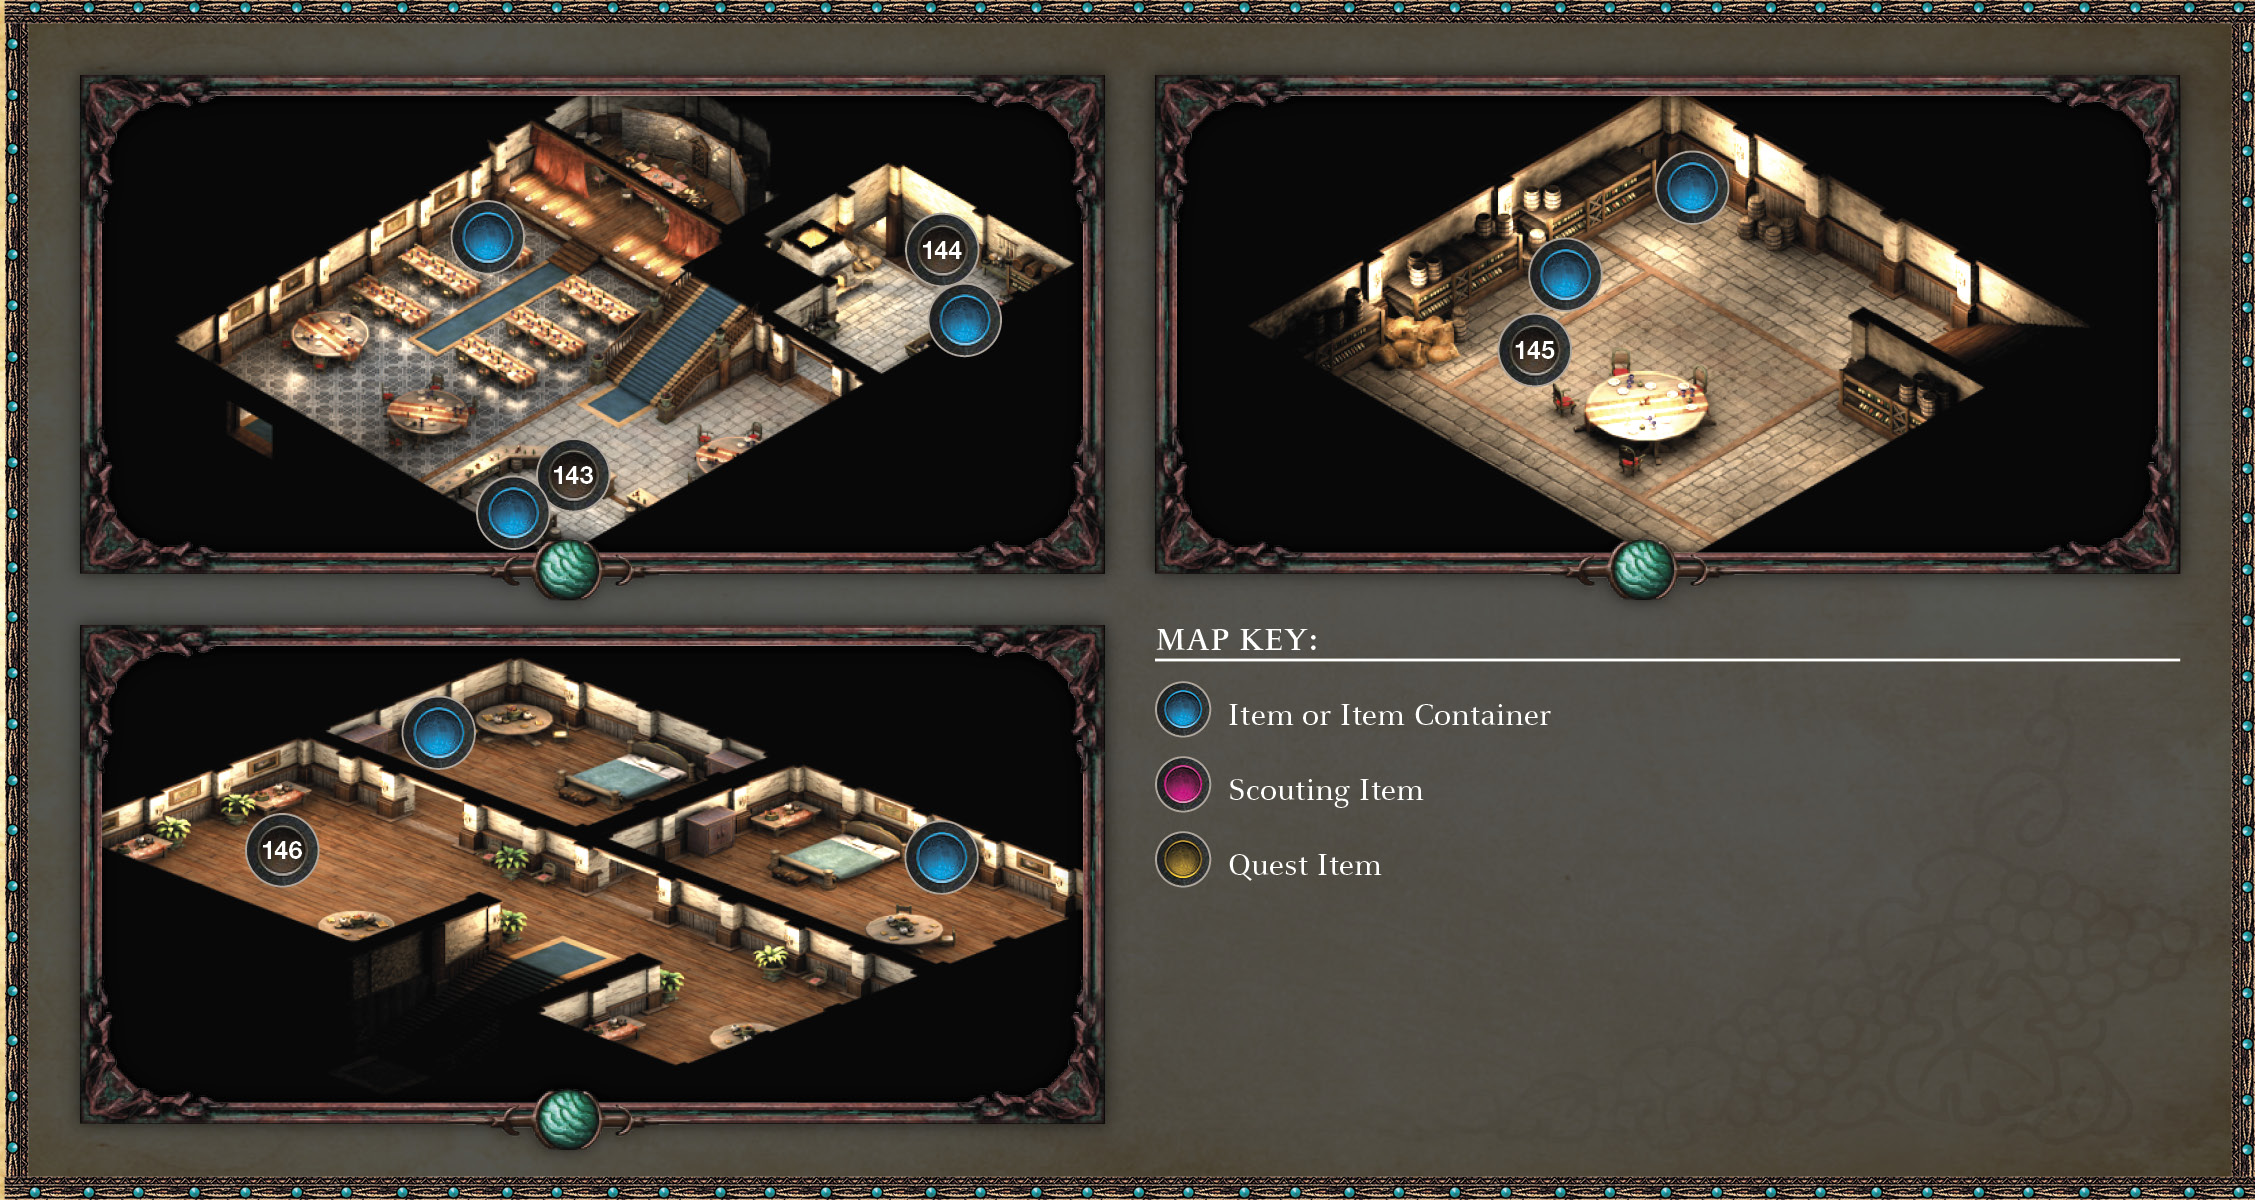
Enter this dinner hall and theater to the southeast (122). Among the Nobles is the barkeep to speak with:
Ableheart Skerrion
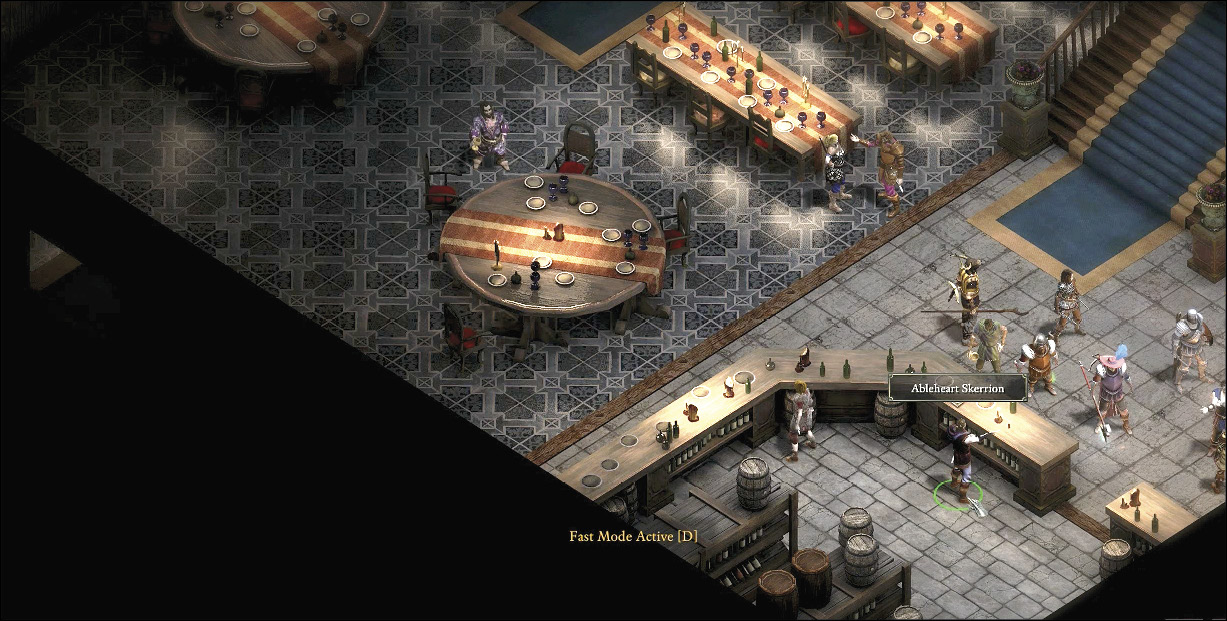
Speak with Ableheart Skerrion the barkeep (143), and purchase a room for the night (which offers a permanent buff to each party member until you camp or rest again). This is recommended. There are two rooms available; one boosts Perception by 2 and Survival by 1, and the other adds 4 boost to Intellect.
Buy and sell with Skerrion (his wares are limited to food). Explore the place, optionally purloining items from containers and (sometimes) locked crates and chests or bookcases. Again, avoid picking locks in front of this crowd or the entire place will erupt in violence. Down in the cellar (144) is a group of Bandits (145) planning something nefarious. Since there are no witnesses, you can take them out, rob them, and loot the containers in the cellar and not worry about angry patrons when you return upstairs. Maerwith (146) and three Pirates are in the main hallway. You can speak briefly with her (or attack her).
Activities at Reymont Manor
This imposing structure is to the northeast (121) and is brimming with servants and guards. It’s best not to aggravate these folk, as it has a knock-on effect to your future actions. Feel free to inspect the place, including chatting to Lord Reymont, if you’re undertaking the “A Two Story Job” side quest (see Act II Side Quests & Tasks).
Activities at Doemenel Manor
To the north is another molding and sprawling structure (120). Inside you may speak to the doorman, who isn’t particularly interested in conversation and sees you out, unless you attack him or anyone else inside. As before, don’t get violent until a little farther into your main quest, unless you want fewer choices in the future.