
Pillars of Eternity Guide Walkthrough Act I: Side Quests
Side Quest: Lord of a Barren Land
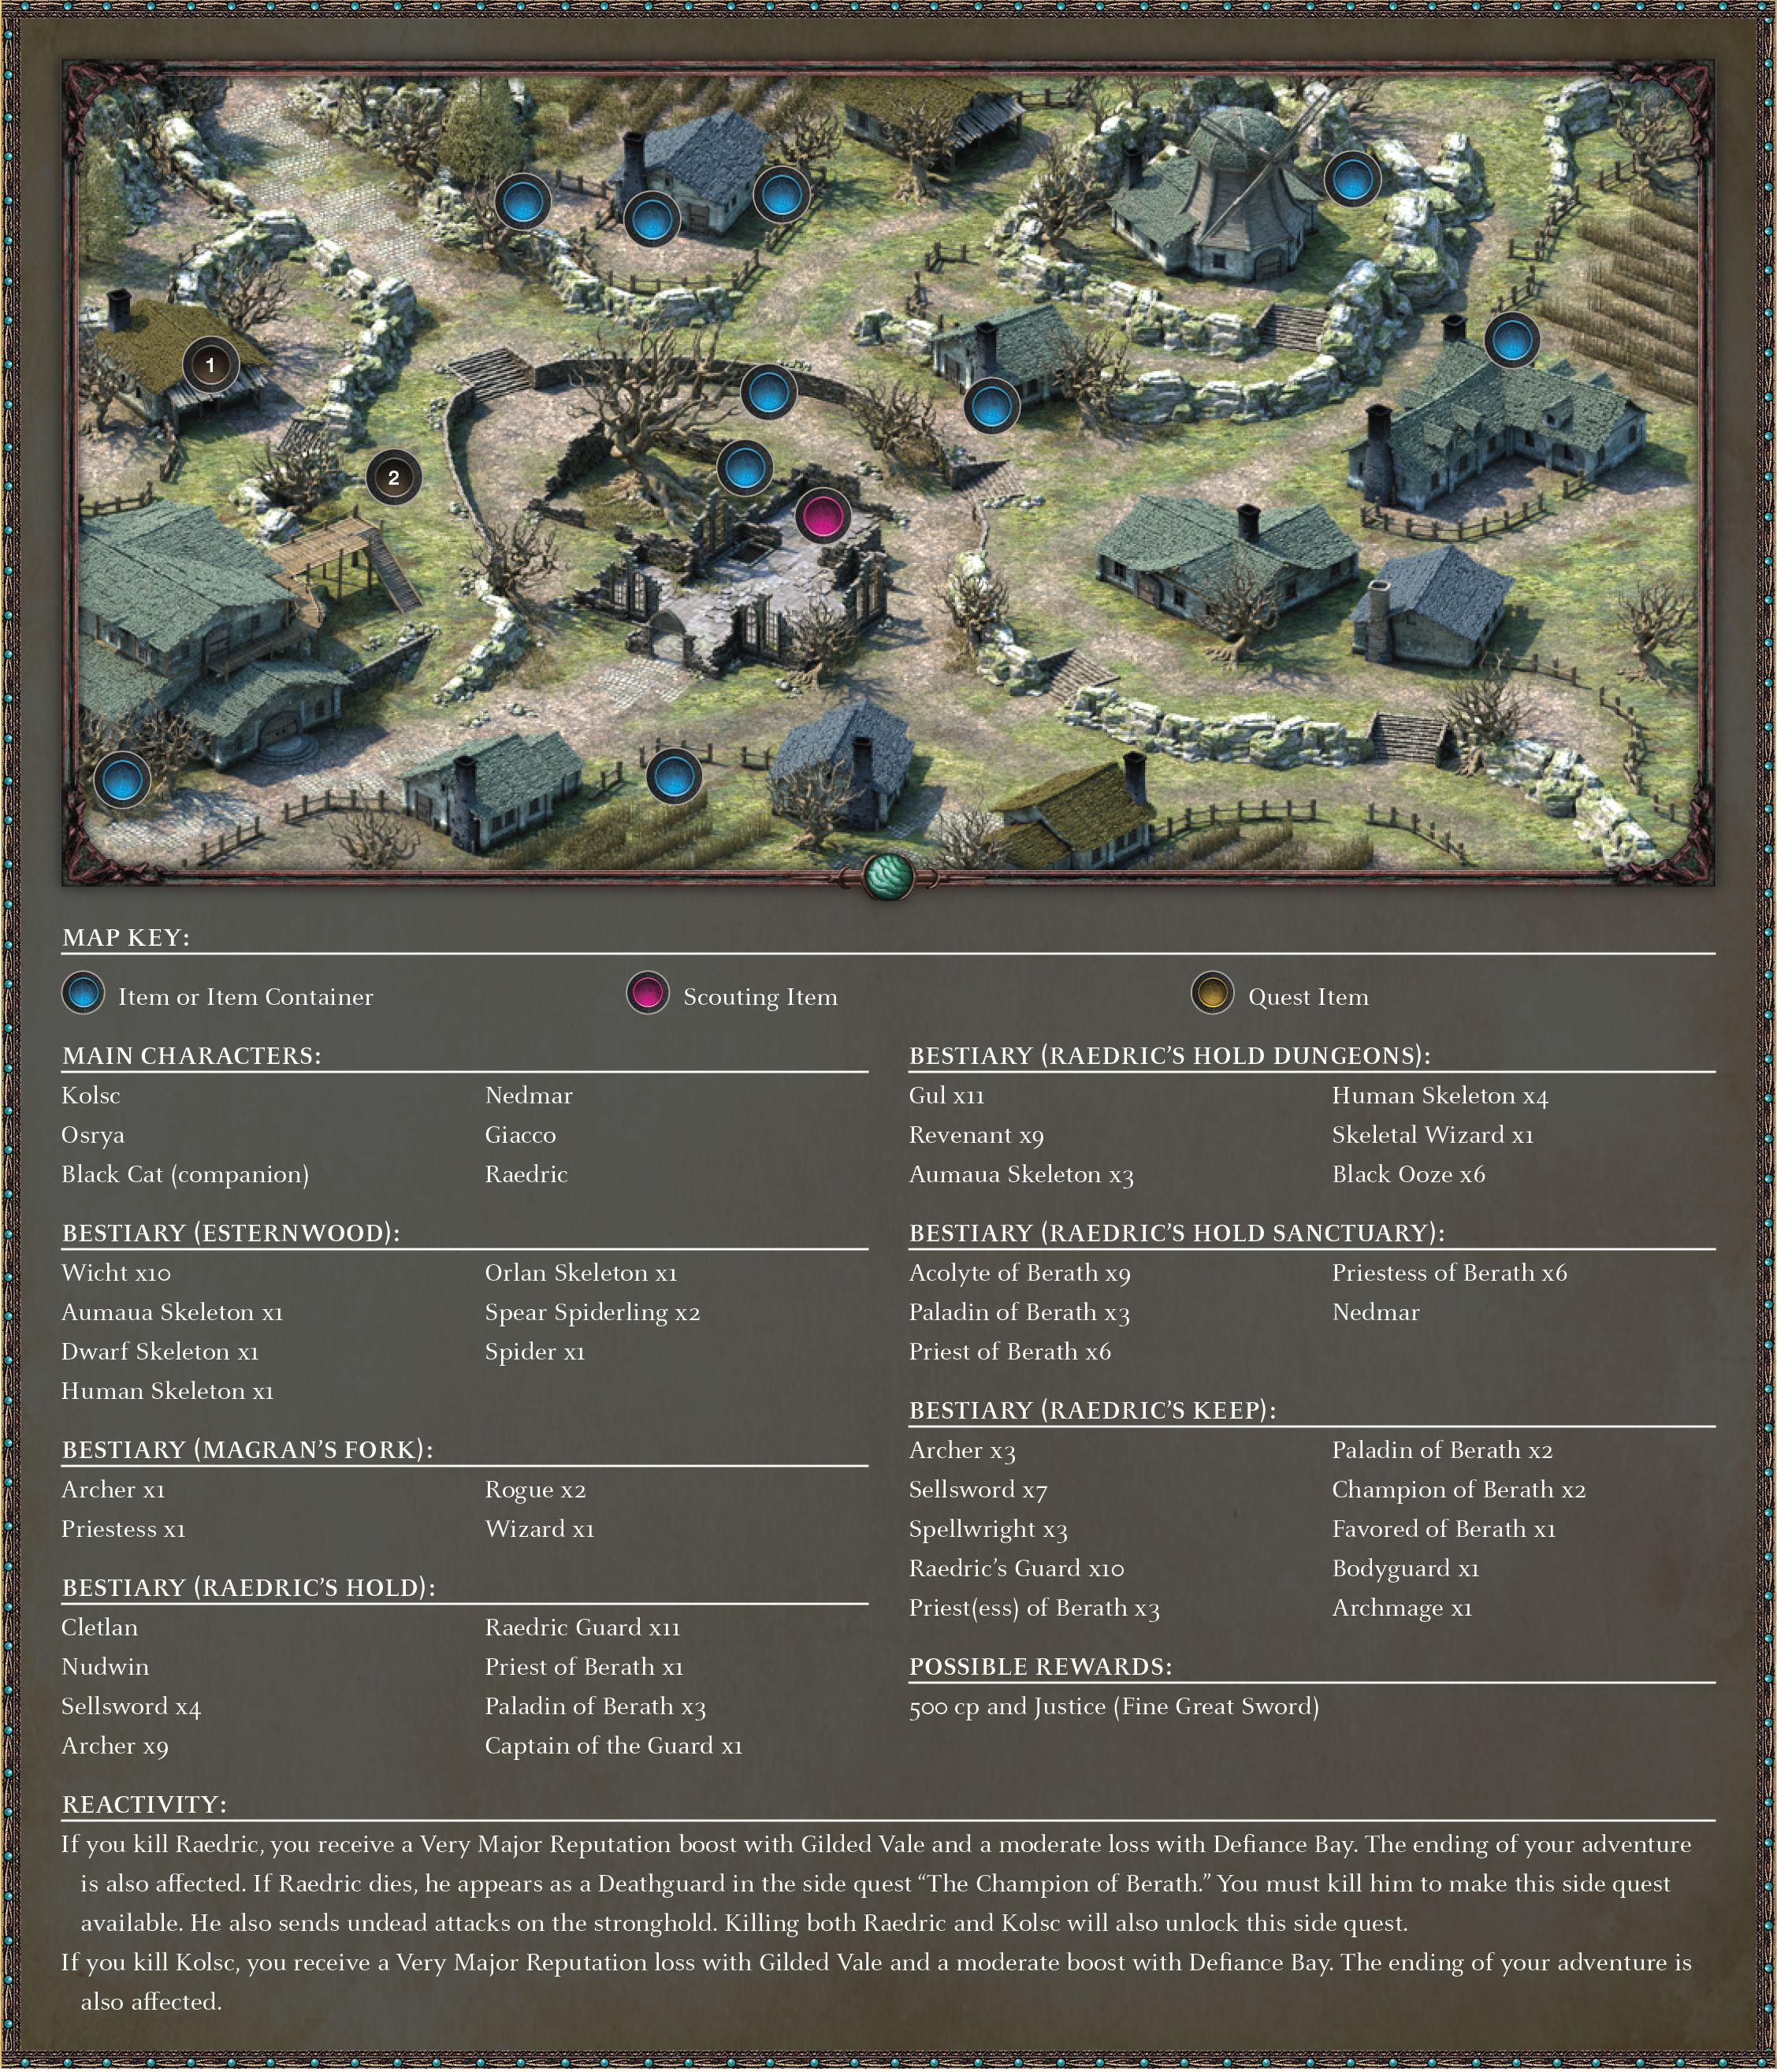
Part 1: A Raid on Raedric’s Keep
After completing the side quest “A Mother’s Plea” and as you are walking out of Aufra’s home (1), you encounter a man who speaks against Lord Raedric’s cruelty. This man (2) asks that you join him in his cause and put an end to Raedric’s rule. The despot’s keep lies east of Esternwood and is sure to be heavily defended.
The rather polite but weary hooded man is named Kolsc. He explains that Gilded Vale is ruled by Lord Raedric. With Dyrwood in the grip of the Waidwen’s Legacy curse, he has resorted to harsh measures to root out the cause. This hasn’t won him any friends, and Kolsc hopes you might off the fellow. He doesn’t recommend a frontal assault of the fortress and mentions he has a man on the inside named Nedmar who might help your cause. Agree to help Kolsc to begin this quest.
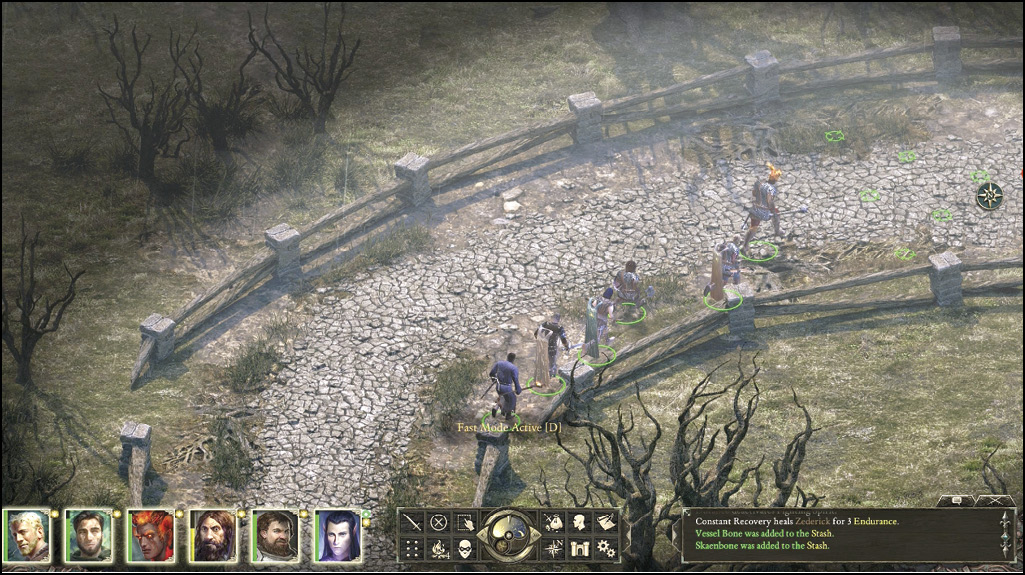
New Quest: Lord of a Barren Land
Objective: Travel to Raedric’s Hold
Journey to the east side of Gilded Vale, and exit to the World Map, allowing you access to the Esternwood area. This blighted place is mainly inhabited by Wichts and Skeletons roaming the graveyard to the northwest. The main cobblestone road winds northeast toward a strange Gothic keep. Follow the cobblestone path heading northeast, and choose Raedric’s Hold on your World Map.
Quest Updated
Objective: Confront Lord Raedric the VII inside Raedric’s Keep
Part 2: Storming the Fortress—Initial Planning
Raedric’s Hold
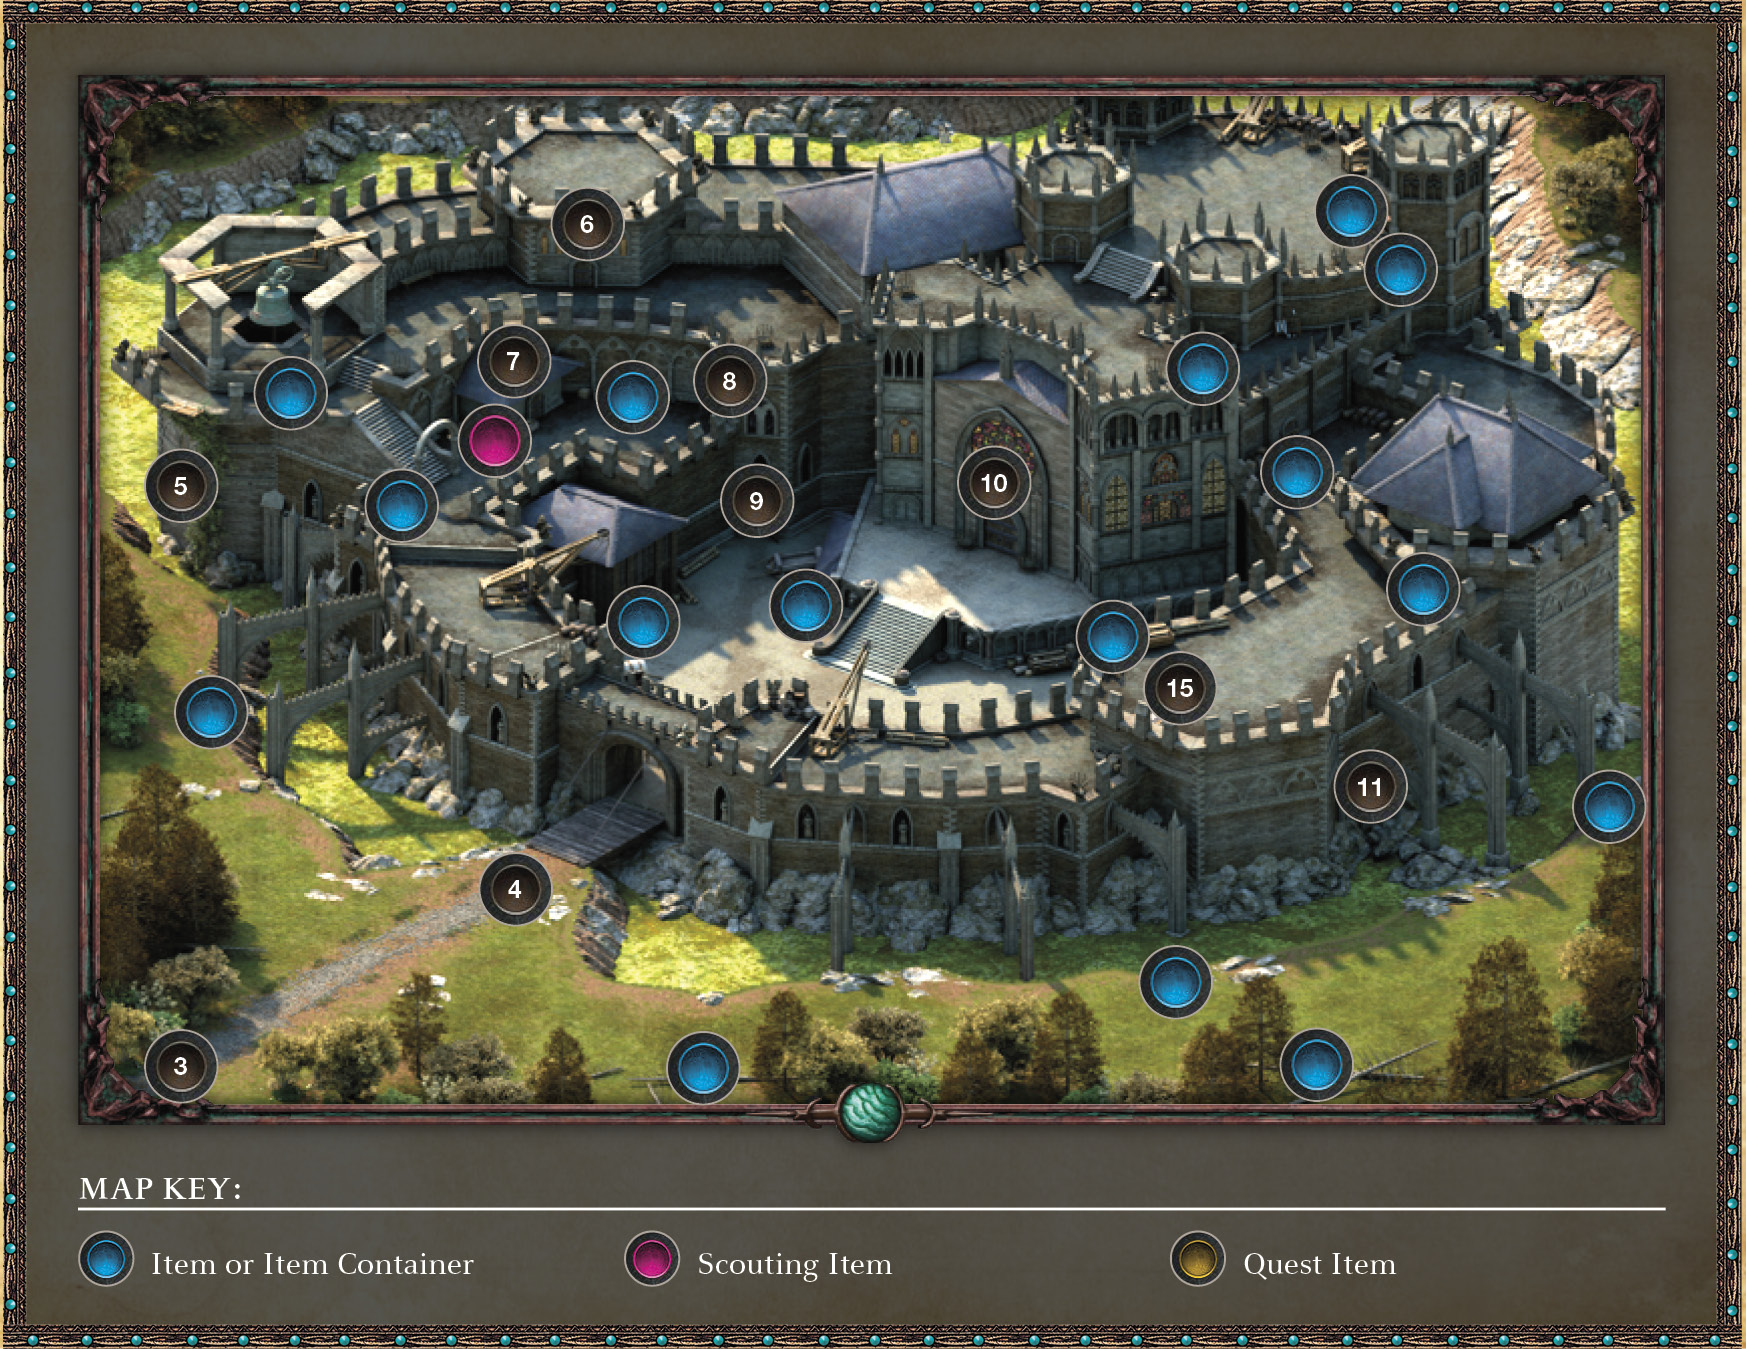
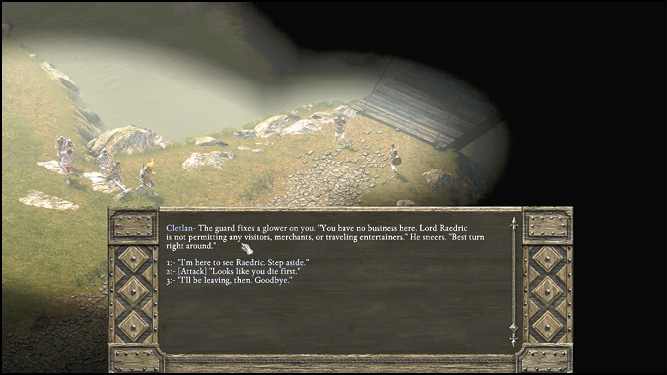
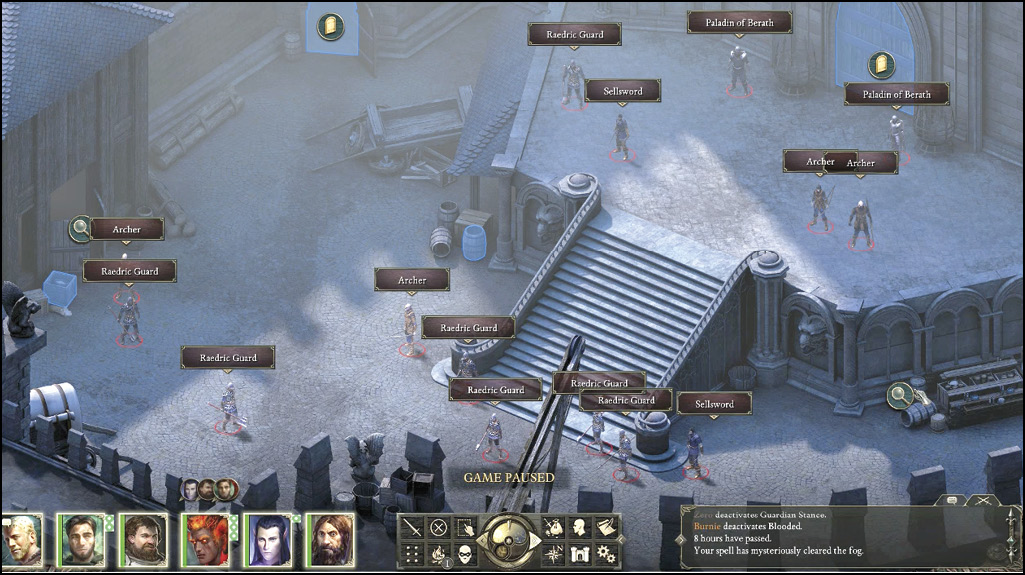
You appear in the southwest corner of Raedric’s Hold (3). The imposing fortress is a veritable maze of crenellations, dank dungeons, and two interior floors filled with folks (mostly) loyal to their ruler. Venture forward to meet two of them—Cletlan and Nudwin. They meet you by the drawbridge (4). You can:
- Speak with them, and they tell you that you cannot enter this fortress.
- [Attack] Any aggressive chatter or violence is met with a battle, and the adversaries across the entire fortress turn hostile. This is usually the choice of an adventurer wanting to aggressively announce their presence.
Afterward, you have three main options to choose from when infiltrating this fortification: You can go up the vines, go up the middle, or go through the dungeon. Here are a few details about each infiltration option:
Up the Vines: The Quick Kill Route
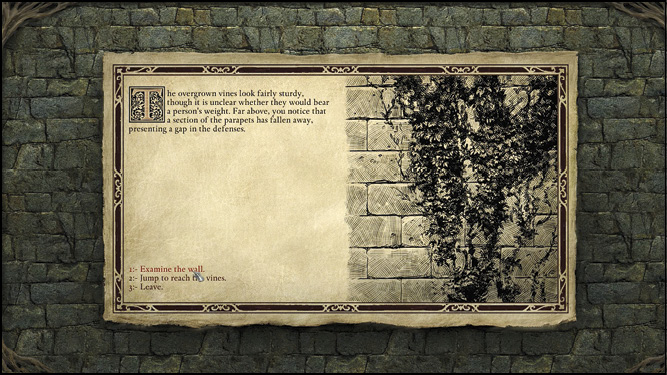
Follow the moat north, until you spot vines growing up the side of the castle’s bell tower (5). Pull yourself up onto the upper battlements.
Then work your way east, slaying Raedric’s troops (around six, including a Priest of Berath) before opening the arched door in the north tower (6). This is the Temple Storage entry, which allows quick access into Raedric’s Sanctuary—the interior level just above where Raedric’s throne room is located. If you use this vine route, don’t forget to access the small armory (7) on the lower level before entering the keep. You can find more equipment inside two locked chests that require 3 Mechanics + 4 Lockpicks or 4 Mechanics. There’s also a Scroll of Fire in a Scouting container just outside the armory. Skip to Part 4: To Find a Priest. Choose this plan if you want quick access to Nedmar and are not interested in slaying every foe (or the undead that roam the dungeons).
Up the Middle: The Battle-Ready Route
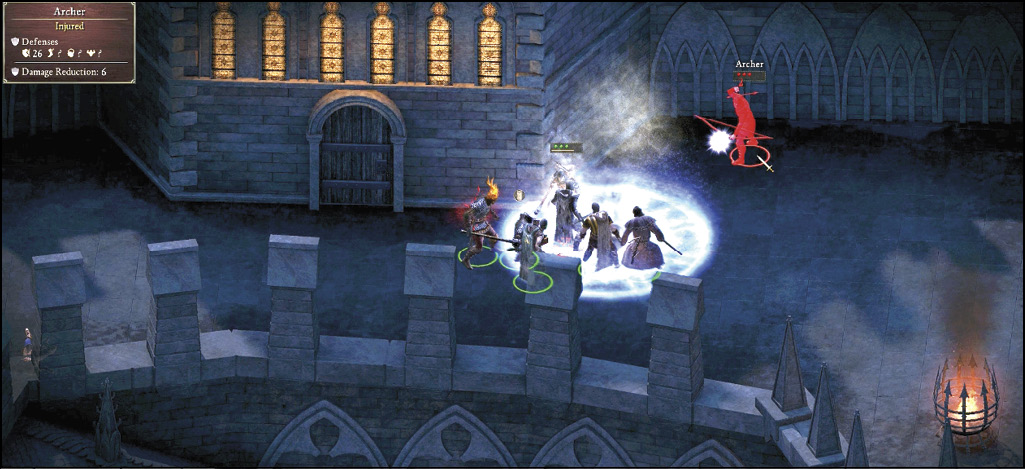
Slay Cletlan and Nudwin (4), and march over the drawbridge. Prepare for a ferocious battle once you’re inside this structure. Repel an initial threat of nine guards, then venture up the central stairs to take care of six more guards, including two Paladins of Berath. Then you have a choice of routes:
- Nothing like a direct approach, so open the main archway door (10) behind them and charge! This door leads directly to the Keep Hall and allows you to skip to Part 6: Assault on the Throne Room.
- Nothing like an exploration of the upper battlements. Enter the Lower Ramparts door (9) on the ground level to the northeast. Inspect the upper northern battlements, fighting eight foes along the crenellations past the bell tower. To return to the courtyard, use the Courtyard Door (8). However, if you open the arched door (6) up on the north tower, this gets you access to the Temple Storage and allows you to skip to Part 4: To Find a Priest (which is the same as the Vines route).
Down the Dungeon: The Treasure Hunter Route
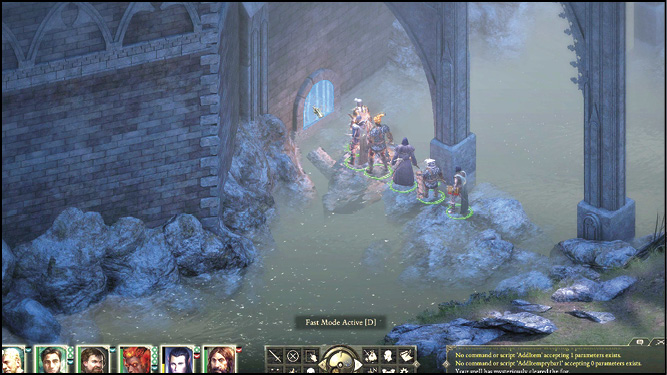
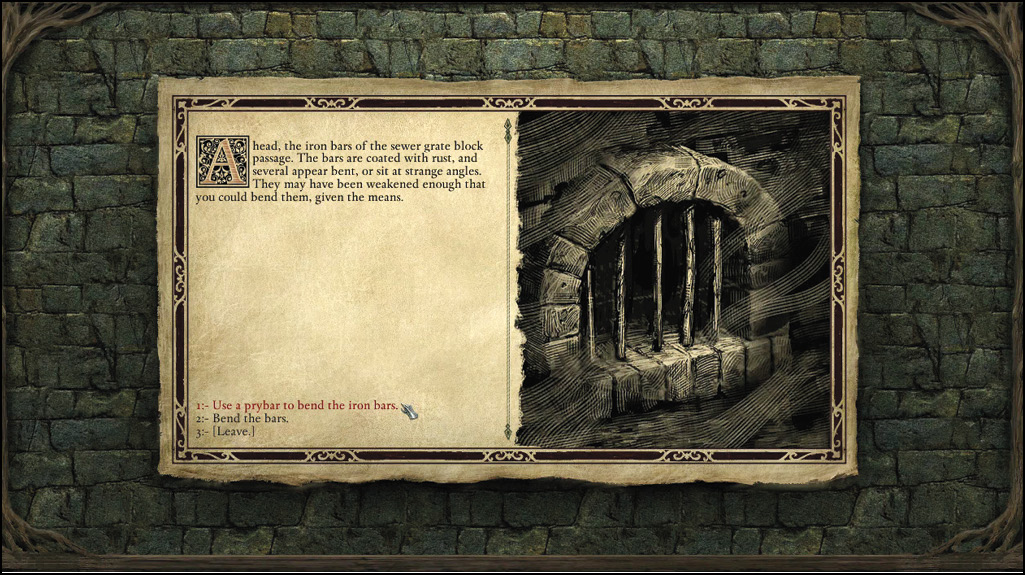
Follow the moat east until you spot a sewer grate in the base of the keep’s outer wall. Cross the rocks by the buttress pillars, and inspect the bars (11).
Choose a party member who can bend the bars outward. Your party swims through some fetid and flooded hallways to reach the southeastern corner of Raedric’s Hold Dungeons. Begin Part 3: Dungeon Crawl and Osrya’s Offer. If none of your party is strong enough to bend these bars, come back with bigger muscles or a pry bar (the Gilded Vale blacksmith has one for sale), or find an alternate route. Choose this plan if you want to thoroughly explore every part of this keep, gathering treasure as you go.
Part 3: Dungeon Crawl and Osrya’s Offer
The Dungeon
Waterlogged Chamber
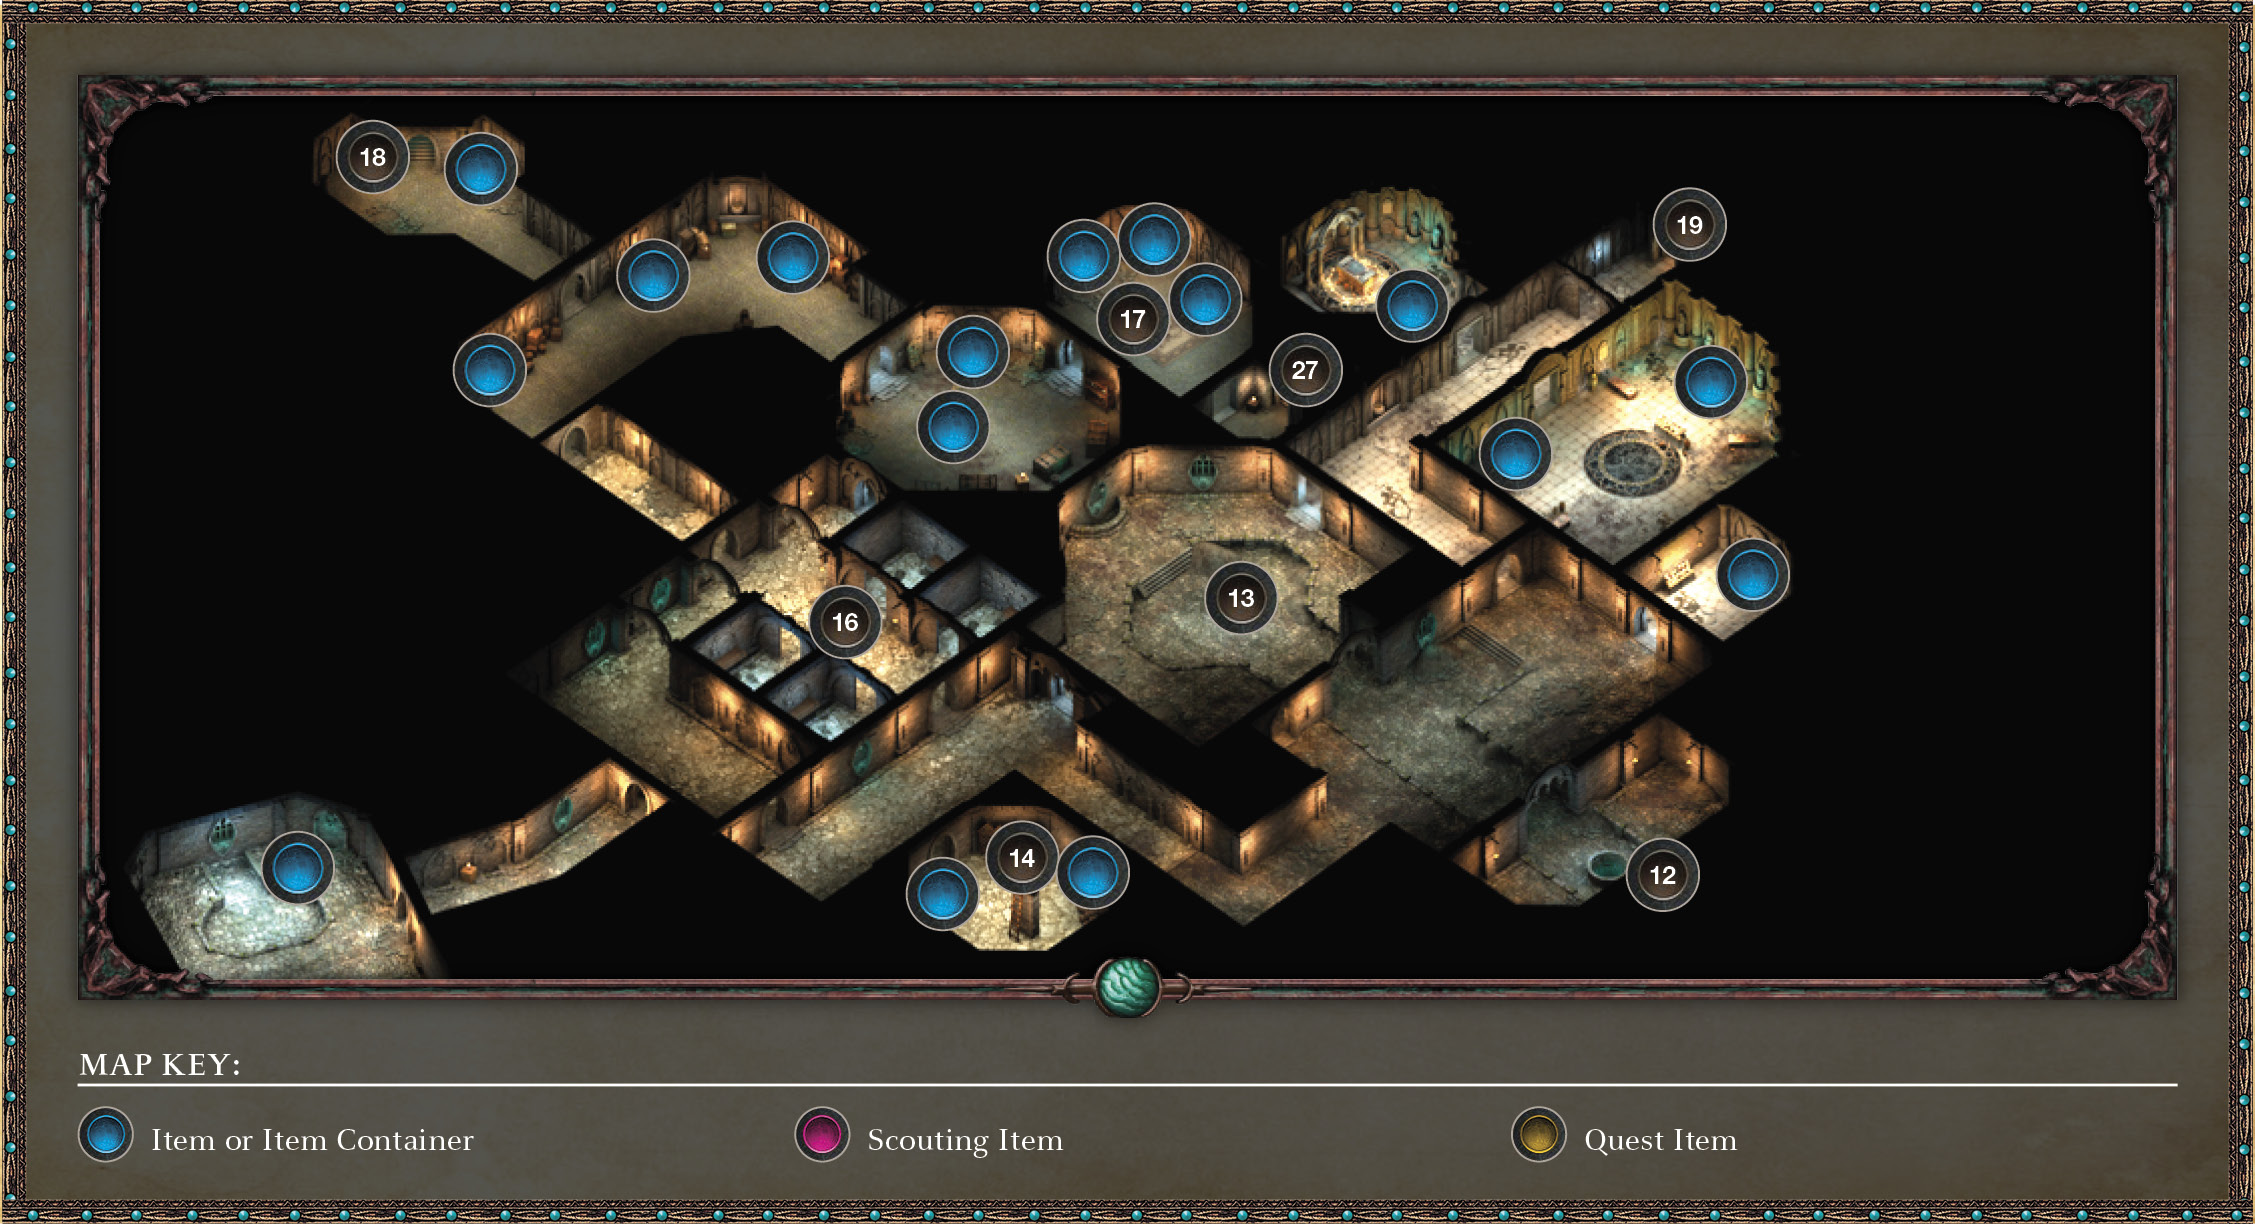
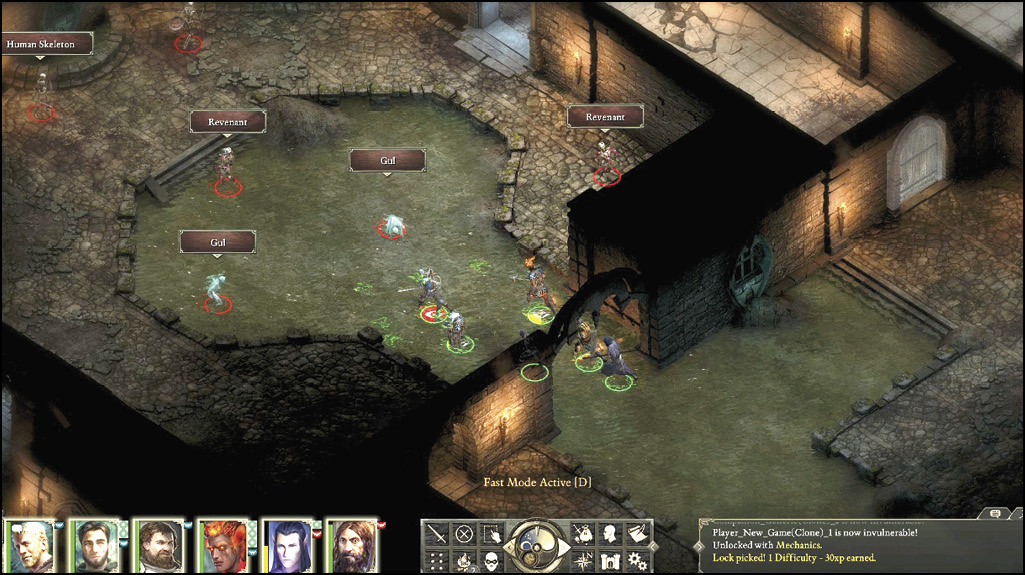
Entering from the moat puts you into the drain room where you came up through a drainage pipe (12). Make your way through the dungeons, heading northwest into a waterlogged pool chamber (13) with Guls, Revenants, and Human Skeletons (six foes) to fight. Check the chambers to the west if you wish to engage in combat with up to six Black Oozes (collecting treasure along the way).
Ladder Room to Battlements
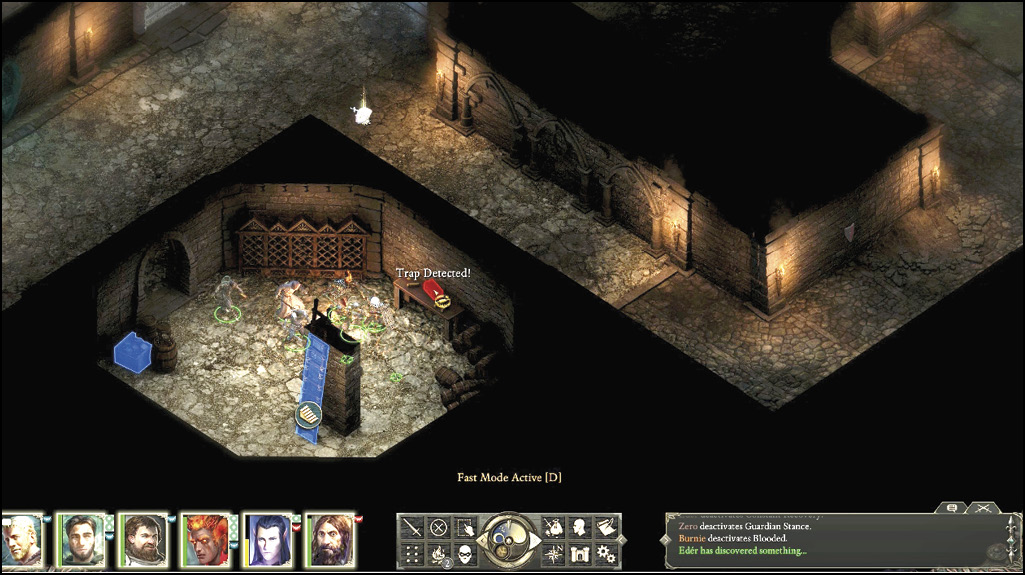
In the southwest corner of the dungeons is a room with a ladder (14) up to a trapdoor (15). This leads back to the keep’s exterior lower ramparts and the eastern battlements. It’s the only way to reach this part of the keep, as there are no other exits here and nothing except five guards to fight. Investigate here only if you wish to slay everything that moves (and gather everything of value).
Cell Block and Traps
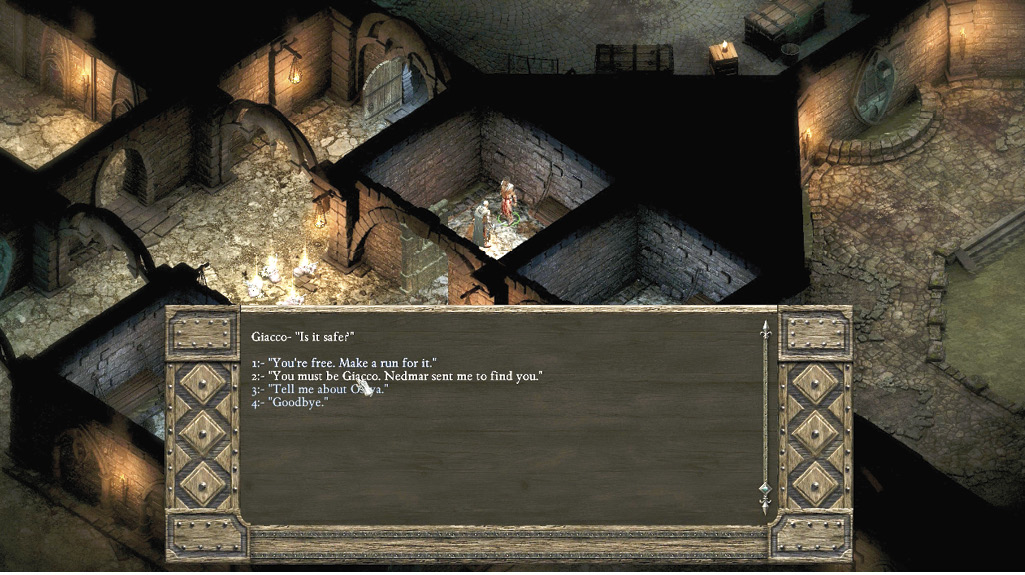
Toward the center of the dungeon are four cells (16) guarded by a quartet of undead. Slay any Aumaua and Human Skeletons and Revenants, and then open the locked cell door (4 Mechanics + 5 Lockpicks or 5 Mechanics). Alternatively, you can take the Rusted Iron Cell Key off Osrya’s dead body (17) to open the cell. Once in, speak to the man named Giacco. He is one of Kolsc’s men and was captured. He’s too weak to fight and tells of a woman named Osrya. She’s apparently turning men into monsters! You can:
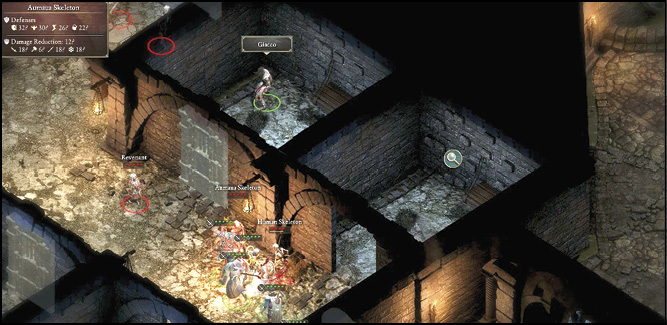
- Tell him to flee and that the coast is clear. Do this only if you’ve cleared the dungeon of foes, unless you want him to succumb to enemy attacks.
- Tell him to stay here. Giacco’s safety is important if you wish to have Nedmar’s help in finding a hidden route to reach Raedric.
Osrya’s Chamber
Head to the middle of the dungeons, working your way through a locked (Mechanics 1) door or an open one after roaming a corridor to the north. Slay the six undead and open the door to the northeast. Head into a chamber with the animancer Osrya in it; she is flanked by undead. In your lengthy conversation, she reveals Raedric to be a pious man attempting to cure the Gilded Vale of a curse and says Nedmar is a problem that must be stamped out. You can:
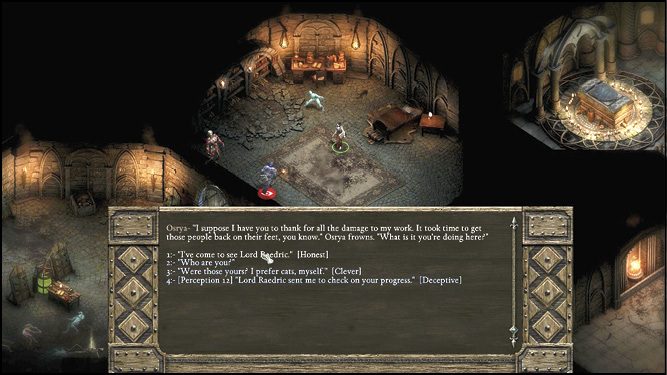
- Agree to remove Nedmar, initially siding with Osrya and Raedric. Do this, and she offers a quick, hidden route (19) to Raedric’s throne room (Temple Chantry); this allows access without battling his guards. She hopes you do Raedric no harm. This begins Part 4: To Find a Priest.
- Or, attack Osrya and seek another entrance to Raedric’s chamber. This puts you on a path to siding with Kolsc over Raedric, though you can still change your mind later. Killing Osrya allows you to get the Rusted Iron Cell Key from her corpse. This unlocks Giacco’s cell (16) without using lockpicks or if you have low Mechanics.
Northeast Dungeon Exit
Follow the corridor up to a stairwell (18), which allows access to the kitchen entry of Raedric’s Keep (20). This is the floor where Raedric is located. You can:
- Expect a battle with his many guards if you want to reach his throne room now.
- Or, head up the adjacent stairs (21) and begin Part 4: To Find a Priest.
Part 4: To Find a Priest and Nedmar’s Offer
Raedric’s Hold Sanctuary
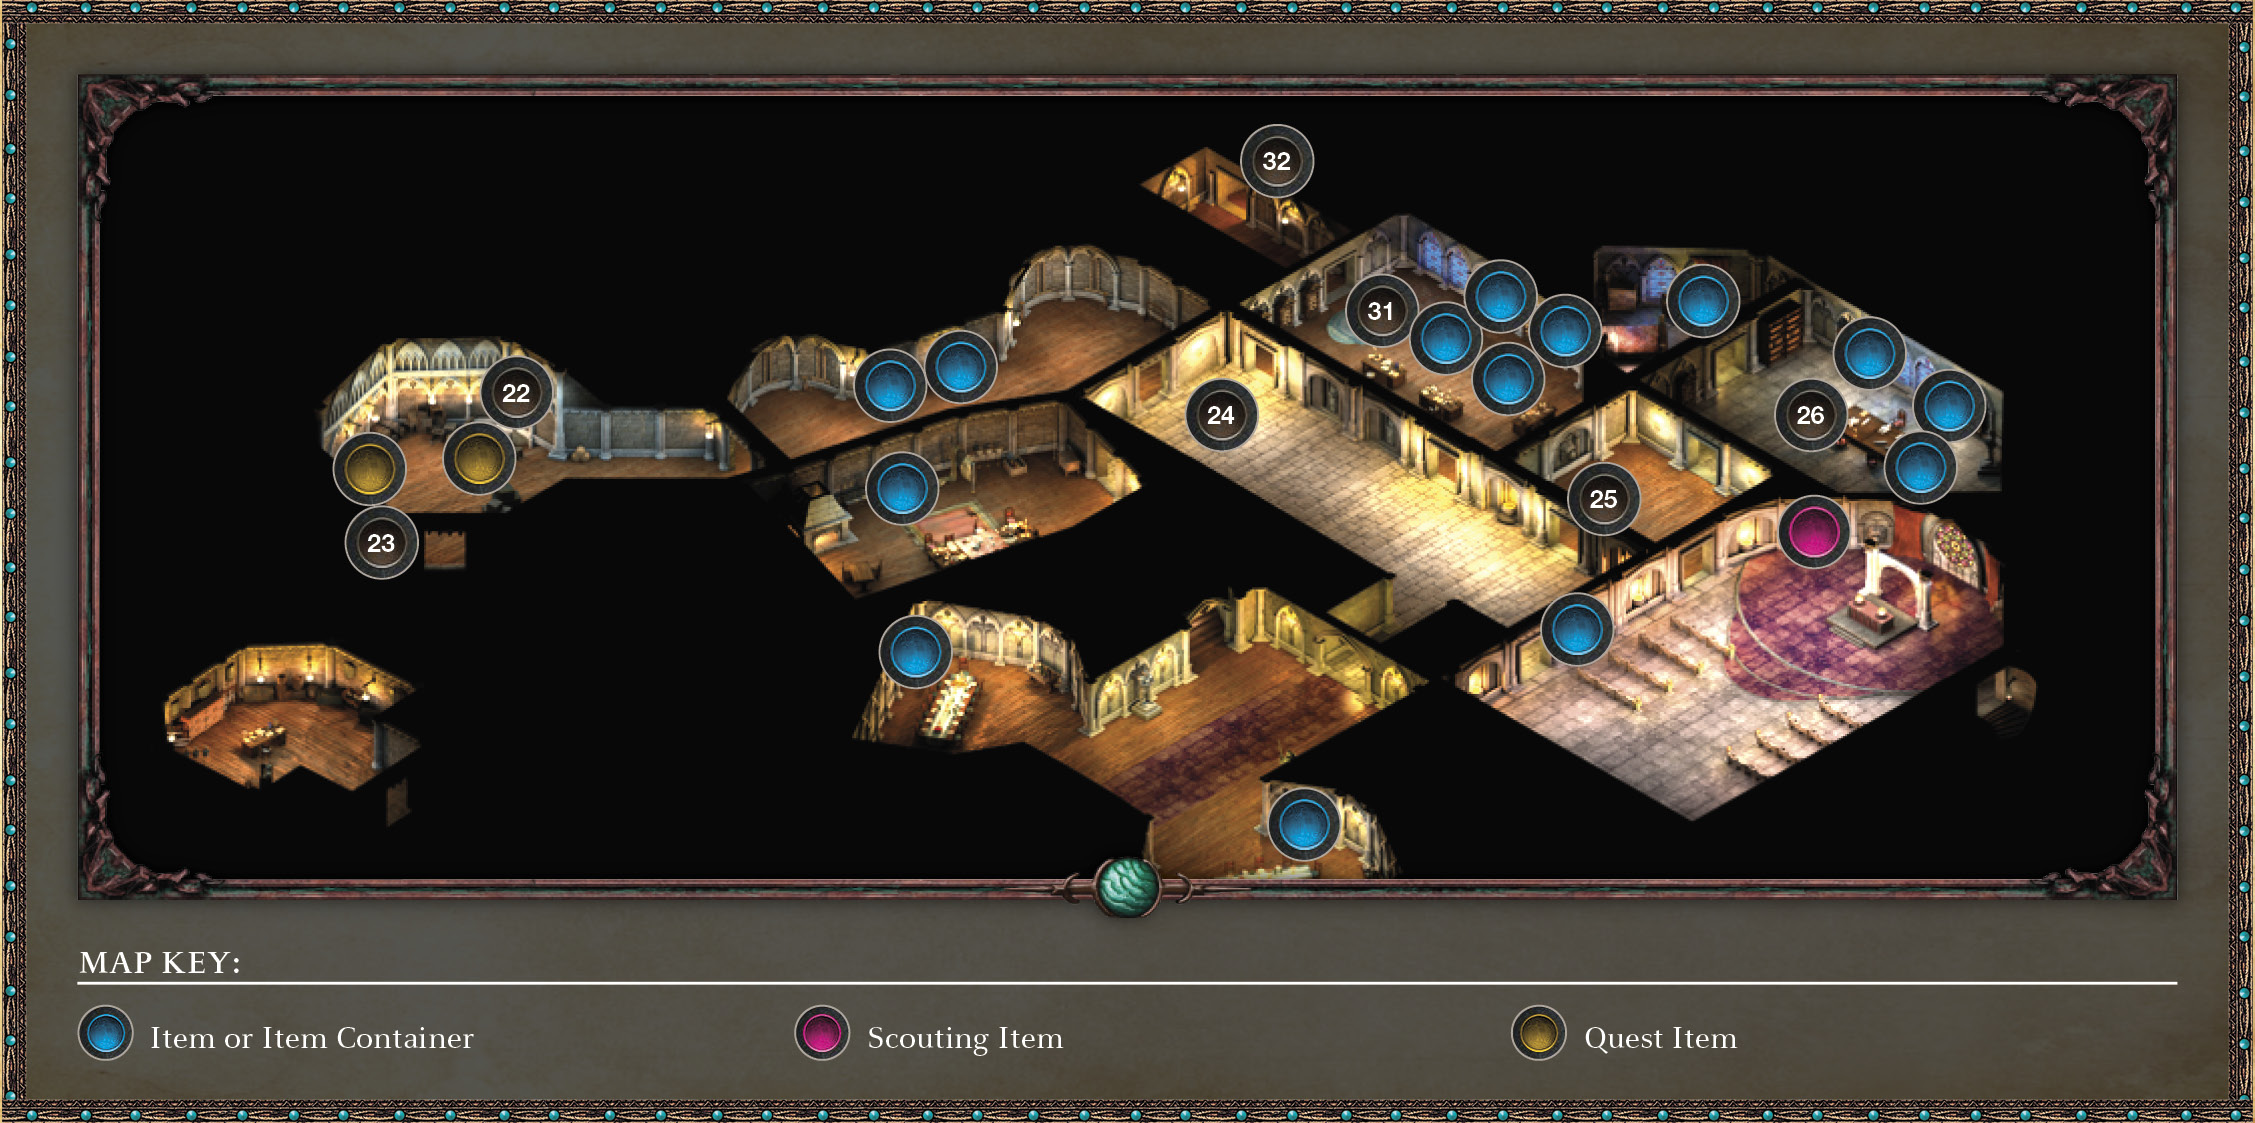
This part of the quest begins in the northeastern corner of Raedric’s Hold Sanctuary in the Temple Storage room (22). You entered this room either at the stairs from Raedric’s Keep Kitchen (21) or via the vine and the Upper Ramparts door (23). If you are looking at the exterior map, then this is the doorway (6) option.
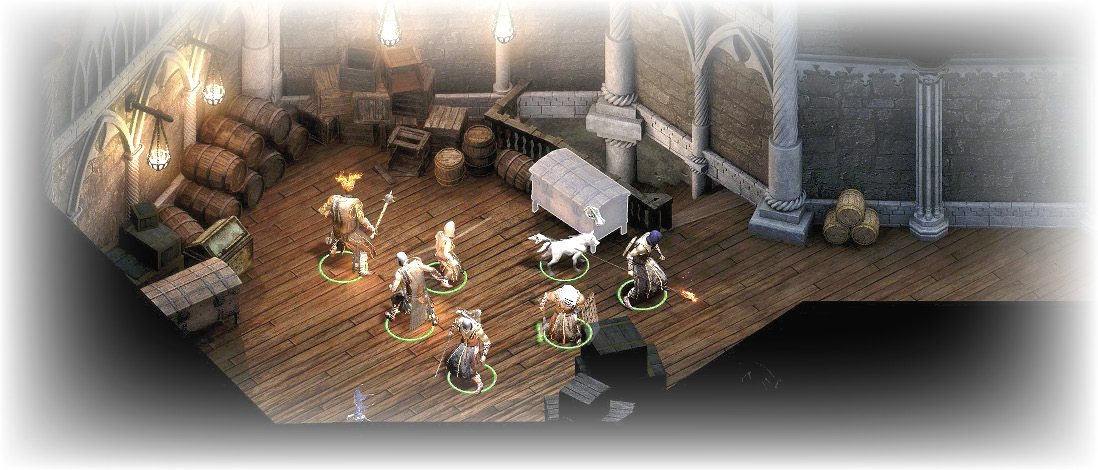
Inspect the two chests in this storage room (22). Three sets of Berathian Priest Robes are inside—one for each member of your party, even if your party is full. You can:
- Place them on each of your party members, and continue to head through this level. You are periodically asked who you are by the Acolytes and Priests of Berath in this area. Simply answer nonviolently, and you’re usually allowed past without incident, although this fails to work after the third interception, and you must resort to combat (so follow a direct route to Nedmar if this is an issue for you).
- Or, ignore the garb and slay your way across this level.
North Corridor to Main Hallway
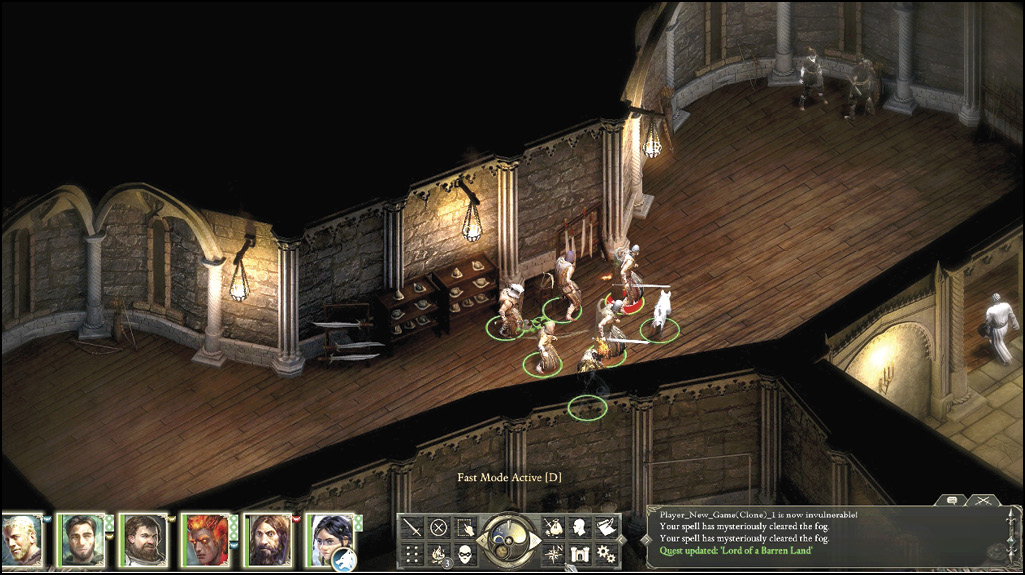
Head east along the corridor, then southeast through the door to the long, stone-floor hallway (24). Enter the last door (25) at the end of the corridor (locked: 4 Mechanics + 5 Lockpicks, or 5 Mechanics). Work your way northeast into Nedmar’s chamber (26). Expect to be stopped by priests once and by a guard once. You can make it to Nedmar without incident.
Nedmar’s Chamber
Lower your weapon and speak to Nedmar the priest in his library chamber. You can:
- [Attack] Slay him if you’re feeling bloodthirsty or if you’re following orders from Osrya (see Part 3).
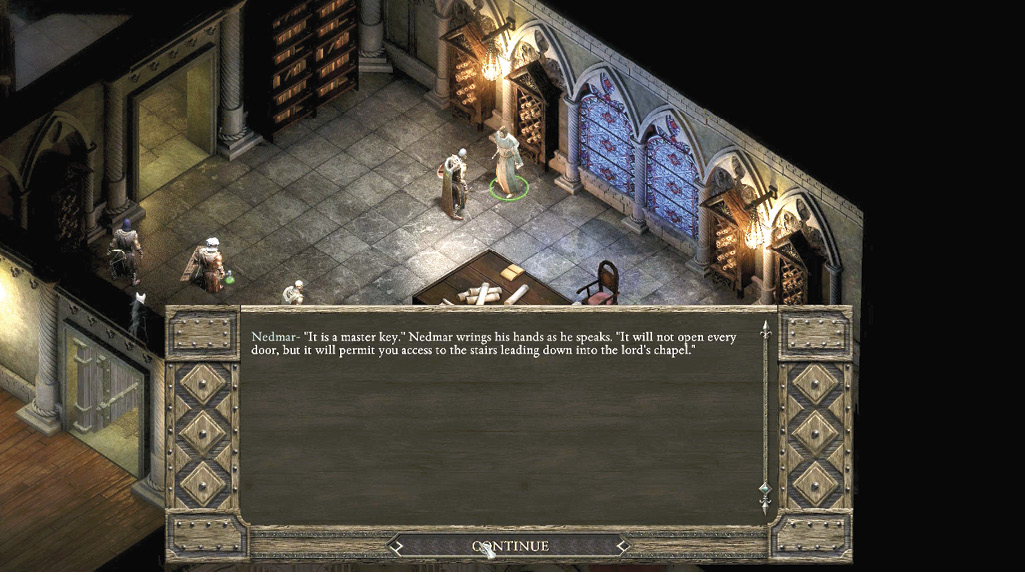
- Side with him on behalf of Kolsc. Nedmar agrees, as long as you help one of the poor prisoners Osrya is set to experiment on. Agree to find Giacco, and free him from his dungeon cell. If you have already freed him, tell him so and he gives you the master key.
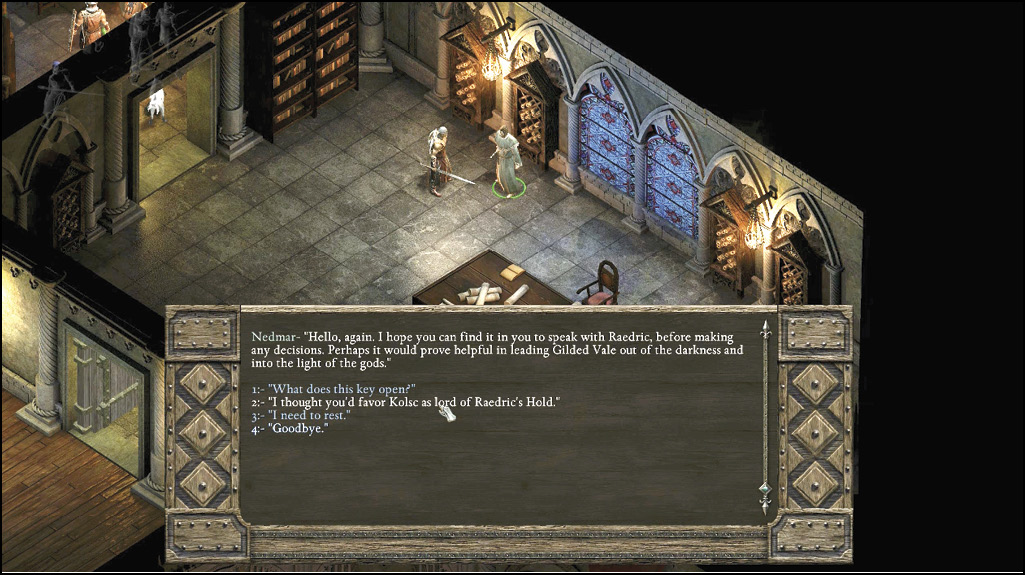
While in Nedmar’s chamber, you can tell him you need to rest and your party can recover from their battle wounds. After resting, continue the conversation and tell him you thought he’d favor Kolsc as lord of Raedric’s Hold. With that, he gives you the Burnished Steel Key (the master key for the hold, which will unlock most doors). This opens the door in the Scriptorium (31).
Part 5: Completing Osyra’s or Nedmar’s Task
Raedric’s Keep
Osyra’s Task
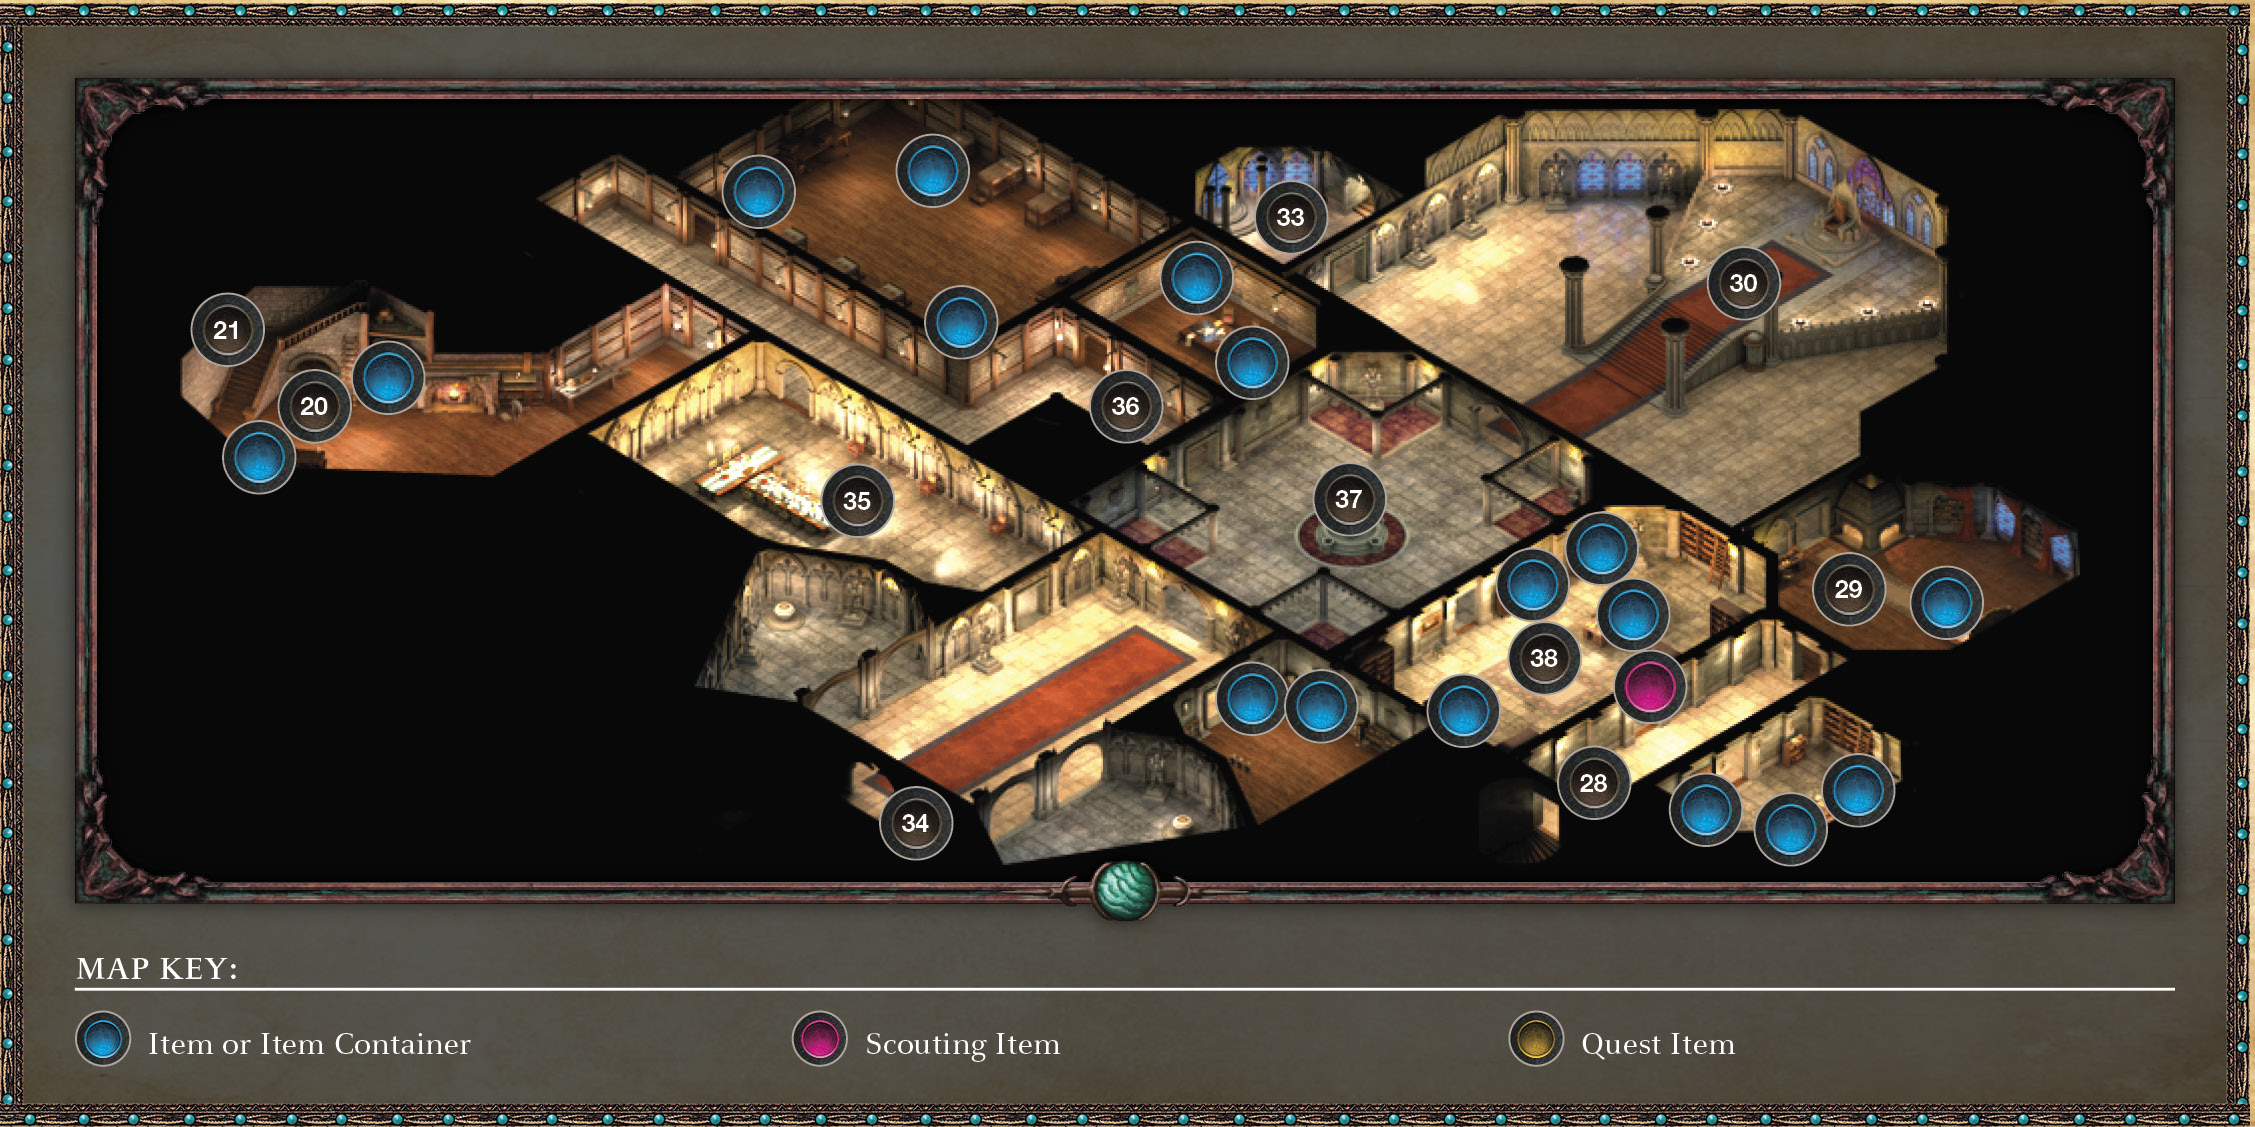
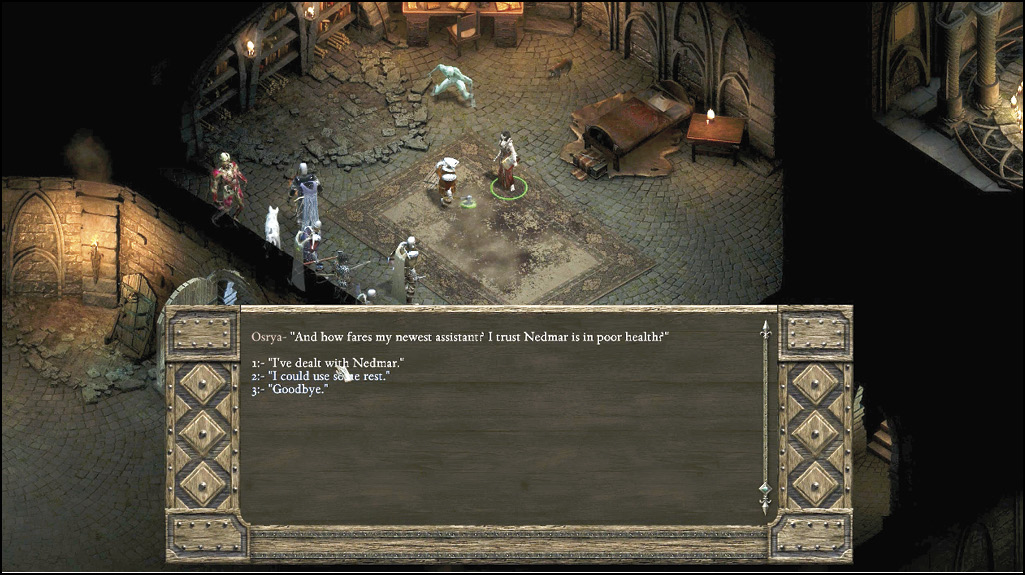
After slaying Nedmar in his chamber (even if you previously agreed to help him), head back down the stairs in the Temple Storage room by the robe chests (22). Descend to the kitchen area (21), and then again (20) to the northeast corner of the dungeons (18). Return to Osyra’s chamber (17).Explain that you killed Nedmar, and she opens a secret wall to the southeast of her chamber. Enter it, climbing the stairs (27) and continuing into the Chancery (28) on the Raedric’s Keep level.
From here, simply head northeast through the adjacent bedroom (29) (where Raedric’s wife lies dead in the bed) to reach Raedric’s throne room (30). Part 6 now begins.
Nedmar’s Task
Having just talked to Nedmar in his chamber, head back down the stairs in the Temple Storage room (22) by the robe chests. Descend to the kitchen (21) and again (20) to the northeast corner of the dungeons (18). Slaughter Osyra (17) (even if you previously agreed to help her) and the undead en route to Giacco’s cell (16). Send him on his way, then return back to Nedmar (26).
He holds to his promise and gives you the Burnished Steel Key, which unlocks the door in the Scriptorium (31). This leads to a staircase (32) to the Keep Chapel (33). Part 6 now begins.
Part 6: Assault on the Throne Room
You can now explore the interior of Raedric’s Keep. Until you reach the throne room in the northeast corner of this level, all foes are hostile. The route you take depends on your previous actions:
- Sided with Osrya (17): You can approach the throne room from the Chancery (27) to (28), without incident.
- Sided with Nedmar (26): You can approach the throne room from the Scriptorium (31) to (32) to the Chapel (33) without incident.
- You’re Killing Everyone or Exploring: Whether you’ve sided with Osrya or Nedmar, or whether you’ve ignored them completely, you can battle your way through this level starting from one of two locations:
Main Hallway
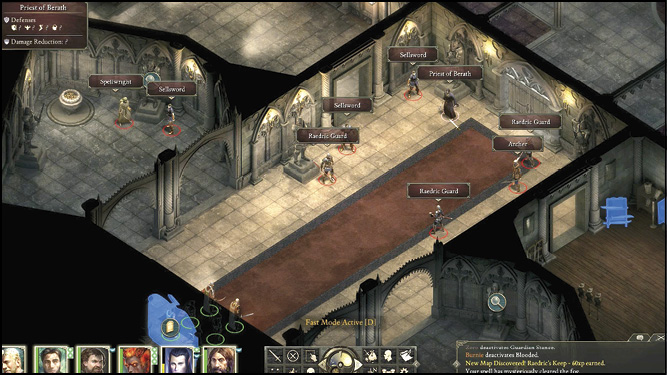
Access this from the ground floor after a ferocious battle with Raedric’s troops outside. Enter the Keep Hall (34), battling seven enemies, and unlock the double doors ahead of you (7 Mechanics + 8 Lockpicks or 8 Mechanics). Enter the Fountain Room (37), slay six more enemies, and unlock the Throne Room door (7 Mechanics + 8 Lockpicks or 8 Mechanics).
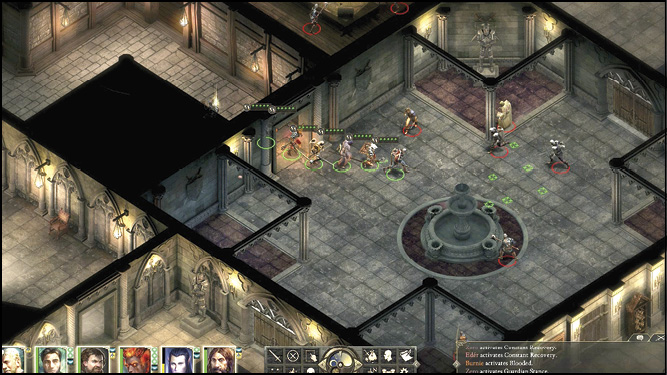
If you don’t have the requisite skills, then head northeast into the banquet room (35). Defeat the three enemies in there and enter the hallway (36). Defeat the single guard and walk right into the Fountain Room (37) through the open door. Battle six more of the king’s men.
Open the unlocked door to the library (38) to the southeast (right). Enter Scouting mode near the middle bookshelf on the southeast wall. You’ll find a purple highlighted book on the shelf. Trigger it to open the secret door to the hallway (28). Enter the unlocked door to the bedroom (29), where you find Raedric’s dead wife. Loot the room for great treasure and then enter the Throne Room (30) through the unlocked door.
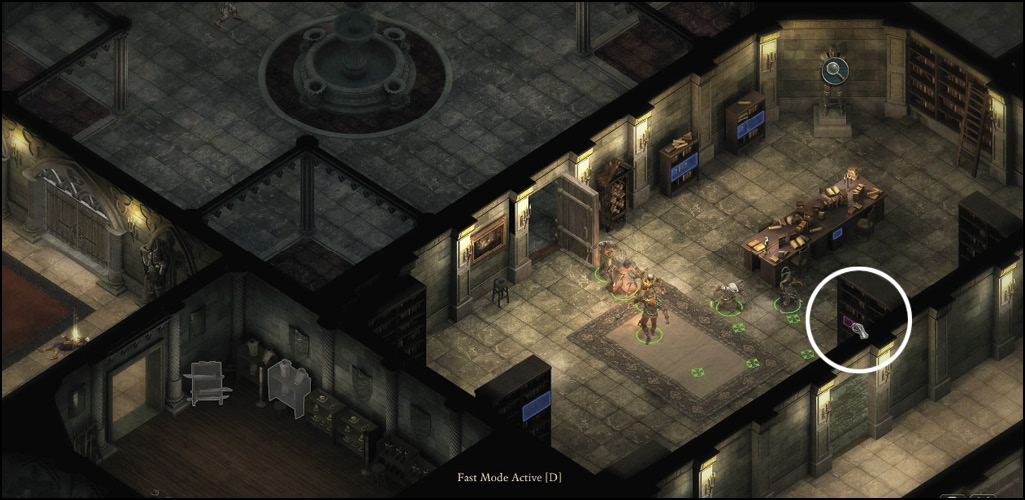
Kitchens
Access this from the Hold Sanctuary (21) or Dungeons (20). Battle your way down the corridor (36), watching for foes from the banquet room (35) or barracks. Follow the cobblestone corridor southeast to a guard and the side entrance into the Fountain Room. From here, you can follow the above Main Hallway walkthrough.
Part 7: Conclusion: Killing Cousins
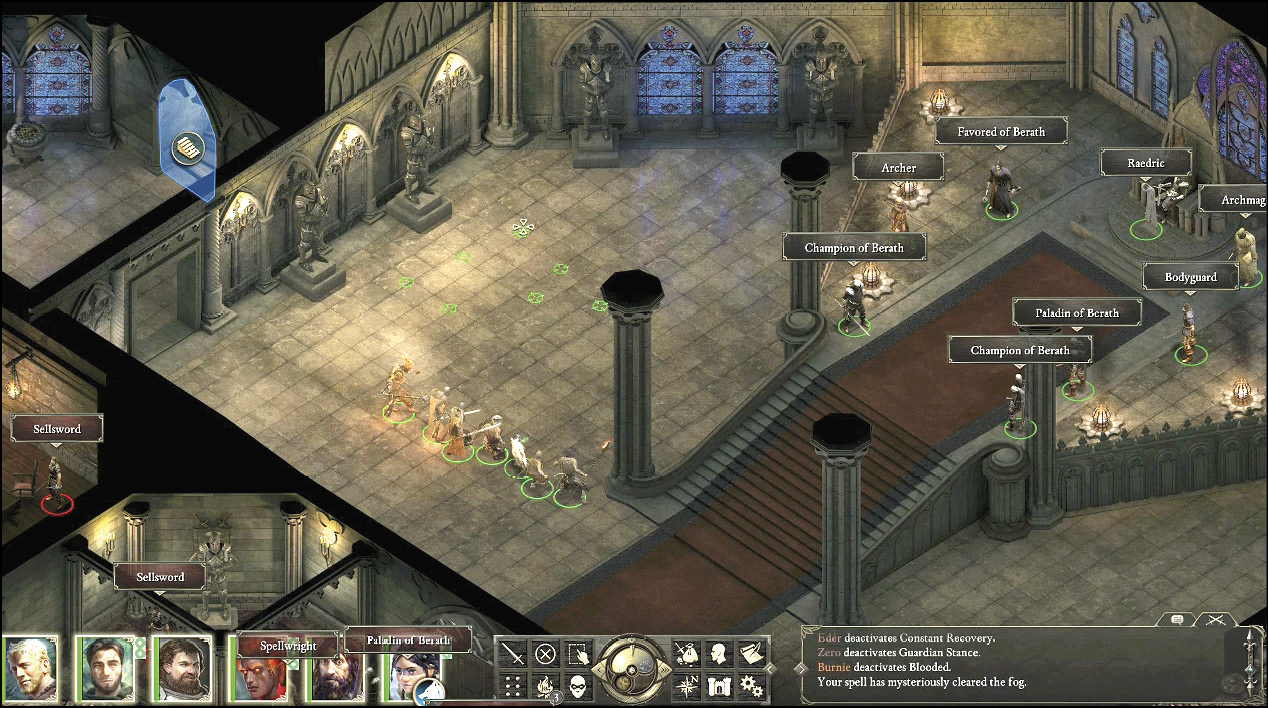
The Archmage, Bodyguard, Favored of Berath, Raedric’s Archer, two Champions of Berath, and a Paladin of Berath hold back from attacking as you advance to the throne. Through conversation, it transpires that Raedric and Kolsc are cousins, and your initial briefing with Kolsc didn’t reveal all of the issues and secrets at hand. You may steer the conversation to one of two conclusions:
- Agree to switch your allegiances and set off to find Kolsc to kill him instead (see “Carnage at the Crumbling House”).
- Or, stand firmly with Kolsc and decide that Raedric’s rule must come to a permanent and forceful end.
Kolsc’s Right Hand
Elect to slay Raedric, and expect a frantic battle as his five closest guards join in the fray. Once you defeat Raedric, Kolsc and his men arrive in the throne room just after you’ve had to deal with all of Raedric’s men yourself. Kolsc congratulates you on a hard-fought victory and awards you. This quest concludes.
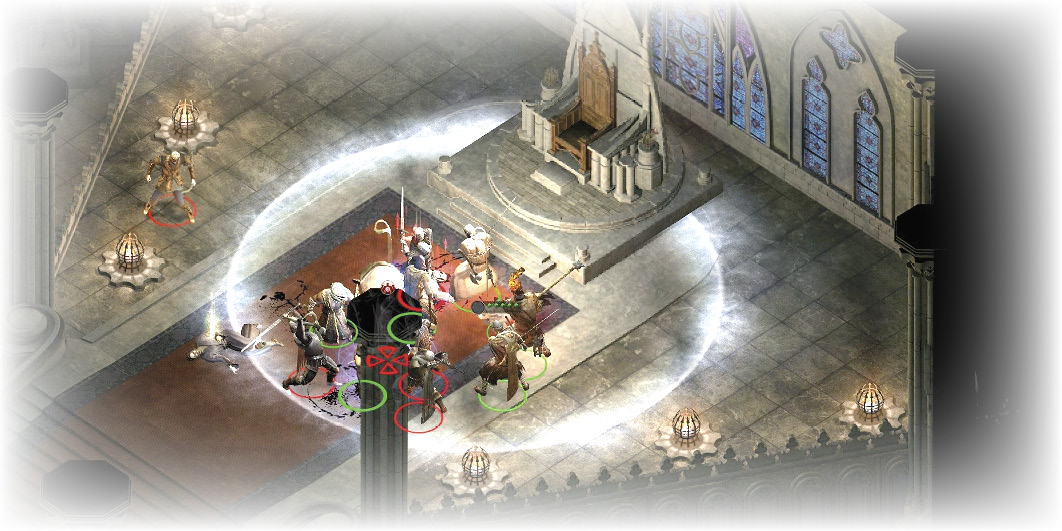
Carnage at the Crumbling House
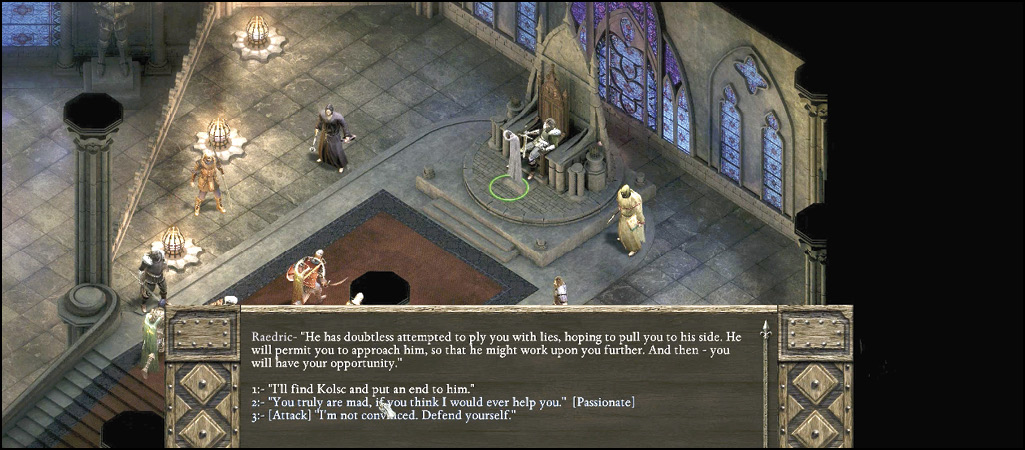
To get Raedric to offer this alternative solution, you must first ask questions during the conversation, staying away from negative remarks as much as possible. Ask if Kolsc is his cousin. You say, “Gilded Vale has suffered under your rule. It deserves a better leader.” After his response, you have the option to ask, “I’m willing to listen. What did you have in mind?” Finally, answer, “I’ll find Kolsc and put an end to him.” If you agree to switch sides and search out Kolsc for execution, you must journey out of the keep.
Quest Updated
Objective: Travel to Kolsc’s hidden encampment
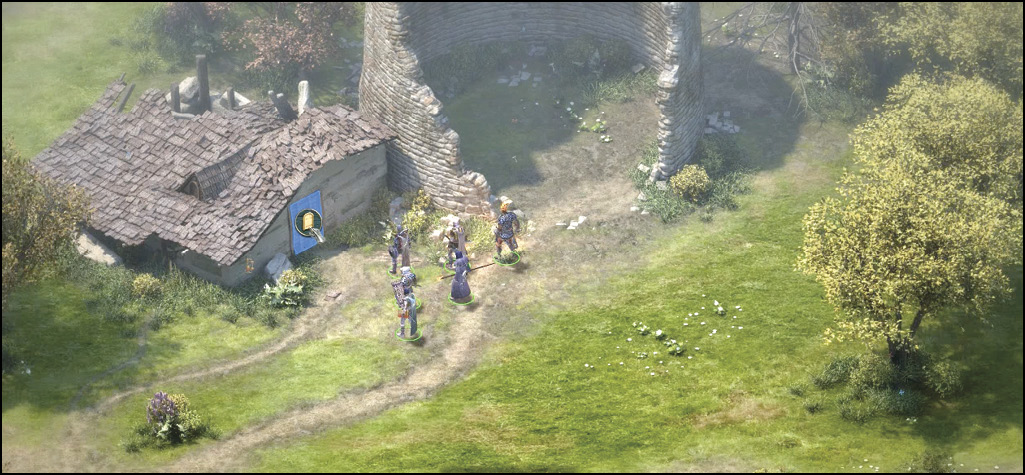
Head back to Magran’s Fork, where your quest updates. Travel north to the Crumbling House adjacent to the ruined tower where the Will-O-Wisp flits.
Quest Updated
Objective: Confront Kolsc
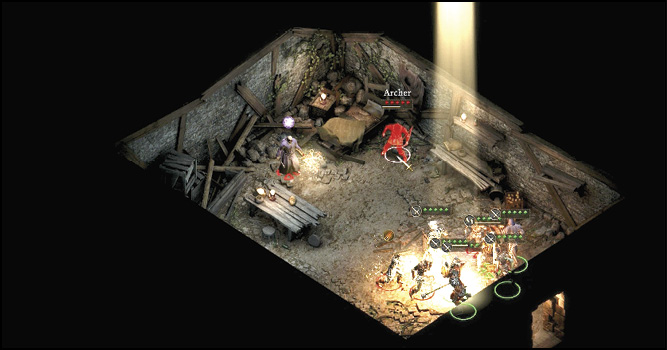
Enter the structure, where you find Kolsc and his five minions hiding. Speak to him about the revelations you uncovered from talking to Raedric, and then figure out your plan of attack. You can:
- Decide that Kolsc is the most beneficial to keep alive, then return to Raedric’s Keep and finish the quest as described in “Kolsc’s Right Hand,” previously.
- Kill Kolsc, then return to Raedric for the reward.