
Pillars of Eternity Guide Walkthrough Main Quest: Act II
The Watcher of Dyrwood: Cliaban Rilag
Part 1: Stand Aside, Sleafhota!
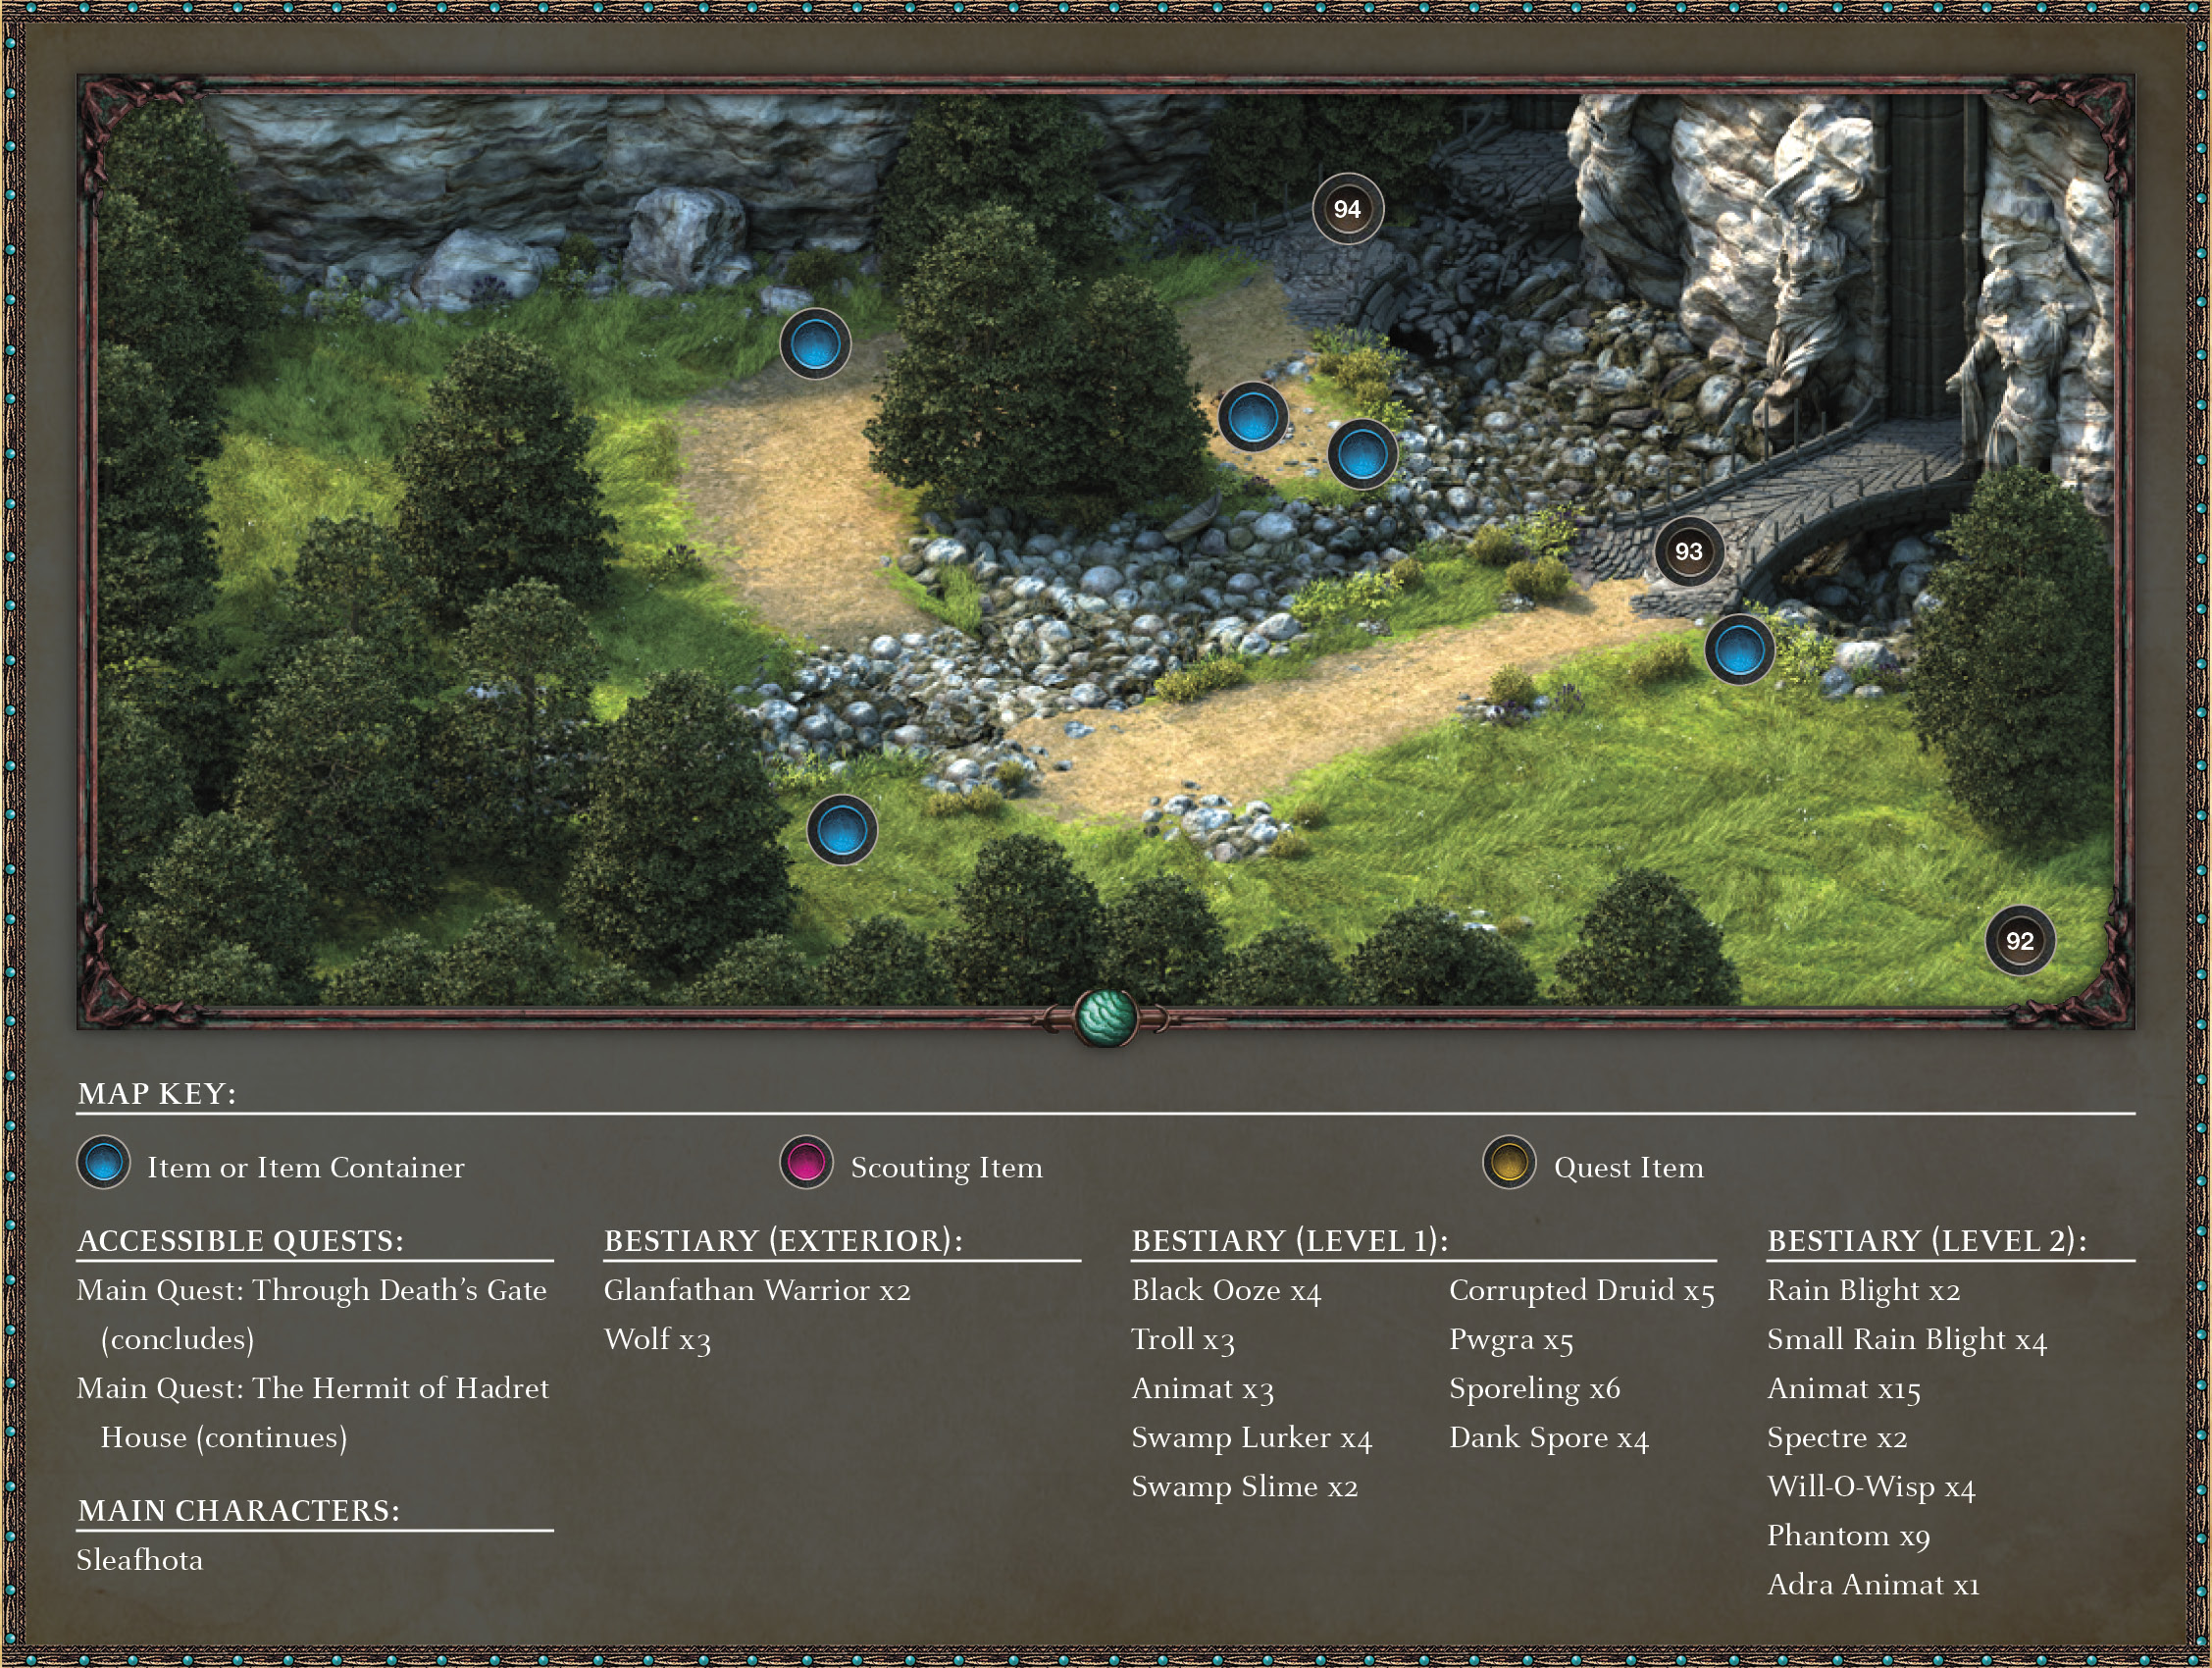
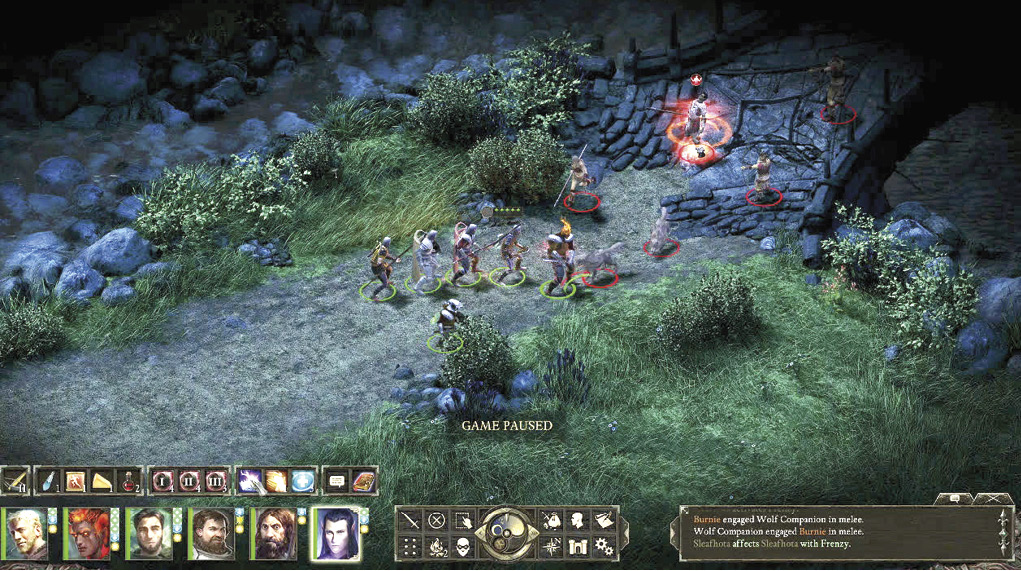
From Dyrford Crossing, you enter Cliaban Rilag along the southeast passage (92). Move north to the bridge (93) at the foot of this Engwithan ruin, and you encounter Sleafhota, a Glanfathan guard with bared teeth and an aggressive posture. You aren’t allowed into the ruins. You can:
- [Diplomacy] Use your diplomacy and try to convince the guard to let you in.
- [Aggression] Use harsh language, followed by violence to slay the two guards.
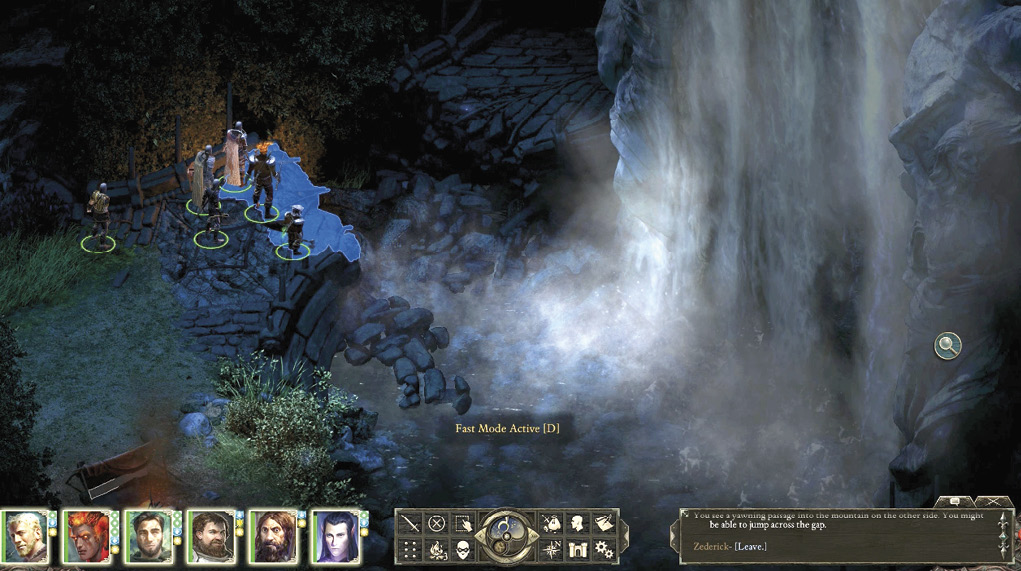
Or, you can explore the campground to the northwest (find the Camping Supplies in the tent) and reach a second (broken) bridge (94). Leap across to a second entrance into the ruins, to the north of the guards.
Part 2: Searching Cliaban Rilag (Level 1)
Quest Updated: Through Death’s Gate
Objective: Find signs of the Leaden Key within Cliaban Rilag
Entrance Hall
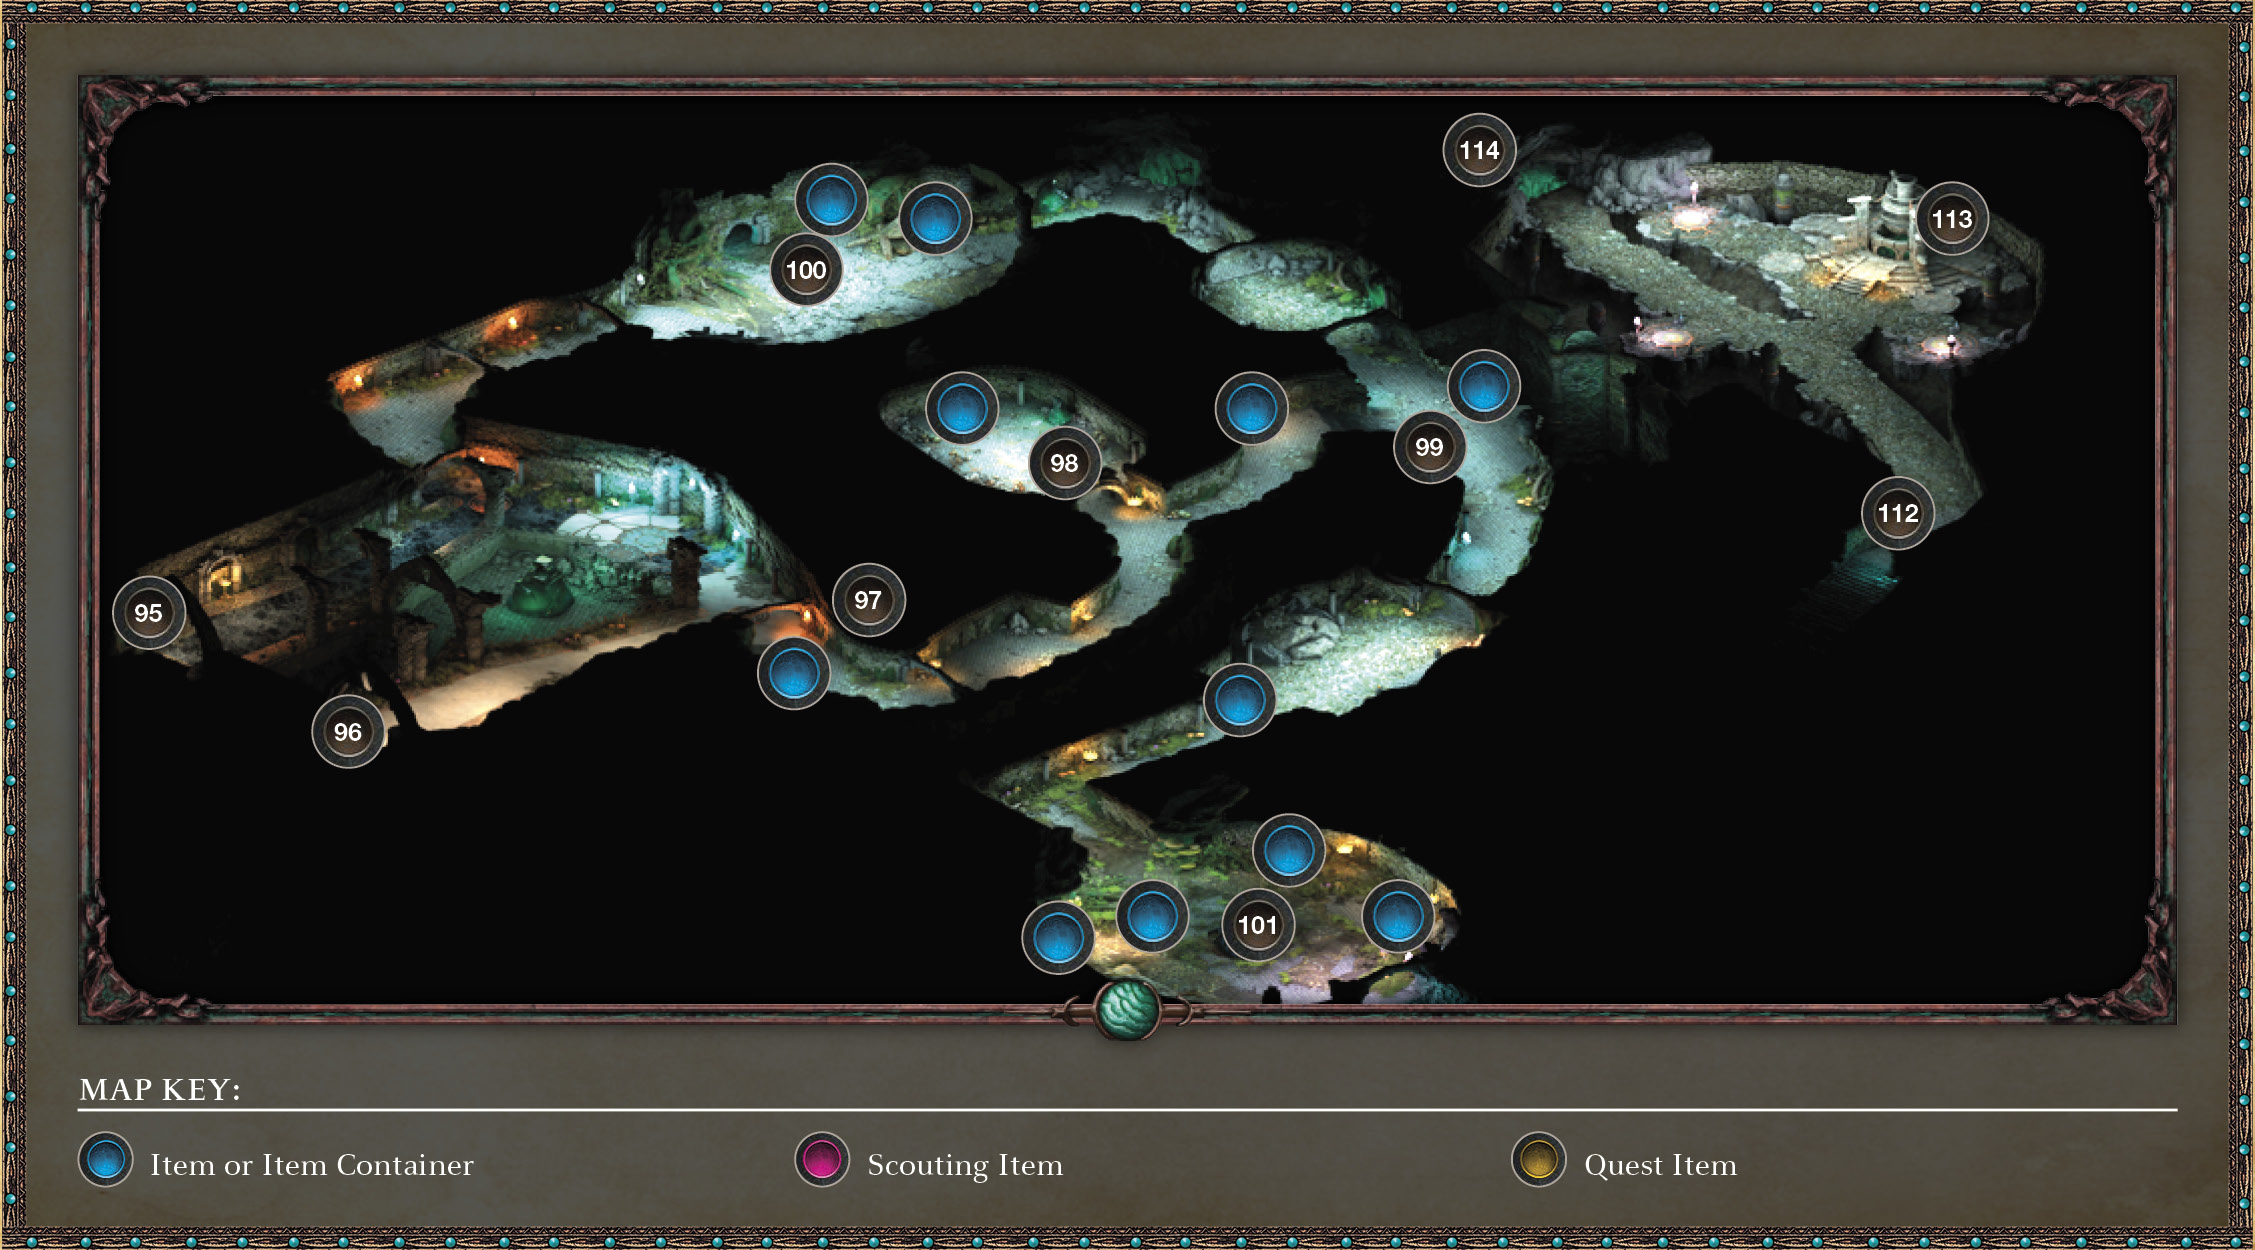
You enter the Hall of Death in Life (95) or the Hall of Life in Death (96) (depending on the exterior entrance you accessed). Both join at the far (northeast) end of this entrance chamber. The place is eerily quiet. There are two passageways (northwest and southeast). Either is accessible, though the southeast hallway (97) is the preferred route.
Hallway Passing Engwithan Armory Chamber
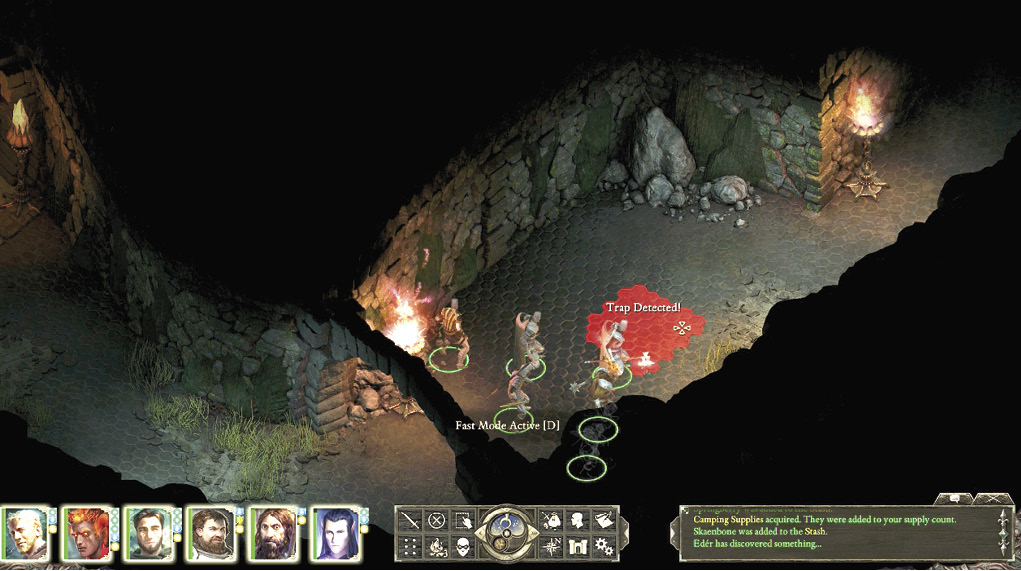
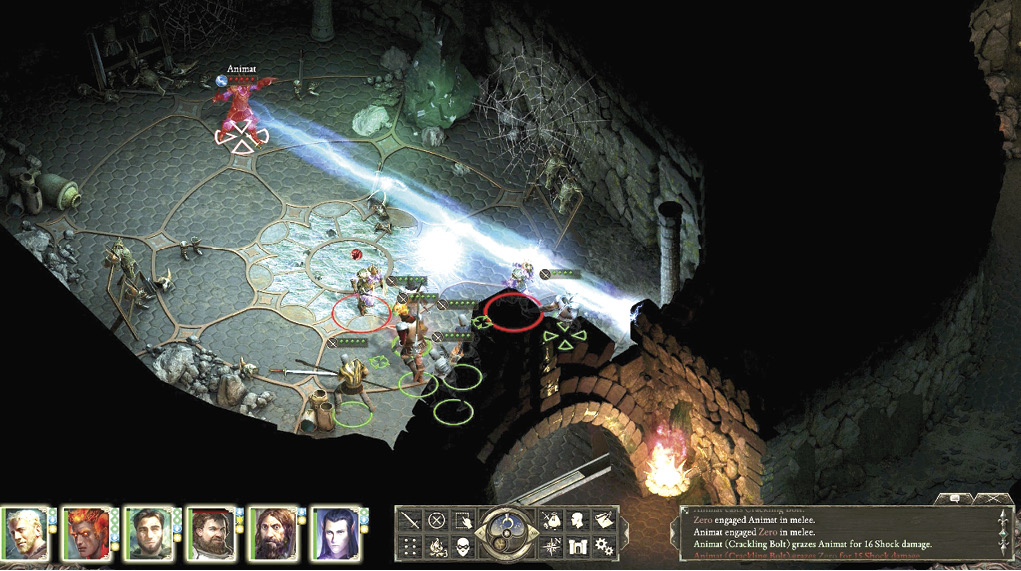
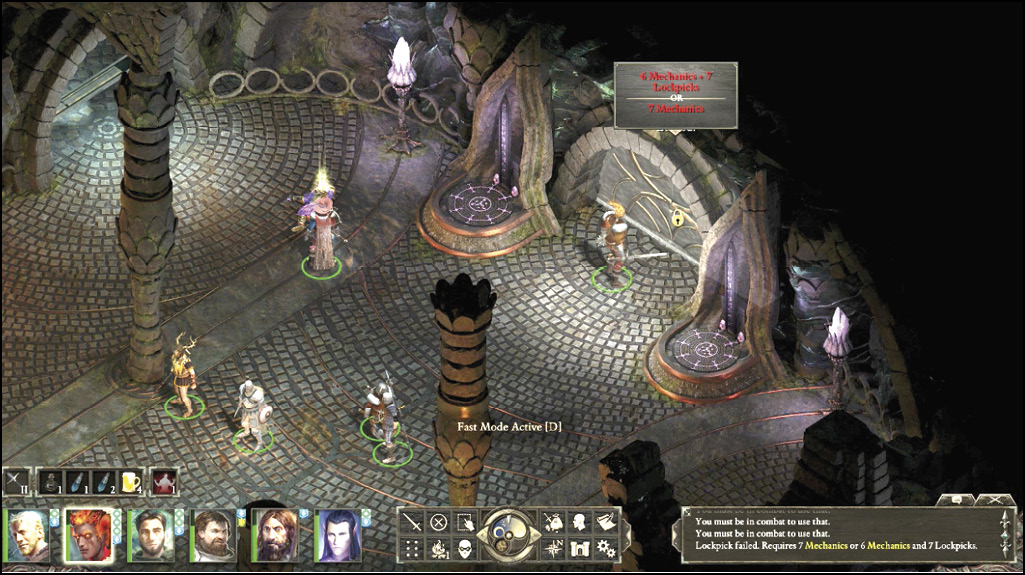
Enter Scouting mode through the hallway to detect the large floor trap. Disarm it. Follow the hallway as it winds roughly northeast, slaying Black Ooze at the first locked door on the left (98). A party member with 6 Mechanics + 7 Lockpicks or 7 Mechanics can open this door. If you can’t get it open, return here with the key from Level 2. Farther down the hallway, you face a Troll. If you enter the room with the locked door (98), you must battle three Animats. The foes have great items on them, and the weapons rack in the back of the room has interesting items, as well. Head down the steps to the northeast at the hall’s end and turn right, heading south (99). Here you will battle a few Pwgra and Corrupted Druids.
(Optional) Flooded Chamber
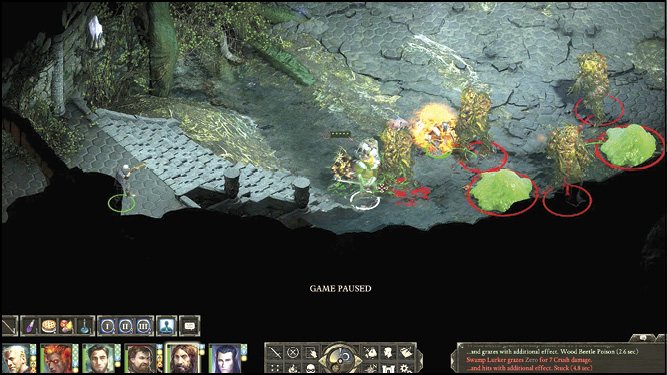
You can clear the northern tunnels now or when you re-enter the first level into that area later. We suggest clearing it now while your party is feeling fresh. The flooded chamber (100) is home to three Swamp Lurkers and two Swamp Slime. This winds back to the entrance chamber if you keep following the tunnel, and if you do, watch for a trap along the way and a Troll and two Black Oozes. A couple Pwgra and Corrupted Druids occupy the next clearing to the southeast.
Dankspore Den
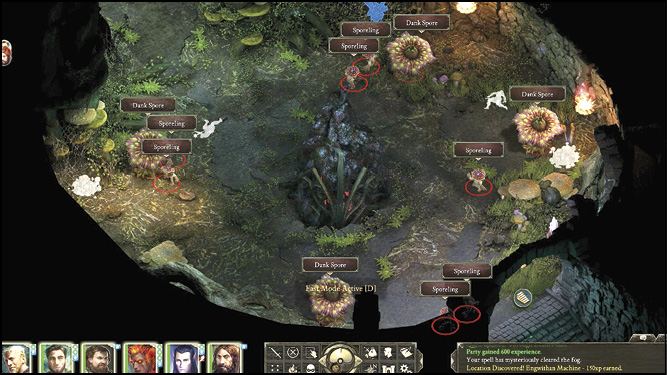
Head southeast to a paved chamber (101)where you face Corrupted Druids and a Pwgra. After combat, prepare for more fighting with a collection of seven Sporelings and four Dank Spores in their moist den. Use fire attacks to make short work of them. The stairs down to Level 2 are to the southeast. Watch out for the large floor trap near the exit.
Part 3: Searching Cliaban Rilag (Level 2)
Stairwell Entrance
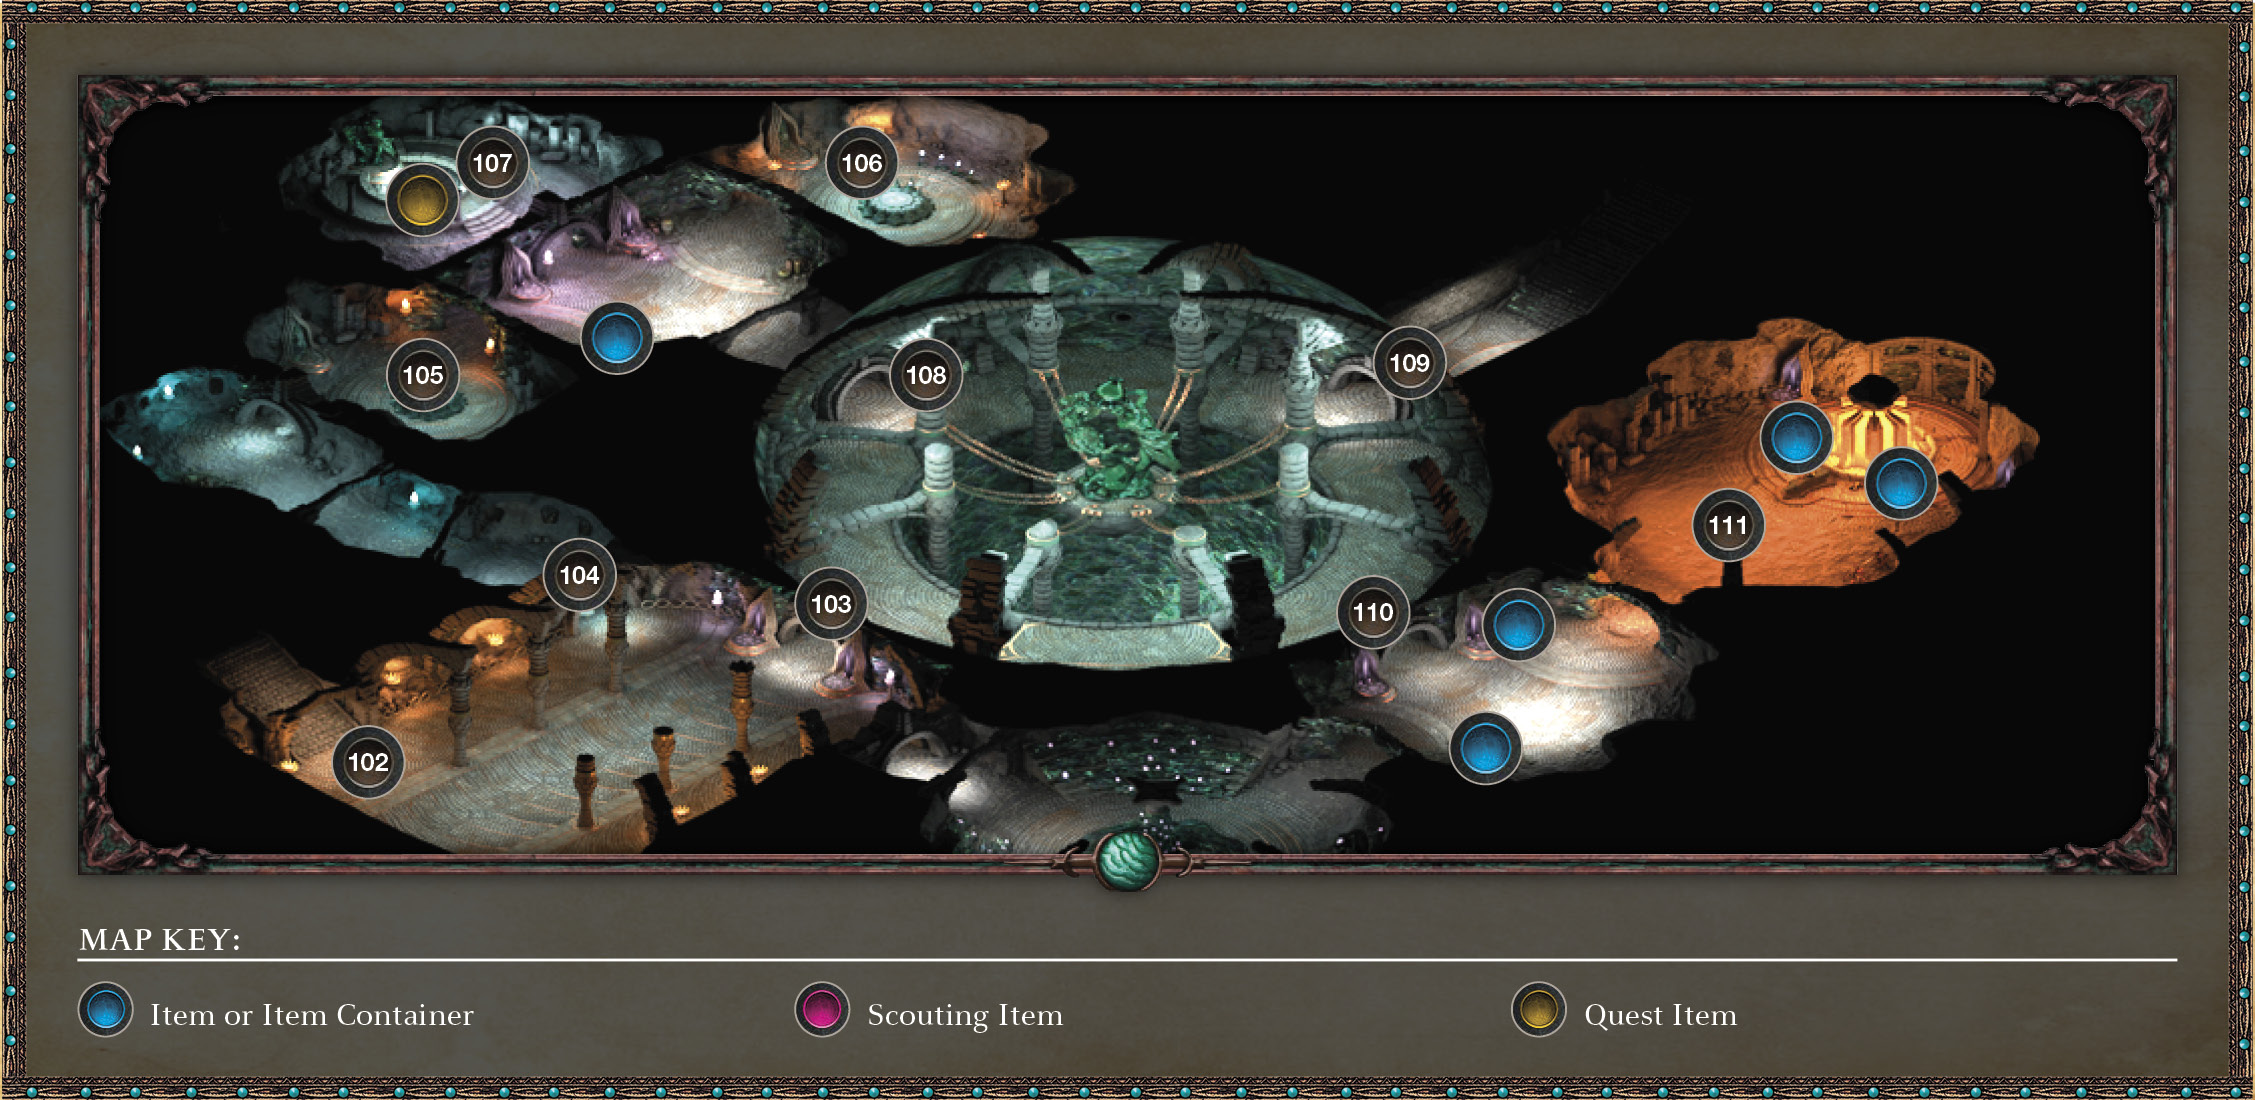
You begin in the northwest section (102) of the second ruins level. Head northeast into this impressive entrance chamber. Vast but ominously empty, the chamber features three exits, corridors to the northwest and southeast, and a door to the northeast. Two doors are unlocked. The middle door (103) is locked and grants access to the grand chamber. It requires 6 Mechanics + 7 Lockpicks or 7 Mechanics or the Engwithan Key. This is the most direct route to your goal. An Animat will enter the room through the left door (104) and attack if you hang out too long around the doors.
Phantom Hallway: Rigged with Floor Traps
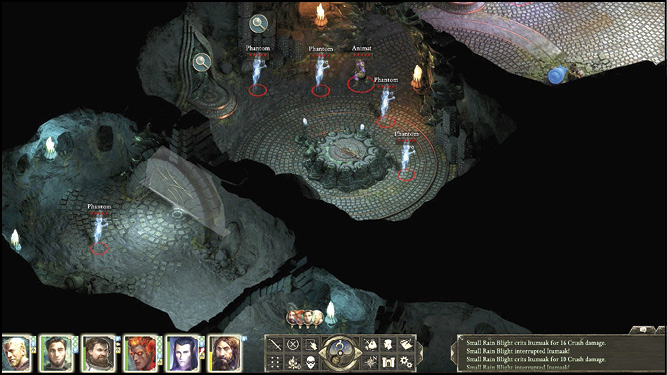
To the northwest (104) of the Grand Chamber is a secondary hallway with five Phantoms and one Animat (unless he rushed you earlier) to demolish. Enter the hallway slowly in Scouting mode to detect the two large floor traps. Disarm them and move through the hallway, taking out the enemy.
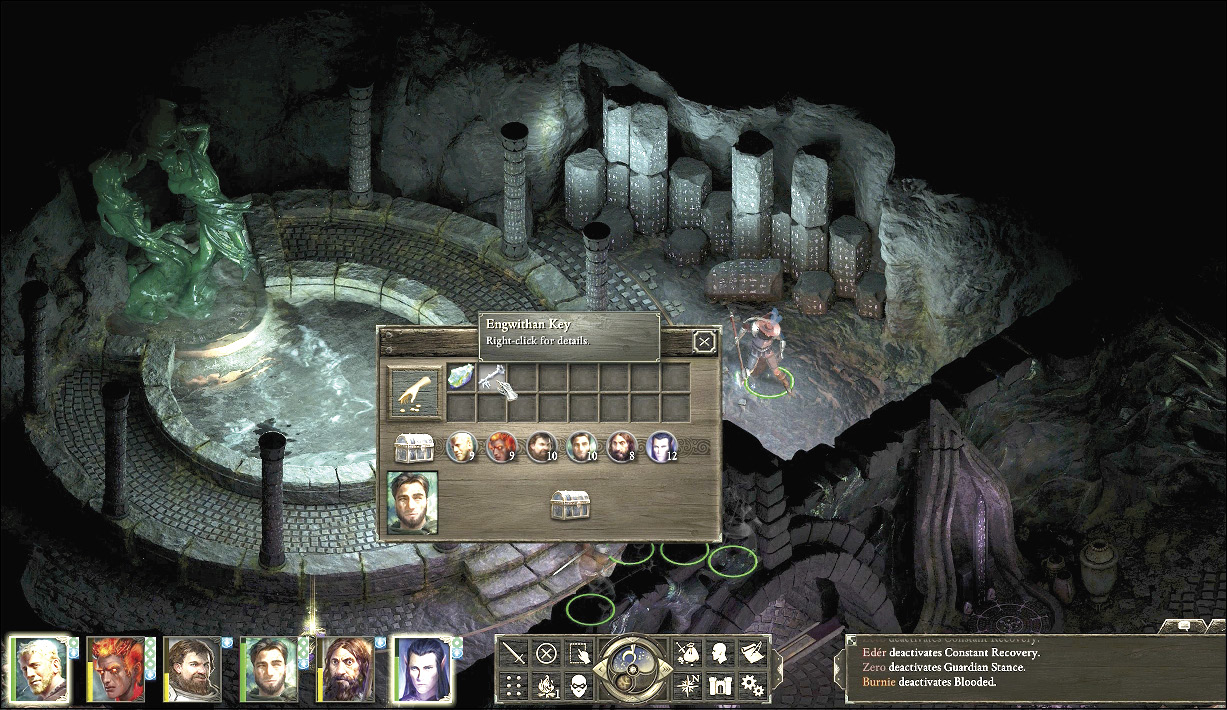
Next is a circular altar chamber (105). Defeat the two Will-O-Wisps and two Animats in this room and the two Will-O-Wisps from the furthest room (106) to the northeast if they join the battle. Enter the northwest room with the fountain (107). Defeat the Specter, Phantom, and two Animats, and then inspect the fountain pool to acquire the Engwithan Key. This unlocks any locked doors in the ruins.
Grand Chamber
Now head through the door on the right (108) and into the large circular chamber with a large Adra statue surrounded by chains and guarded by Rain Blights. Slay these foes, and work your way around the balcony and engage more Rain Blights on the other side. The exit back up to Level 1 is via a locked door to the northeast (109). Use the Engwithan Key on this lock. There are two other exits; one leads back to the first hallway (103) and the other to a lot of pain (110).
Soul Stone Chamber and Red Soul Forge
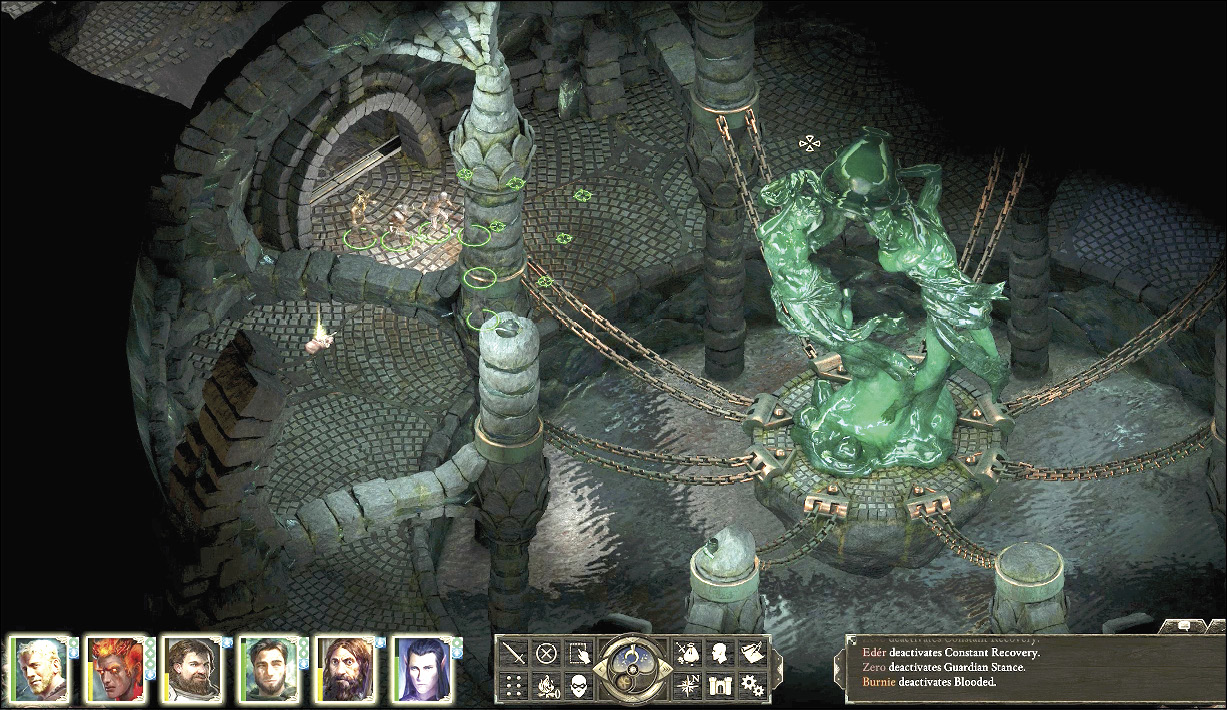
Open the southeast door (110) and defeat the five Animats. The chamber is filled with strange Soul Stones. Northeast of that is another hallway, which leads to a red soul forge chamber (111). Face a toughened Adra Animat and his four Animat guards here. Afterward, gather any weapons from the racks that you want to try out. Head up to a new section of the previous level using the newly opened stairwell (109).
Part 4: Searching Cliaban Rilag (Back to Level 1)
Engwithan Soul Machine and Leaden Key Bodies
From the entryway (112), step north toward the whirling soul machine (113). Spot the charred corpses in a couple of the ceremonial circles. You enter a familiar dreamlike state. The camera centers on a charred body that still has a faint glow of a soul essence in it. Once control is returned, approach the body and interact with it. Clicking on it triggers a vision with the soul. After the vision is over, the quest is completed.
Quest Completed: Through Death’s Gate
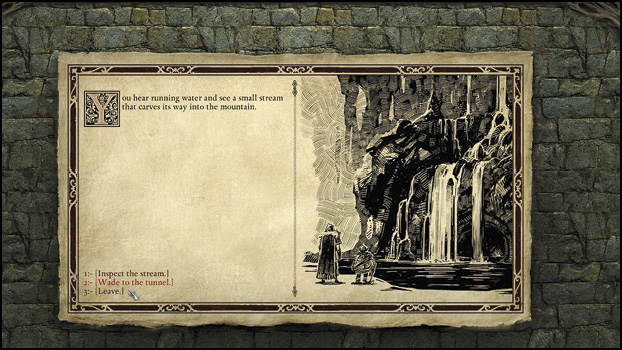
Travel west to the hole in the wall (114), which leads to a stream and tunnel. Wade into the tunnel and let the water take you; it eventually dumps all of your party back in Level 1, at the Flooded Chamber (100) where you fought the Swamp Lurkers. Then exit Cliaban Rilag the way you came in, (95) or (96). If you avoided Sleafhota and would like to continue to do so, then exit via the broken bridge (95). Once outside, check the camp for Camping Supplies and then exit to the south (92). At the World Map, choose to visit Brackenbury in Defiance Bay.