
Pillars of Eternity Guide Walkthrough Act II: Side Quests
Blood Legacy
Part 1: Gone Missin'
Dyrford Village
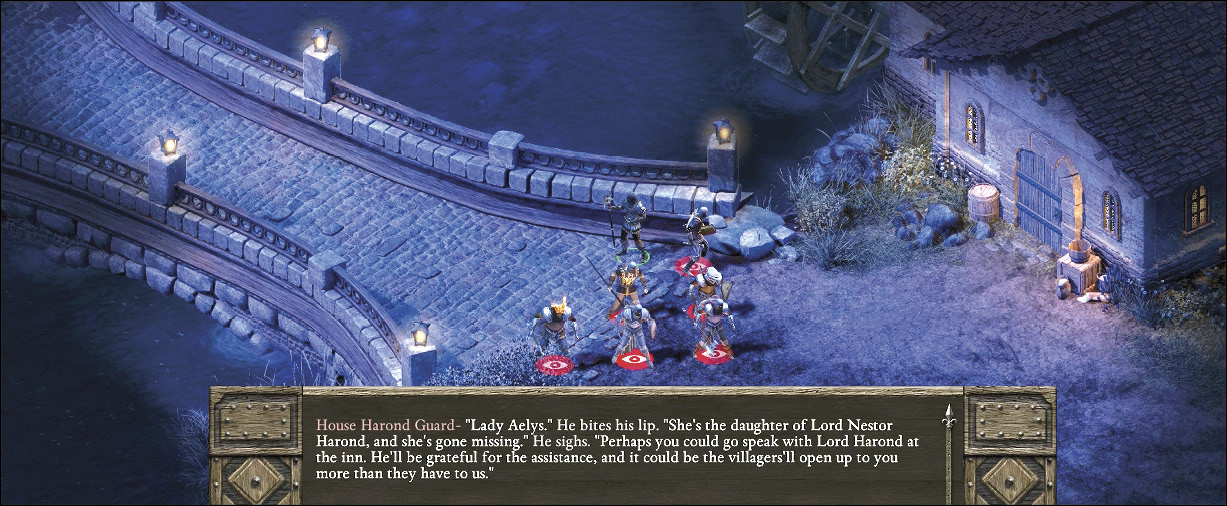
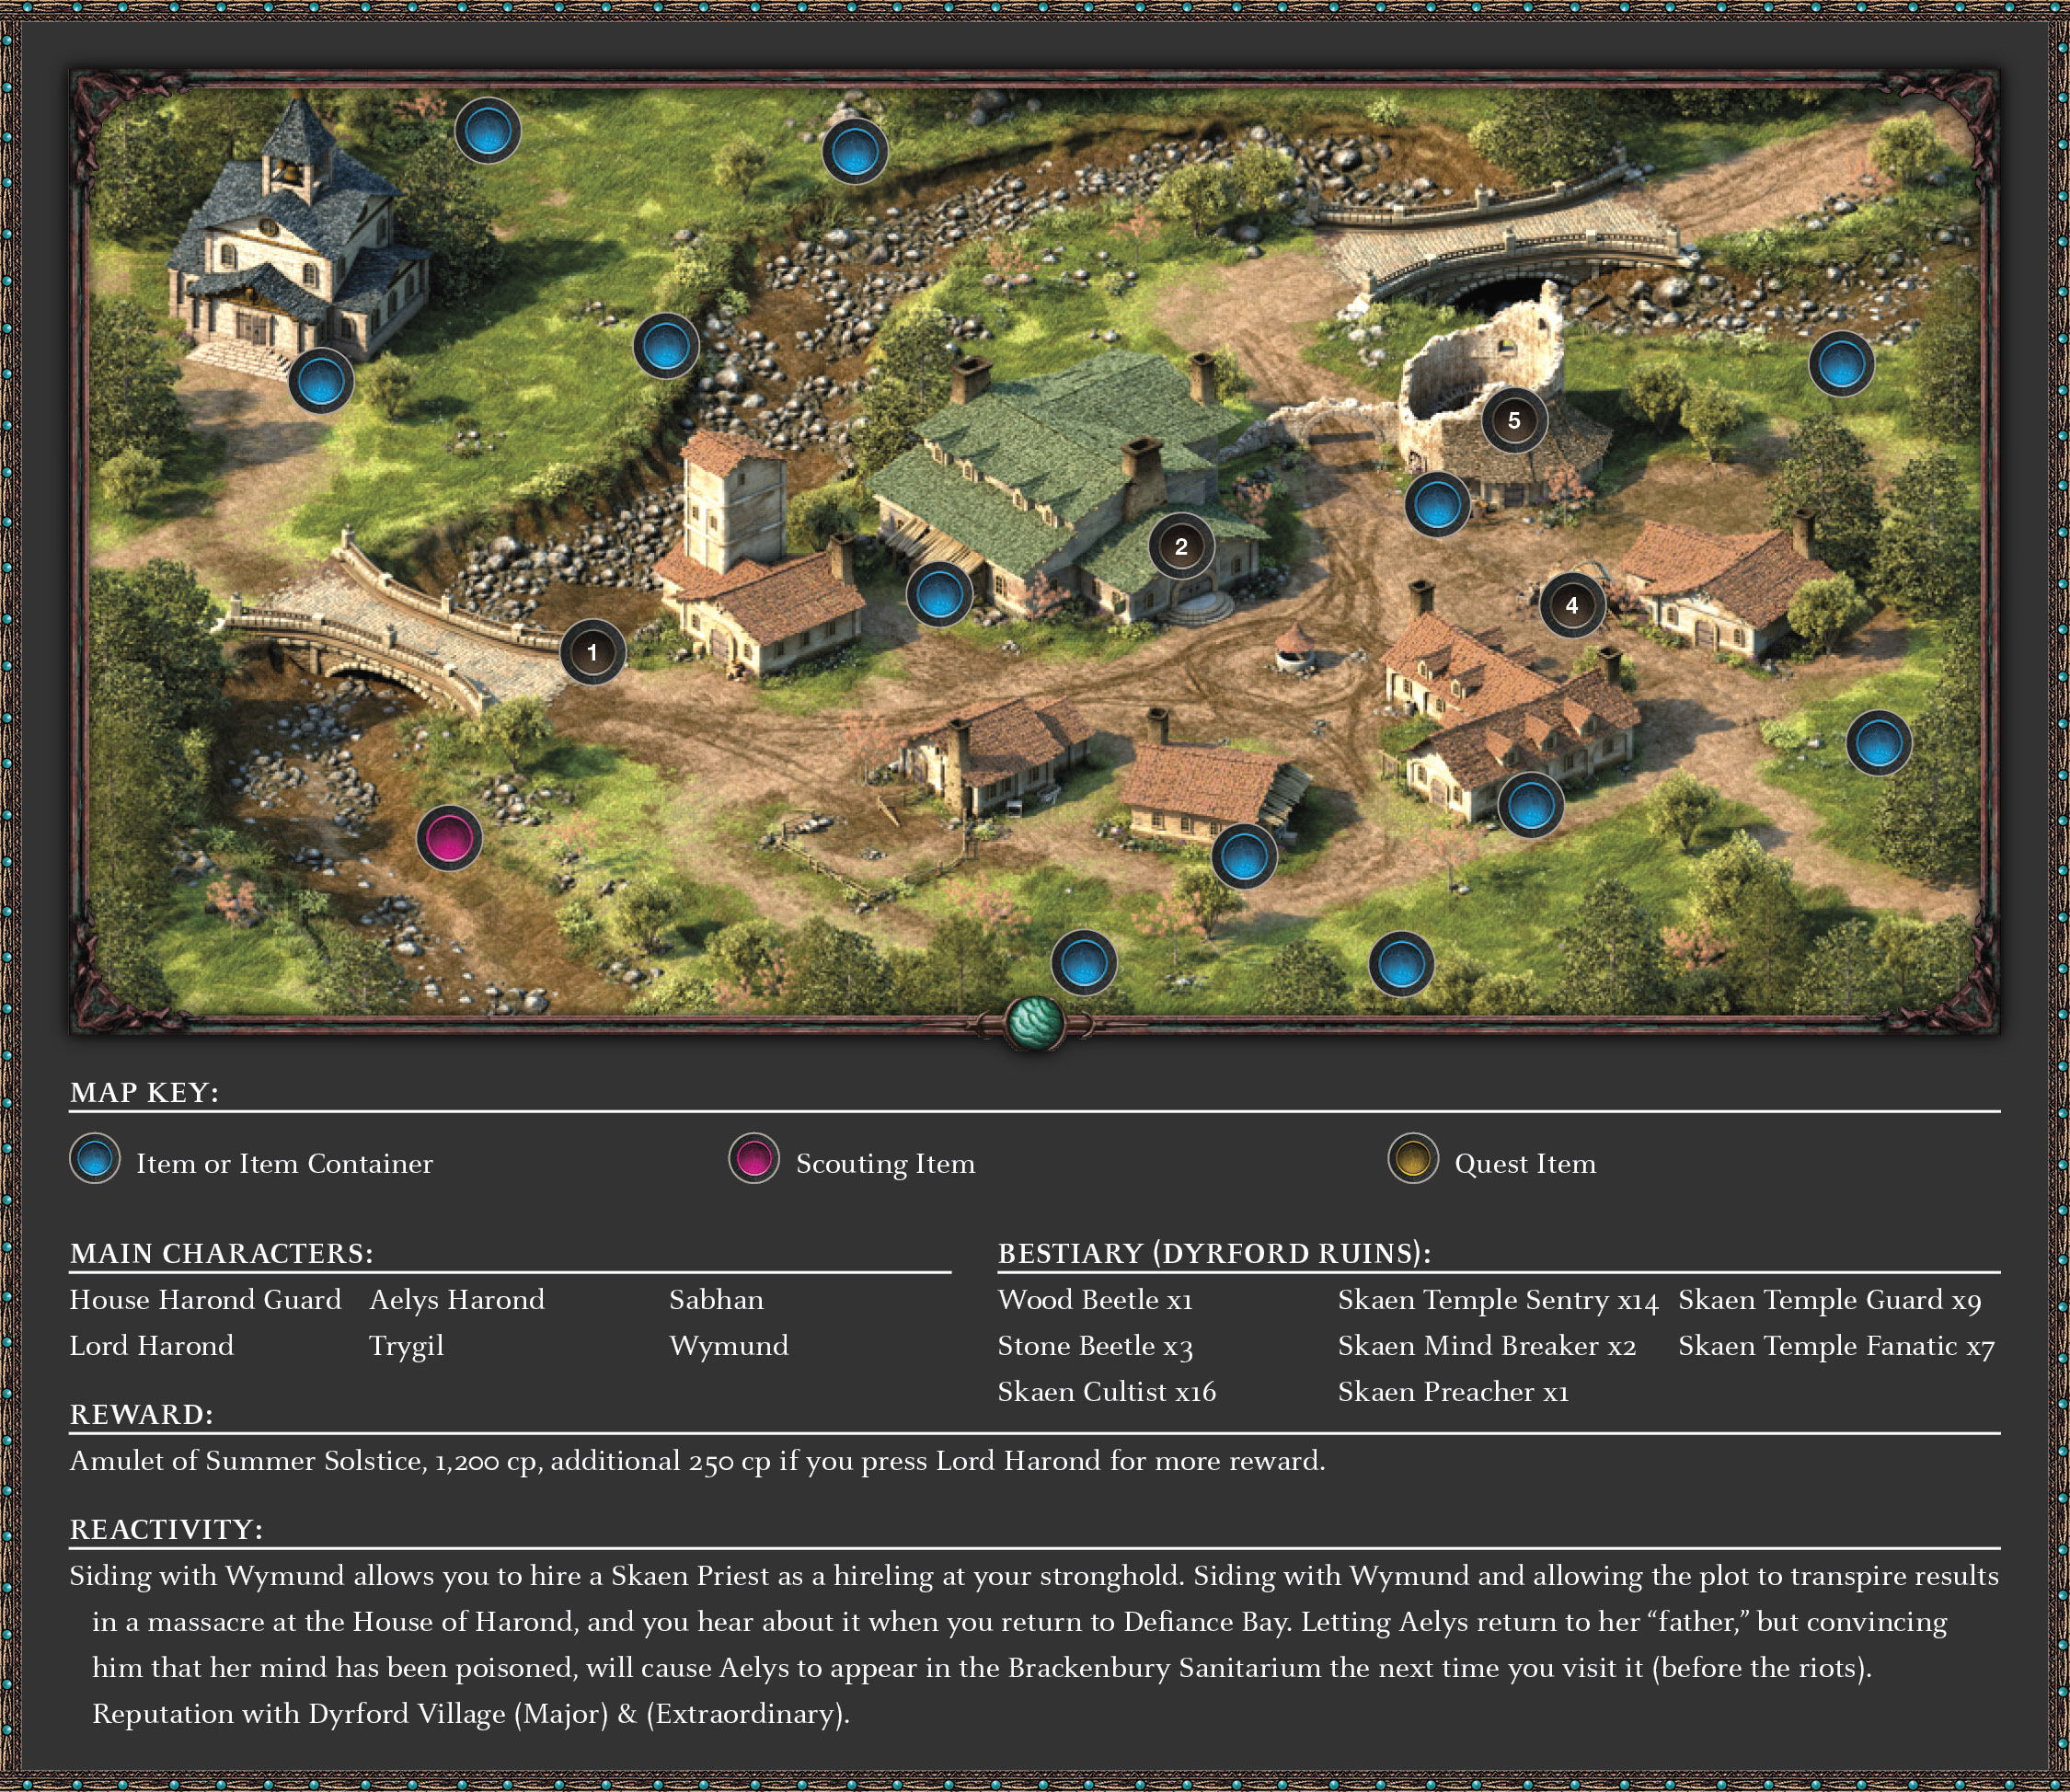
There are two ways to start this side quest: You can either talk to the House Harond Guard standing near the Dyrford Village west bridge (1) or you can speak directly to Lord Harond (3) inside the Dracogen Inn (2). During your exploration of the village, you are likely to run into the guard first. He’ll be the first to bring you the breaking news about Lord Harond’s missing daughter, Lady Aelys. Then he directs you to the inn to talk to Lord Harond.
New Quest: Blood Legacy
Objective: Speak with Lord Harond at the Dracogen Inn
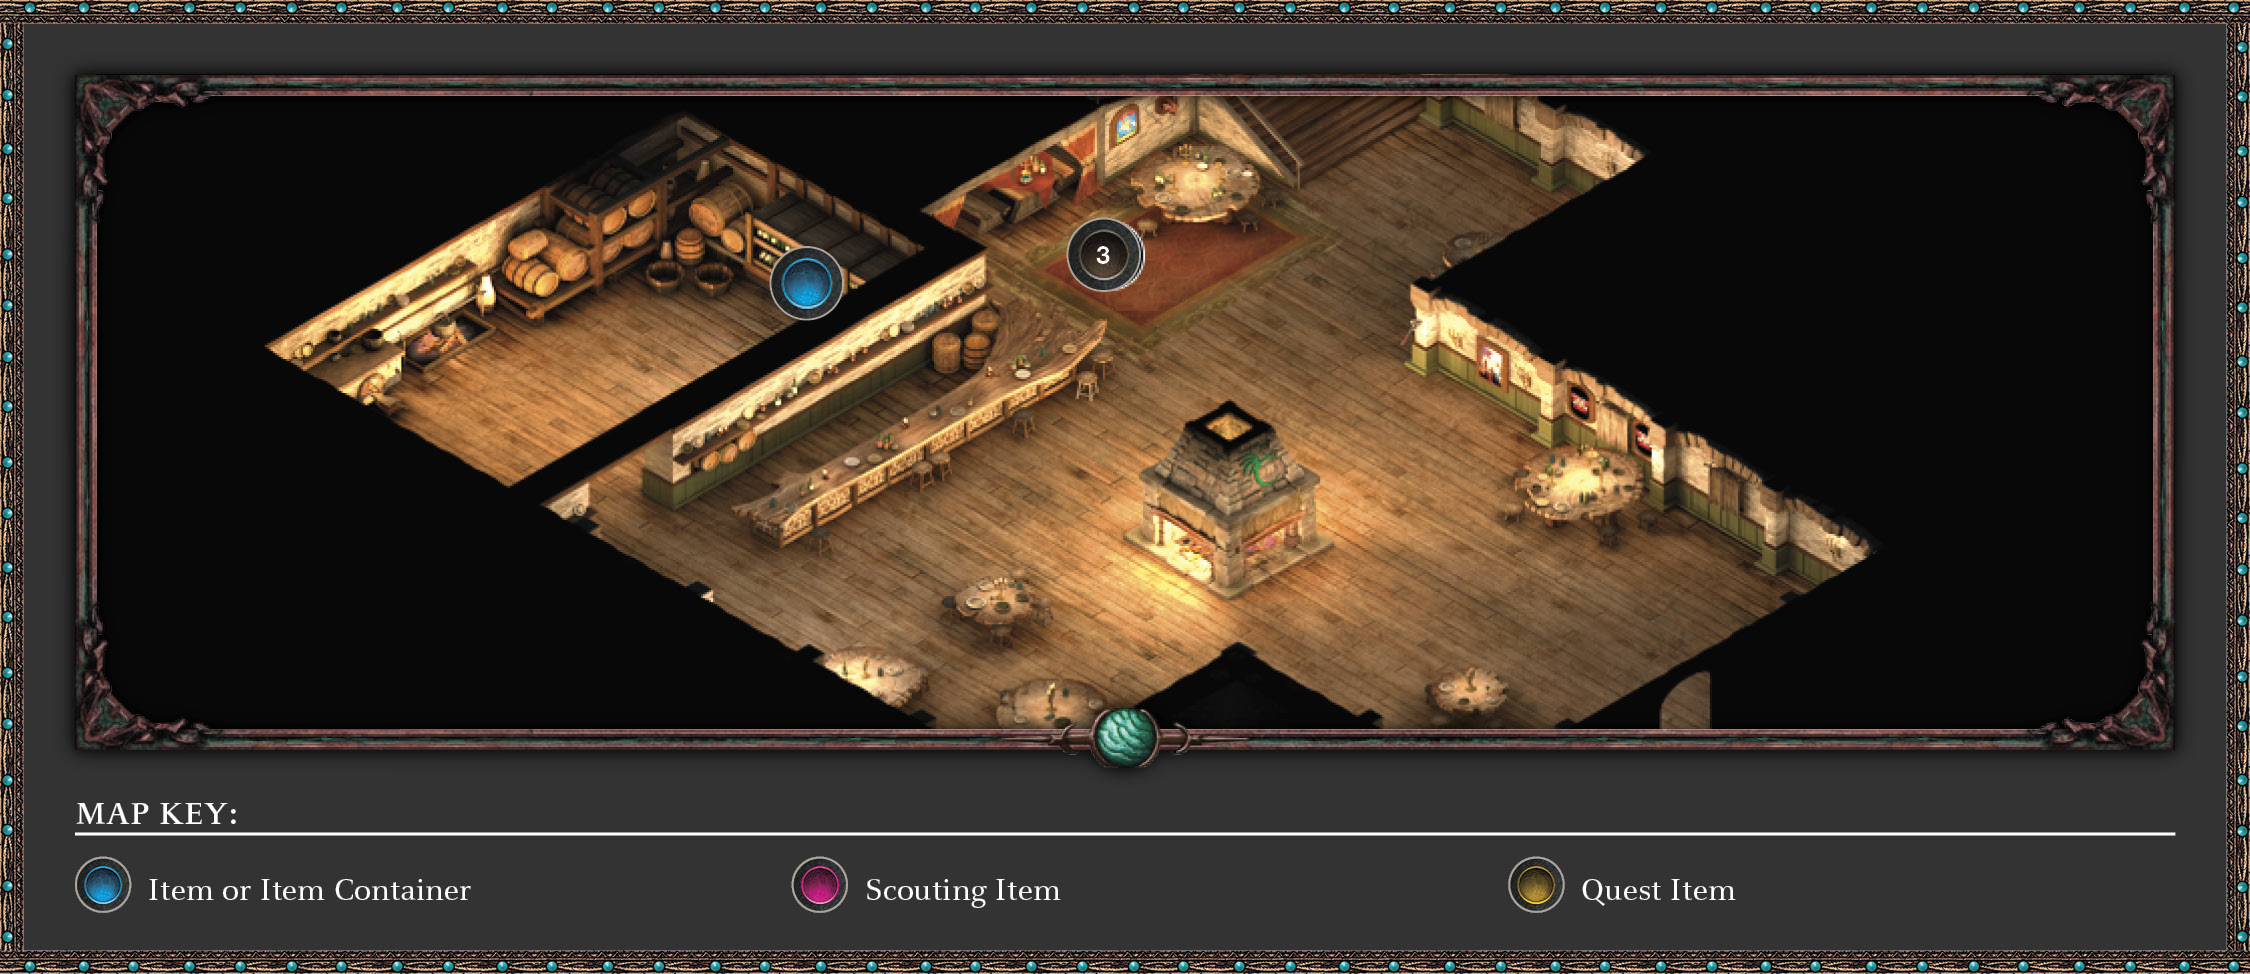
Dracogen Inn First Floor
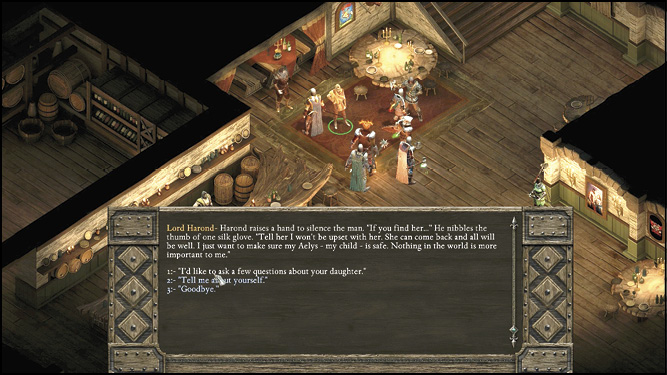
When you enter the Dracogen Inn for the first time, you will see Lord Harond arguing with the innkeeper. Do whatever business you need to with the innkeeper, but then speak to Lord Harond to the right of the bar (3). He tells you that his 29-year-old daughter, Aelys, is missing and none of the villagers is being very helpful with the search. He thinks she has just run off and wants you to give her a message that he won’t be angry when she comes back.
Quest Updated
Objective: Search Dyrford for information about Aelys’s disappearance
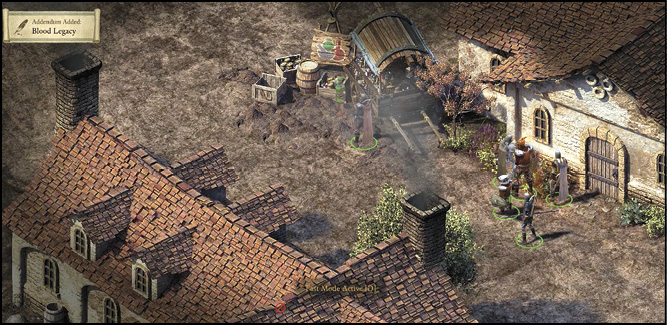
Exit the Dracogen Inn and talk to Hendyna (4) at Hendyna’s Apothecary. Ask her about the missing noblewoman, and she tells you that she was a new shade of green when chatting with Trygil outside his shop. You learn she was pregnant and worked up about it. Now enter Trygil’s Curriery (5), just north of Hendyna’s stand.
Trygil’s Curriery
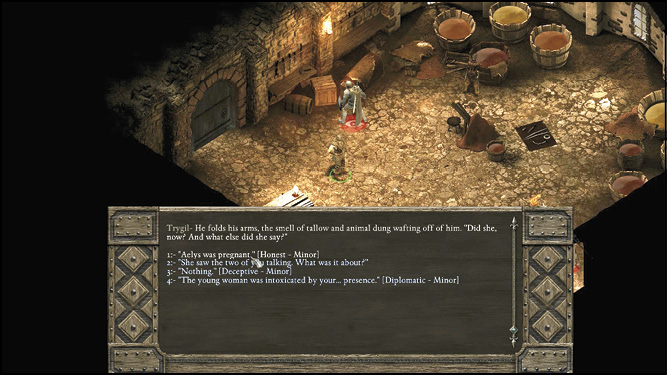
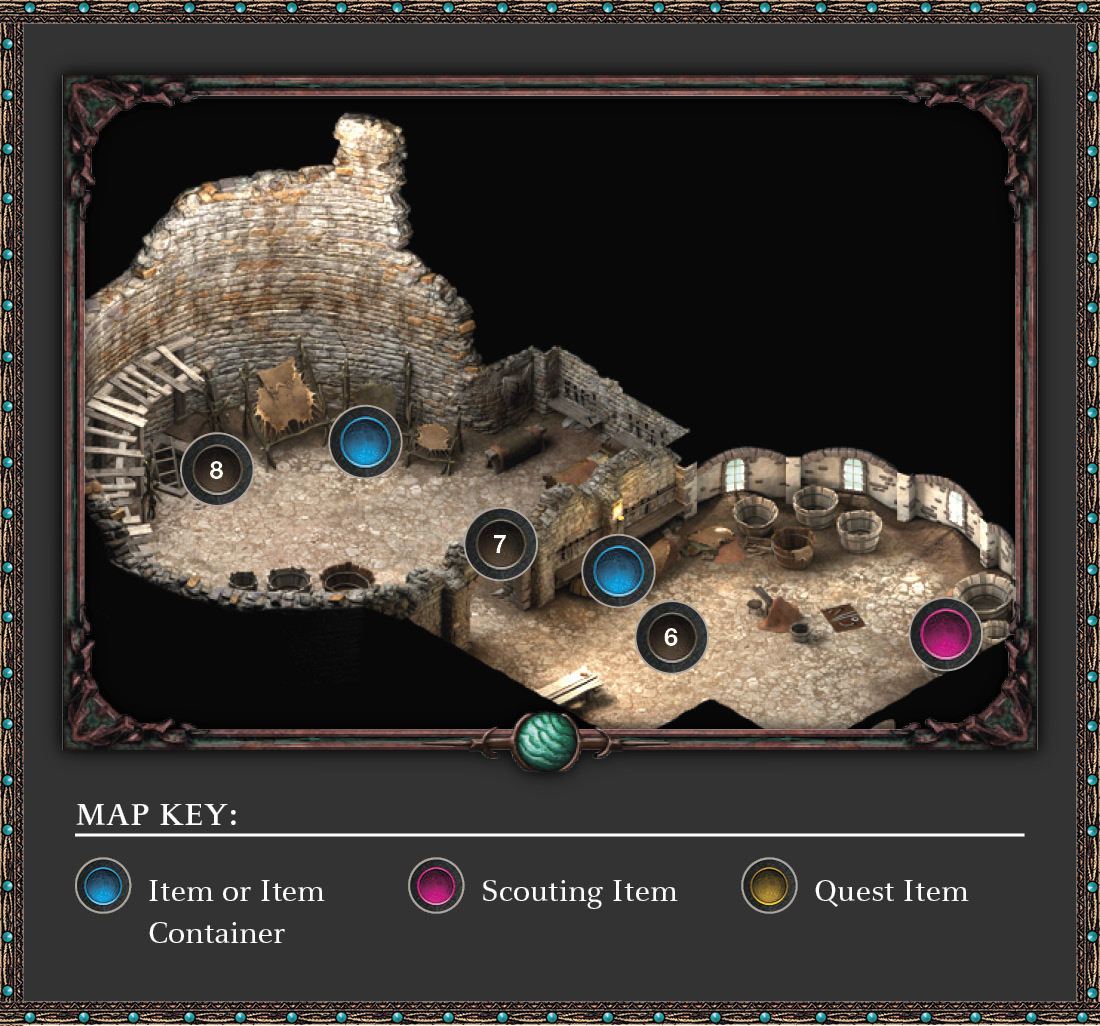
As soon as you enter the Curriery, you see Trygil (6) talking to his helper Sabhan. If you enter Scout mode, you can find the Currier’s Key in a barrel to the right of the front door. Take it, then talk to Trygil. Ask him about Aelys Harond. He lies to you and says he never met her. Strange, because Hendyna saw these two talking to each other. Press further and he becomes defensive. Keep pressing for more information and he claims that, yes, he fooled around with Aelys, but an ogre took her somewhere east of Dyrford. Very suspicious indeed. You can get no more out of him without forcing a fight.
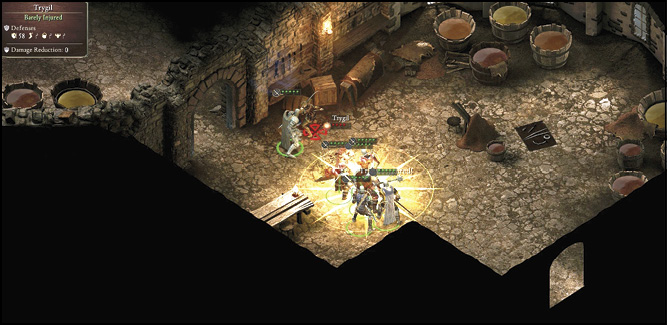
Unlock the door (7) behind him using the Currier’s Key, found in the barrel near the front door. This enrages Trygil, and he and his helper attack. Defeat the two in battle and then enter the backroom. Seems he has a secret passage in the back room. Climb down the ladder (8) to enter the Dyrford Ruins below.
Part 2: Ruined Souls
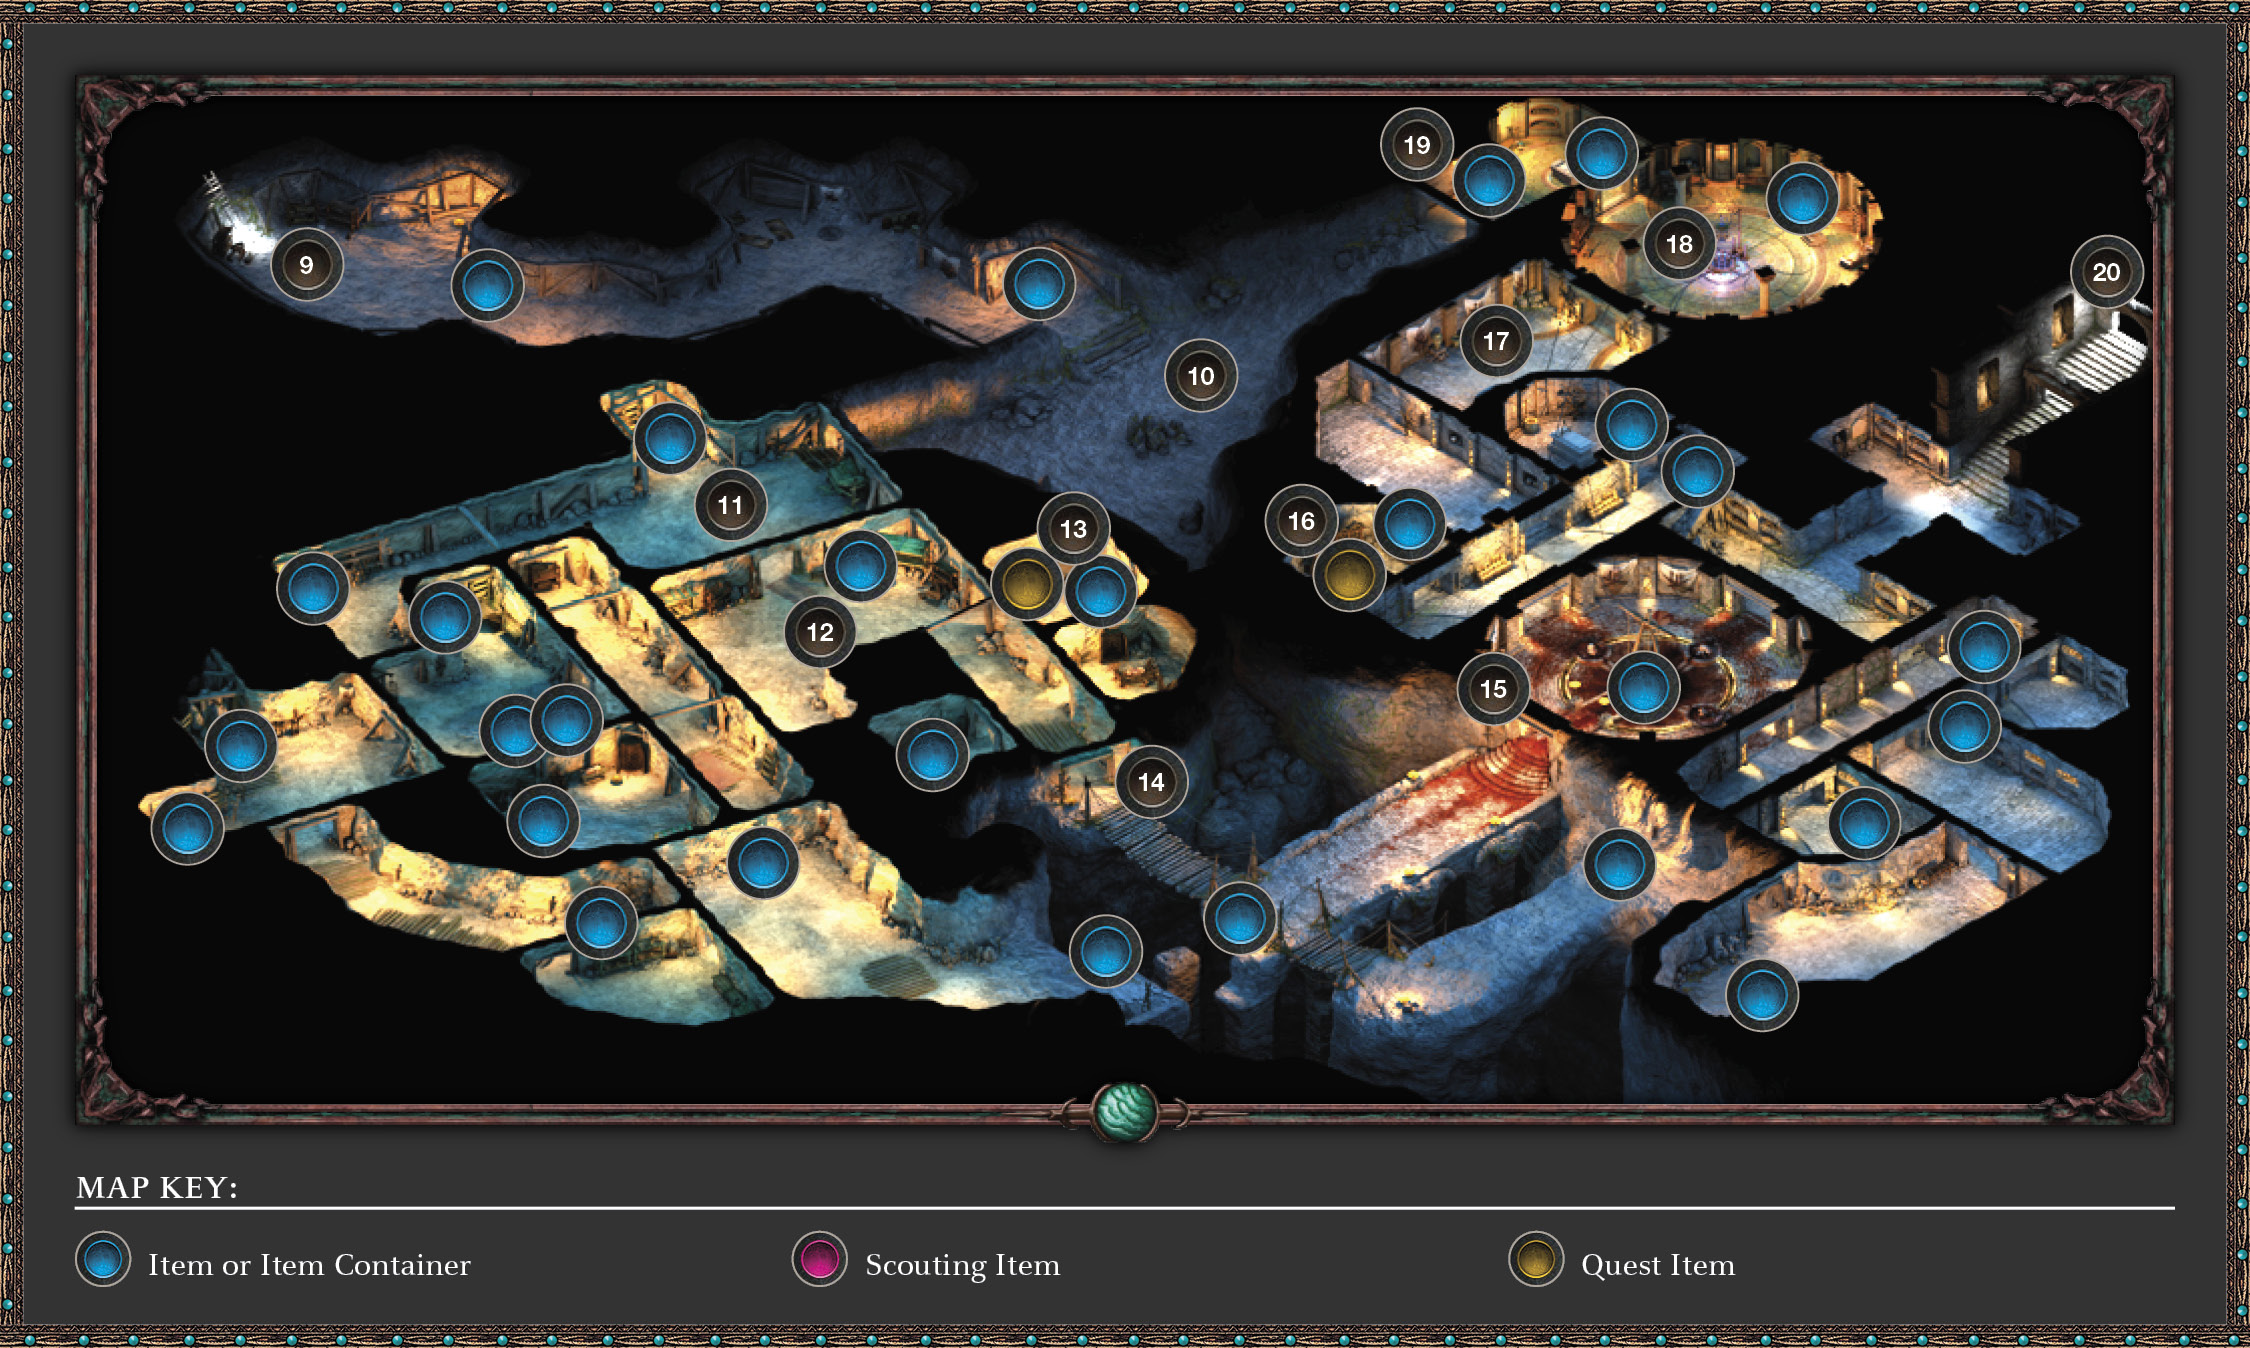
Dyrford Ruins
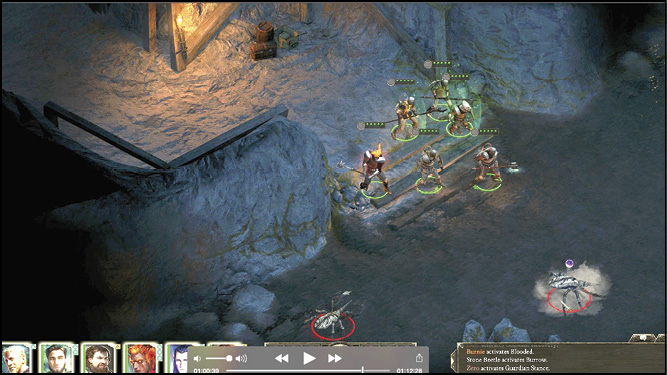
You begin your hike through this intricate dungeon in the northwest corner (9). At the end of the first corridor is a chest with Camping Supplies—easily yours if you have 5 Mechanics + 6 Lockpicks or 6 Mechanics. Also at the end of the first corridor in the T-intersection are two Stone Beetles and a Wood Beetle to squash (10).
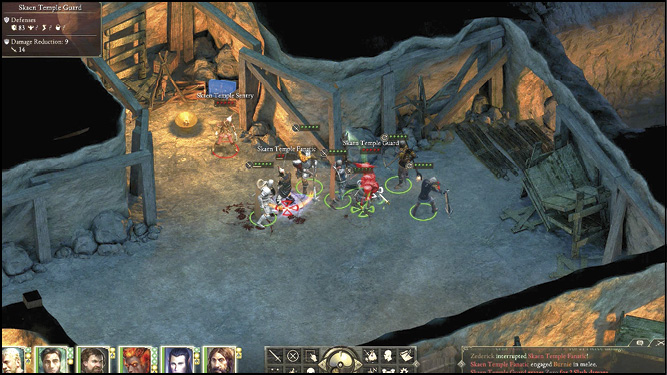
There’s a temporary dead end if you head left at the T-intersection, so you are forced to head right and go through much of the chambers this dungeon has to offer to get to Aelys. However, there is a shortcut. Start by entering the first guard chamber (11) and defeat the three Skaenite enemies there. Try splitting your team in half and have half focus on the Skaen Temple Sentry (with the bow) and the other half focus on the Skaen Guard. The Skaen Guards are the toughest. As soon as the sentry goes down, have everyone beat on the guard and then the Skaen Temple Fanatic. Use this technique throughout the dungeon. When a magic user is thrown in the mix, attack him or her first.
Instead of continuing west to an open chamber, just open the door (12) closest to you. This is a shortcut to your destination. Defeat the Skaenite enemies in this room and those that reinforce from nearby rooms. Enter the small chamber (13) to the east and open the chest to obtain the Old Dungeon Key. This unlocks the southeast door (14) that allows bridge access. If you don’t have the key, it will cost you a lot of lockpicks.
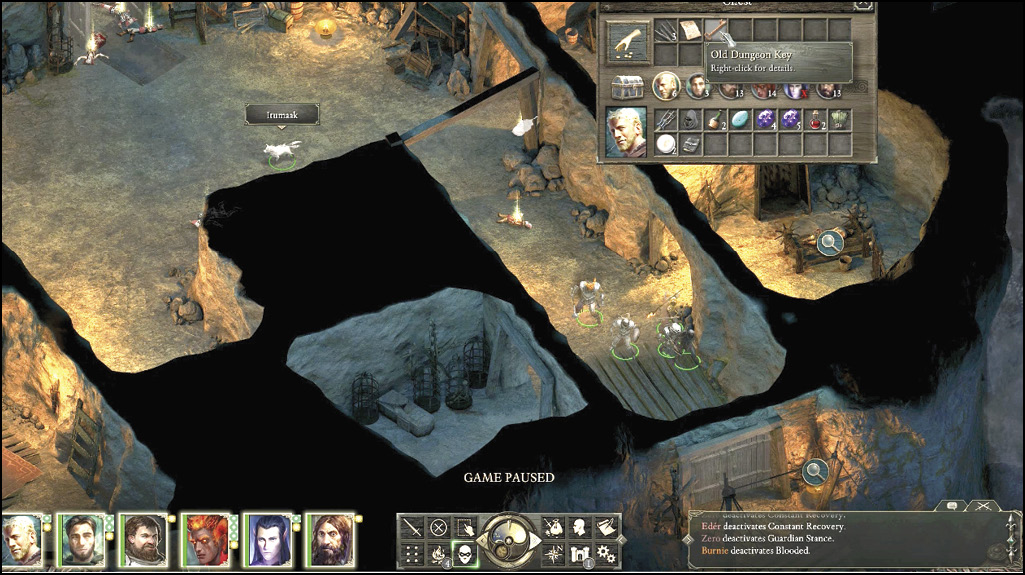
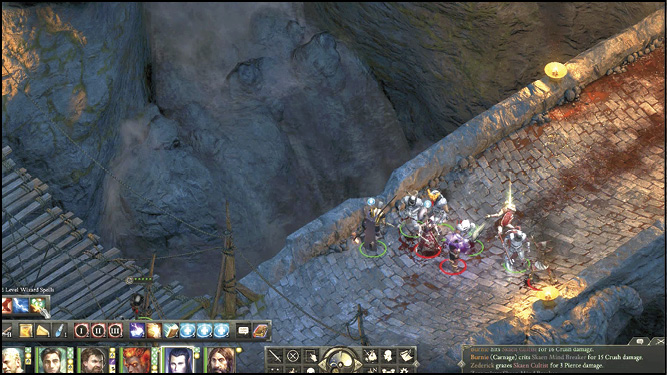
Defeat the enemies on the pathway beyond the bridge, focusing your attack first on the Skaen Cultist; then split the party to attack the guard and sentries separately.
Blood Pool
Use the Old Dungeon Key on the Blood Pool door (15). Upon entry, the Blood Pool speaks to you. If Durance is with you, have him “extend his soul to the blood pool.” It informs you that if you came to watch, you’re too late; their bloody work today is already finished. If you have at least Cruel Rank 1, the blood pool responds to your cruelty and allows you to make a sacrifice to the blood pool. At this point in dialogue, you can choose one of your companions (not hired adventurers) to sacrifice to the blood pool for a Talent. Here are the corresponding rewards:
- Aloth: +1 Int +5 Reflex
- Eder: +1 Mgt +5 Deflection
- Durance: +1 Con + 5% Max Stamina
- Grieving Mother: +1 Resolve +5 Resist Affliction
- Hiravias: +1 Dexterity +1 Damage Threshold
- Sagani: +1 Perception, +2 Bonus Accuracy on Same Enemy
- Kana: +1 Int +5 Resist Affliction
- Pallegina: + 1 Resolve +1 Damage Threshold
Otherwise, there are four reply options:
- “I see you with eyes of flint, brothers and sisters.”
- “You were all sacrificed to Skaen, weren’t you?”
- “Who are you?”
- “What work?”
The Blood Pool replies that it is basically the souls of all who have perished there. “In Life, we were weak. But in death, we made a choice. Choice carries power.” You are given one more round of responses; you can choose only one of the following and then the conversation is over:
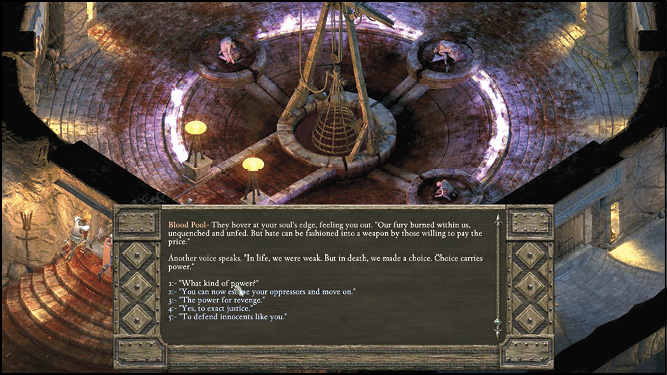
- “What kind of power?”
- “You can now escape your oppressors and move on.”
- “Yes, to exact justice.”
- “To defend innocents like you.”
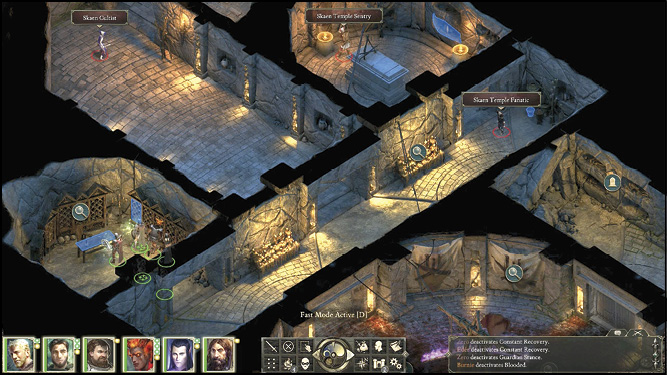
Head through the northwest doorway. There’s no avoiding the hallway-patrolling Skaen Cultist, so waste him now. Enter the room directly across from the Blood Pool exit and get the Crypt’s Master Key (16) from the table. Back out of the small room and enter Scouting mode to detect traps. Take the first left into a hallway and disarm the two floor traps. Enter the room on the right (17) and defeat the two guards and a sentry. Use the Crypt’s Master Key on the next door to find Aelys in the chamber (18).
Weymund and Aelys
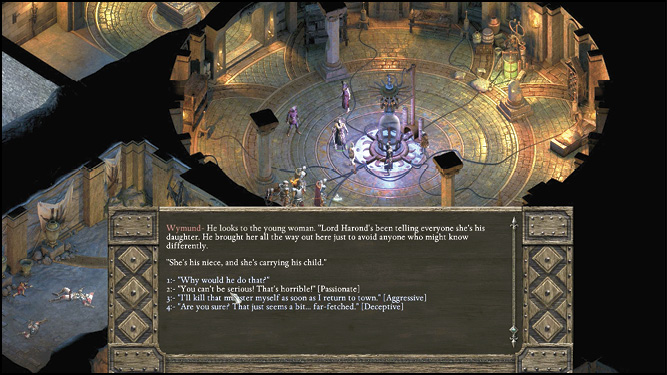
You walk in on Weymund and Aelys, drenched with blood, exits a glass chamber. Like a doctor prescribing healing advice, Weymund encourages her to get rest so the transfusion goes smoothly. Ask Weymund what is going on. Long story short, you have stumbled upon a Skaen Cult operating in the ancient Aedyran ruins beneath the city and have uncovered a plot by the Skaen Cultist to have Aelys Harond kill the Harond family. She has been tainted by vengeful cultist souls that now inhabit her mind. Weymund tries to convince you that Lord Harond impregnated his own niece, Aelys. You can choose to side with this plot or defeat the high priest, Weymund.
If you fight Weymund, you will also be fighting the Skaen Temple Sentry, Skaen Cultist, Mind Bender, and Preacher in the chamber. When you leave the room, you’ll have to continue to battle your way out of the dungeon. If you side with him, then you can continue to explore the dungeon facing no resistance (the cult members will be allies).
Quest Updated
Objective: Return to Lord Harond at the Dracogen Inn
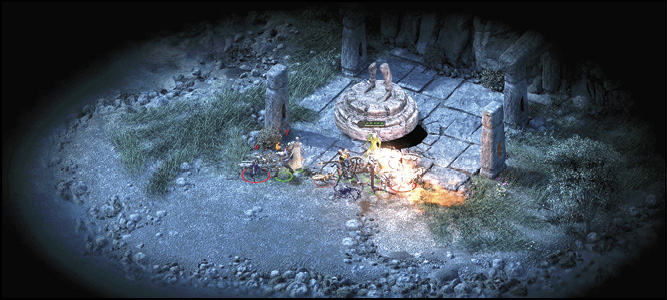
To exit, either pull the switch (19) on the wall in the room to the northeast to open a wall that allows access to the entrance (9) you used, or you can travel to the southeast exit (20) and come up through the ruins in Dyrford Crossing. You’ll come up via stairs under the broken statue.
Dyrford Village
Dracogen Inn
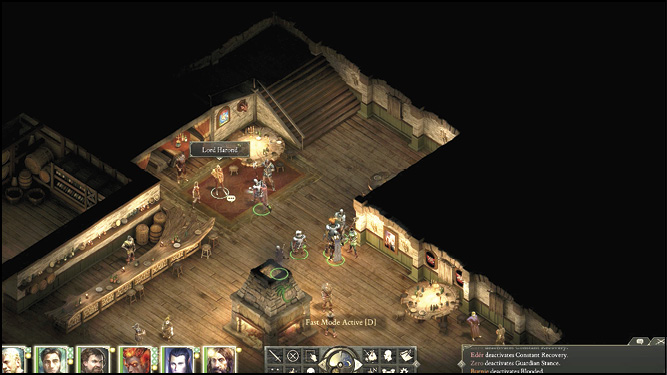
Return to Lord Harond (2) at the Dracogen Inn in Dyrford Village. He spots Aelys as soon as you approach him. You can be deceptive and agree that it will be nice to escape all this in Eina’s Rest. Or you can blow the assassination attempt by choosing the honest response: “It’s too late. Her mind has been poisoned by a Skaenite animancer.” When it comes to a reward (if you were deceptive), you can press a little harder for a bigger reward. See the reward and reactivity to this quest at the beginning of this quest (above).