
Pillars of Eternity Guide Walkthrough Main Quest: Act III
The Watcher of Dyrwood: Stormwall Gorge to Elmshore
Part 1: An Unwelcoming Committee
New Main Quest: The Assassin at Large
Objective: Travel to Twin Elms
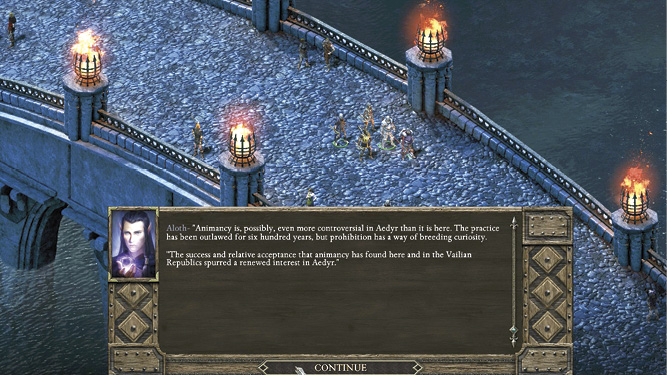
You appear on the southeastern edge of Aedelwan Bridge. If Aloth is in your party, he stops you on the other side and admits to not being completely honest with you. Listen to him with an open ear and be forgiving to keep him in your party.
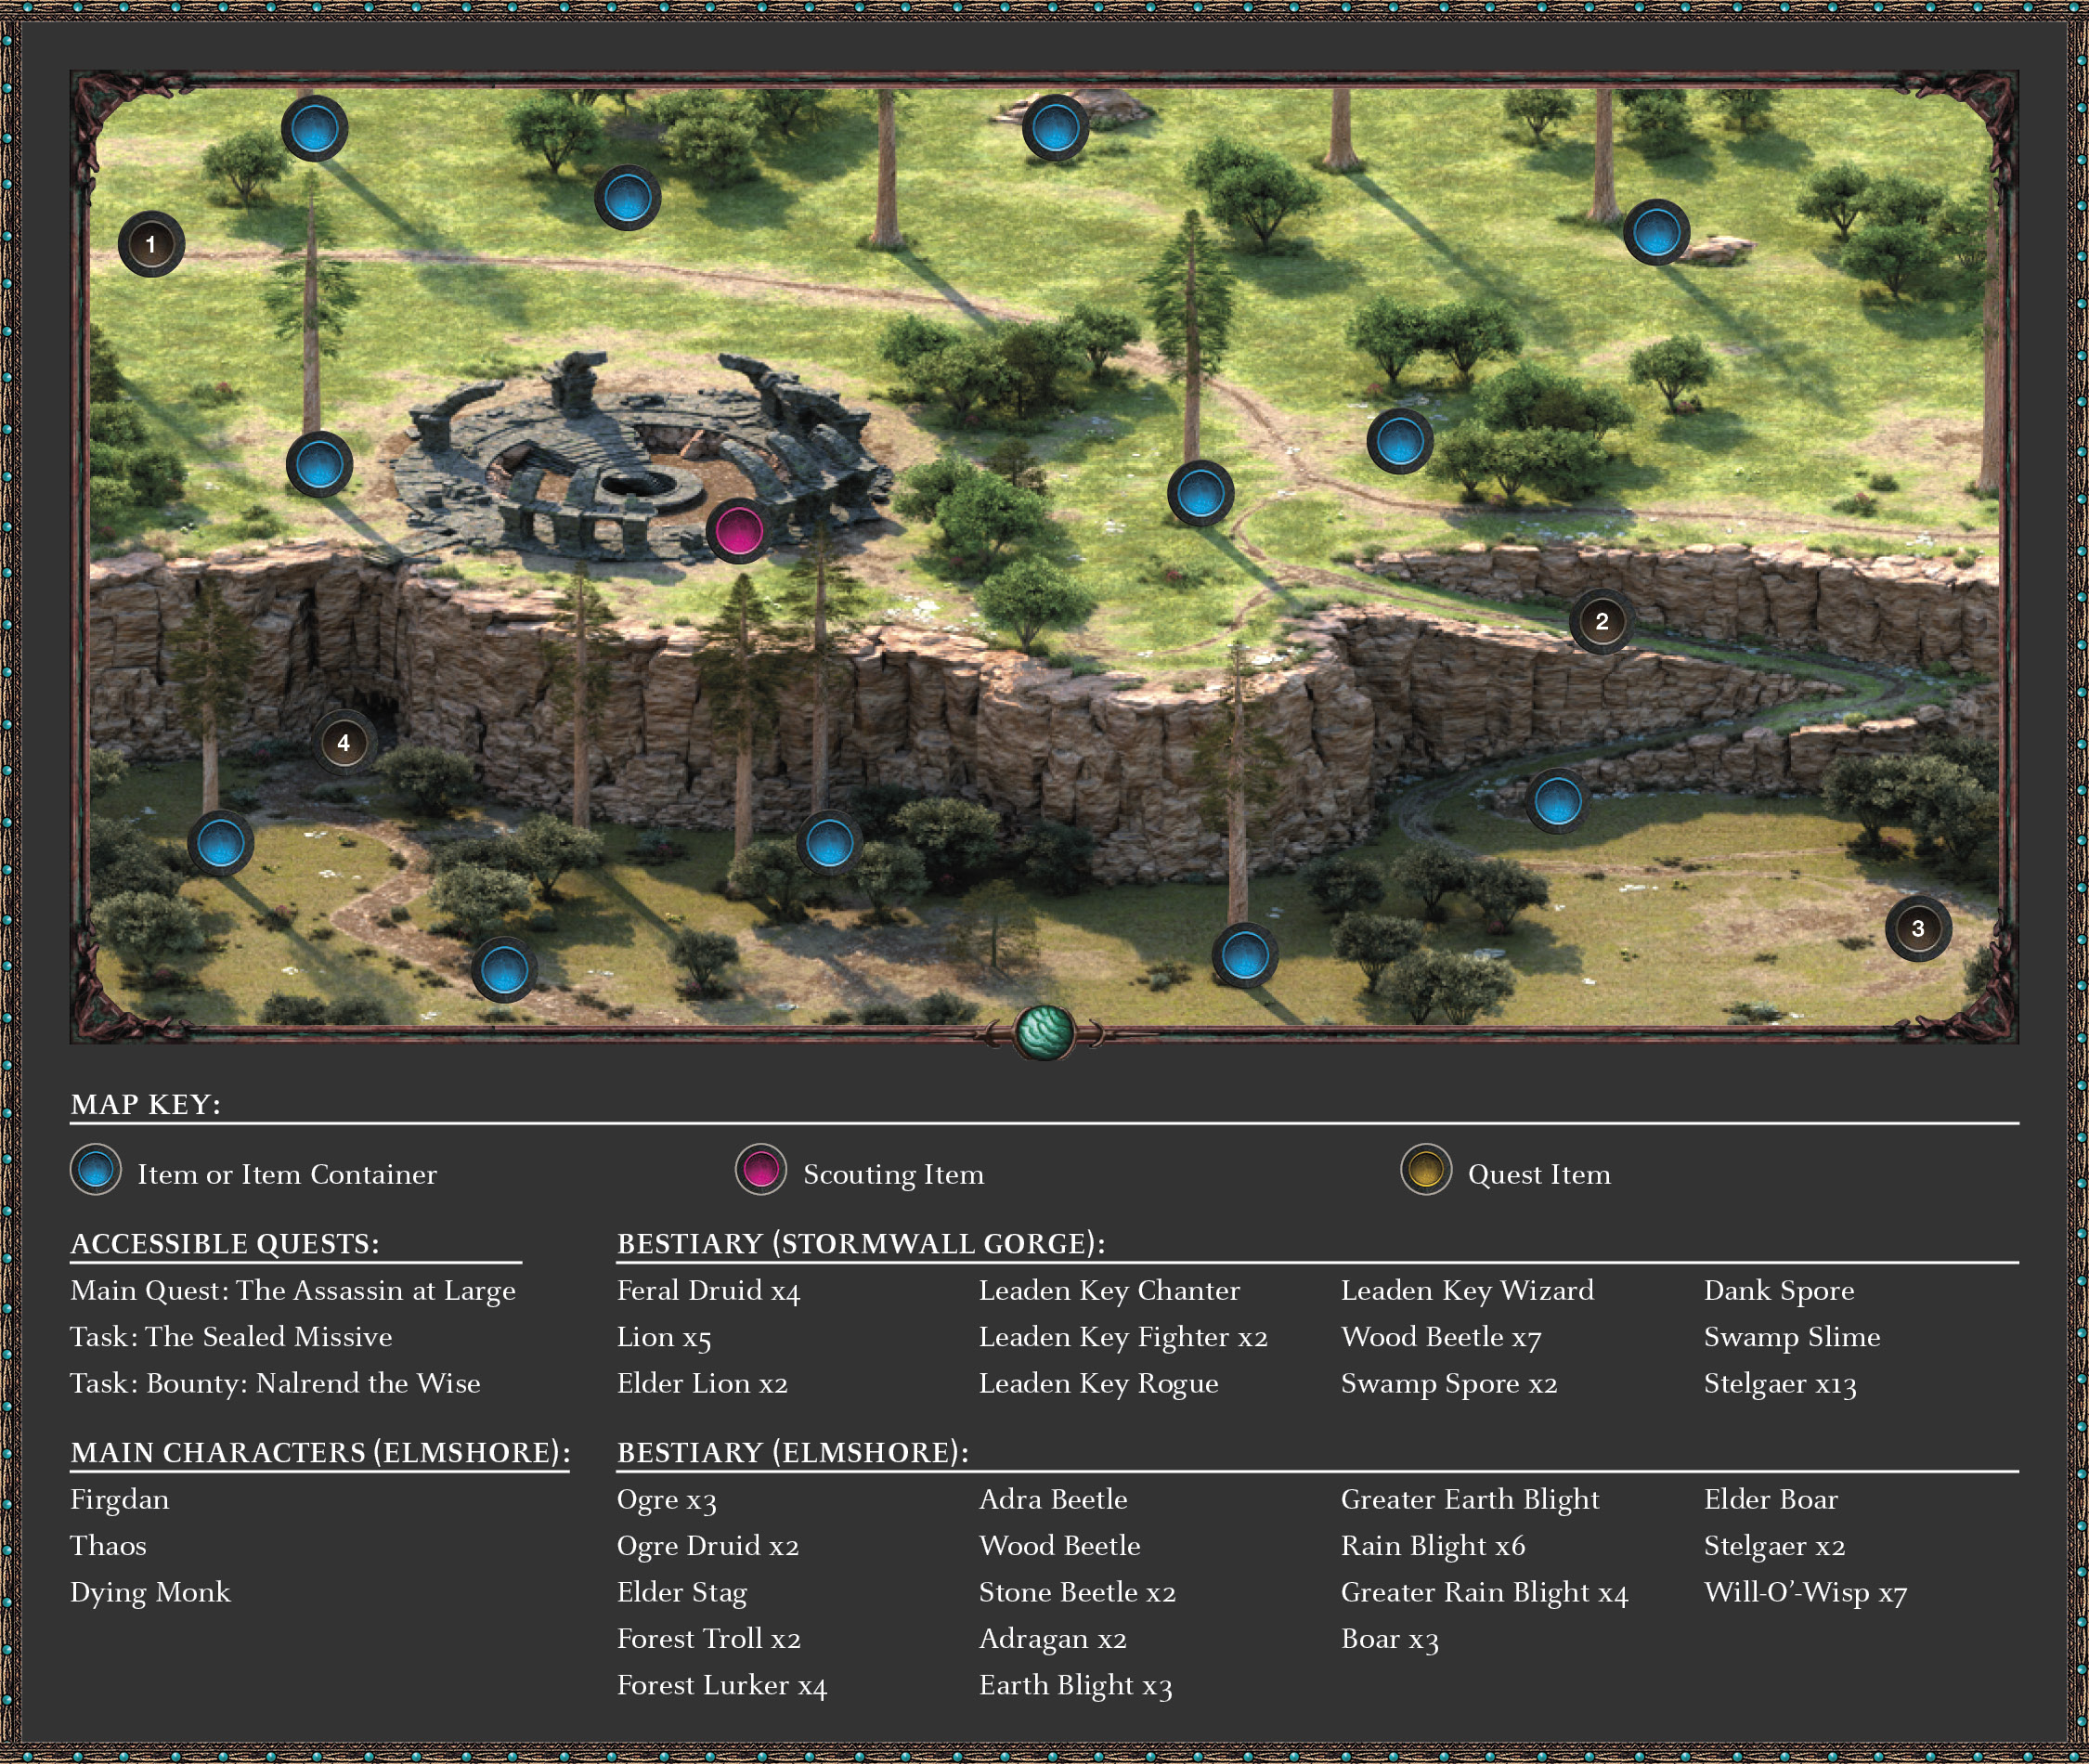
Continue to the World Map. Choose Stormwall Gorge, and enter this area (1). Be aware that any previous foes (such as the Feral Druids or Lions) that you killed could have repopulated the landscape. Journey southeast along the main path until you reach the junction with the gorge cliff path, then descend (2).
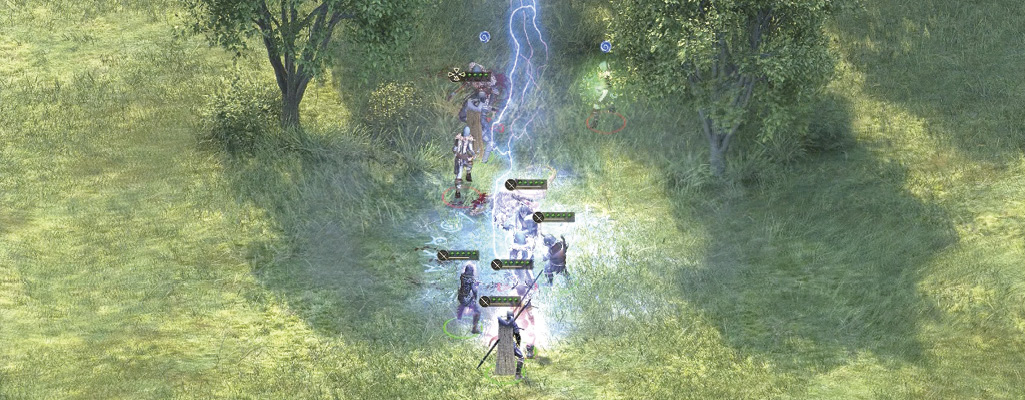
The water has drained from the southern part of this area, but there’s little time to admire the scenery; a group of Leaden Key members advance to interrupt your journey. Choose your favored conversation response with the Leaden Key Wizard, and prepare for battle! Slay these five foes with vigor, and then gingerly head south to the exit (3), unless you wish to disturb the Spores to the south and plentiful Stelgaers to the west (defeating them all is a good way to further your experience).
Part 2: Activities in Stormwall Gorge
Stelgaer and Dead Adventurer
The eastern and southeastern parts of this area have roaming Stelgaer (nine in two groups) to worry about and a sprawled adventurer to loot.
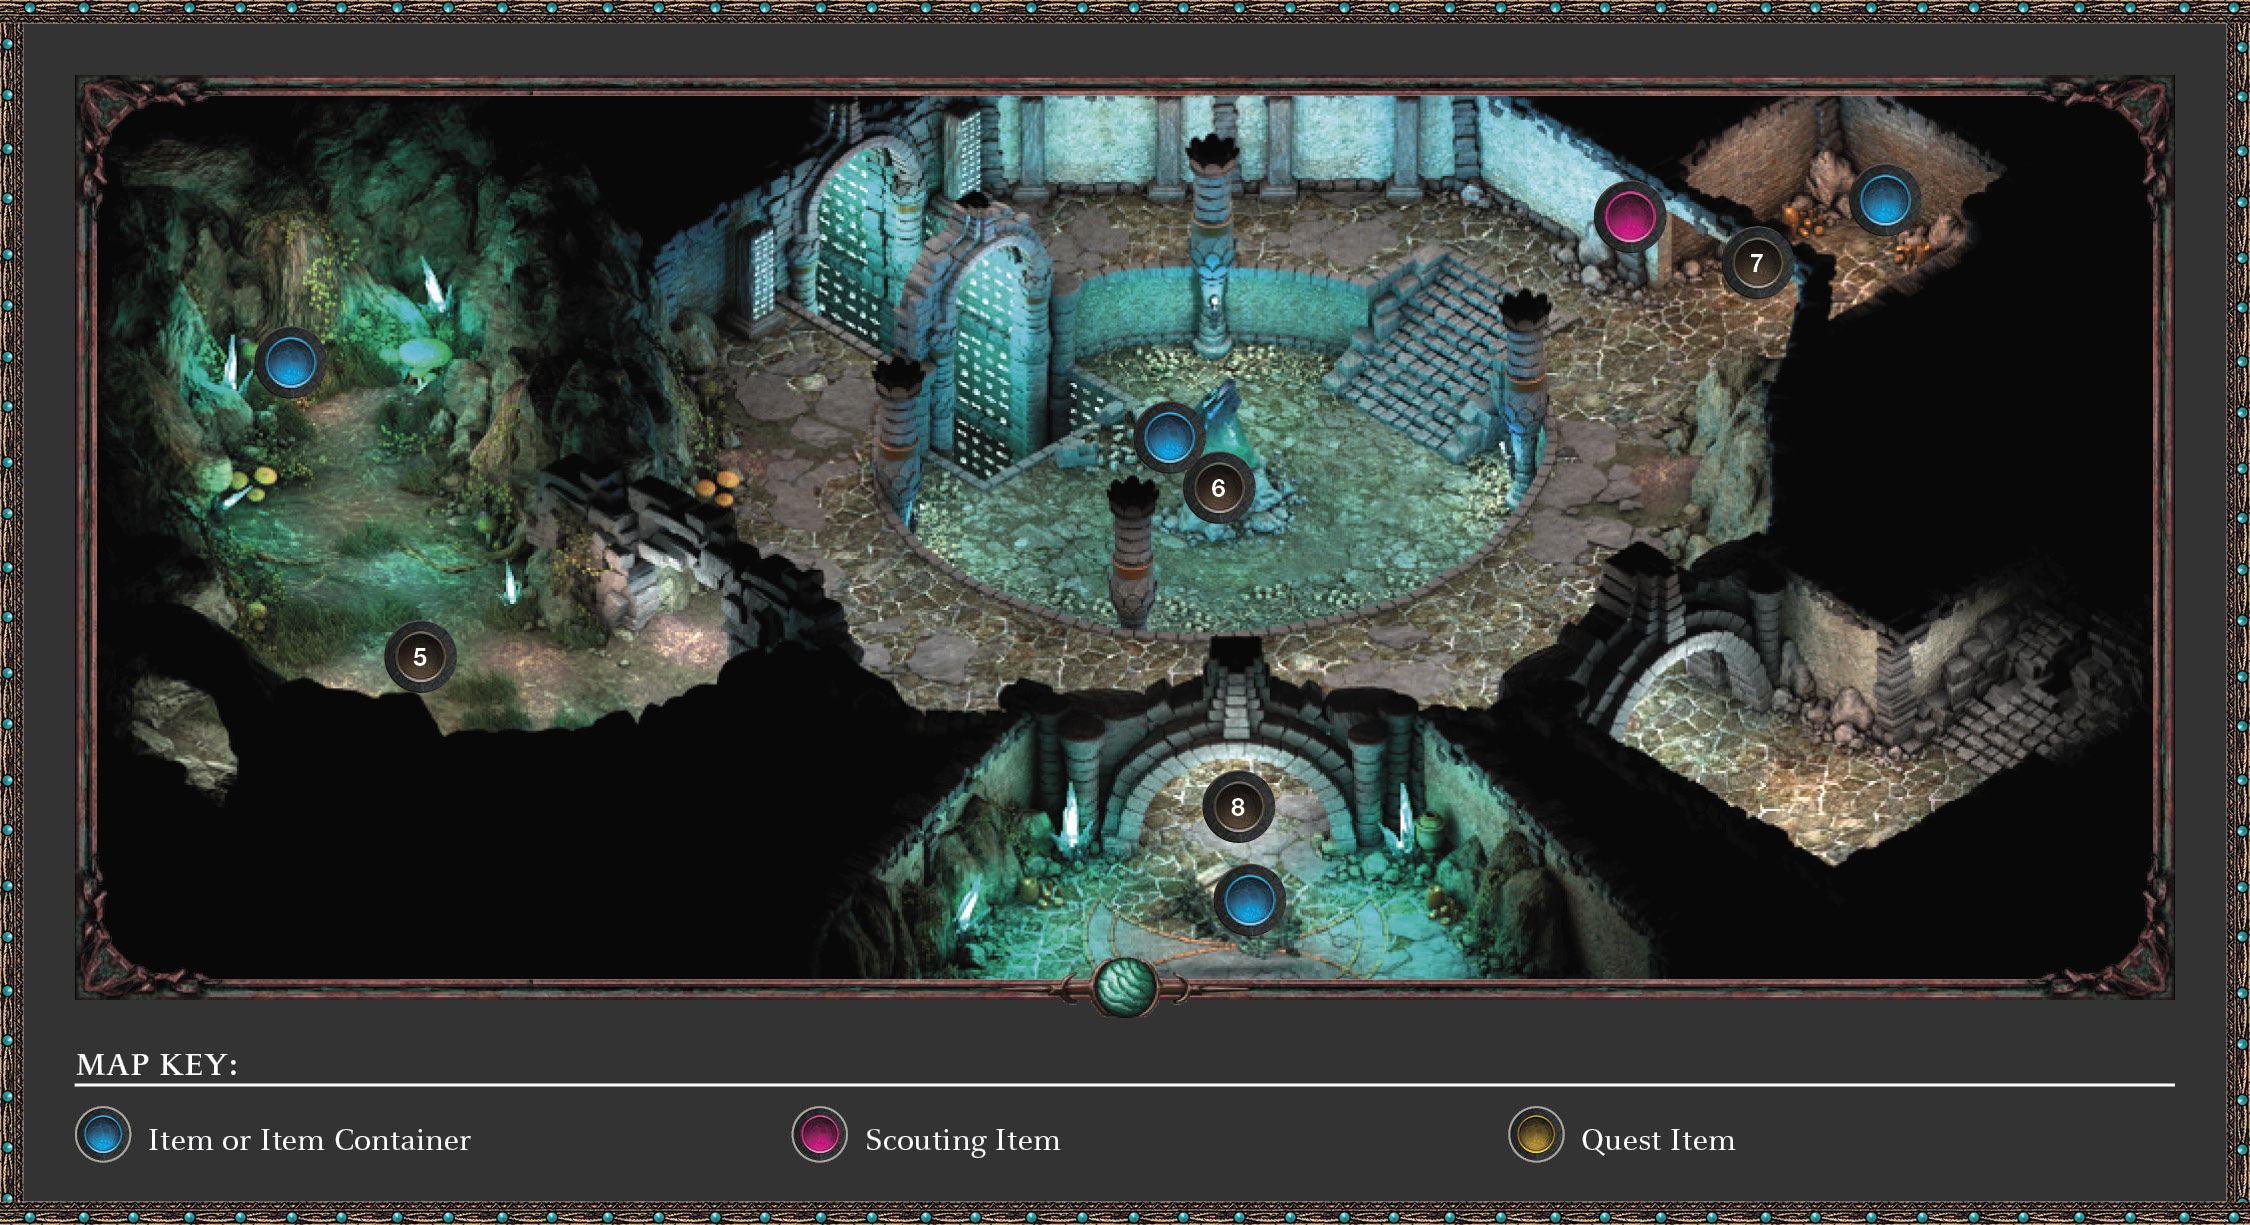
Lle a Rhemen
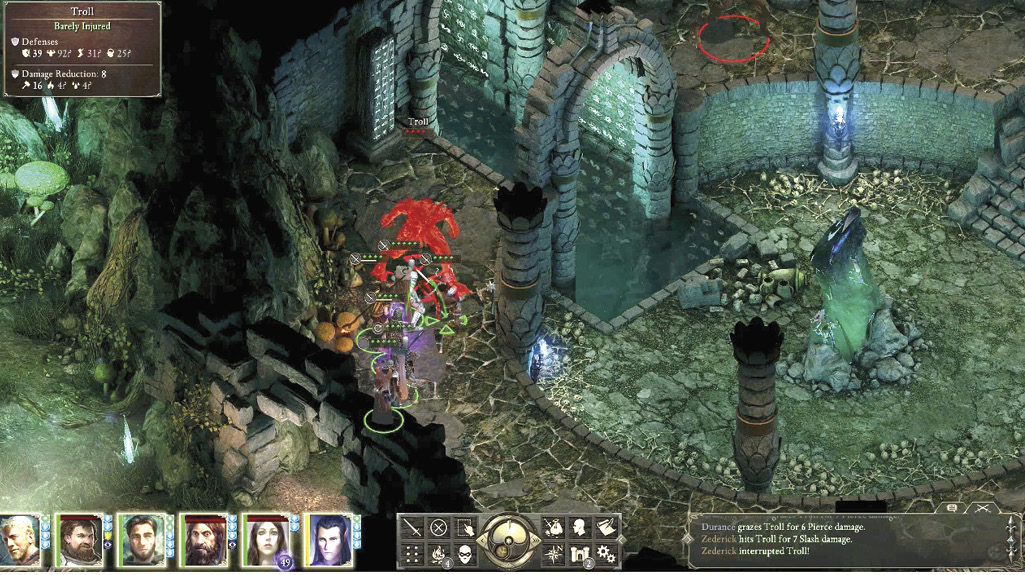
In the northeastern cliff wall (4), close to one of the Stelgaer groups, there’s a cave leading to an otherwise-inaccessible level of Lle a Rhemen. You enter on the west end (5) of the cave where three Sporelings immediately attack. Finish them and move into the large chamber to the east (6). Here you battle the two Trolls and Menpwgra. Luckily the narrow balcony allows you to take them on one at a time. Enter Scouting mode to find the purple highlighted brick on the east wall. This triggers a wall to lower, revealing a small room (7) with a vase that has a nice prize inside. Finally, defeat the three Sporelings in the small room to the south (8) and inspect the tomb to claim another wearable prize. Exit the cave and continue on your quest.
Part 3: To the Bridge at Elmshore
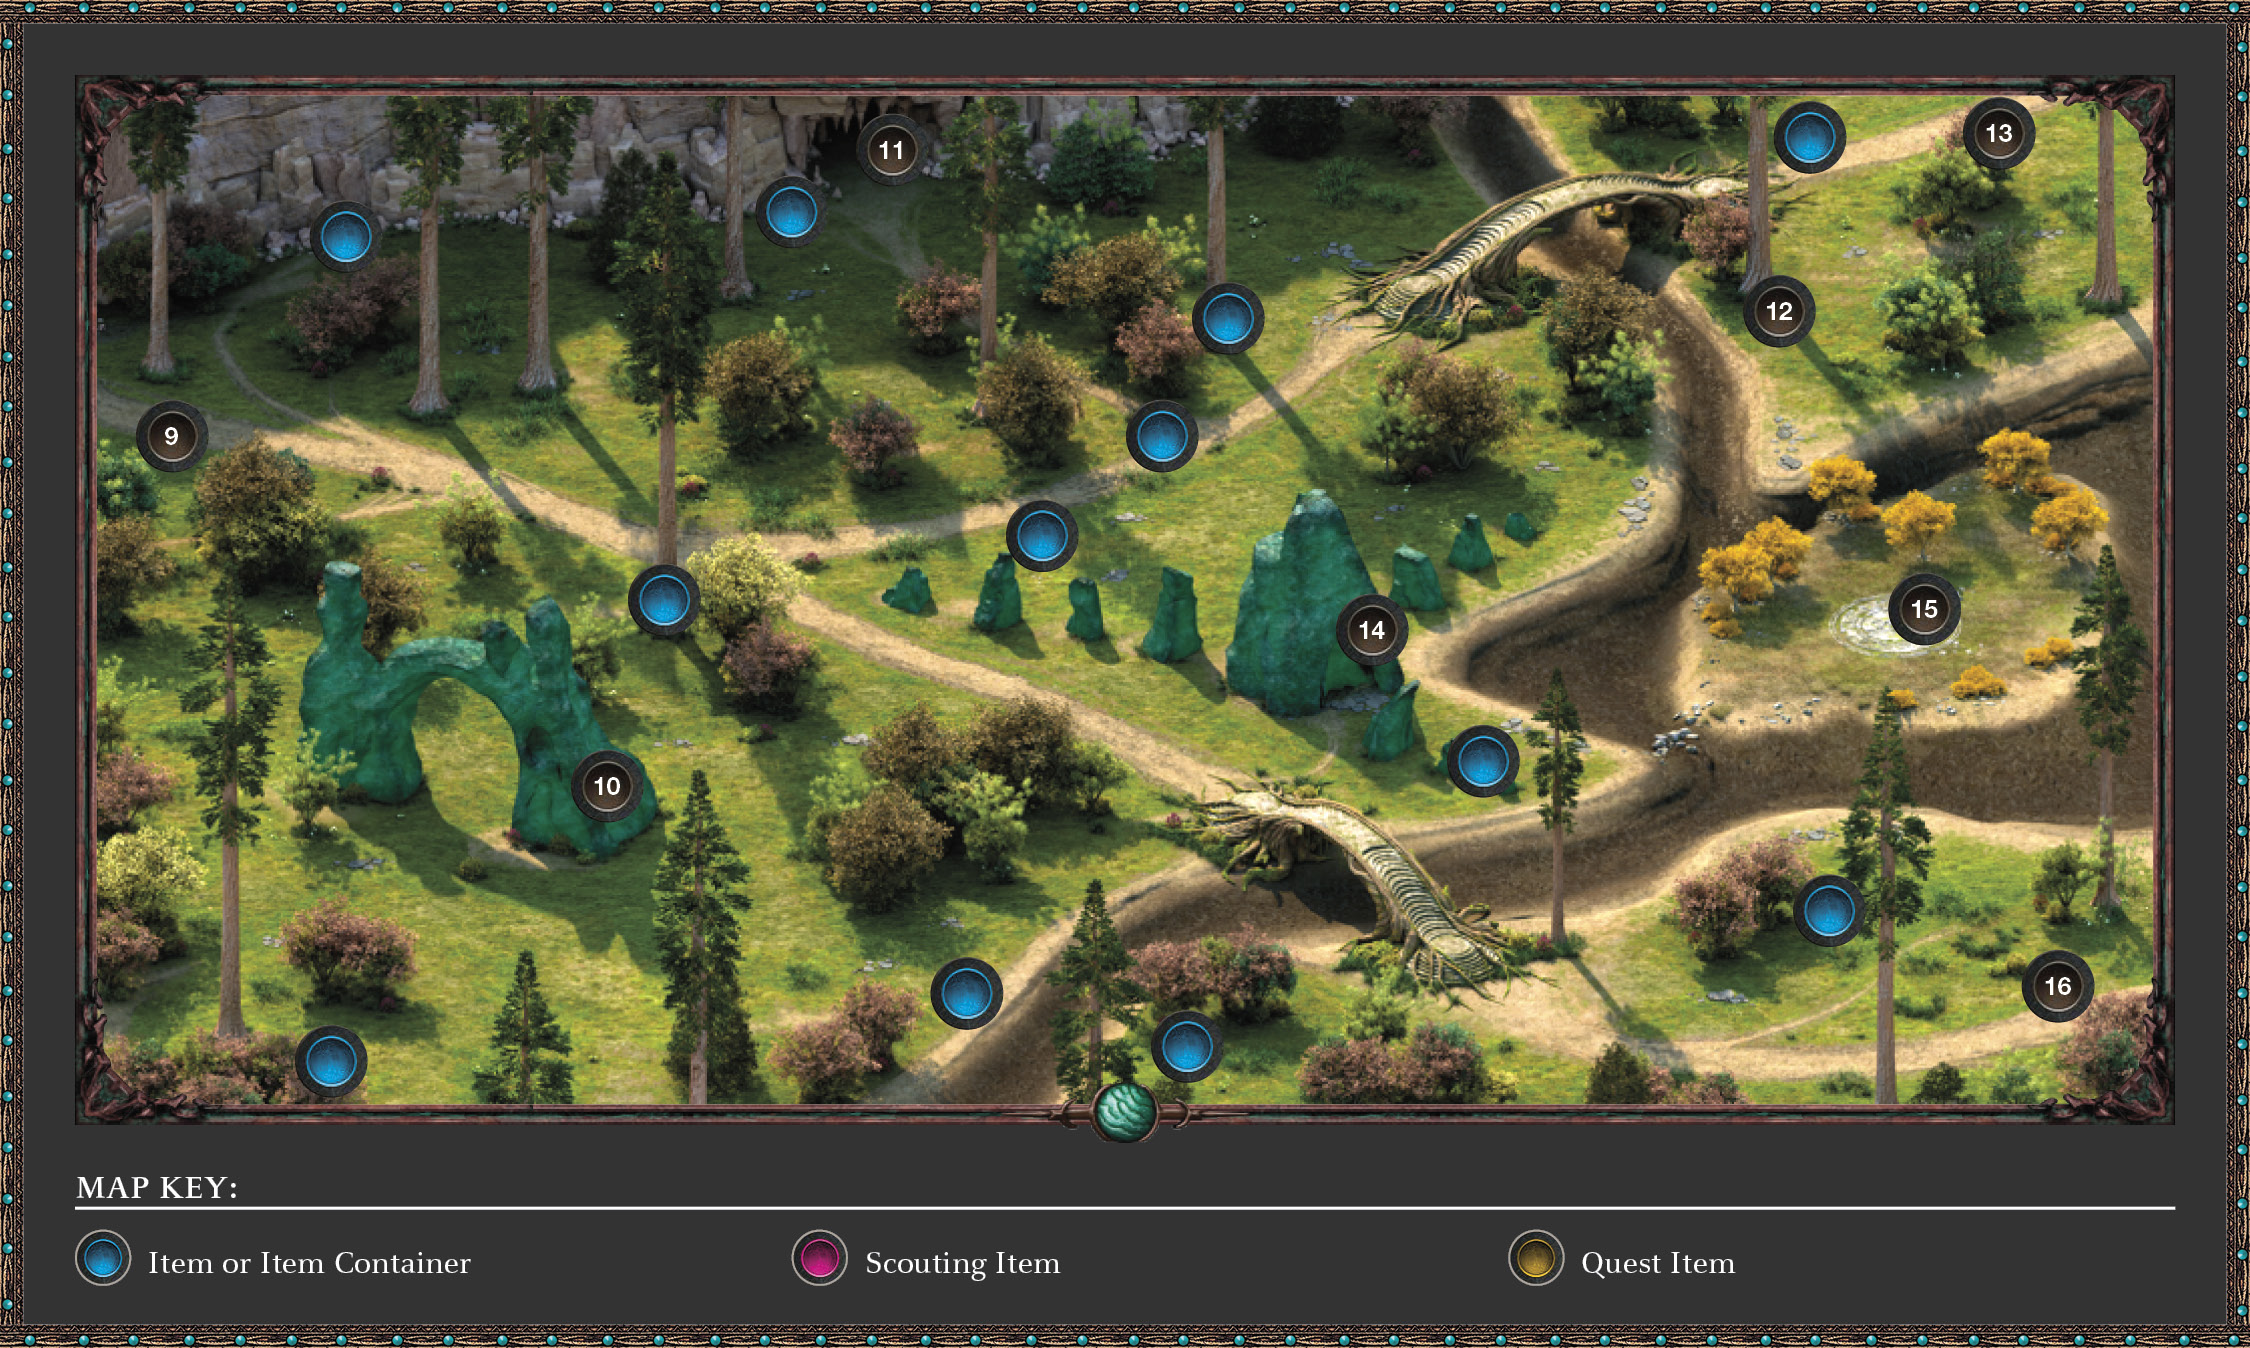
The woodland and winding river of Elmshore would be picturesque were it not for the large number of creatures ready to slay you. You begin your travels in the northwest (9). Wander off and hunt if you wish, but for a quick departure, follow the path to the southeast, passing the Adra Arch (10) and Adra Pillars (14) and crossing the bridge to reach the southeast exit. The Adra Arch is also part of Sagani’s quest (one of the areas where she feels Persoq’s soul).
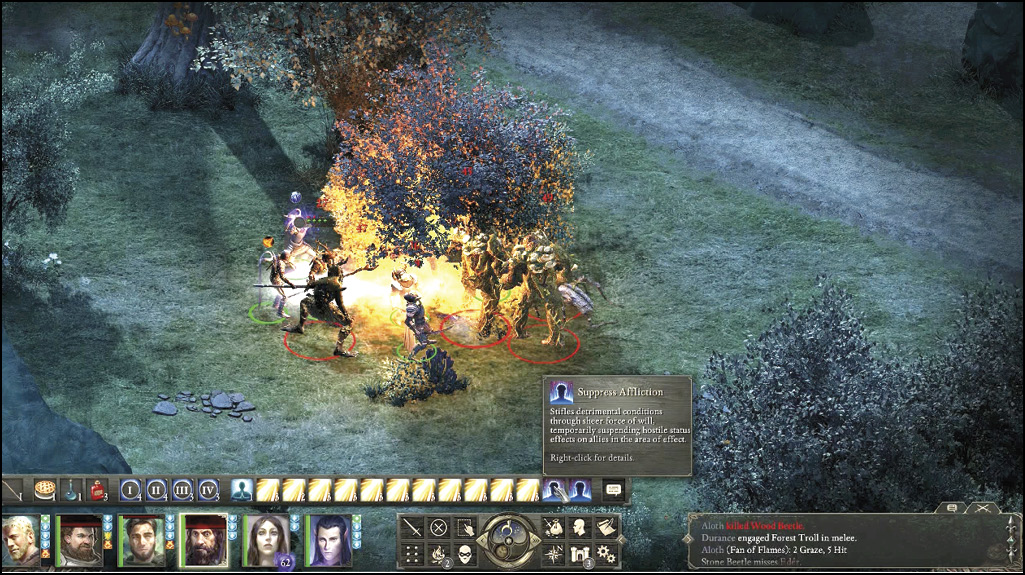
On the opposite side of the bridge, a vision clouds your progress; Thaos beckons you. He speaks of a woman, a heretic named Iovara. He asks you about her. Answer as you wish before the vision fades, and you can exit via the southeast (16). At the World Map, you are now able to access Hearthsong.
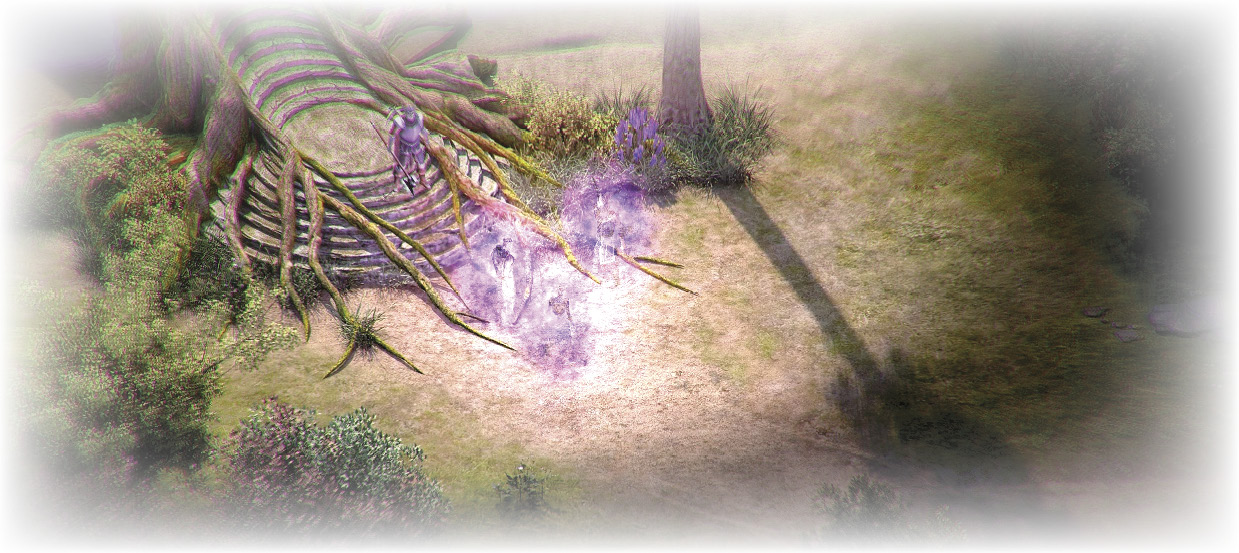
Part 4: Activities in Elmshore
Beware of Ogres
Four meaty Ogres guard a cave (11). Slaying them takes some mettle (or sneak by them). Explore their cave for some loot (if you have the Nalrend the Wise bounty active, then you will discover more than just loot).
Bounty Task: Nalrend the Wise
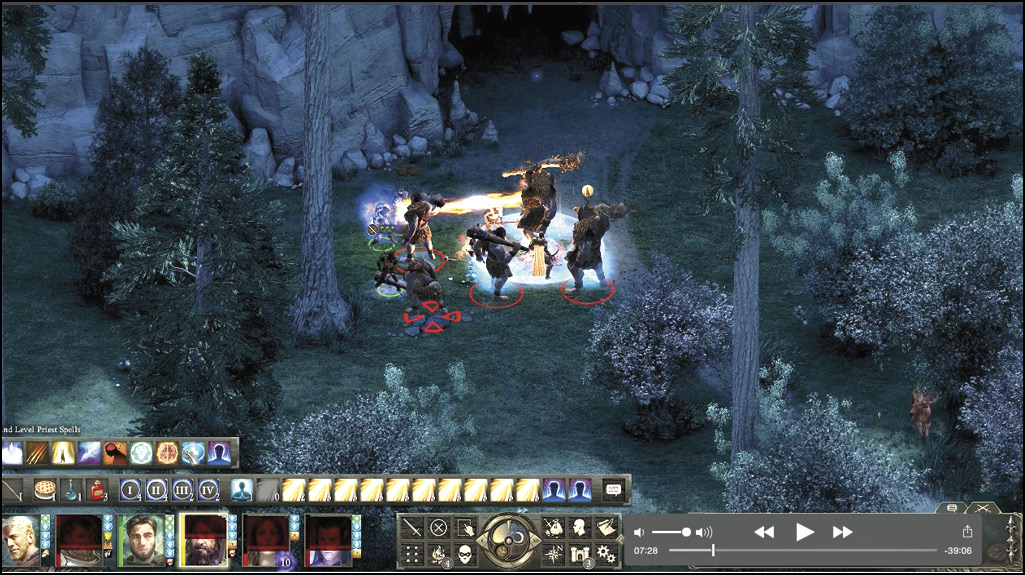
If you’ve developed your stronghold and have picked up the first group of bounty jobs, then you can find one of your targets in Elmshore Cave (11). Be well rested before you enter the cave, because the enemies are about to get even tougher. Inside are two Ogre Matrons, an Ogre Druid, Nalrend the Wise (who’s an Ogre), and their two vicious Elder Bear pets (see Act III Side Quests & Tasks).
Adra Arch
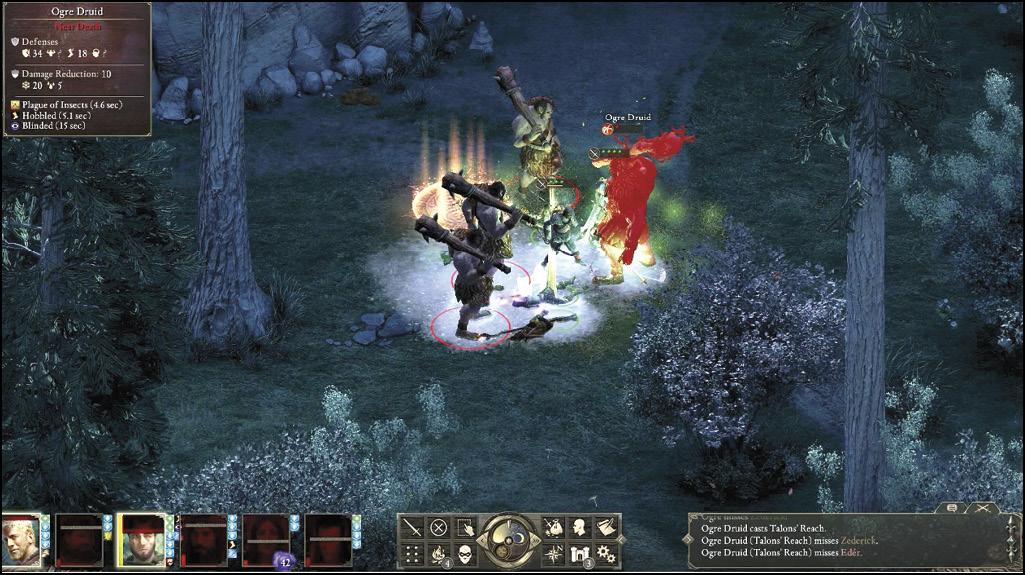
The strange and wonderful green Adra Arch (10) can be seen in the southwest woodland. A variety of Beetles make their home here, along with a Forest Troll, two Forest Lurkers, and an Adragan. Also, there are four Earth Blights and a second Adragan to worry about just south of the arch. Blights also surround a dead adventurer to the east and one to the south of the arch you may wish to loot. When the side quest “Songs of the Wild” is active, you will return here to find a rare songbird (see Act III Side Quests & Tasks).
Task: The Sealed Missive
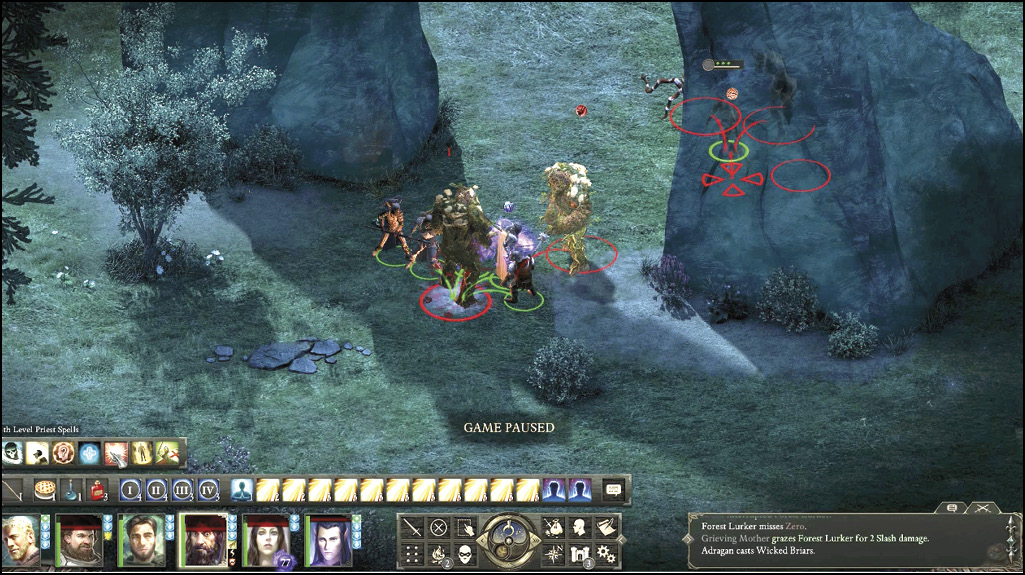
Cross the bridge to the northeast, and look to the base of the tree (12) just south of here, where you find a Dying Monk and two Stelgaer. Speak to the monk, and you can agree to deliver his scroll (see Act III Side Quests & Tasks).
Adra Pillars
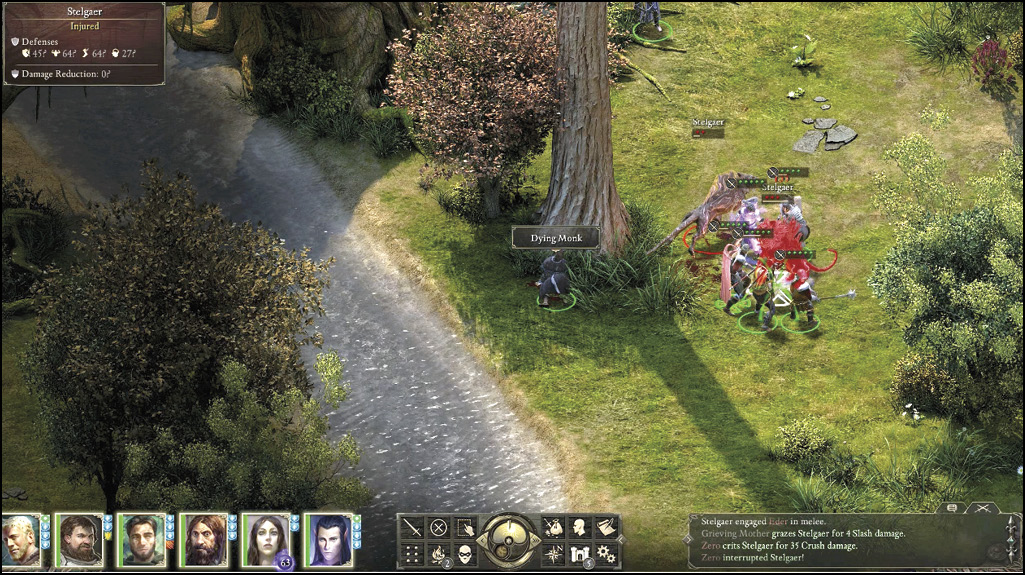
Roughly in the center of this area is a group of seven monoliths of Adra (14), guarded by two groups of Will-O-Wisps and Rain Blights.
Ruin Seal
There is also a mysterious seal on a small island (15) only accessible via a thin row of stepping-stones on the south point of the small island. You revisit this location a little further into your adventure when involved in the “A Servant of Death” task (see Act III Side Quests & Tasks).