
Pillars of Eternity Guide Walkthrough Main Quest: Act I
The Watcher of Dyrwood: The Ruins of Cilant Ls
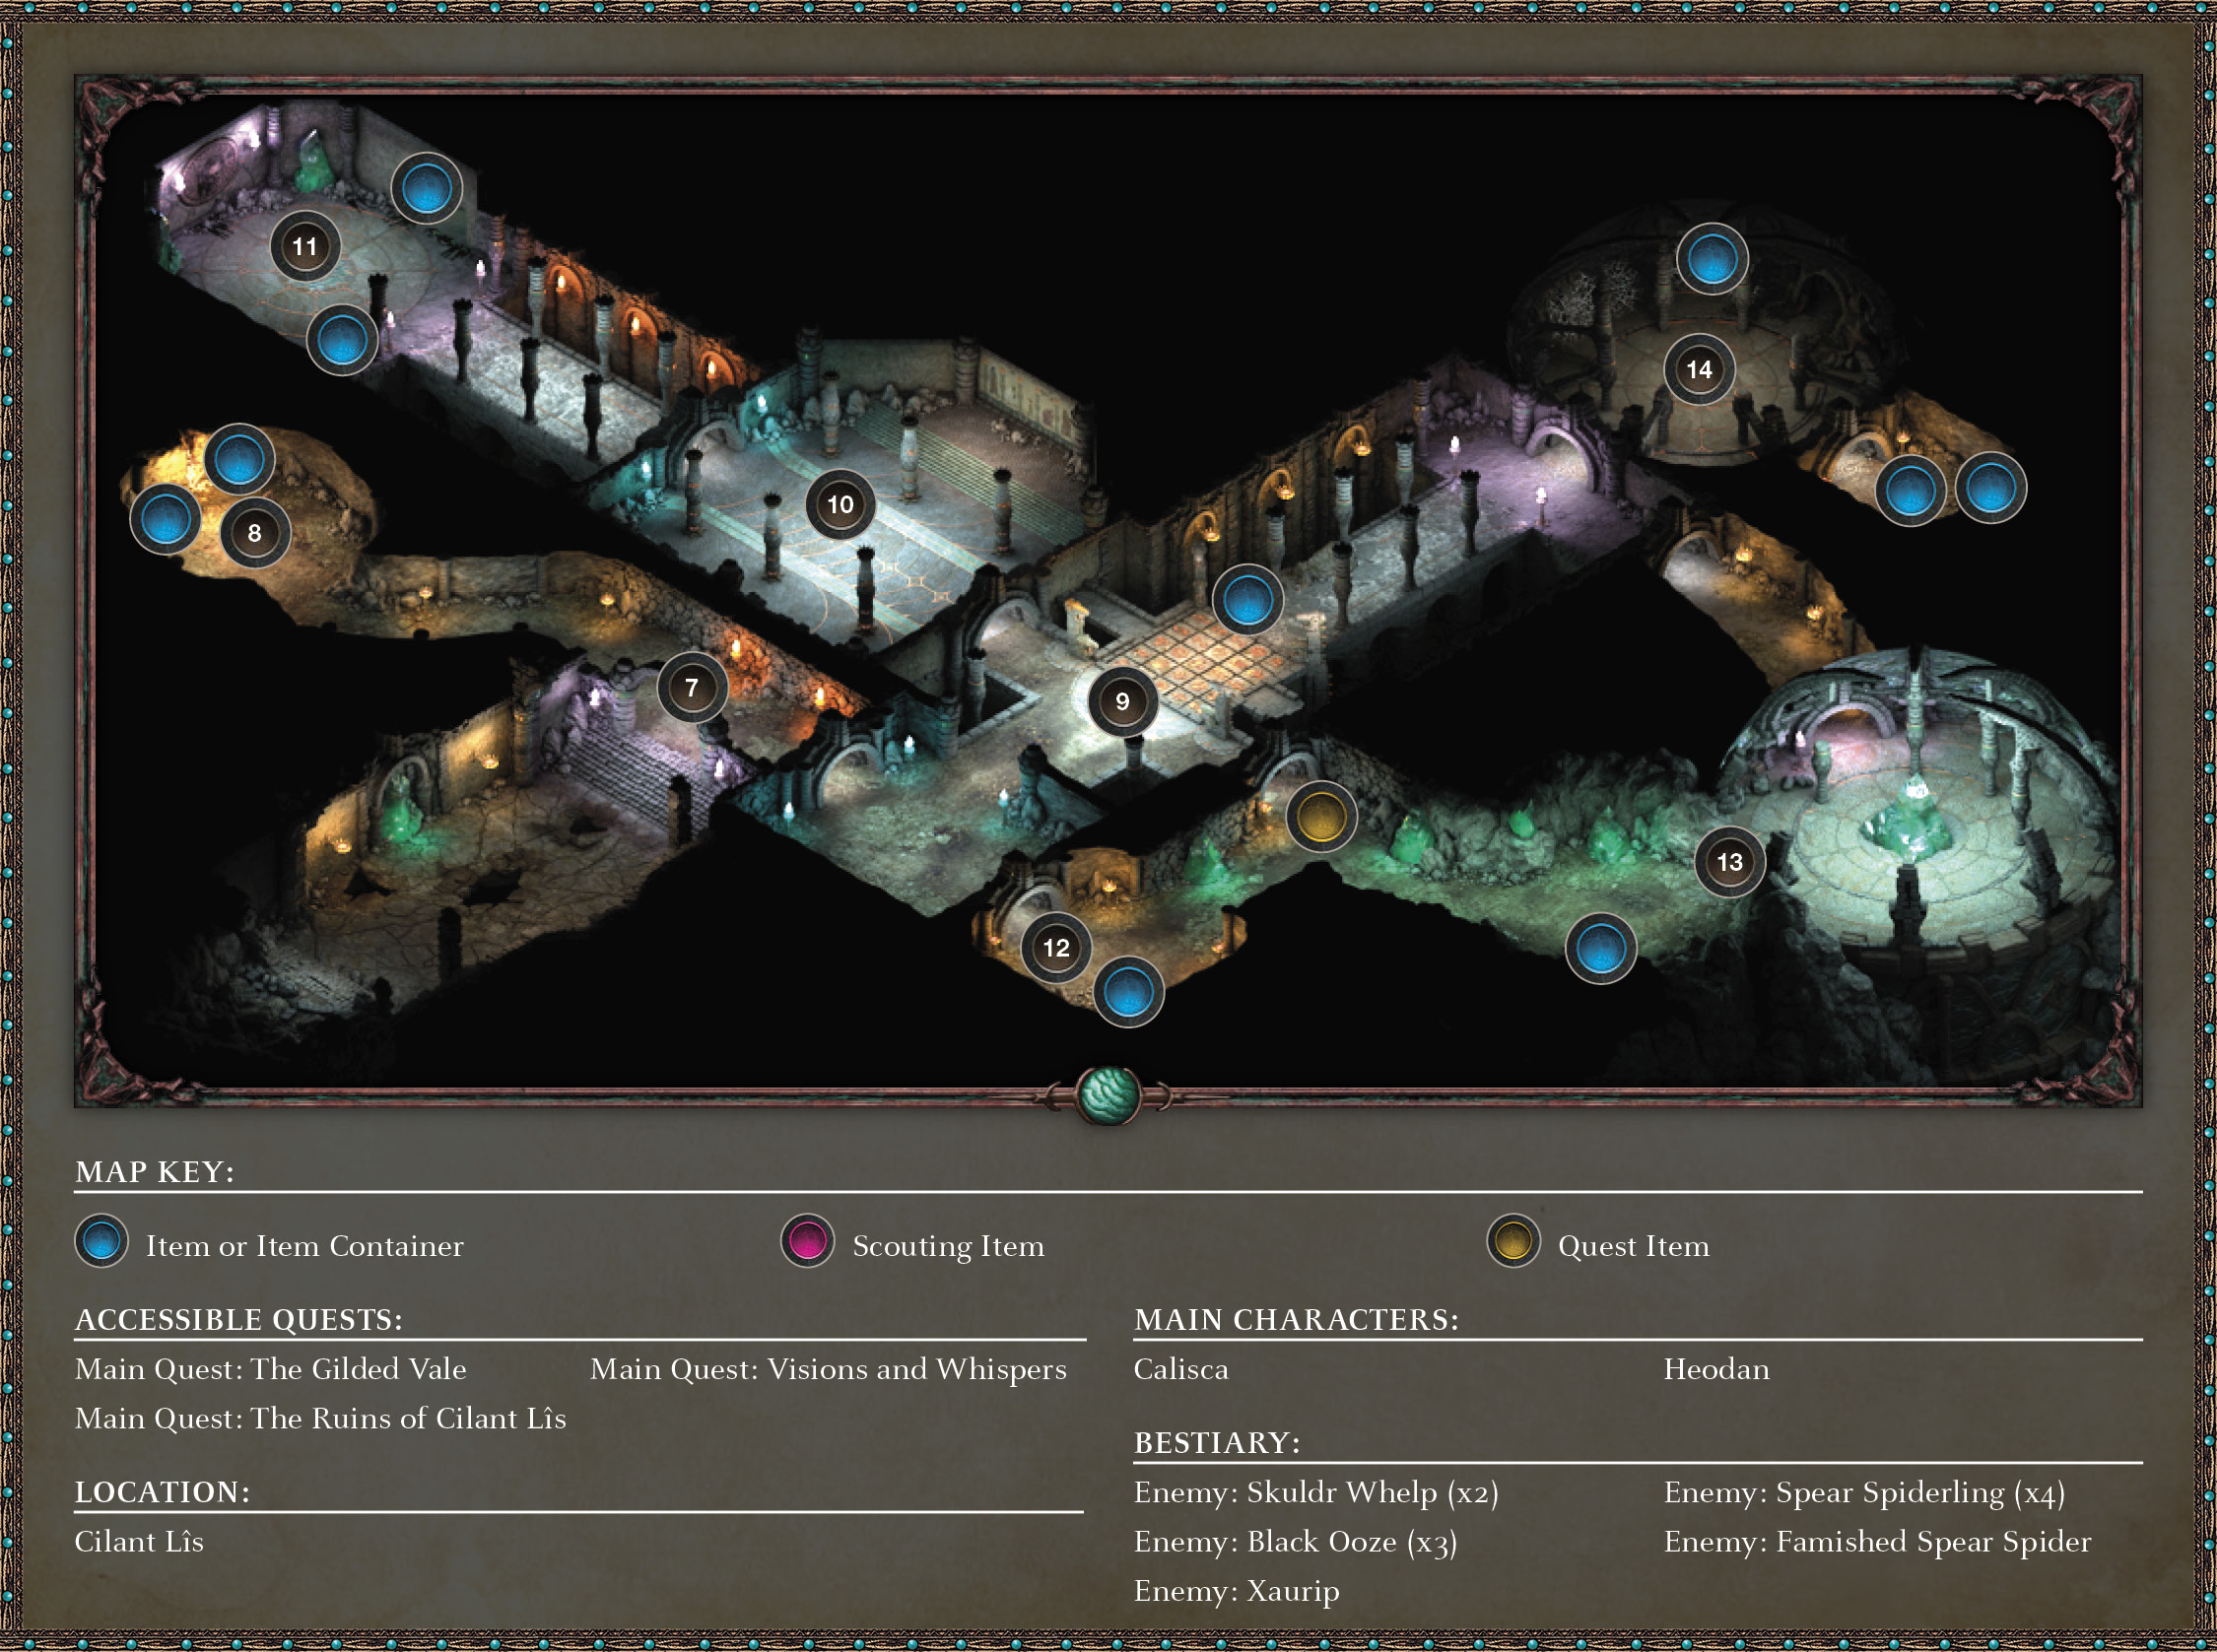
Part 1: Critical Path Through Cilant Lîs
Quest Completed: A Moment’s Respite
New Main Quest: The Ruins of Cilant Lîs
Objective: Escape the ruins
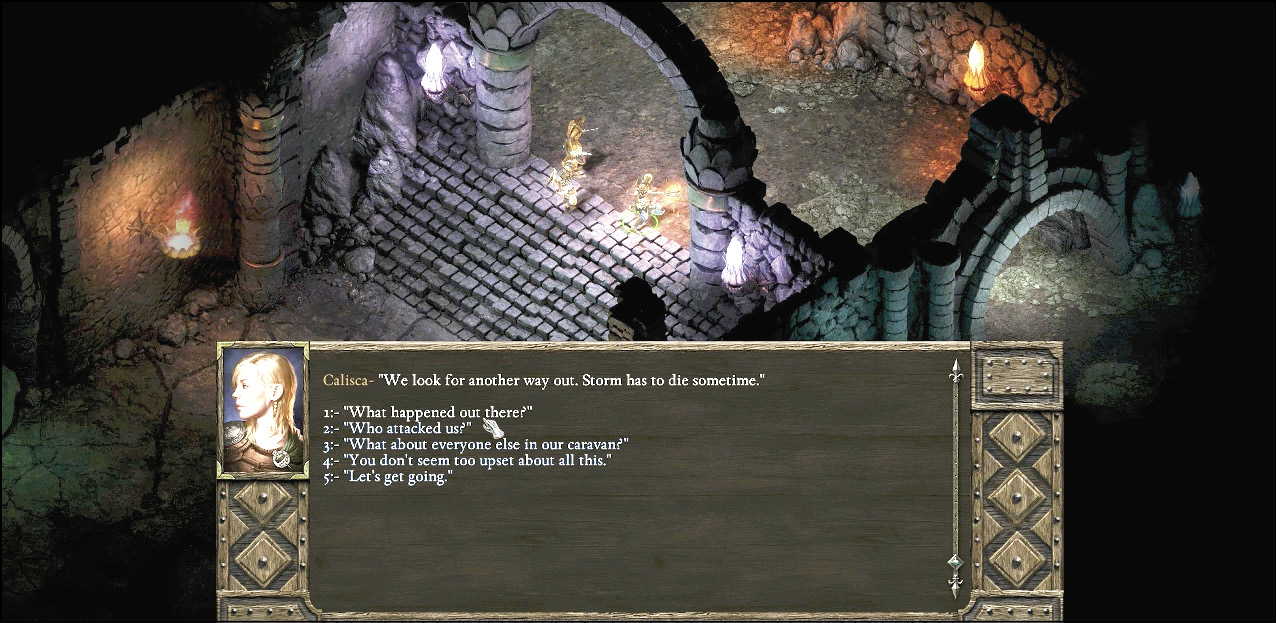
Pass by the lower level of the ruins (now permanently blocked by fallen rubble), and reach the stone steps and archway (7). Heodan may request a rest here (which Calisca isn’t happy about), and you can learn more about what just happened to you, who attacked you, and other information. Choose “Let’s get going.” If you head right (southeast) from the junction, you reach the battle with a Xaurip and an Engwithan Trap puzzle. If you head left (northwest), you wind around to a dead-end camp (8) and can gather some supplies.
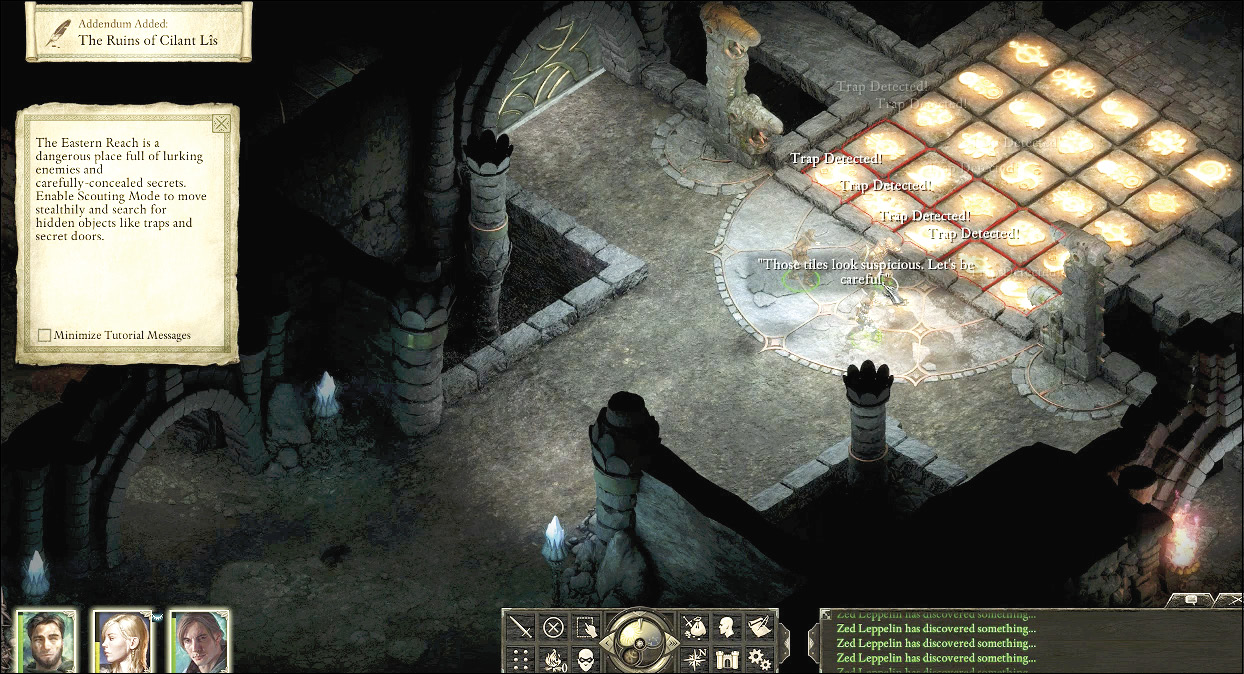
Move toward a section of tiles (9) marked with peculiar symbols. This is one of two ways to maneuver to the exit of these ruins, and the method of traversing this Engwithan tile trap is as follows:
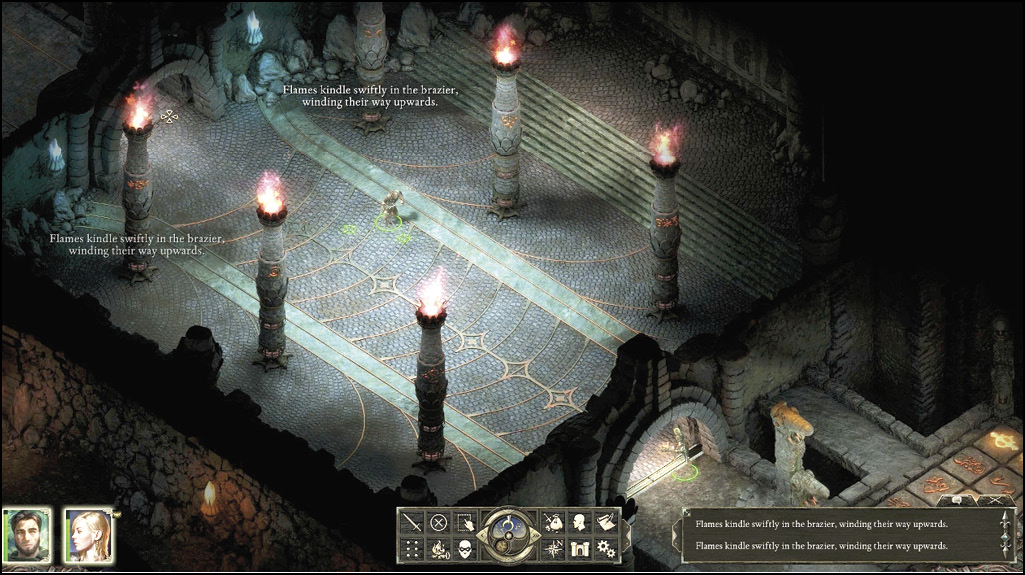
Head left (northwest) into the adjacent Pillar Room (10); each pillar has an unlit brazier at its base. Light each one using a torch (Calisca carries one), or a Fire Godlike could ignite them with its blazing hair. When all six pillars are lit, return to the Engwithan Trap; this puzzle is now solved (simply stand only on the unlit symbols if you wish to move across).
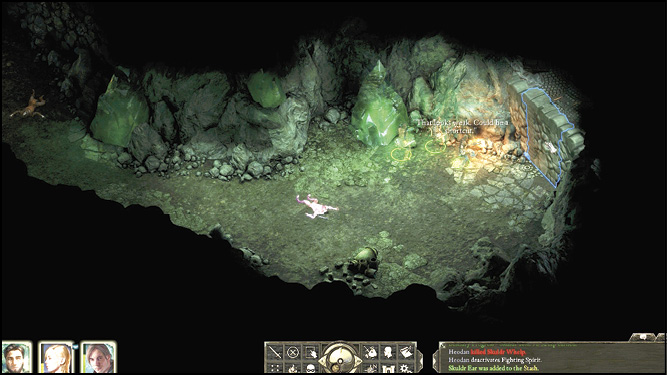
An alternative route around the floor trap is reached by moving southeast past a sickly Xaurip (12) (which can be fed Skuldr meat or attacked), to a weakened wall (13). The dead body between these two points contains the Engwithan Relief Gem used to solve the Relief Room (11) puzzle. Defeat the Skuldr Whelp. This Skuldr Whelp carries the Skuldr meat that you can give the Zaurip. Inspect the weakened wall and you can:
- [Might 15 or less] Push on the wall. Nothing happens.
- [Might 16] Push on the wall. It collapses, allowing you access through.
- [Hammer and Chisel] Use a hammer and chisel to weaken the wall—found in the chest in the camp supply room (8). It collapses, allowing you access through.
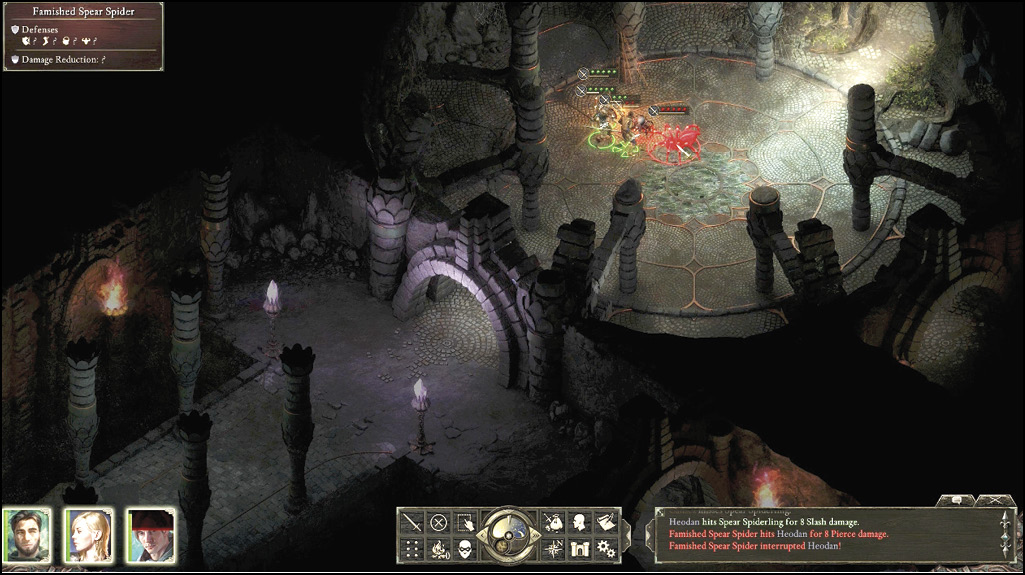
Once through, you battle a Skuldr Whelp and a Starved Skuldr Whelp. If Heodan is in the party, he suggests snaking past them. The exit is a small hallway that connects to the northern part of the trap floor chamber. Equip Calisca’s torch, as spiders are susceptible to fire. Battle two small Spider Spiderlings here. Head north into the final chamber (14) where you find the exit and battle another Spear Spiderling and a larger Famished Spear Spider. Take the exit outside.
Part 2: Critical Hits at the Soul Machine
New Main Quest: Visions and Whispers
Objective: Seek help for your condition
Quest Completed: The Ruins of Client Lîs
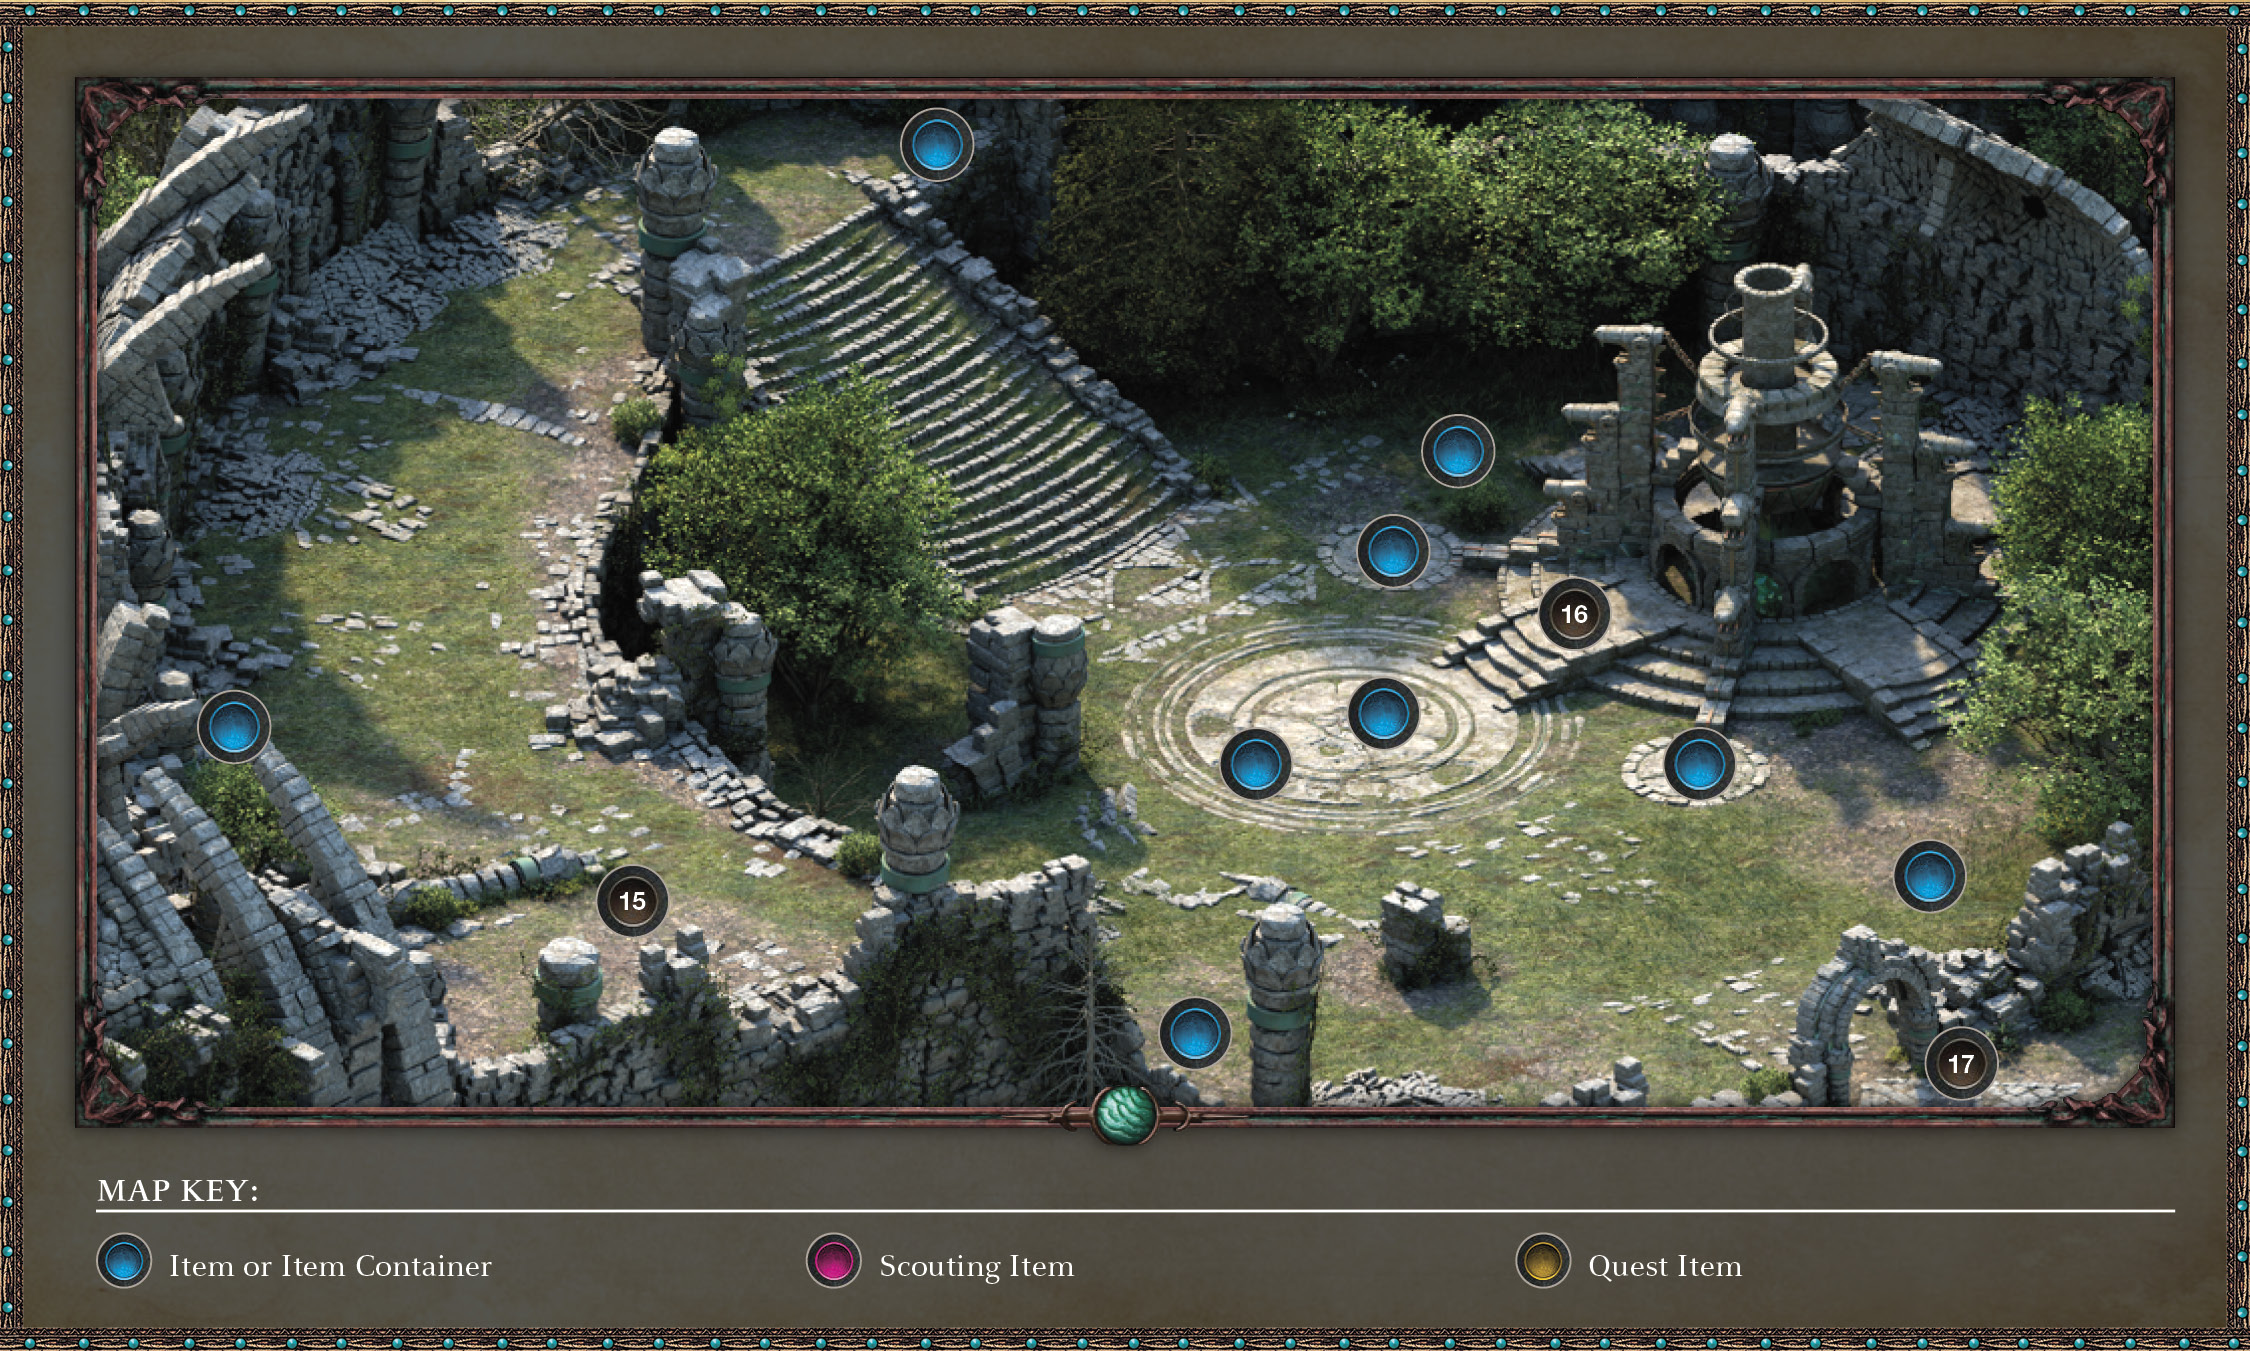
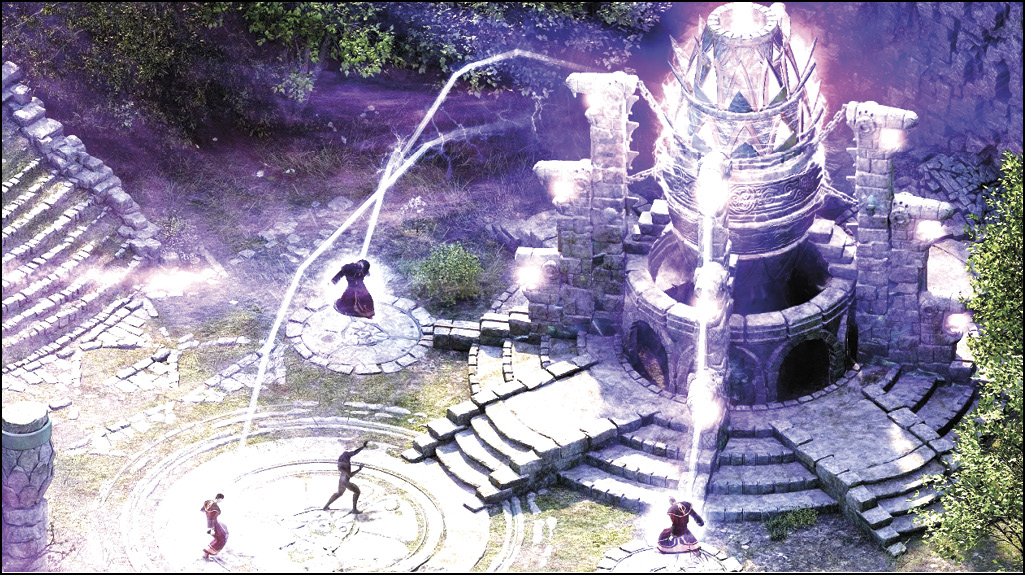
Step into the flat, grassy balcony (15) overlooking a large and infernal machine (16), as the purple biawac winds increase. Four figures are preparing to confer with the Queen That Was, and sacrifice a bearded man in the arena below. When you step forward, the machine explodes. You’re thrown into an other-worldly state, and when you awaken, the robed strangers are all dead; dust as the wind dies down. Your companions fare little better; they have collapsed and must be left on the steps.
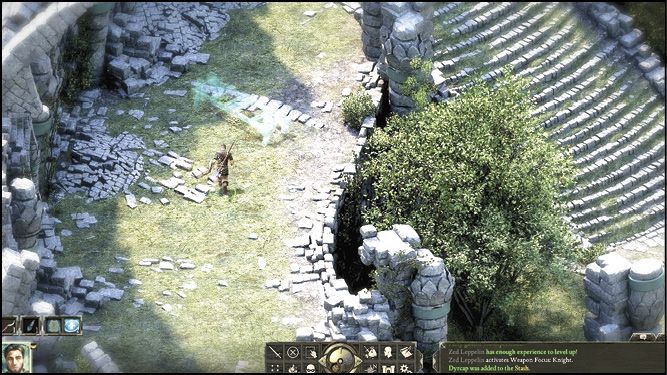
Notice that your character has earned enough experience to advance a level (a “+” symbol appears on your Character Selection menu). Click on the “+” symbol, distribute the six earned points, and choose a new talent. Don’t forget to ransack your party’s bodies for equipment before descending the steps. Edge clockwise around the balcony to the stone steps, gathering Dyrcap and St Gryran’s Horn (a plant). Along the way, you pass through ghostly images of people on torture racks. Your Main Quest now updates:
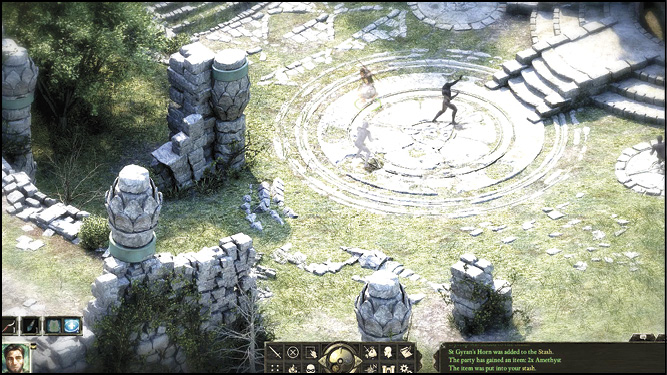
The biawac wind has subsided, and the massive machine of adra and copper has stopped turning. The standing ash corpses littering the summoning area each yield a couple items (Amethyst or Agate). Interact with each corpse and watch their ashes dissipate. The items they hold go straight to your stash. Continue collecting the various items around the machine and then exit to the south (17). When the Free Palatinate of Dyrwood map (World Map) appears, select Valewood as your destination.