Prima Games eGuides
primagames.com Browse Redeem a code Help
Battlefield Hardline eGuide
Sign in My Guides

Sign in or create an account

We'll email you a link. No password needed, and if you don't have an account yet, the link makes one.

By creating an account or signing in, you agree to our Terms of Service and Privacy Policy.

Have a password?

Had an account on the old eGuides site, or a code from a printed guide? Help and troubleshooting

Sign in with a password

By signing in, you agree to our Terms of Service and Privacy Policy.

Check your email

A sign-in link is on its way. It works once and expires in 15 minutes. Open it and you're in, with an account if you didn't already have one.

Contents

  • Introduction
    • Whats New?
  • The Academy
    • Basics
    • Police Training
  • Walkthrough
    • Prologue
    • Episode 1: Back to School
    • Episode 2: Checking Out
    • Episode 3: Gator Bait
    • Episode 4: Case Closed
    • Episode 5: Gauntlet
    • Episode 6: Out of Business
    • Episode 7: Glass Houses
    • Episode 8: Sovereign Land
    • Episode 9: Independence Day
    • Episode 10: Legacy
    • Unlocking Weapons & Gadgets
  • Case Files & Warrants
    • Case Files
      • Overview
      • The Hot Shot File
      • Hot Shot Supply Chain
      • The Elmore Hotel
      • Internal Affairs
      • Power Play
      • The Boomer Connection
      • Preferred Outcomes
    • Suspects With Warrants
      • Overview
      • Suspect List
  • Classes and Weapons
    • Overview
    • Operator
    • Mechanic
    • Enforcer
    • Professional
    • Weapon Customization
    • Special Weapons
    • Universal Gadgets
    • Grenades
    • Melee Weapons
    • Battle Pickups
  • Multiplayer: Getting Started
    • Overview
    • Combat Basics
    • Squad Play
    • Progression and Economy
    • Multiplayer Tactics
    • Game Modes
    • Extended Play
  • Multiplayer Maps
    • Bank Job
      • Overview
      • Heist
      • Blood Money
      • Conquest
      • Team Deathmatch
      • Crosshair
      • Rescue
    • The Block
      • Overview
      • Heist
      • Blood Money
      • Conquest
      • Team Deathmatch
      • Crosshair
      • Rescue
    • Derailed
      • Overview
      • Heist
      • Hotwire
      • Blood Money
      • Conquest
      • Team Deathmatch
      • Crosshair
      • Rescue
    • Downtown
      • Overview
      • Heist
      • Hotwire
      • Blood Money
      • conquest
      • Team Deathmatch
      • Crosshair
      • Rescue
    • Dust Bowl
      • Overview
      • Heist
      • Hotwire
      • Blood Money
      • Conquest
      • Team Deathmatch
      • Crosshair
      • Rescue
    • Everglades
      • Overview
      • Heist
      • Hotwire
      • Blood Money
      • Conquest
      • Team Deathmatch
      • Crosshair
      • Rescue
    • Growhouse
      • Overview
      • Heist
      • Blood Money
      • Conquest
      • Team Deathmatch
      • Crosshair
      • Rescue
    • Hollywood Heights
      • Overview
      • Heist
      • Blood Money
      • Conquest
      • Team Deathmatch
      • Crosshair
      • Rescue
    • Riptide
      • Overview
      • Heist
      • Hotwire
      • Blood Money
      • Conquest
      • Team Deathmatch
      • Crosshair
      • Rescue
  • Appendix
    • Multiplayer Scoring
    • Multiplayer Awards
    • Game Mode Assignments
    • Weapon Assignments
    • Melee Assignments
    • Vehicle Assignments
    • Class Assignments
    • Syndicate Assignments
    • Squad Assignments
    • Hacker
    • Single Player Achievements / Trophies

Battlefield Hardline Guide › Walkthrough

Episode 3: Gator Bait

Nick and Khai are sent to Everglades National Park to investigate drug bales that are being dropped in the wetlands.

Location: Everglades National Park

Detective: Nicholas Mendoza

Partner: Khai Minh Dao

Case File(s): Internal Affairs, Hot Shot Supply Chain

Evidence

Suspects with Warrants: Luis Minguez , Thomas Bell , Nathan Brown

Main Objective: Tag bales dropped in Everglades and investigate.

OBJECTIVES:

Find the Drug Bale

Find the Drug Bale #2

Find the Drug Bale #3

Tag the Final Bale

Get Across the Fence

Investigate the Boathouse

Investigate the Leads

Investigate the Gator Farm

Return to the Airboat

Investigate the Saw Mill

Get to the Stadium

Identify Neltz

Apprehend Neltz

Airboat

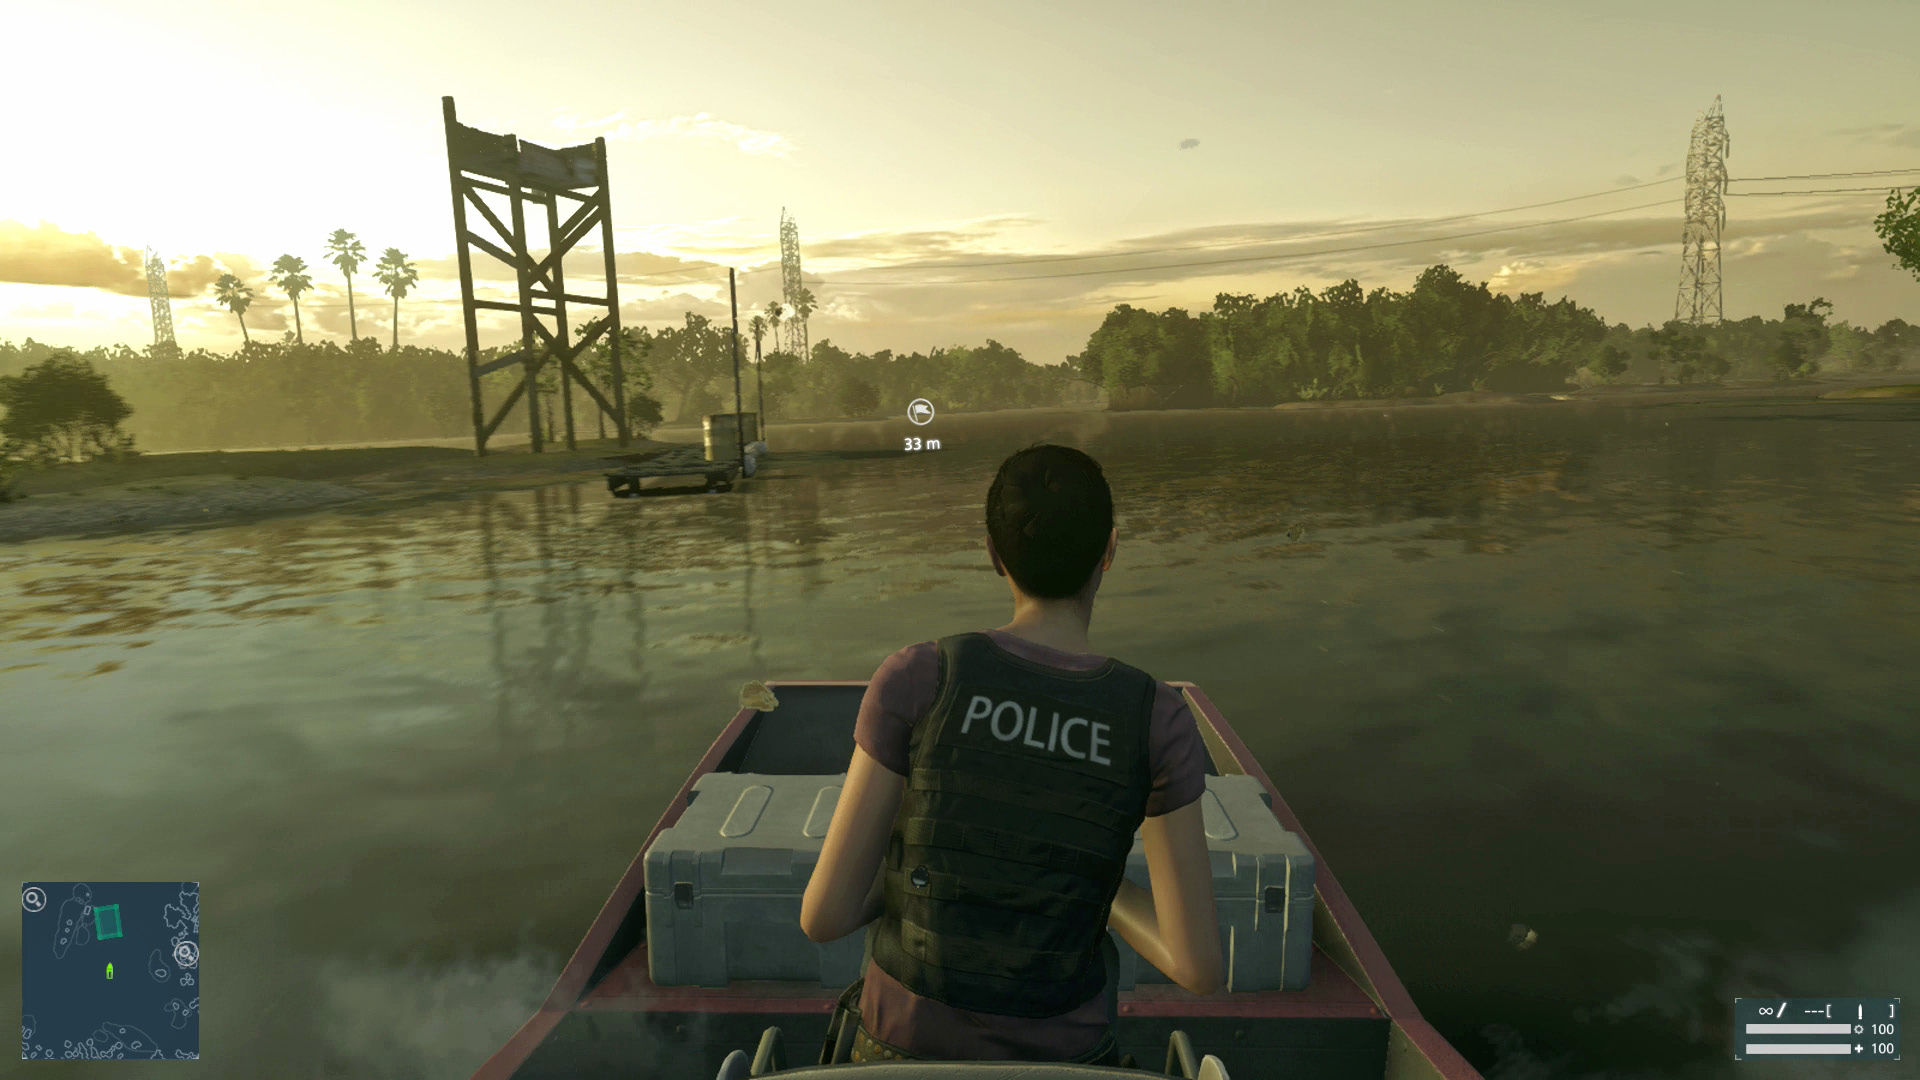
The airboat is driven in the same manner as the vehicles in earlier Episodes. The Fire button moves the boat forward and Aim goes in reverse. Guide the watercraft with the left stick. A flag icon on the map and HUD indicates a location where the airboat can be docked. Hold the Reload button as you approach to disembark.

Find the Drug Bale

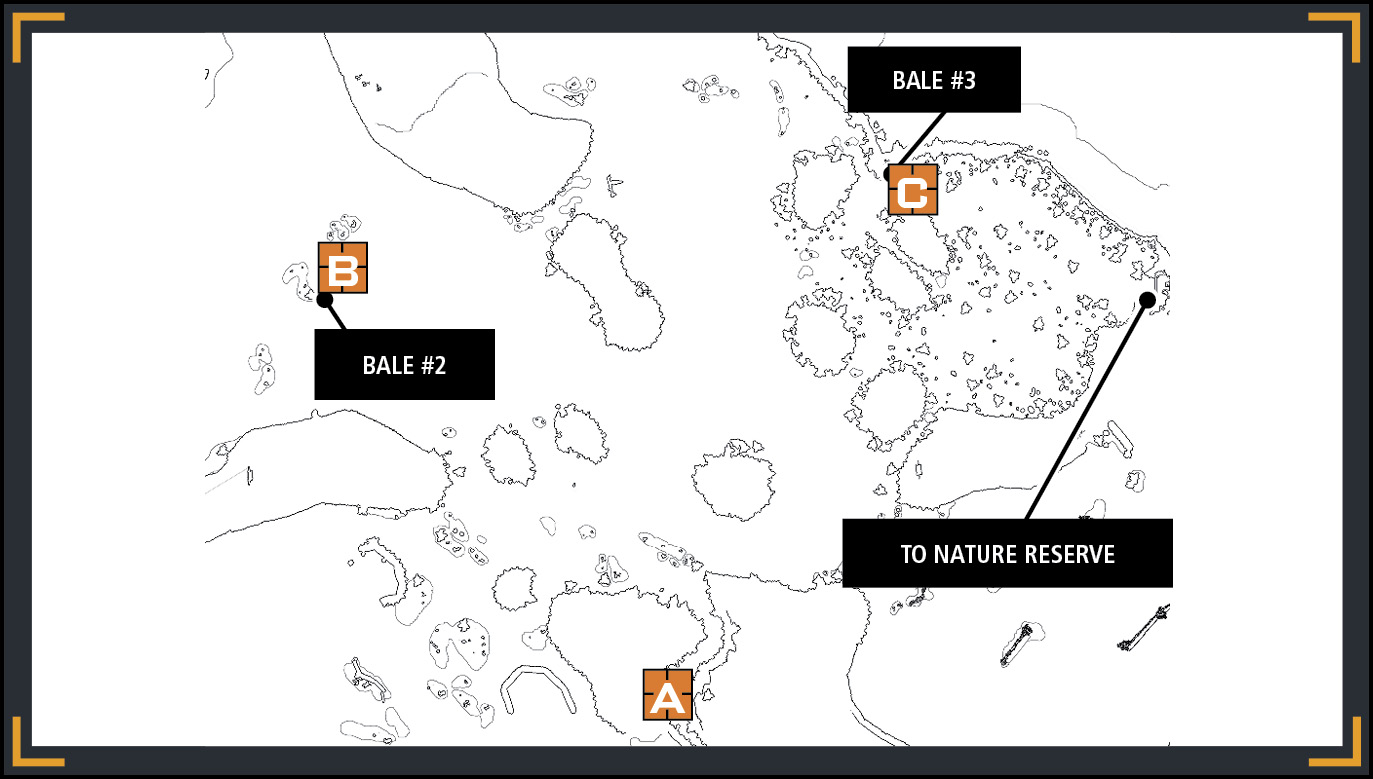
Drive the airboat ahead along the narrow path as an icon appears on the map. Once out in the open, guide the boat toward the marker until Khai is able to hit it with a tracker.

Find the Drug Bale #2

Turn right and again, an icon shows the location of another bale. Drive between the islands until Khai marks the second bale.

Find the Drug Bale #3
Continue along the left side until you reach a dock. Exit the boat to find the third bale.

Tag the Final Bale

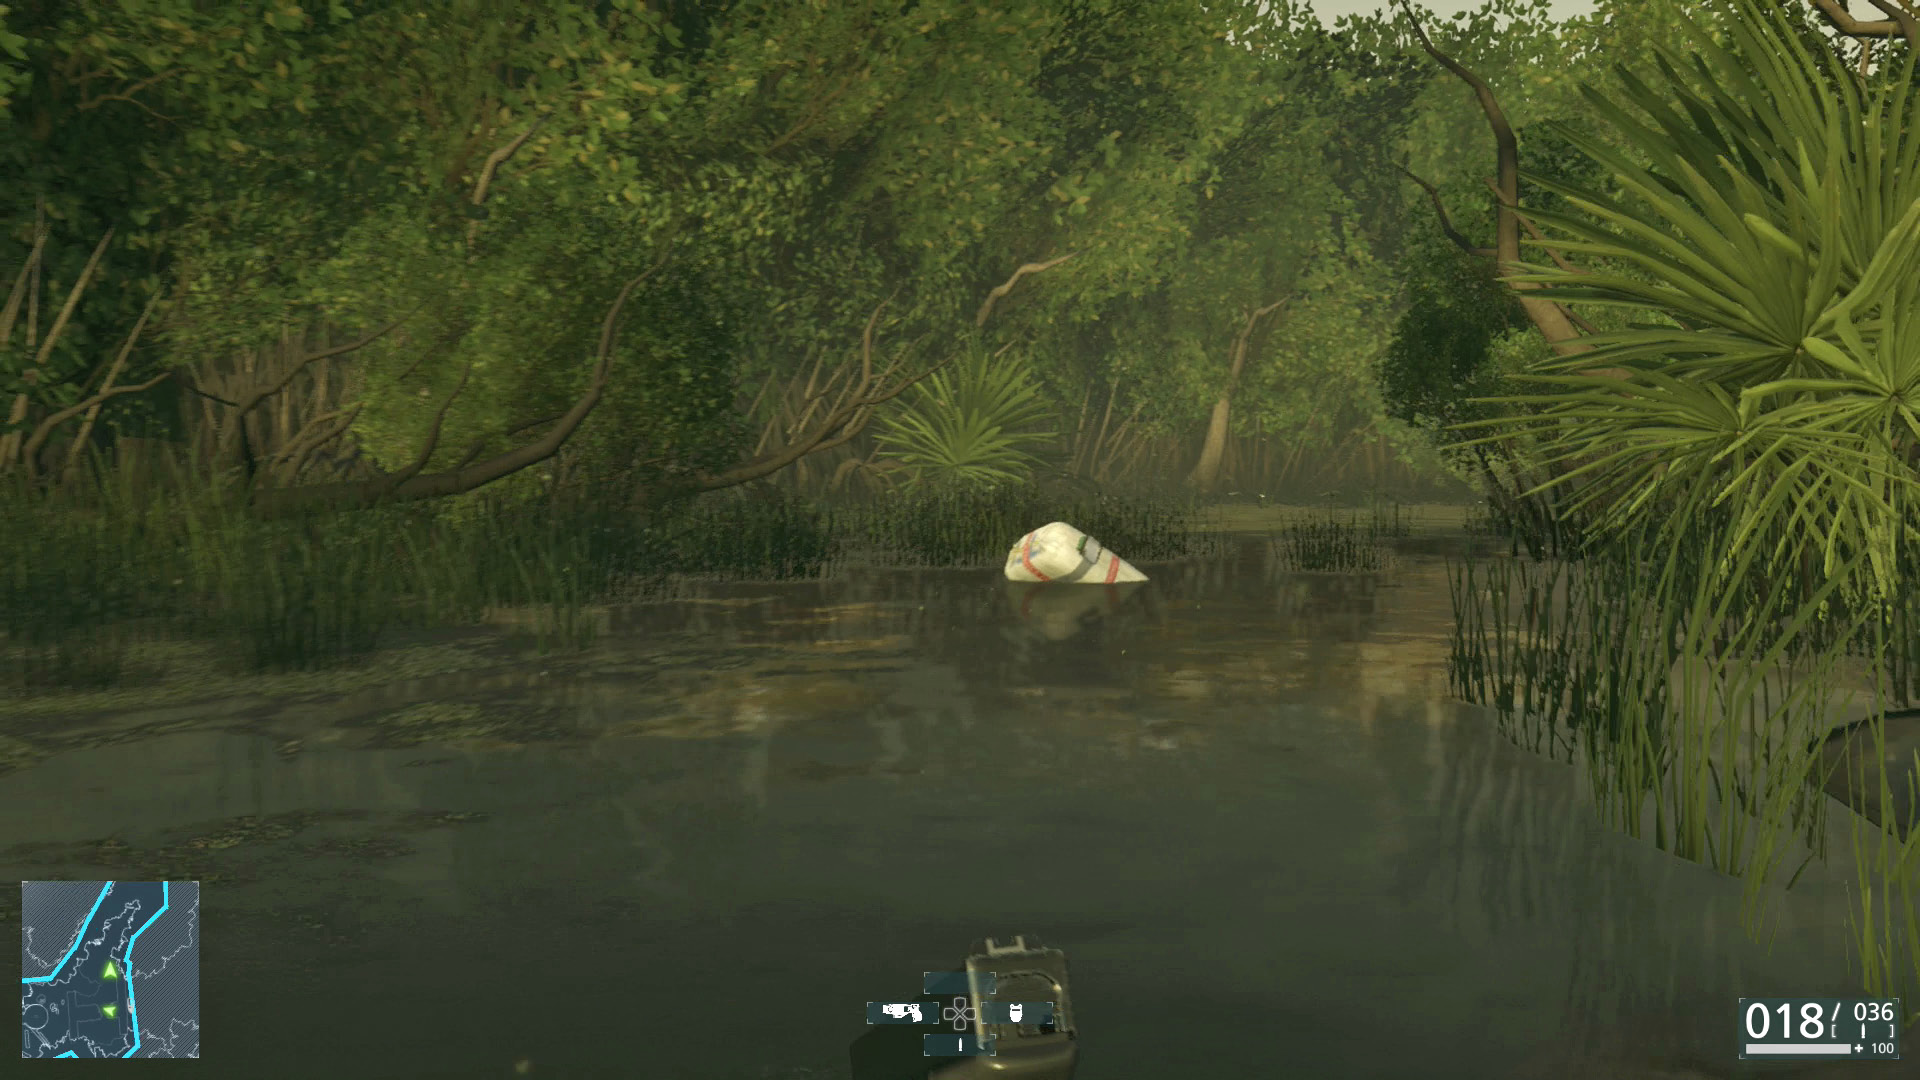
Look to the right to spot the final bale. Wade through the water and tag it. At this point, an alligator attacks Mendoza. Press the analog sticks in the indicated directions to fight it off. Perform the following motions.
• When the gator first goes underwater, press Left Stick right + Right Stick left.

• Once back above water, press Left Stick Down + Right Stick Up.

• As it turns on its side again underwater, again press Left Stick right + Right Stick left.

Get Across the Fence

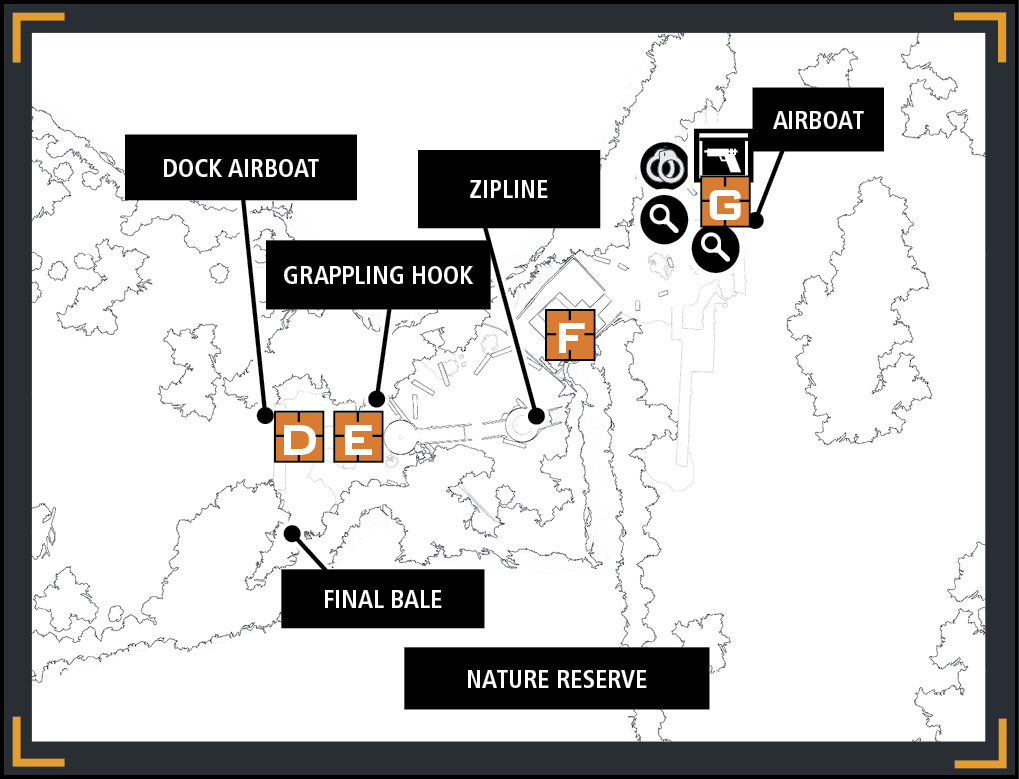
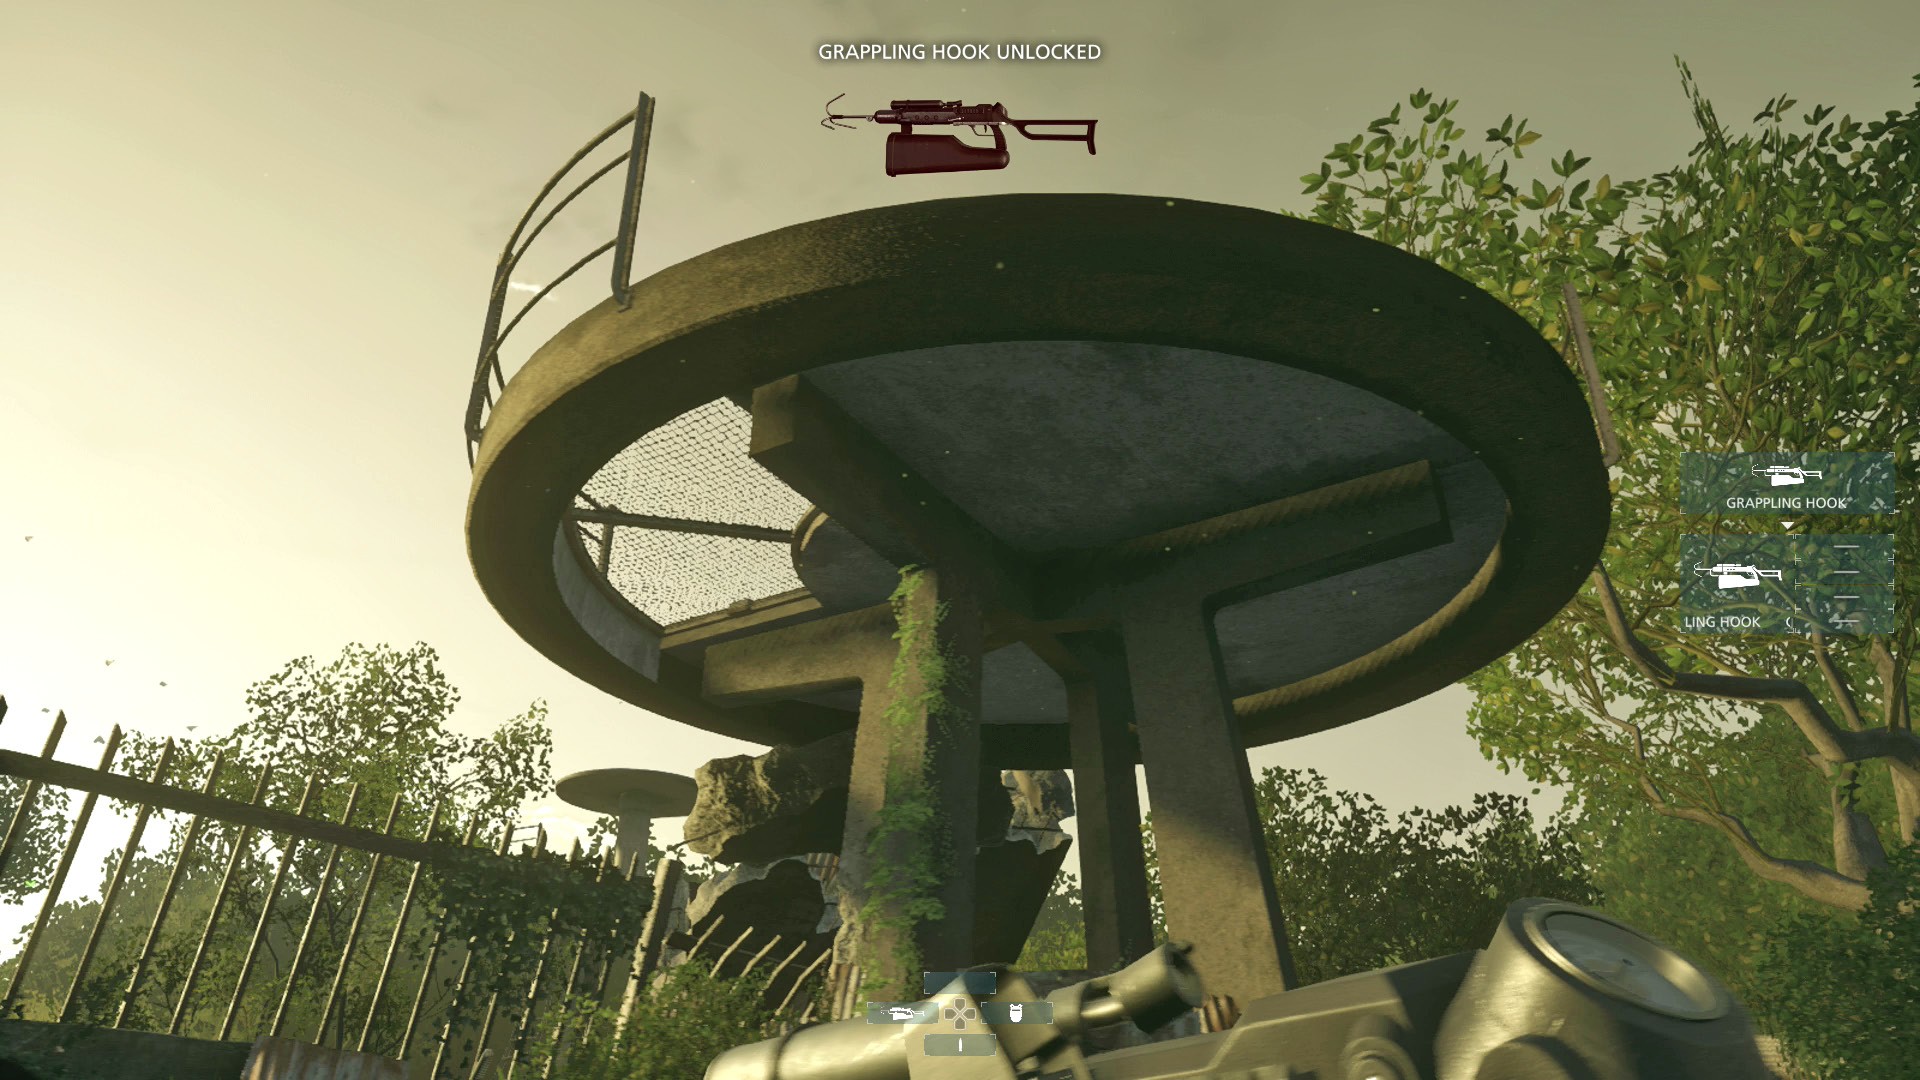
Move up the bank toward the observation tower where Khai drops a Grappling Hook. Pick it up, fire a hook at the platform above, and climb the rope.
Grappling Hook

The Grappling Hook must be selected in Tactical Gear and it takes up a Gadget slot. During this episode, this item is necessary to reach a few items. Otherwise, it is used to find alternate routes through the episodes. The device is aimed and fired just like any weapon. When aiming, a circle with a line through it means the hook cannot be fired. Line it up with an edge until it changes to a square and fire. Now, walk into the rope to grab on. Continue pushing forward to climb to the next level. A fully loaded Grappling Hook holds four hooks, but looking at a used hook and pressing the Reload button can recover them.

Move toward the second tower, firing another hook at the upper platform any time along the way. Use the rope to climb onto the upper landing.

Cape and Ears Not Included

Climb a total of 10 meters with the grapple gun in single-player. This is achieved by the time you reach the top of the second tower.

Atop the second tower, Khai sets a bag on the ground that holds a zipline crossbow. Pick it up, aim at the wooden deck below, and fire the zipline. Hop on to reach the other side of the fence.
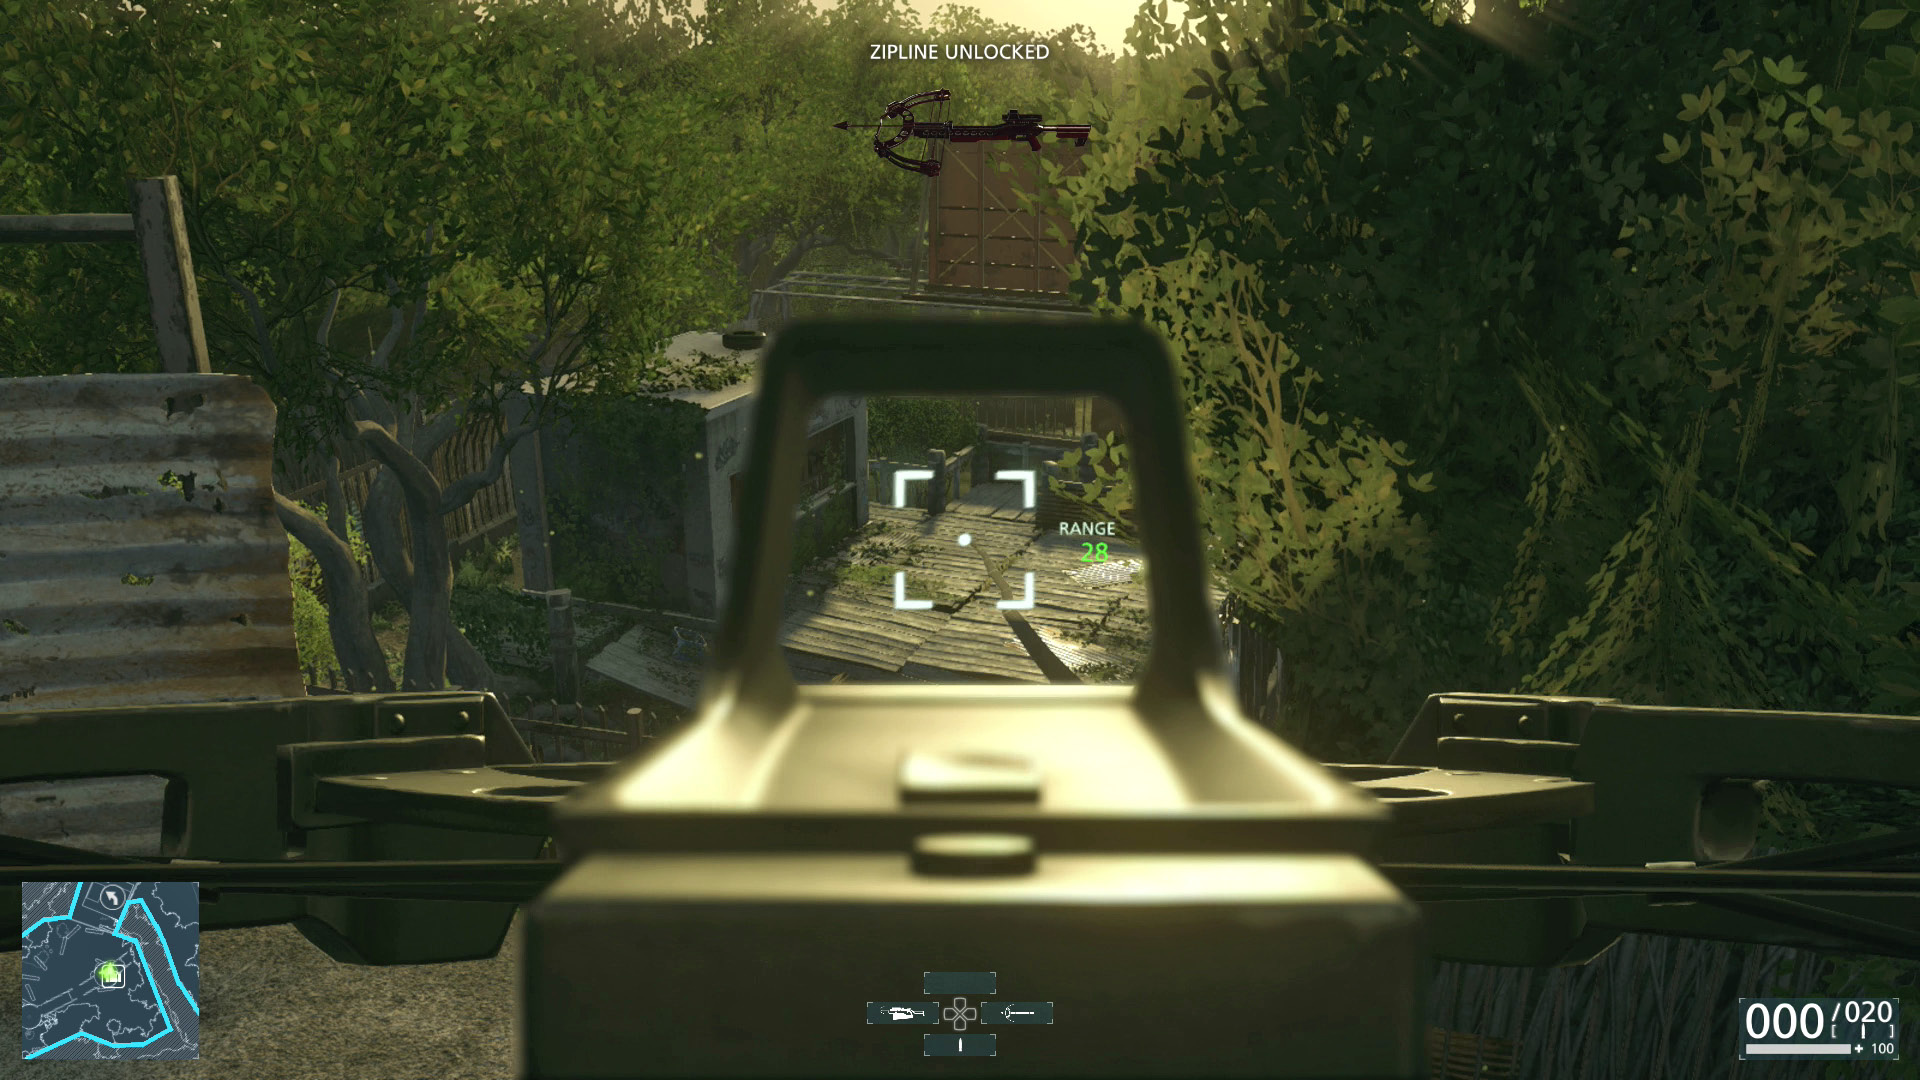
zipline

The zipline, used in the same manner as the Grappling Hook, is great for reaching lower areas very quickly. Aim until the square is shown in the sights and fire the rope. Jump onto the line or press the Reload button while looking at the post to slide down.

Fast Rope Expert

Travel a total of 90 meters with the zipline crossbow in single-player. It takes a few uses to reach this distance, but it’s easily obtainable within Episode 3.

Investigate the Boathouse

Equip the scanner and tag the three men who enter the area ahead. Walk toward the group and once they are all within range, flash your badge to freeze them. Be sure to calm each one down as they are handcuffed.
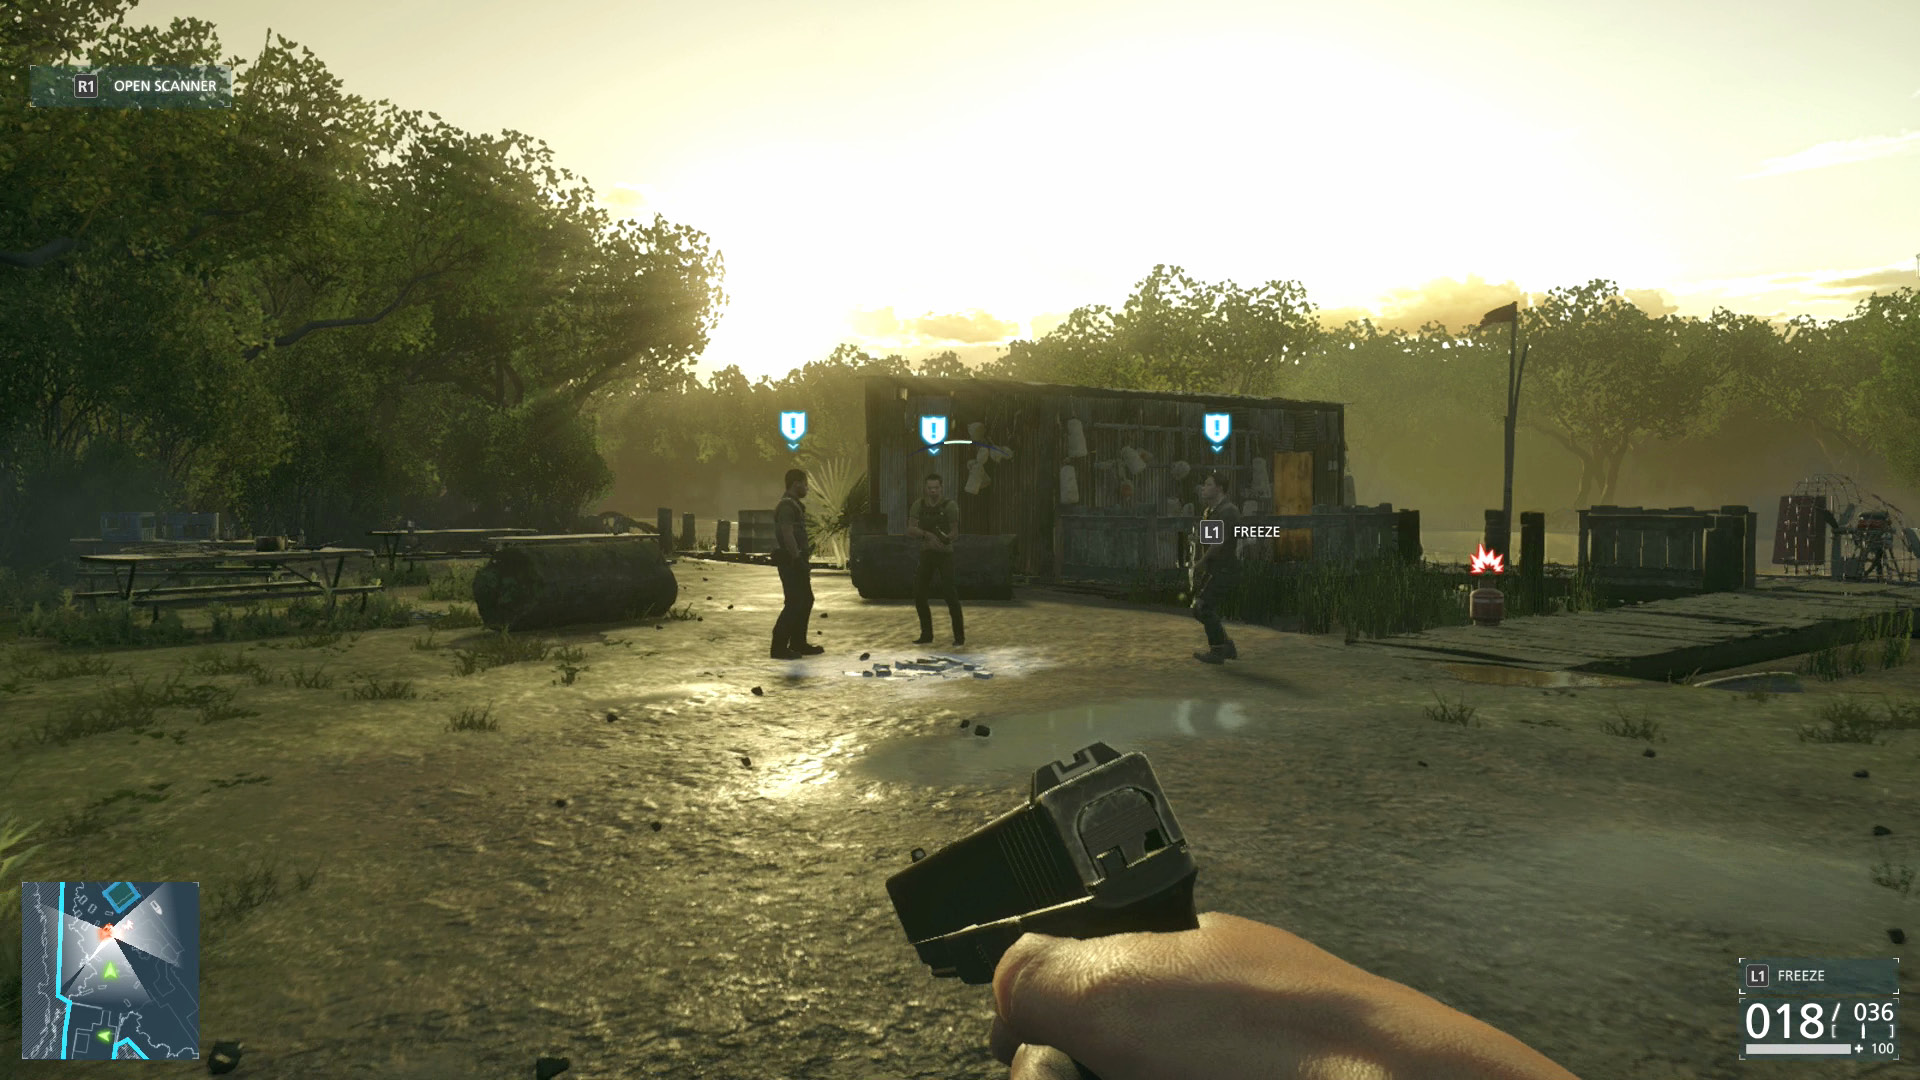
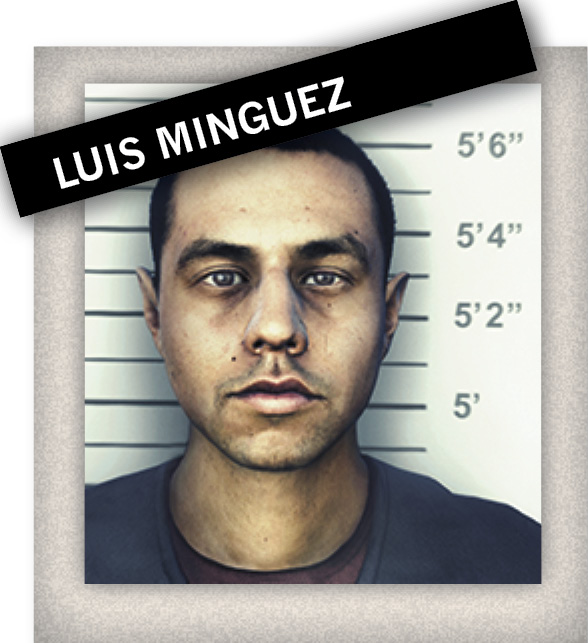
Luis Minguez

Use the Scanner on the three criminals ahead to find Luis Minguez. Freeze the trio with your badge and cuff them to score the arrest.

Exploded Drug Bale

After using the zipline to get over the fence and taking down the three hostiles, examine the ground near their bodies to find an Exploded Drug Bale. Scan the mess to log the evidence.

Use a crowbar to enter the nearby boathouse to find a Tactical Gear case and a radio. Interact with the latter to continue the episode.

Toxic Barrel

On the way to the boathouse, a barrel of toxic waste sits in the water at the corner of the dock. Analyze it with the Scanner to log the evidence.

Investigate the Leads

With new leads to investigate, hop into the nearby airboat, which holds its own Tactical Gear case. Before pursuing these clues, explore the lake. There are a number of docks that allow the player to get out of the craft and look around. A couple of these locations require the Grappling Hook and zipline, though these can be grabbed at any time from the boat.
Regional Zoning Map

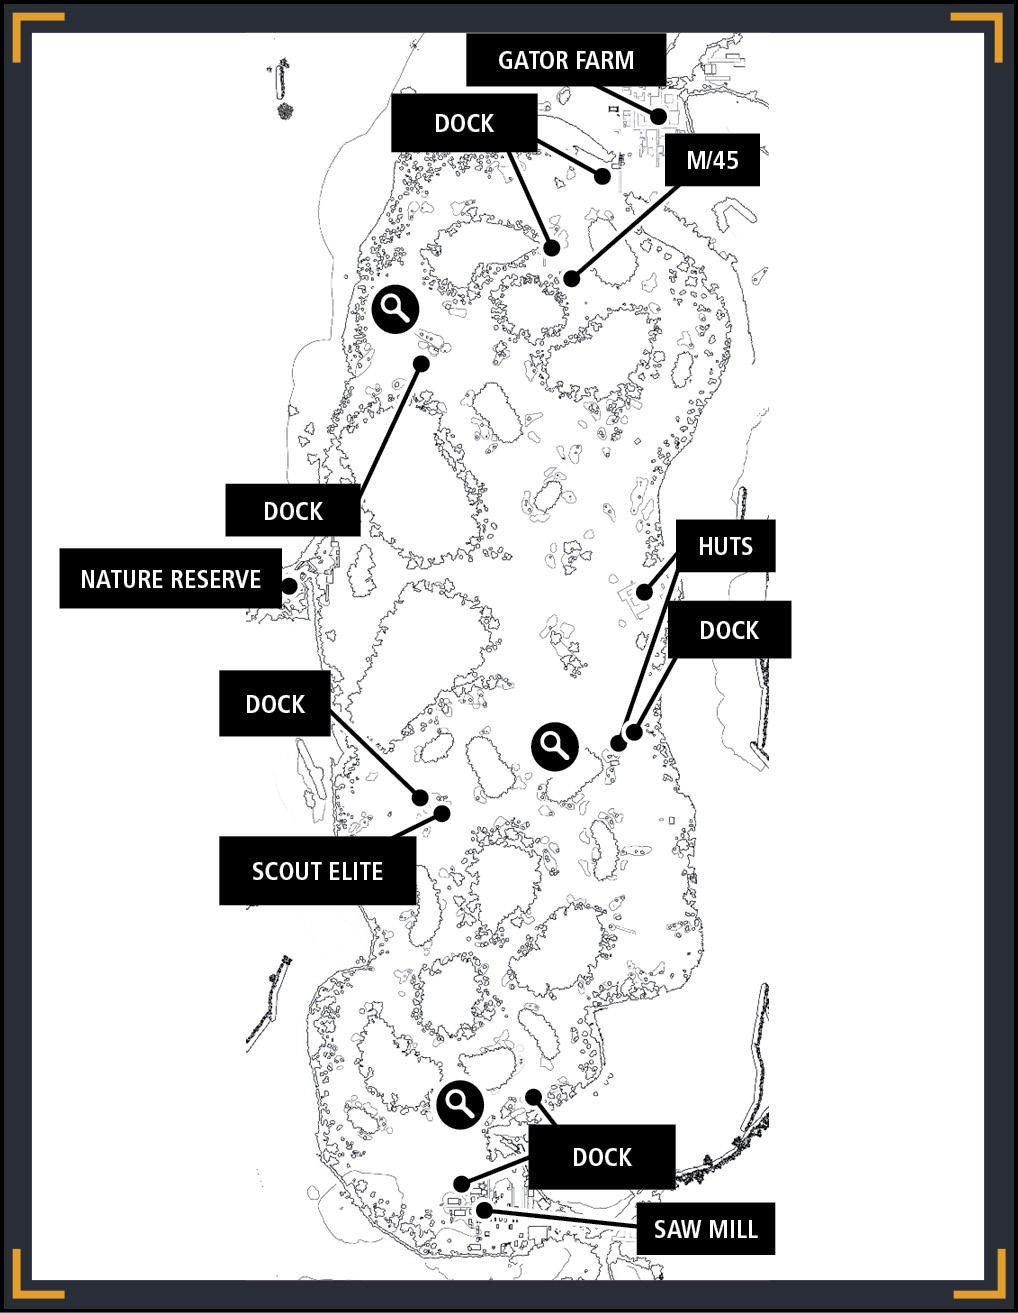
Head north from the nature reserve and steer right as a dock comes into view. Hop out of the airboat and use the Grappling Hook on the open side of the nearby tower. From there, look north to spot another, lower platform. Fire the zipline at the back wall and slide down the line to find a map hanging inside. Log the evidence before returning to the boat.

M/45 SMG

From the gator farm, take the airboat southwest to a nearby dock. Use the Grappling Hook to climb onto another wooden tower. Look southeast to spot a lower platform and use the zipline to reach it. Sitting on the workbench is the M/45 SMG. Pick it up to add it to Tactical Gear.

Chemical Barrel

South of the gator farm, directly east of the nature reserve, are a group of huts that can be explored. South from that location is another structure that is still considered the huts. Hop out at the dock and find the Chemical Barrel that sits nearby. Analyze the container to add the evidence.

Scout Elite Sniper Bolt Action

Drive the airboat south from the nature reserve until a dock is spotted next to a small island. Use the Grappling Hook to reach the wooden ledge above and then use the zipline to reach another platform to the east. A Scout Elite rifle rests on a table there.

Kilo of Cocaine

On the south end of the lake, near the saw mill, is another dock. Disembark and use the Grappling Hook to reach the top of a tower. Scan the Kilo of Cocaine that sits on the table.

Two Leads

There are two separate leads that can be investigated next. On the north side of the lake is a gator farm and to the south is a saw mill. It does not matter which you do first.

Investigate the Gator Farm

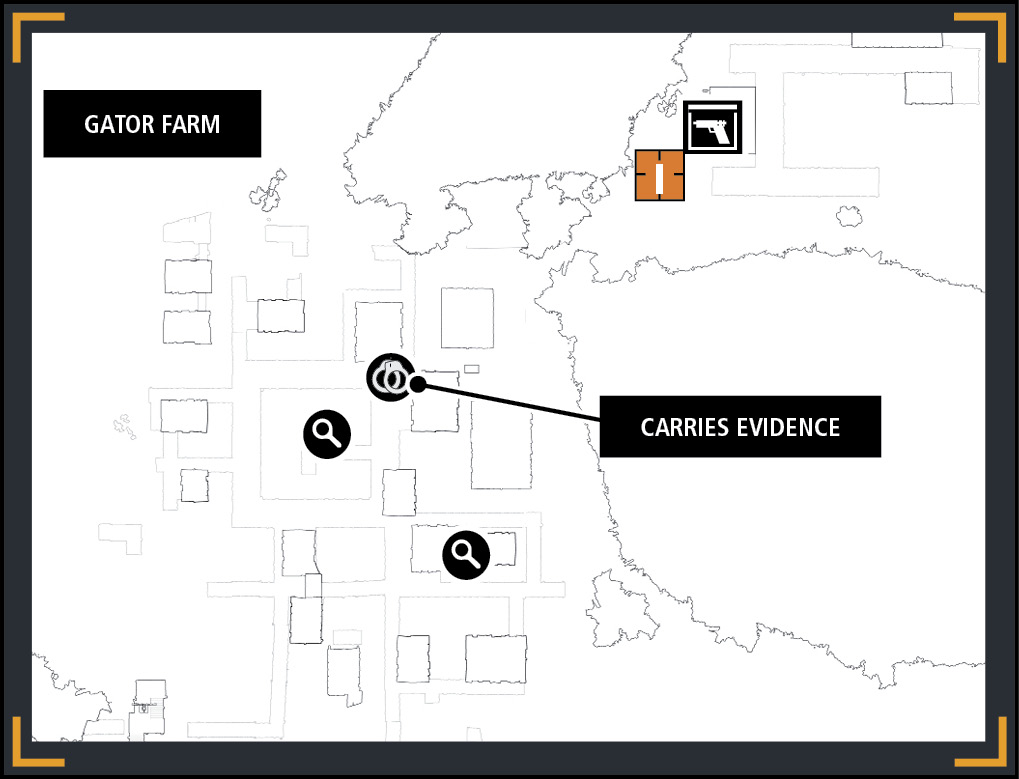
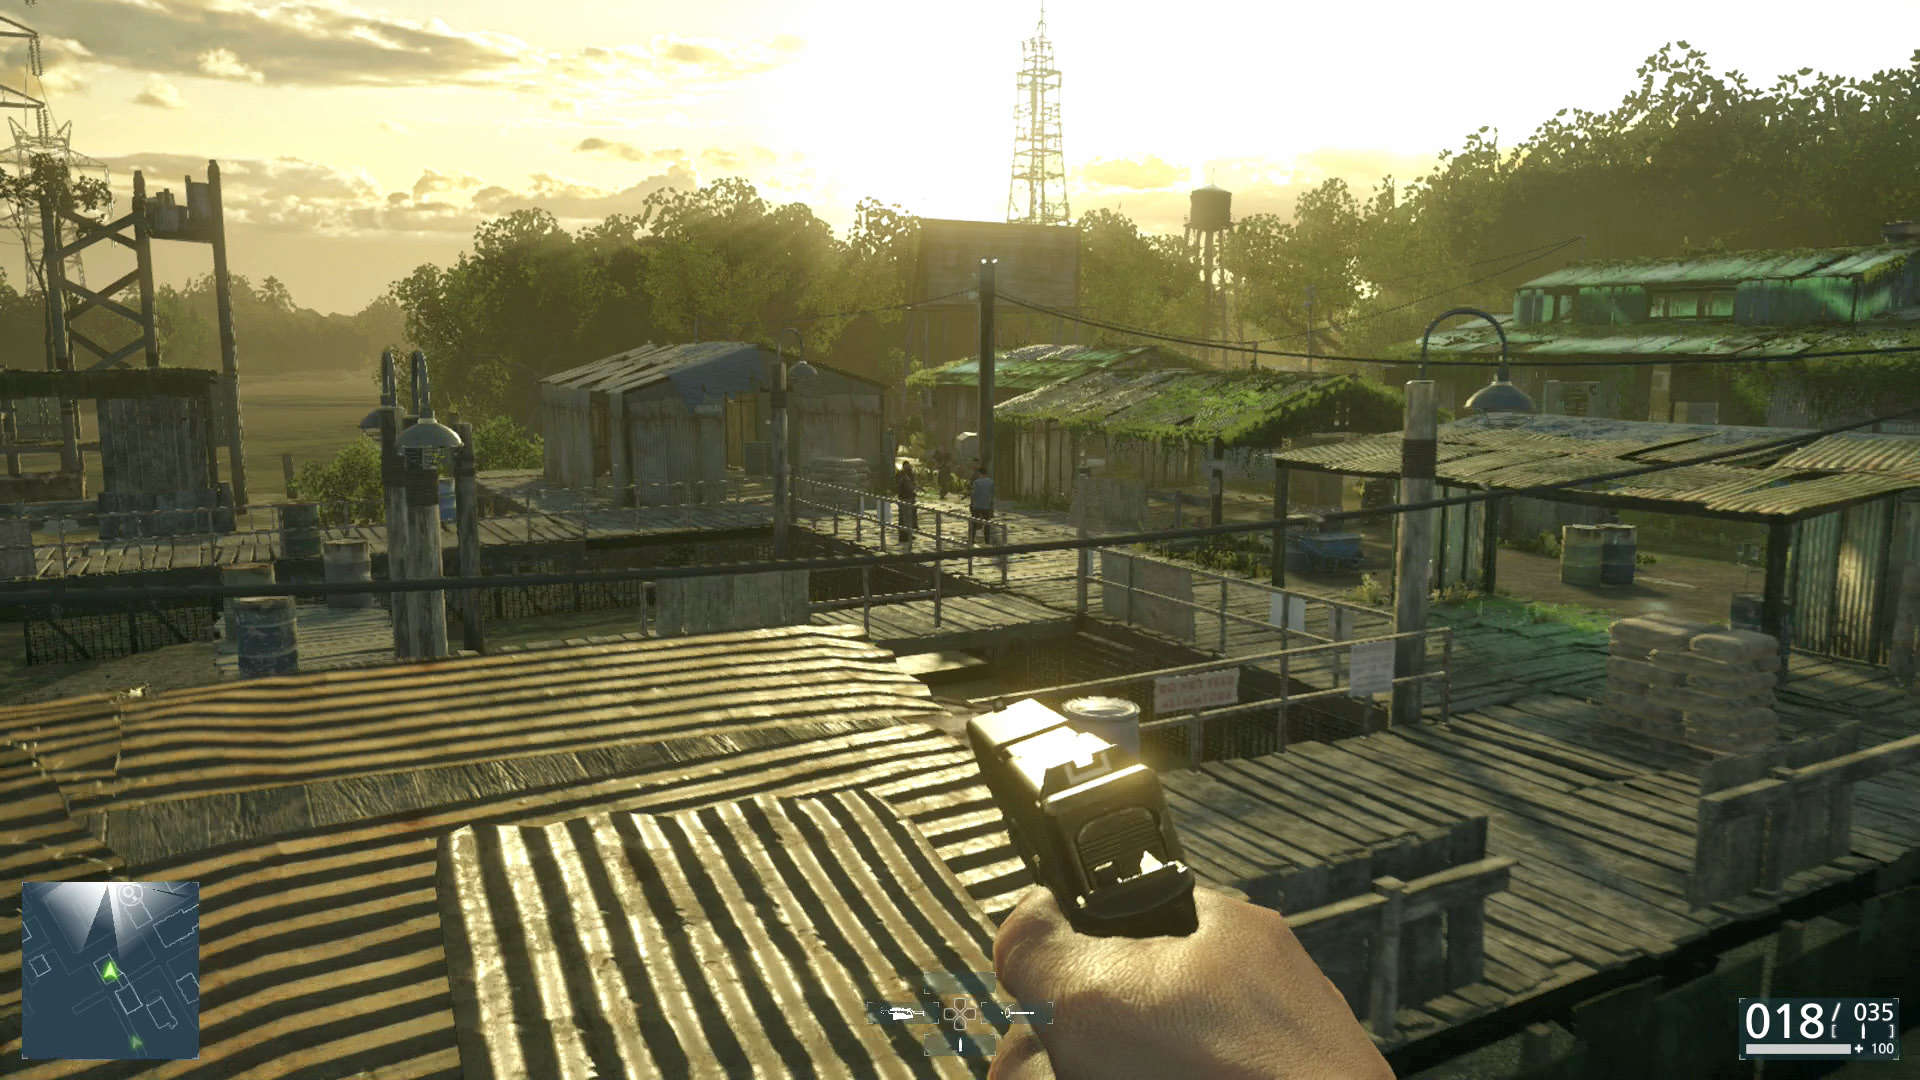
To reach the gator farm, drive to the far north and park at the dock. You can get a great view of the area by climbing the tower straight ahead, but it’s not necessary. Instead, follow the walkway past the windmill and sign to a slanted roof on the right. From there scan the criminals who have gathered in the middle of the area. They soon disperse, so move swiftly.
AKM Assault Rifle

Some of the criminals in the Everglades carry the AKM assault rifle. This is the first chance to grab this weapon, so be sure to pick one up to add it to Tactical Gear.

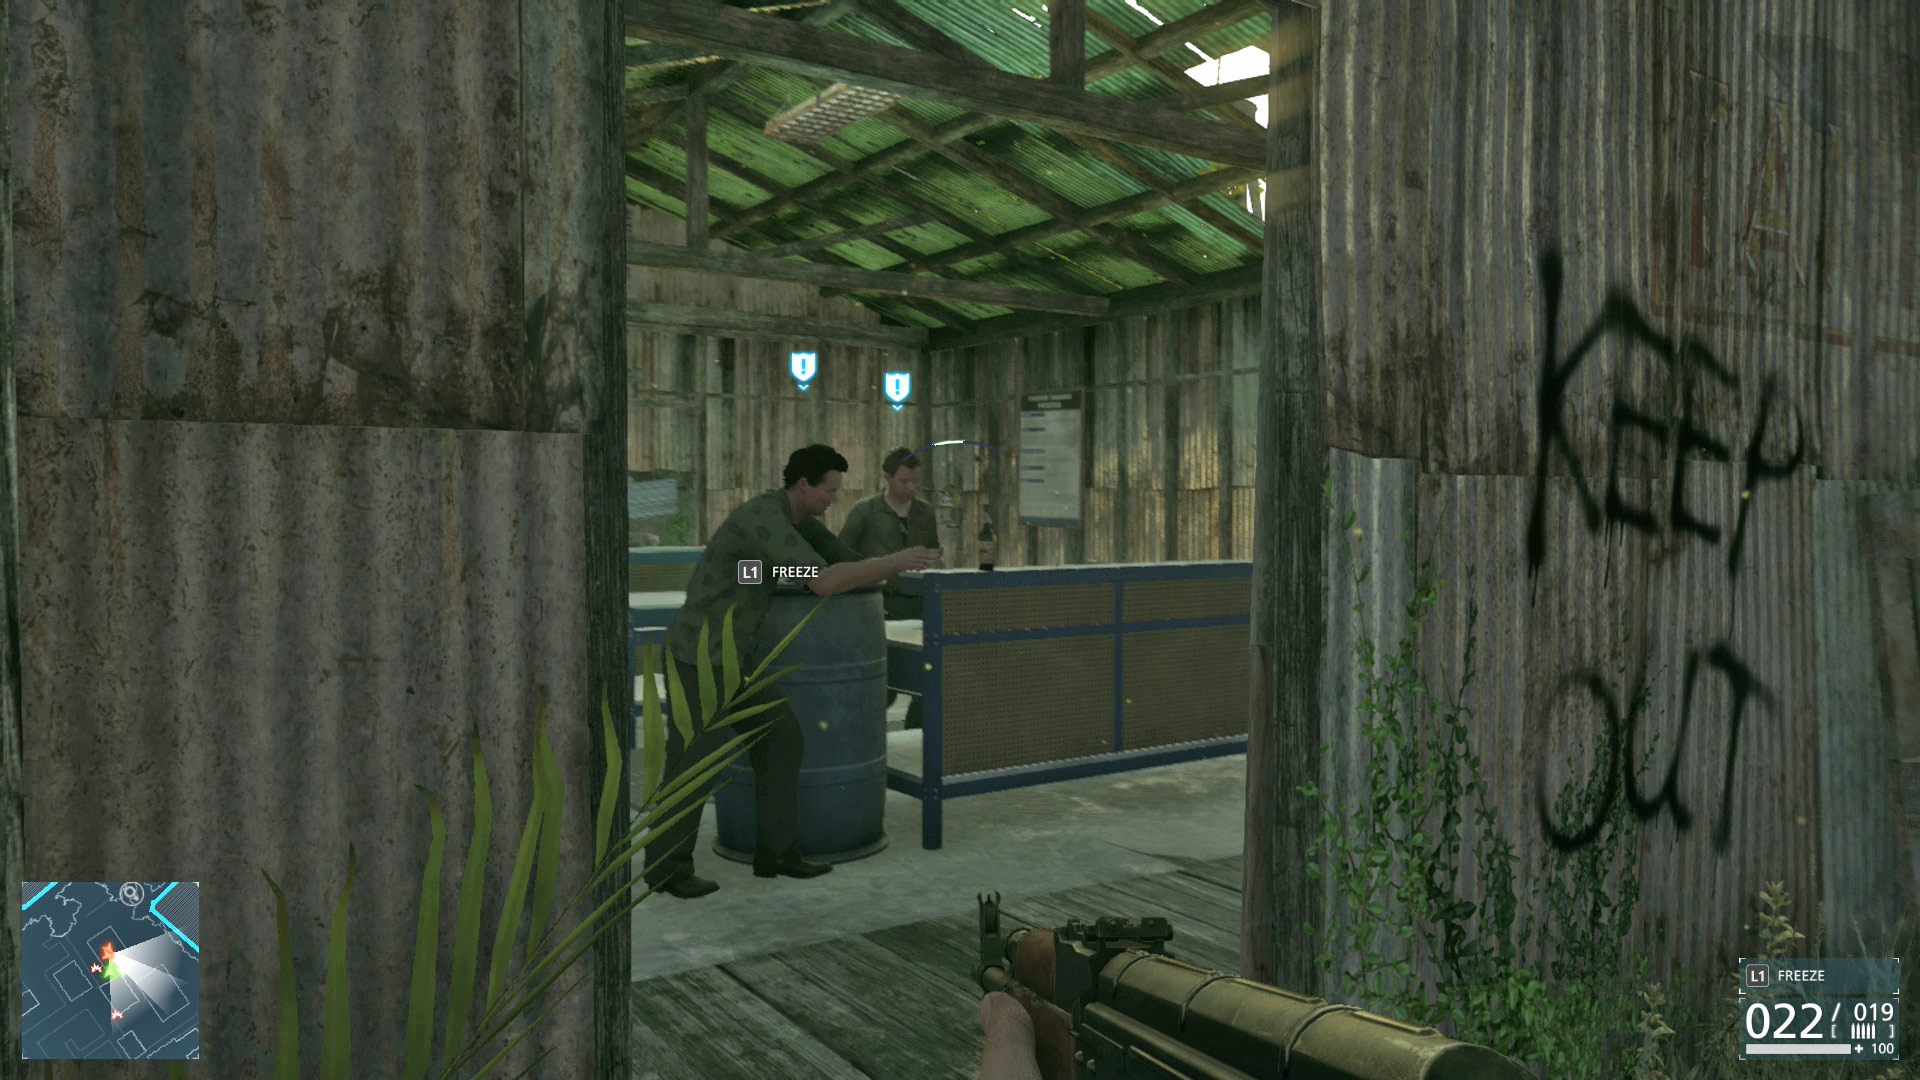
These guys patrol around the boardwalk ahead and through the buildings on the right. The area is plenty big enough to move the felons around and take them down one at a time. The structures are great for separating the enemies. Toss shell casings to move them in or out, leaving their cuffed bodies out of sight.
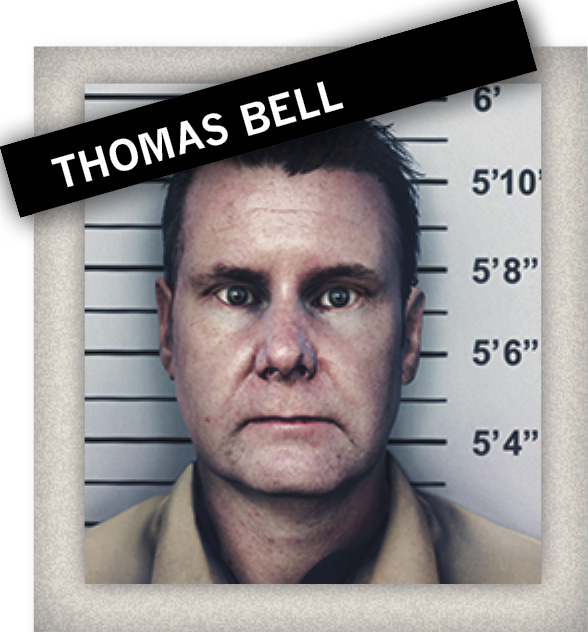
Thomas Bell

If the group of criminals were scanned in the middle of the gator farm, the suspect was spotted. With distraction and non-lethal takedowns, handcuff or zap each hostile until you’ve taken care of Thomas Bell.

Newspaper Story

Thomas Bell carries a Newspaper Story that may be useful in the Internal Affairs case file. Be sure to search him once to score the evidence.

Torture Traces

Enter the longer building on the right and find the pair of boots on the floor inside. Analyze them to register the evidence into the case file.

Dead Gator

In the middle of the gator farm is an open, viewing area with a Dead Gator lying within. Scan the corpse to add it to the Internal Affairs file.

Once the area is clear of enemies, follow a path on the far side of the gator farm to reach the fuel dock. Enter the building to complete the investigation of the gator farm.
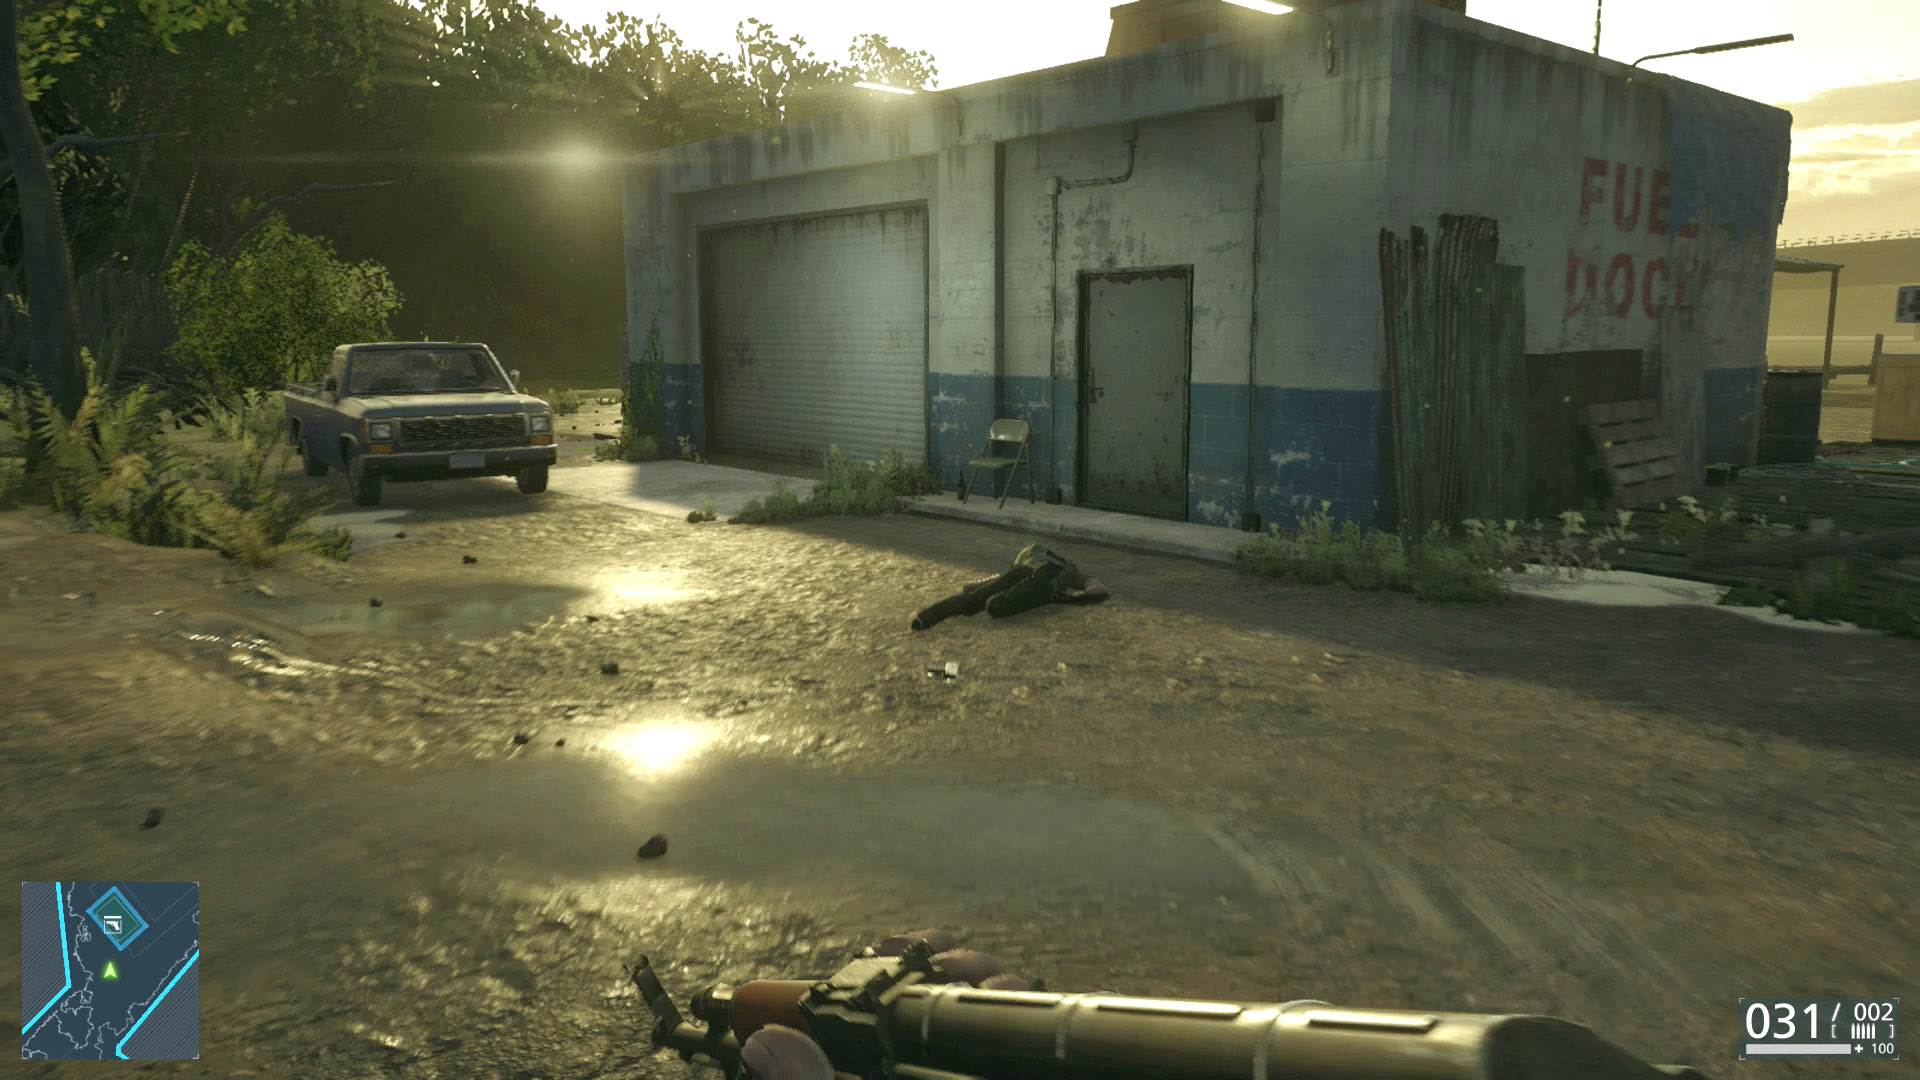
Return to the Airboat

Return to the airboat and drive it to the far south of the lake to find the saw mill.

Investigate the Saw Mill
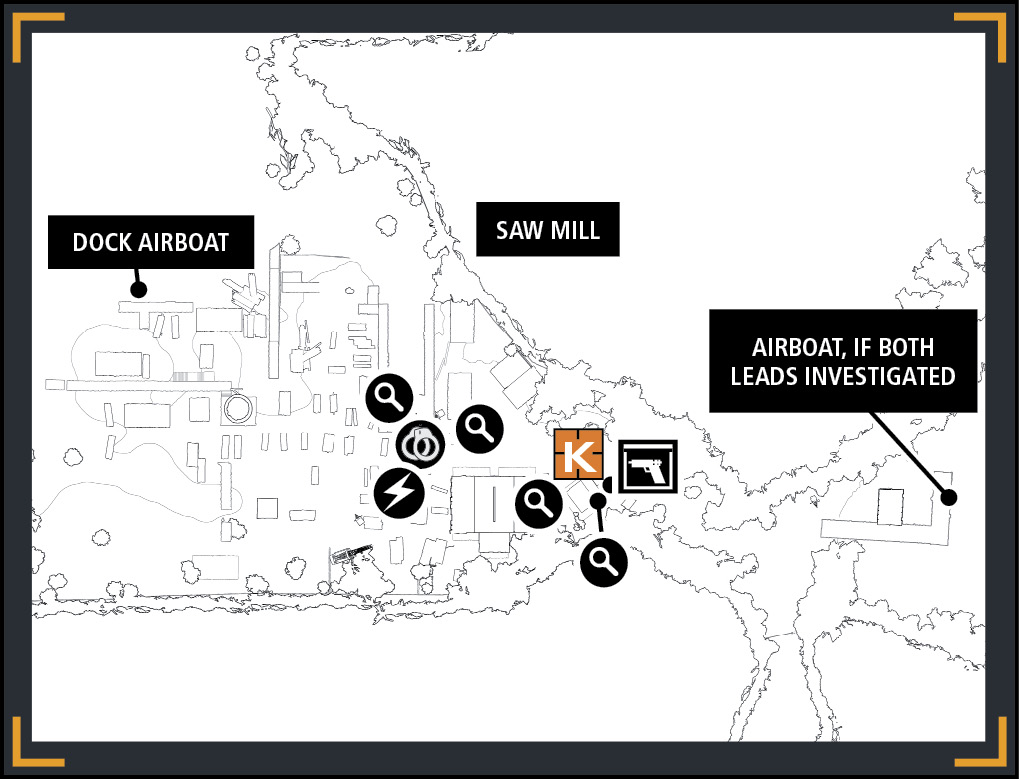
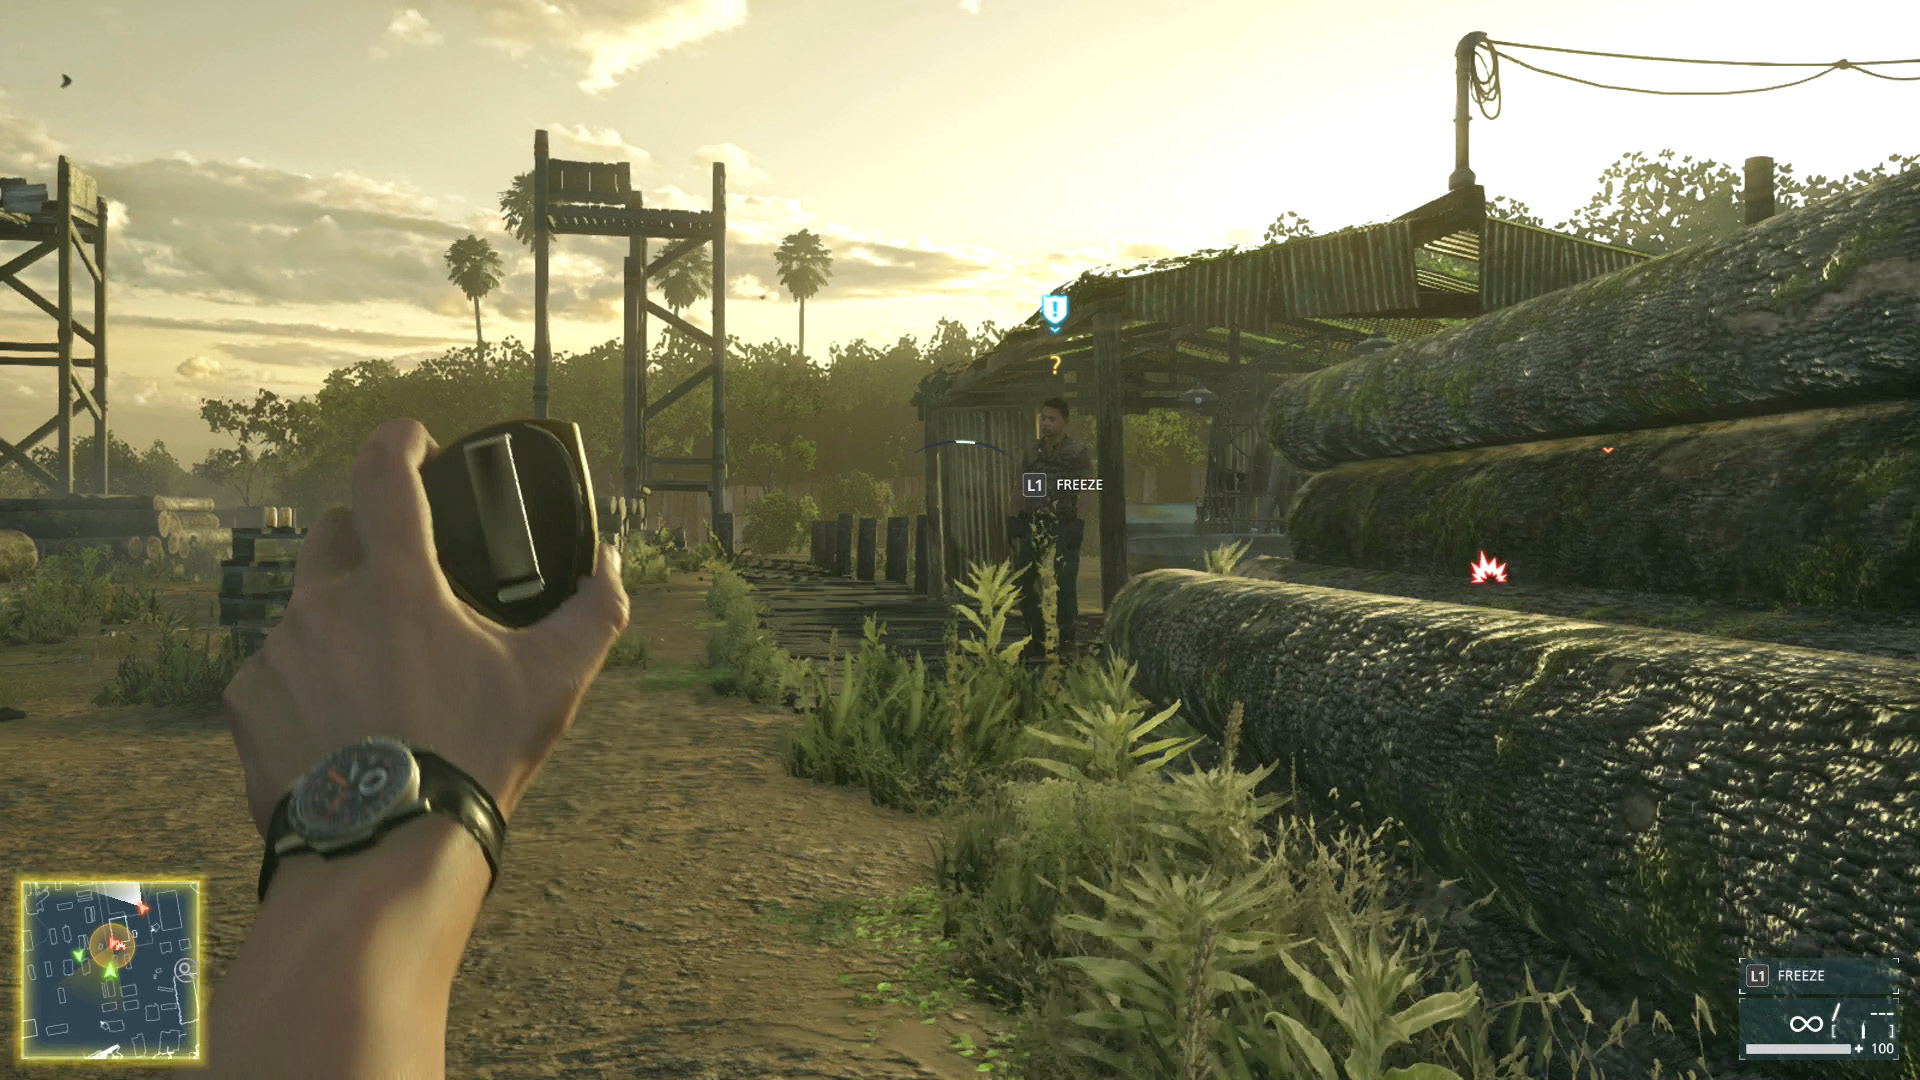
This area can be treated similarly to the gator farm, but this time it is protected by an alarm. Run up the steps on the right to the water tower and use the vantage point to scan the hostiles and alarm system.
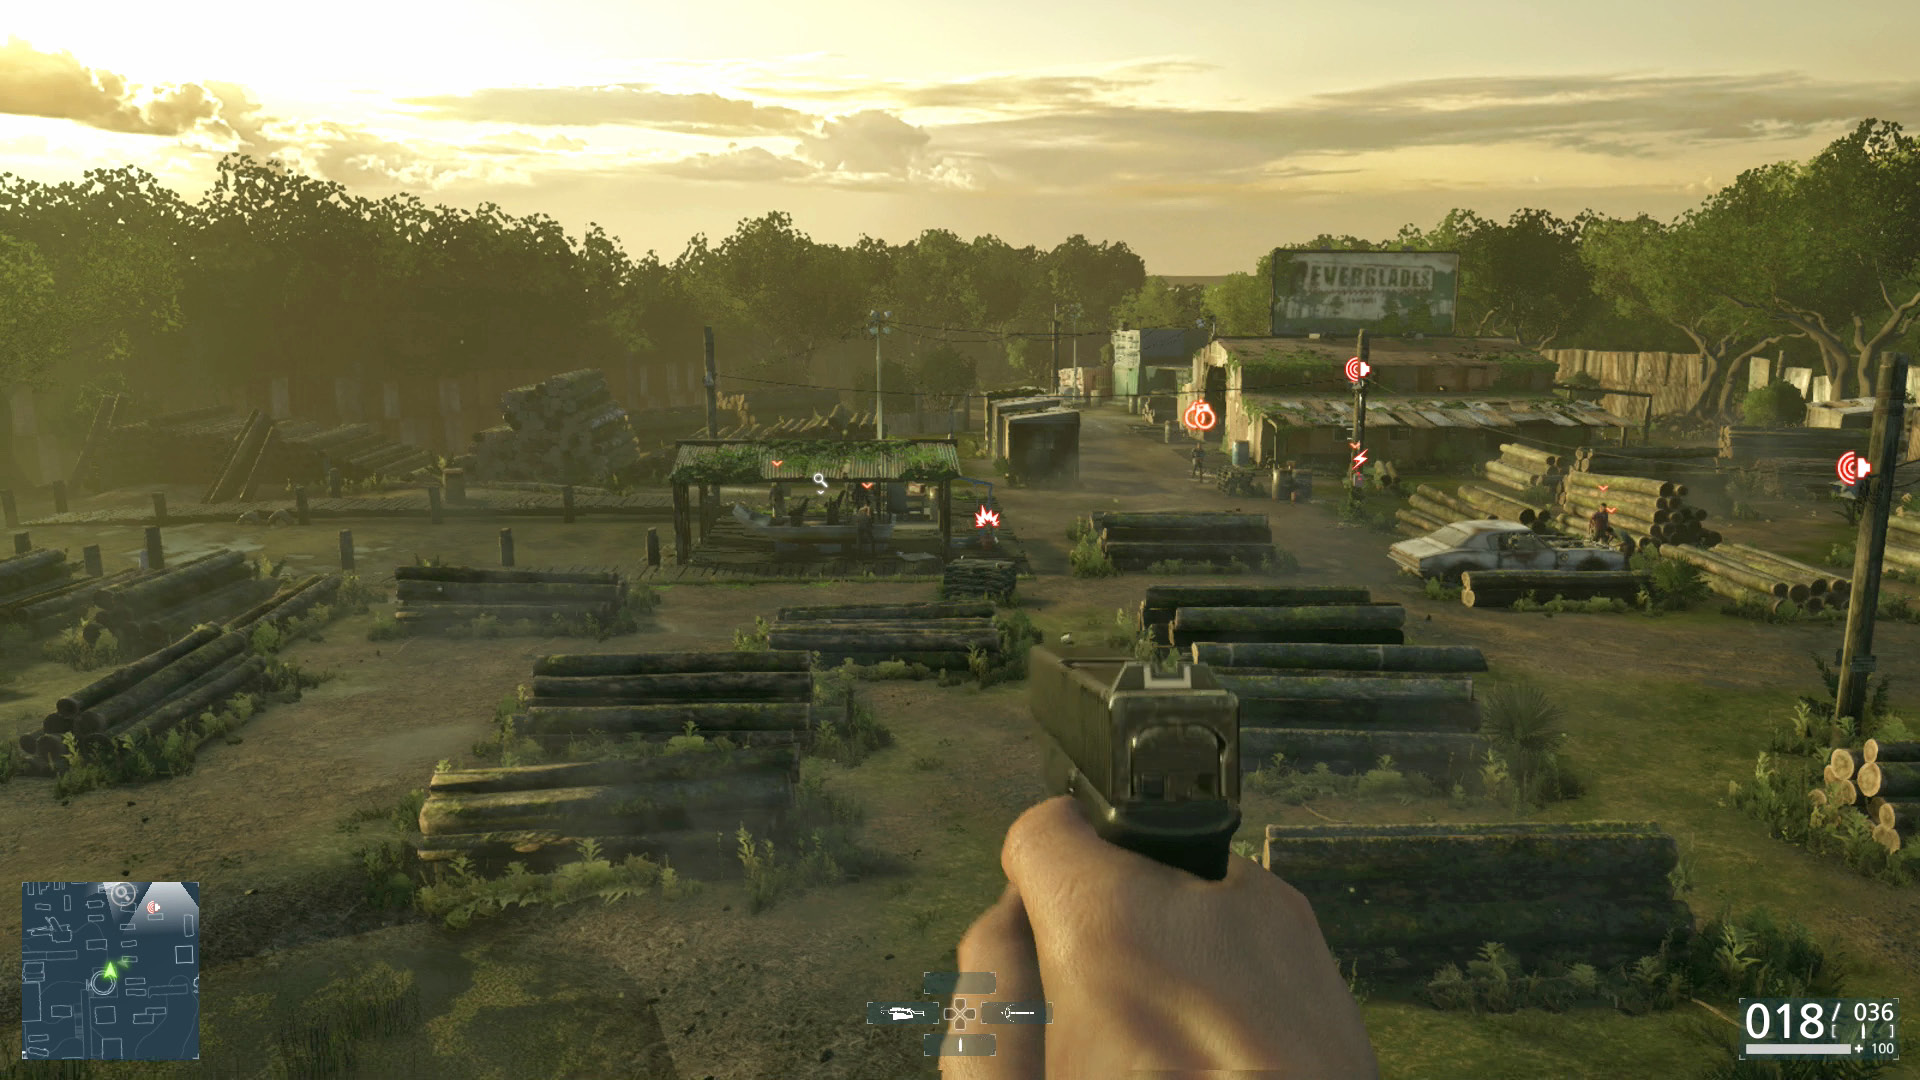
Alarm

From this point on, alarms protect many of the locations. When scanning the criminals in each area, keep an eye out for these devices. An alarm box, usually hanging on a central wall, is connected to a series of loudspeakers. If the player is spotted, a criminal goes for the button. Once pushed, reinforcements join the bad guys—making your fight that much tougher. It is best to reach the switch first and disable it, which can be done by shooting it. Destroying all of the sirens can also turn off the alarm. Use a suppressor to hide your location.

The delinquents are scattered throughout the area with plenty of room to work with. Using distraction, it is possible to sneak past everyone in the area, but to score maximum Expert Score, non-lethal takedowns are the way to go. Work your way from one side to the other, pulling the guys away from each other.
Nathan Brown

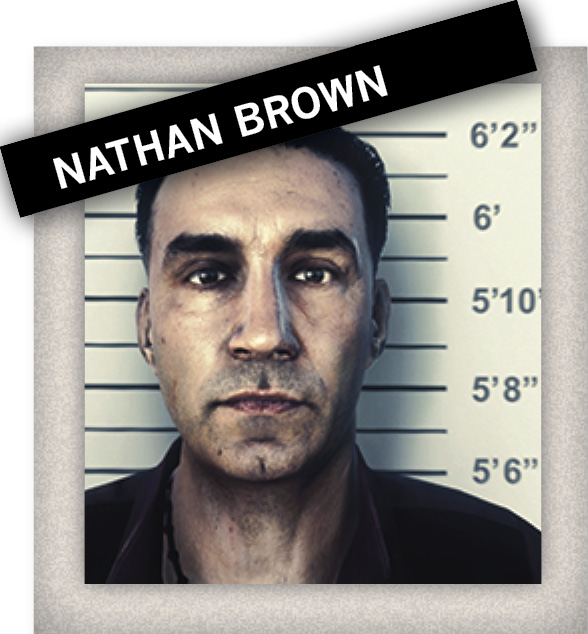
One of the criminals hangs out near the big barn in the back. This is Nathan Brown, a suspect with a warrant. As you move around the saw mill and take the enemies down, be sure to use a non-lethal method on this guy.

Stained Fanboat

This piece of evidence is hard to miss. A fanboat is propped up under a shelter in the middle of the saw mill. It is possible to analyze it from the water tower; just zoom in with the Scanner.

Water Sampling Equipment

Exit out the left side of the big barn and equip the Scanner to spot Water Sampling Equipment sitting on a workbench inside a small shack. Analyze it to log the evidence.

Note Pinned with Switchblade

Look for a log pile located just east of the big barn. A note is pinned to the far side with a switchblade. Analyze the letter to enter it into evidence.

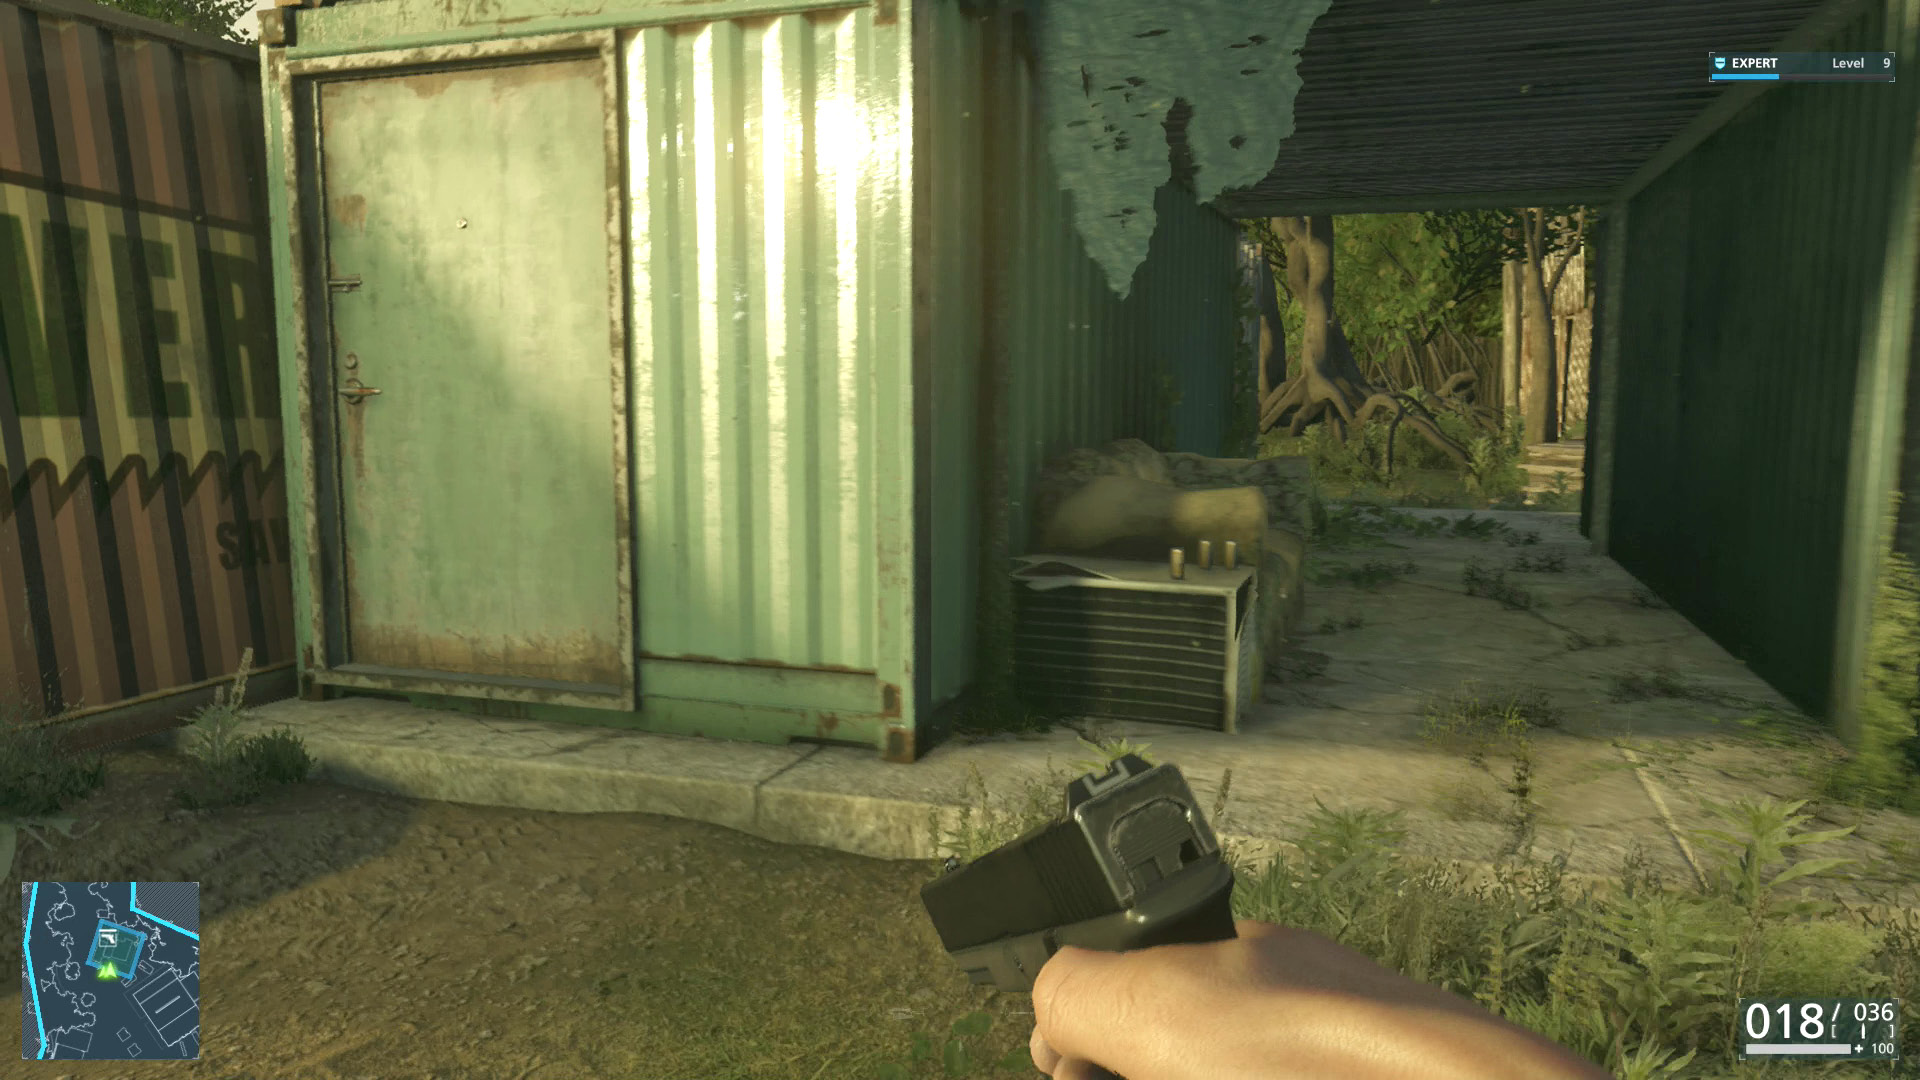
Once everyone has been taken care of, enter the cargo container on the far side of the saw mill to find an office. On the desk, you find a mobile phone with another clue.
Manila Envelope

Inside the office, equip the Scanner and search next to the computer on the far desk. Analyze the documents to log them into the Internal Affairs file.

Get to the Stadium

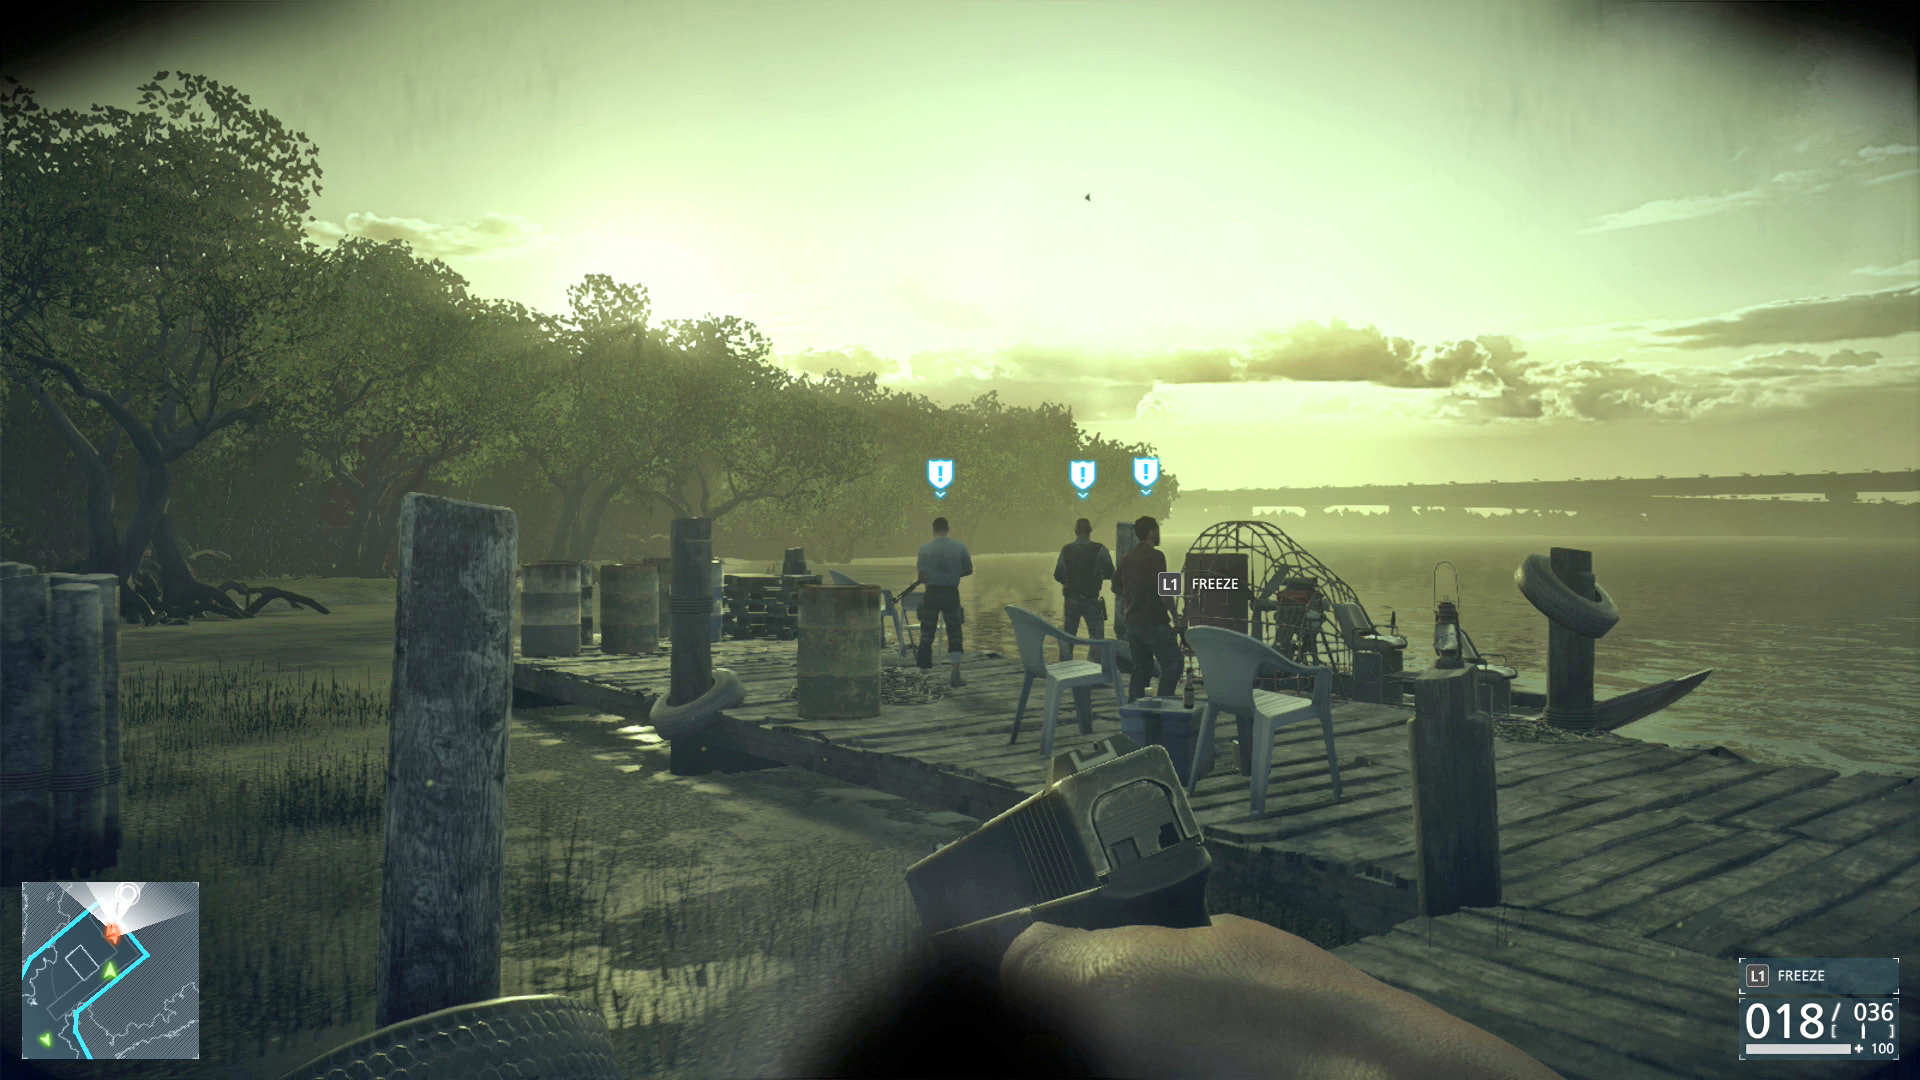
Exit the office and follow the path to the right to find a dock. Three criminals have generously delivered an airboat. Walk up to them, flash your badge, and arrest them. Hop onto the vehicle and drive it away.
Identify Neltz
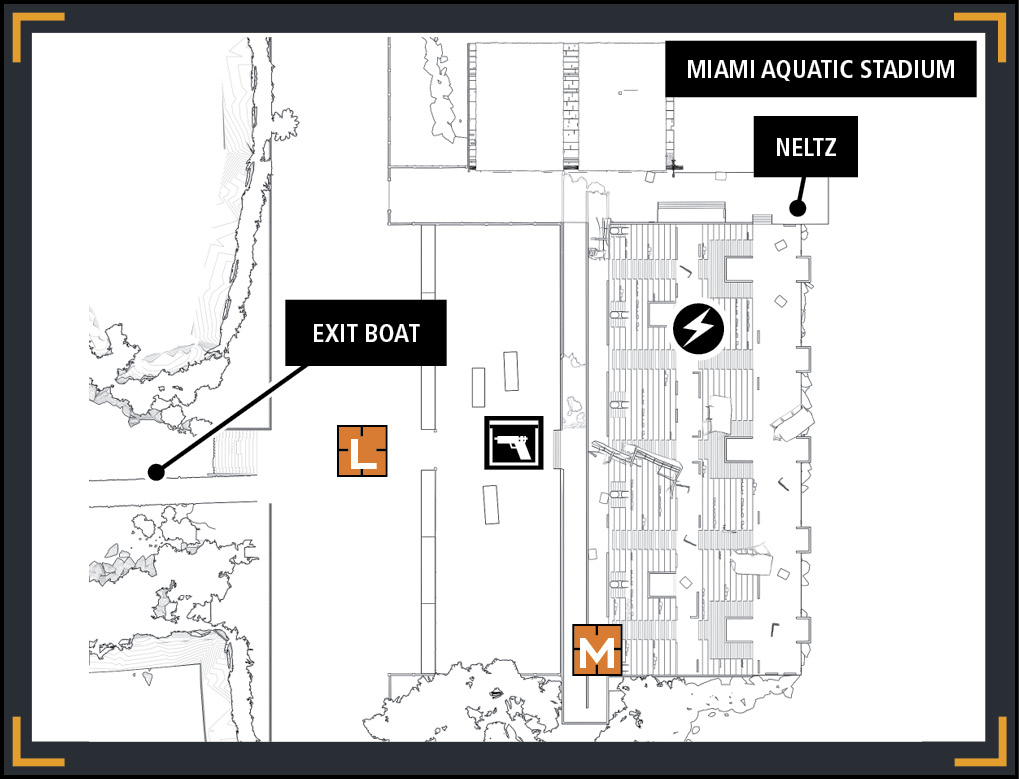
A tough gunfight is forthcoming, so swap out your equipment at the Tactical Gear case in the trunk of the car. The Armored Insert, First Aid Pack, and Ammo Box are all good choices for Gadgets. The criminals begin using Gas Grenades, so the Gas Mask is also a wise choice.

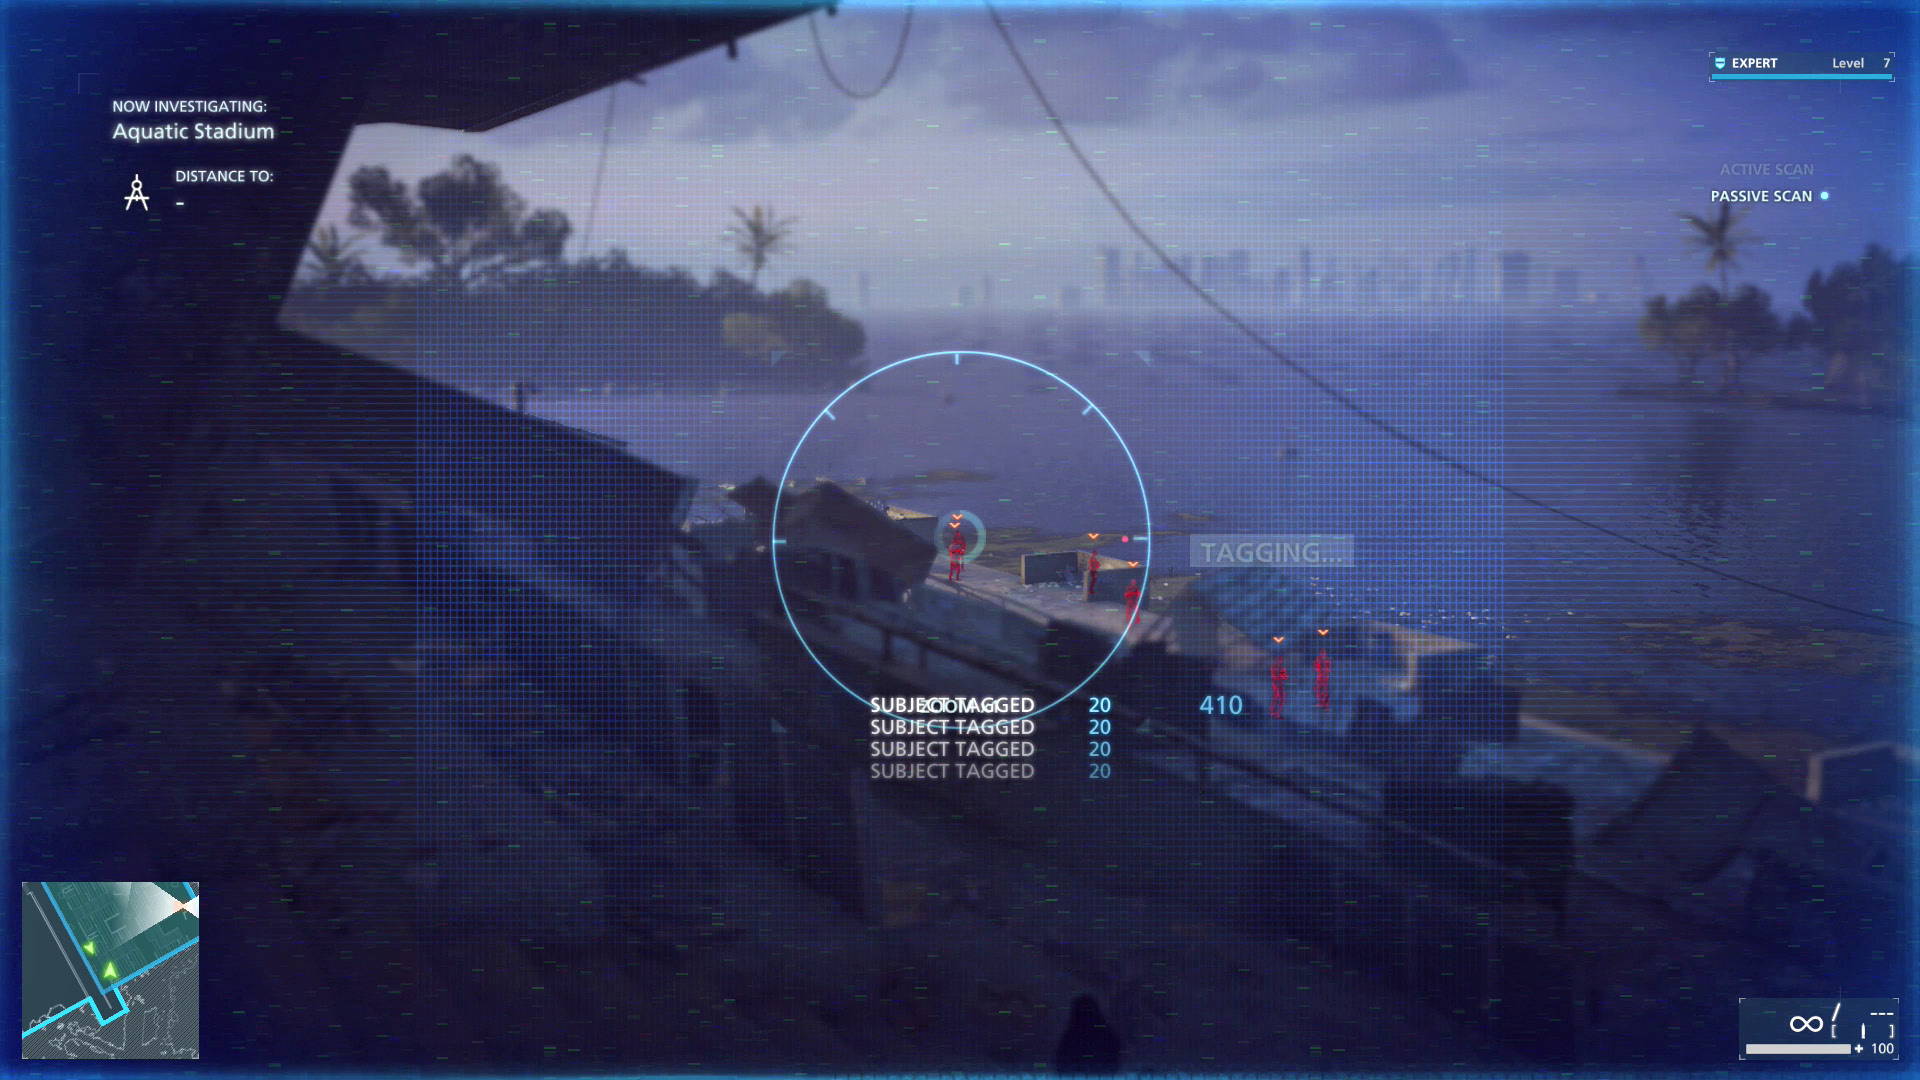
Run up the ramp until you spot a lone bad guy ahead. Arrest him and then equip the Scanner. Tag the enemies below until you find Neltz on the far left. Analyze his face to confirm his identity.
Apprehend Neltz

The least resistance to Neltz is along the middle level of the stadium. This is also where the alarm is. Take care of these guys first, in order to eliminate the chance of reinforcements. Be careful as some of the men may patrol up the steps from their lower location.
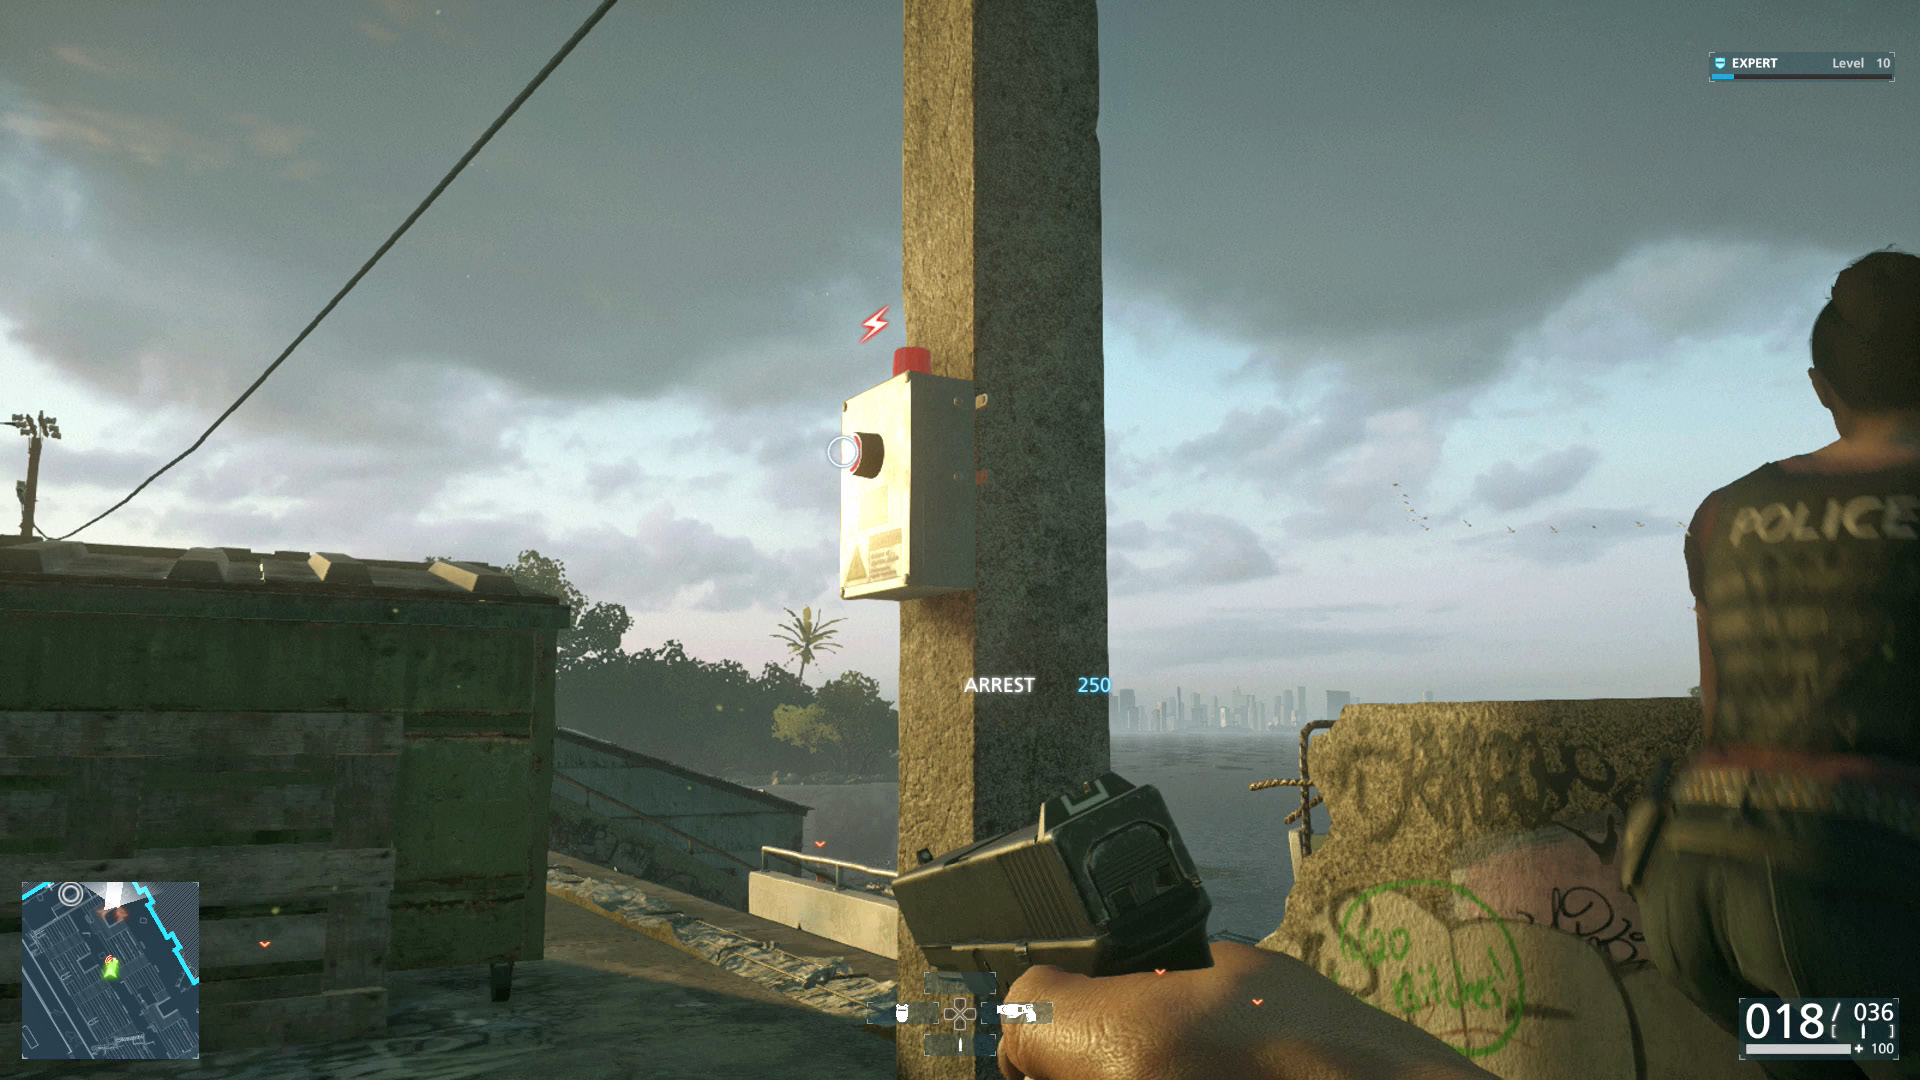
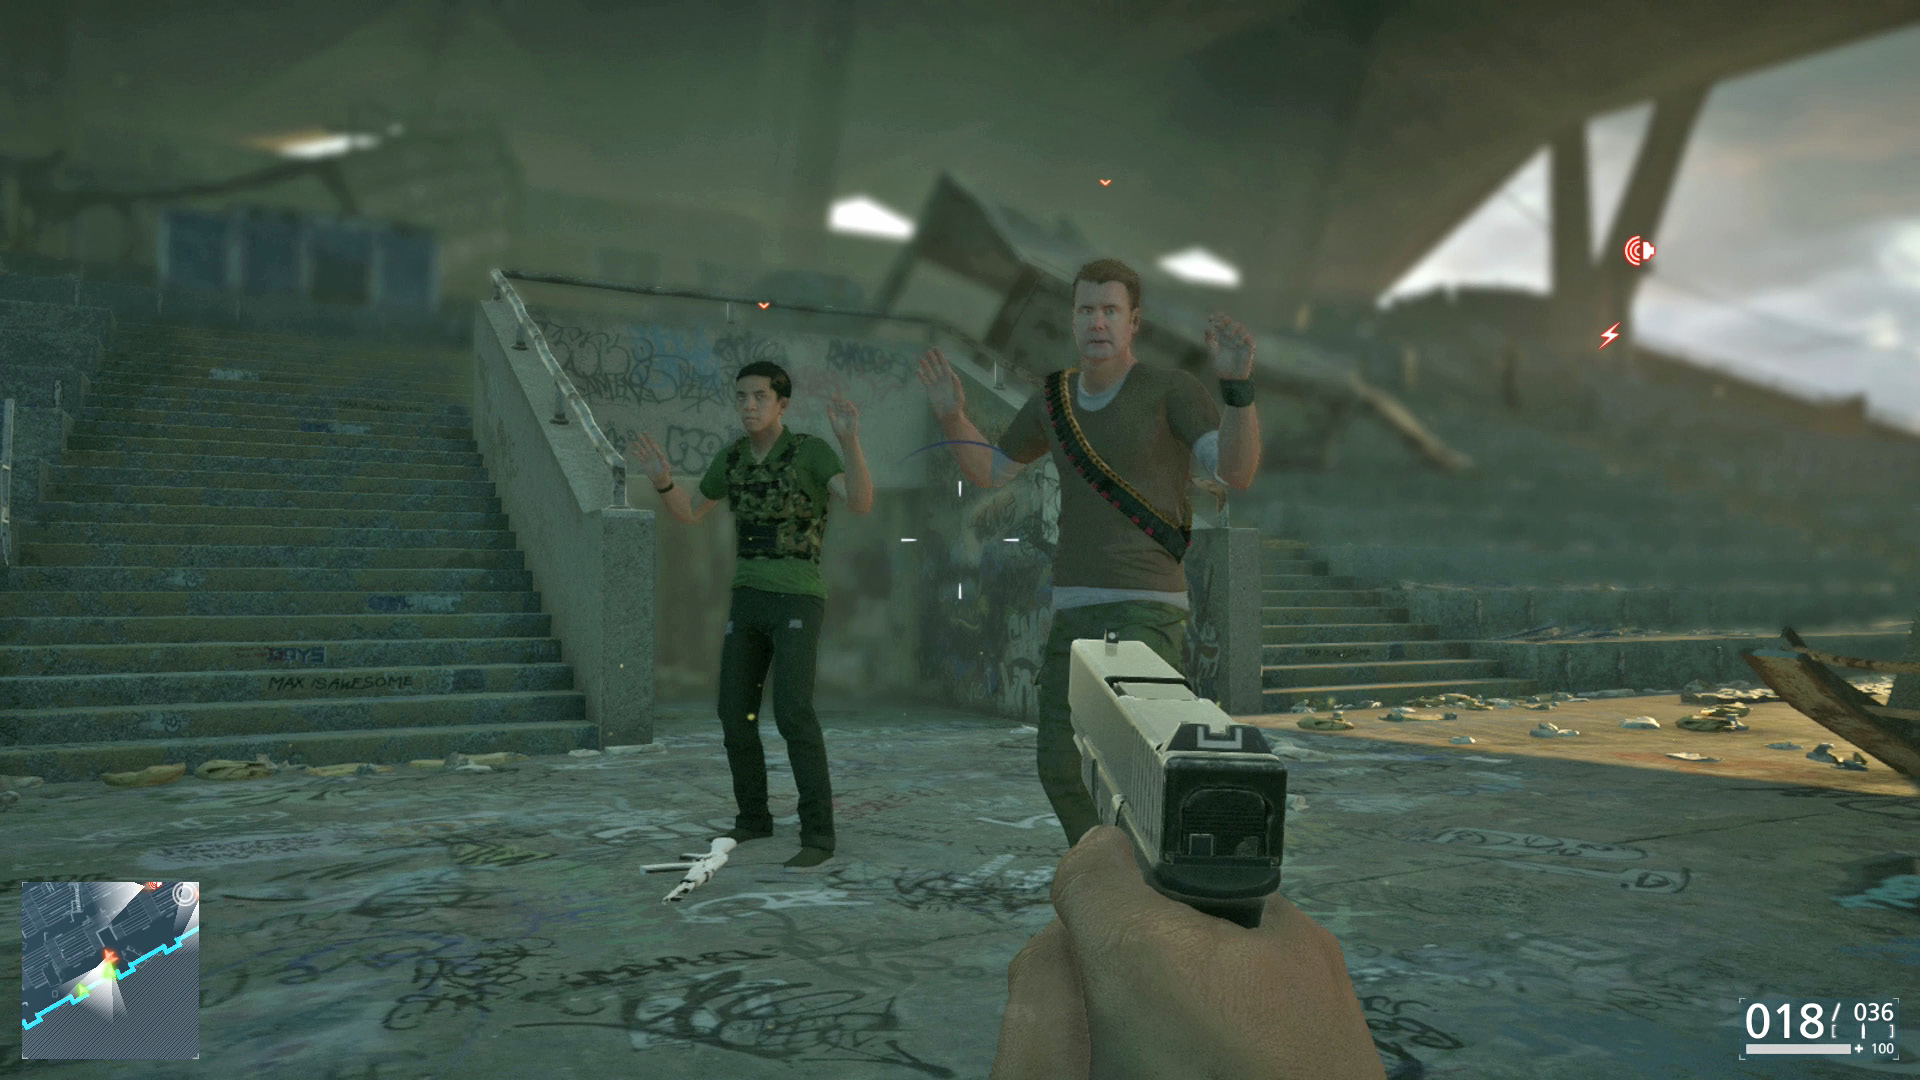
If going for maximum points, move down to the bottom level and arrest the criminals next to the water. Make your way to the far left side and pursue Neltz into the first building.

Damn Thing Doesn’t Work

Disarm two alarm boxes in single-player. If you disabled the alarms at the saw mill and stadium, you earned this Achievement / Trophy.

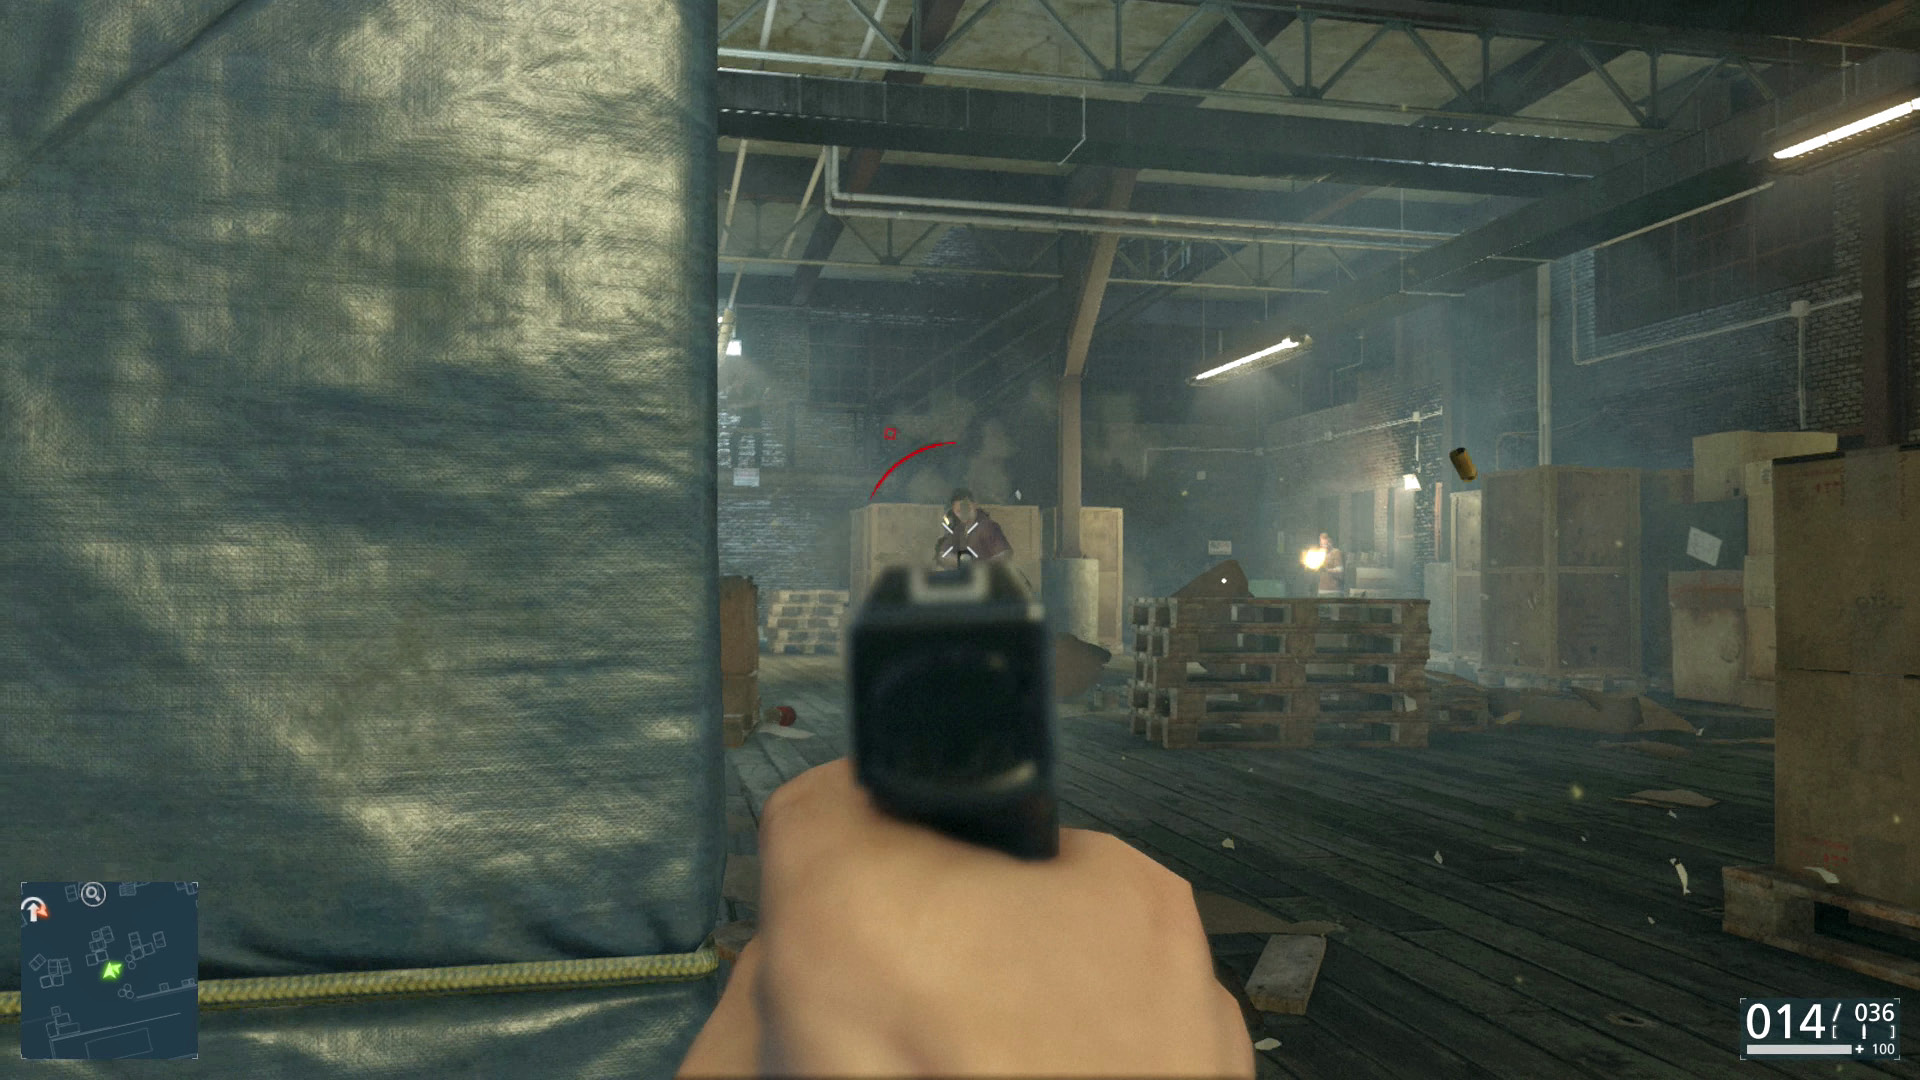
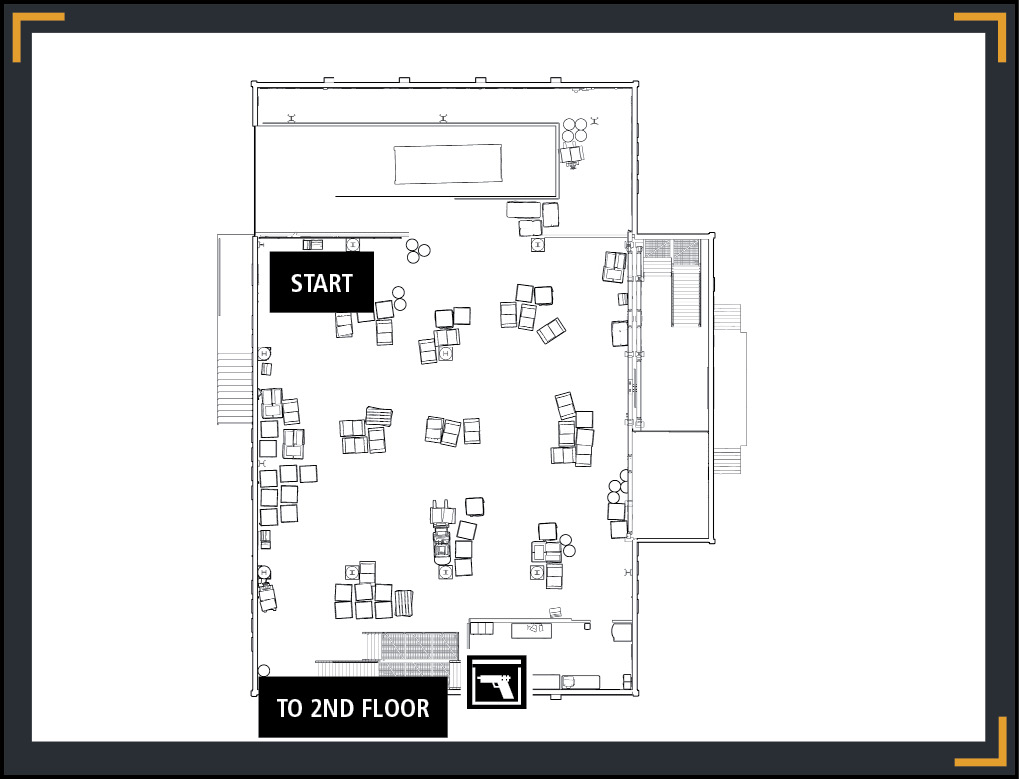
You track Neltz down to a warehouse. Once inside, take cover to the left of the crates. Several felons attempt to keep the detectives from their boss using high-powered weapons along with gas grenades. It is possible to get close enough to a couple of these guys to zap them with the T62 CEW. Otherwise, this is a good old-fashioned gunfight.
Destructible Environments

Do not stand around during this battle, even if you think it safe behind a pile of crates. These boxes and the drywall are no match for the barrage of bullets from the bad guys. Unless it is metal or concrete, do not rely on an object to protect you. By tagging the criminals with the Scanner, you can use this to your advantage. If an enemy hides around a corner, shoot out the wall to take him out.

Gas Grenades

This fight is the reason a Gas Mask was recommended before. A grenade icon indicates an incoming explosive. Once detonated, a green gas fills the immediate area and damages any detective within. You can ignore this if the mask is equipped. If not, clear out of the area to avoid losing health.

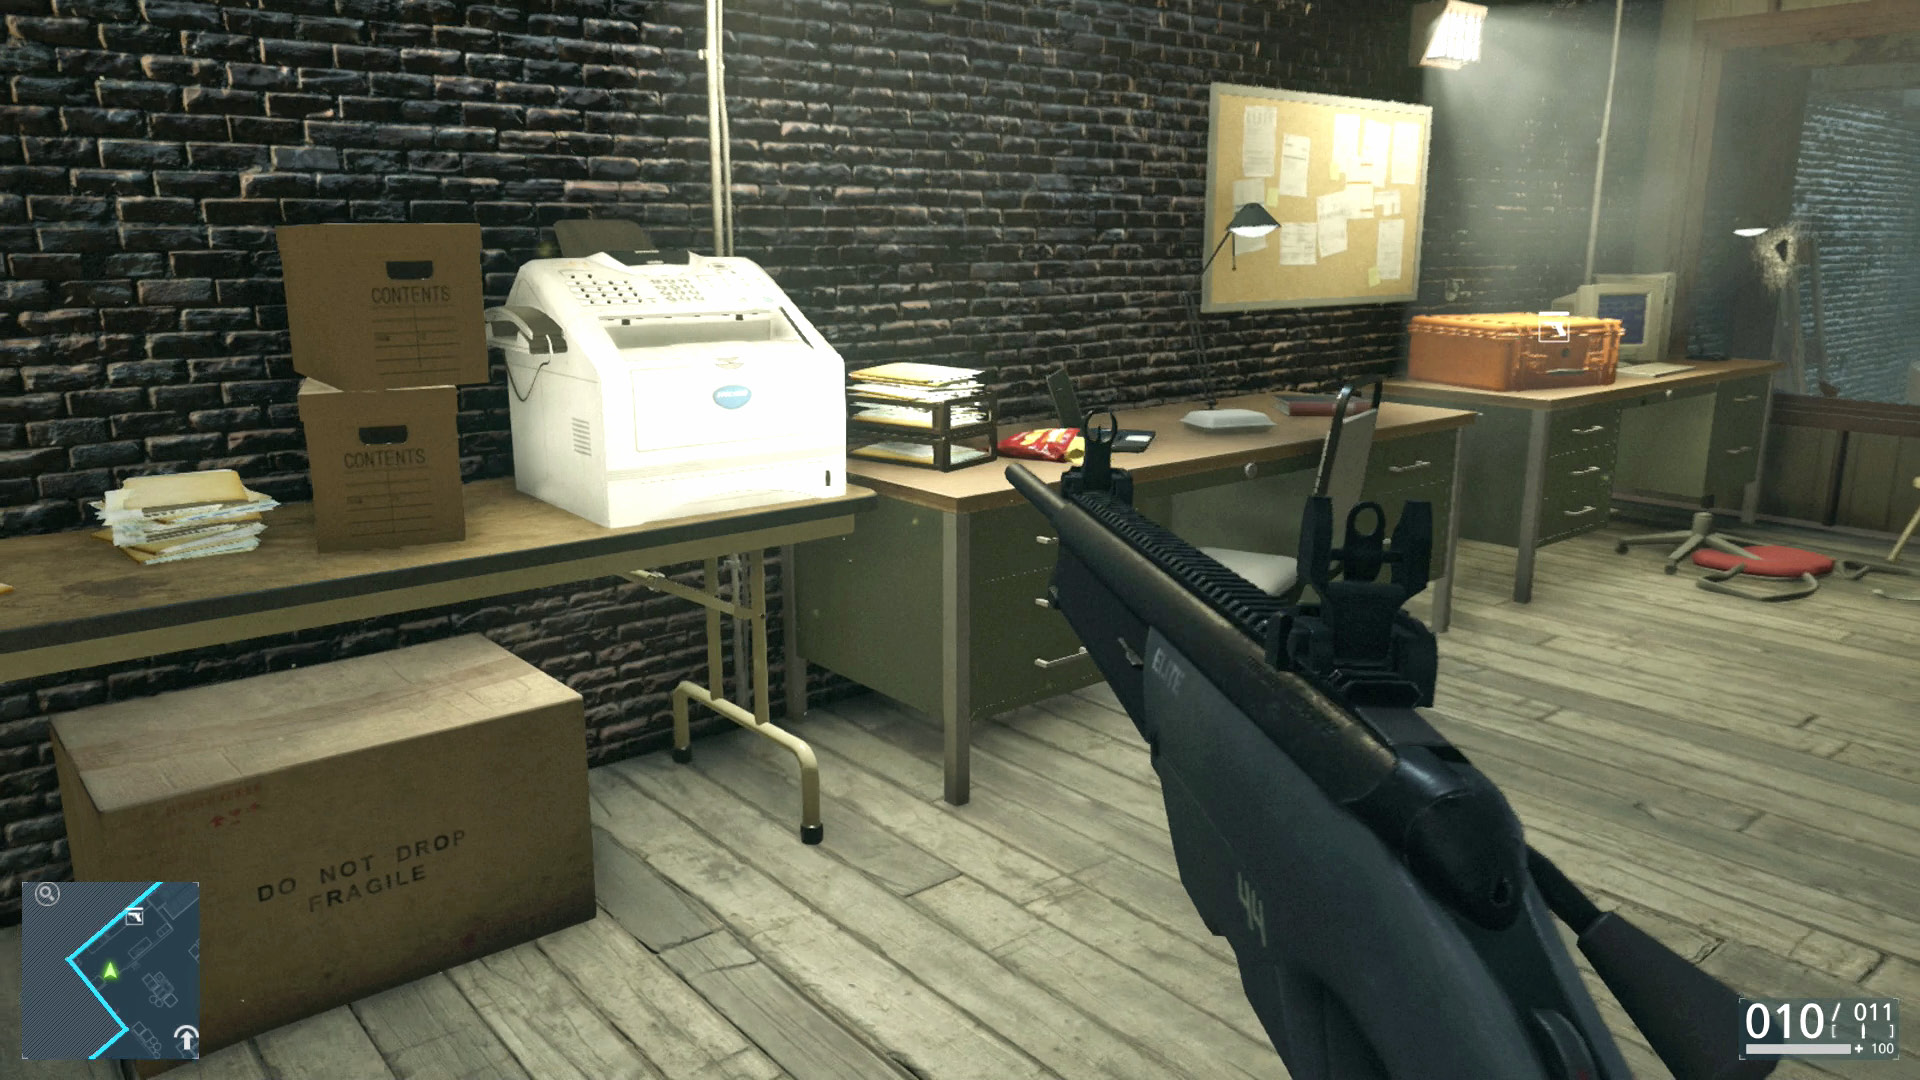
Once the room has been cleared out, access the Tactical Gear case in the far office to top off your ammo. If the Gas Mask is equipped, swap it out for another Gadget that is more beneficial in gunfights. The Gas Grenades are not used from this point on.
First Aid from Partner

With an AI partner following the player, additional help is occasionally given when you’re low on health. Look for her to toss out a First Aid Pack and get close to regain health at a quicker rate. A green plus icon next to the health bar in the lower-right corner indicates the player has found it. Note that the enemy can still take you out while you’re healing, so take cover if possible. You shouldn’t rely on this benefit, but it is nice when it happens.

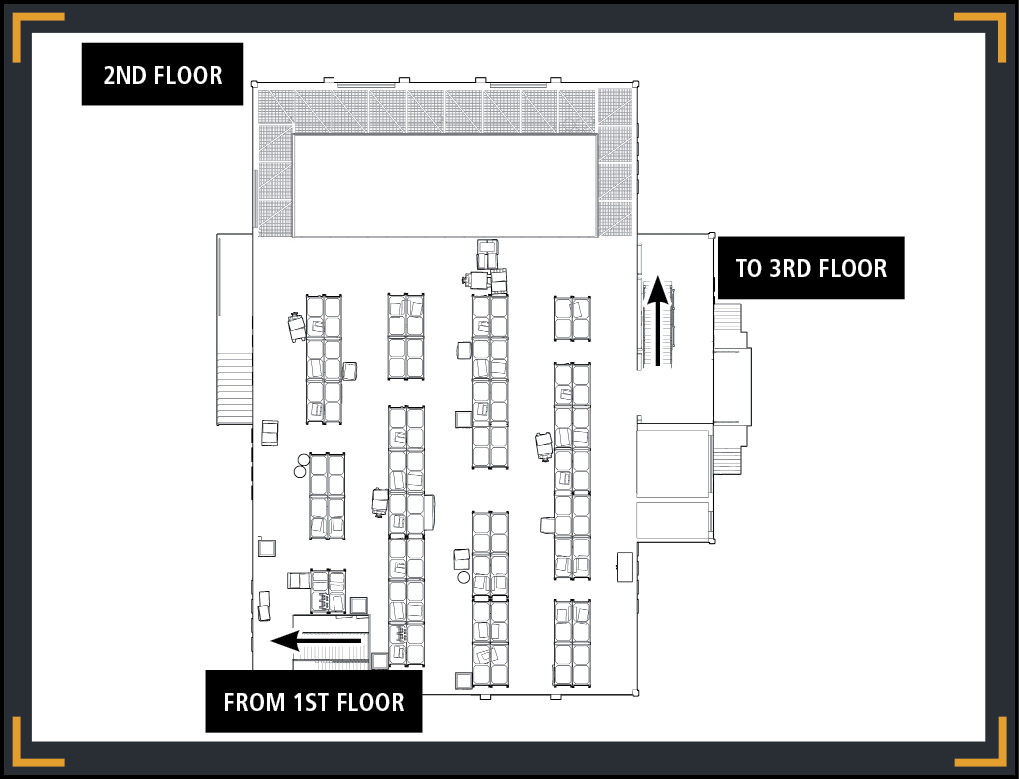
Climb the steps in the corner to reach the second floor. Hostiles pour in from the opening on the right side of the room. Rows of shelves offer moderate protection from their bullets as they close in on your location. Some of the guys use the far walkway to get a straight shot at the detectives.
45T Heavy Pistol

The criminals in this warehouse give the player the first opportunity to pick up a 45T Heavy Pistol. Nab one to add it to Tactical Gear.

Use the chevrons that indicate a criminal’s location as well as the mini-map. Knowing the enemy position is key to getting out alive. Damage indicators are also extremely useful in determining where attacks originate.
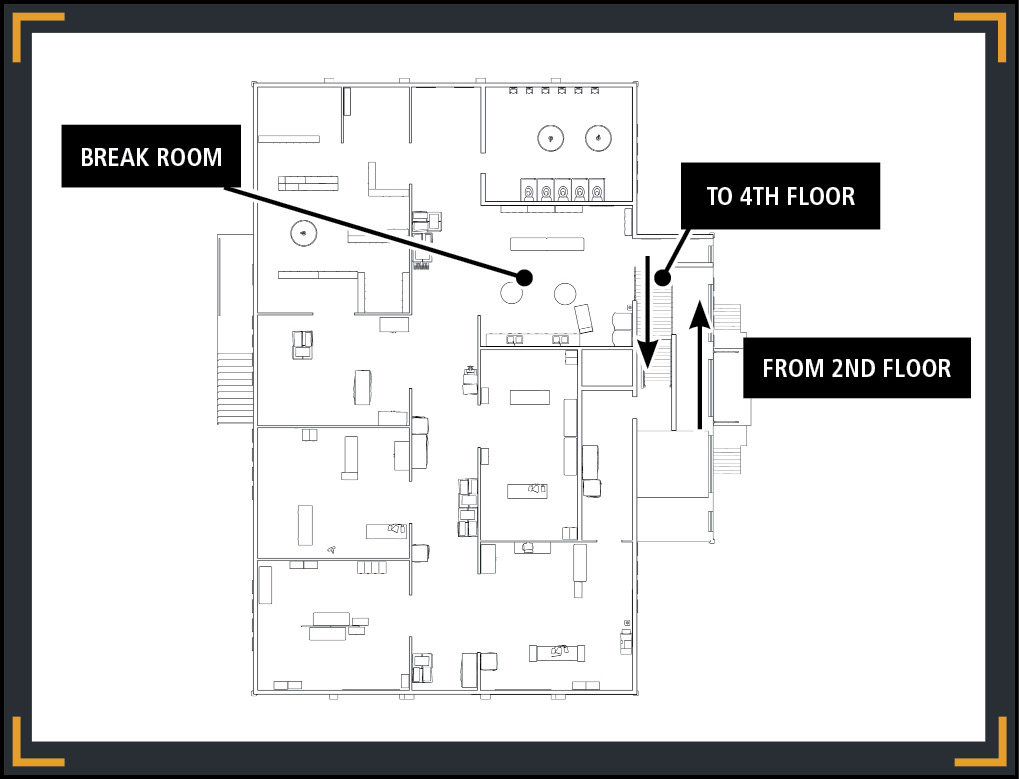
Fight your way to the doorway and ascend to the next level. The offices of the third floor offer many hiding spots, but the thin walls are not very protective. Use this to your advantage when a criminal’s position is known behind a wall.

Hide around a corner and the enemy often comes to your position. This allows you to use the T62 CEW to score some extra points. Take out the hostiles, moving between the offices and then through the break room. Find the staircase and move up to the fourth floor.

Deal? What Deal?

Complete Episode 3: Gator Bait.

Keep reading with a free account

The first 3 sections of Battlefield Hardline are open to everyone. An account opens the rest of it, and every other guide in the archive. It's free, and there's nothing to buy.

Bought guides on the old Prima Games site? Your account and every guide you own moved here, so there's nothing to buy again. Sign in.

Create a free account Or browse our free guides

PreviousEpisode 2: Checking Out NextEpisode 4: Case Closed