
Battlefield Hardline Guide Multiplayer Maps Downtown
Crosshair
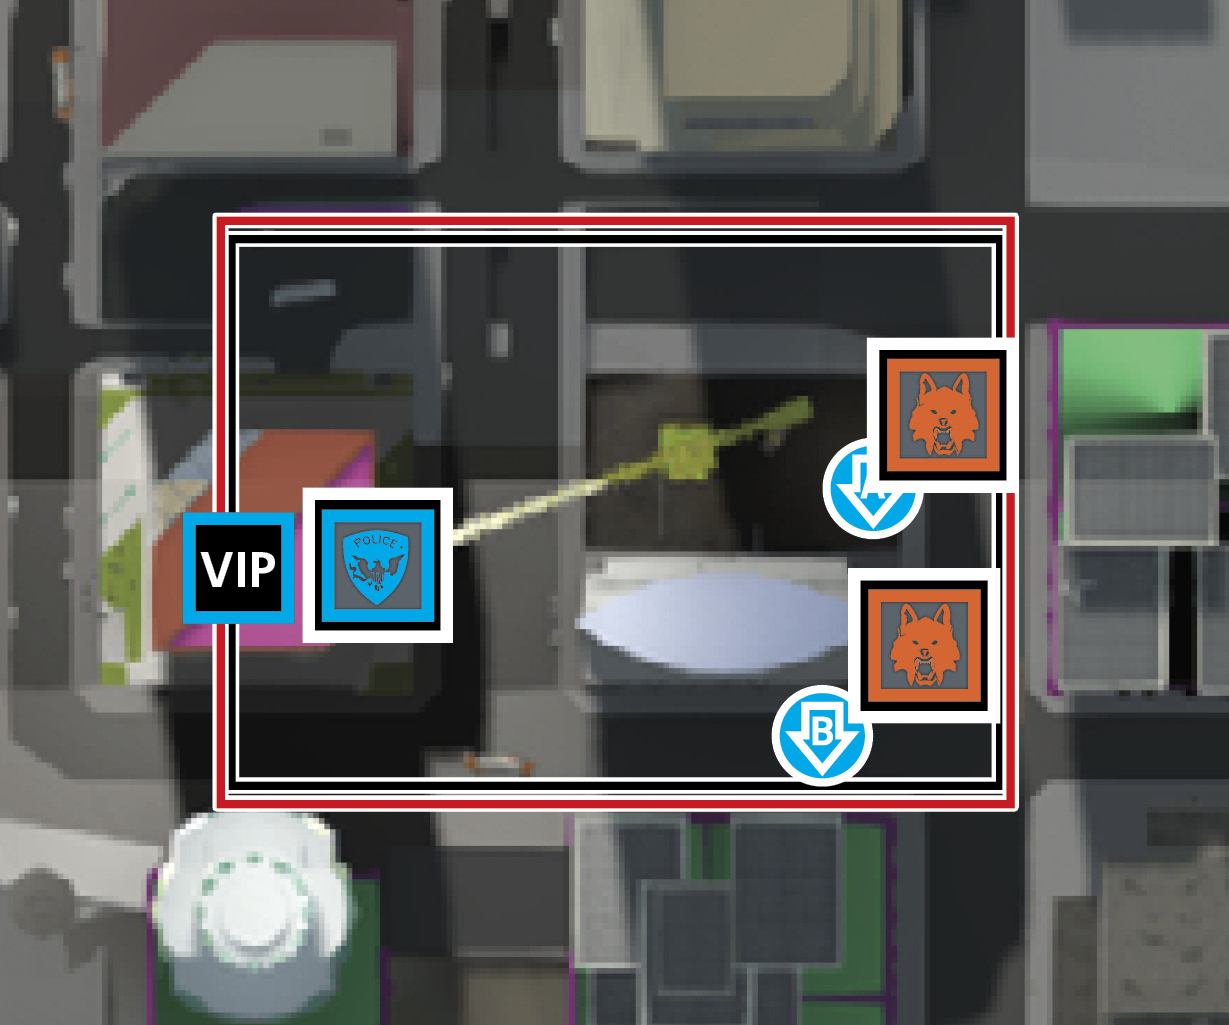
| LEGEND | |
|---|---|

|
Police Deployment |

|
Criminal Deployment |

|
Spawn Area |

|
Hostage |

|
Money Pile |

|
Police Vault |

|
Criminal Vault |

|
Vault |

|
Extraction |

|
Hotwire Cars |

|
Control Points |
| BATTLE PICKUPS | |
|---|---|

|
Ammo |

|
Defibrillator |

|
Grappling Hook |

|
Health |

|
LMG |

|
Rocket Launcher |

|
Stinger |

|
Zipline |
Playing as police, the three major lanes split up into quick and dangerous and extremely slow and safe. Heading up the nortside of the map forces your team to move very slowly from cover to cover without being seen. There is an abundance of different forms of cover but they are all small and you must use them wisely so as not to get caught and pinned down by a storm of incoming fire. Choosing to lead your team soutand througthe construction site is mucquicker. However, due to the amount of corners in the construction site, check every corner you pass by as eacone is a good hiding spot for the defending side. The police’s best bet is to split up and use smoke to cover eacapproach. The nortstreet may be a little wide for a single smoke grenade, but two should cover enougto conceal your team’s positioning on important cover spots where they have the advantage on ambushing the enemy if they get a little anxious. A single smoke grenade in the construction site covers most of it and allows you to move past defenders without them even noticing you were right in front of their face.
When defending the enemy’s approacfrom the criminal side, it is important to find a good hiding spot and stay there. Any movement after you’ve found your hiding place surely gives away your position and can get you killed very early in the round. The construction site is great for hiding in the shadows and corners of the sheet wall and behind the equipment. This is where you should listen very closely for footsteps and enemies jumping from ledges. Landing is very loud and allows you to pinpoint your opponent’s exact location for you to call out to your team and strike when you have the advantage. Hiding in the construction site is mainly waiting for the enemy attackers to walk right into your sights, so be patient and get that perfect shot. Defending the nortstreet is a completely different story. Carry an assault rifle or carbine for this side because your job is to watcall the way down the street for any movement whatsoever. The enemy has to move from cover to cover and you need a powerful and accurate shot if you’re going to take them out without giving them a chance to fire back.
It is best to use the lockdown method when defending on Downtown simply because it is a wide map without many choices to get back to the extractions if you’re needed. Sometimes there is a great need for a ruson this map, especially since running back to your deployment then to the opposite extraction of the side you’re on may take way too long. If you’ve pushed up farther than the halfway point on the map and you know your team has been killed on the other side, rustoward the enemy deployment and around to the other side, taking out any stragglers from behind and catching the VIP by surprise right before he escapes.
The VIP has a large amount of cover at his disposal and should use it religiously. If you are the VIP and you decide to take the construction site route, have an escort move in front of you as he or she checks eaccorner. If by some chance your escort gets beat on the draw, you either have the chance to go for the kill since you know exactly where the enemy is or you must move around the defender and shoot him in the back for the same reason. If you decide to move along the nortside, be sure to stay back until you know the coast is clear. It is too easy to spot the VIP on the nortstreet because of how open it is, but if your team can lob a couple of smoke grenades to cover your approacto a closer cover, then use it and move quickly but try not to get boxed in.
On defense, use the security cameras on the areas that you can’t quite watcconstantly. Even thougthere are only a couple of major avenues, there are plenty of smaller hallways and corridors that just can’t be watched by only five players. When attacking, use the zipline to get from the bridge to the end of the construction site quickly to catcthe enemy by surprise and steal a quick extraction.
Don’t let your VIP lead the way! Have them hang back so the rest of the team can engage the enemy first. —John Seefurth, Quality Analyst
Law enforcement, you have the higground. Pusinto the objective areas and control the lanes before the criminals can climb into position. —Evan Champlin, Senior Multiplayer Level Designer