Battlefield Hardline Guide Multiplayer Maps Riptide
Team Deathmatch
| LEGEND | |
|---|---|

|
Police Deployment |

|
Criminal Deployment |

|
Spawn Area |

|
Hostage |

|
Money Pile |

|
Police Vault |

|
Criminal Vault |

|
Vault |

|
Extraction |

|
Hotwire Cars |

|
Control Points |
| BATTLE PICKUPS | |
|---|---|

|
Ammo |

|
Defibrillator |

|
Grappling Hook |

|
Health |

|
LMG |

|
Rocket Launcher |

|
Stinger |

|
Zipline |
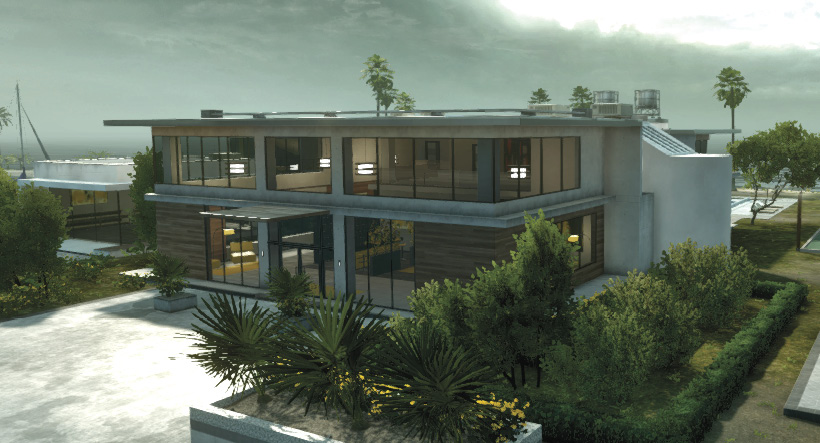
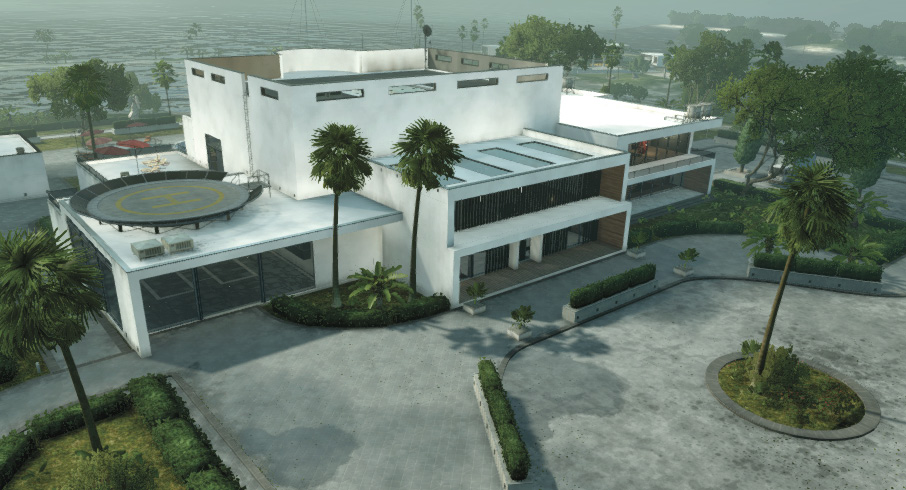
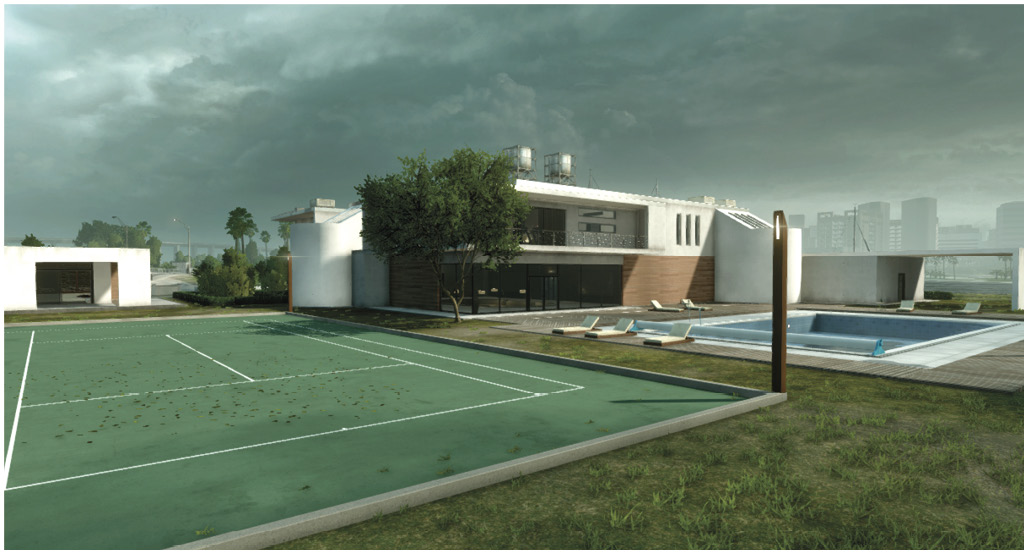
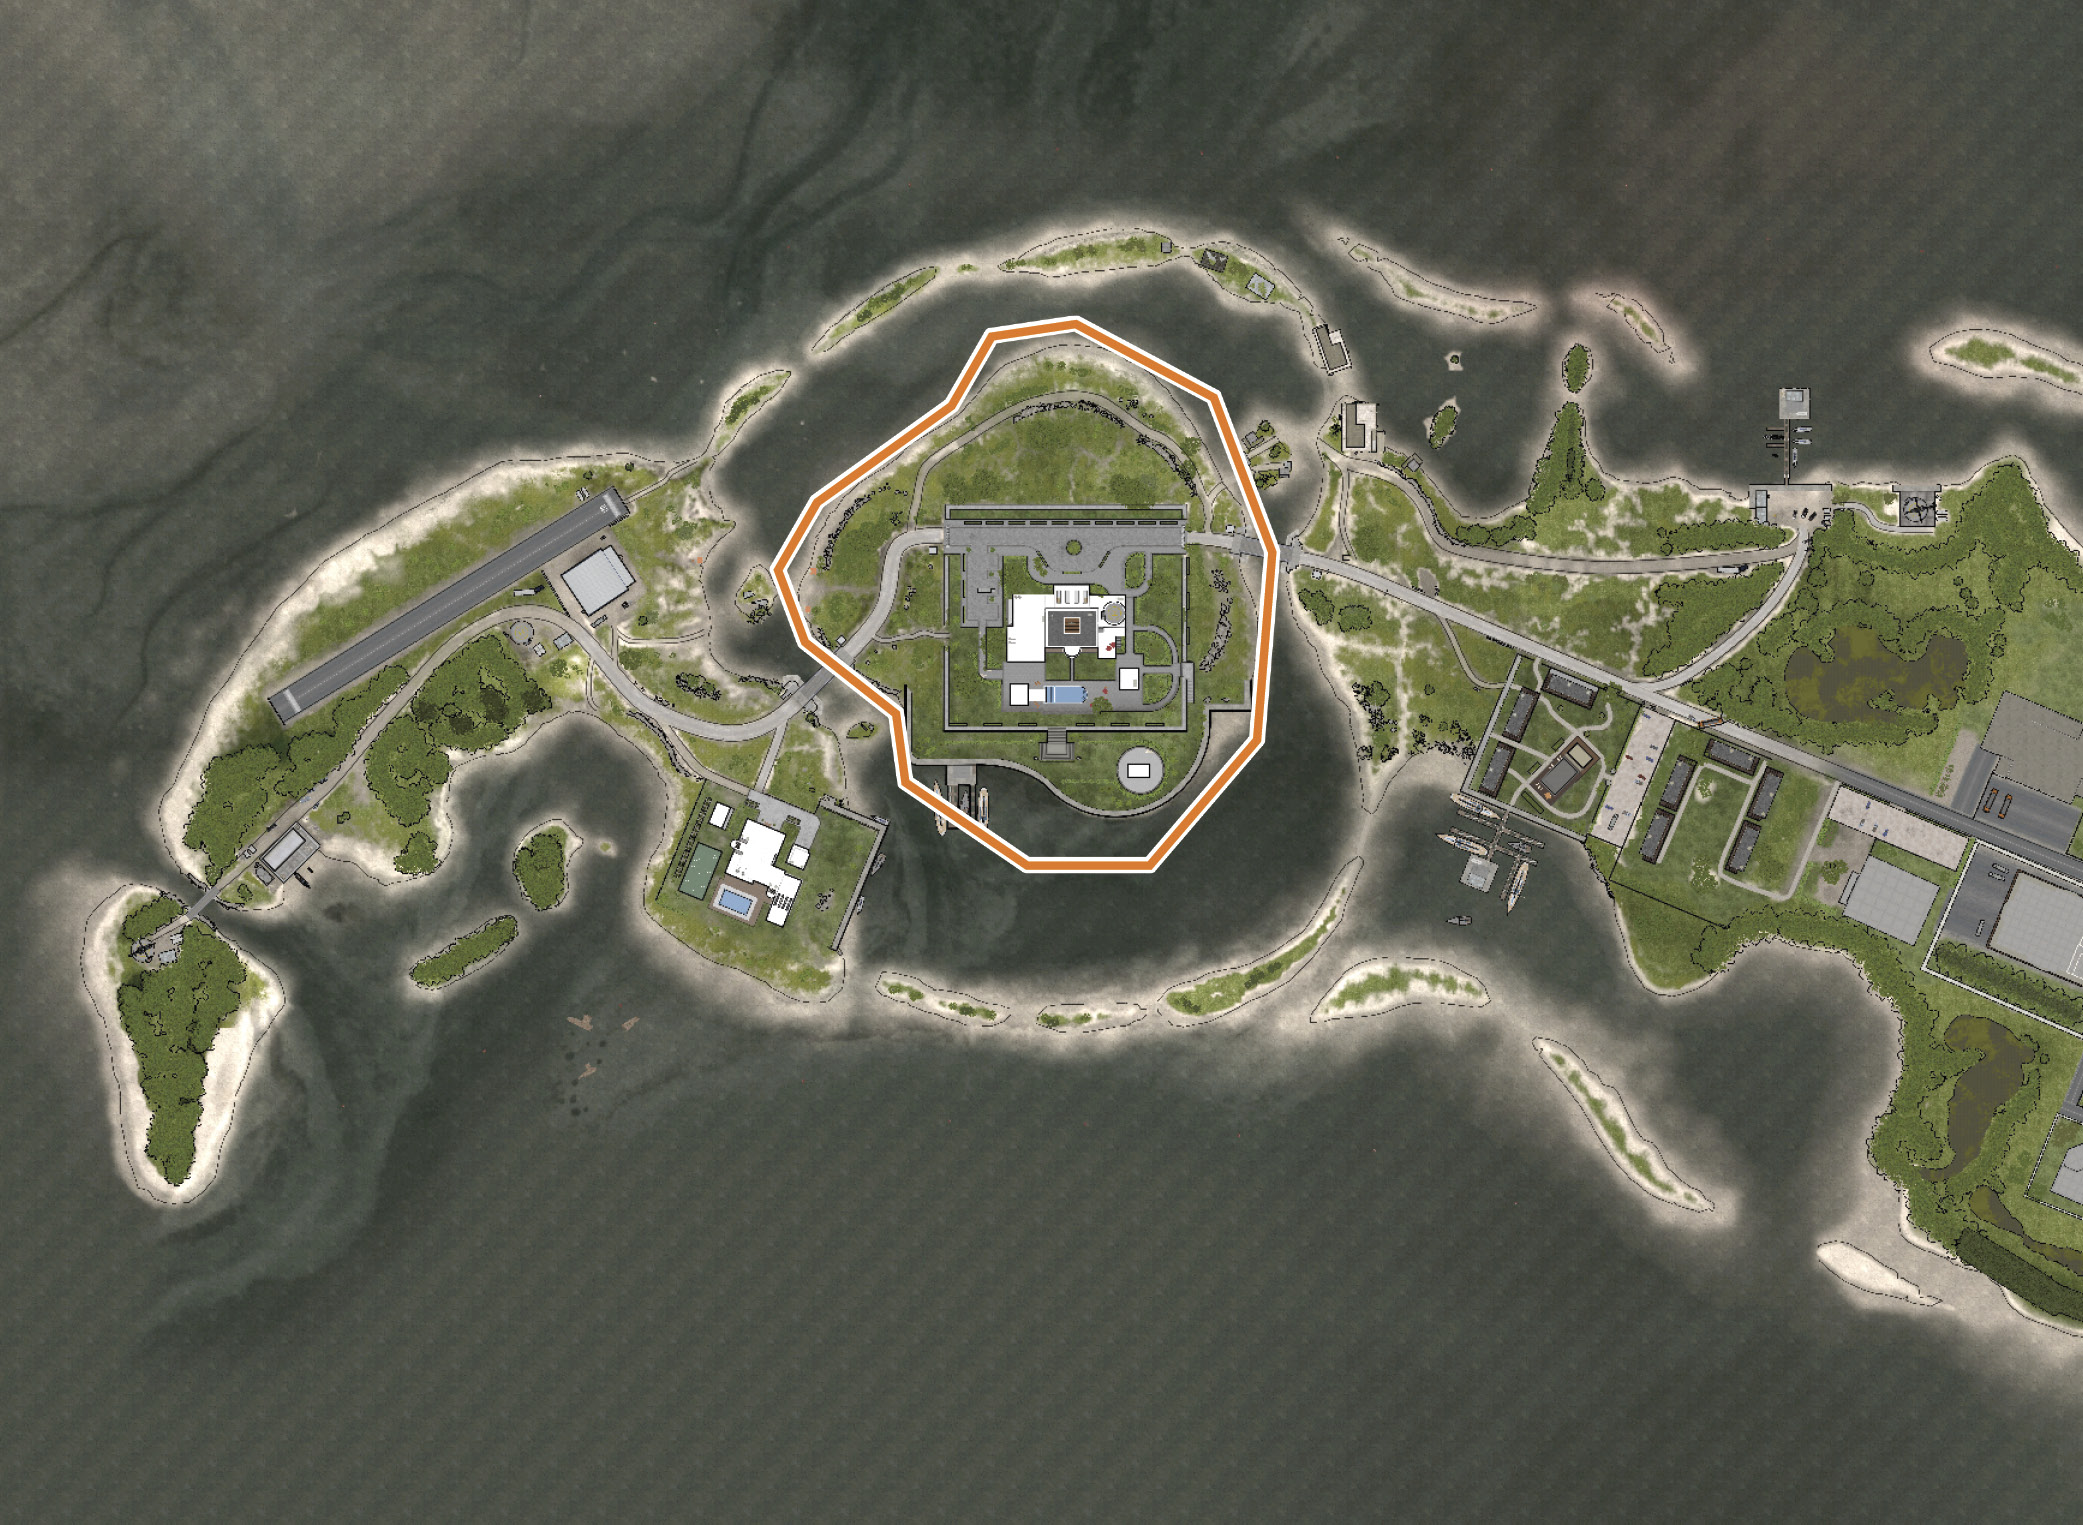
Prepare for some intense close quarter firefights in and around the Cartel Mansion during Team Deathmatch. Althougthe mansion is rather large, it feels mucsmaller when occupied by two hostile teams. An extra sense of vulnerability is immediately realized as the mansion’s interior is shredded by gunfire and explosives, leaving few intact pieces of cover. Use the interior’s destructibility to your advantage, targeting opponents througpieces of furniture and even walls.
As in most game modes, the mansion’s rooftop is a popular hangout for sharpshooters looking to pick-off opponents scurrying about on the grounds below. While this is a relatively secure spot to defend, players posted here aren’t limited to engaging opponents on the perimeter of the map. Fire down througthe skylight to target enemies in the mansion’s living room. Just be ready to fend off attacks by opponents seeking to steal your perch. Place laser tripmines near the east and west ladder access points to deter sucattacks.
Unless you’re planning to camp the mansion’s rooftop for the duration of the match, the mechanic and enforcer are the two go-to classes for this game mode. The mechanic’s SMGs and enforcer’s shotguns are ideal for chewing up opponents (and cover) during firefights inside the mansion. But don’t overlook the importance of keeping a friendly operator nearby too. You’ll need a few operators to heal and revive your teammates. So if close quarter fighting isn’t your forte, consider following around your squad wita first aid pack and defibrillator/adrenaline shot. You’ll rack-up plenty of points just keeping your teammates healthy and on their feet. Gas masks and gas grenades are also very effective on this map.
If there’s one place to avoid, it’s the large first-floor living room on the soutside of the structure. Althougbeautifully designed, this room is surrounded by second and third-floor walkways, making anyone on the bottom level extremely vulnerable to incoming fire and grenades. Make an effort to control the second floor walkways surrounding this room and catcyour opponents in a deadly kill box below.