
Battlefield Hardline Guide Multiplayer Maps Derailed
Hotwire
| LEGEND | |
|---|---|

|
Police Deployment |

|
Criminal Deployment |

|
Hotwire Cars |
| BATTLE PICKUPS | |
|---|---|

|
Ammot |

|
Defibrillator |

|
Grappling Hook |

|
Health |

|
LMG |

|
Rocket Launcher |

|
Stinger |

|
Zipline |
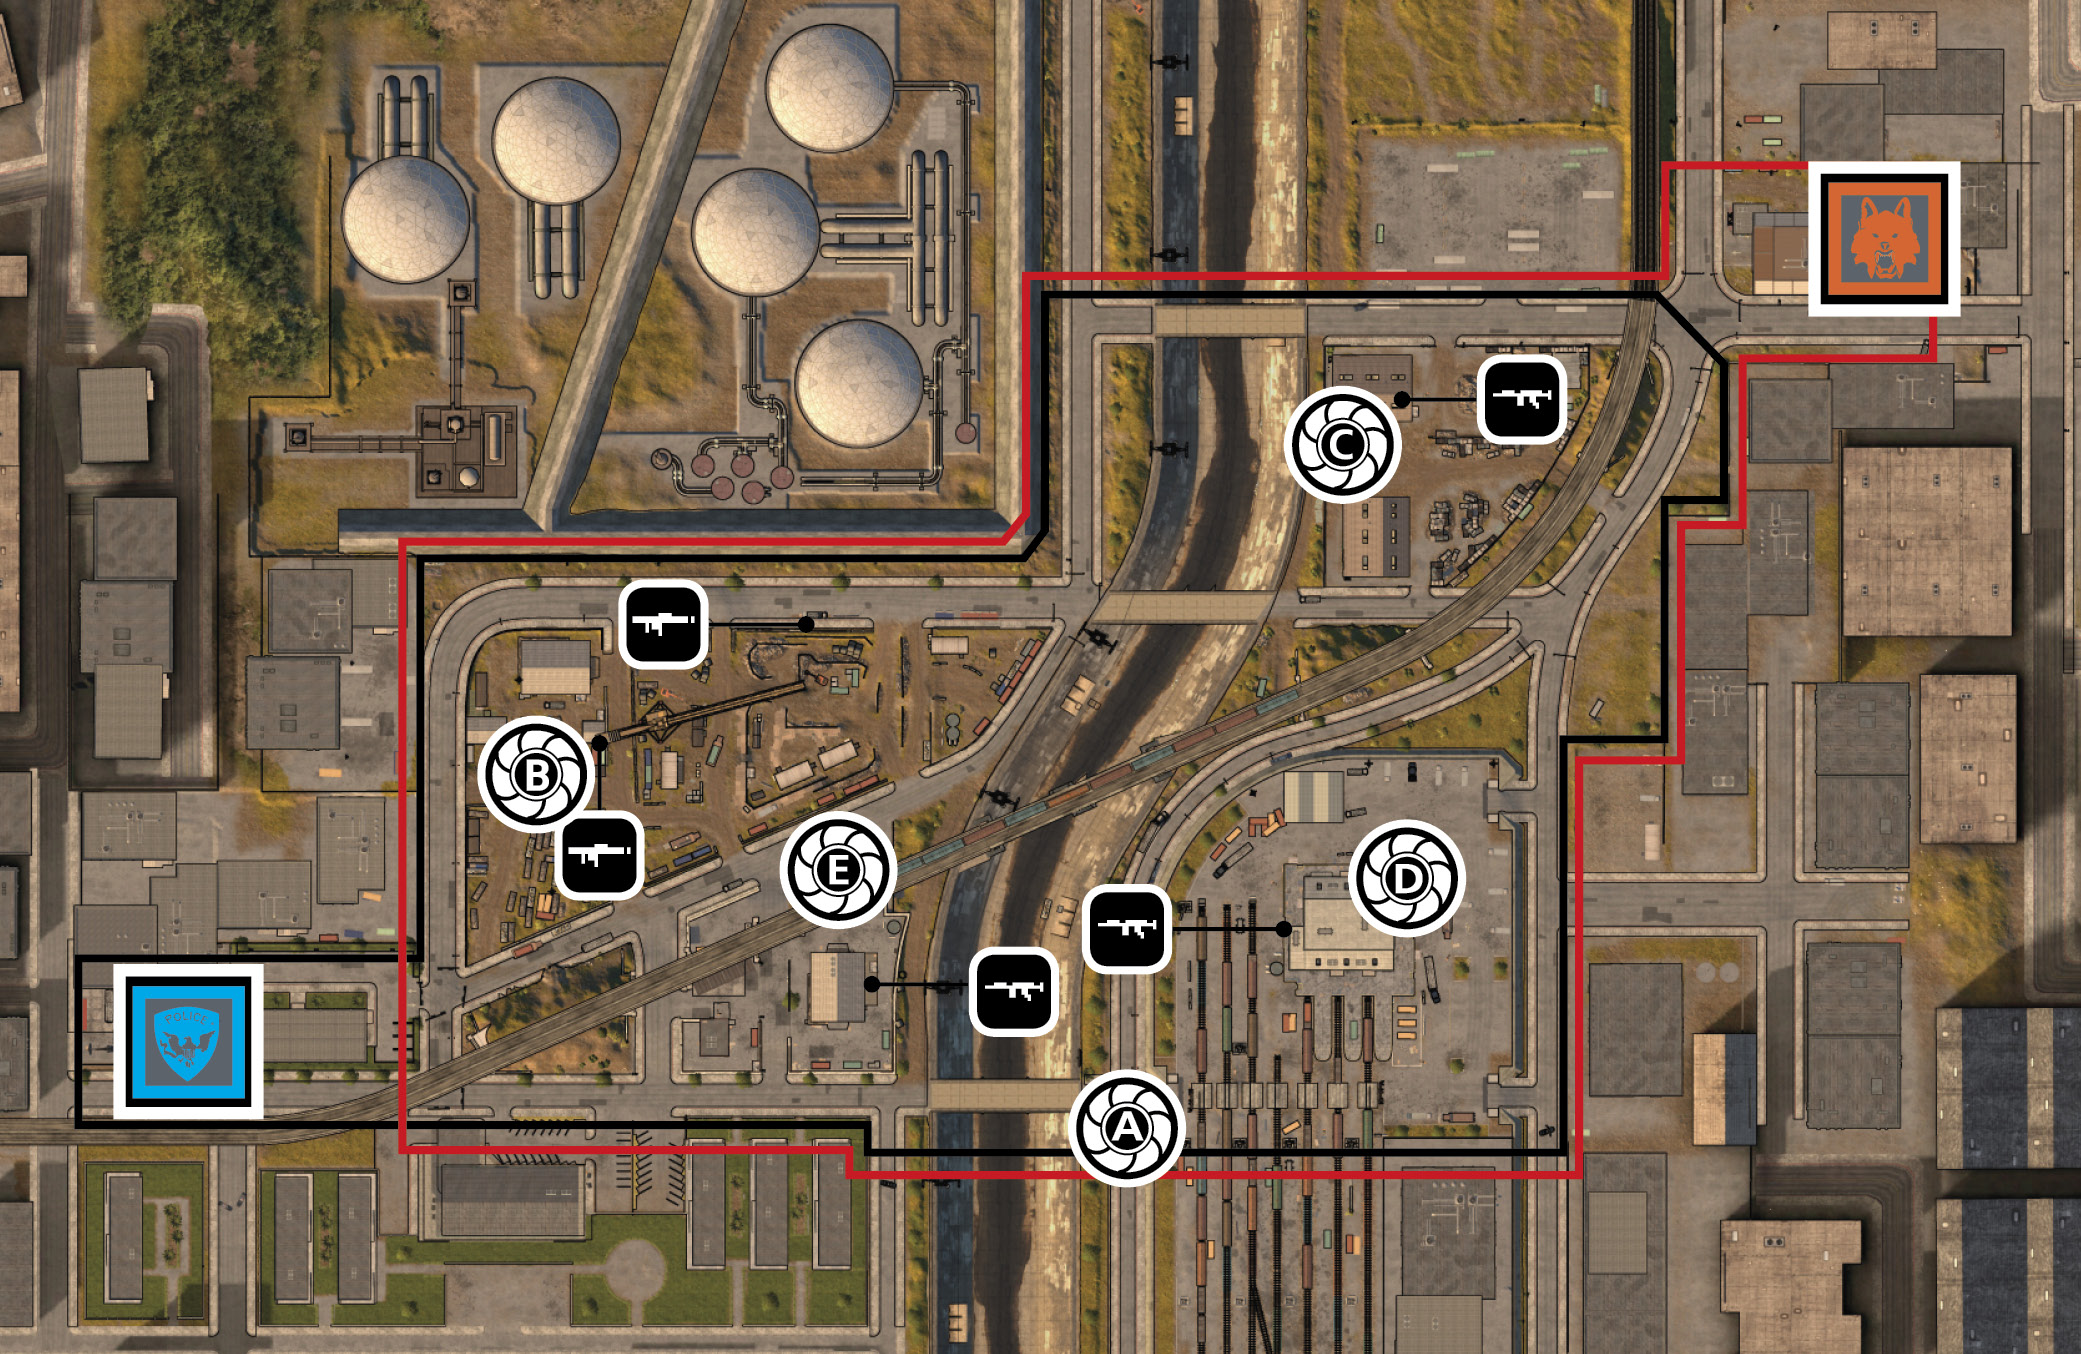
- At the beginning of a round of Hotwire on Derailed you want to capture the closest vehicle which are (B) and (E) for the police and (C) and (D) for the criminals. The police should note that objective E is the big explosive fuel tanker, meaning it is a better idea to go for (A) as soon as possible just because it’s hard to tell really how long the fuel tanker can survive out on the streets. Knowing this, the criminals have a couple of choices in how to respond. The criminals can go for the tanker and hope that the police have totally abandoned the idea of controlling it. However, the better option is to go to Hotwire car A and, before attempting to capture it, form a defensive perimeter around it to defend the car from the police. If the criminals can successfully arrive on the scene and treat the car like it is a stationary position, it is easier to defend and keep the police off of the objective long enough for your team to bleed some tickets from the police for a small buffer. The good news for the police is that their deployment is slightly closer to (A) and if you don’t hesitate when starting your round on this side, you can get there before anyone even knows that the game has started. Objectives (A) and (D) are the most valuable vehicles on this map, which is why the police must capture (A) as a priority. Both (A) and (D) are sports sedans, meaning they are not quite as quick as the muscle car, but they are still agile and they can carry two more people which translates to two more gunners launching grenades and shooting bad guys trying to blow up your car.
- Like in most situations on Hotwire, the helicopter is one of the most valuable vehicles because it can go anywhere and drop anyone off in locations required for tactical advantage. At the beginning of a round on Derailed, it is a little different. The helicopter is fast and can go straight to your destination, but with the ground you have to cover and the speed at which you have to do it, the motorcycle is extremely powerful. It is fast and can maneuver the streets of industrial Los Angeles with ease. Use the fast vehicles to get from point to point and stop the enemy from controlling Hotwire cars.
- Derailed is split into two clearly distinct halves separated by the large dry drainage system that runs down from north to south of the map. This is what splits up the “safe” driving areas. Each team is fairly safe driving on their half of the map because the dry ravine acts as a “no man’s land” that is heavily policed by both sides and the attempt at crossing it is the biggest challenge for either side. The police should be driving around the Construction Site and Logistics Center as much as possible, if you must pass underneath the Tram Bridge do so quickly and get back to your half of the map because the driving bridge on the north side is deadly.
- The major crossroads are places that you should avoid as much as possible if you have any thought that there could be an enemy set up there. The main intersections, like the one dead center of the map right outside the Logistics Center, have about five major sightlines that look straight at it, meaning any one of them, or at worst all of them, could have an enemy waiting for your car ready to light it up and send you and your crew sky high. When driving anywhere on the map, use the mini-map on your HUD as much as possible because any sign of enemy movement should deter your vehicle. The muscle cars and sports sedans are fast and maneuverable, so they can avoid fire better than the others, but just a few key hits to the vehicle and it’s done.
- The police may have a disadvantage when starting a round on this mode/map combination, but they definitely have the upper hand when it comes to battle pickup locations. In the Construction Site area there are two different rocket launcher pickups. This makes controlling the fuel tanker even scarier than normal, but if your team can get to the rocket launchers and use them for the enemy vehicles that cross the bridge, make them pay with a well-placed rocket to the chassis. On the same note, objectives (C), (D), and (E) all have light machinegun pickups near them. If you know the enemy is going to beat you to the Hotwire car, or you just want to sit and wait for them, pick up the LMG and turn the vehicles around you into Swiss cheese.
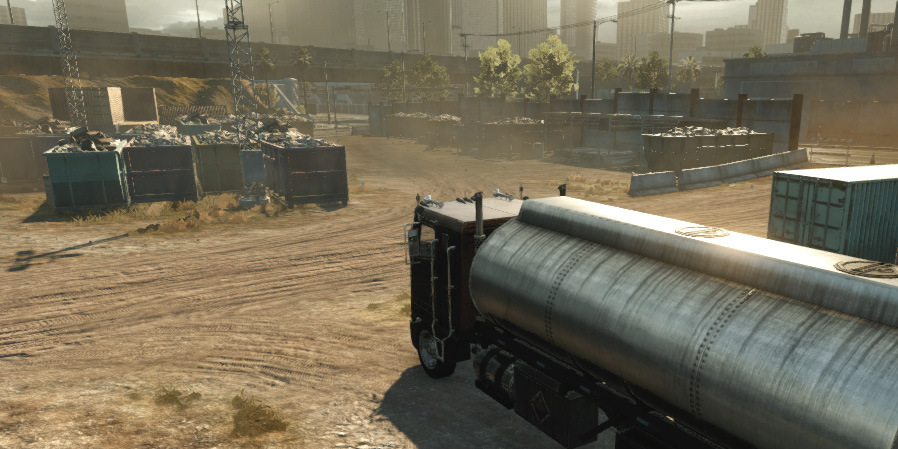
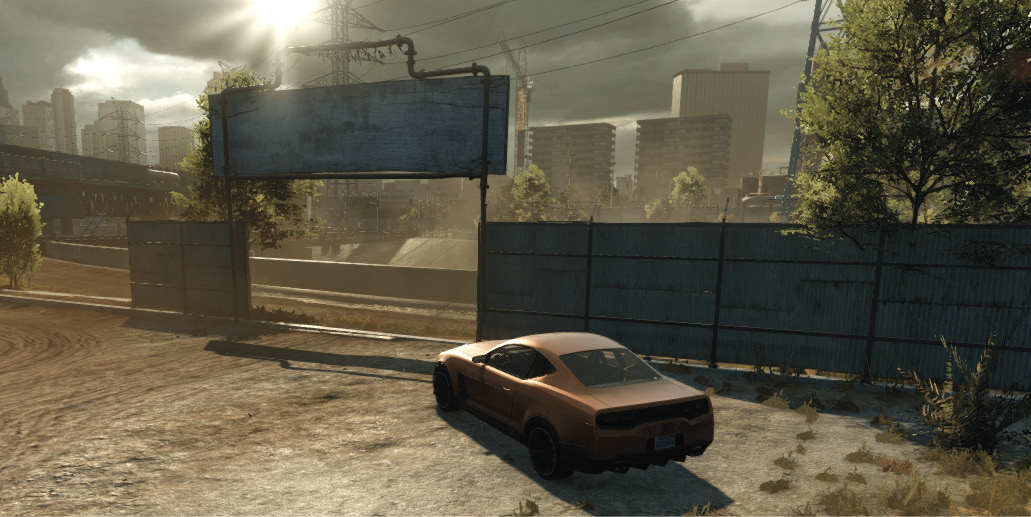
Hotwire Cars
| Vehicle | Name | |
|---|---|---|

|
A | Sports Sedan |

|
B | Fuel Tanker |

|
C | Muscle Car |

|
D | Sports Sedan |

|
E | Utility Van |
Using the river can be a good way of avoiding ambushes. Don’t spend too much time down there. You may become an easy target for players wielding nearby battle pickups. —Evan Champlin, Senior Multiplayer Level Designer
Don’t try to destroy vehicles with tripmines. It’s a waste of your assets and won’t work. Use the breaching charges instead. —John Seefurth, Quality Analyst