
Battlefield Hardline Guide Classes and Weapons
Enforcer
Starting Loadout
Slot |
Equipment |
| Primary Weapon | 870P Magnum |
| Secondary Weapon | 45T |
| Gadget One | Ammo Box |
| Gadget Two | — |
| Grenade | M67 Frag |
| Melee | Police Baton/Baseball Bat |
Strengths: Versatile anti-personnel performance; ammo resupply
Weaknesses: Limited anti-vehicle capability
While there are some residual similarities, the enforcer class plays differently than the support class in other Battlefield games. For one, light machine guns are now exclusively limited to Battle Pickups and the LMG armory upgrade affiliated with sedans and coupes. Instead, the enforcer has access to shotguns and battle rifles. This gives the enforcer solid close quarter performance when using shotguns and greater long range versatility when equipped with a battle rifle. Before spawning into a match, take into consideration the size of the map and environmental features before settling on a shotgun or battle rifle. The iconic ammo box makes its return, allowing the enforcer to distribute ammo to teammates. Ammo can also be retrieved directly from an ammo box-equipped enforcer. It’s also possible to equip a Ballistic Shield, great for deflecting small arms fire when defending your team in close quarters. The enforcer is also home of the powerful breaching charge, perfect for knocking down doors, blowing holes in walls, booby-trapping objectives, or ambushing opponents. Whether racking-up kills or assisting teammates, there’s plenty of ways for enforcers to support their team.
Reputation Perks
Level 1
Perk |
Name |
Description |

|
Fast Throw | Keeping your grenade accessible means you can deploy it in the heat of battle much faster. |
|
|
Reduced Fall | Your agility allows you to survive falling longer distances than others. |

Level 2
Perk |
Name |
Description |

|
Fast Ready | Practice allows you to bring your weapons to bear faster after sprinting. |
|
|
Upgraded Ammo Box | You carry two ammo boxes into battle, allowing you to resupply yourself and other teammates. |

Level 3
Perk |
Name |
Description |

|
Fast Aim | All that time on the firing range has paid off—you can bring your weapon to bear faster when aiming down sights. |
|
|
Extra Charges | Carry and deploy more breaching charges at one time. |

Level 4
Perk |
Name |
Description |

|
Increased Suppression | Experience with suppressive fire increases the effect of suppression on opponents. |
|
|
Reduced Suppression | Confidence under fire reduces the effects of suppression on you. |

Enforcer Weapons
Shotguns
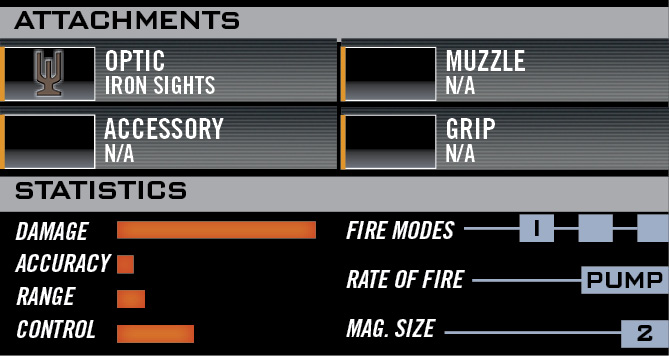
Nobody misses with a shotgun. Although these weapons lack the accuracy and finesse of the other weapons, their brutal power is a worthwhile trade-off. At close range, these weapons are unmatched, capable of killing with one devastating shot. But at ranges beyond 10-15 meters, the shotguns are outclassed by almost every weapon in the game, including handguns. So only equip a shotgun when operating in close quarter environments where you can get the jump on your opponents.
870P MAGNUM
$0
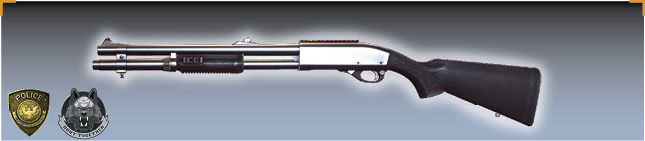
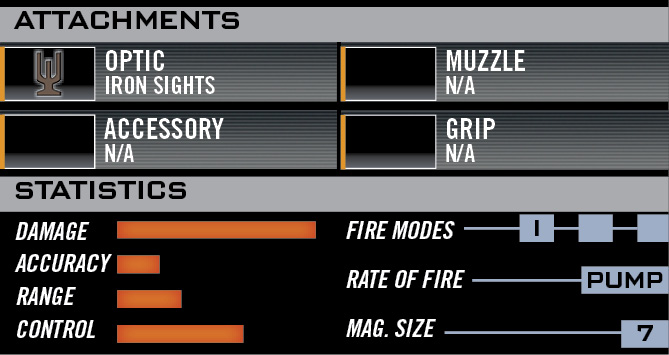
The nickel-plated 870P is a durable pump-action shotgun that holds 7 shells in its magazine tube. Well-rounded and versatile over range, the 870P can be counted on in a tight spot.
37 STAKEOUT
$6,000
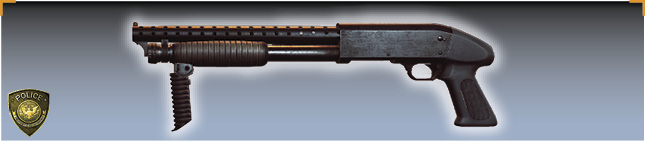
The 37 Stakeout is a 12-gauge pump-action shotgun, deadly in close quarters.
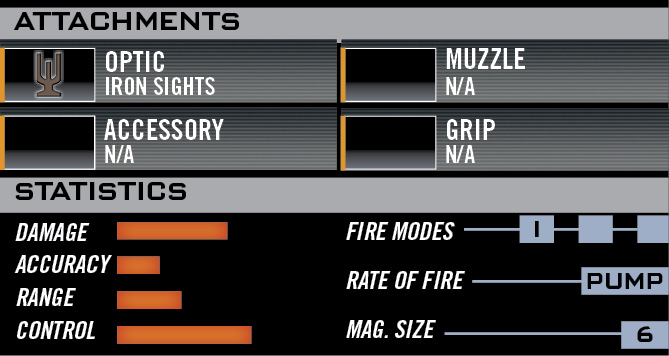
SPAS-12
$50,000
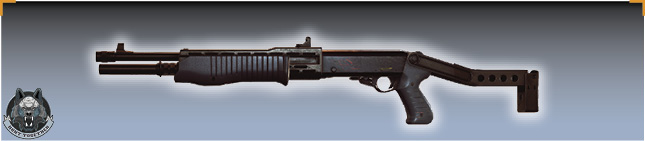
The SPAS-12 is a combat shotgun adopted by civilian markets and police forces worldwide. The SPAS-12 is a semi-automatic weapon, meaning the pump is not operated between shots.
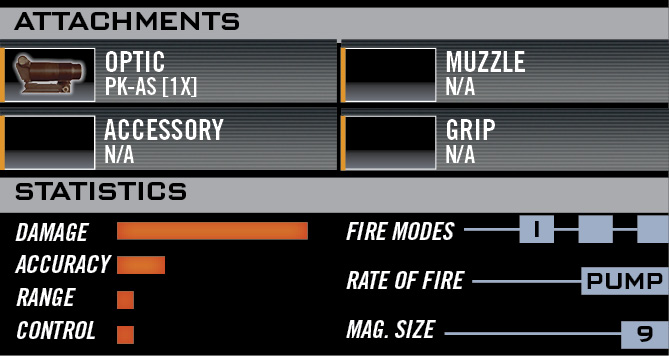
Double-BARREL SHOTGUN
ENFORCER SYNDICATE 
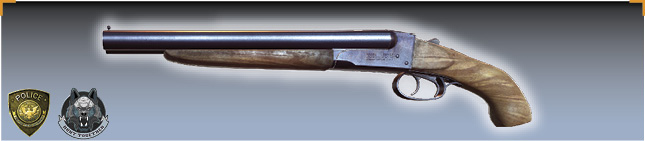
This shotgun would look more at home over somebody’s fireplace, but this one’s been modified into a combat weapon. Two barrels of 12-gauge are bound to wreck someone’s day.
Battle Rifles
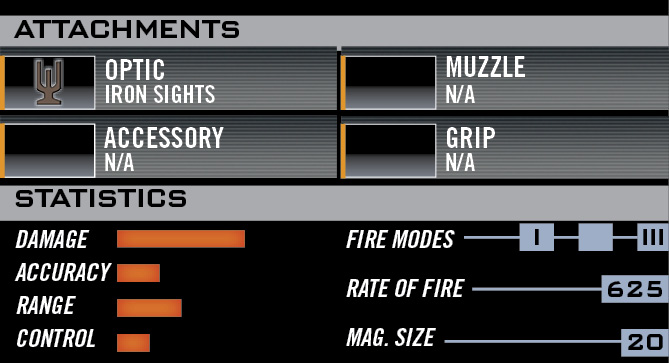
When you’re not sneaking around a building’s interior or lurking about in cramped alleyways, consider choosing one of these battle rifles for improved intermediate- and long-range performance. These are essentially larger assault rifle variants capable of firing higher caliber rounds. The end result is more stopping power with increased recoil. Given their limited magazine capacities and harsh recoil, consider switching to semi-auto mode, particularly when engaging targets at long range.
SCAR-H
$26,400

This modular battle rifle firing 7.62 NATO is setup in the Close Quarters Combat variation. In the right hands, the SCAR-H is effective from close all the way out to long range.
HCAR
$37,200
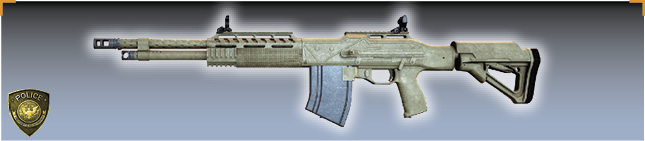
The HCAR is a modernized version of the WWII-era BAR. Firing a high-power .30-06 round, the HCAR has a lot of stopping power, but comes with heavy recoil to manage during full-automatic operation.
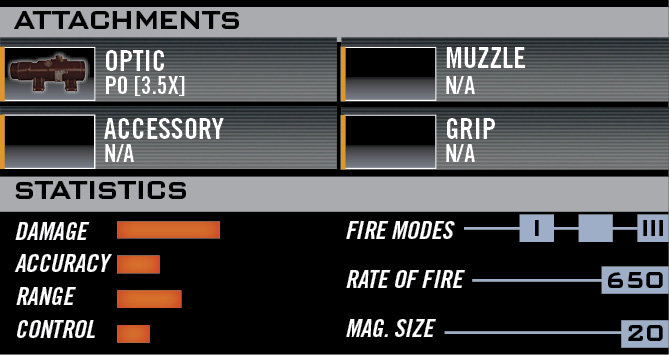
SA-58 OSW
$25,000
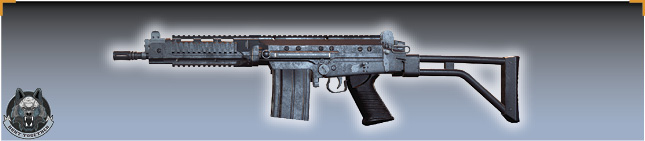
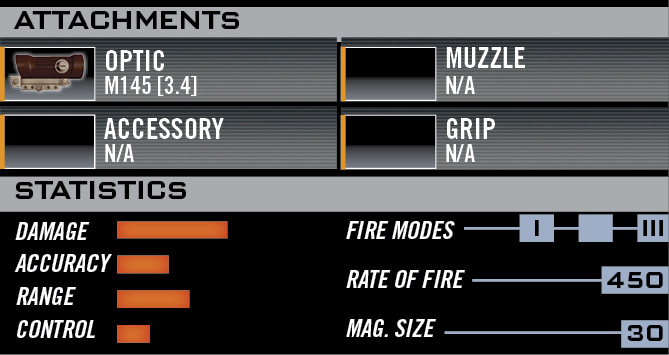
Based on the FAL platform, the SA-58 Operational Special Weapon is a modernized variant of the classic battle rifle.
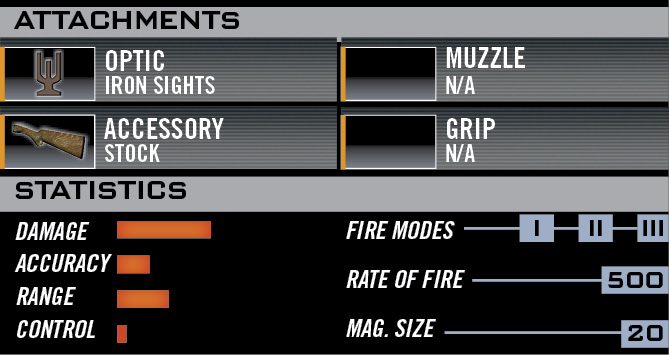
HK51
$34,800
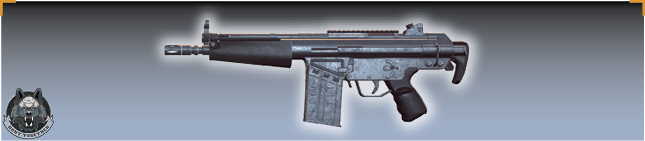
A cut-down G3A3 which has been modified to take MP5 furniture and accessories. Smaller size makes this weapon maneuverable in tight quarters, but recoil is more difficult to manage.
HANDGUNS
The enforcer’s arsenal of semi-automatic handguns performs much like those affiliated with the operator class. But while those fire smaller 9mm rounds, these handguns are chambered in .40 caliber and up, resulting in superior damage. But these handguns also exhibit heavier recoil and the large rounds lead to smaller magazine capacities. Still, if you manage to hit your target, you should have no problem dropping a threat with these hard-hitting handguns.
45T
$0
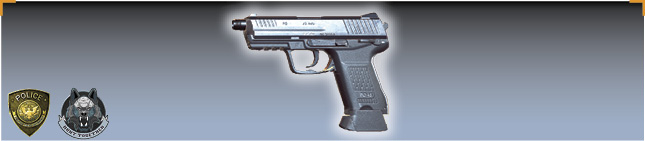
The 45T is a polymer-framed handgun with great control due to its ergonomics. It has high recoil but skilled users can master this sidearm.
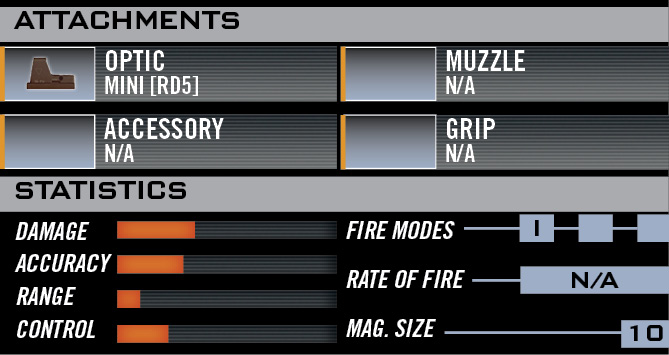
M1911A1
$13,200

A classic sidearm that has remained essentially the same for a hundred years. The .45 caliber round hits hard up close, but damage falls off quickly over distance.
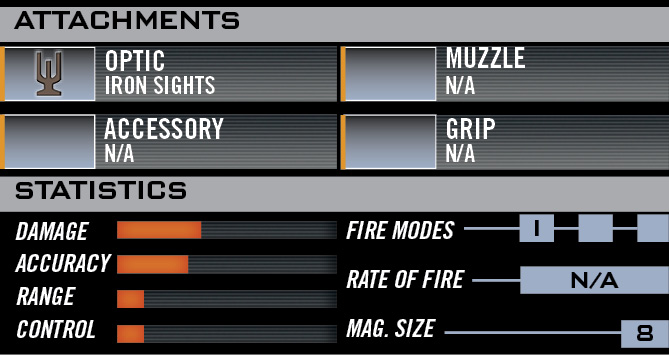
.40 Pro
$7,200
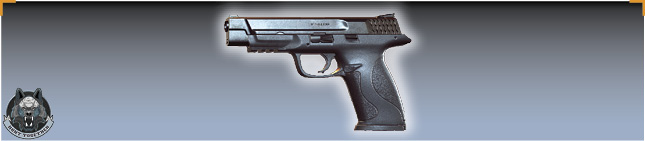
The .40 Pro is a popular sidearm in the civilian market. The .40 caliber round makes a decent trade off of damage for accuracy.
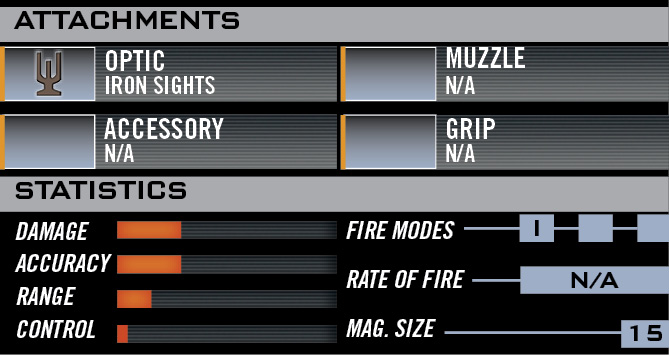
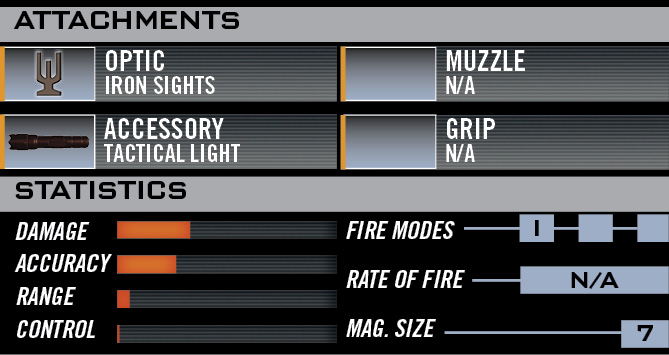
Bald Eagle
enforcer Assignment 2 
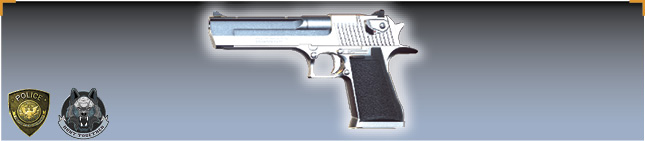
This powerful .50 caliber hand cannon has high damage output, but accuracy isn’t great due to extreme recoil.
Enforcer Gadgets
Ammo Box
$0
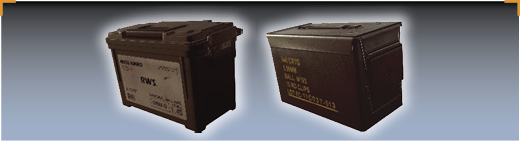
Deployable ammo box. Nearby combatants resupply ammo for all weapons, gadgets, and explosives. Anyone near the ammo box carrier can interact with him to resupply.
Field Notes
The ammo box contains ammo for all weapon types. Simply stand next to one of these boxes for a few seconds to replenish the ammo for all of your weapons and gadgets, including grenades. When playing as an enforcer, drop these boxes around clusters of teammates. Each time someone retrieves ammo from a box you earn a resupply bonus. This is a great way to supplement your score while supporting your team and squadmates. If a team or squadmate is low on ammo, an icon depicting three bullets appears above their head. Get them some ammo fast! By default you can only drop one ammo box at a time, but with the Upgraded Ammo Box reputation perk you can deploy up to two ammo boxes at a time, greatly increasing your resupply score. For best results, drop these boxes in areas where multiple teammates are pinned or defending choke points. New to Hardline, ammo can be retrieved directly from an enforcer outfitted with an ammo box—you no longer have to jump up and down to get their attention. Simply interact with the enforcer at close range to grab some ammo.
Ballistic Shield
$18,000

The ballistic shield is designed to block bullets and explosive damage. After absorbing a certain amount of damage, the shield is destroyed. The shield can be used to perform a vicious bash attack.
Field Notes
This large rectangular shield can block any bullet, even those fired by high-powered rifles and heavy machine guns. But you must have the shield deployed, placing it between you and the incoming rounds, to benefit from its life-saving capability. Both of the enforcer’s hands are required to hold this heavy shield, meaning you have no way to shoot back, so use this gadget when working with your squad. Lead the way while they follow and provide supporting fire. This works well when entering rooms or maneuvering down narrow hallways. For best results, crouch while inching forward. Otherwise, your ankles and feet are exposed, giving opponents an opportunity to inflict damage. At close range it’s possible to smack opponents with the shield. Press the fire button/key to perform a melee strike, but it takes at least two solid hits to produce lethal results. When the shield is not equipped, it is worn on the enforcer’s back, deflecting incoming rounds from the rear.
Breaching Charge
$23,400

Plastic explosives that stick to most surfaces. The remote detonator allows for traps and ambushes.
Field Notes
Just like C4 from other Battlefield games, the breaching charge gives the enforcer enough explosive
firepower to destroy almost anything. Initially, up to three breaching charges can be placed at a time and detonated simultaneously with a remote detonator. The enforcer can replenish their charges using an ammo box. When attacking vehicles, no matter the size, always plant at least two charges to guarantee destruction. One breaching charge is enough to take out most vehicles, but armored vehicles may require two. Charges can also be used as booby traps, placed around critical high-traffic areas like control points, money piles, and vaults, but it’s up to you to detonate them when there are enemies nearby. Don’t overlook the opportunity to use breaching charges on walls too. If you suspect enemies are on the other side of a wall, plant a charge and detonate it. If the wall is destructible, the charge blows a hole in it, killing opponents on the other side. You can also experience some success by tossing charges out of moving vehicles, ideal in Hotwire game modes. This is a very rewarding way to detonate enemy vehicles pursuing your getaway car. Or have your driver pull alongside an enemy vehicle so you can slap a charge on it. But in any situation, make sure you’re far away from these charges when they go off. Otherwise you run the risk of blowing yourself up.
Enforcer Tactics
Playing as the enforcer, you carry a big gun. To compensate for the small amount of gadgets to choose from you have two completely different classes of primary weapons: shotguns and battle rifles. Choose the weapon class that balances out your squad. Choose something that fits the area of operation and you have the most useful weapon around.
Drop ammo boxes near health packs in strongholds to create an area for your teammates to recoup after a firefight.
Equip the ballistic shield and step in front of VIPs and objectives to protect everyone behind you as they shoot around you, giving your team extra cover that they wouldn’t have otherwise.
Enforcers are highly defensive, making them incredibly useful on game modes like Heist and Rescue. Point your shotgun into a bottleneck piece of the map you’re on and wait to aim down the sights until you have to move forward. Having the widest field of view is essential when defending a specific location.
Use the breaching charge to set up ambush points on Hotwire maps to destroy cars as they pass through popular narrow checkpoints. These points are avoidable, but sometimes the enemy just doesn’t have a choice but to fall right into your trap.