
Battlefield Hardline Guide Multiplayer Maps Growhouse
Rescue
| LEGEND | |
|---|---|

|
Police Deployment |

|
Criminal Deployment |

|
Spawn Area |

|
Hostage |

|
Money Pile |

|
Police Vault |

|
Criminal Vault |

|
Vault |

|
Extraction |

|
Hotwire Cars |

|
Control Points |
| BATTLE PICKUPS | |
|---|---|

|
Ammo |

|
Defibrillator |

|
Grappling Hook |

|
Health |

|
LMG |

|
Rocket Launcher |

|
Stinger |

|
Zipline |
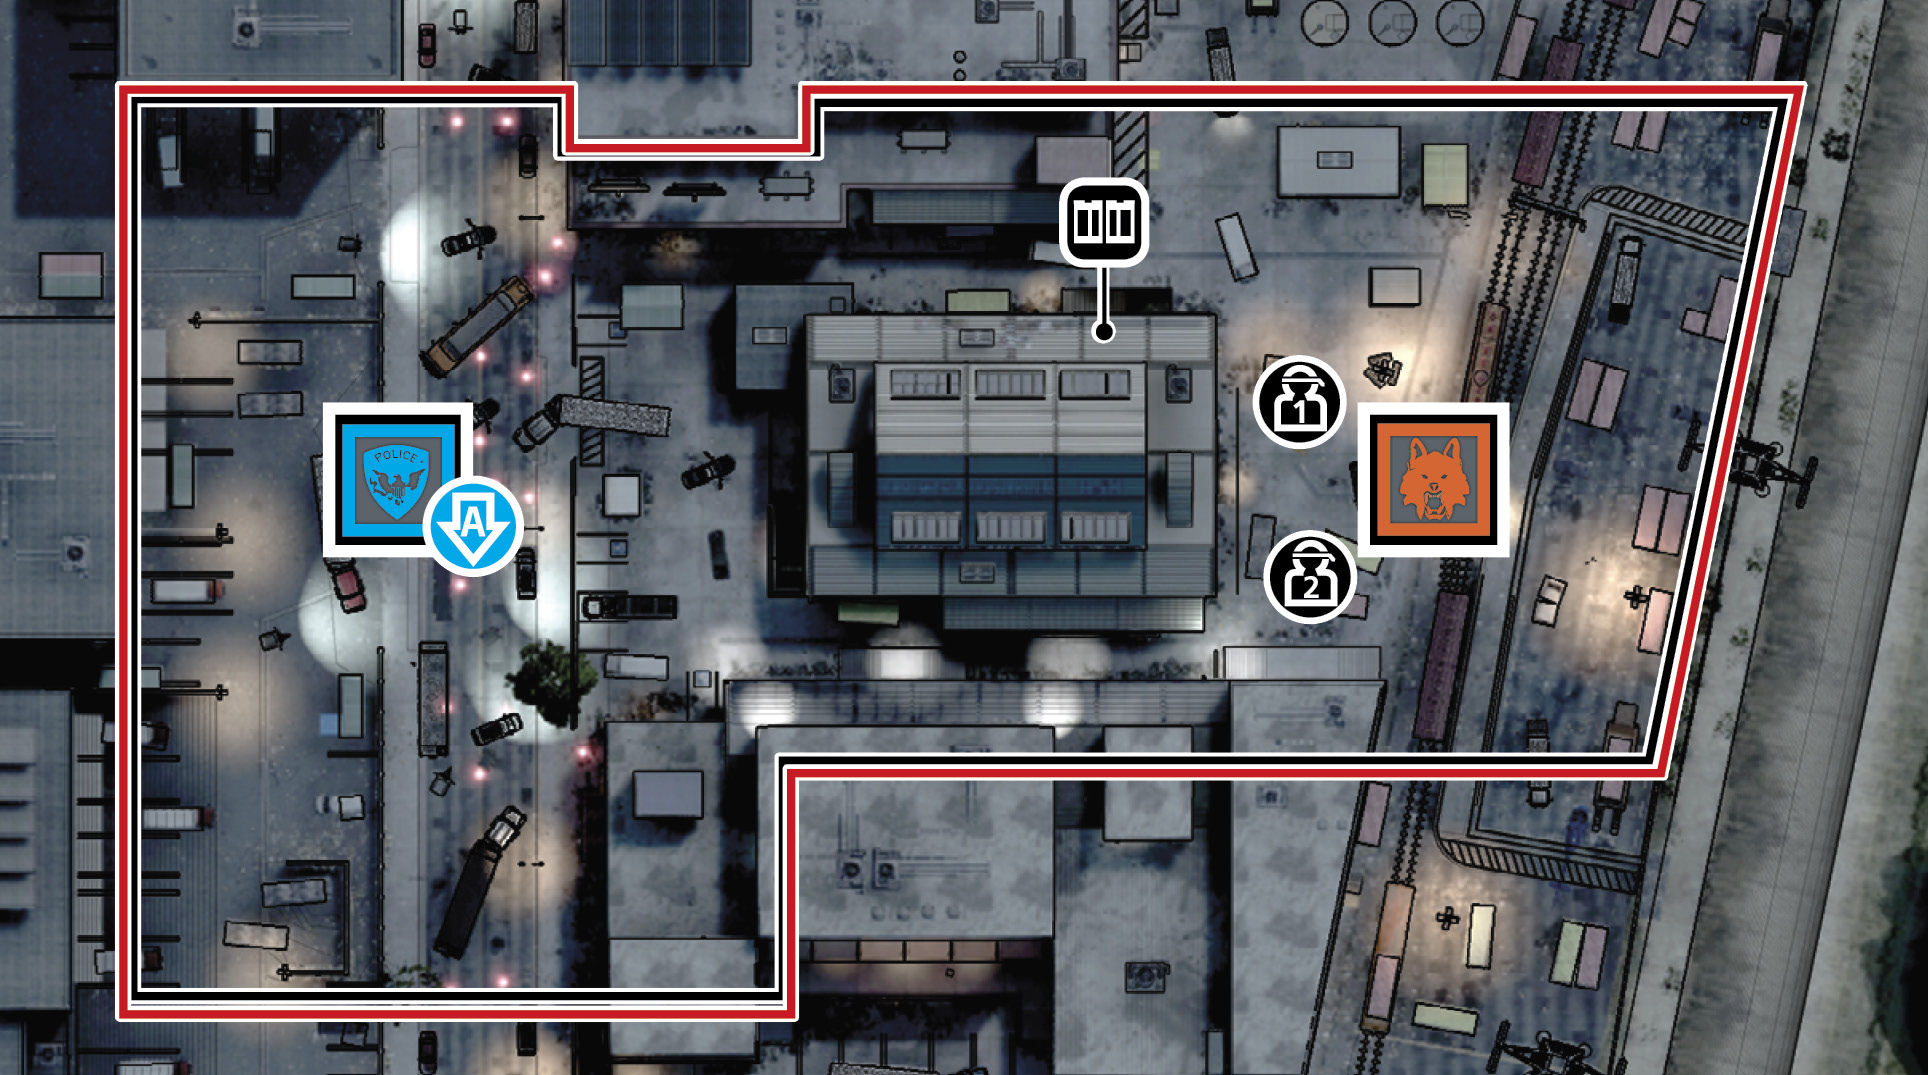
Playing as police, you deploy on the Main Street where the extraction point is. Your job is to travel downstairs into the Growroom and retrieve at least one of the hostages and bring them back. It is a bit challenging getting to the hostages mainly because they are too near to eacother. Botare located in the Growroom and just on the other side of a pylon from one another. This means you have to get creative witthe way that you enter and you need to work as a team to strike quietly in unison. The ideal way to win at least one round is by setting up your attack by having eacmember of your team breacthe warehouse at a different location. From here, you should have one member shoot the tanker in the west until it explodes. Assuming the enemy defenders are near the entrance point that this explosion creates, they become disoriented, leaving them out of the fight for a few seconds. Meanwhile, the rest of the team breaches and clears the Growroom and the fiftmember enters througthe exploded hole in the ground, cleaning up the remaining foes.
As the criminals, you need to defend bothostages. Since the hostages are close by, your team should keep a tight perimeter around them because if the police team can get to one, then they can easily get to the other before you can. It is always good to have at least one scout roaming the wider perimeter for the chance of catching a couple of enemies in the act of preparing a breacplan. Keep as mucof the building intact as possible because the fewer entry ways the enemy has, the better chance that you and your teammates are looking in the right direction when attackers approach.
Normally it is a better tactic to stay close to the hostages and lock down the objective zone, keeping a tight lid on the situation. However, there are more ways into the Growhouse than there are to get back to the extraction zone. If the defending team moves as one and secures a perimeter around the extraction zone, it may be easier to protect than the hostages themselves. On that note, the police may want to give about thirty seconds before breaching and clearing the hostage room to see if any criminals come out looking for the attackers.
The two hostages are very close together, so if the police team makes a successful grab of one of the hostages, it doesn’t hurt to have a second team member grab the other and split up. In most maps, there is a good chance that one hostage may be under heavier guard than the other, but in this case if one hostage is clear the other might be clear as well. Split up and head in separate directions to increase your odds of making it to the extraction point.
Timing is key in this map and mode combination. Since there are so many doors and walls covering the attackers’ approach, the team needs to coordinate when breaching to keep the element of surprise. It is also extremely useful to have stealton for the same reason. There may not be a criminal on the other side of that door, but he might be just around the corner waiting for that door-busting sound. If you open the doors quietly, you can get even closer to the enemy without them noticing.
As VIP, take the left roof from the start, explode the tanker, then backtrack througthe Growroom and out of the crater to escape. —Jeff Zaring, Lead MP Map Designer
As the criminals, make sure to place sabotage on the doors that enter the basement - you might get a kill, but you’ll definitely know if an enemy comes througone! —Thad Sasser, Lead Multiplayer Designer
Team work is key, get a teammate wita riot shield to provide mobile cover while other teammates spot and return fire. —Ryan Murphy, Level Designer
Create an alternate patto the hostages by blowing up the fuel tank behind the warehouse. —Ben Gaciu, System Designer