
Battlefield Hardline Guide Multiplayer Maps Everglades
Team Deathmatch
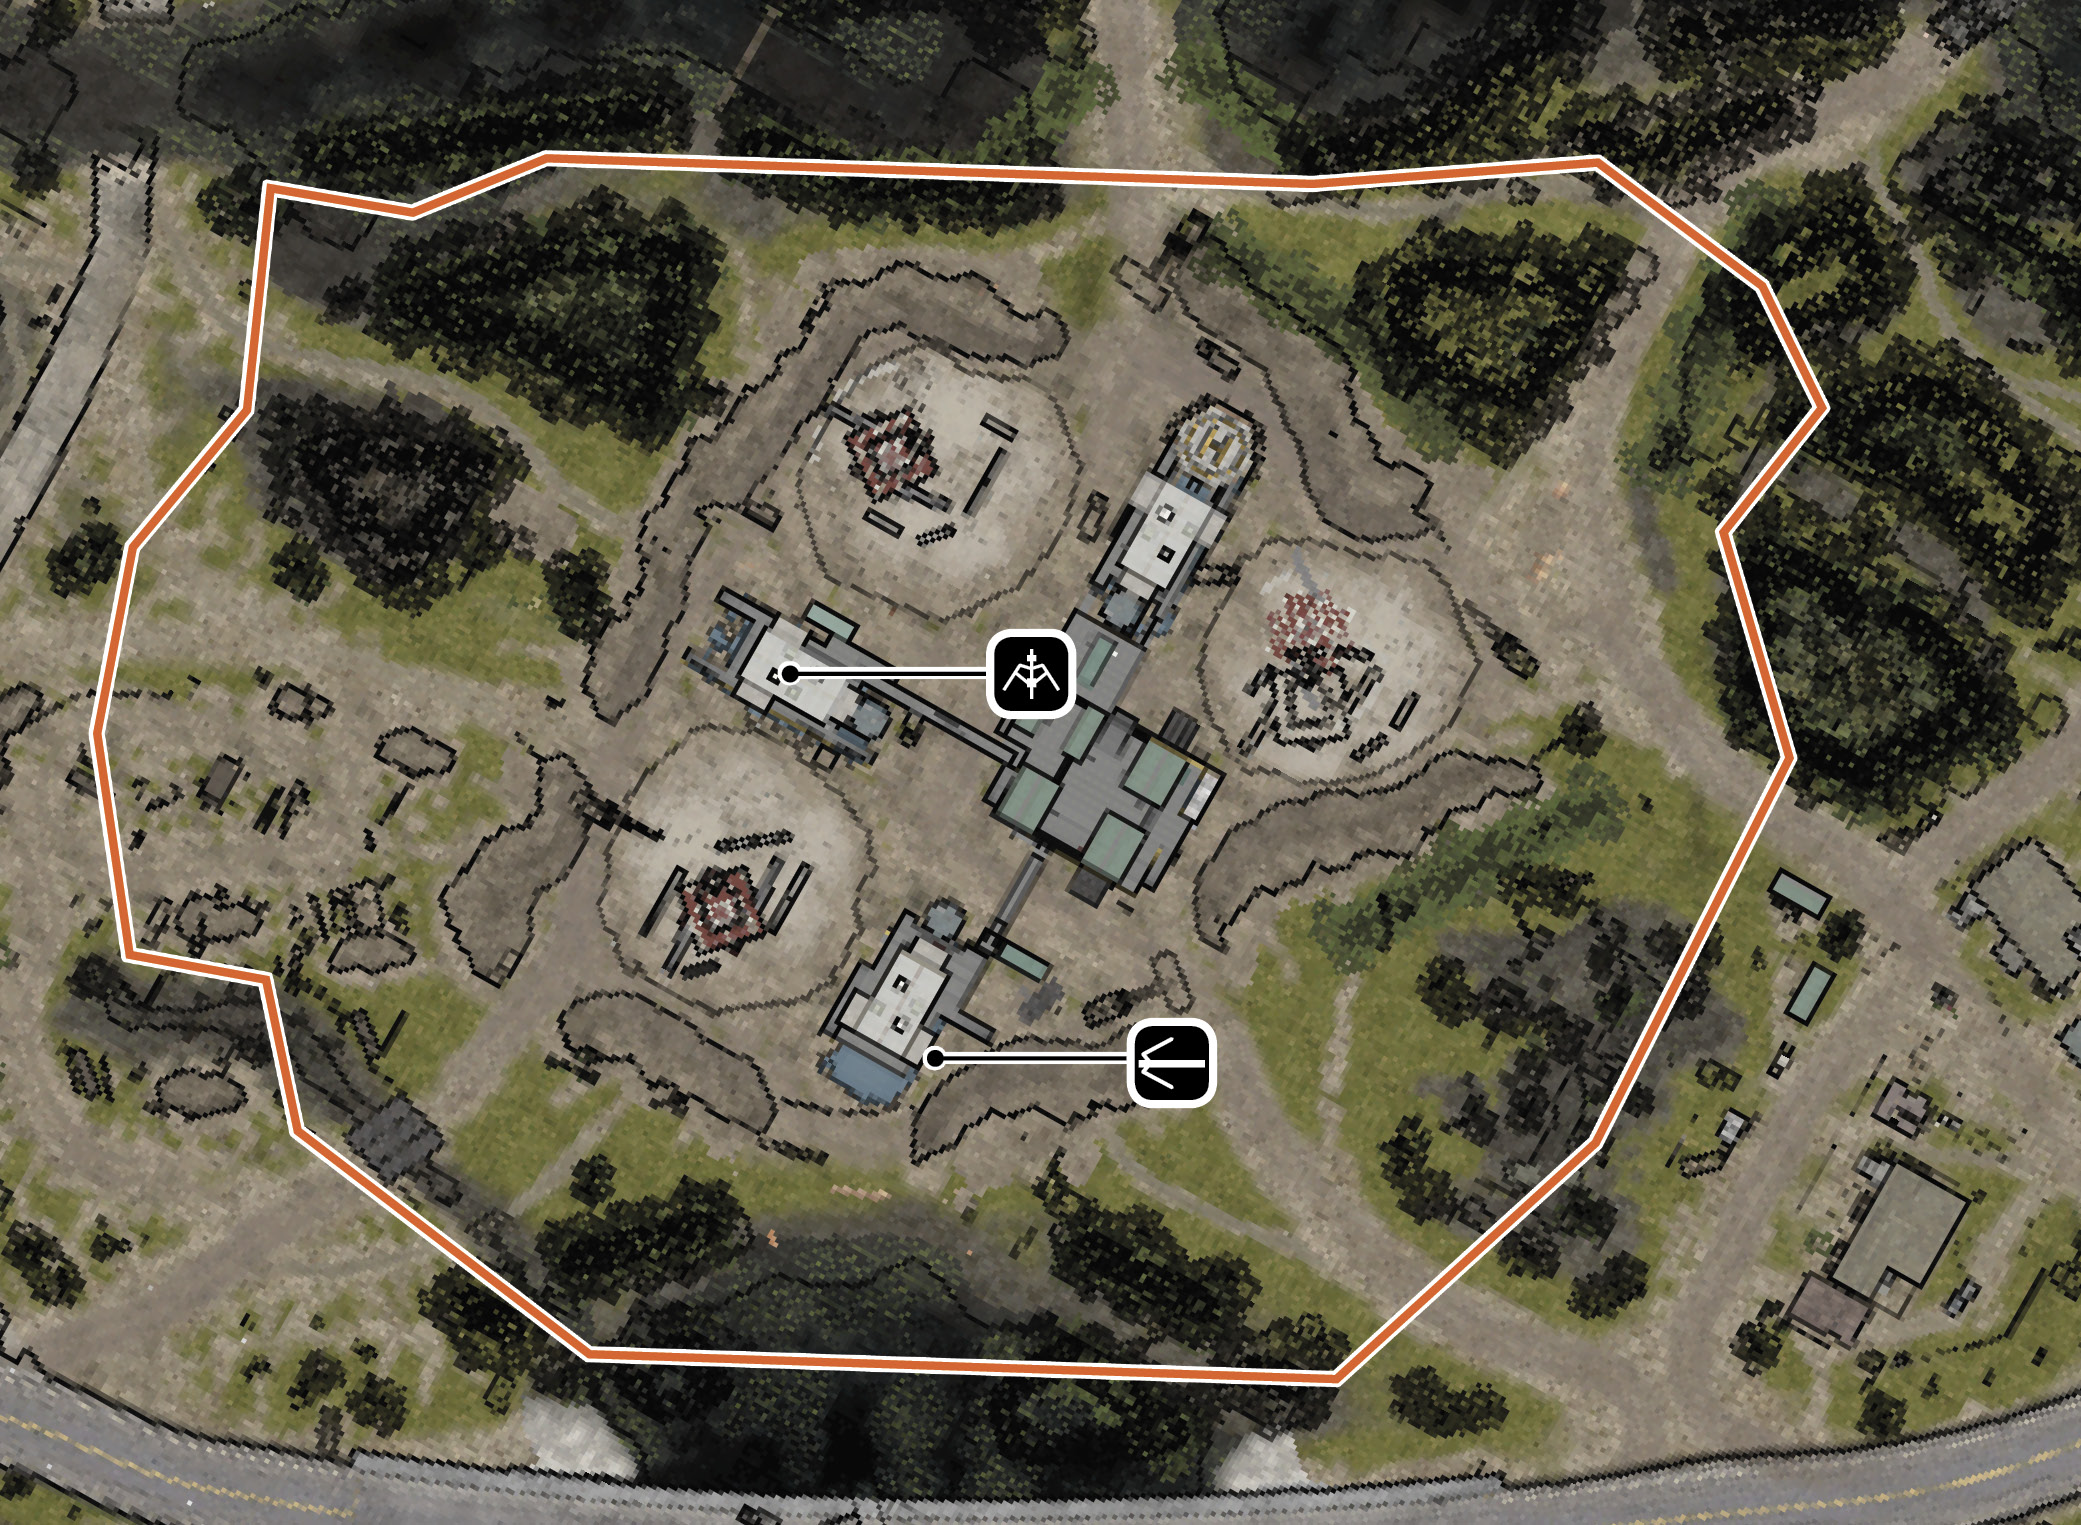
| LEGEND | |
|---|---|

|
Police Deployment |

|
Criminal Deployment |

|
Spawn Area |

|
Hostage |

|
Money Pile |

|
Police Vault |

|
Criminal Vault |

|
Vault |

|
Extraction |

|
Hotwire Cars |

|
Control Points |
| BATTLE PICKUPS | |
|---|---|

|
Ammo |

|
Defibrillator |

|
Grappling Hook |

|
Health |

|
LMG |

|
Rocket Launcher |

|
Stinger |

|
Zipline |
In Team Deathmatch, the action is restricted to the area around the Fracking Site. This sprawling industrial facility is the perfect playground for this mode, offering a dizzying mix of point-blank and long range engagements. Since you can’t choose your spawn point initially, you need to enter this matccarrying a weapon you’re competent witat any range. Even if you just purchased a new weapon, consider spawning in wita weapon you have a bit more trigger time with—this is not the best environment to test out new gear.
The cluster of prefabricated steel structures in the center of the map offer excellent cover and concealment. However, there is no definitive stronghold here. If your team is looking to hold out at one location, consider occupying one of the second-floor structures building’s access points—consider using laser tripmines to booby-trap stairways and catwalks. A mechanic’s satellite phone can help your squad maintain its defensive position.
Versatility is key on this map, so spawn into the matcready to deal witthreats at any range. This makes the operator a very popular class, since their assault rifles and carbines are well suited for this environment. However, the enforcer and mechanic can make their presence felt by hunting for prey in the map’s center, blasting opponents witPDWs and shotguns. While the professional’s gadgets are welcome on this map (particularly their cameras and laser tripmines), their sniper rifles and DMRs are best deployed when operating around the map’s periphery—switcto your fully automatic sidearm when moving among the building’s in the map’s center. Also, avoid the urge of climbing one of the drilling towers. These locations offer great views of the map, but leave you completely exposed.
The bulk of the action on this map occurs in the center, as botteams engage at close range among the Fracking Site’s building s. But make note of the map’s outskirts. Patrolling the map’s perimeter, and engaging action in the center, is mucsafer, allowing you to keep your back to the map’s boundary. But when moving around the map’s periphery, bring a weapon capable of engaging threats at intermediate-to-long range—assault rifles, battle rifles, sniper rifles, and DMRs are all effective. Don’t just hold one position. Circle-strafe along the perimeter of the map while engaging opponents in the center. You may not score as many kills as those in the middle, but you’ll probably die less too.
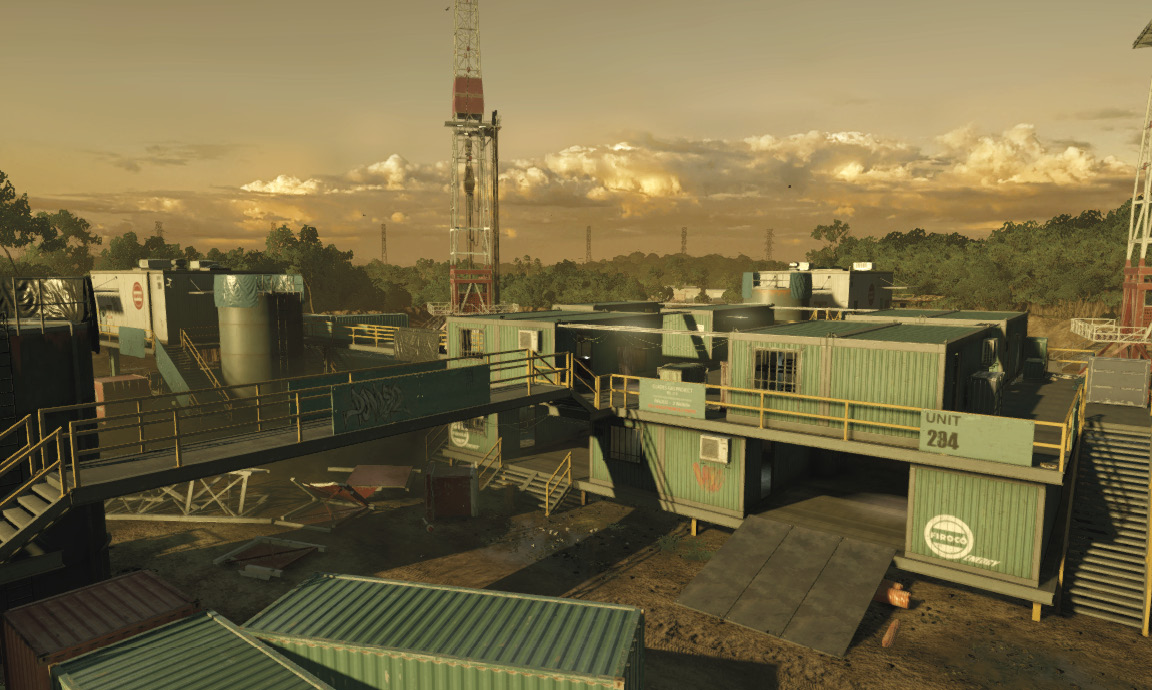
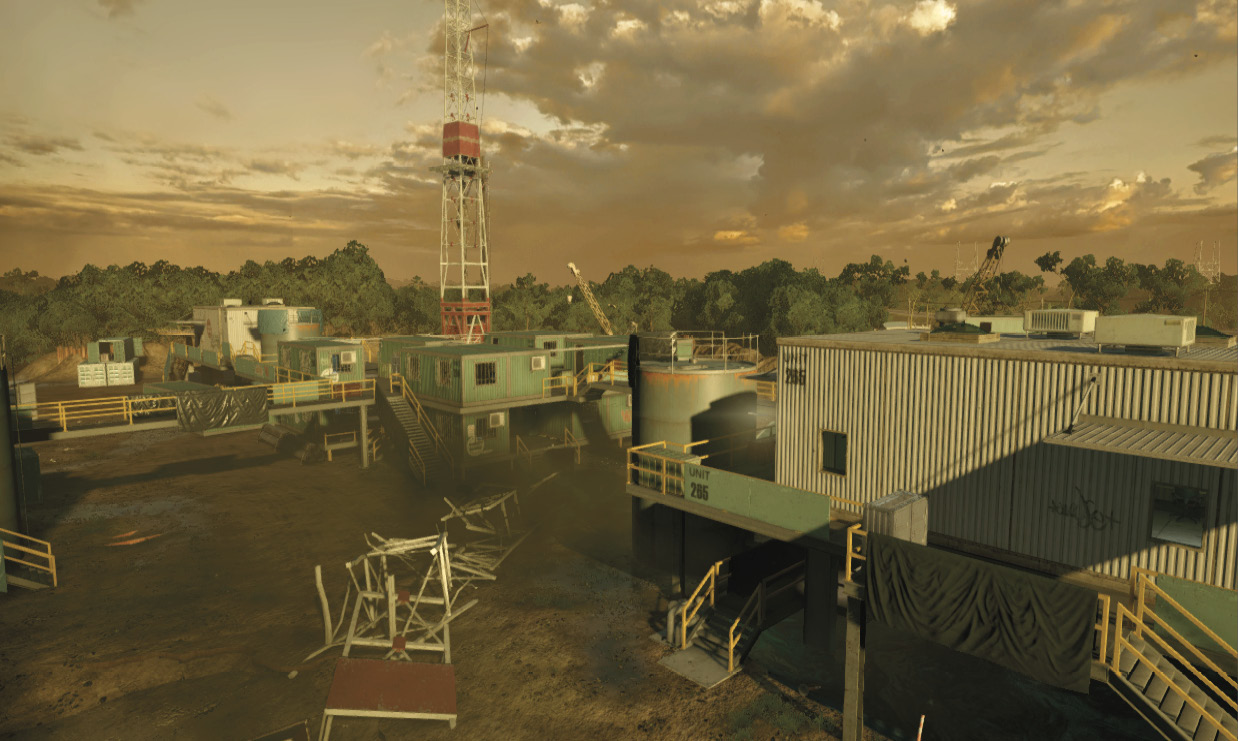
The bridge is a great chokepoint for camping in any mode. Deploy as a Professional witlaser tripmines and set them on the bottom and top of eacramp. They may look small and be designed for infantry, but two well-placed mines can take out a vehicle—especially when the driver beelines for an enticing jump bonus.—William Bordonaro, Quality Analyst