
Battlefield Hardline Guide Multiplayer Maps Bank Job
Team Deathmatch
| LEGEND | |
|---|---|

|
Spawn area |
| BATTLE PICKUPS | |
|---|---|

|
Ammo |

|
|

|
Grappling Hook |

|
Health |

|
LMG |

|
Rocket Launcher |

|
Stinger |

|
Zipline |
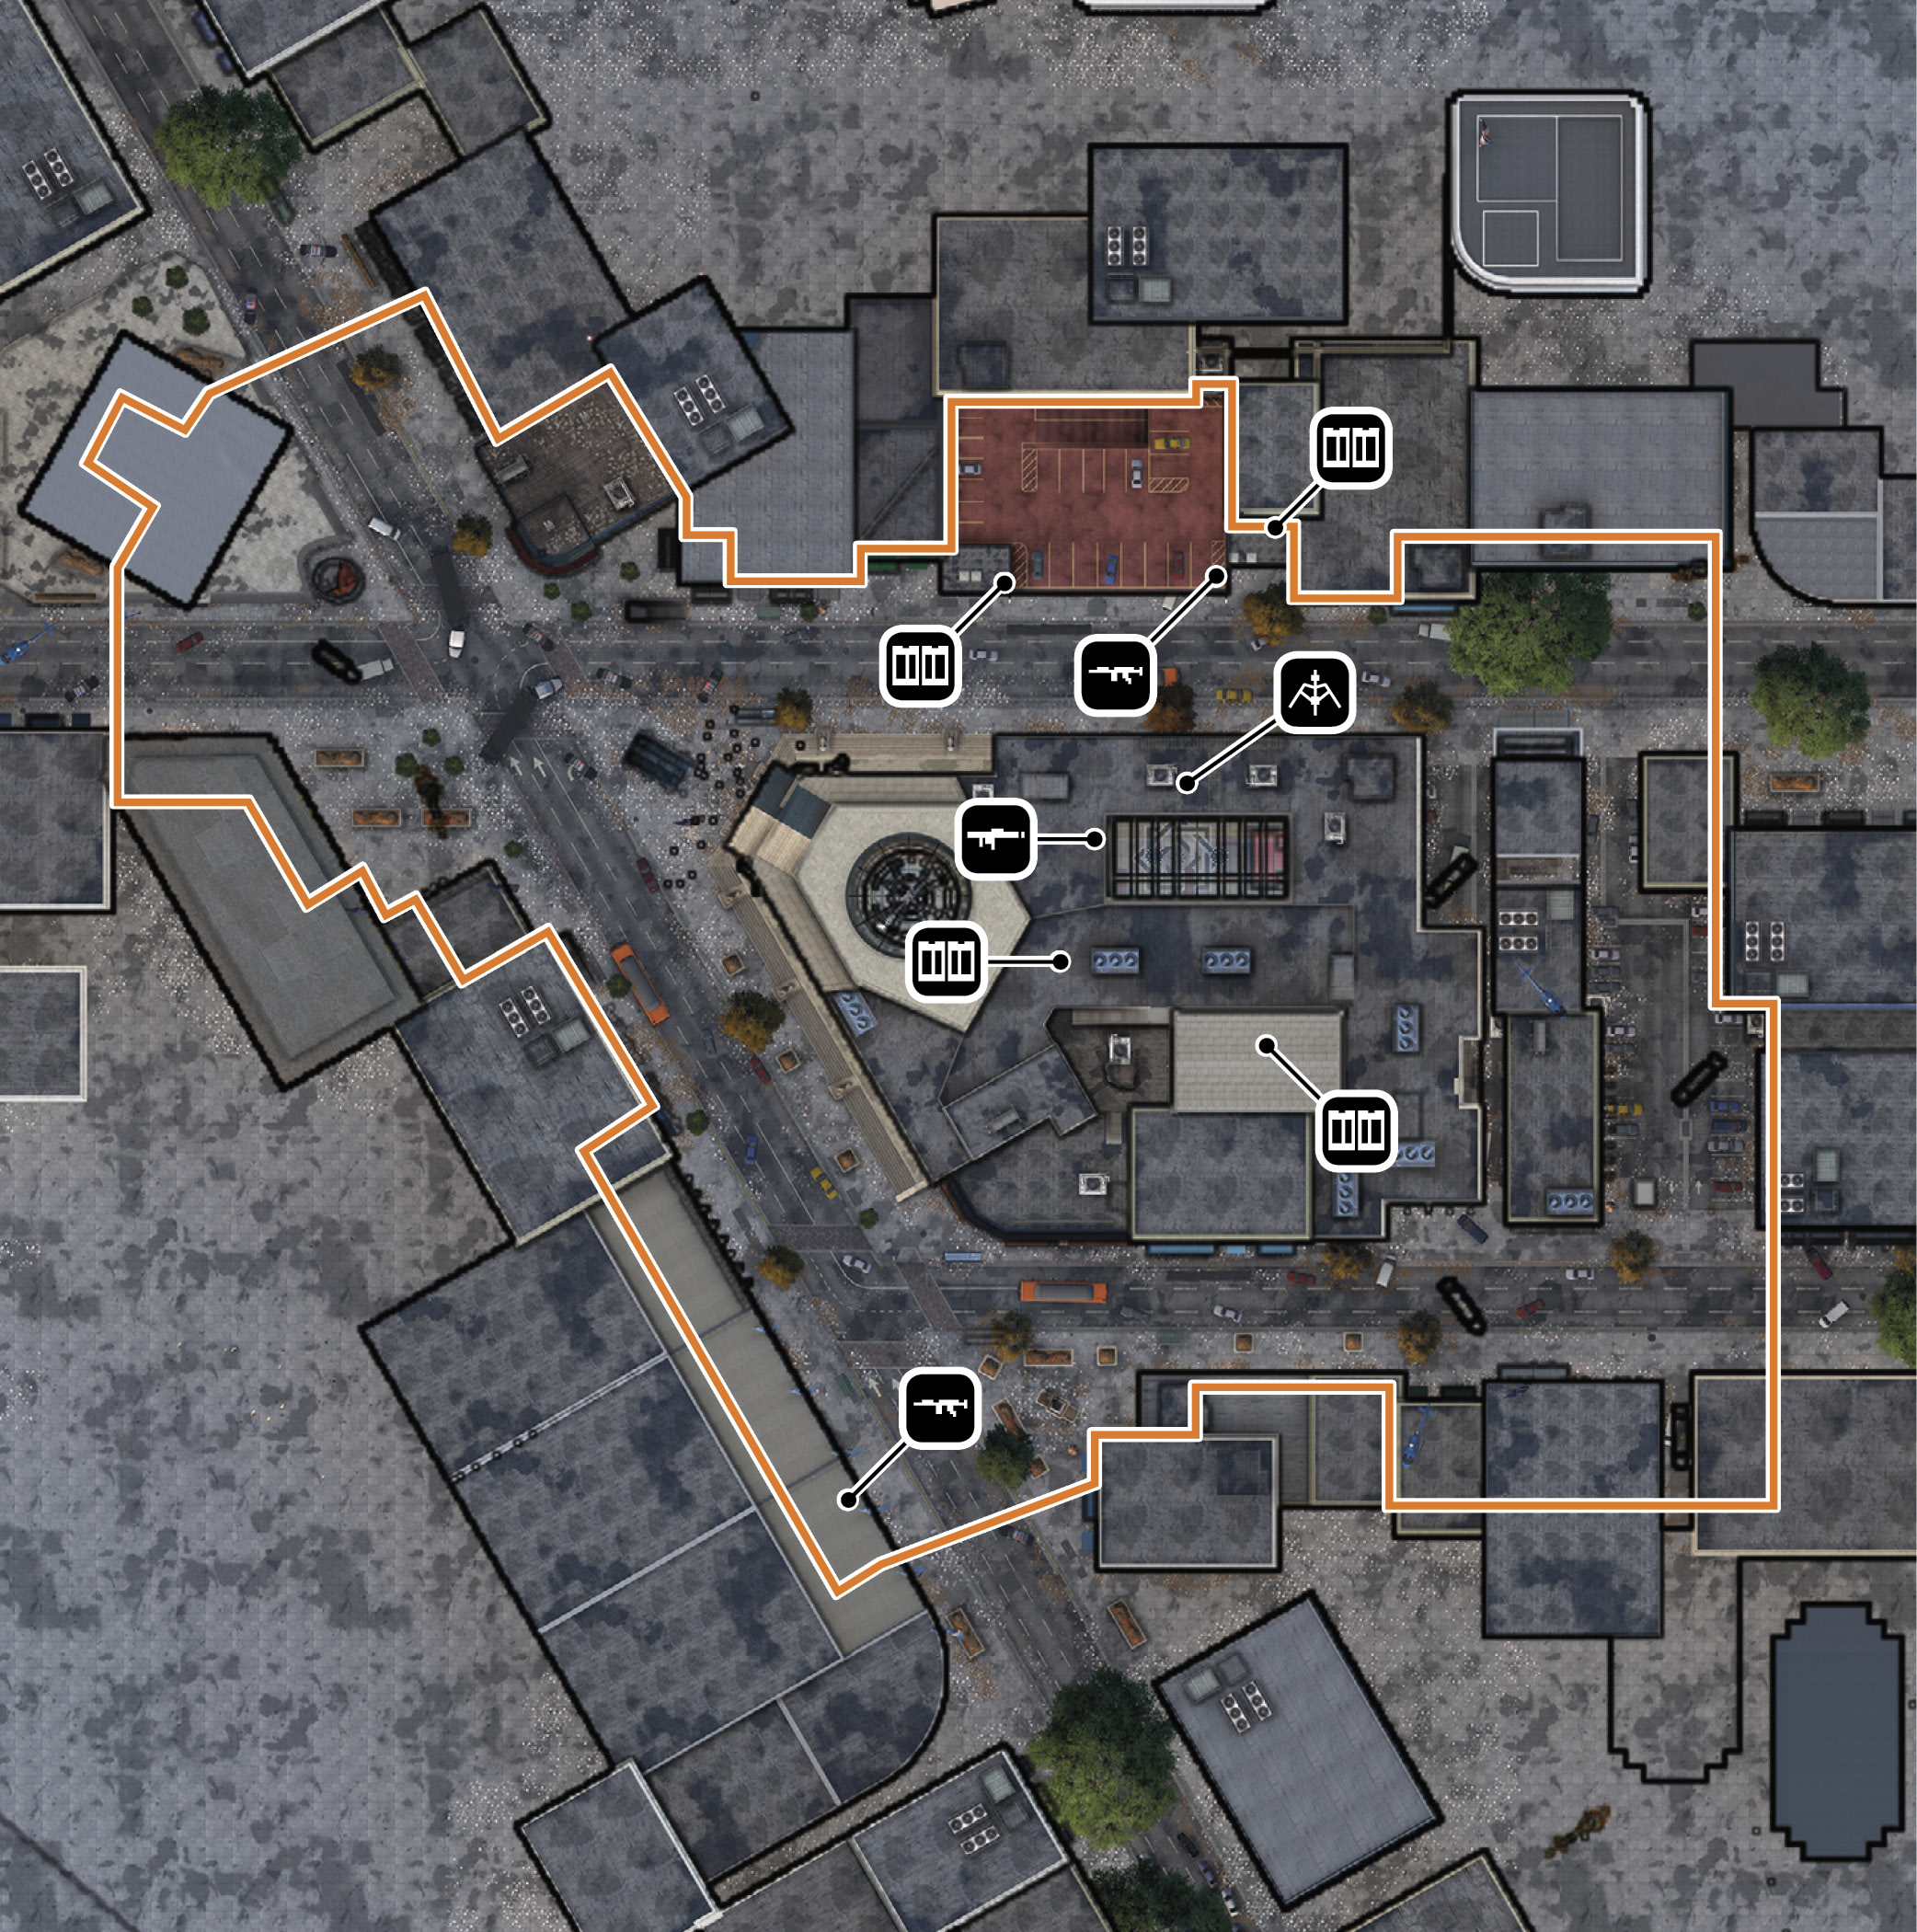
- Unlike most Team Deathmatch rounds, the action in Bank Job isn’t restricted to a smaller section of the map. Almost the entire map is accessible, making it important to identify the hot zones. As usual, the interior of the Bank is often the site of the heaviest fighting. But if you’re seeking to escape the chaos inside the Bank, steer clear of the city streets as they’re most likely watched by snipers posted on the rooftops of the Bank and Parking Garage.
- If your team is looking for a good location to defend, consider making a stand on the Bank’s rooftop. From here your team can fire down on opponents in the streets below as well as engage opponents inside the Bank through the large skylight. This rooftop is massive, with three stairwell access points. Deploy laser tripmines and cameras to avoid getting surprised by sneaky opponents attempting to steal your team’s base. Also, watch out for snipers and other threats attacking (and ziplining) from the Parking Garage to the north. If your team can manage to take control of the Parking Garage and the Bank’s rooftop, you’ll be well-positioned to take the lead.
- The elevated vantage points offered by the Bank’s rooftop and Parking Garage make this a popular map for the operator and professional classes. Using high-powered rifles and optics, these classes can fire down on opponents racing about in the streets below. But if you prefer to dash around inside the Bank, consider spawning as a mechanic or enforcer—their SMGs and shotguns are ideal for the close quarter fighting within the Bank’s corridors and offices. Mechanics seeking to keep their squad nearby should deploy a satellite phone in a low-traffic area, like the Bank’s second floor offices and conference room.
- In most matches the action is centered around the Bank’s interior and rooftop. If you’re looking to avoid these risky areas, consider taking refuge within the Parking Garage while engaging opponents in the streets below or on the Bank’s rooftop. If you want to get a little closer to the action while mitigating risk, consider patrolling the Loading Dock and adjoining corridors on the east side of the Bank. This is a great area to catch opponents off-guard as they sprint toward the high-action areas of the map.
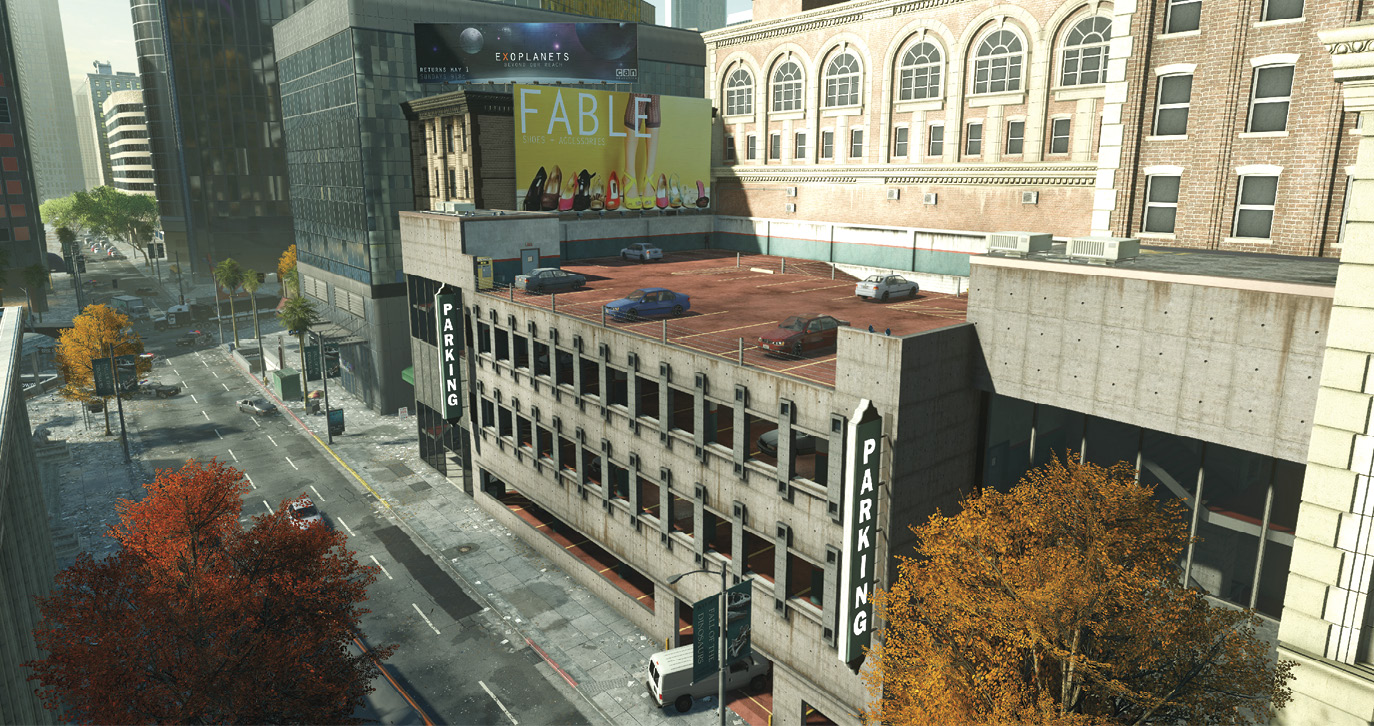
High ground is your friend. Always maintain control of the Bank’s roof and the top of the garage. When the enemy has the upper ground, don’t forget to use the grappling hook to circumvent their defenses. —Evan Champlin, Senior Multiplayer Level Designer