
Battlefield Hardline Guide Multiplayer Maps The Block
Rescue
| LEGEND | |
|---|---|

|
Police Deployment |

|
Criminal Deployment |

|
Hostage |

|
Extraction Point |
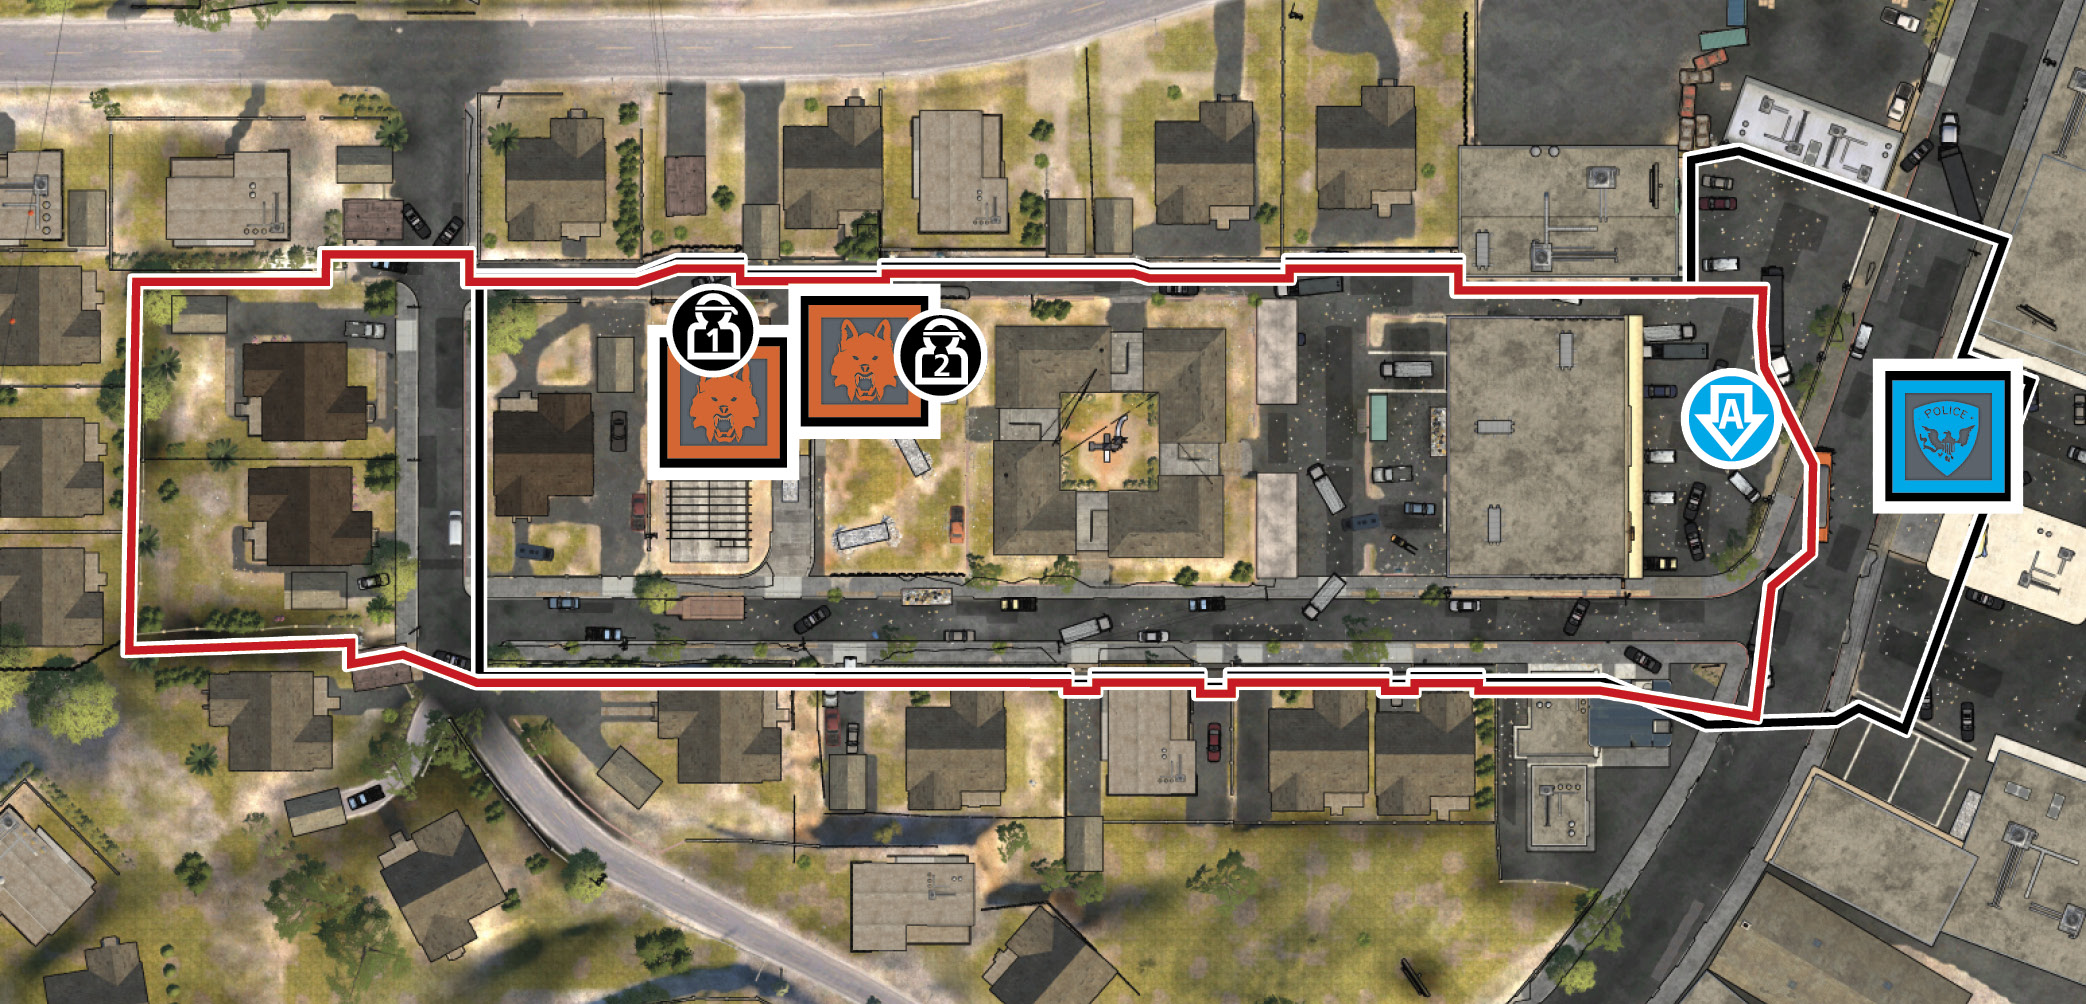
- Starting across the Street from the Strip Mall, to the east, the law enforcement team must cover a lot of ground before reaching the two hostages. Since both hostages are located along the north side of the map, advancing down the Alley or cutting through the Apartments serves as the most direct routes, but they’re also the most predictable. Instead, consider advancing along the Street, flanking the hostage locations from the south or west. This gives you the best opportunity to catch the criminals off-guard. Don’t use the same route each time, though. Mix it up and keep the criminals guessing.
- Since the criminal team starts near both hostages, they have just enough time to establish a perimeter before the SWAT team arrives. Keep one teammate posted near each hostage while the rest of the team fans out to the east, attempting to spot incoming opponents. Consider using a grappling hook to reach the roof of the Condo or Apartments for a better view of the area. But don’t push too far to the east. Keep your defenses centered around the two hostage buildings.
- Given the tight confines of both hostage buildings, locking down the interiors of each structure can be problematic for the criminals, making them vulnerable to incoming grenades. It’s much safer (and effective) to engage the law enforcement team as they enter or exit each building. Or better yet, trap them inside one of the hostage buildings before launching your attack. Pour in gas grenades and flashbangs then open fire as they attempt to escape. Alternately, take up positions in the Apartments’ second floor and engage the SWAT team before they expect it, attacking as they exit the Strip Mall. Or, allow the opposing team to rescue a hostage then ambush them at the Strip Mall before they can reach the extraction point. Keep your tactics fresh each round to add a sense of unpredictability.
- Both hostages are held in adjacent buildings on the west side of the map. Hostage one is located in the north bedroom of a single-story home. Instead of rushing into the house and clearing each room, consider busting in through the north window, adjacent to the Alley, for a quick rescue. Hostage two is held in the Condo, on the second floor bedroom. There are two stairways leading up to the second floor, one on the north side and one on the south side. The criminal team should consider booby-trapping both stairways with laser tripmines. This room can also be reached via zipline. Fire a zipline from the Apartments’ rooftop into the Condo’s eastern bedroom window to make a quick entry, bypassing any booby-traps on the two stairways.
- Grenades are very effective for both teams when operating in the hostage buildings. The criminal team should keep the hostage rooms saturated with gas grenades to injure and disorient any SWAT players who aren’t equipped with gas masks. Add in some smoke grenades to completely reduce visibility within each building. The law enforcement team shouldn’t be shy about tossing in grenades around the hostages either. Frag grenades and incendiary devices won’t harm the hostages, but they may kill or expose criminals. Outside, grappling hooks come in handy for reaching rooftops of the Apartments and Condo. Use these rooftop positions to scan for threats or setup zipline paths between the hostage buildings and extraction point.
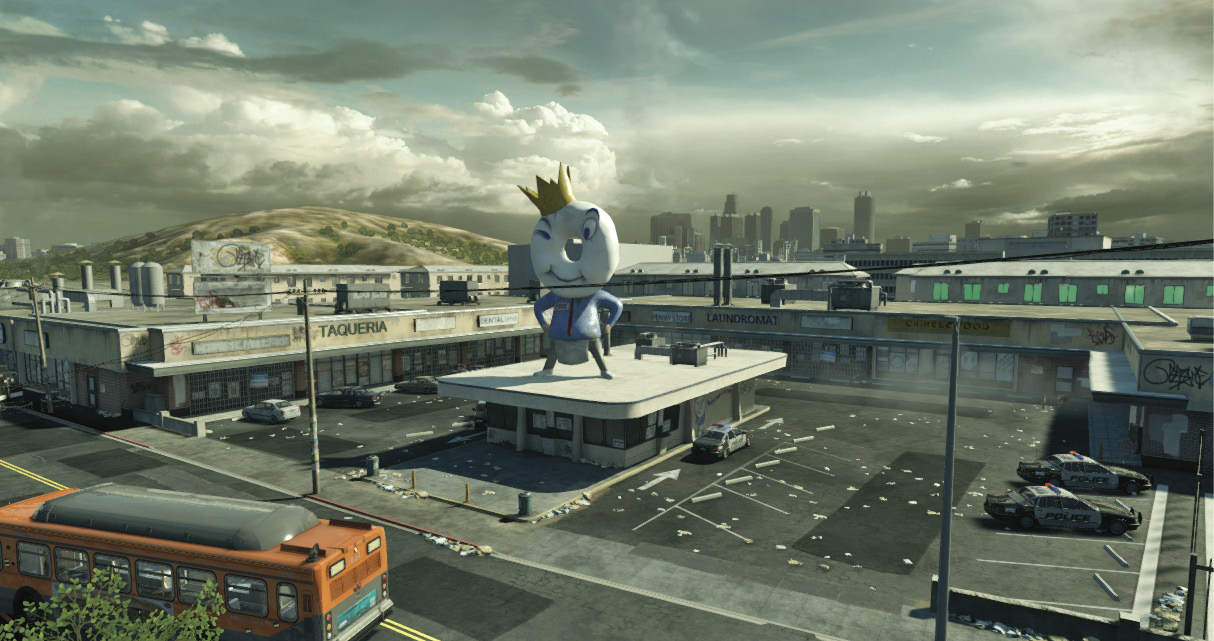
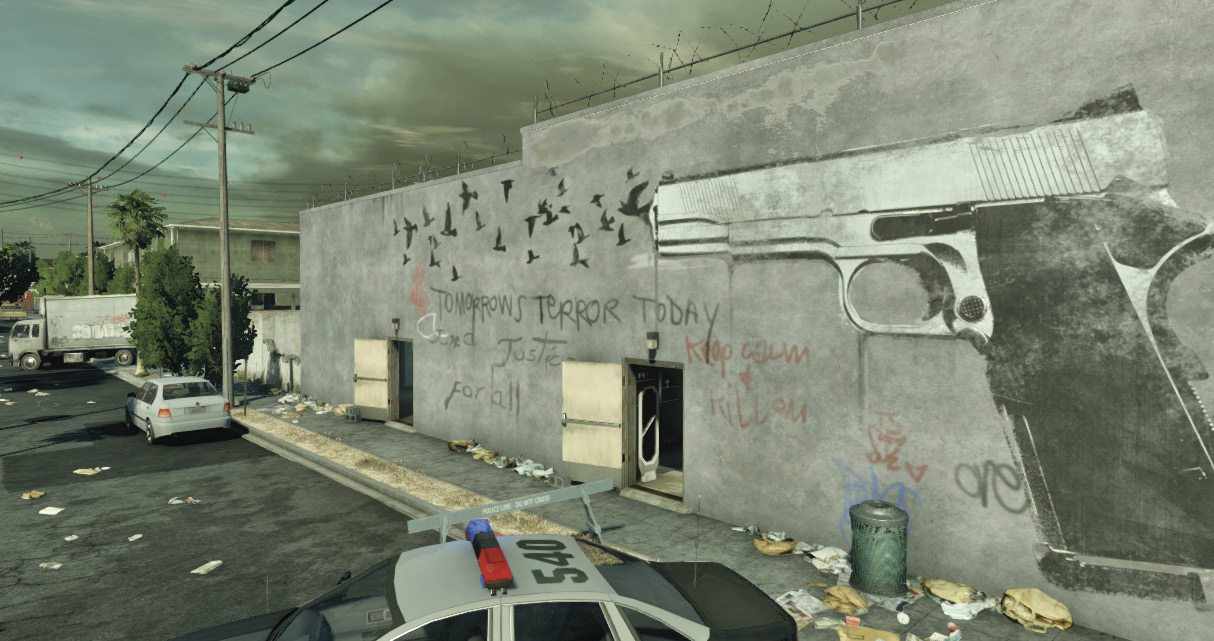
Pick a direction and move fast. This map is very narrow, and if you let the defense get established, you’ll lose the important element of surprise. —James Berg, User Experience Researcher
Don’t forget to cover. Use the rooftops to gain an advantage. —Evan Champlin, Senior Multiplayer Level Designer
Make sure you don’t put your breaching charges or laser tripmines too close to the hostages or they won’t explode. —Brian Paoloni, Quality Designer