Battlefield Hardline Guide The Academy
Basics
The Academy covers the basics of Battlefield Hardline including, weapons, gadgets, techniques, and expert score. This section assumes familiarity with first-person shooters and only covers that which is unique to Hardline.
Difficulties
When starting a new game, you must select a difficulty. This can also be changed at any time through the pause menu. Raising the difficulty increases enemies’ damage output and makes them tougher to take down. The only other change is on Veteran and Hardline where button prompts are missing.
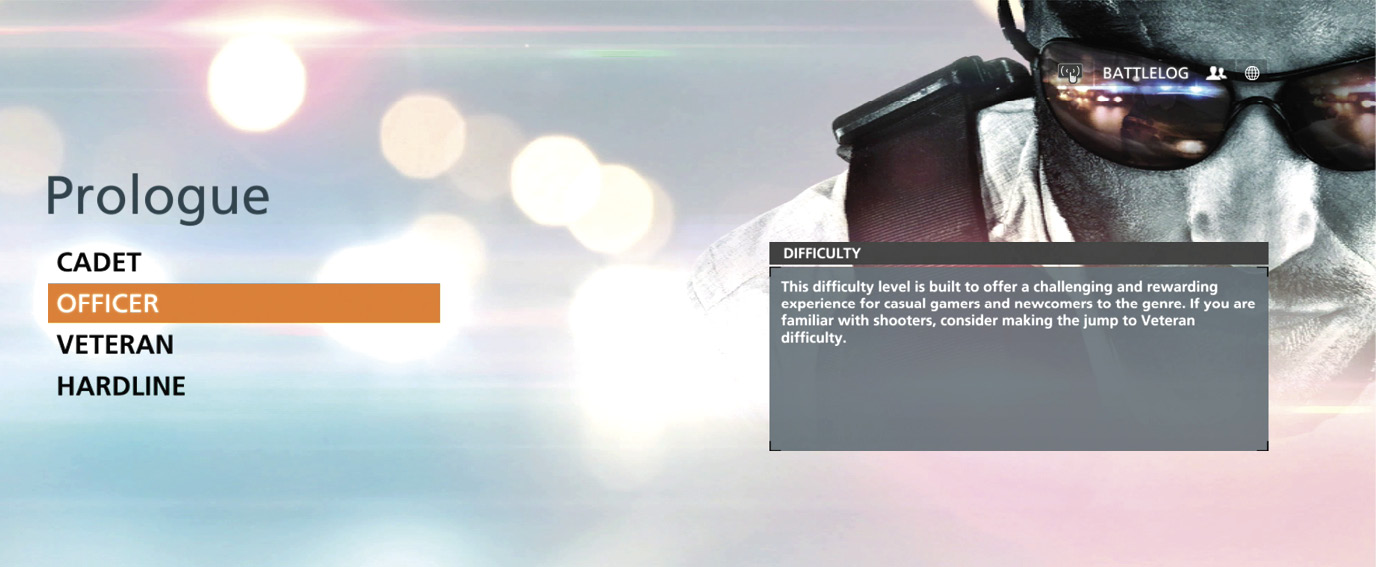
DIFFICULTY
|
Cadet |
Recommended if you haven’t played a shooter before. It’s the full Battlefield Hardline experience, but enemies are easier to defeat, and their weapons have decreased damage output. |
|
Officer |
This difficulty is built to offer a challenging and rewarding experience for casual gamers and newcomers to the genre. If you are familiar with shooters, consider making the jump to Veteran difficulty. |
|
Veteran |
The way VISCERAL prefers to play Battlefield Hardline. We encourage all experienced players to do the same. Enemies have increased damage output. The challenge is greater, but so is the sense of accomplishment. |
|
Hardline |
An uncompromising difficulty level for the truly battle-tested. Aiming is unassisted and you will have no recovery time between bullet hits. Plan your encounters strategically and remain in stealth as long as possible to survive. |
Tactical Gear
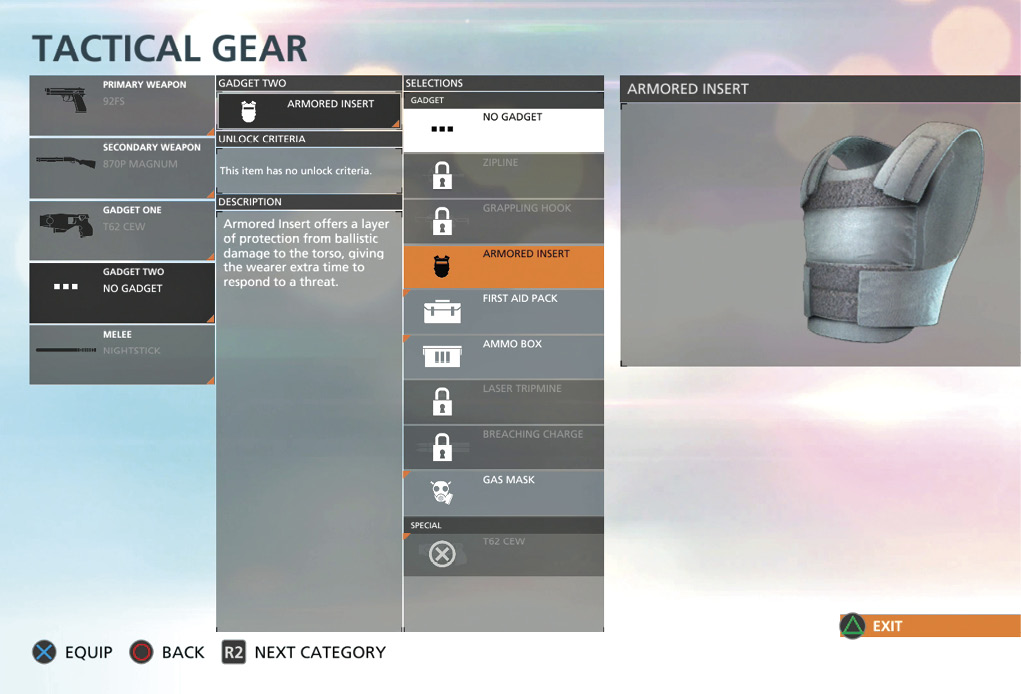
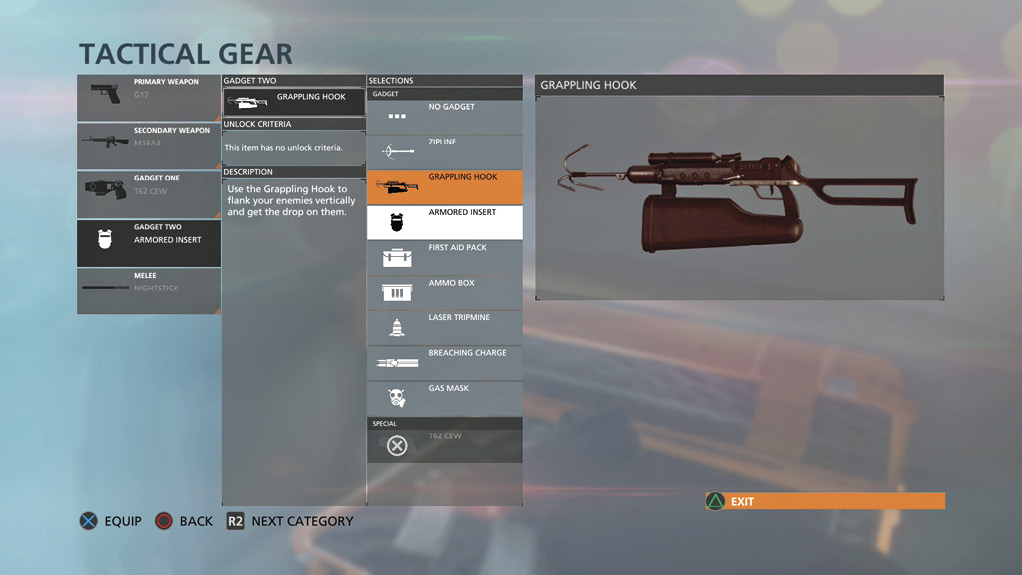
Before beginning an Episode, customize your equipment by selecting Tactical Gear. Choose a primary weapon, secondary weapon, two gadgets, and a melee weapon from an increasing amount of equipment. Arrest suspects, collect evidence, scan your environment, perform non-lethal takedowns, and complete objectives to unlock better equipment. Refer to the Unlocking Weapons & Gadgets chapter for full details on how to unlock it all.
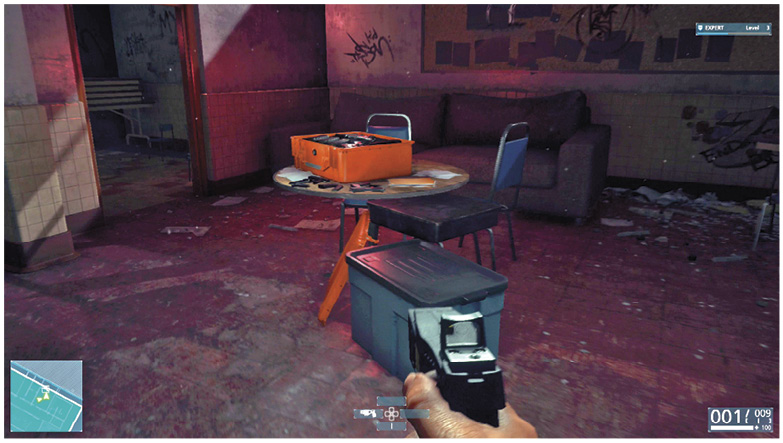
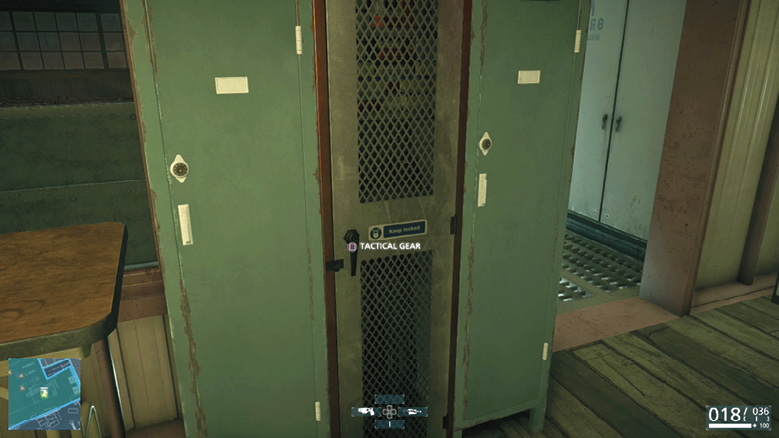
Keep an eye out for Tactical Gear cases and lockers that are set up in various locations throughout the campaign. These allow you to change your loadout mid-episode. Specific objectives greatly change the way the game is played and different gadgets must be swapped in and out to achieve each. Better weapons that are unlocked while progressing through an objective can be selected at the next Tactical Gear. The Episode maps show the locations of all cases and lockers.
Weapons
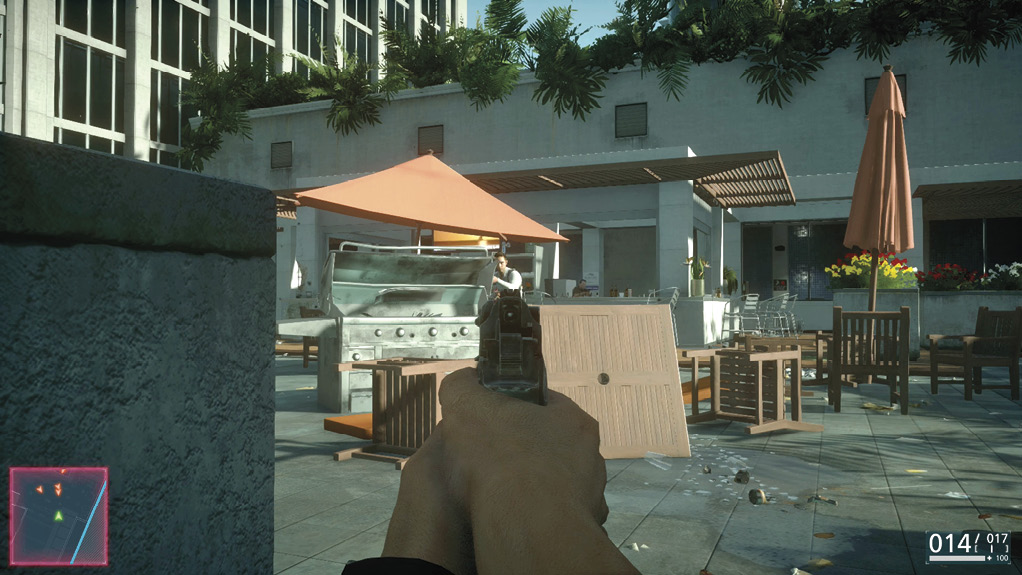
With the exception of one Episode, you carry two guns at all times: a primary and a secondary. The former is selected from a variety of versatile pistols, hard-hitting revolvers, and automatic / burst fire machine pistols. This is your lightweight, quick select alternative to your more powerful weapon—great for finishing off a weakened foe.
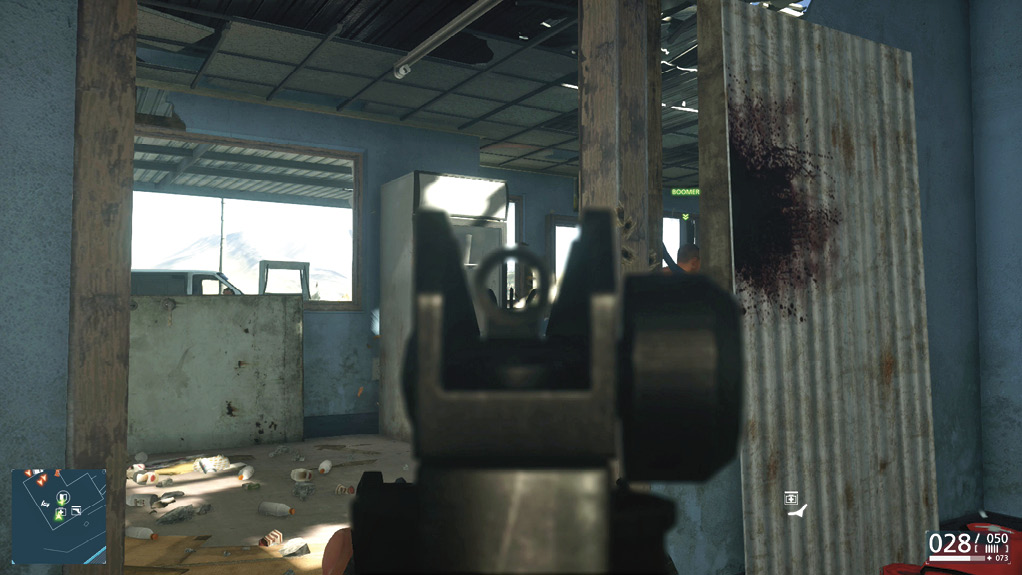
The secondary weapon is the bigger, heavier weapon with, for the most part, higher damage and range than your primary. A huge variety of automatic rifles, up-close shotguns, long-range sniper rifles, and more are available for any situation. The Hardline single-player campaign is mostly about being stealthy, non-lethally taking down the criminals. There are times though where the player must escape a hairy situation, survive an onslaught of enemies, or a direct approach is desired. An accurate, high damage weapon is a must for these situations. Select the one that best suits your playstyle.
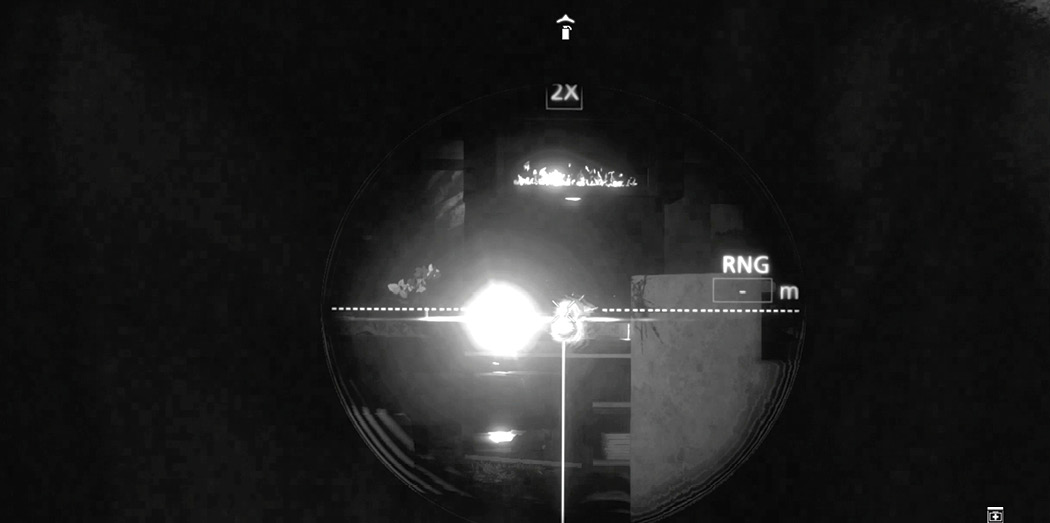
As you reach certain Expert Levels, you unlock attachments for your weapons. Improve primary and secondary weapons by giving them an Optic, Accessory, Muzzle, and/or Grip. Attachments such as infrared scopes, the Suppressor, and Extended Magazine are big game changers. The Suppressor should be considered in any stealth situation while the nighttime, infrared scope is vital in the smoke of Episode 6 and lights-out fight in 9. Play around with different setups to find the one you like best.
Some accessories, such as the Laser Sight, can be toggled on and off by pressing Up on the digital pad. Guns are either single-shot, semi-auto, automatic, or burst fire. When a weapon has multiple fire rates or a distance setting, it can be altered by pressing Down.
Gadgets
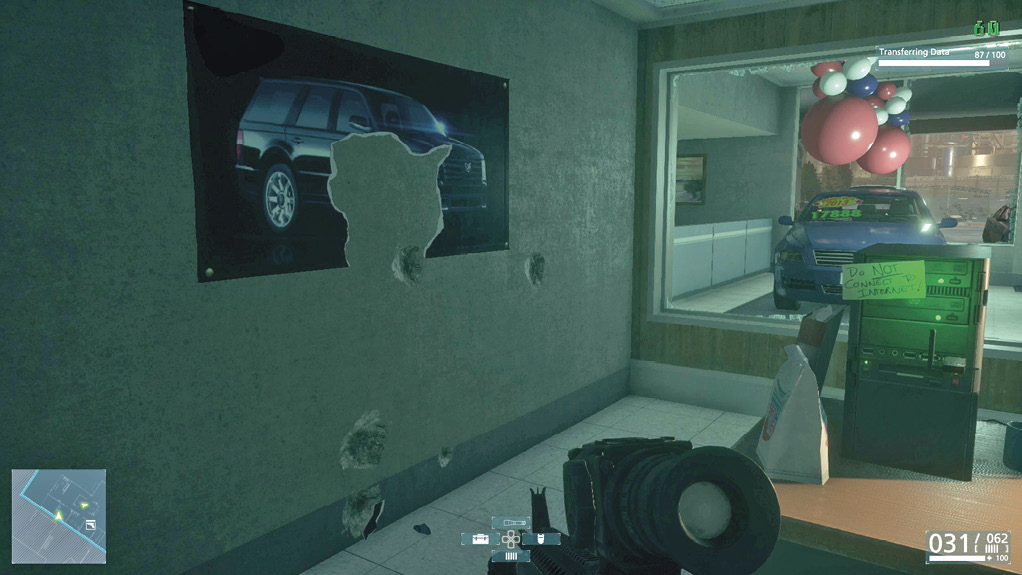
The player starts the game out with one gadget, the T62 CEW. By increasing Expert Level and progressing through the story, more are unlocked—offering you a wide variety in how you complete objectives. On the bottom of your HUD, available gadgets are shown on the left and right. Press that direction on the digital pad to equip the item.
T62 CEW
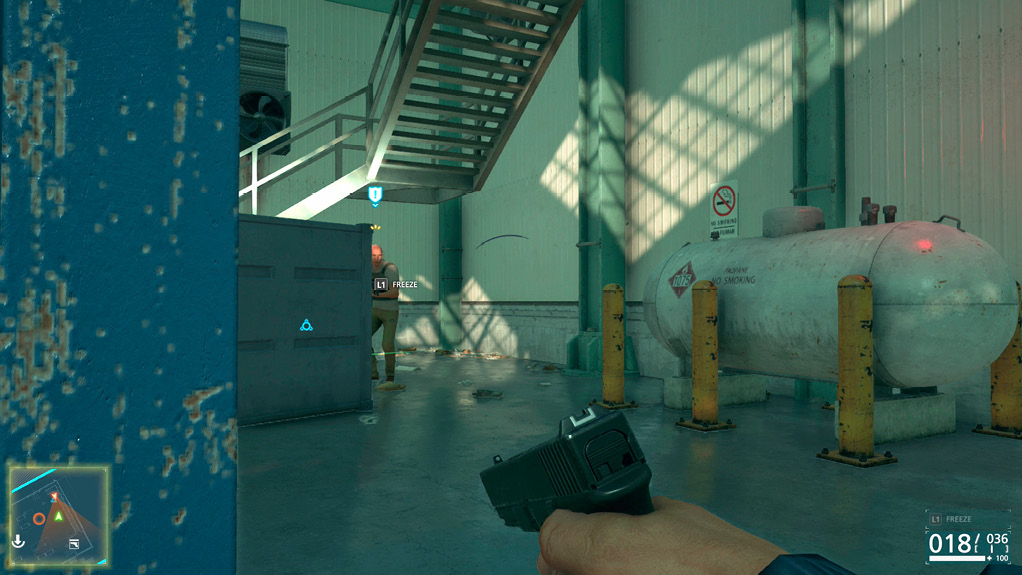
The T62 CEW is an electroshock weapon that non-lethally knocks a target out and it is the only gadget available at the start of a game. The range is extremely short, but a direct hit with this weapon scores 100 points toward Expert Score. It also goes unheard by nearby enemies, keeping the player undetected.
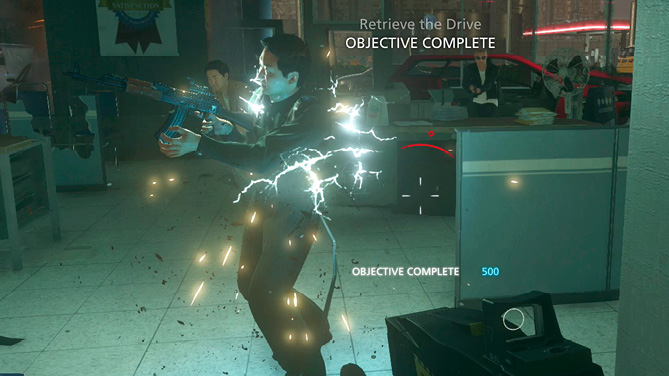
Whether firing from the hip or ADS, wait for two circles to appear in the gun’s sights before firing. Reload is relatively slow, so be sure to duck behind cover if there are nearby enemies aware of your location.
Grappling Hook
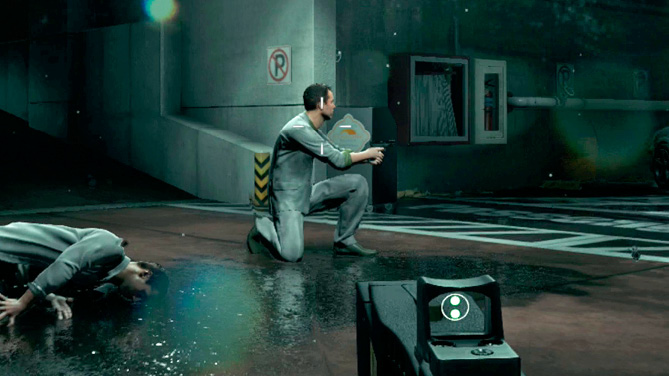
The Grappling Hook can be used to reach rooftops and out of reach platforms. If a ledge is climbable, it is indicated by a glowing effect when the gadget is equipped. It is vital when first received in Episode 3 to complete an objective. There are also a few items in the Everglades that cannot be reached without it. Otherwise, it is only used to find alternate paths through the environment.
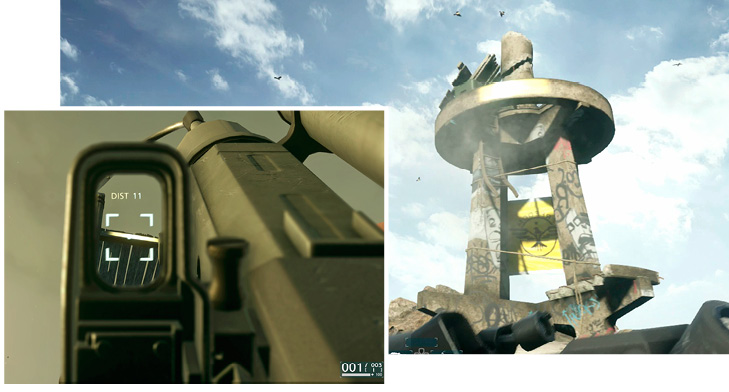
The device is aimed and fired just like any weapon. When aiming, a circle with a line through it means the hook cannot be fired. Line it up with an edge until it changes to a square and fire. Now, walk into the rope to grab on.
Continue pushing forward to climb to the next level. A fully loaded Grappling Hook holds four hooks, but looking at a used hook and pressing the Reload button can recover them. Note that if there are any obstacles in your way as you climb the rope, you are knocked to the ground.
Zipline
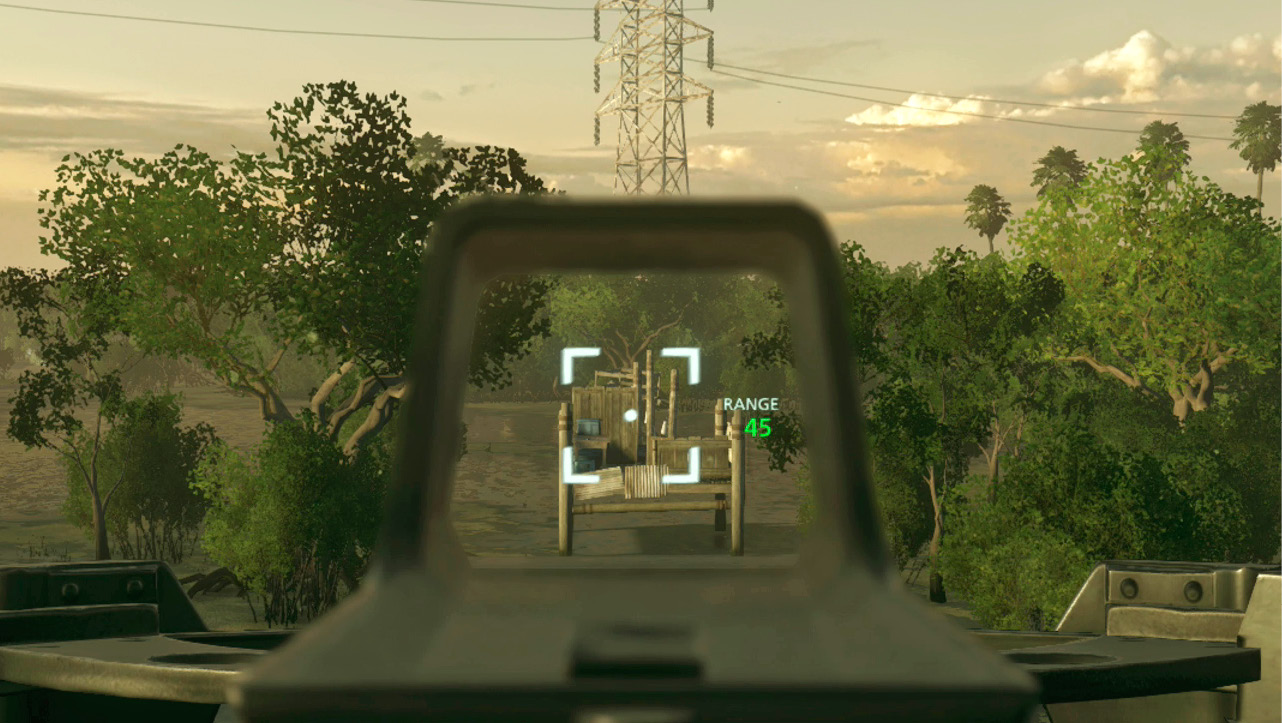
The zipline, used in the same manner as the Grappling Hook, is great for reaching lower areas very quickly. Aim until the square is shown in the sights and fire the rope. Jump onto the line or press the Reload button while looking at the post to slide down. This is required for an objective and to reach a few items in Episode 3. Otherwise, it is only needed to quickly move to a lower location.
Armored Insert
The Armored insert is a passive Gadget, protecting the user from ballistic damage to the torso. This is a good selection for tough gunfights, especially the “Survive!” objectives.
First Aid Pack / Ammo Box
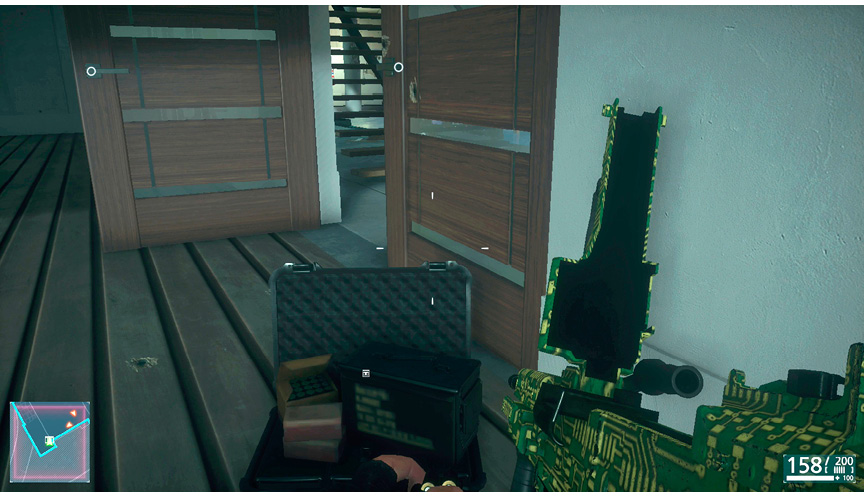
First Aid Pack tosses out a red bag that heals any player nearby. A green plus icon is shown next to the health bar when receiving the benefit. Ammo Box throws out a small crate that refills ammunition for all weapons and gadgets. Select the gadget and press the Fire button to use both of these. These are great alternatives when facing a tough fight.
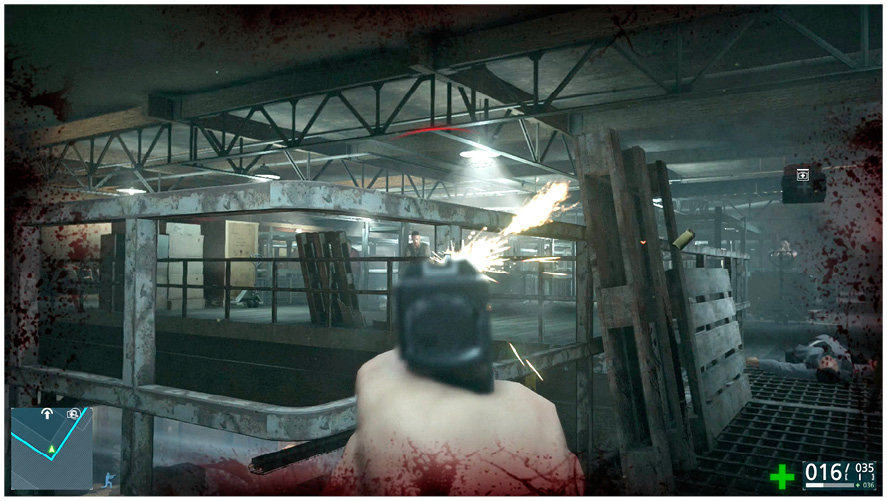
With an AI partner following the player, additional help is occasionally given when low on health. Your partner can passively heal you when in close proximity. A green plus icon next to the health bar in the lower-right corner indicates the player is being healed. Note that the enemy can still take you out while healing, so take cover if possible. This benefit should not be relied on, but it is nice when it happens.
Laser Tripmine
When stealth is the priority, the Laser Tripmine is not a good choice for one of your gadgets. But there are times where a location must be defended. If there is time to set up, place a couple of these explosives in known routes to weaken the onslaught. These are also fun to use when stealth is not a concern. Place the mine on a wall and then lure a criminal to the other side to cause mayhem.
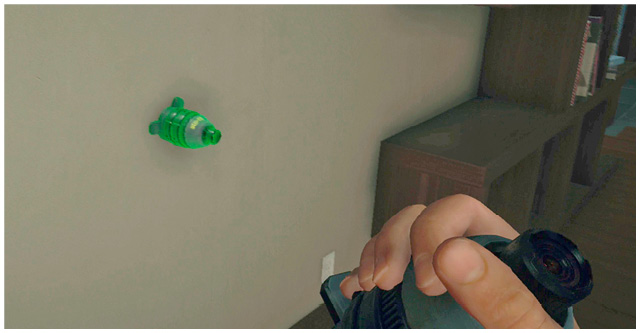
Look at a desired location for placement and a green highlight appears. Press Fire to place the mine. You can carry two at a time with a maximum of two placed at one time. Return to Tactical Gear to restock or replace with another gadget. The explosive is detonated as an enemy runs through the line. It does not go off when a player trips it, though harm is done when caught in the blast. You can pick up an undetonated mine by pressing the Reload button.
Breaching Charge
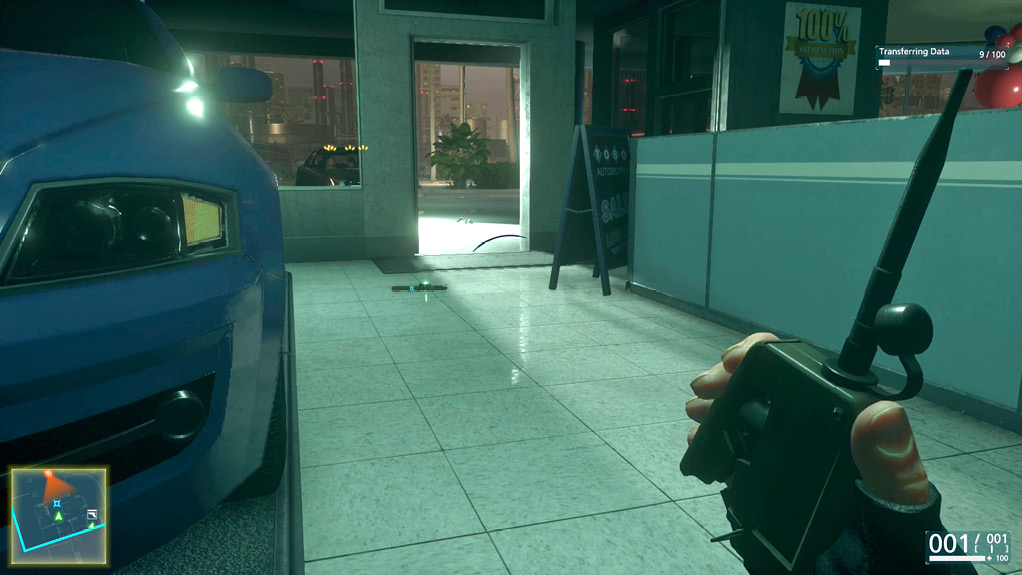
The only other explosive in the single player campaign is the Breaching Charge. Unlike the tripmine though, it must be detonated remotely. Press the Aim button to throw down a charge. You can carry two at a time and both can be deployed at once. From a safe distance and with enemies near the explosive, press the Fire button to detonate. This allows you to set traps and ambushes. Press the Reload button to pick one up.
Gas Mask
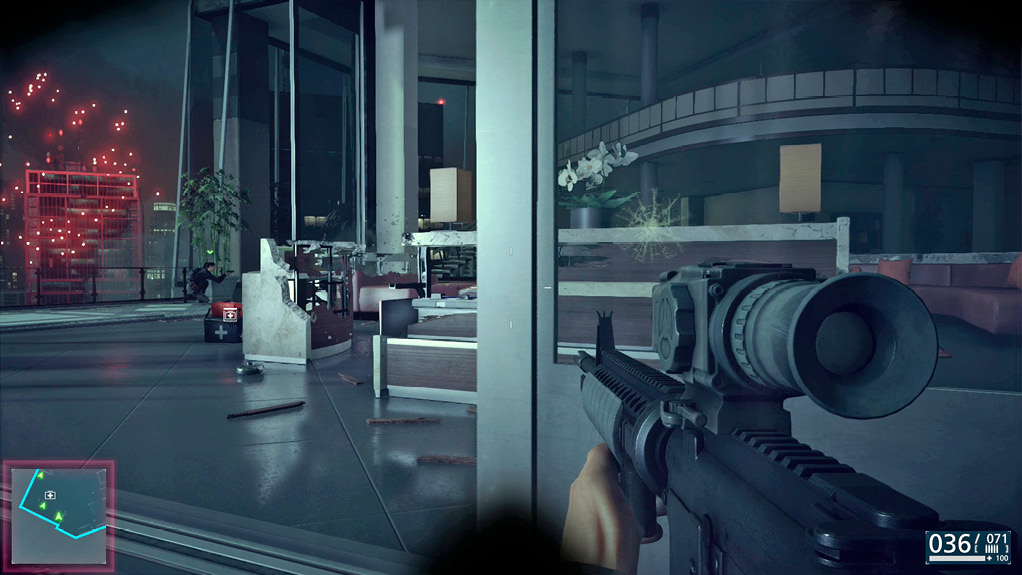
Starting in late Episode 2, criminals start throwing Gas Grenades. These explode on contact, filling the immediate area with a damaging, green gas. This can be avoided by moving away from the smoke. Or, you can equip the Gas Mask, negating the effects of the Gas Grenade. There are only a handful of battles where these explosives are used, so for the most part this gadget is best saved for times where these grenades make a fight too difficult.
Dropped and Found Weapons
Approach a weapon dropped by a criminal to display the gun and stats on the right side of the HUD. Hold the Interact button to pick it up. This unlocks the gun in your Tactical Gear. Now you can grab your original weapon or go with the new one.
Some weapons can be found lying around the environment. The M/45 SMG and Scout Elite Sniper Bolt Action are only available by finding them in the Everglades.