
Battlefield Hardline Guide The Academy
Police Training
Scanner
In Episode 1, the player is introduced to the Scanner, an extremely valuable tool in the fight against crime. Pressing the Scanner button equips the device. This is used to tag suspects and objects within view. This allows the player to know where tagged enemies are even when behind a barrier. Suspects with warrants, high-value targets, and evidence within the reticle can be analyzed further by holding down the Jump button.
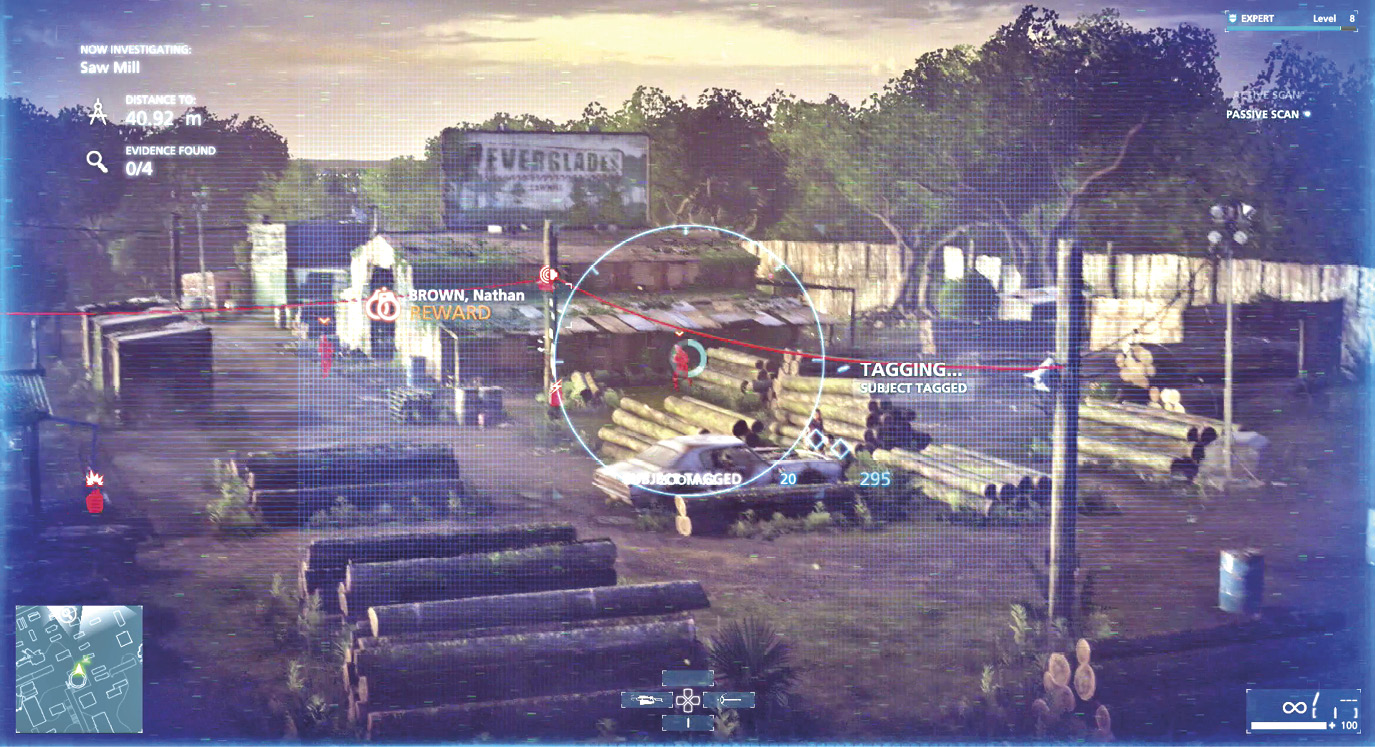
Survey an area with the Scanner whenever possible. Not only does this give the player valuable insight into the situation, but points are scored for tag subjects and objects.
Alarm
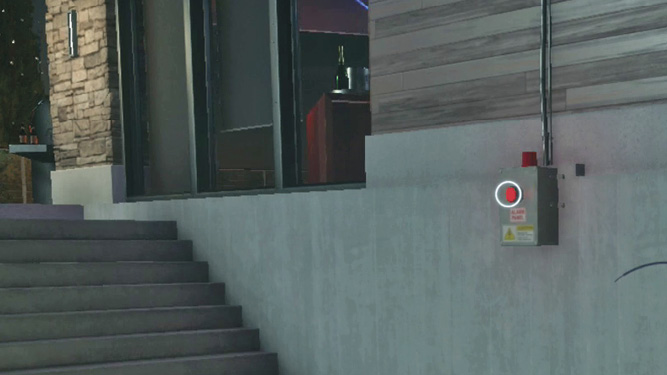
Starting in Episode 3, alarms protect many of the locations. When scanning the criminals in each area, keep an eye out for these devices. An alarm box, usually hanging on a central wall, is connected to a series of loudspeakers. If the player is spotted, a criminal goes for the button. Once pushed, reinforcements join the bad guys—making your fight that much tougher. It is best to reach the switch first and disable it, which can also be done by shooting it. Destroying all of the sirens can also turn off the alarm. Use a suppressor to hide your location.
Destructible Environments
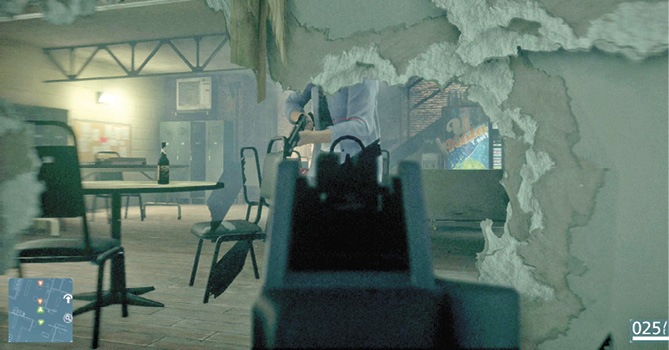
Much of the environment in Battlefield Hardline is destructible. Crates, windows, thin walls, and more are blown to pieces with gunfire. Use this to your advantage when an enemy hides around a corner or behind weak cover.
Avoiding Gas andFire Grenades
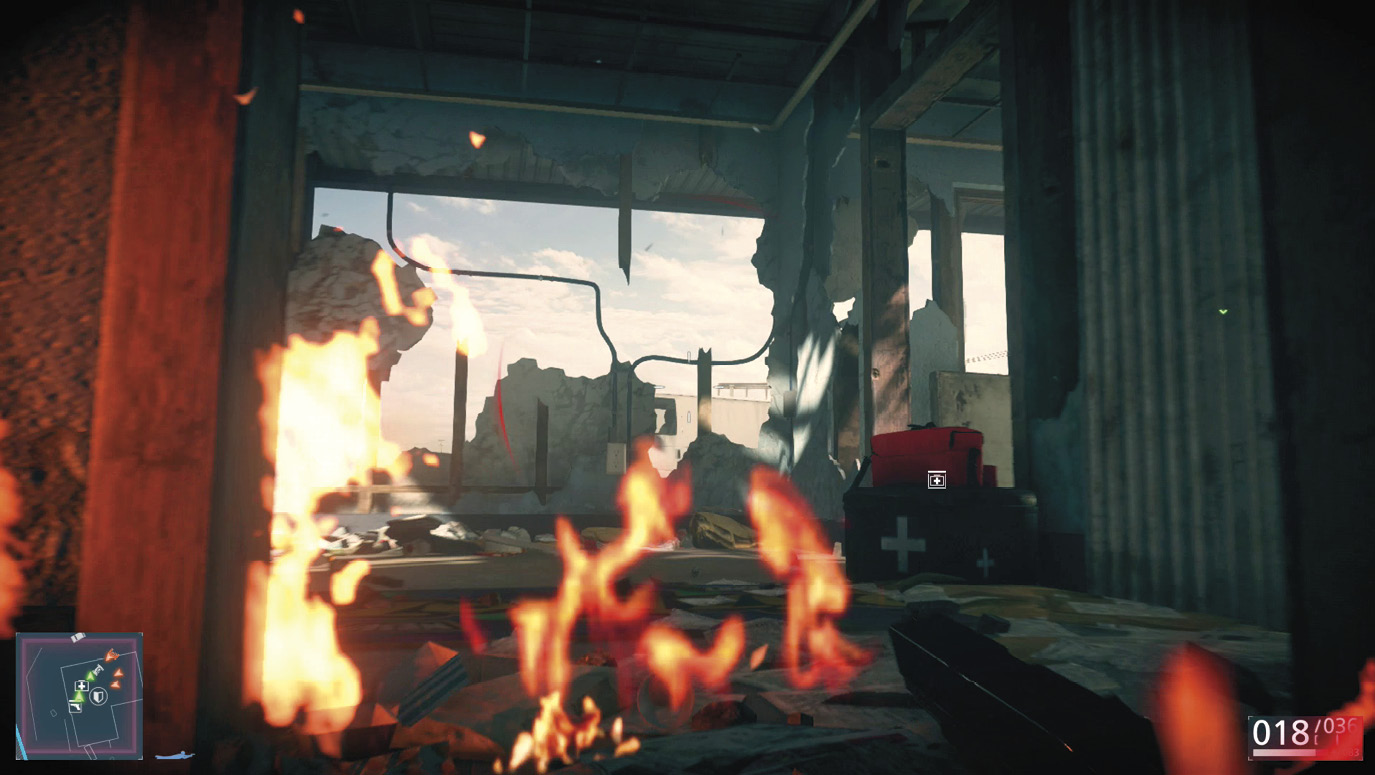
Some criminals in the single-player campaign are equipped with grenades, but they are limited to gas and fire. Upon impact, a Gas Grenade produces a cloud of green smoke that hurts a nearby player. The Fire Grenade releases fire in the immediate area that is even more damaging. A grenade icon indicates an incoming explosive. You can avoid these by simply moving away.
Counter the toxic gas with the Gas Mask gadget. Both continue to do damage over time as the player remains in the area of effect. It is best to clear out when one is incoming.
Suspect Awareness
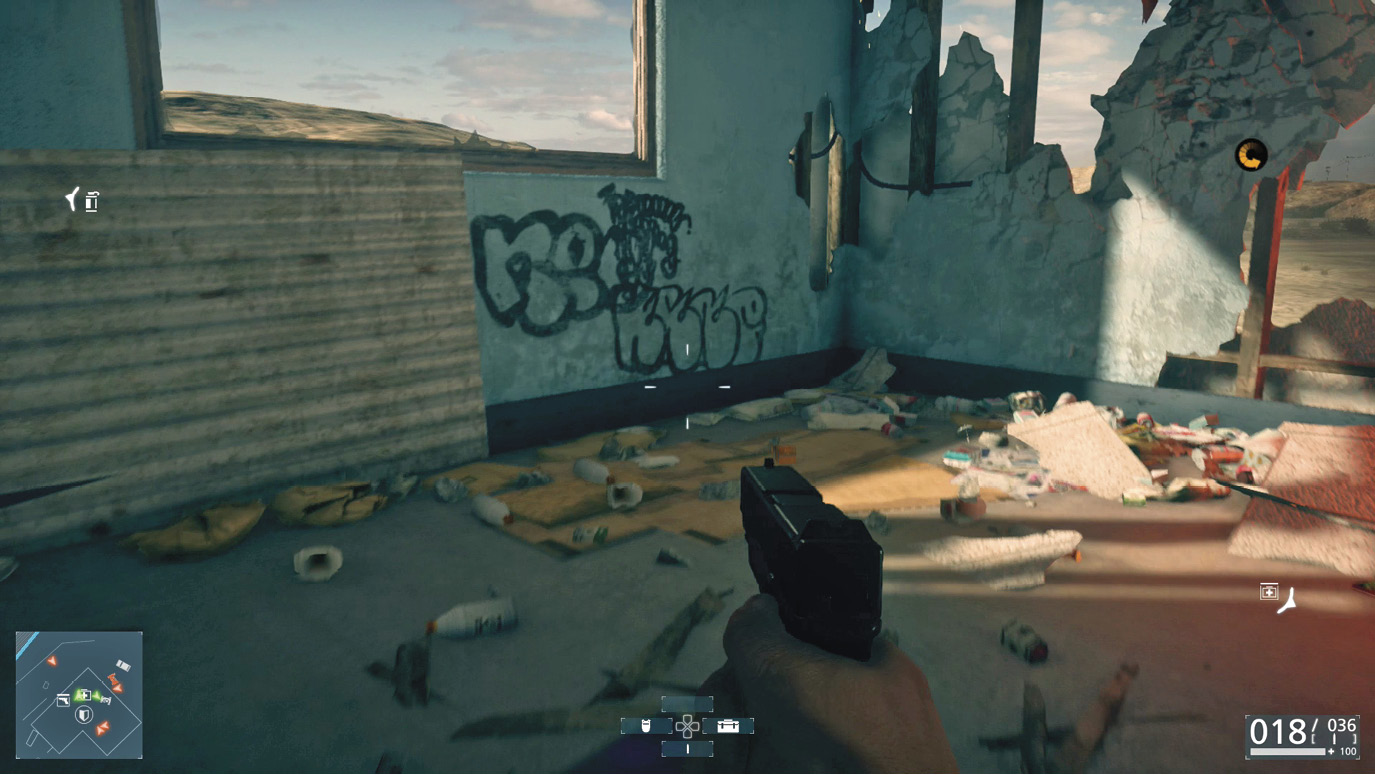
Suspect awareness is indicated in two ways: an Alert Meter that fills as suspects become more dangerous and white vision cones on the minimap which vary based on your stance. The Alert Meter appears as an arc that fills in white as an enemy becomes more aware of your presence. As long as the player can get out of sight or take down the criminal who notices the detective, the awareness goes away. If it fills completely, the bad guys go on high alert. At that point, it becomes a gunfight.
Vision cones display the area in which each criminal spots the player. When going for stealth, avoid making contact with these cones. If the player is spotted, these turn yellow to indicate awareness. Crouching makes these cones smaller. When enemies are investigating, they are able to spot the player from further away.
Last Known Position
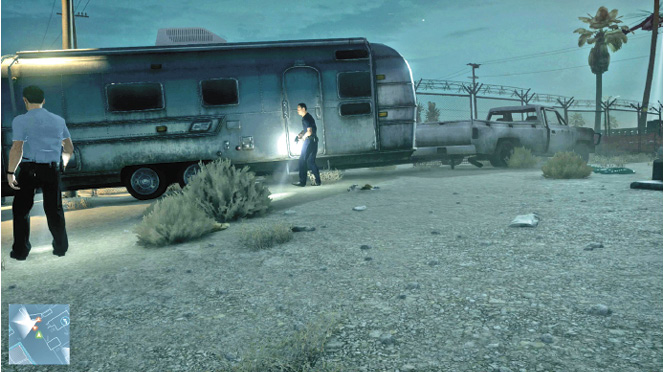
Flee an area after being spotted to avoid making contact with the enemy. Hide from or evade them while they search and they eventually look elsewhere. An orange circle on the map indicates the last place the player was seen or heard.
Freeze
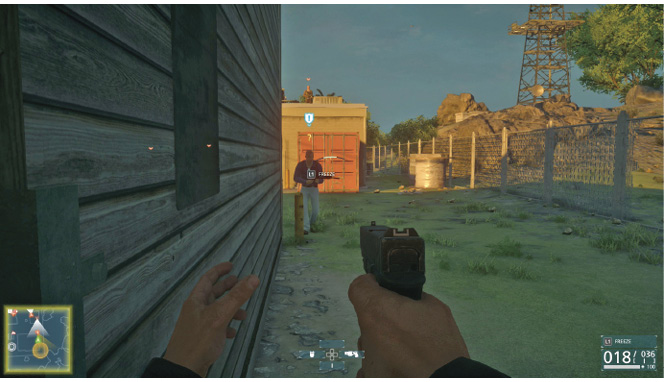
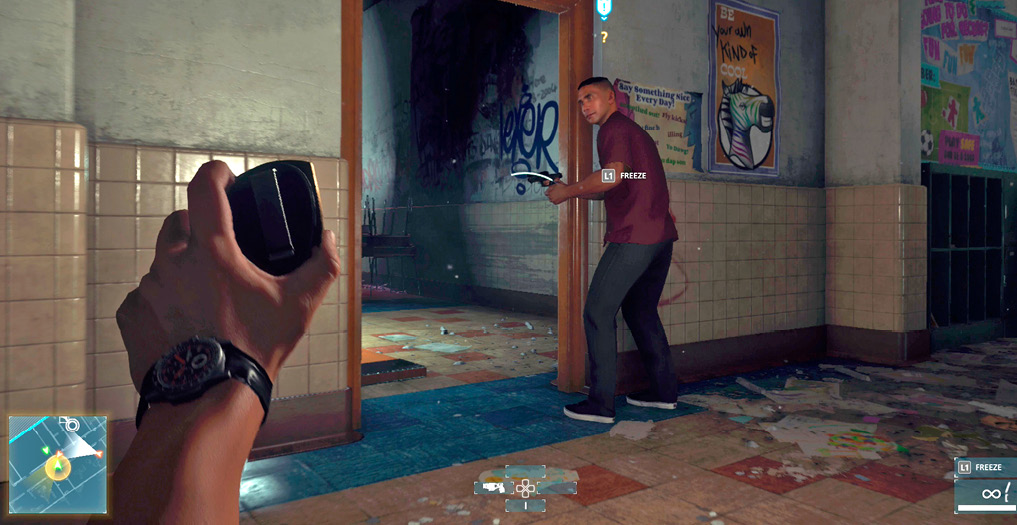
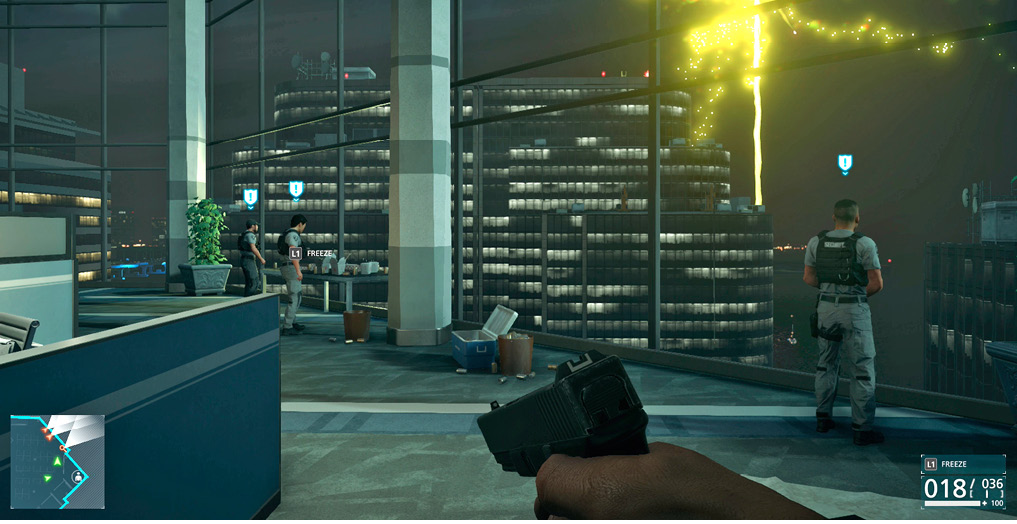
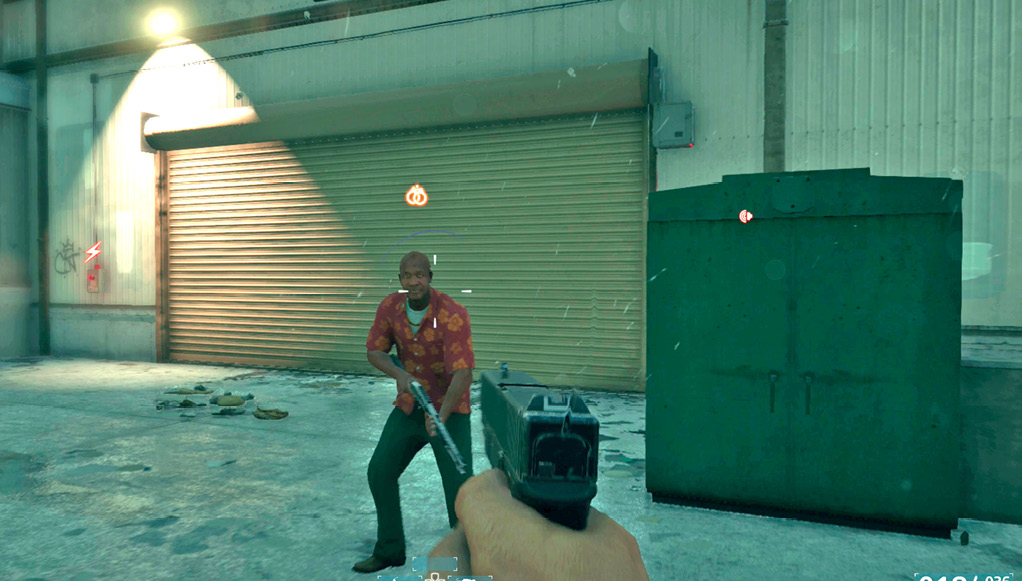
Freezing suspects with the detective badge is a great way to take down one to three bad guys in a non-lethal manner. A white shield icon with an exclamation point indicates the person will put up his hands with a flash of the badge. Keep an eye on the criminals, since they go after their gun if left uncovered. Move the reticle between all of the suspects as you approach. If possible, move in from the side before flashing the badge. With the suspects in line, they are easier to keep an eye on.
Throw Distraction
Distracting an enemy with a shell casing is great for separating a specific guy from a group or stealthily sneaking through an area. The casing is tossed straight ahead. Aim the center of your screen where you wish the item to hit. A white circle on the minimap shows the distraction radius. If someone is within this earshot, a yellow circle appears on the minimap and vision cones turn yellow, indicating that person is investigating. A question mark also appears above his head. vDistracted by the item, he moves to that location, giving the player a great opportunity to non-lethally take him down or move through the area undetected.
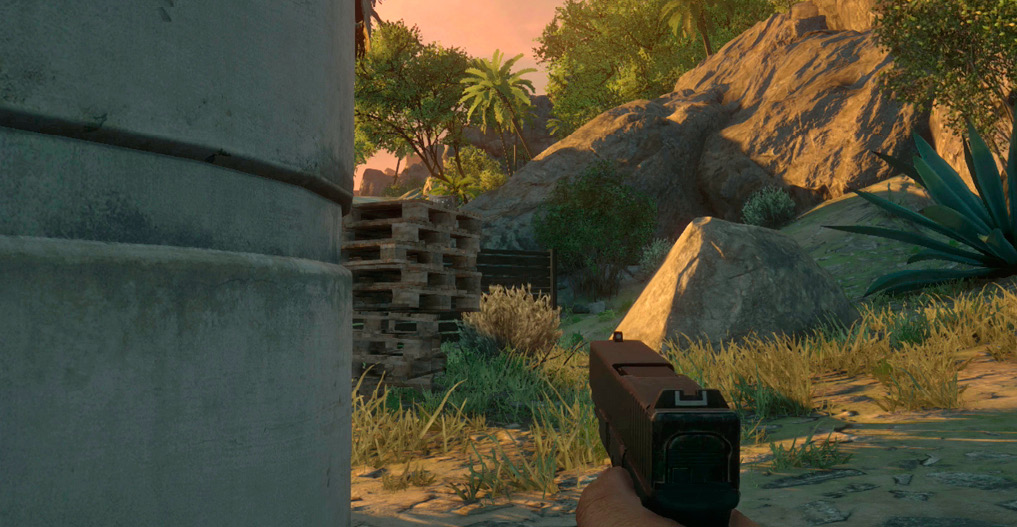
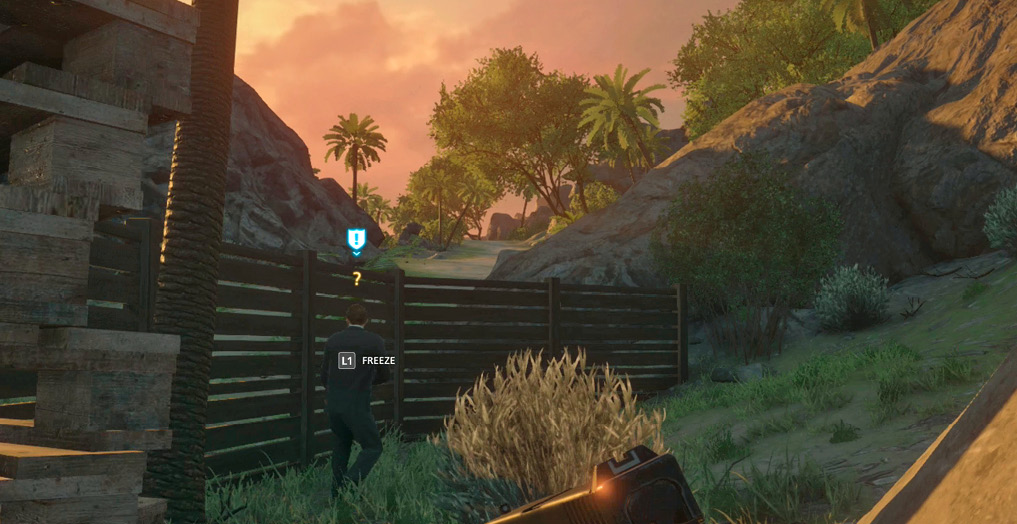
If more than one criminal hears the noise, only one investigates while the others remain in an alert state. This may make it impossible to arrest the first guy, since it would be in view of the second enemy. Another shell casing can be tossed further away to separate them more.
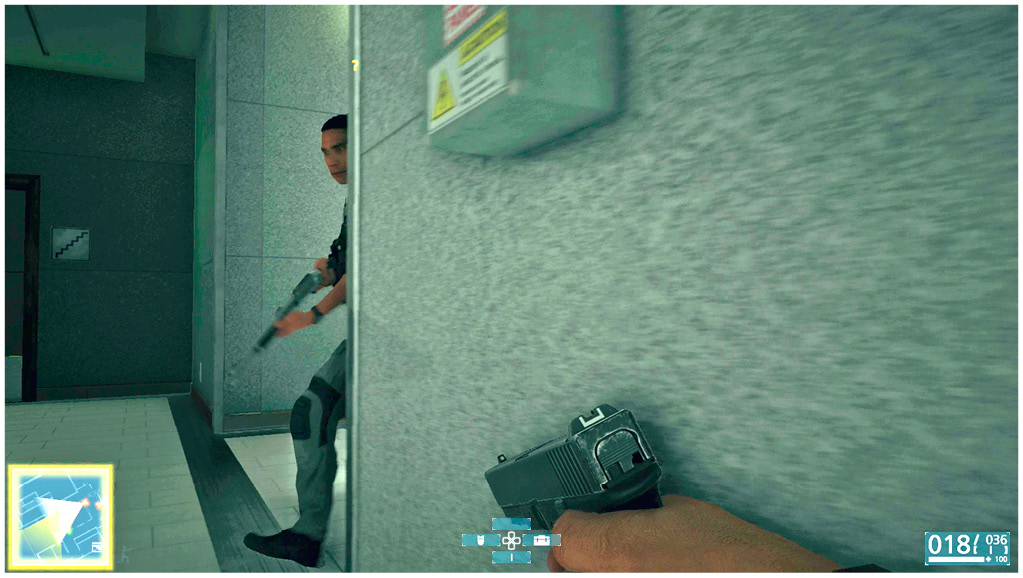
Toss too many shell casings in a short period and enemies go on high alert. Try to limit successive throws to two. This should be enough to isolate the enemy you want from a group. If an enemy is hit with the shell or it is tossed between the player and target, the player is detected.
Warrants
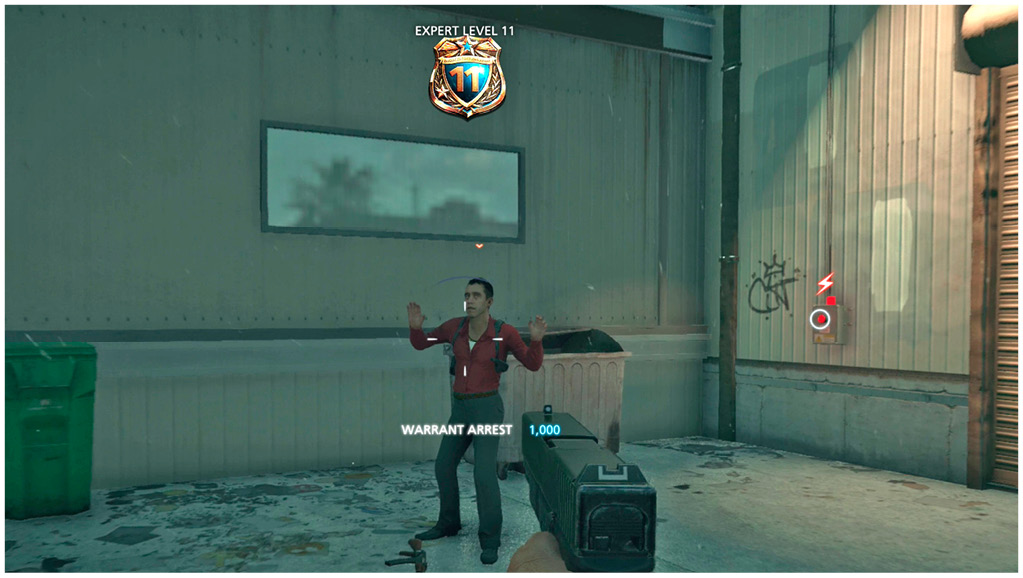
Starting in the first episode, some bad guys have warrants out for their arrest. Use the scanner to tag the enemies. If a bust icon appears above the guy, he is wanted. Analyze him further to find out an identity. This must be done to get credit for the arrest.
Handcuff the guy or use the T62 CEW to take him down non-lethally. Doing this is optional, but you score big points for identifying the guys and taking them down. You also earn two Achievements / Trophies along the way.
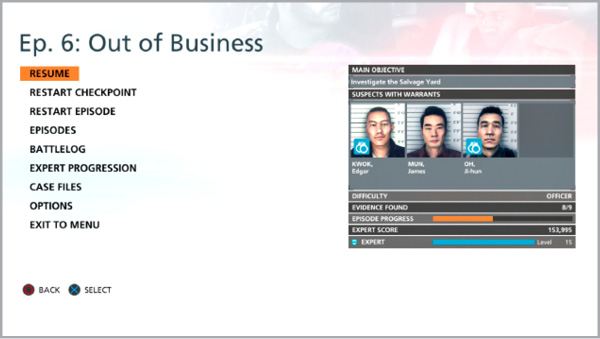
Suspects with Warrants are listed in the Pause Menu. A blue handcuff icon indicates that guy has been arrested, either during the current playthrough or a previous game. A skull icon is shown when that suspect was killed instead of arrested.
Case Files and Evidence
Starting in Episode 1, you can examine the environment for potential evidence to be added to on-going Case Files. With the Scanner equipped, the upper-left corner of the HUD lets you know how many pieces have been found and the total number in the current area, as well as the distance to the nearest item. The controller also vibrates when the player is near evidence. Note that an item can be shown as nearby, but it is actually on a different level. Be sure to keep that in mind when searching an area.
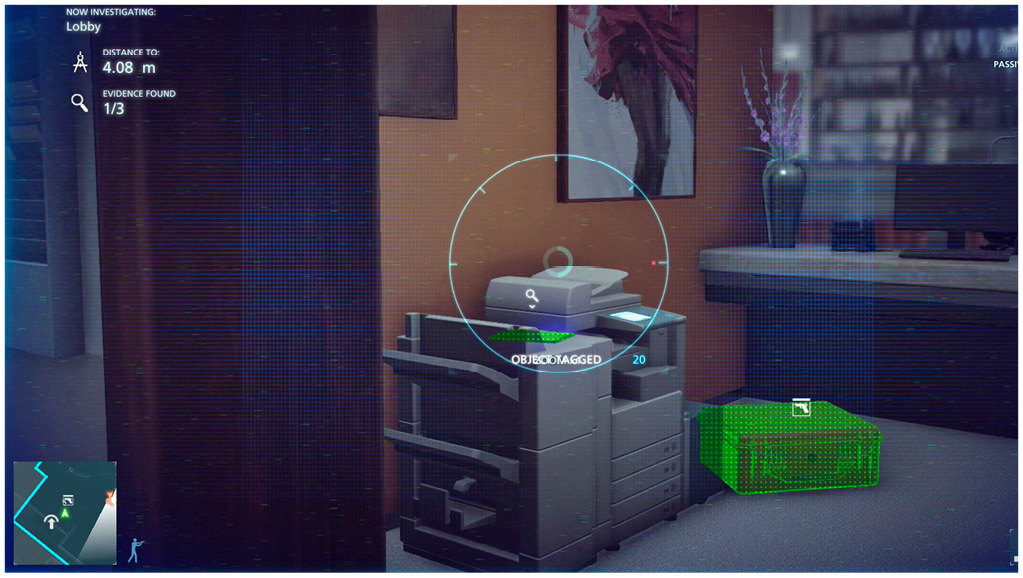
When evidence is viewed through the Scanner, it turns green. Hold the Jump button to analyze the item and add it to the appropriate Case File. Complete Case Files to unlock new weapons and Battlepacks.
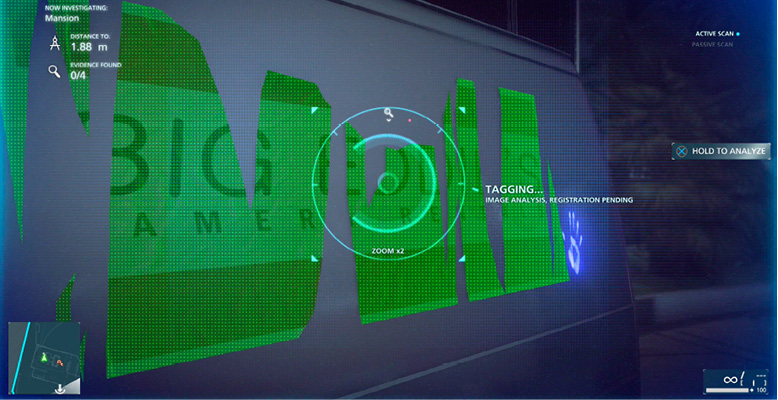
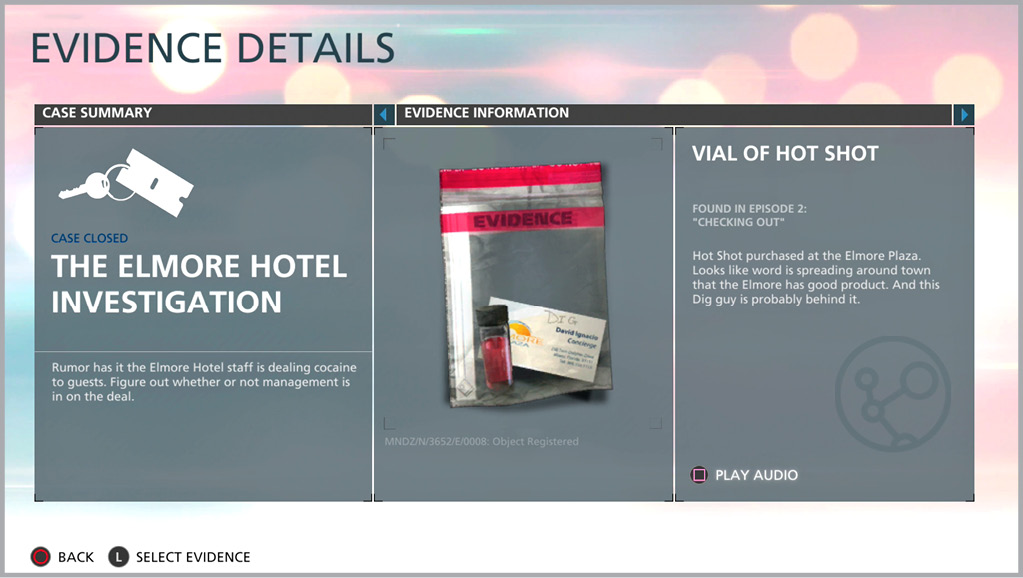
Collecting the evidence is optional beyond the first episode, but it does earn valuable expert points as well as three Achievements / Trophies. The Case Files screen contains an overview of all of your cases and the rewards you receive for completing them. You can dive into a case in more detail by selecting a piece of collected evidence. Refer to our Case Files chapter for full details on where to find them all.
Expert Score and Level
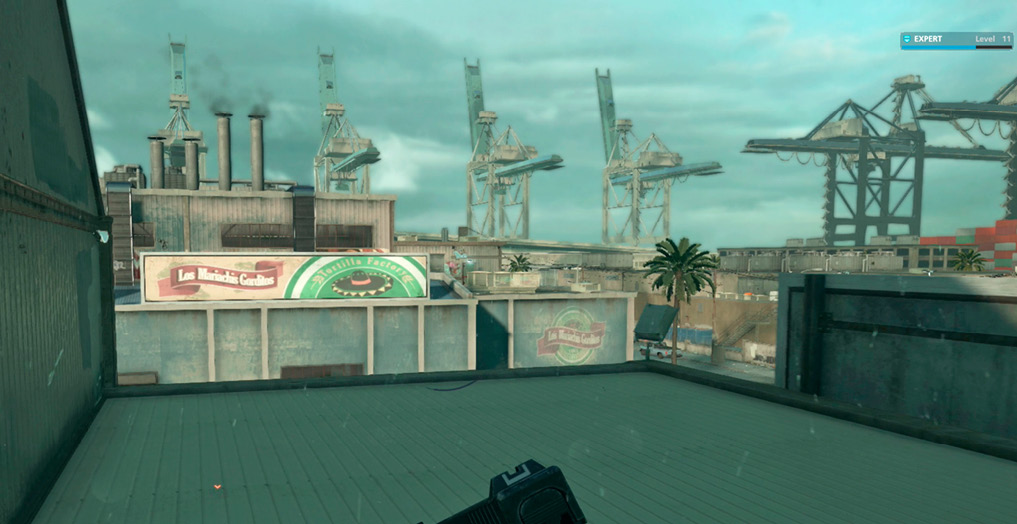
You earn points by completing specific actions. These points go toward your Expert Score, which in turn increases your Expert Level. Refer to the Unlocking Weapons and Gadgets chapter to find out required points and what is unlocked at each level.
| Action | Points |
|---|---|
|
Arrest Suspect with Warrant |
1000 |
|
Takedown Suspect with Warrant |
500 |
|
Complete Objective |
500 |
|
Make an Arrest |
250 |
|
Takedown |
100 |
|
Find Evidence |
200 |
|
Disarm Alarm Box |
200 |
|
Identify Suspect with Warrant with Scanner |
150 |
|
Tag Suspect with Warrant with Scanner |
25 |
|
Tag Subject or Object with Scanner |
20 |