
Battlefield Hardline Guide Multiplayer Maps Downtown
Overview
SWAT vs. Thieves
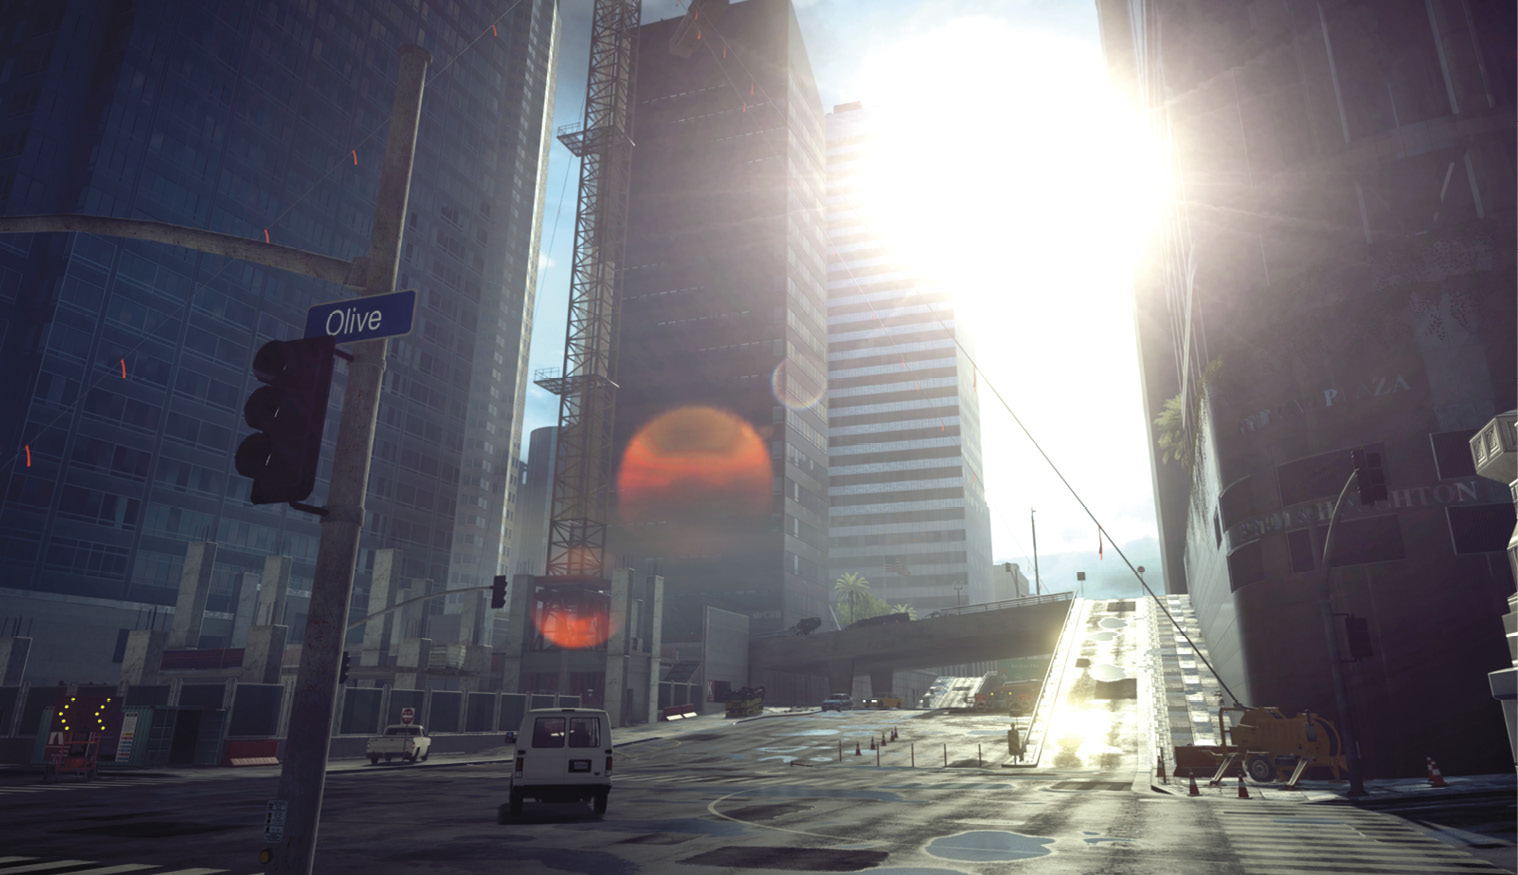
The heart of Downtown Los Angeles is a jumping environment. The streets, the buildings, the cars—are all open to criminal deeds. The police have shut down the city center, and a heated confrontation is about to break out.
Traveling the streets of Los Angeles can get a little extreme; from the road rage in hotwire to the all-out firefights over the heist objectives, the true Battlefield: Hardline experience is happening Downtown. Downtown allows for all styles of play, the close quarters combat of the all the major buildings and the mid- to long-ranged firefights out on the streets keeps every class on their toes and more than just a small role to play in every mode. It’s time to set your favorite class loadouts and get to work because Downtown is not going to control itself.
Destroy three out of the four crane anchors to trigger the crane Levolution. —John Seefurth, Quality Analyst
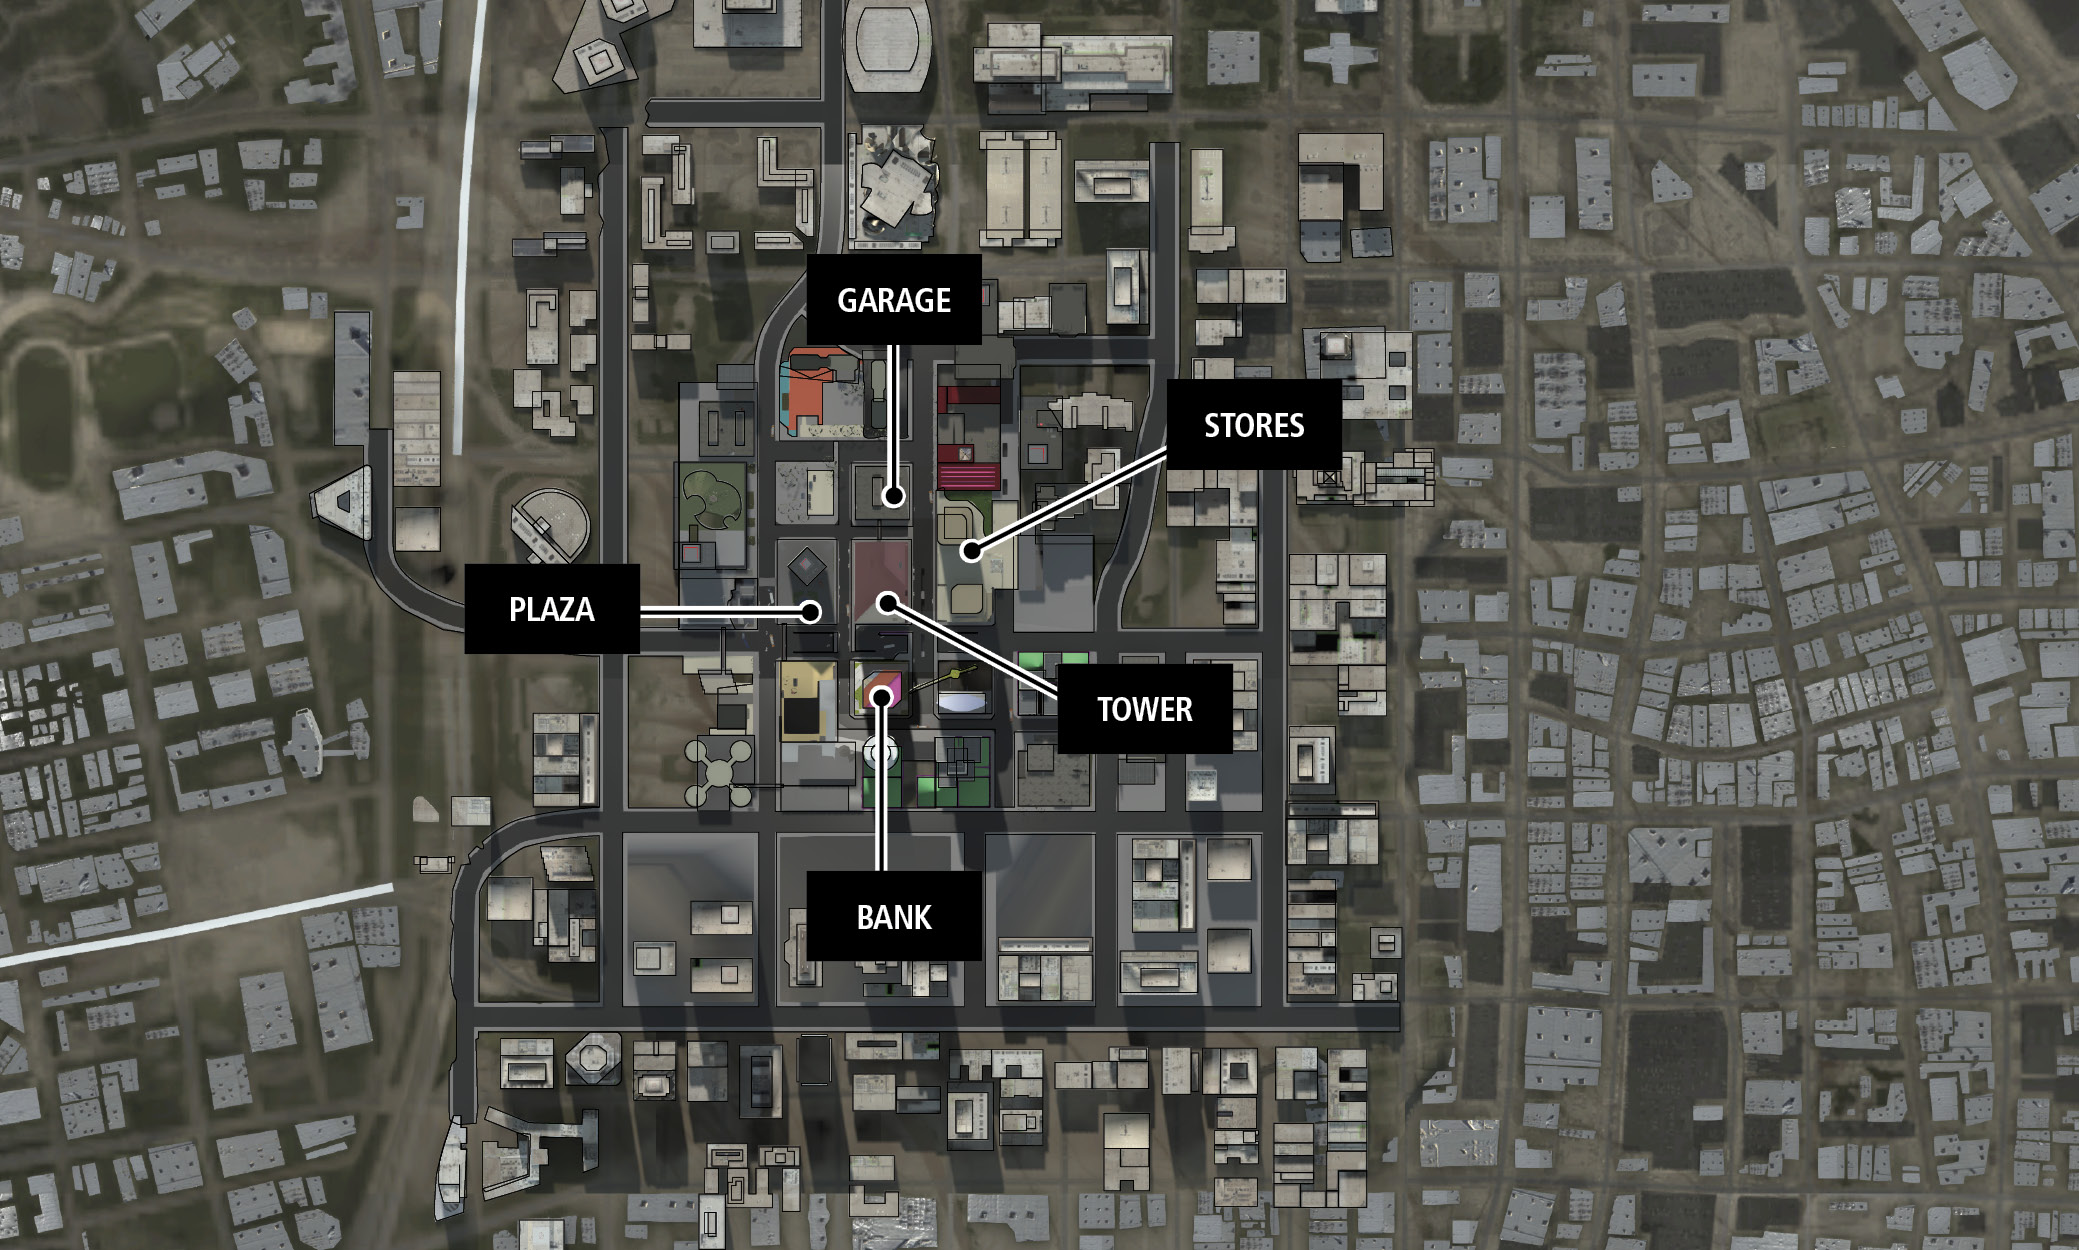
Key Locations
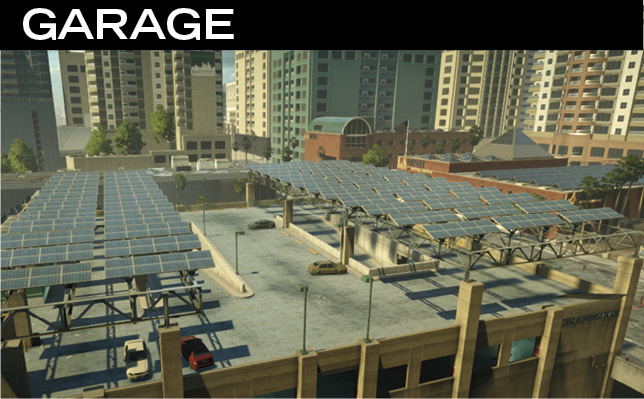
The Garage has four separate floors, all of whiclead to a tactical point. Use the roof as a vantage point to overlook botthe Plaza and the Stores. The Professional strives on top of the Garage because he or she can use the sniper bolt action to kill at range and Laser Tripmines to protect their six.
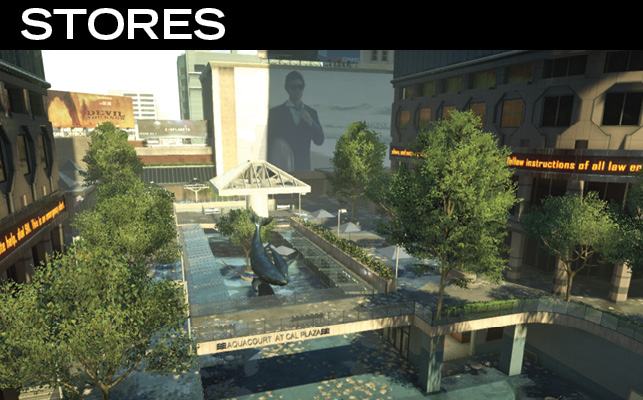
The open air of the Stores area Downtown gives you and your team time to spread out and create multiple ambushes in this key location. Wittwo levels and a hollowed out center, it is incredibly important to know where the enemy is hiding. The security camera and interrogation tactics are incredibly useful when defending this location. It is a good idea to take advantage of the battle pickups on this map and use them for the Stores because it quickly becomes a magnet for helicopters and vehicles attempting to attack this zone.
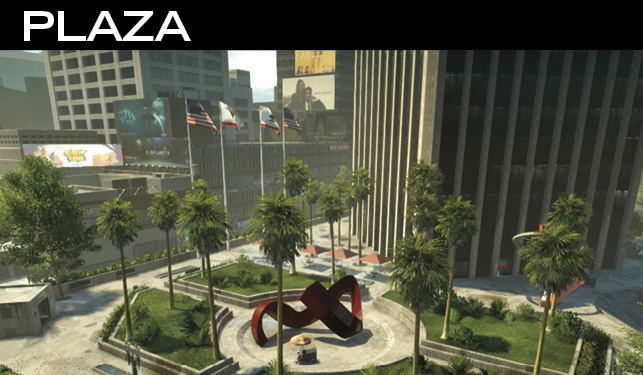
Drop in from the skyscraper adjacent to the Plaza to get the drop on any enemies that might be held up here. Cover is shallow, so be sure to go prone if you are under fire. If you have to retreat to the lobby of the building, do so quickly but be sure to watcyour back from enemies using the elevators and moving street side.
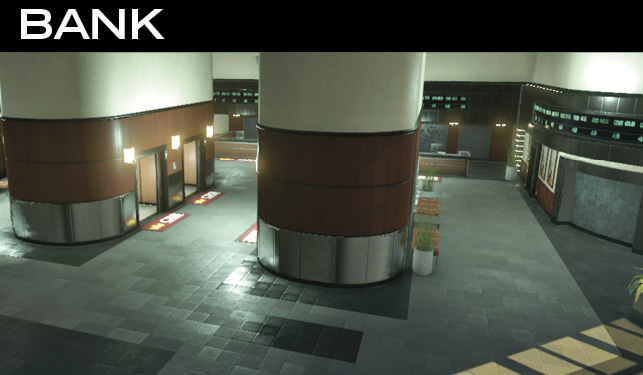
If you’re looking for a formidable stronghold for your team to set up, the Bank is the place you’re looking for. Witonly a few entrances to the bank, you and your squad can lock down the major entryways and be able to retreat further in if the heat gets too hot. Holding botthe bank floor and the parking Garage directly beneatit gives your team a safe fortress and alternate central deployment area for modes sucas Conquest and Heist.
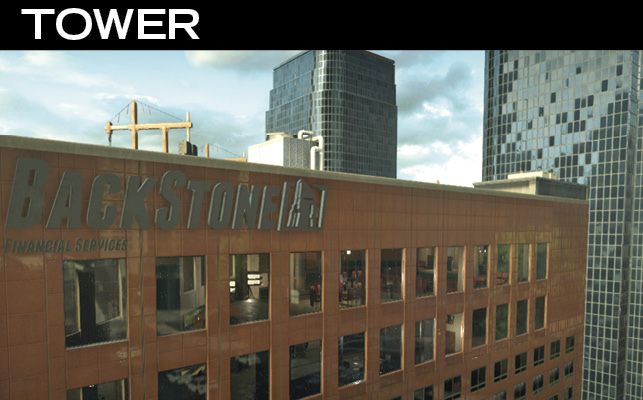
The Tower is more specifically the penthouse in the larger of the interactive buildings. This penthouse is home to Blackstone Financial Services and is filled witoffices and meeting rooms that serve as a great way to dive for cover and make a quick escape from enemy fire out the window down to the street level. Along witthe roof access, there are multiple ways into the Tower, including the elevators. Stay keen to eacone and control the tower for great tactical advantages.
Climbing to the top of the Crane may seem like a great idea for budding Snipers, but witthe amount of time this takes it may be wiser to take the elevator up to the top of a skyscraper instead. Keep an eye out for those Window Washer platforms! —Ethan Solak, Video Editor