
Battlefield Hardline Guide Multiplayer Maps The Block
Overview
SWAT vs. Bangers
What looks like a liquor store and bail bonds office, is actually a front. This is home to a notorious criminal ring. The police know better than to enter The Block without backup.
The Block is the smallest map inBattlefield: Hardline with a heavy emphasis on urban CQB—there are no vehicles. Expect plenty of house-to-house fighting as both teams vie for control of this troubled neighborhood. Watch your corners while moving from one piece of cover to the next. But just because you’re concealed behind a wall doesn’t necessarily mean you’re safe. Most walls on this map are destructible. Utilize gunfire and explosives to open new paths and sight lines, denying the opposing team cover. The mechanic’s grenade launcher and enforcer’s breaching charges are ideal for blowing holes in the high concrete walls dividing different areas of the map. But thinner walls and wooden fences are easily shredded by small arms fire, making each firefight a visual delight as the environment responds to each shot fired.


The outside edges have far more cover than the inside, but be careful about enemies coming out straight down the Alleyway from you. There are some long, long sightlines for snipers. If you are in the Apartments surrounding the central courtyard, remember to look behind you. Enemies are likely to run below you, and won’t have cover from your shots. —James Berg, User Experience Researcher
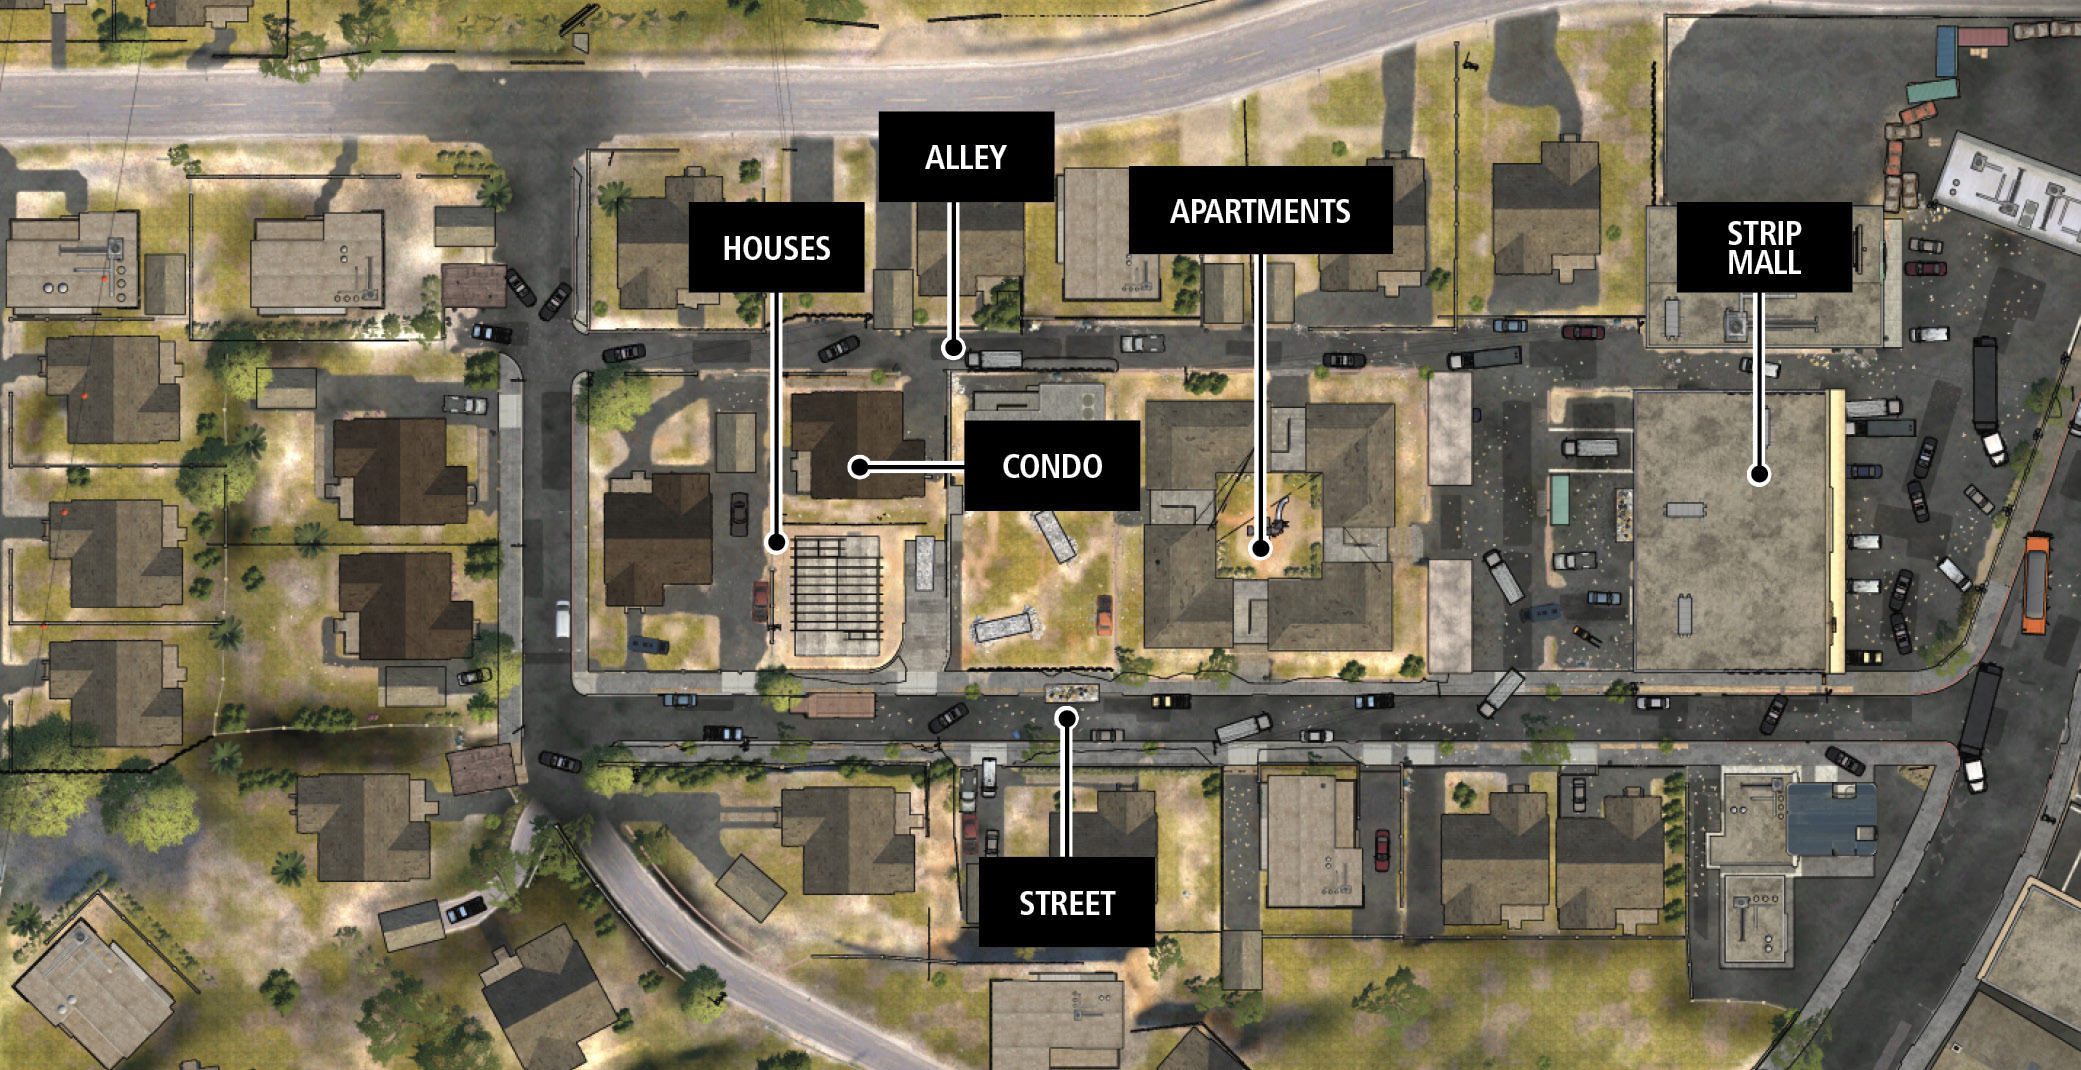
Key Locations
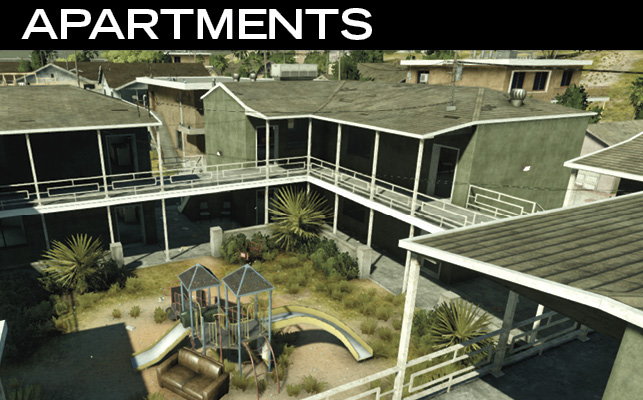
Due to its central location, this small cluster of Apartments sees heavy action throughout all game modes. Use a grappling hook to reach the rooftops of these two-story buildings for a great view of the surrounding locations—but don’t linger on these rooftops long, as there isn’t much cover. In some game modes you can even find an RPG in the courtyard’s playground.
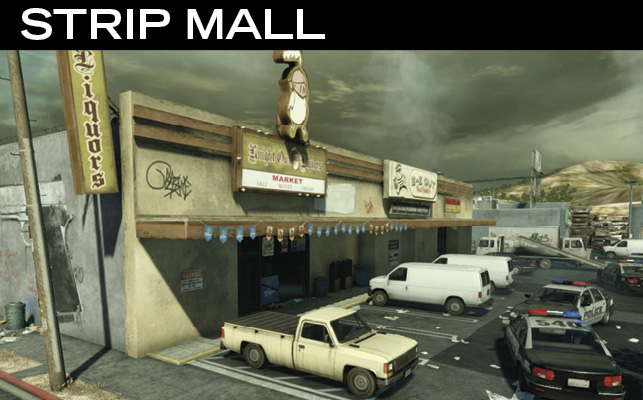
This small Strip Mall is home to Knight Owl Liquors and E-Z Out Bail Bonds. A third storefront remains vacant, but is still accessible. Each business has a storage room on the west side. The vacant store and liquor store are accessible via large doors. Use the interior and exterior switches to open and close these doors, altering access and lines of sight.
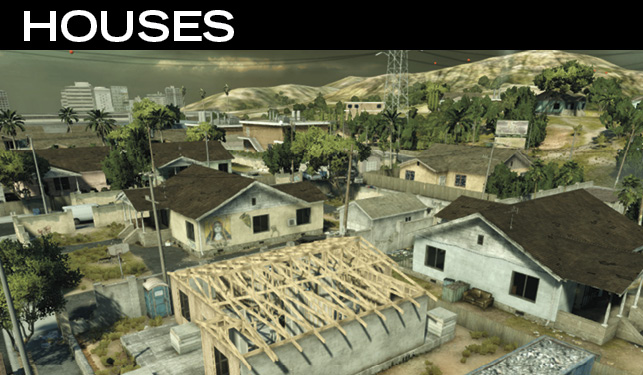
This group of small, single-family homes on the west side of the map offers some great cover and concealment. Rush inside one of these Houses if taking fire from the Street, Alley, or Apartments. Unless you’re carrying a shotgun or SMG, consider switching to your sidearm when hunting for enemies in these compact dwellings.
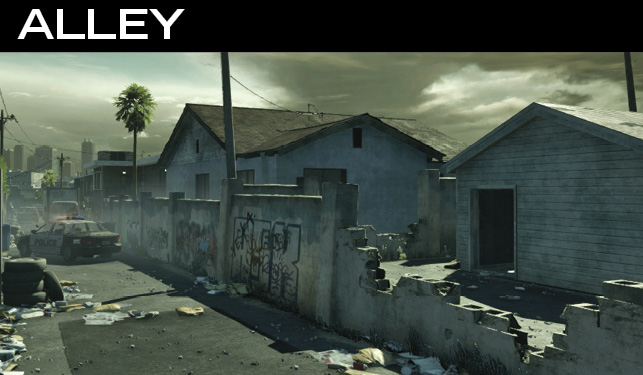
Stretching along the north side of the map, this Alley serves as a major east-west thoroughfare. While the cars and trucks parked in the Alley offer some cover, beware of snipers posted on the east and west sides. If you must move through this Alley, do so quickly, preferably while concealed by smoke grenades.
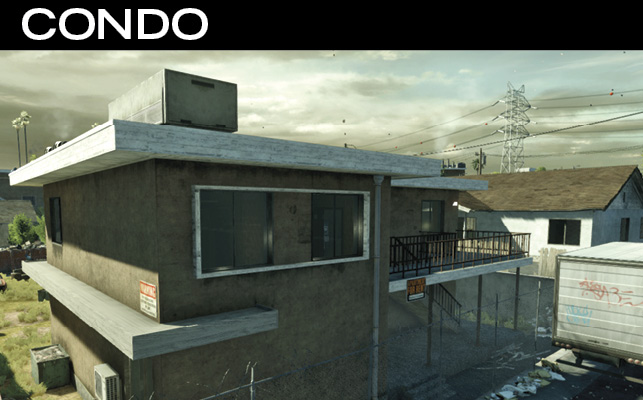
Located between the Apartments and the Houses, this abandoned two-story Condo is a good midfield position. Peer through its second story windows to engage opponents rushing through the nearby Alley or vacant lot to the south. This is a good spot to place a satellite phone, allowing your squad to spawn close to the action.
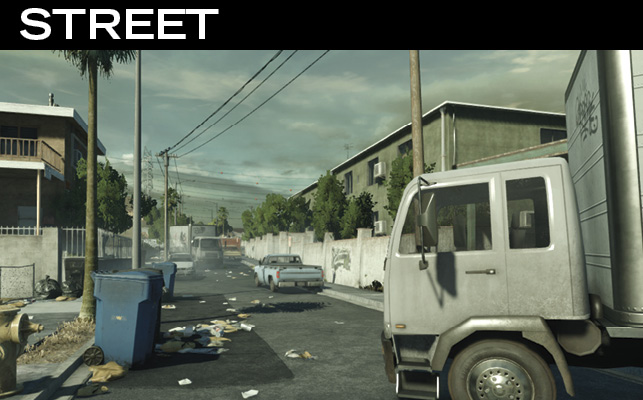
Like the Alley to the north, this Street on the south side of the map, is another major east-west route. Given its width and sparse cover, the Street is often watched by sharpshooters, so be sure to leapfrog from one piece of cover to the next while advancing here.