
Battlefield Hardline Guide Multiplayer Maps Downtown
conquest
| LEGEND | |
|---|---|

|
Police Deployment |

|
Criminal Deployment |

|
Spawn Area |

|
Hostage |

|
Money Pile |

|
Police Vault |

|
Criminal Vault |

|
Vault |

|
Extraction |

|
Hotwire Cars |

|
Control Points |
| BATTLE PICKUPS | |
|---|---|

|
Ammo |

|
Defibrillator |

|
Grappling Hook |

|
Health |

|
LMG |

|
Rocket Launcher |

|
Stinger |

|
Zipline |
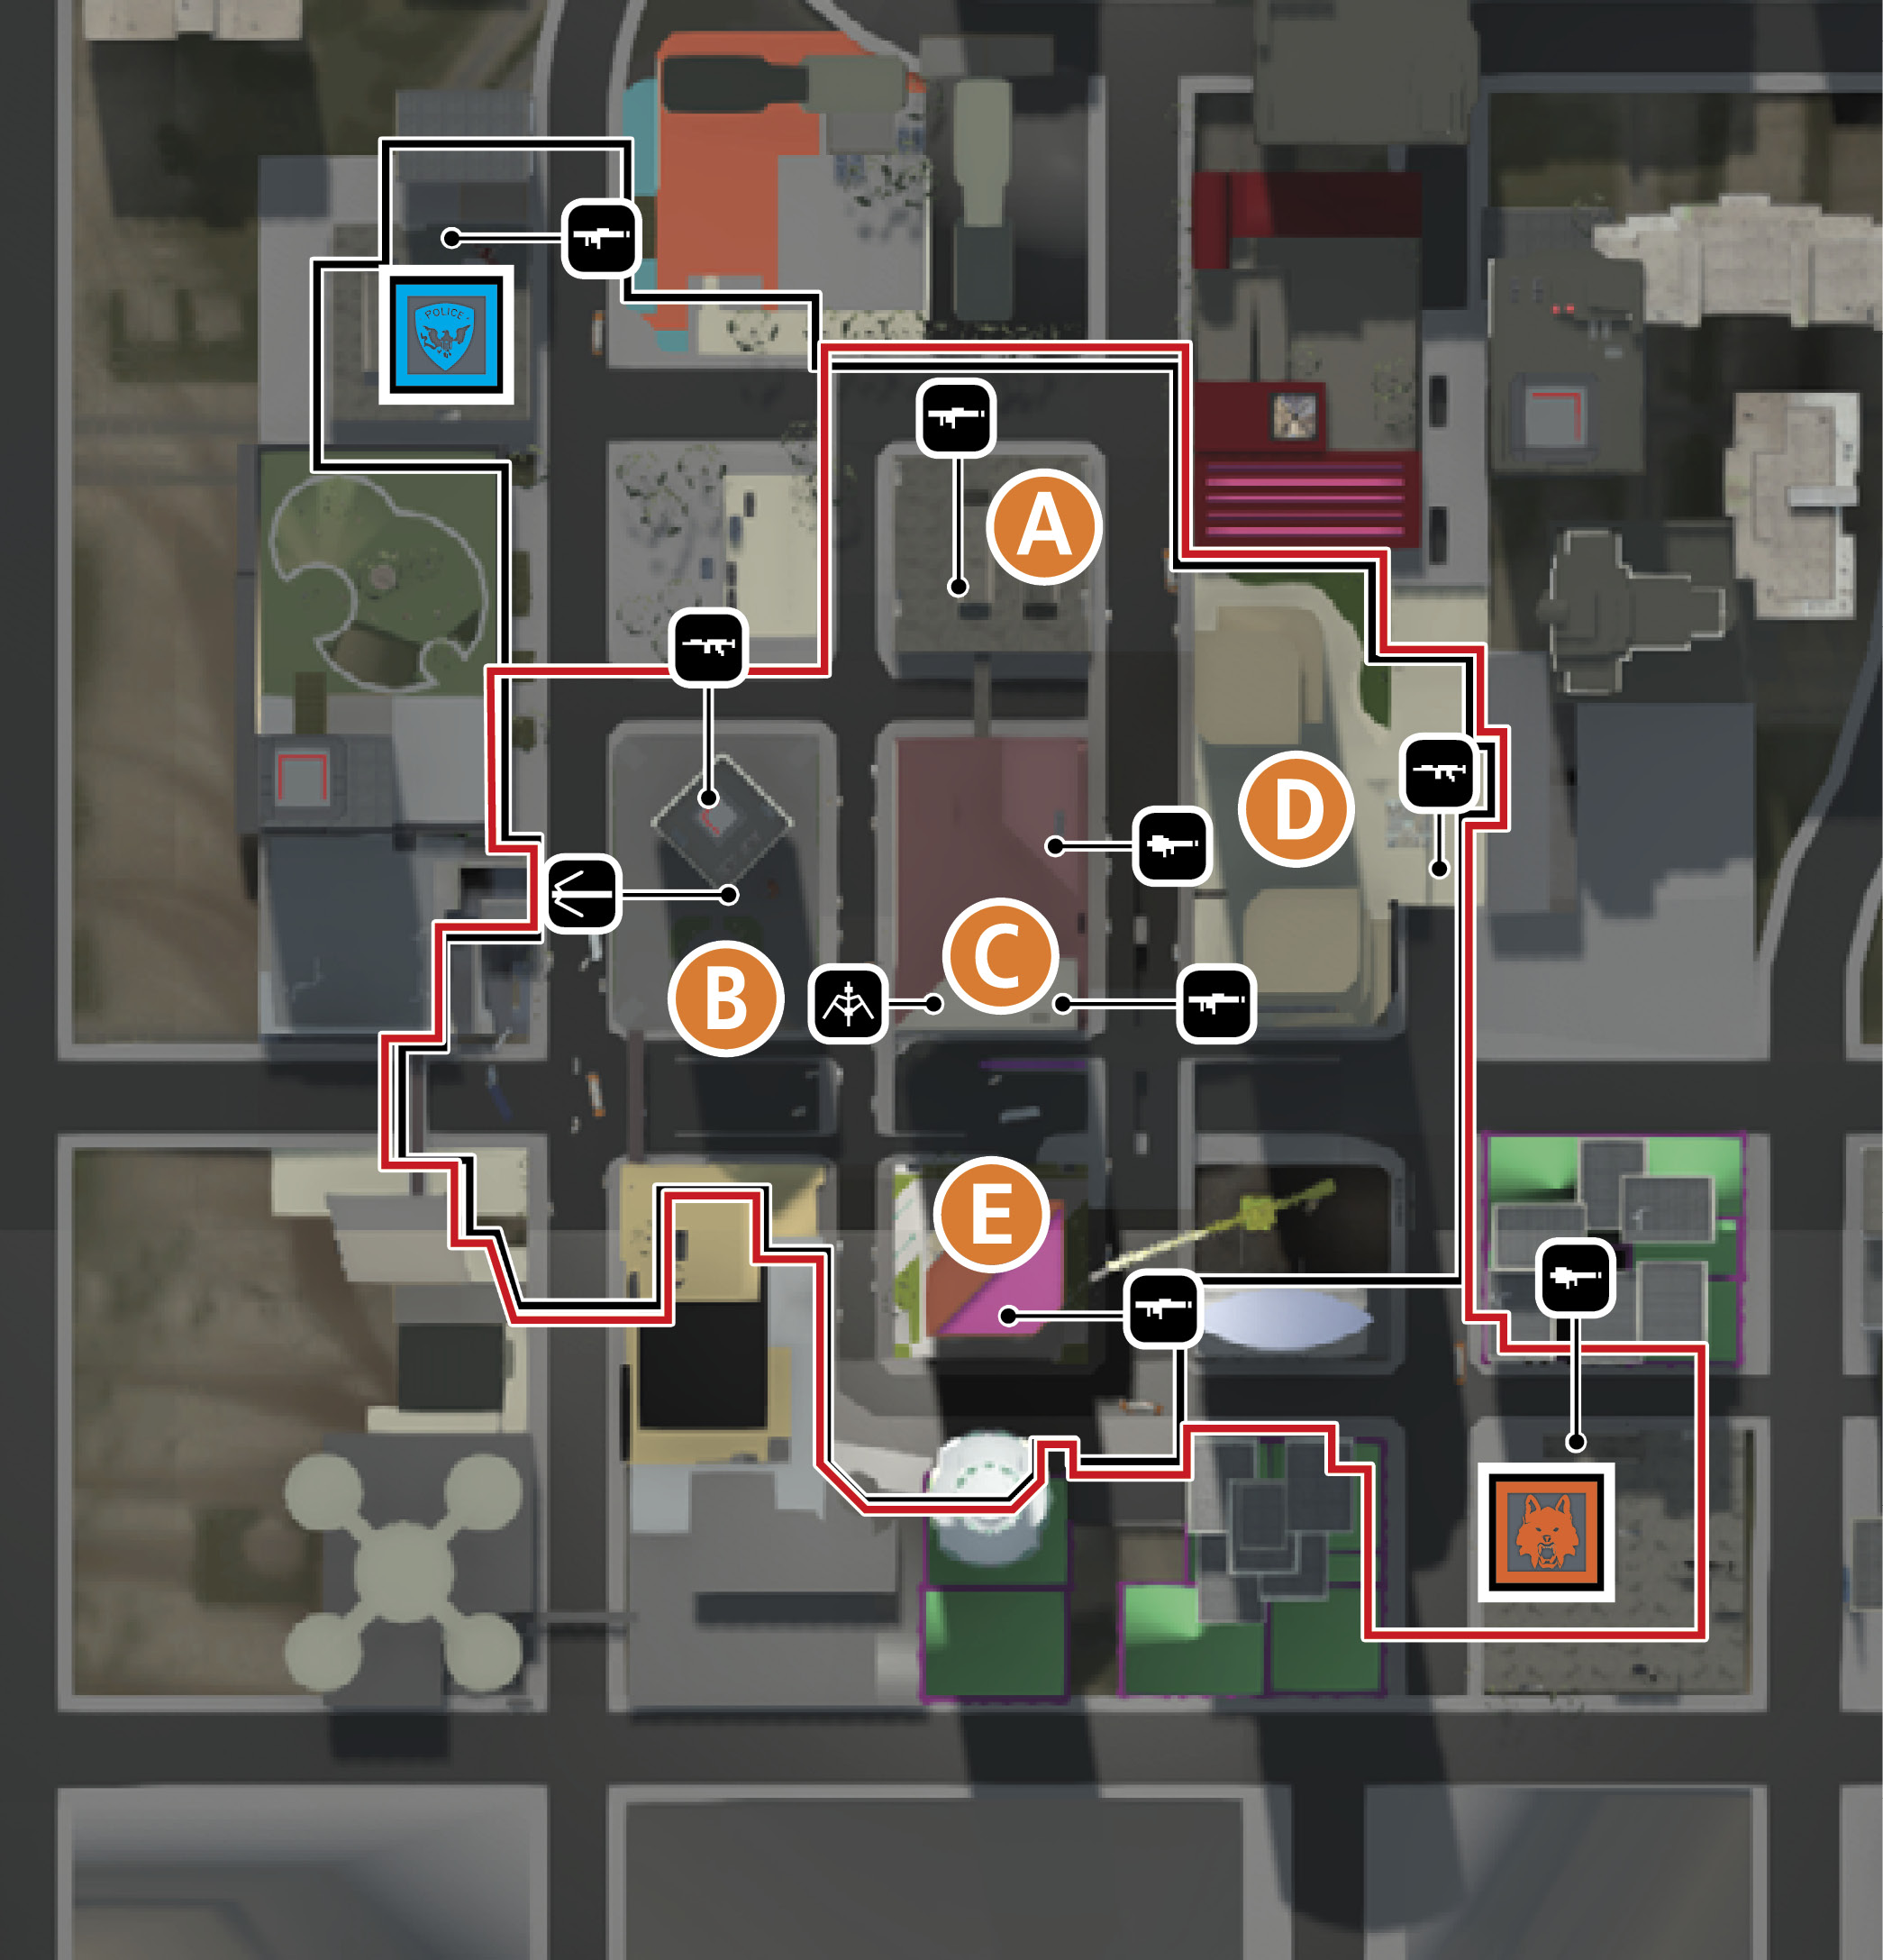
A lot like Hotwire, Conquest has some of the same tactics, especially at the beginning of the round. For the police side you and your team must go for the two closest control points, (A) and (B), because starting the ticket bleed as early as possible is the name of the game. What’s different about Conquest is (C) is far more important than any of the other control points on the map. Go for (C) first because it is the control point that is vulnerable on all sides, so capturing it fast and holding it as long as possible keeps your team in a strong position. Park the police mobile spawn point down the street from the Plaza towards the north. This is a great central place on the map between the triangle of the police’s key control points. If any of the three major points becomes controlled by the criminals, your team should use the mobile spawn point to take it back as fast as possible.
Playing as the criminals is very similar to playing as the police, especially because of how balanced Downtown is as a map. There is one extreme difference in how the criminals can gain the advantage in this mode/map combination. If your team is able to rusthe Tower and keep enougforces there to capture the control point, the rest of the infiltration team can head to the roof and zipline to the next skyscraper. From here you can drop down to the ground floor using your parachute and take the Plaza by surprise. At the beginning of the round, park the mobile spawn point near the entrance of the Tower. Parking it here is not the best place to keep it, but you can use it to keep the pressure on C as long as possible, leaving the police without a clue on how to handle the backdoor take-over on the Plaza.
By far the most valuable control point is the Tower because it is dead center on the map and, once a team controls it, it’s extremely difficult to take back due to how well it can be defended. However, this is where the attack helicopters come into play. If botattack helicopters are in the air they are going to have to fight over the air space, but once one of them is down the opposite chopper has full range on firing its miniguns straight througthe penthouse of the Tower. If your team does not control the Tower, you need to gain air-superiority and take out all of the defenses or it’s going to be a tougbattle from here on. Even thougC may be the most valuable control point, don’t forget that if the majority of the team is defending it there won’t be many bodies left to defend the others.
Due to the nature of Downtown, the map provides for all forms of combat, creating opportunities for all classes to shine and become equally useful. When defending the Stores, operators and mechanics are going to have the better primary weapons for the range of the mid-range to close-quarters firefights that break out here. Then, the Garage allows professionals and operators to put all of their gadgets to use, rigging traps for enemy foot-mobiles and healing wounded teammates once they’ve been dinged up by heavy incoming firepower and sniper rounds zipping througnon-lethal body parts. Don’t forget the enforcer, whicis key when defending the Tower. Withis wide spread shotgun, ballistic shield, and ammo box, he creates impenetrable blockades that not even a maniac wita light machine gun and body armor could get through.
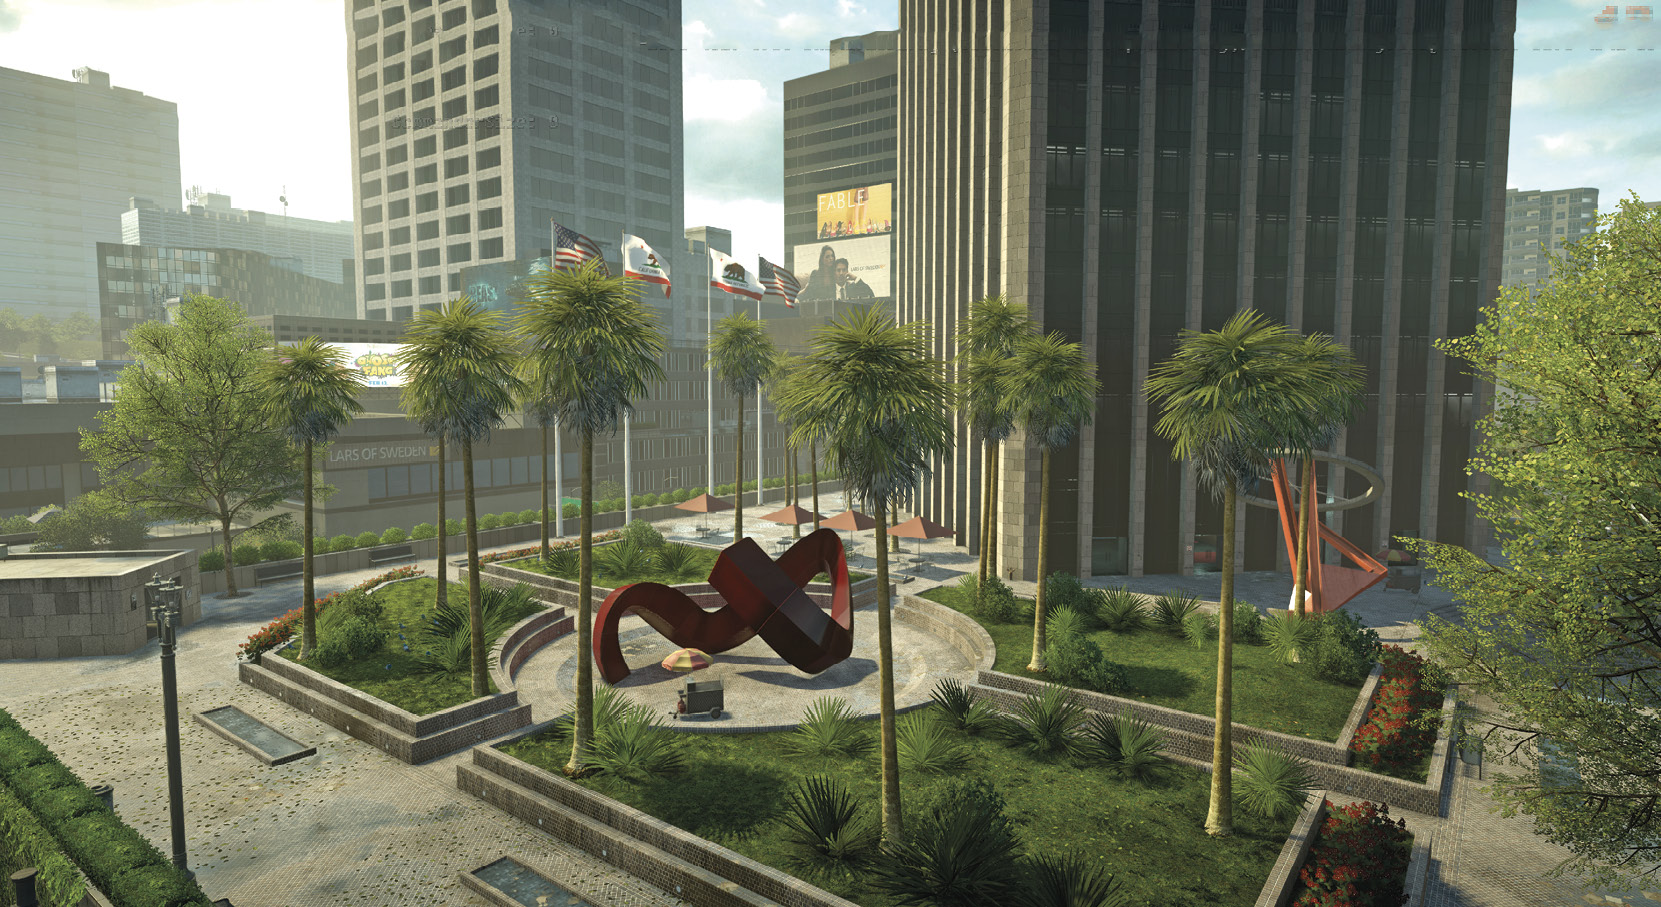
Avoid taking a direct route to Capture Point C. Rather than using the elevators in the lobby, head downstairs and take the elevators located in the parking Garage below. Beware however, as these elevators open behind you. —William Bordonaro, Quality Analyst
Capture the Tower first. From there you can parachute to all of the other locations. —Evan Champlin, Senior Multiplayer Level Designer
Don’t forget about Capture Point C. Often whichever team controls C controls the match. —Ben Gaciu, System Designer