Halo 5: Guardians Guide Warzone
Summit
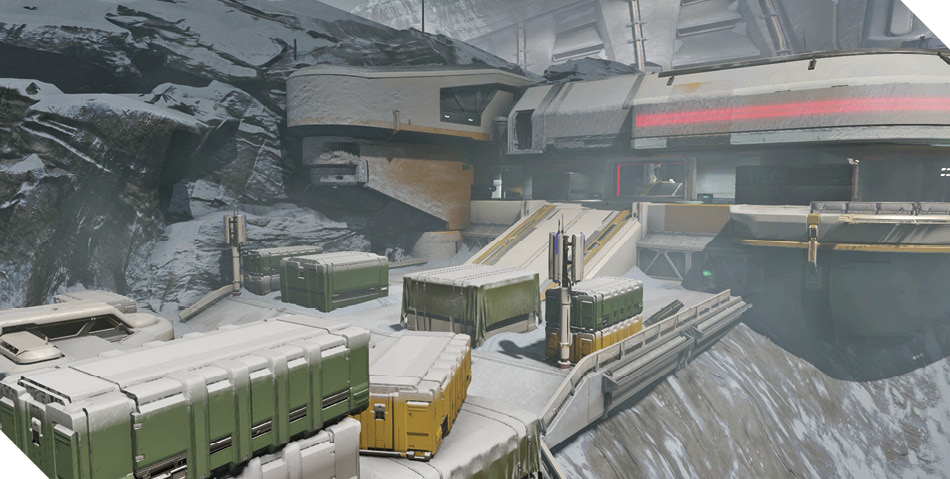
Description: The half-real spaces at the heart of Kamchatka slowly turn over the long march of eons, bent towards great works devised by long-dead dreamers.
Game Mode: Warzone Assault
Objectives
Objective 1: Fortress
Attack
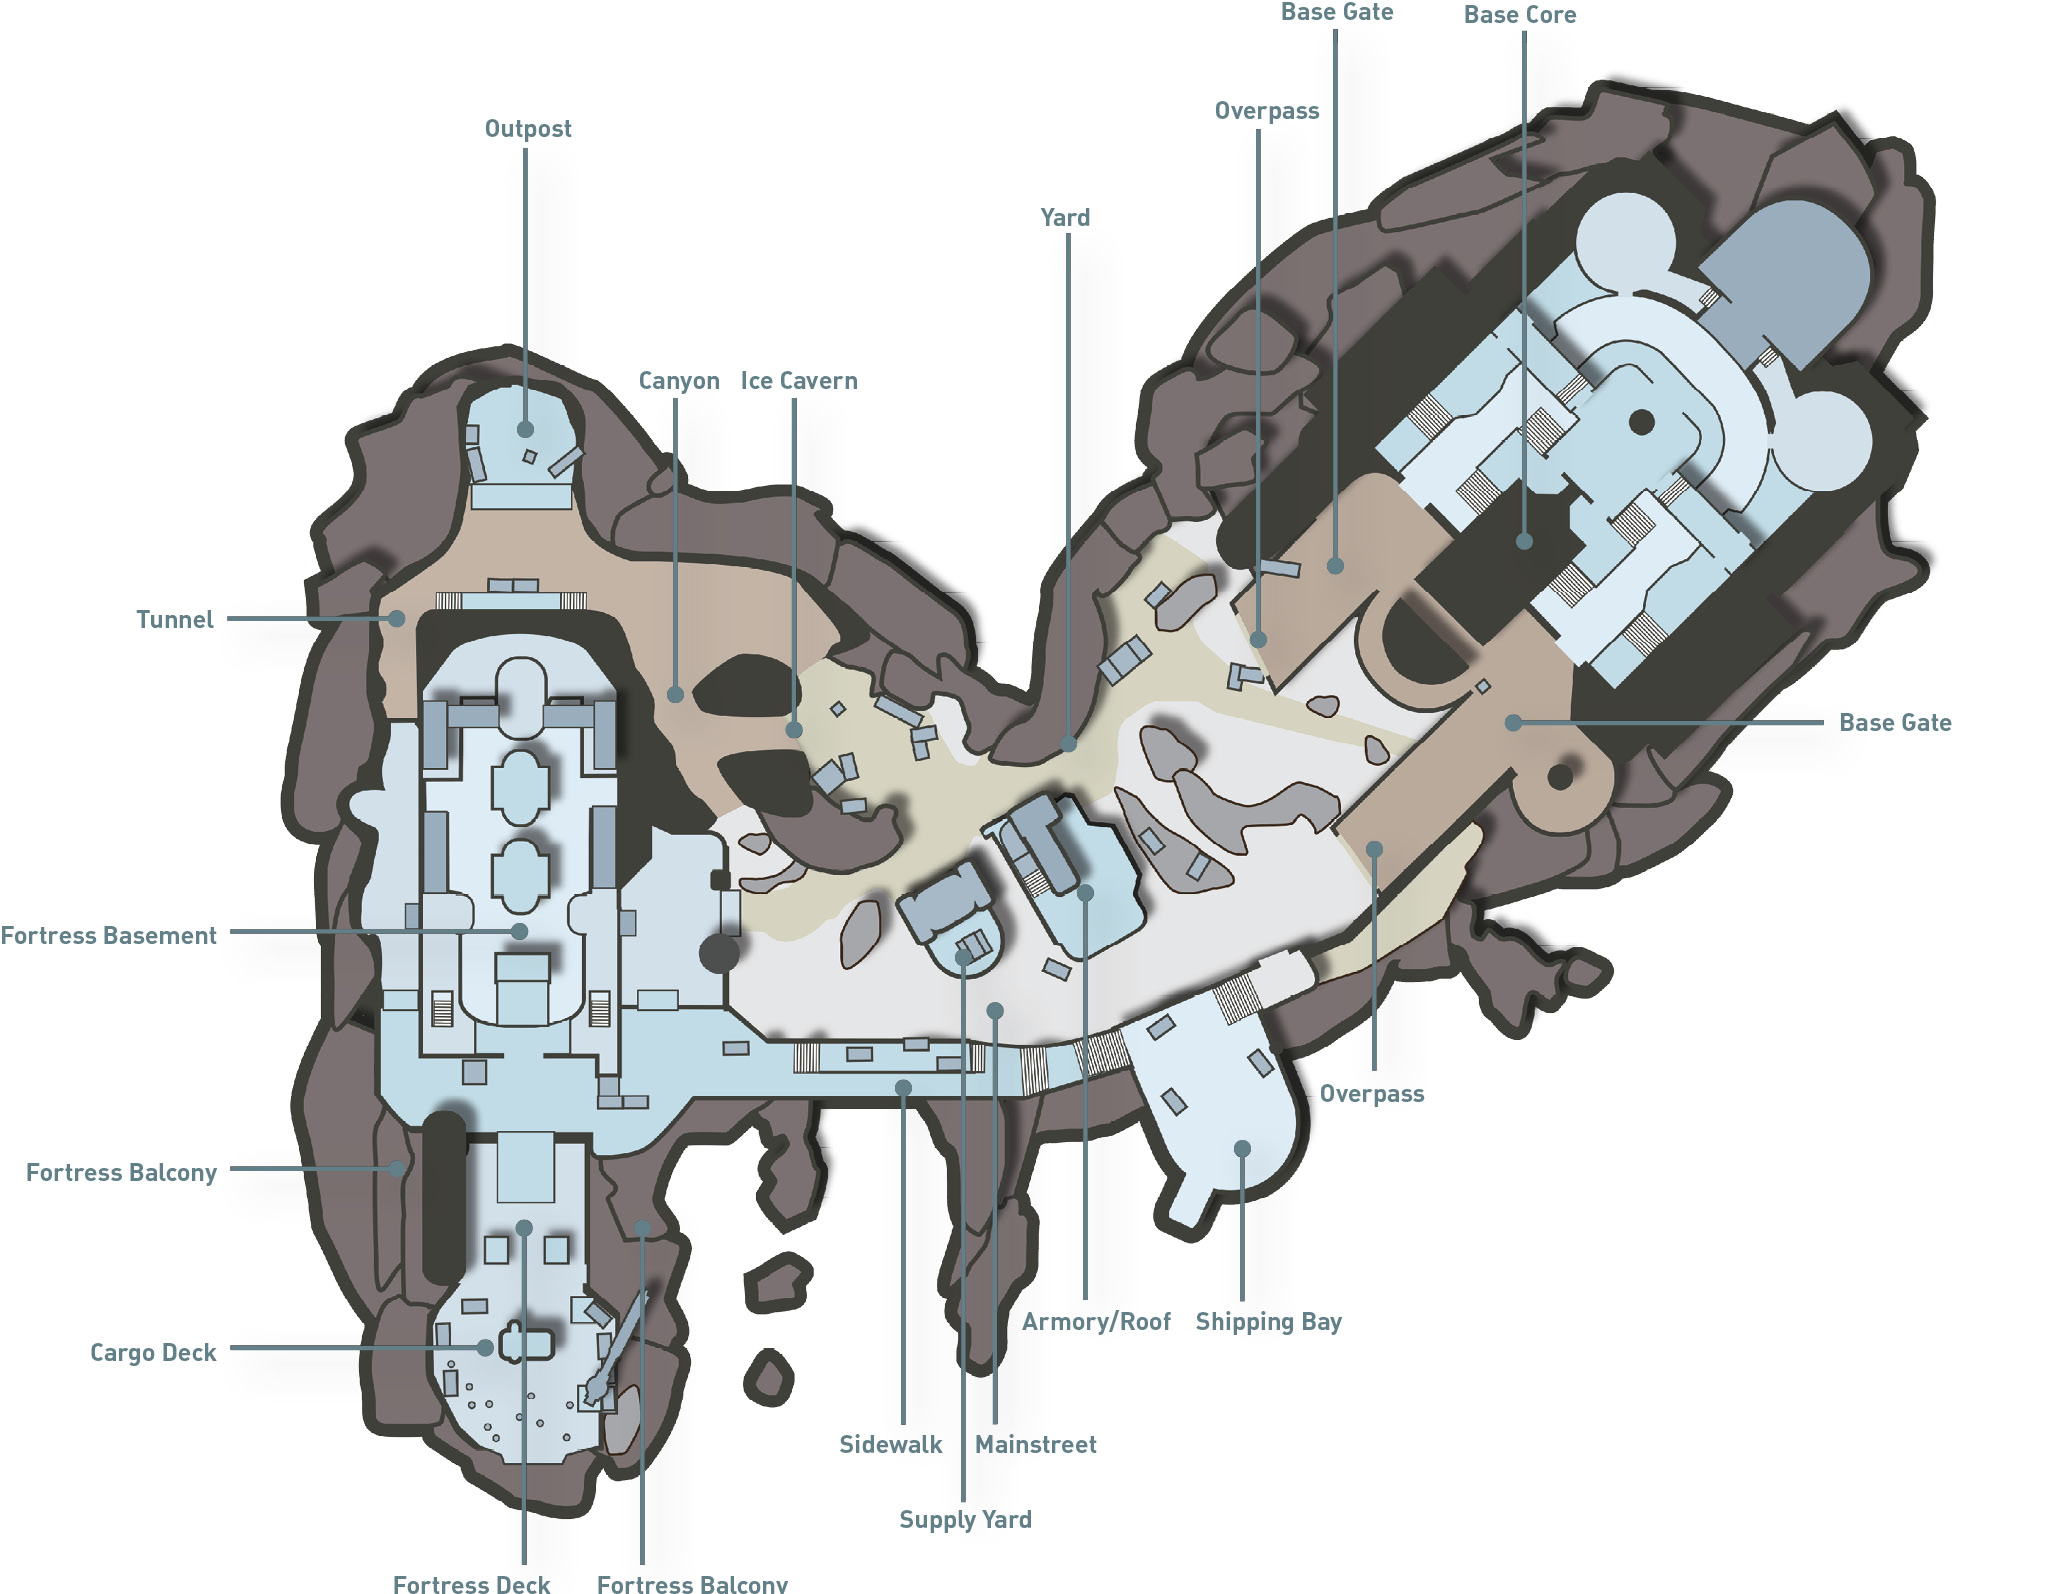
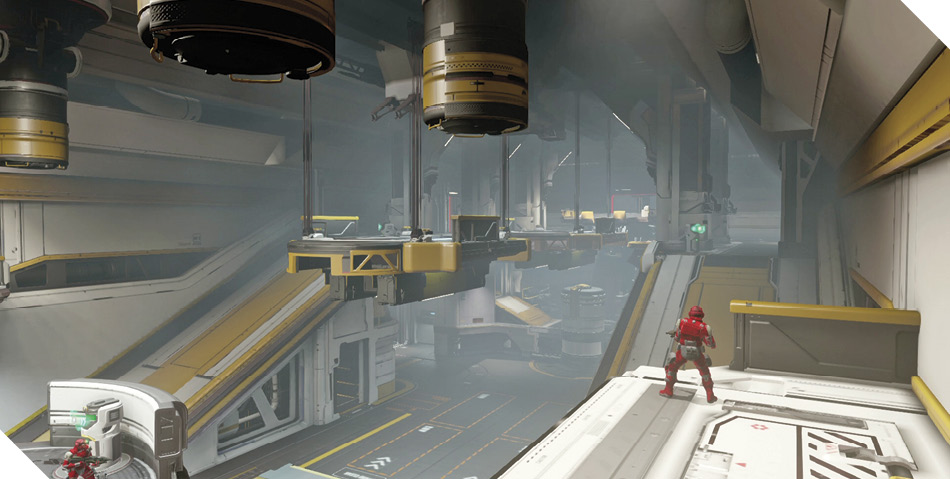
Starting on the Cargo Dock, the attacking team spawns within a few meters of the Fortress, giving them the chance to open the battle with a quick assault. The most direct route into the Fortress is through the entrance on the Fortress Deck. But the frontal approach is often met with heavy resistance, particularly once the defending team has established a solid foothold inside. Instead, hook right, using the accelerator pad to launch yourself to the Sidewalk—from there you can enter from the eastern Fortress Balcony. Or go left and enter through the western Fortress Balcony. These flanking routes give your team a much better chance of infiltrating the Fortress. Once inside, occupy the high ground and watch for defenders rushing in from the east side. Form a line at the Fortress Garage and eastern Fortress Balcony in an effort to keep the defending team outside.
Defend
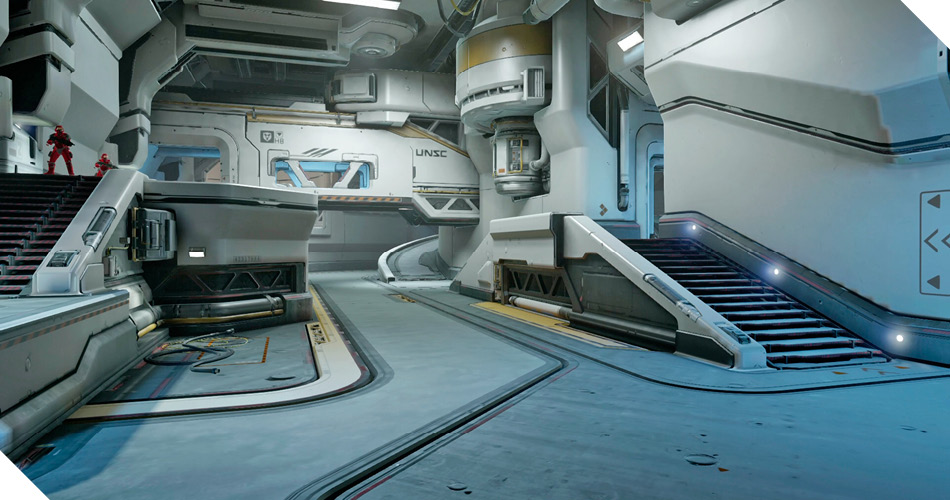
Expect to encounter attackers within seconds of the battle’s start, pushing inside the Fortress from Fortress Deck’s entrance. Establish positions on the central platforms in the center of the Fortress and engage the attackers from mid- to long range—Battle Rifles and DMRs work well here. There are no entrances on the north side of the Fortress, so keep your focus on the three entrances on the south side. Keep an eye open for opponents moving along the Basement floor—these enemies are vulnerable to grenades and Ground Pound attacks. Pressure from the Cargo Deck is relentless, so attempt to counter it—loop around the Fortress, through the Outpost and Tunnel, to flank the attackers on the Fortress Balcony. Applying pressure from this side helps stem the flow of attackers rushing into the Fortress. If possible, try to pin your opponents down on the Cargo Deck.
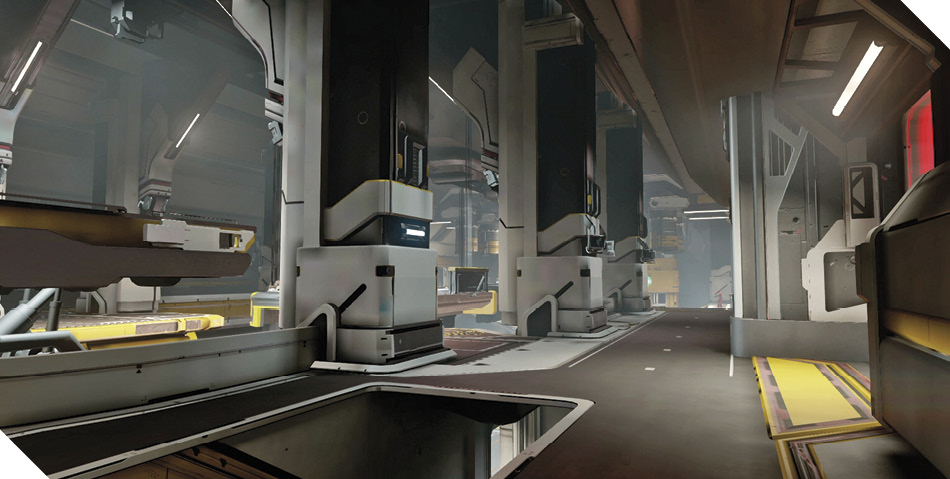
Objective 2: Armory
Attack
Once the Fortress has been captured, waste no time advancing toward the Armory. Crossing the open terrain between the Fortress and Armory can be dangerous, especially if the defenders have deployed vehicles. To avoid detection, consider advancing along the Sidewalk, toward the Shipping Bay. Use the Shipping Bay as a staging area for attacks on the Armory. From this flanking positon you can also engage opponents attempting to reinforce the Armory from the base. As usual, entering the Armory from the ground floor is dangerous, so use the surrounding objects to access the Roof. Jump and clamber atop the Supply Yard structure, then jump, thrust, and clamber onto the Roof. Or approach from the north side, using the large crate to jump and clamber onto the Roof’s balcony. From the Roof you can lob grenades down the ramp into the Armory’s interior. The Roof also provides a good view to the east, ideal for picking off the enemy reinforcements.

Defend
If the Fortress can’t be held, prepare to fall back and consolidate your forces around the Armory. Instead of hunkering down inside the Armory, establish a line of defense on the east side of the Fortress. The attackers are most vulnerable as they exit the Fortress—use the Fortress Garage and eastern Fortress Balcony exits as chokepoints. Patrol the area between the Fortress and Armory with Warthogs, Ghosts, and any other available vehicles while sharpshooters take up positions on the Supply Yard structure. The longer you can keep the attackers pinned down in the Fortress, the greater chance you have of holding out for a win. Defending the Armory itself should be a last resort. This is a very compact objective that can be overrun very quickly. Keep at least a couple of Spartans on the Armory Roof to contest any sneaky capture attempts.
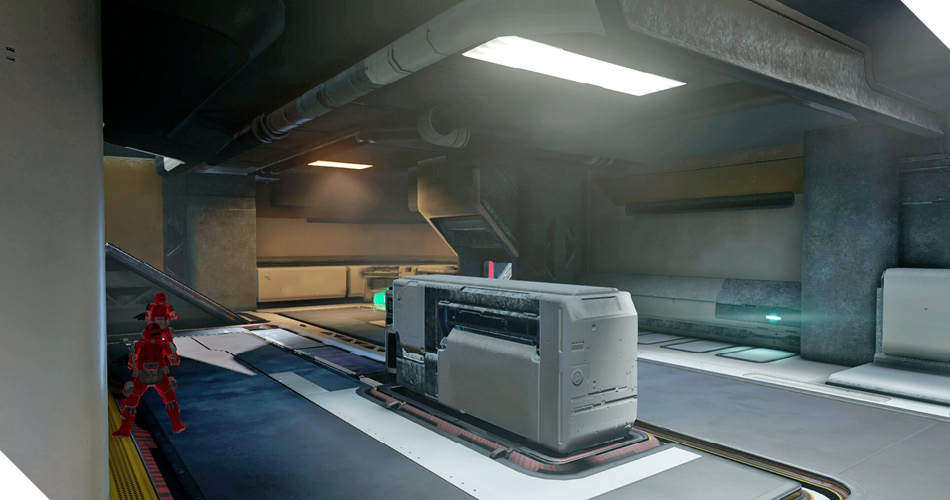
Objective 3: Base/Core
Attack
Capturing the Armory opens access to the base and Enemy Core. If you’ve been saving vehicle REQ cards, now’s the time to use them. Attacking the Home Base without vehicle support is extremely tough, so push forward with the aid of Ghosts, Warthogs, Scorpions, Wraiths, or Mantises. The defenders are likely to have both Base Gates heavily defended. In such instances, vehicle support is vital for crashing through these perimeter defenses. But vehicles alone can’t win the battle—they can’t gain access to the Enemy Core. So lead the way with vehicles while Spartans follow behind and attack the Core. Rapid-fire and explosive weapons work well when damaging the Core. Always be ready to fend off enemy Marines and Spartans entering the Core’s chamber—incoming grenades are a constant threat here. Two or three Spartans are usually adequate for taking down the Core. The rest of the team should focus on keeping defenders out of the Core chamber.
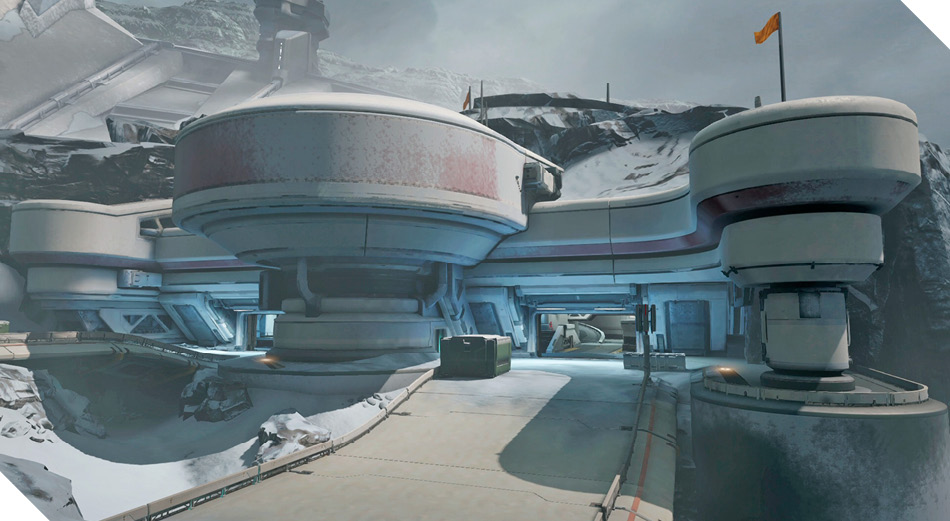
Defend
If the Armory falls, holding back the attackers at the Home Base is the defending team’s last chance for a victory. Fortunately, the Home Base is a strong, fortified positon. But you’ll need vehicle support to keep the attackers from infiltrating. Park whatever ground vehicles you have at each of the Base Gates. If you have access to aerial vehicles, get Banshees or Phaetons into the air as soon as possible—use them to strafe the attacking team as they cross the open terrain between the Armory and base. While defending the Core is key, don’t fall back to this location until the attackers have breached the Base Gates. Instead, keep the bulk of your forces near the Base Gates while a few skirmishers push forward to harass attackers in the Yard. The longer you can keep the attackers pinned down in the Yard and Armory, the greater your chances of holding out for an upset.