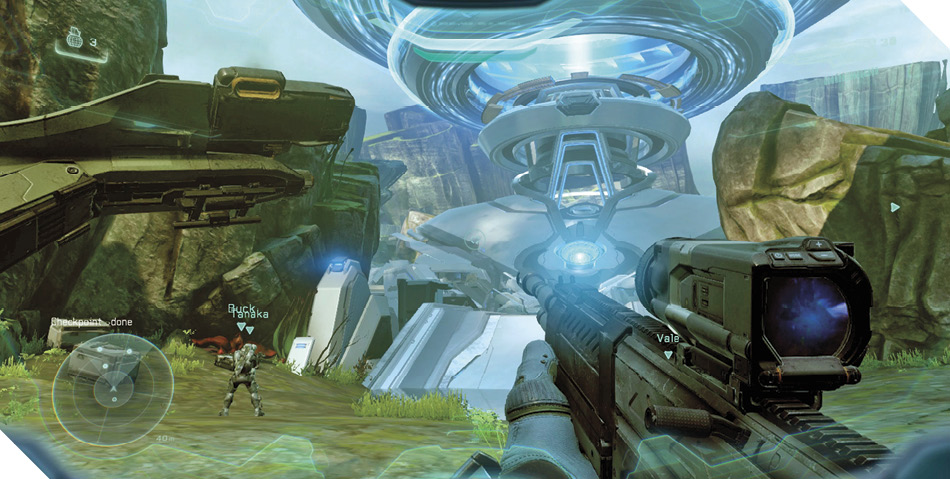
Halo 5: Guardians Guide Campaign Walkthrough Mission 13: Genesis
Major Firefight: Road to the Gateway
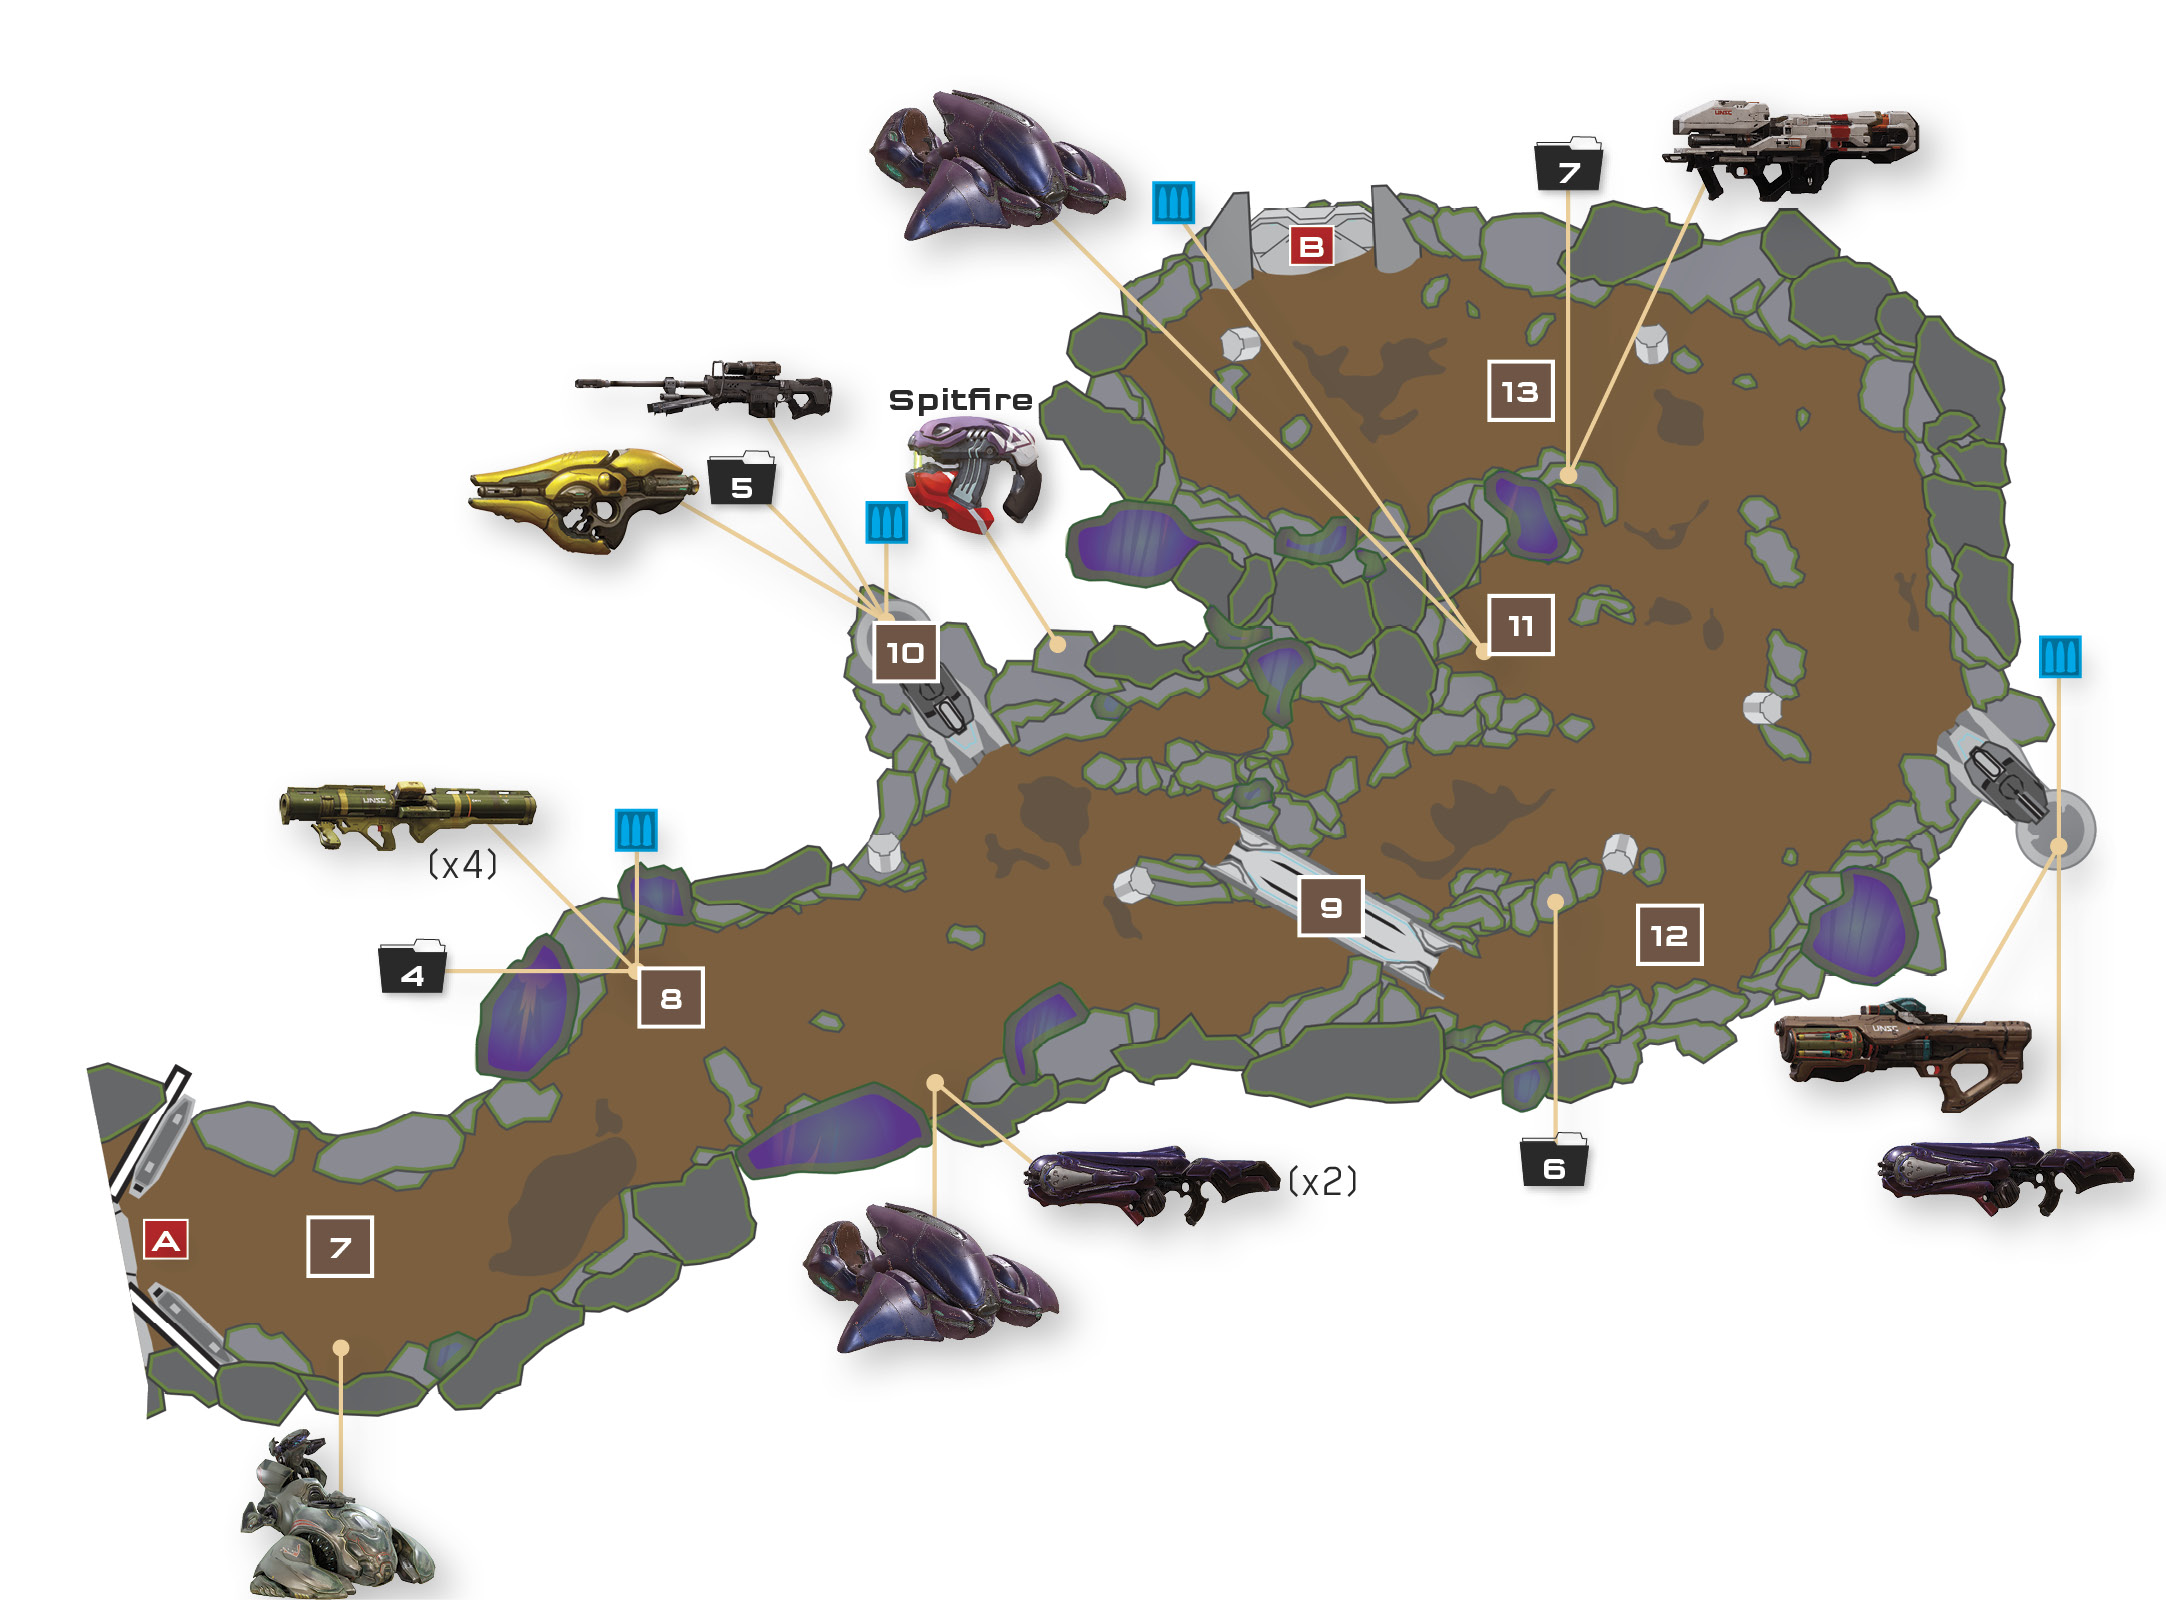
The road beyond the door is a war zone filled with Wraiths, Ghosts, Knights, and Beam Turrets. A Phaeton and a Banshee also rain destruction from the sky. This may be the biggest battle that Fireteam Osiris has faced to this point, so be prepared for war.
Recommended Loadout
You’ve got a Scorpion, right? What else do you need!
Any Spartans not riding in the Scorpion should either find vehicles of their own or take up power weapons and go it on foot. The available Plasma Casters, Fuel Rod Cannons, and Light of Urs found in the previous area are all effective foot troop arms.
Passing through the door, you enter a tunnel with a vacant Ultra Wraith 7. Order your teammates to take it; you’ll need the extra firepower.
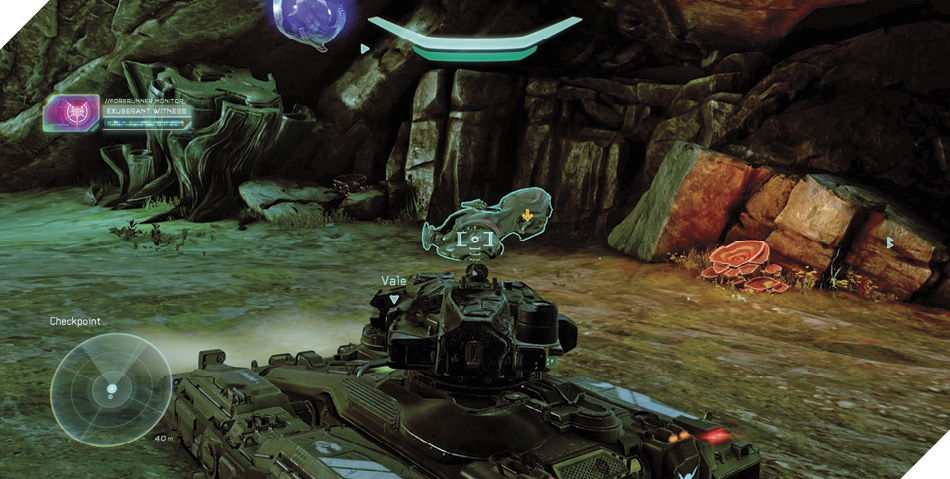
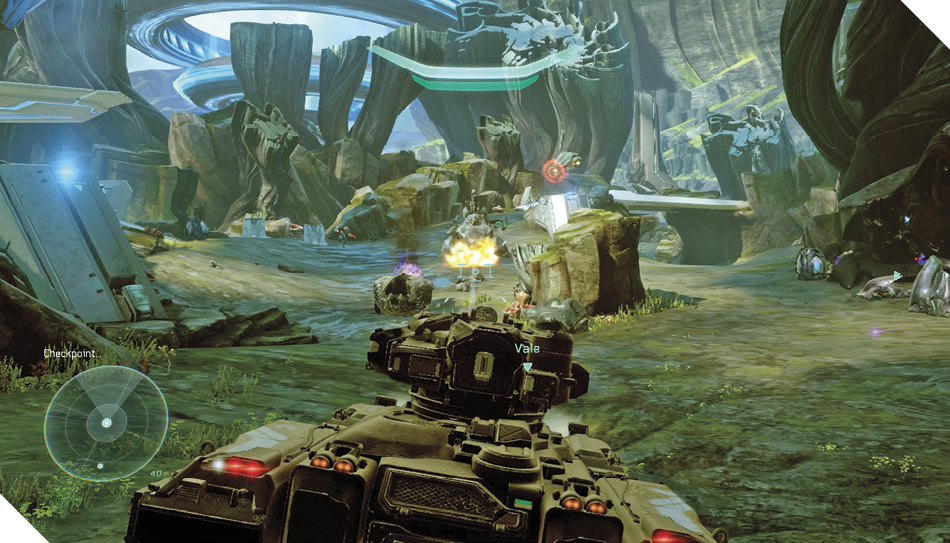
Use your Scorpion to blast the Ghost in the tunnel, along with the Banshee that comes flying into the tunnel as you advance. The wreckage of a UNSC Pelican lies on the left 8, but there’s little time to examine it, for two enemy Wraiths bombard you from farther up the road. Mark the nearest Wraith as a priority target and focus on avoiding its arcing blasts as you look to counter with your Scorpion’s cannon. Destroy one Wraith, then the next.
Legendary StrategyThese Wraiths are a terrible twosome on Legendary. They’re amazingly accurate, and a few direct hits will squash your Scorpion in short order. Advancing on them in your Scorpion is death, so back away into the tunnel for safety. If your team still has a Ghost, swap vehicles and use the Ghost’s superior mobility to avoid damage as you fire on the Wraiths. It’ll take time to destroy them in Ghosts, but you’ve better odds of dodging their deadly fire. The Rocket Launchers stashed near the nearby downed Pelican are also useful, but approaching the Wraiths on foot is dangerous in the extreme. You have options, so try different tactics until you find an option that lets you destroy both Wraiths without harm to your Scorpion. |
When both Wraiths are down, hop out of your Scorpion and check the wreckage of the downed Pelican 8. You’ll find two Rocket Launchers and four DMRs, along with a UNSC data pad. Use Artemis to locate the data pad, then climb the Pelican to reach it. Scan it for intel before moving on.
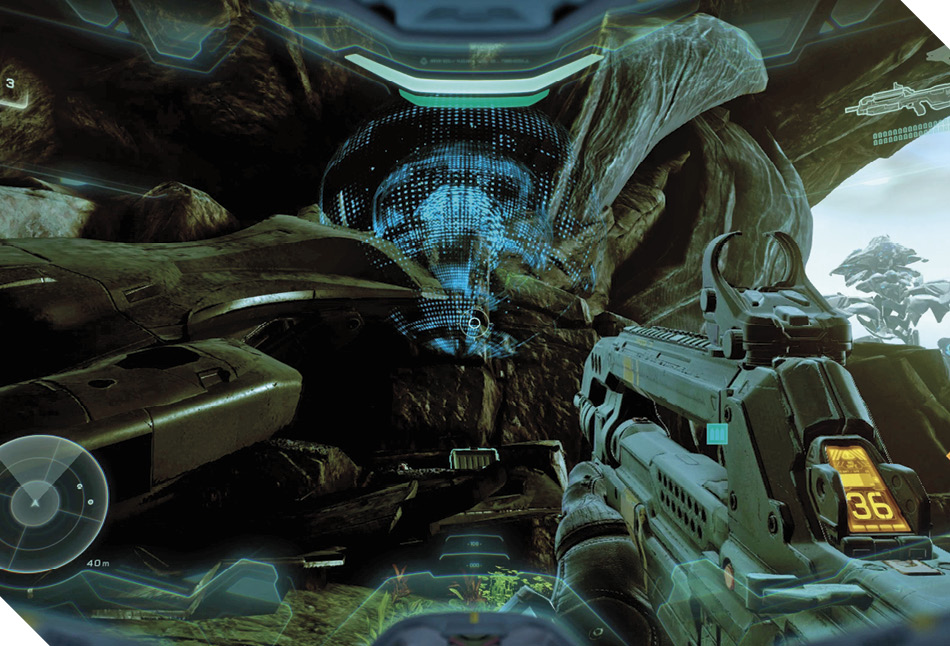
Mission 13 Intel Acquired (4/10) |
An overpass lies just ahead 9. Before approaching it, exit your Scorpion and go left to locate a platform that’s loaded with power weapons 10. Scan the Forerunner console you find here to unlock new intel, then search the rocks to the right of the platform to discover a special Plasma Pistol called Spitfire.
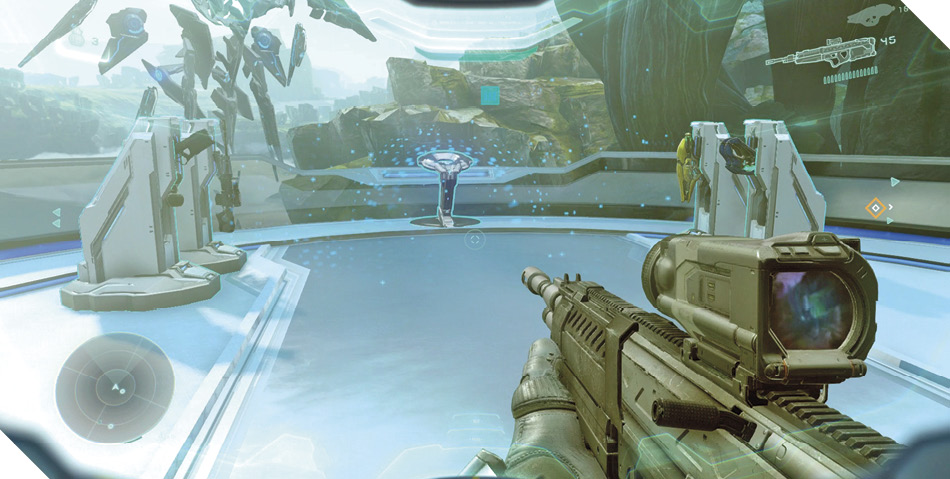
Mission 13 Intel Acquired (5/10) |
Spitfire
The skill and finesse of Kig-Yar armorers should never be underestimated. The Spitfire is an improved Plasma Pistol that overcharges faster and does not overheat. |
Return to your Scorpion and roll onto the overpass 9. A Knight spawns in the middle of the overpass and immediately opens fire. Roll backward to avoid its inbound Incineration Cannon blast and counter with a few payloads of your own.
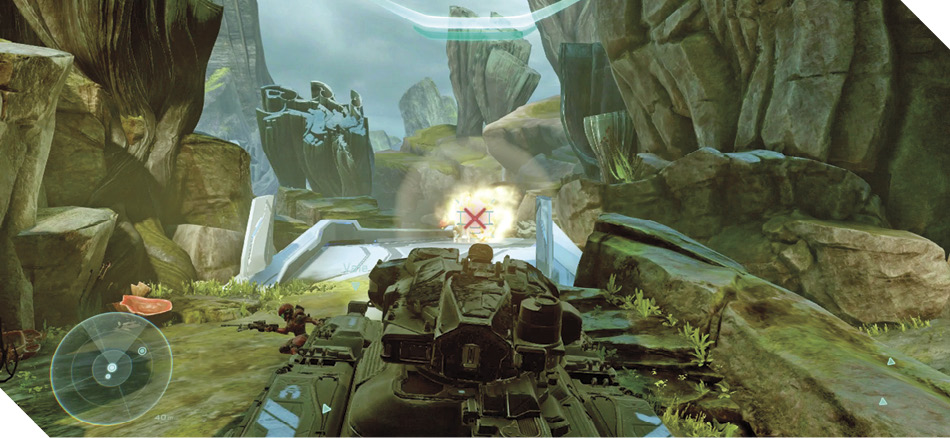
Return to the overpass, aim left, and destroy the closer of two Beam Turrets ahead. Allow the farther Beam Turret to blast an enemy Ultra Wraith that’s hidden behind the rocks on the left 11; the Ultra Wraith will destroy this Beam Turret for you. Fire on any Knights within sight, but don’t linger on the overpass for too long or you may draw the Ultra Wraith’s fire.
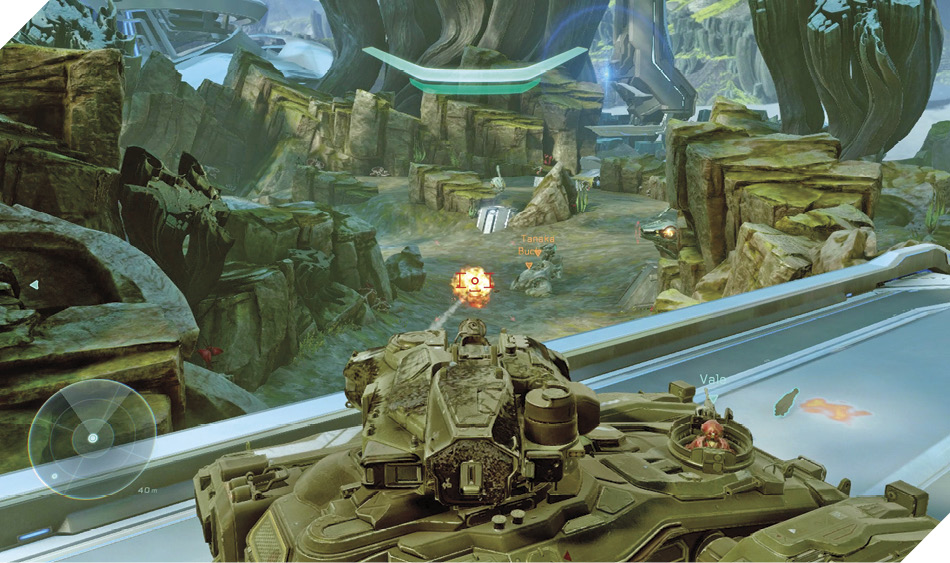
Cross the overpass and wipe out a Ghost as you descend the curved slope that follows 12. Use the tall rocks on your left as cover from the Ultra Wraith as you work at obliterating the surrounding Knights. If the Ultra Wraith is still active after the Knights have fallen, carefully advance and eliminate it as well.
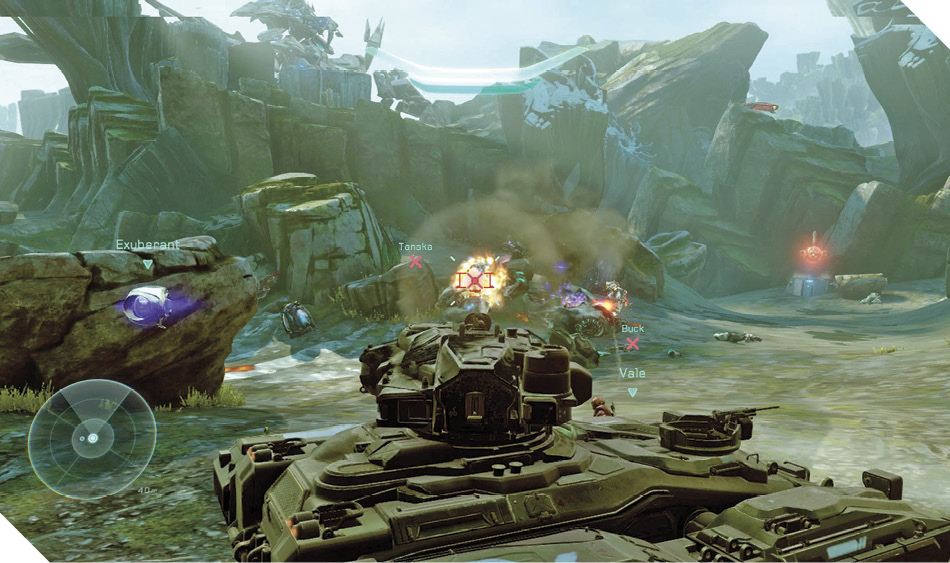
Another hostile Wraith lurks farther ahead, near the point where the road makes a left turn and descends 13. Carefully obliterate this last hostile to secure the road to the Gateway.
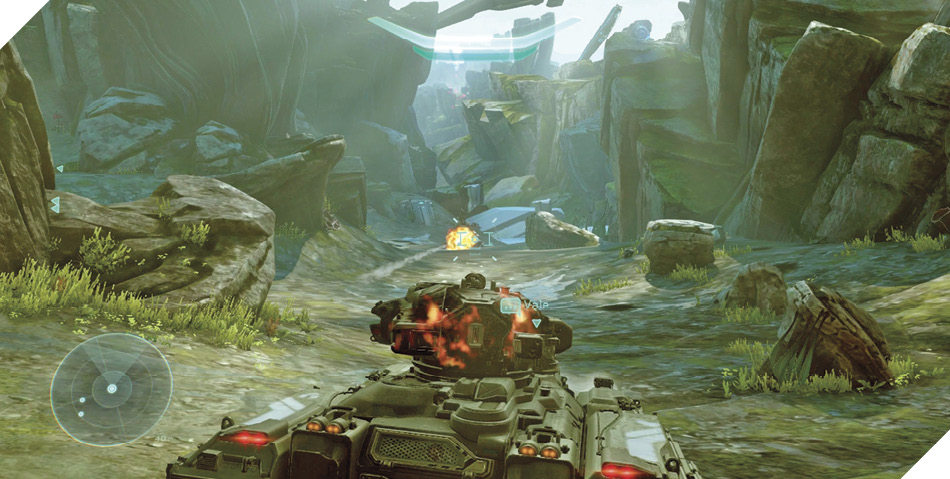
Once the area is secure, hop out of your Scorpion and return to the overpass 9. Climb the rocks at one end of the overpass to discover a broken Constructor (use Artemis to track it down). Scan the device for intel.
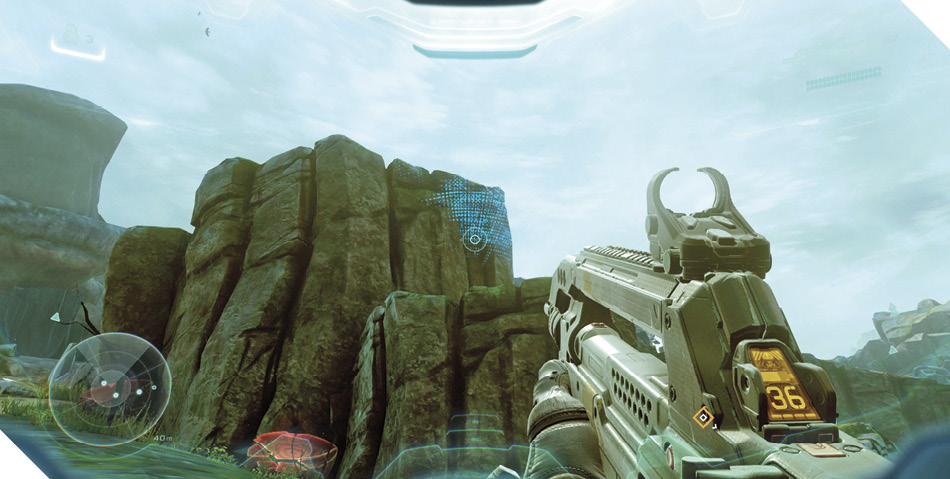
Mission 13 Intel Acquired (6/10) |
Head back to your Scorpion, but don’t jump in just yet. Instead, move to the point where the road makes a left turn and dips downhill, leading to a Light Bridge 13. Search the rocks on the left (the inside part of the turn) to discover a Spartan Laser and a data pad. Grab or give away the Spartan Laser and scan the pad for more intel.
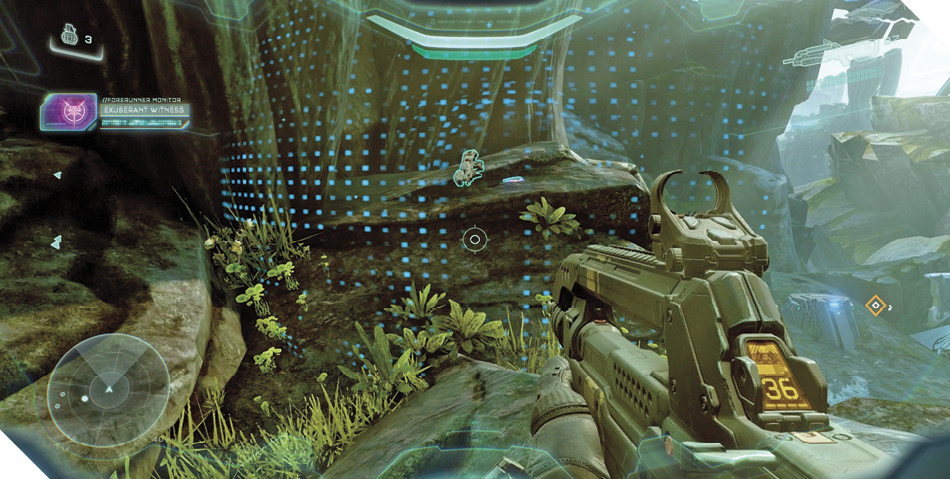
Mission 13 Intel Acquired (7/10) |
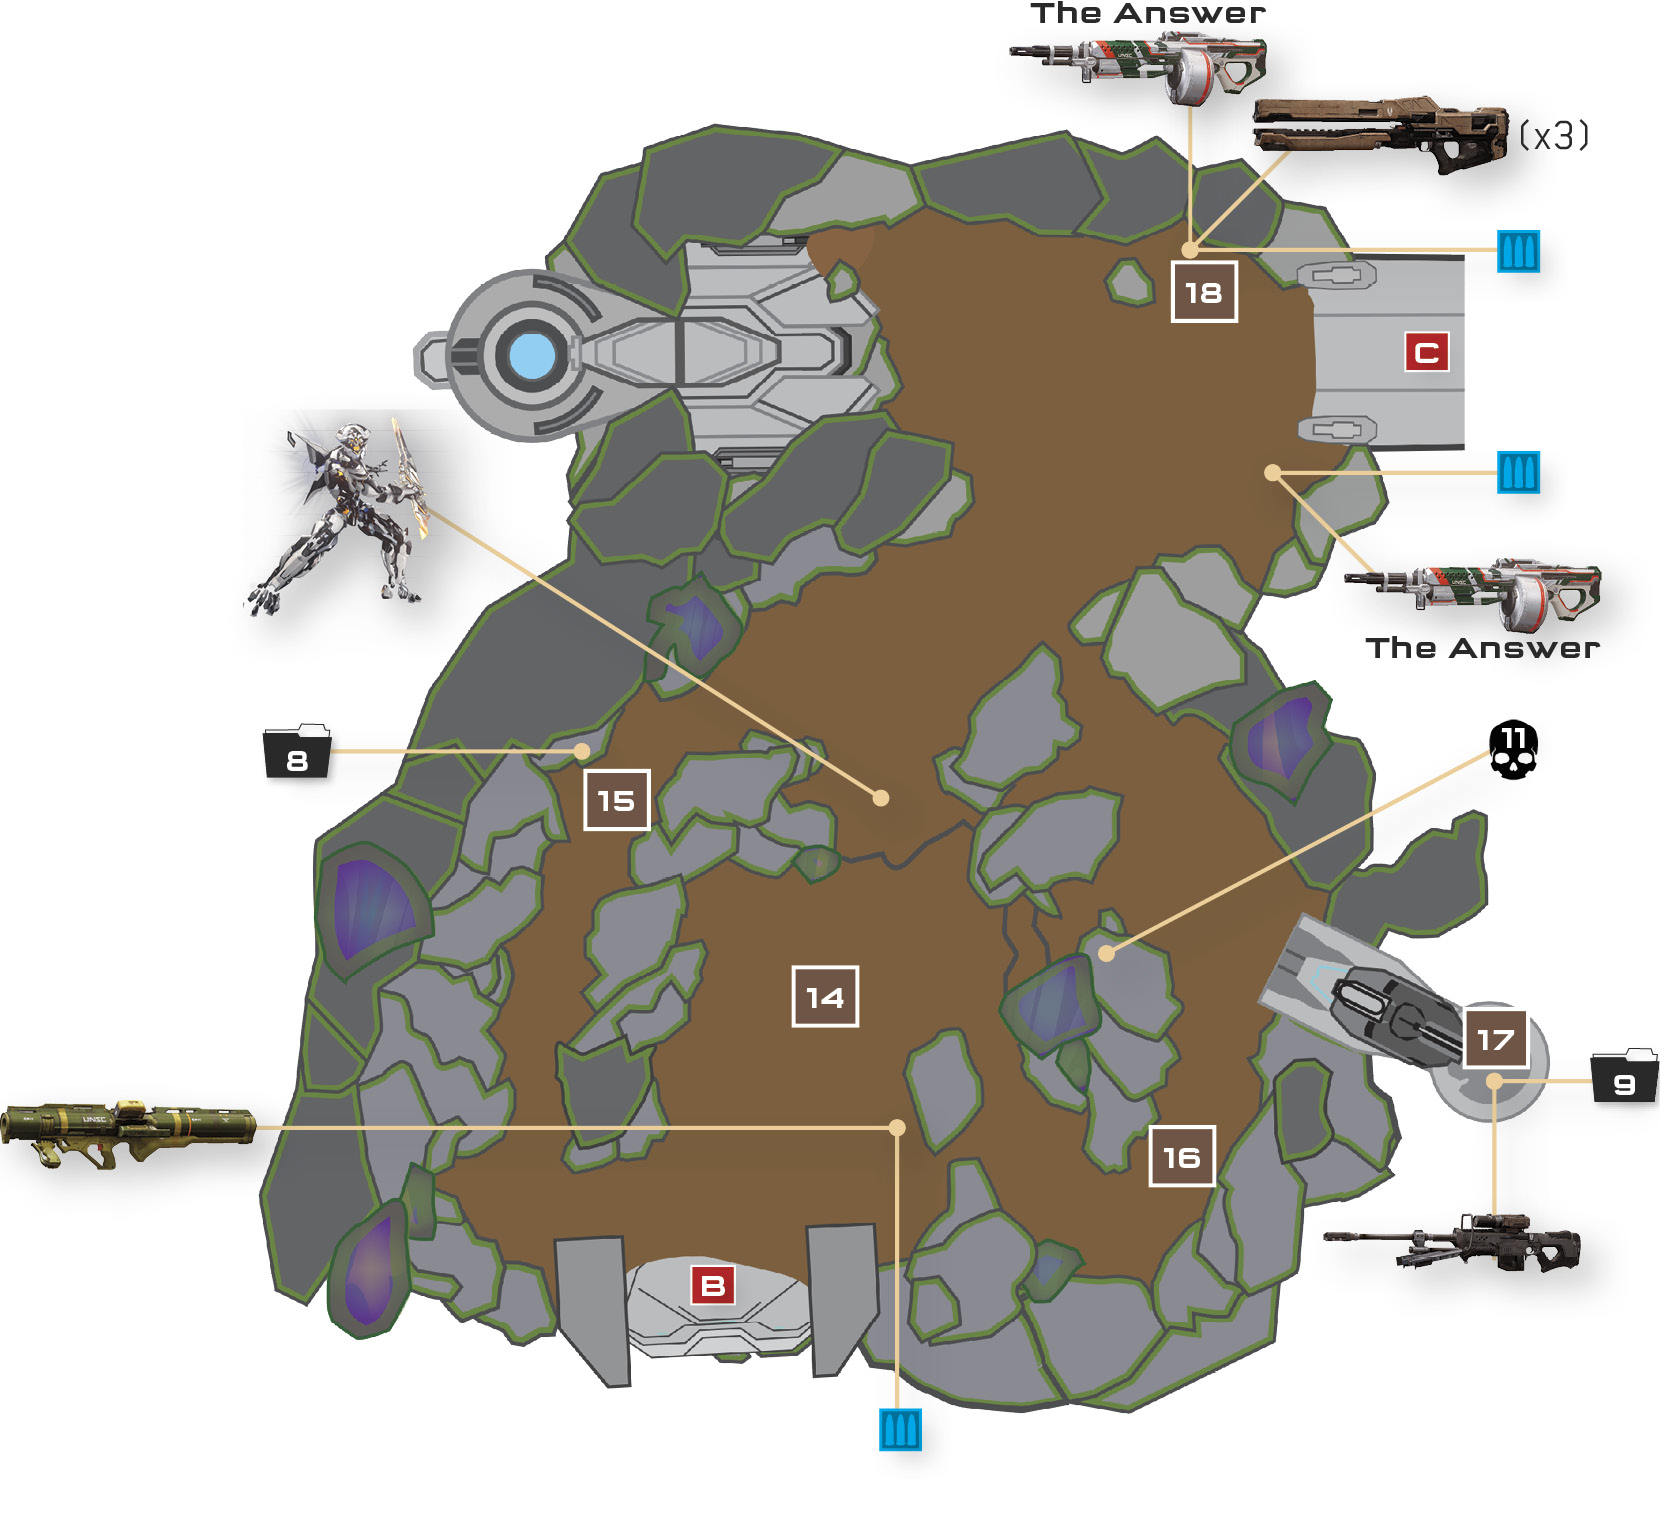
Now return to your Scorpion and roll downhill. The Light Bridge ahead is out, but Exuberant quickly fixes that. Roll across to trigger the appearance of the Warden Eternal, who spawns just ahead 14.
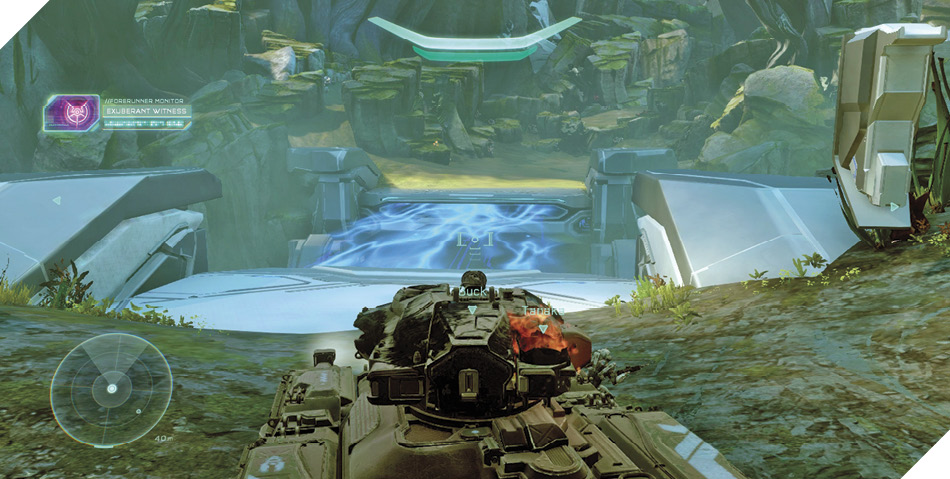
Two Beam Turrets appear along with the Warden. Mark the Warden as a priority target for Osiris, but blast both Beam Turrets first, for they’ll shred your Scorpion if you don’t destroy them. Level your tank’s cannon at the Warden afterward, pounding the menace relentlessly until it can withstand no more.
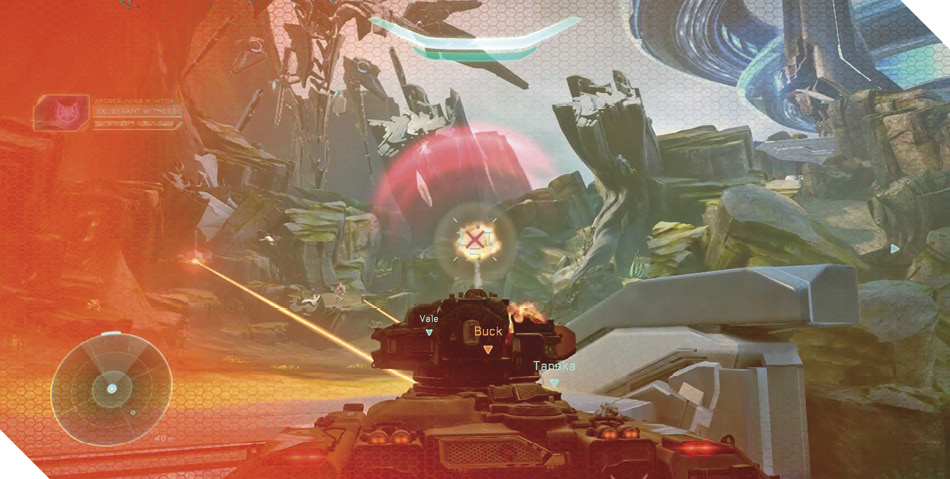
Legendary StrategyPat yourself on the back if your Scorpion is still functional for the Warden fight—its cannon is a huge advantage. Still, the Scorpion won’t last long if it suffered heavy damage along the way. If your Scorpion is in good shape, use it to wipe out the Warden as quickly as you can; otherwise, abandon the vehicle and fight the Warden on foot, using the surrounding rocks to flank it. Defeat the Warden without losing your Scorpion to earn the Achievement mentioned earlier in this chapter. |
After defeating the Warden, check the left hill to discover the corpse of a fallen Elite 15. Climb onto the nearby rock afterward to discover the Elite’s belongings: an Energy Sword and data pad. Scan the pad for intel.
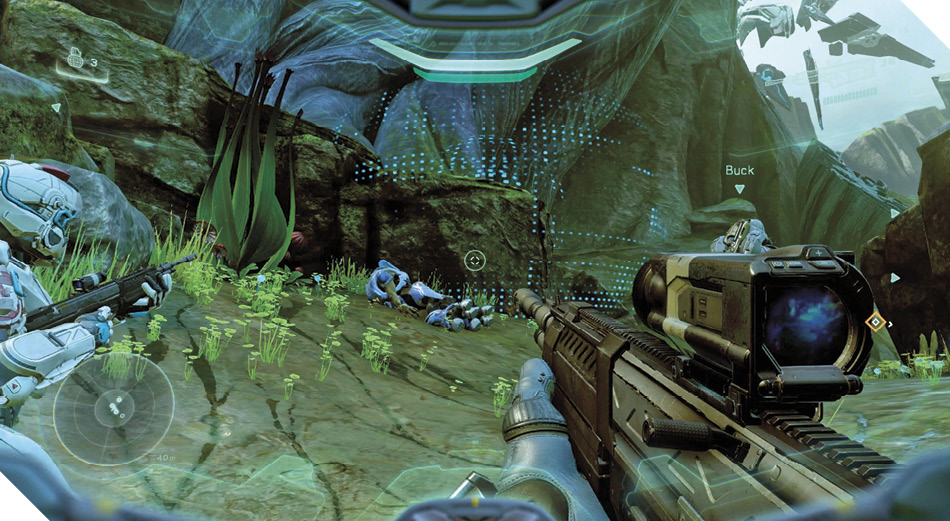
Mission 13 Intel Acquired (8/10) |
Alternate ApproachIf you’ve lost your Scorpion and must battle the Warden on foot, you’ve found plenty of power weapons to get the job done by now. If you need more firepower, there’s a Splinter Turret lying atop the rock on the left and a Rocket Launcher and two DMRs resting on the ground to the right. Put these to use as you split your team up to flank the Warden from all sides. |
The Scorpion isn’t suited to navigating the rough terrain ahead, so leave it and keep to the right, taking a side path up the hill 16. Check the platform on the right when you reach the top to discover a fallen Marine 17. The unfortunate soldier dropped a Sniper Rifle and a data pad; scan the pad for more intel.
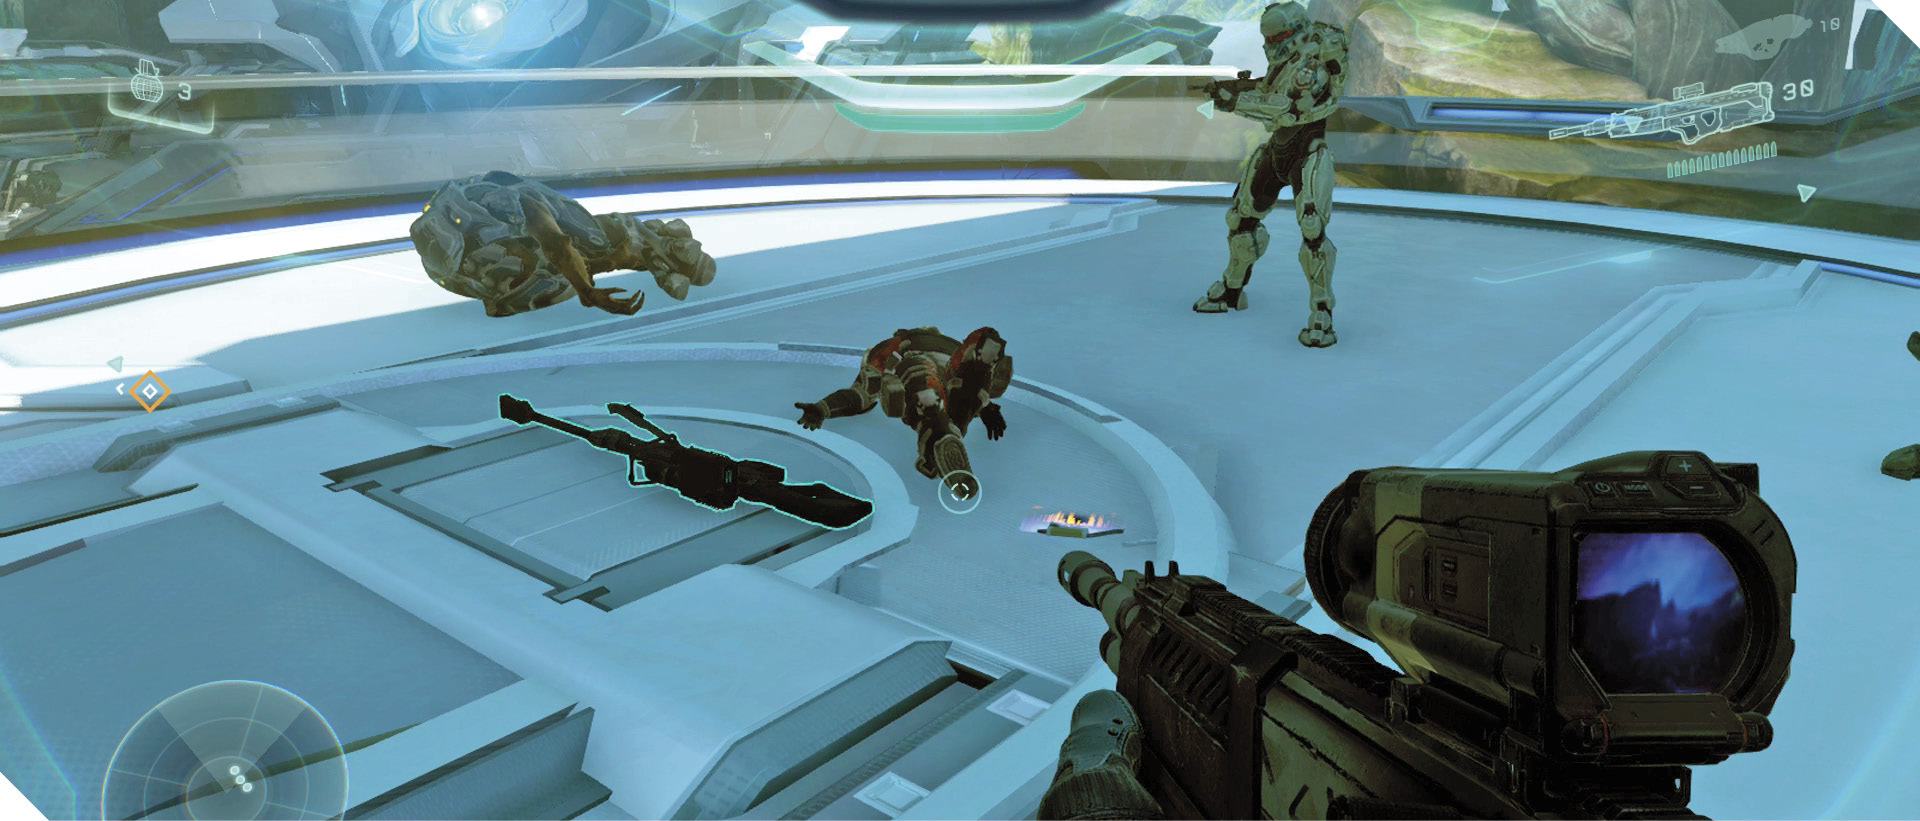
Mission 13 Intel Acquired (9/10) |
Skull 11 of 13: Tilt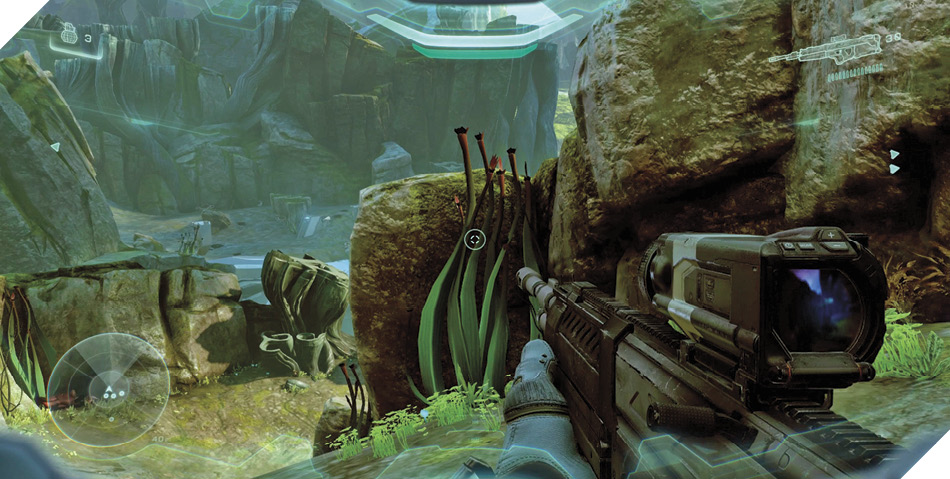
Return to the side path you just ascended 16 and work at climbing the rocks on the right (as you descend the path). Climbing the rocks is tricky; you need to find places where you can just barely reach up and clamber to higher ground. A good starting point is the rock with the plantlife growing next to it, which is found near the top of the path, not far from the Forerunner barricade. 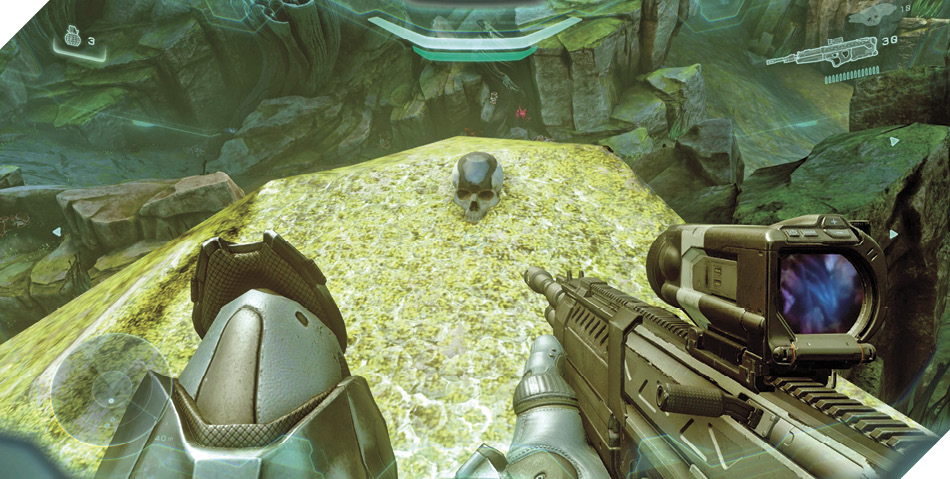
Climb to the top of the rocks to discover a Skull sitting on the edge of the flat rock up top. Snatch the Tilt Skull and then continue on with your mission. 
|
The Answer
Inquiring sentients want to know. This advanced SAW has a slightly lower rate of fire, but each projectile has a proximity-fused high explosive warhead. |
The Forerunner Gateway is just ahead, and a downed Pelican lies right nearby 18. Search the wreckage to find an array of powerful weapons, including Railguns, Battle Rifles, Assault Rifles, and a custom SAW called “The Answer.” Another “The Answer” SAW lies atop the crates to the right, along with a DMR. A taxing battle looms, so grab your favorite weaponry and ensure that your team is armed to the teeth before advancing on the Gateway.