
Halo 5: Guardians Guide Campaign Walkthrough Mission 2: Blue Team
Blue Team
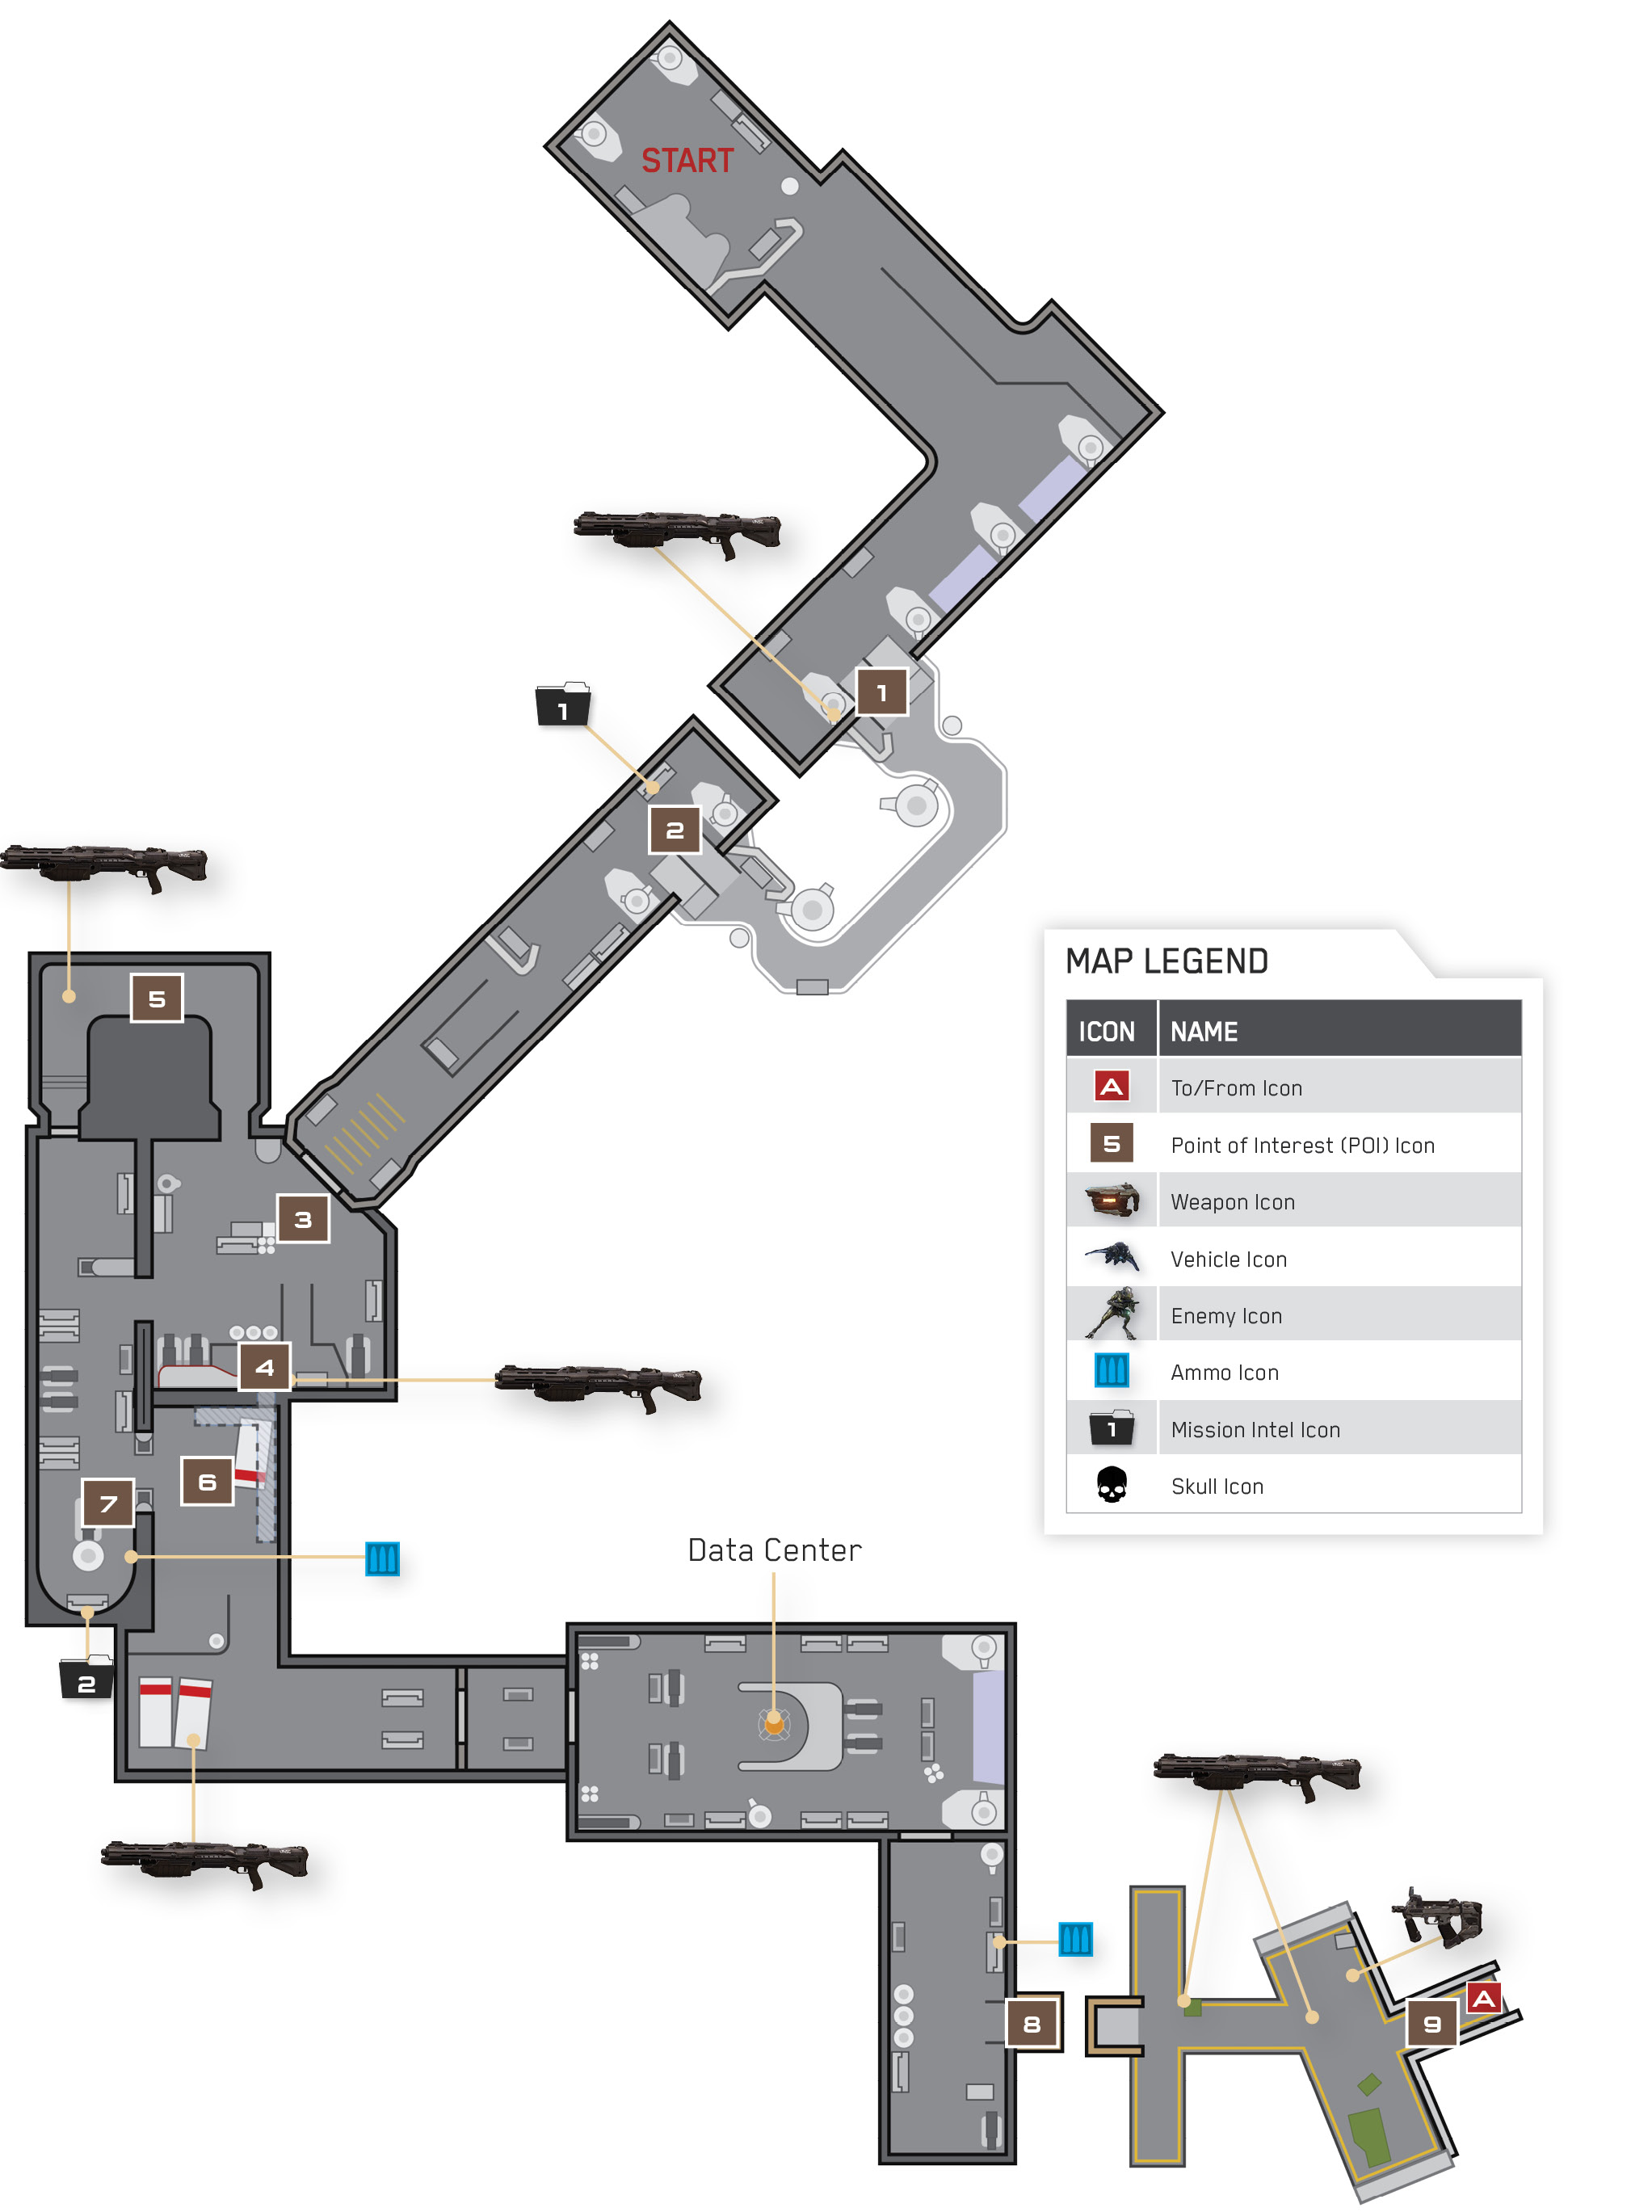
Objective: Download Station Intel
Argent Moon is in an awful state; it’s clear that the station has fallen under Covenant attack. You’ll have to restore its critical systems, but first you need to download the station’s intel to discover exactly what’s wrong.
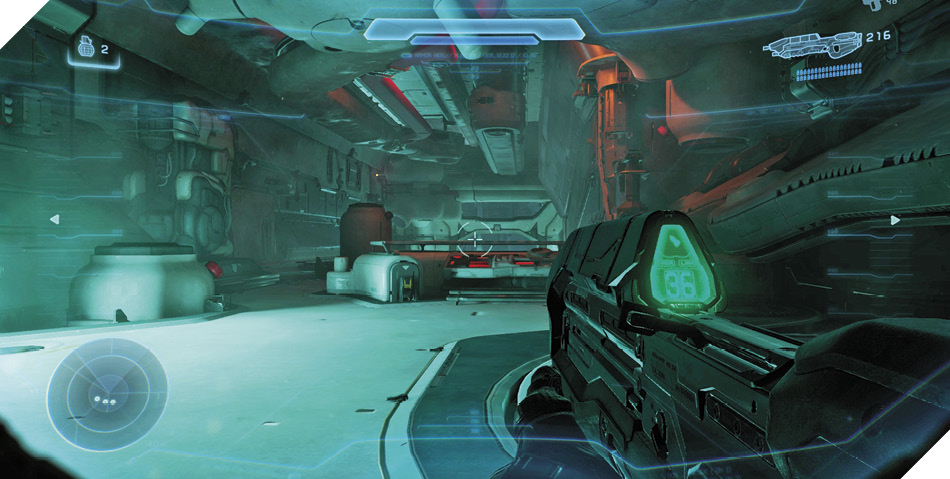
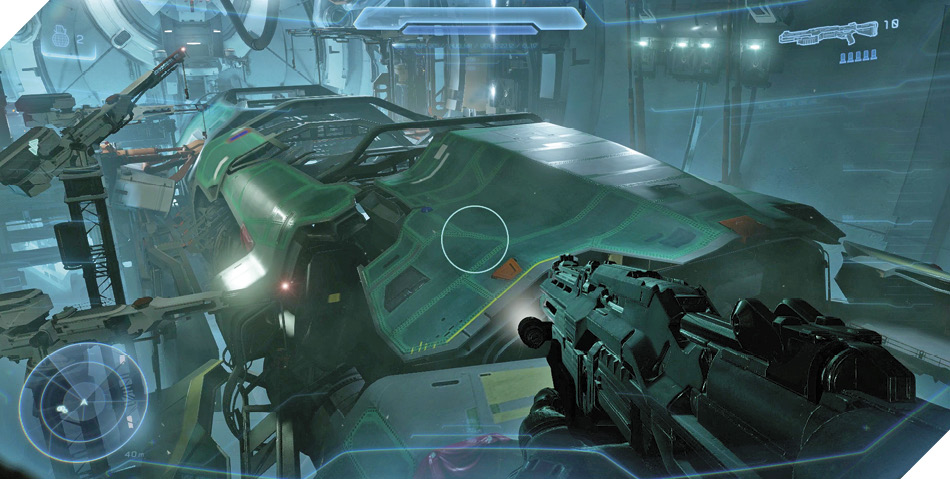
Advance until you come to a well-lit slope 1 . Before descending the slope, check the nearby supply crate to discover a Shotgun. Trade your Assault Rifle or Magnum for this powerful close-range firearm.
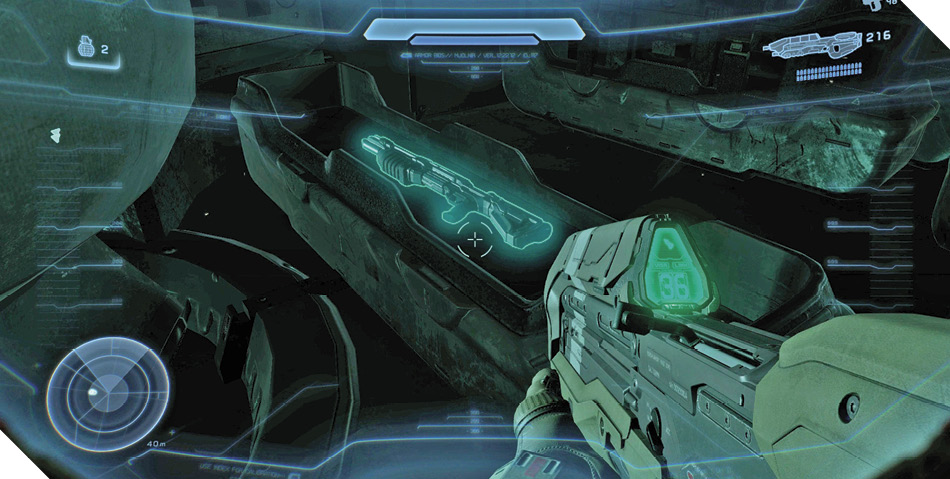
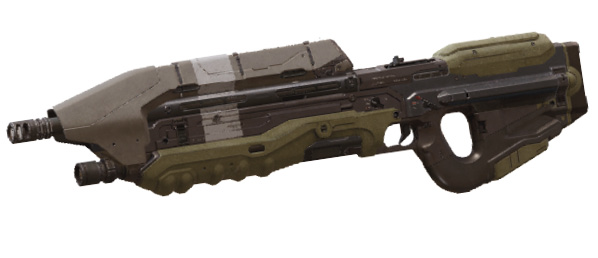
Assault RifleMaster Chief’s standard-issue Assault Rifle is a powerful fully automatic weapon. Designed for inflicting rapid damage to light armor or flesh at close or medium range, the Assault Rifle’s effectiveness drops off when wielded against heavily armored or shielded foes. Its low magazine capacity also compels a high reload frequency. There are better weapons to choose from, but the Assault Rifle hasn’t let Chief down yet. |

ShotgunShotguns are powerful close-range firearms designed to devastate unshielded targets at close range. The weapon is incredibly powerful, but it forces the user to enter close quarters in order to wield it effectively. Rather than relying on the Shotgun offensively, use it as a defensive backup when faced with enemies that like to swarm in. |
Descend the slope and take in a view of the impressive stealth vessel that ONI had been constructing here at Argent Moon. Perhaps this vessel was the reason for the attack on the station. Its advanced technology can’t be allowed to fall into enemy hands.
Proceed up the next ramp and inspect the computer station at the top 2. Its lights are blue, indicating that it is functional, and its display reads “Station Log Active.” Hold the Action button to download the station log and unlock some Mission Intel.
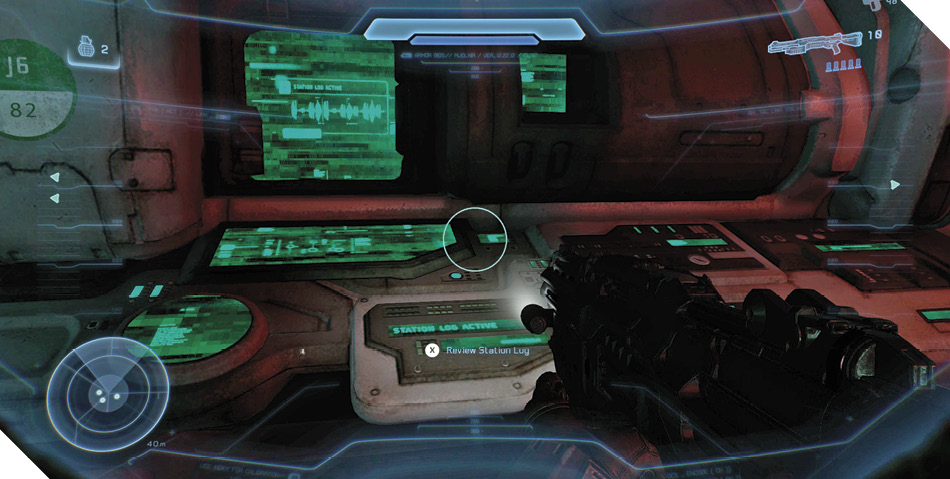
Mission 2 Intel Acquired (1/8) |
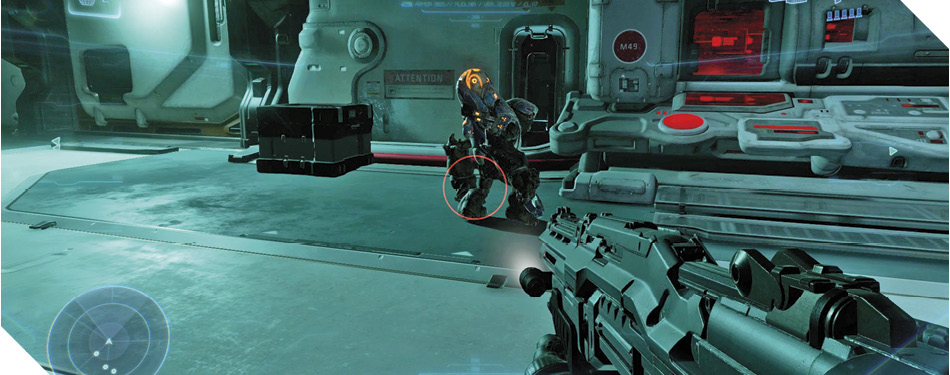
Keep going until you come to a room with two inattentive Grunts 3. Silently assassinate each Grunt by moving behind them and pressing the Melee button. Jump and climb onto the lip above one of the Grunts to discover a Shotgun and a high crawlspace 4 that provides a stealthy means of entering the following hallway.
Achievement: On MyMark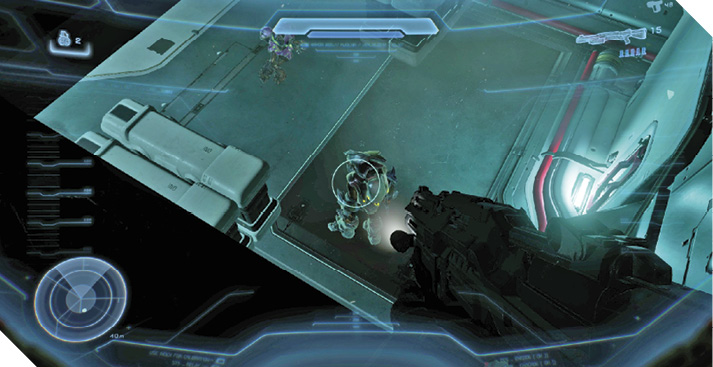
During Co-op play, send two Spartans into the high crawlspace above one of the Grunts 4. The crawlspace features two separate exits; coordinate with your teammate and drop from both exits simultaneously to land behitnd two different Elites. Quickly assassinate both Elites at the same time to complete an Achievement! You can earn this Achievement by simultaneously assassinating any two Elites during the mission, but this is a quick and easy way to do it. |
You could use the crawlspace to get the drop on the Covenant, but it’s risky, especially on higher difficulties. Instead, drop from the lip after grabbing the Shotgun and enter the tunnel with the red lights across the room 5. Dispatch another unwary Grunt in the tunnel, then optionally order a teammate to collect the Shotgun on the floor before advancing.
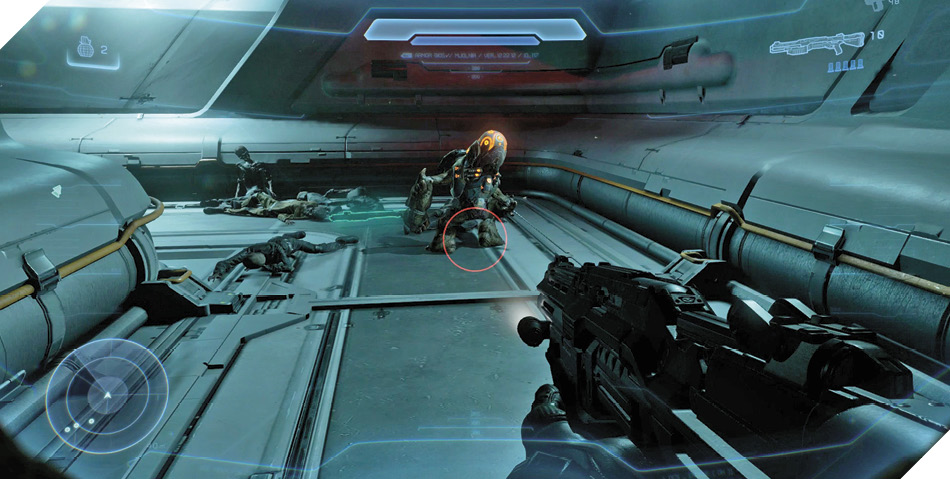
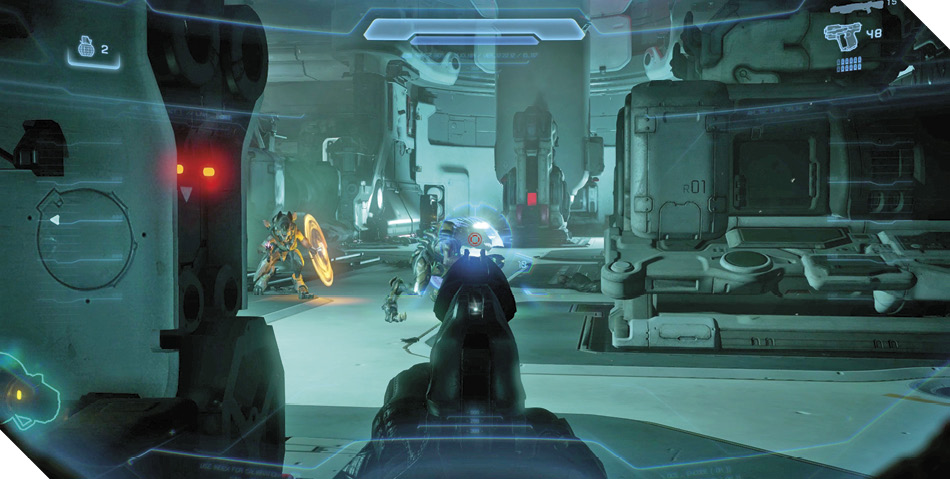
Grunts and Jackals guard the next stretch. On easier difficulties, you can breeze through this area with Shotguns and Assault Rifles ablaze. On harder difficulties, it pays to pick off as many threats as possible with the Magnum from range.
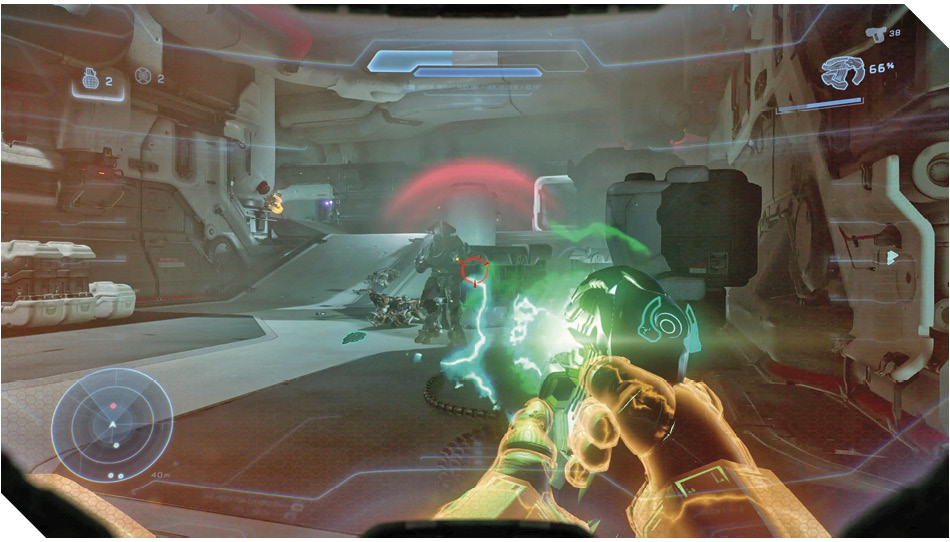
A few Elites lurk farther ahead 6. Trade your Shotgun for a Plasma Pistol dropped by a Grunt or Jackal and use its fully charged EMP blast to instantly break one of the Elite’s shields. Quickly switch to the Magnum and kill the Elite with a headshot, then repeat with the other Elite. You can find more Plasma Pistols around the floor, and there are more Magnums in a nearby weapon rack 7, along with Assault Rifles and Frag Grenades. Inspect the blue-lit computer near the weapon rack to uncover some new intel.
Mission 2 Intel Acquired (2/8) |
Alternate ApproachIf the Magnum and Plasma Pistol combo isn’t your favorite, you can wipe out the enemies in this area with a Shotgun and Assault Rifle instead. You’ll have to get a little closer, however, exposing yourself to risk. Try to practice with smaller, more versatile arms, and discover their many advantages. |
Advance to the data center after dropping the last of the Covenant forces. Activate the central display to download the Argent Moon’s intel and discover a route to central control. Get there, and you should be able to bring the station back online. That’s your next objective, Spartan.
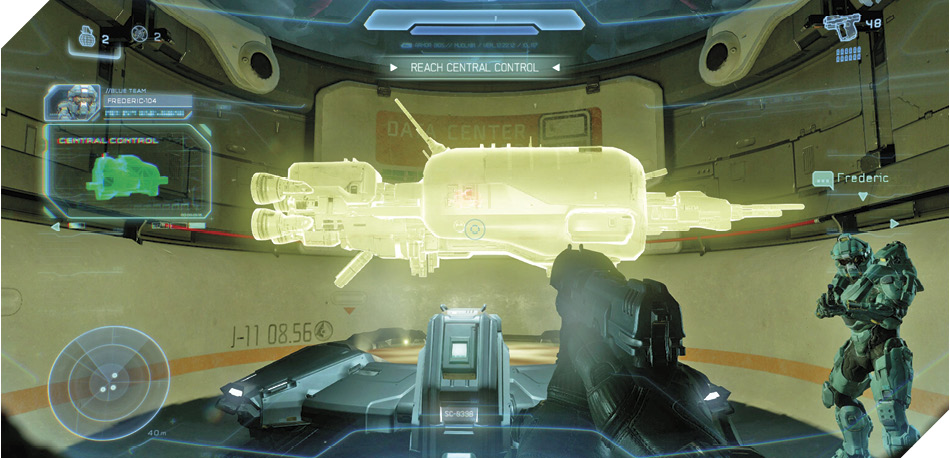
Objective: Reach Central Control
Proceed until you reach an elevator 8. Raid the nearby weapon rack for Magnums, Assault Rifles, and Frag Grenades, then board the elevator and hit the button on the wall to descend.
The elevator delivers you to a lower area. A shuttered door blocks your progress 9; you’ll have to perform a Spartan Charge to smash through. Before doing so, search the vicinity to find Shotguns and an SMG. These are great weapons to grab if you prefer a more direct, run-and-gun approach, but the Magnum and Plasma Pistol combo remains an effective loadout as well. When you’re ready, Spartan Charge through the shutter to smash into a spacious assembly bay.
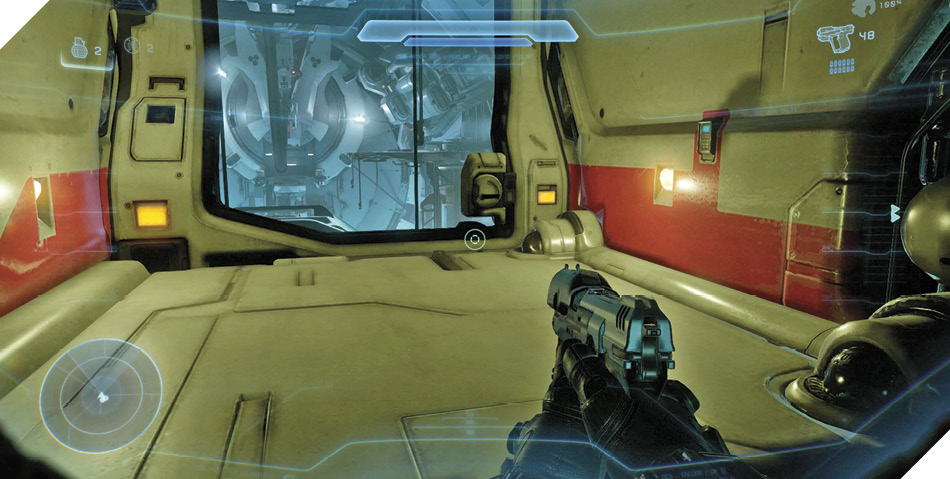
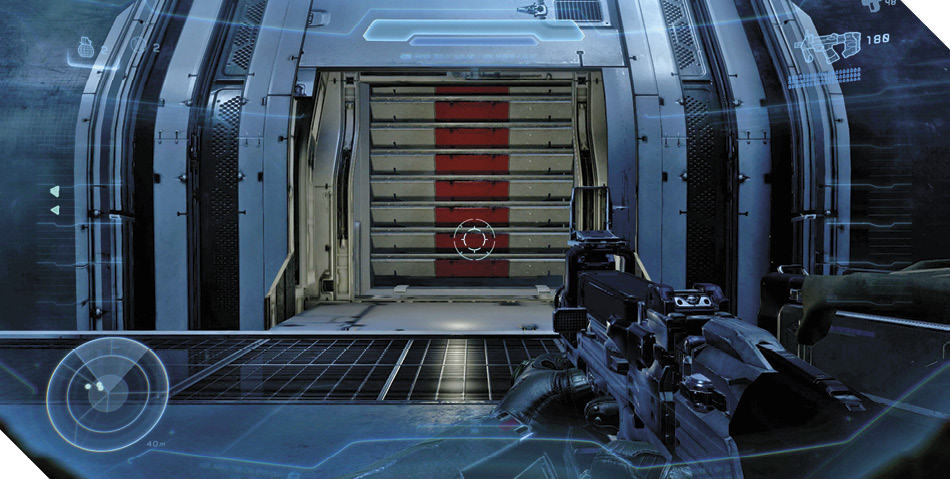

SMGSMGs (Submachine Guns) are compact, full-auto handguns designed to unload bullets at a blistering frequency. Favoring rate of fire over accuracy, SMG magazines don’t last long, but they often don’t need to; SMGs will cut down most foes in short order. Resist the urge to unload the weapon haphazardly, however; fire SMGs in short, controlled bursts to conserve ammo and increase accuracy. |