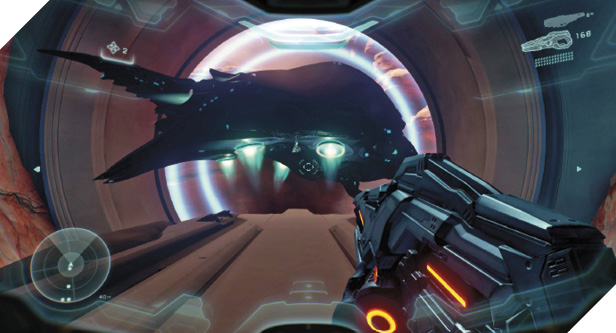
Halo 5: Guardians Guide Campaign Walkthrough Mission 10: Enemy Lines
Major Firefight: Temple Grounds
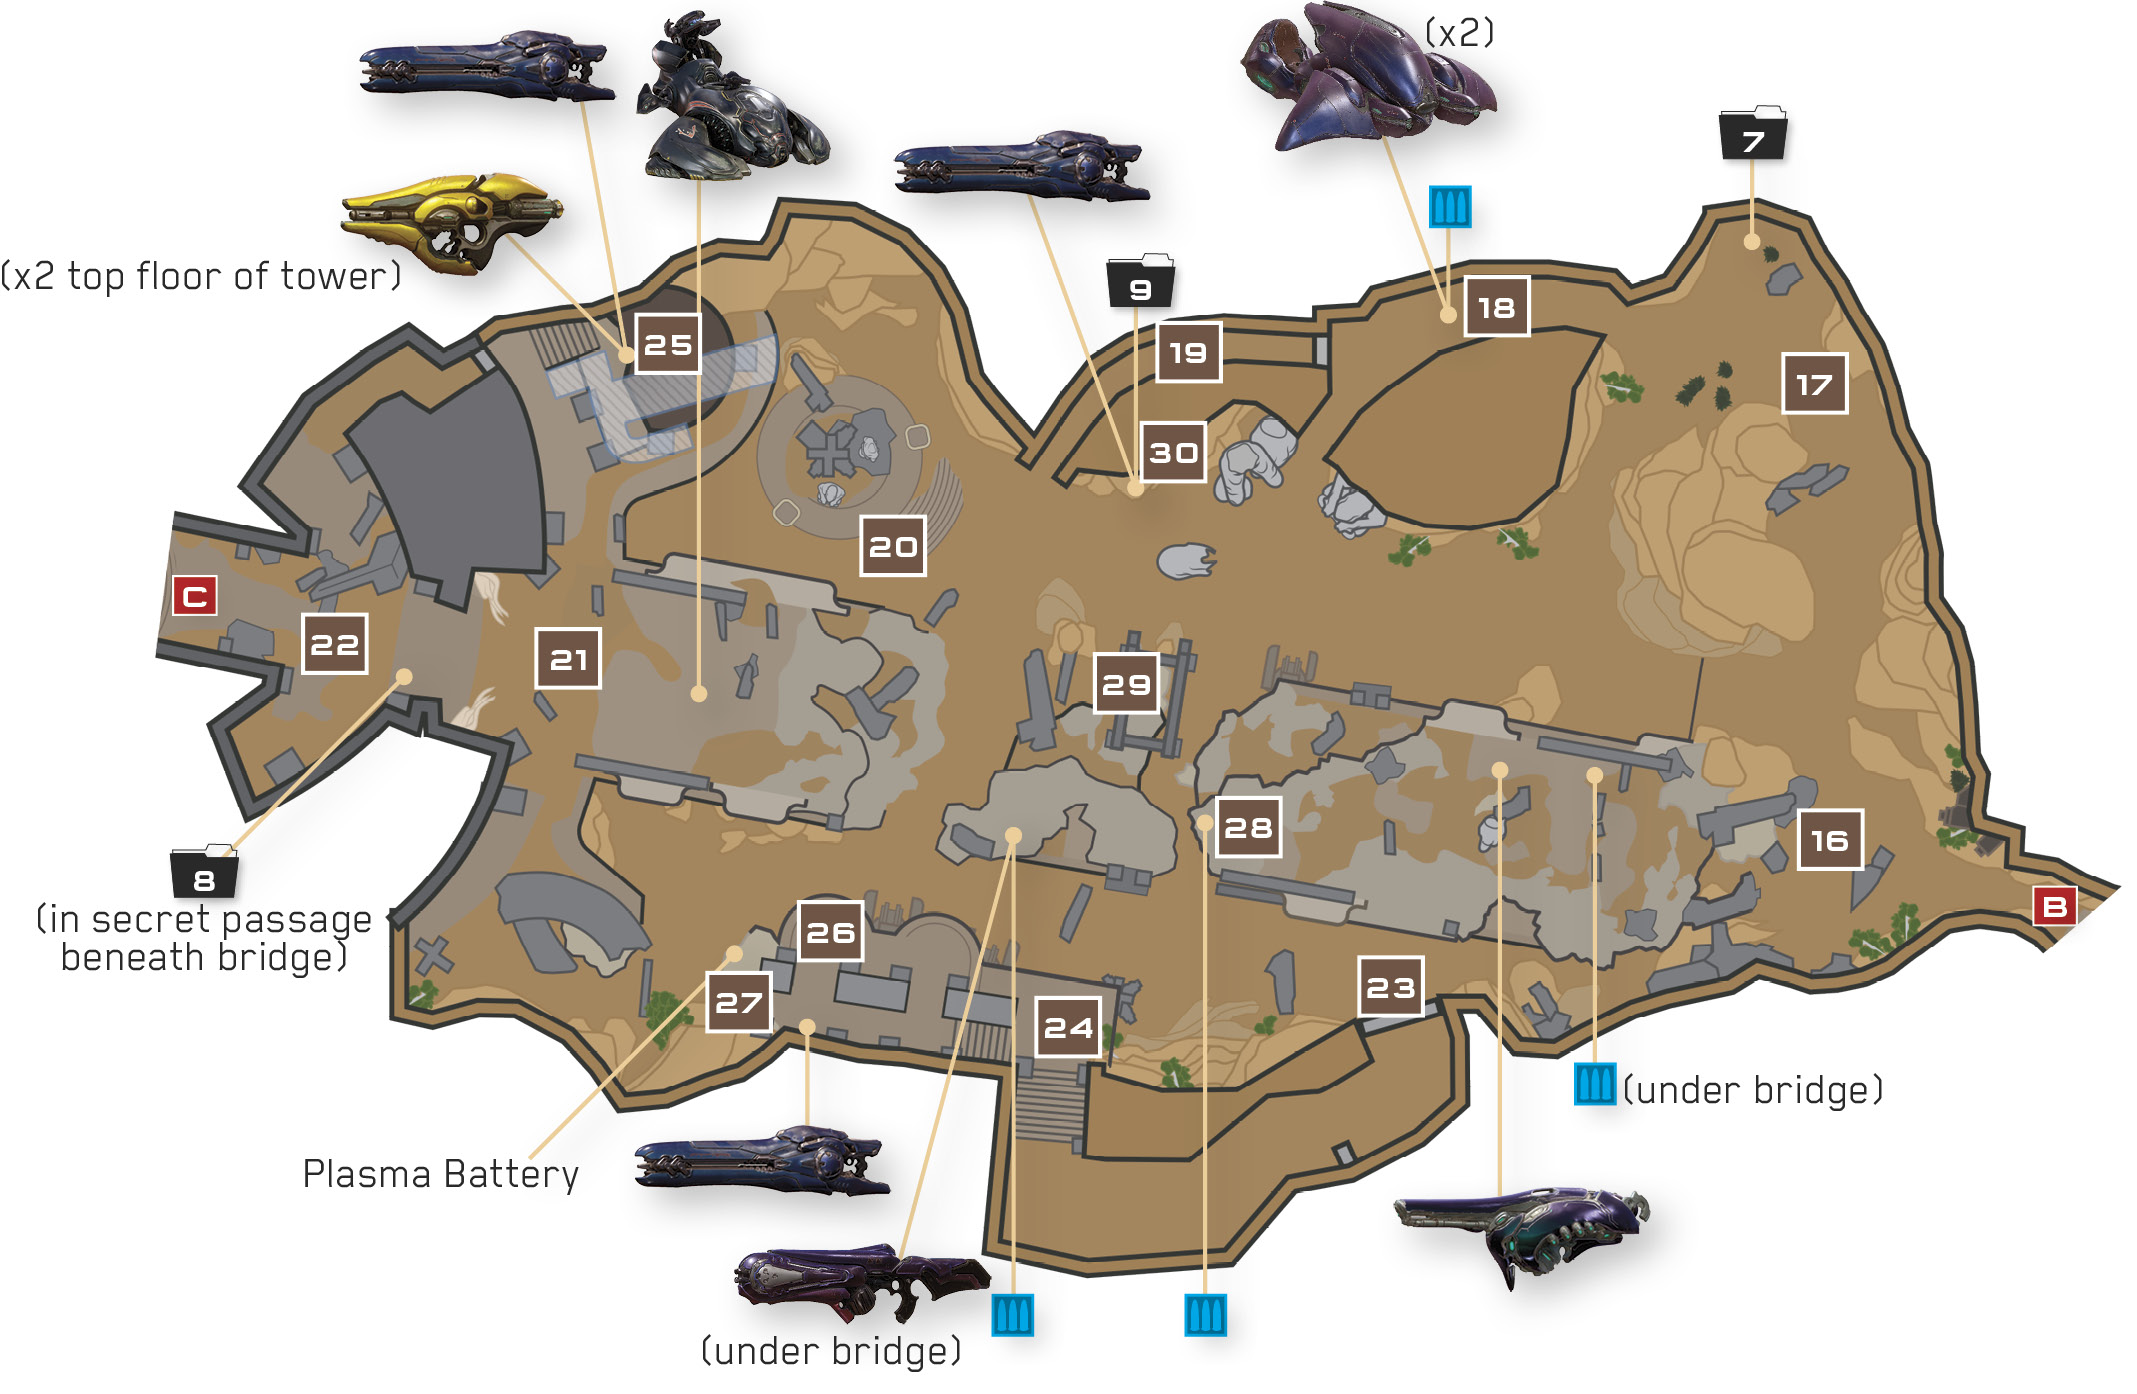
The Covenant forces know what you’re up to by now, and they’re rushing to fortify their position around the temple grounds. They’ve set up Plasma Cannon turrets and raised a shield to prevent your advance, and Covenant troops are inbound. The size and complexity of the grounds allow for creative tactics, and seasoned Spartans will split up their team to tackle the Covenant from both sides.
Recommended Loadout
An accurate ranged weapon, such as a Carbine, will serve you best at first. If you picked up the available Fuel Rod Cannon earlier in the mission, you’ll be able to deliver lethal payloads across the grounds as well. Additional Fuel Rod Cannons are available around the grounds, along with Plasma Casters and Beam Rifles, all of which will come in handy as you confront the entrenched Covenant.
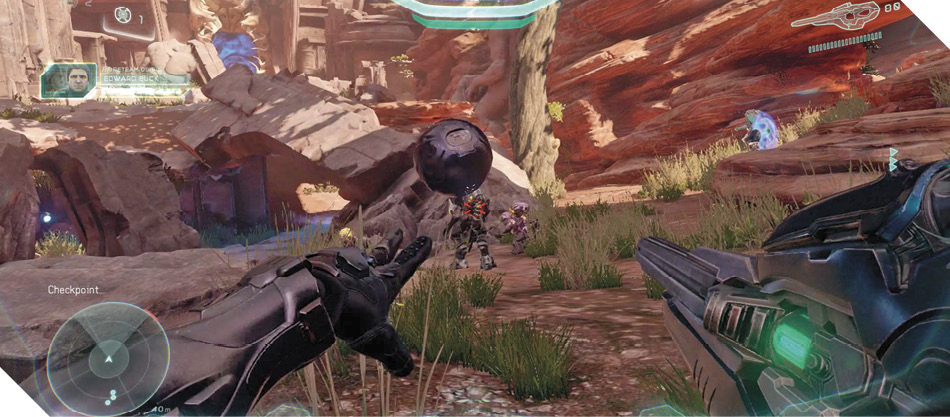
As you enter the temple grounds, you get the drop on an Elite giving orders to a group of Grunts 16. Quickly stick the Elite with a Plasma Grenade before it has a chance to react, then fall back and open fire with a Carbine to pick off the stragglers without exposing yourself to the inbound Phantom.
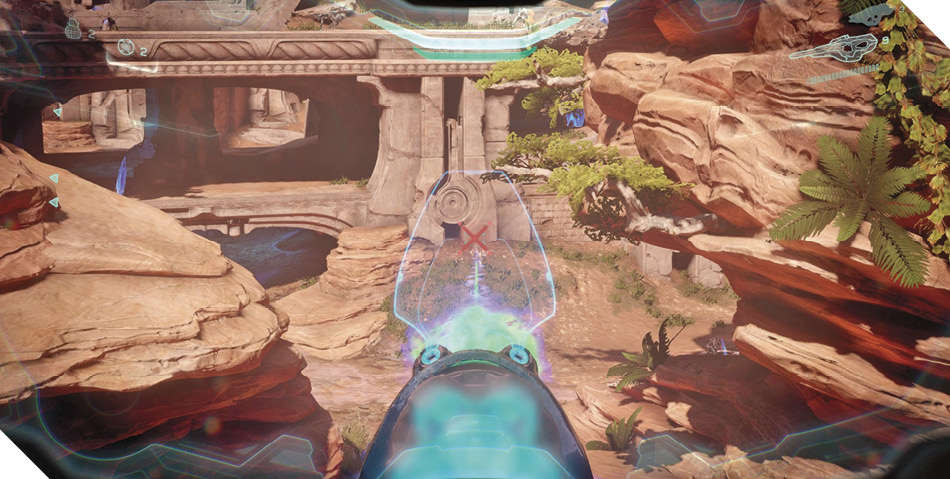
The Phantom deploys several Covenant troops to the crumbling bridge that spans the spacious temple grounds. Pick off as many Covies as you can, but don’t move onto the bridge, for it is heavily defended by a Plasma Cannon Turret and a dangerous Elite armed with a Plasma Caster. Keep your distance and eliminate the lower Grunts and Elite from afar with your Carbine instead.
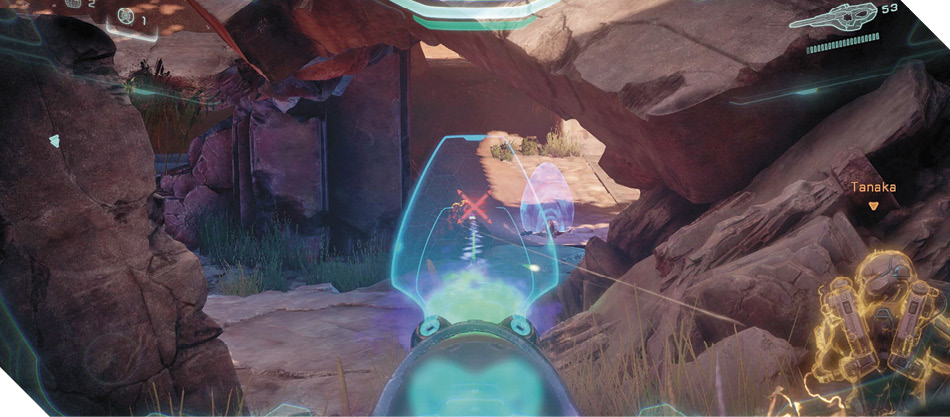
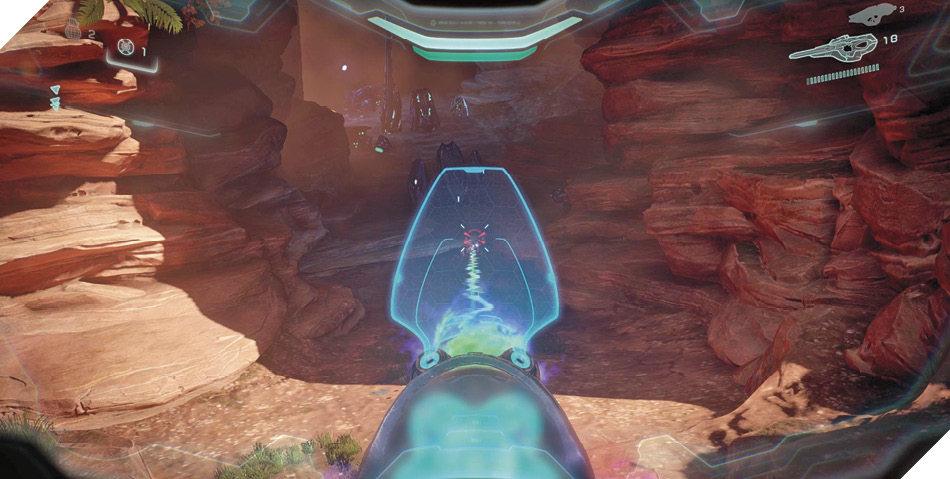
Head to the right along the cliff 17, sighting additional Covenant forces lurking in a low, dark cave 18. Hurl grenades or fire a few Fuel Rod Cannon blasts into the cave to thin out the Covies, then eliminate any stragglers with a Carbine.
Before dropping down to explore the cave, keep moving to the right to discover a data pad. Scan it for intel, then take more shots at the hostiles on the bridge. See if you can pick off the nimble Plasma Caster Elite from here.
Mission 10 Intel Acquired (7/10) |
Drop and enter the cave after scanning the data pad. Inside, you discover Storm Rifles and two Ghosts. Before piloting a Ghost, smash through the nearby cracked wall with a Spartan Charge to reach a secret passage 19.
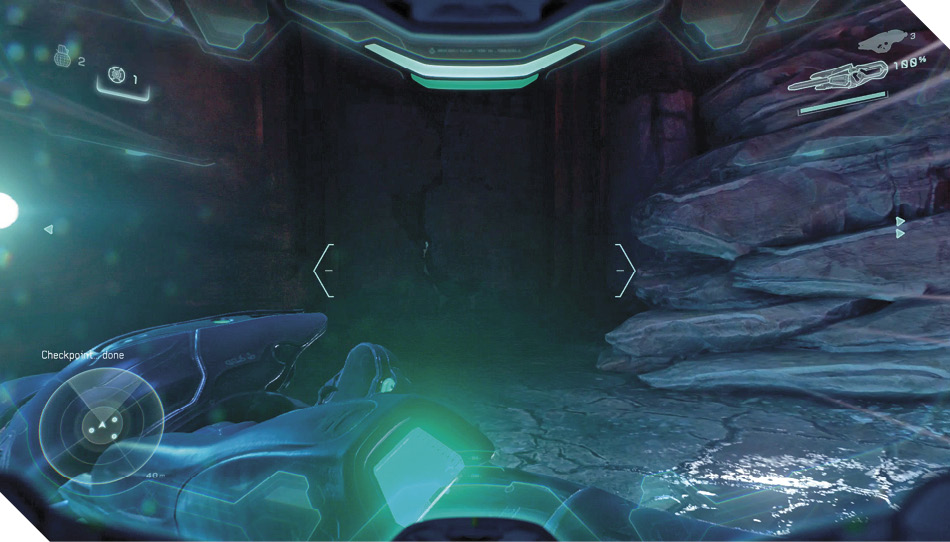
Follow the passage to its end, where it emerges near a dangerous Shade Turret 20. Pop out and blast the Shade Turret with the Fuel Rod Cannon, or stick it with a few Plasma Grenades to destroy it. Use a charged Plasma Pistol blast to briefly disable the Shade before ’nading it if you like.
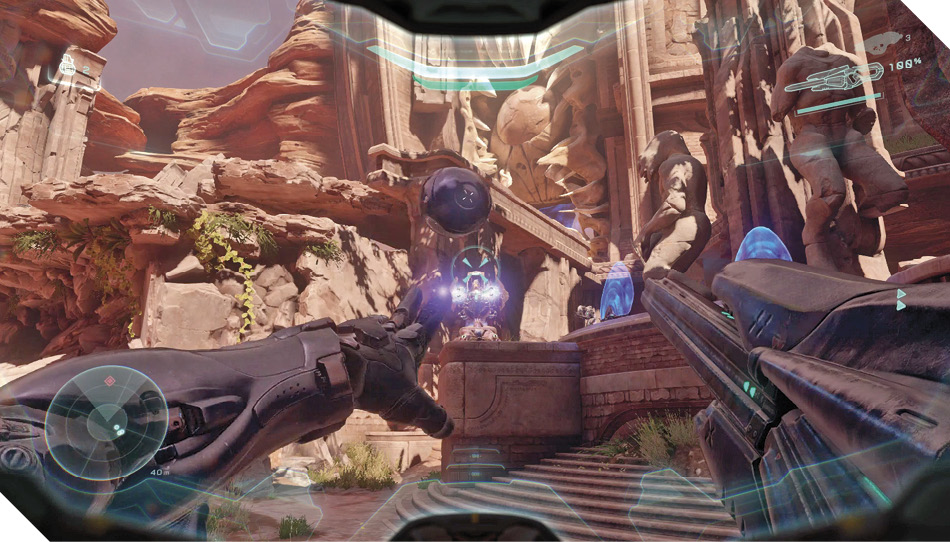
Double back for a Ghost, trading your Carbine for a Storm Rifle before hopping on. Ride out of the cave and concentrate fire on enemies you see around the low ground, especially those near the Shade Turret you’ve just destroyed 20. (If you weren’t able to destroy the Shade Turret before, do so now with your Ghost.) Beware of inbound fire from the elevated Wraith that guards the temple’s main entrance all the while—it’s the greatest threat to your Ghost.
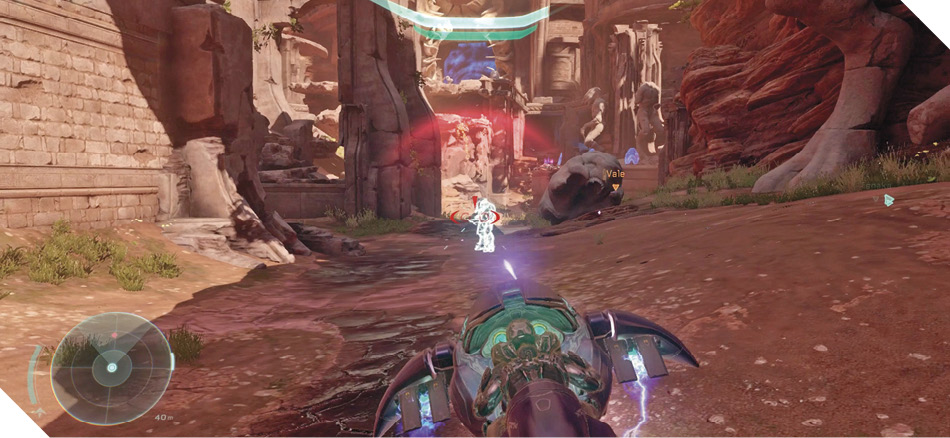
After neutralizing all threats around the Shade Turret, carefully circle behind the Shade Turret’s platform in your Ghost and fire on more Covenant lurking beneath the bridge’s far end 21. You’ll face a few Jackals and Elites, so keep your Ghost’s guns blazing. If you didn’t neutralize it before, the Elite with the Plasma Caster will likely engage you under the bridge here, so be very careful of its explosive shots and bring it down with all speed. Also, beware of drawing fire from Jackal Snipers and the other Shade Turret on the other side of the grounds.
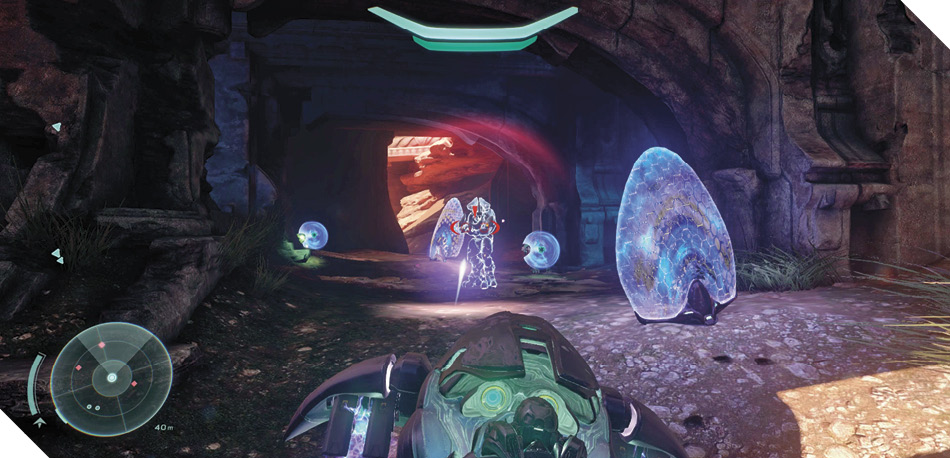
When it’s safe to do so, fire your Ghost’s guns at the cracked wall beneath the bridge. Hop off your Ghost and then sprint through the wall to infiltrate the temple. Scan the nearby data pad for intel as you enter.
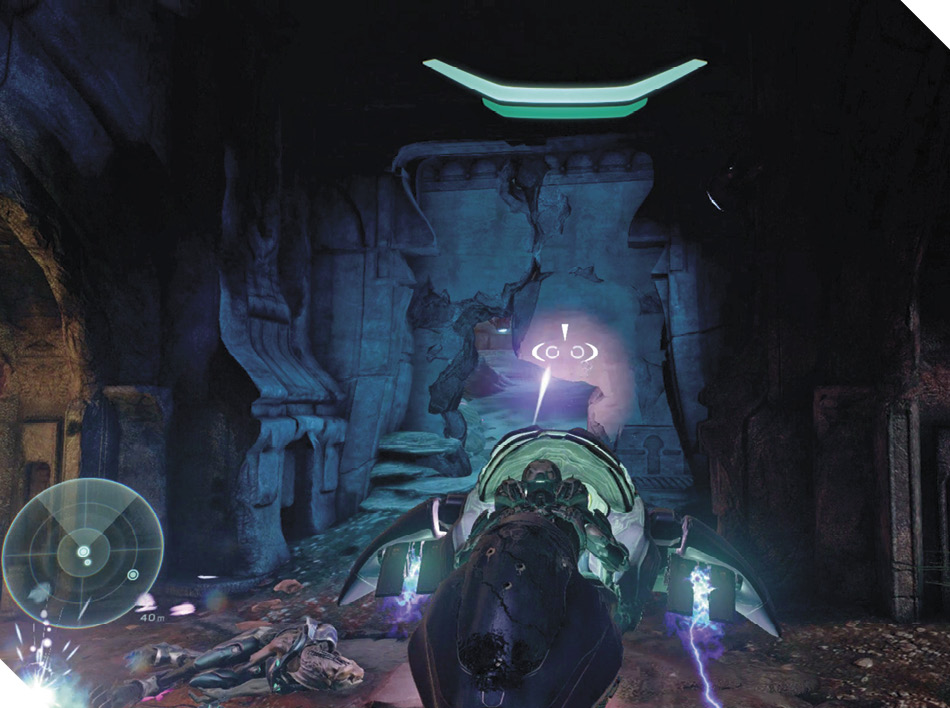
Mission 10 Intel Acquired (8/10) |
No need to mess with the Wraith or shut down the shield that’s blocking the temple’s main door; the secret passage you’ve just discovered lets you enter the temple without all that fuss. When you emerge, you’ll already be past the shield, with the Covenant safely behind you 22. Advance into the temple and continue your search for the Constructor.
Alternate Approach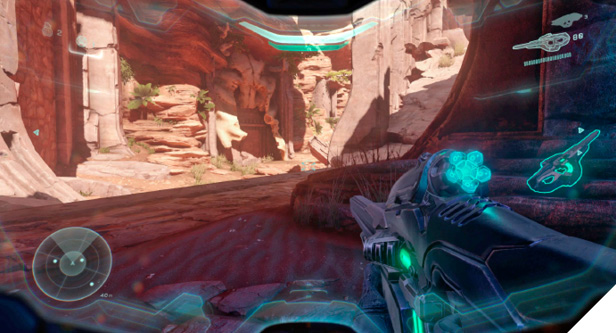
Instead of going to the right and storming the Ghost cave 18, advance along the bridge’s lower tier, which is relatively safe, cutting down Grunts and an Elite as you go. After neutralizing all nearby threats, look to the left to spy a cracked wall on the temple grounds’ left side 23. It’s a bit of a sprint to reach the cracked wall, and you’ll be exposed to fire as you go, so hurry over to it without delay. Charge through to reach a secret side passage that helps you advance. 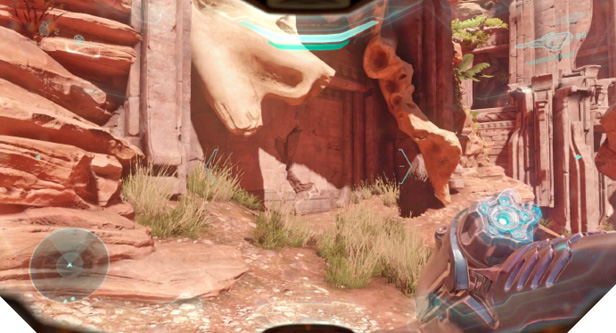
Cut down the bewildered Grunts in the side passage, then follow the passage to emerge on a Jackal Sniper’s perch 24. Eliminate the Sniper, then use its Beam Rifle or a Carbine to pick off the distant Jackal Sniper in the far tower across the grounds 25. 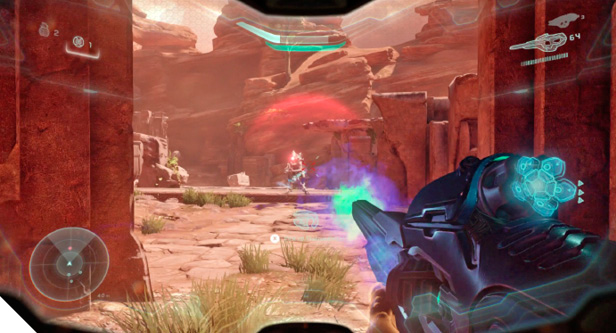
Scale the nearby steps to reach the neighboring Jackal Sniper’s perch, and cut it down as well. A Shade Turret is just ahead 26, and neutralizing it can be tricky. Bounce Frag Grenades at it from the safety of cover, or pop out and stick it with a Plasma Grenade before thrusting back to safety. Beware of inbound Wraith blasts all the while. 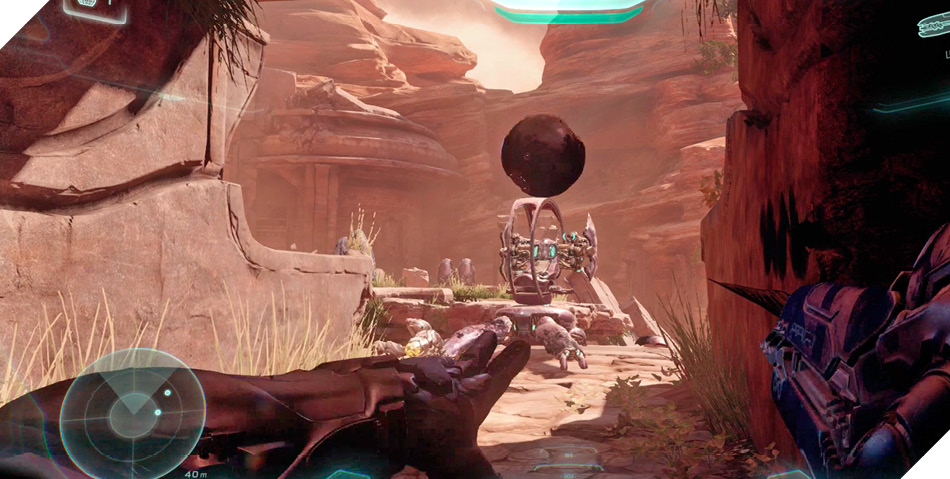
With the Shade Turret destroyed, trade your Storm Rifle or Plasma Pistol for a Beam Rifle and begin exploiting the Snipers’ ledges to pick off the remaining Covenant troops. Each Jackal Sniper dropped a Beam Rifle, and there’s another one leaning against the wall up here; these three Beam Rifles give you plenty of firepower to thin out the Covenant ranks. Just be careful not to get nuked by the Wraith during the effort. 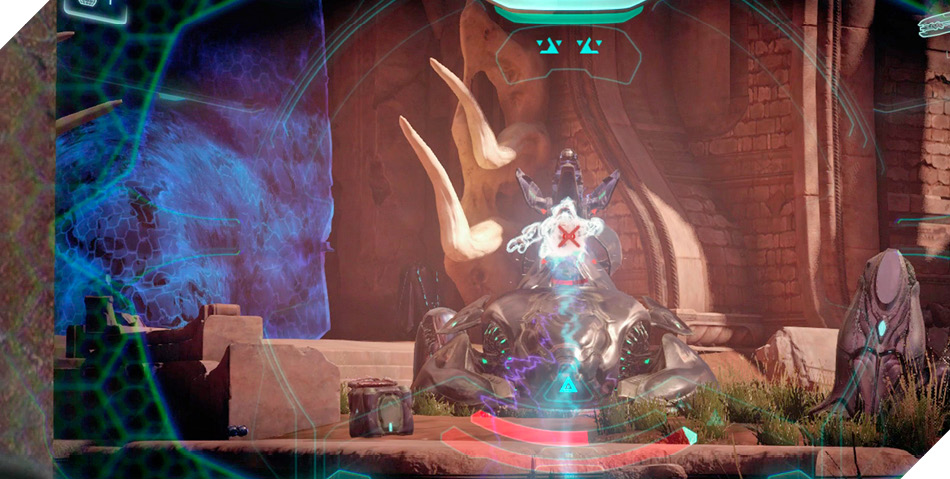
|
Alternate ApproachWith the bridge’s defenders largely neutralized, it’s time to tackle the Wraith. Eliminate its exposed gunner with a Beam Rifle or Carbine from a safe range, then grab a Plasma Pistol and advance on the Wraith. Disable the Wraith with charged Plasma Pistol shots as you approach, then get close and hold the Action button to board it. You can only do this while the Wraith has no gunner, so it’s important to eliminate all nearby Elites from the Jackal Snipers’ ledges before making the attempt. 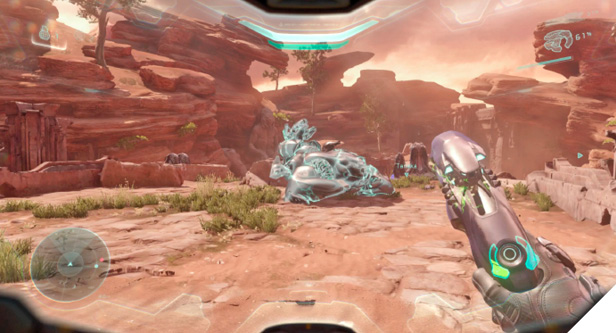
While hanging from the Wraith, tap the indicated button to smash an opening in the vehicle and drop a grenade inside. Back away before the Wraith goes boom, then head back to the Jackal Snipers’ ledges—it’s time to disable that shield. 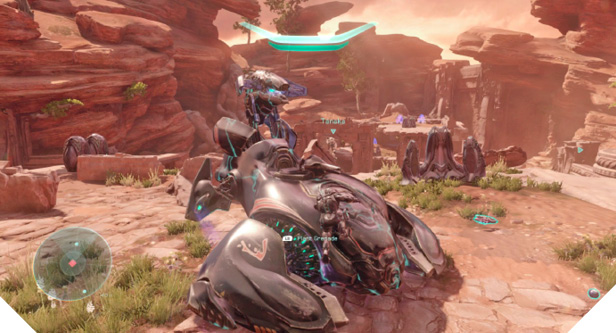
The Jackal Snipers’ ledges feature a Plasma Battery device 27. Hold the Action button to overload the Plasma Battery and release a huge EMP blast that disables all shields and vehicles in the area, including the one that's blocking access to the temple. You could have tried this earlier, but it takes time to hack the Plasma Battery, and the Wraith would have likely annihilated you. It’s much safer now that the Wraith is no more. With the shield down, enter the temple and continue your search for the Constructor. 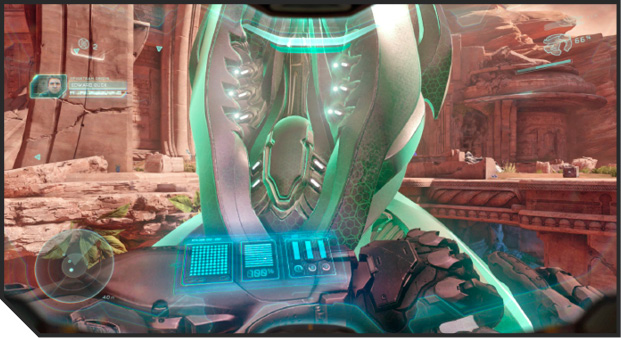
|
Temple Grounds Data Pad
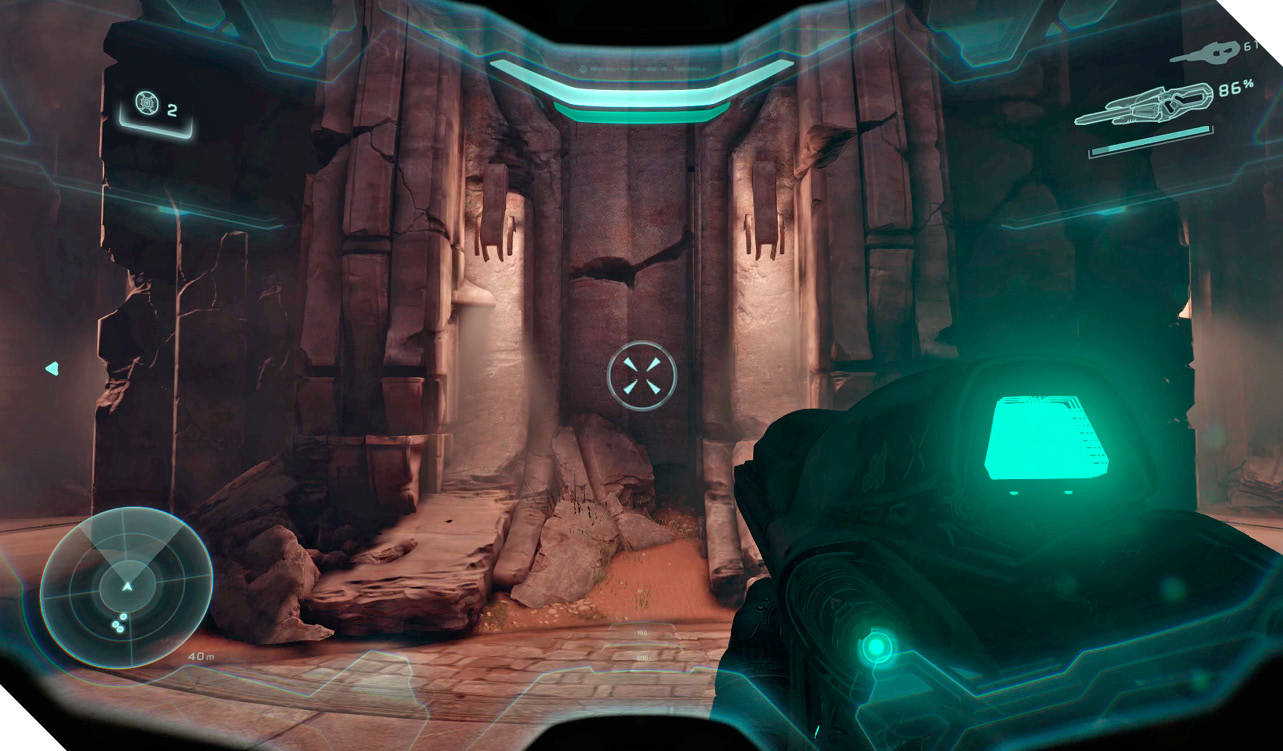
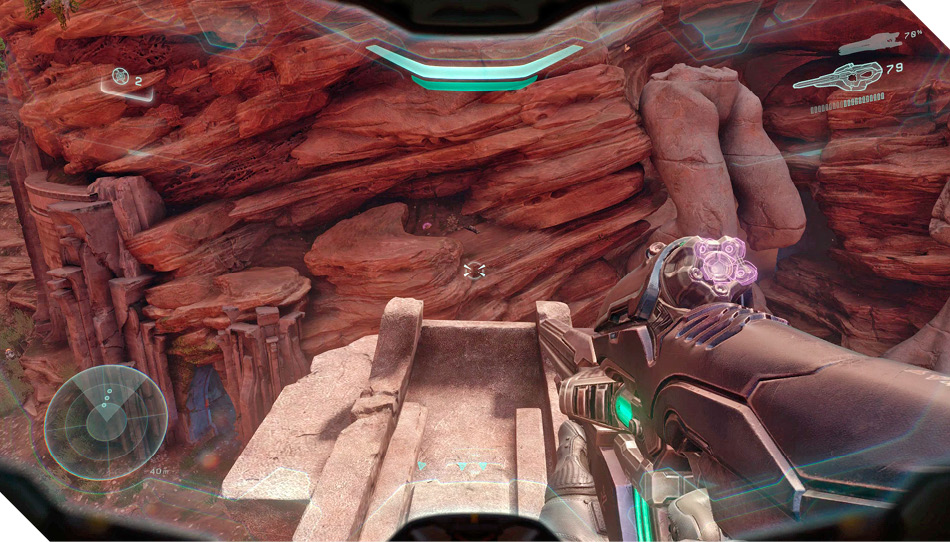
After eliminating most of the Covenant defenders around the temple grounds, it’s safe to go after a tough-to-reach data pad in this area. Backtrack to the entry point and move across the top of the temple grounds’ bridge. Keep going until you reach the point where the top of the bridge has collapsed 28, then jump to the next small section of bridge ahead. From there, turn right and jump to the nearby support pillars 29.
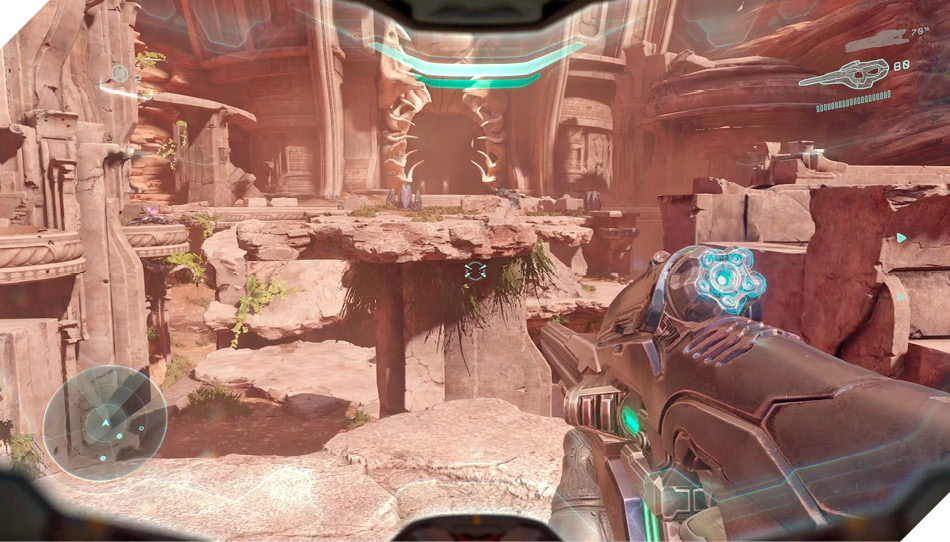
By making a sprinting leap from the support pillars, you can reach a data pad that lies on the rocky ledges of the Ghost cave’s exterior 30. Sprint and leap from the support pillars, aiming to land near the data pad. (You may need to thrust or perform a Ground Pound in midair to make the distance.) Land and scan the pad for intel, then optionally grab the nearby Beam Rifle. Going after this data pad is risky when enemies are about; try reaching it on an easier difficulty level if you’re having trouble.
Mission 10 Intel Acquired (9/10) |
Legendary StrategyThis battle can be challenging in the extreme on Legendary. If you’re playing with friends, you definitely want to split up into groups, sending one team to raid the Ghost cave on the right and the other to secure the Jackal Sniper ledges on the left. This approach lets you work together to flank the bridge’s myriad defenders. If you’re playing solo, you have your work cut out for you. The tactics provided do apply, but you’ll find the Wraith to be far more accurate and aggressive with its ordnance on Legendary. Shade Turrets and Snipers are also lethal, and you’ll catch more fire from troop-deploying Phantoms. The Ghost approach is still your best bet, but you may want to clear out the Jackal Snipers before using the Ghosts. |
Objective: Exit the Temple
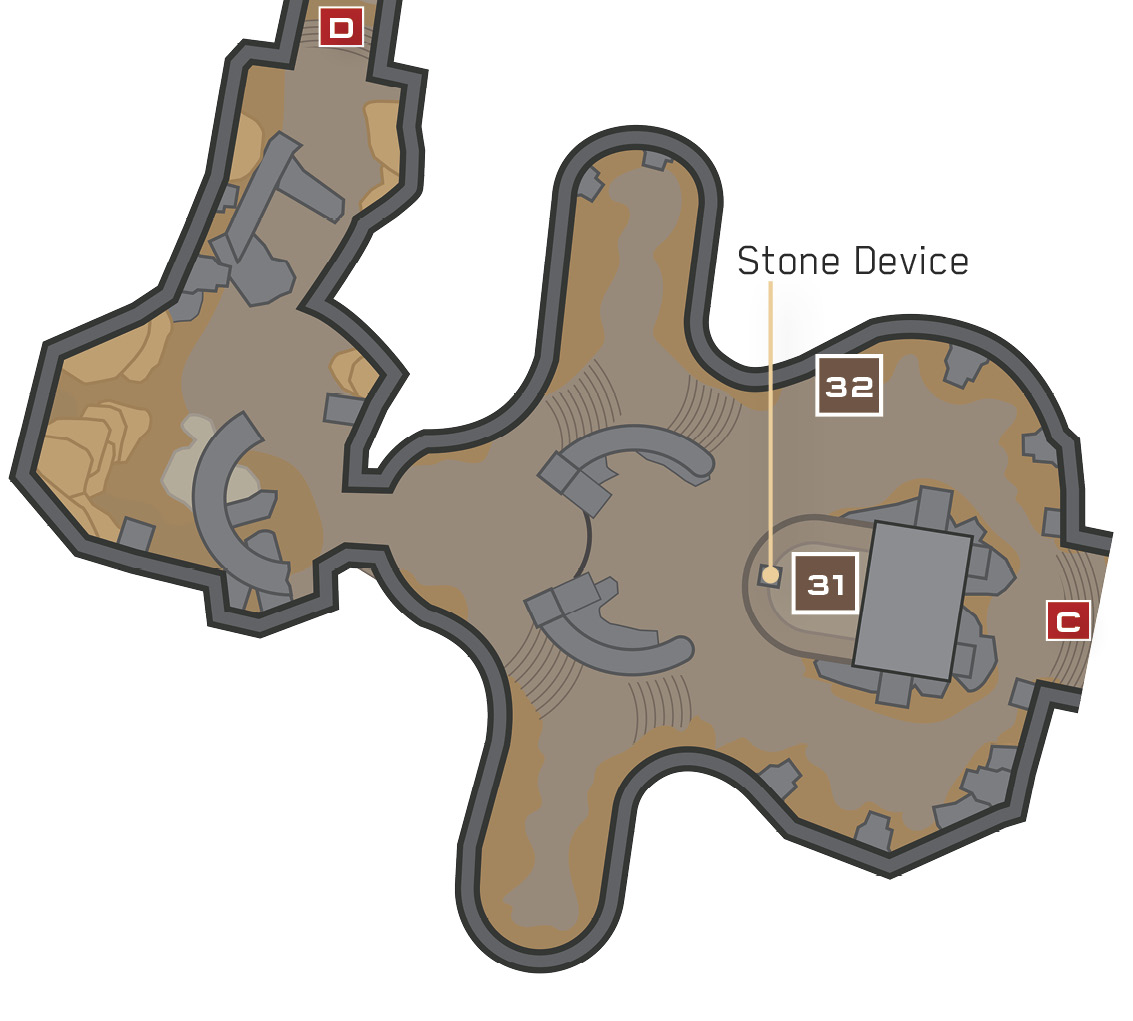
Contrasting with the chaos you’ve just endured in the temple grounds, the temple itself is remarkably quiet. There’s no Constructor here, however, and Locke is afraid he may have hit a dead-end. Scan the temple with Artemis to detect a curious device on a high platform 31. Now you just have to reach it.
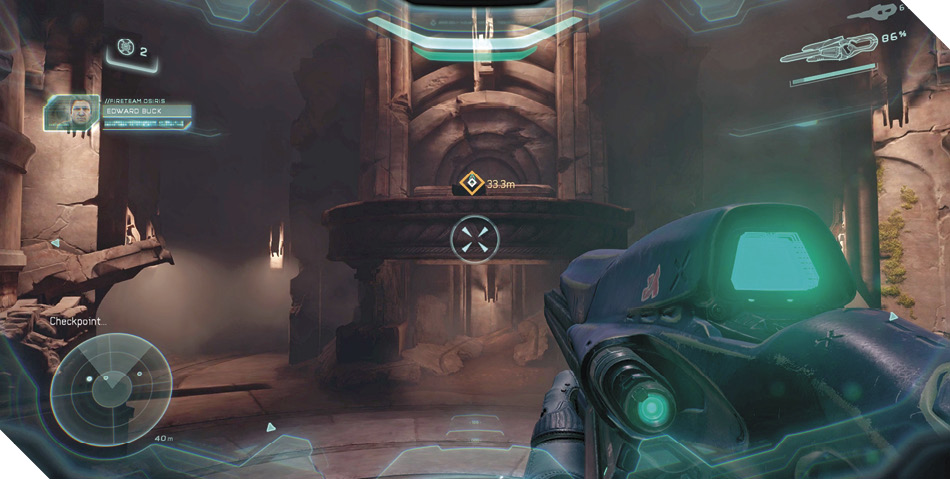
Jump and climb onto the remnants of the toppled pillar to the side 32, then leap out, thrust forward, and clamber onto the platform.
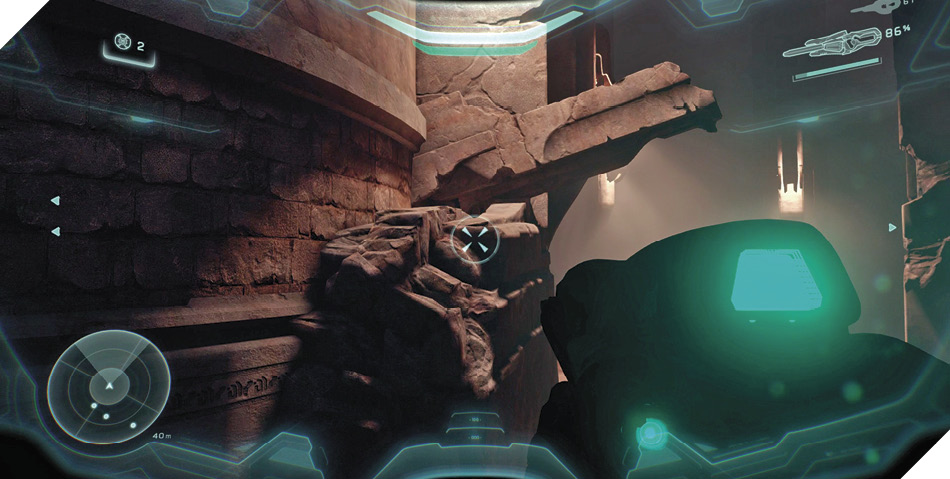
Scan the stone device you discover atop the platform to open the way forward. Dr. Halsey’s coordinates indicate that the Constructor is just ahead. Hurry through the passage without delay, pursuing a pair of Promethean Soldiers into the next area.
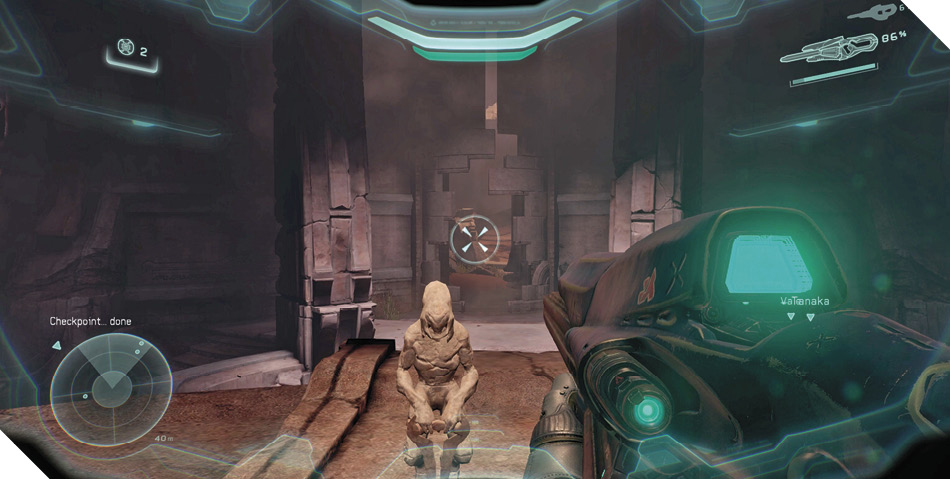
Objective: Destroy the Kraken
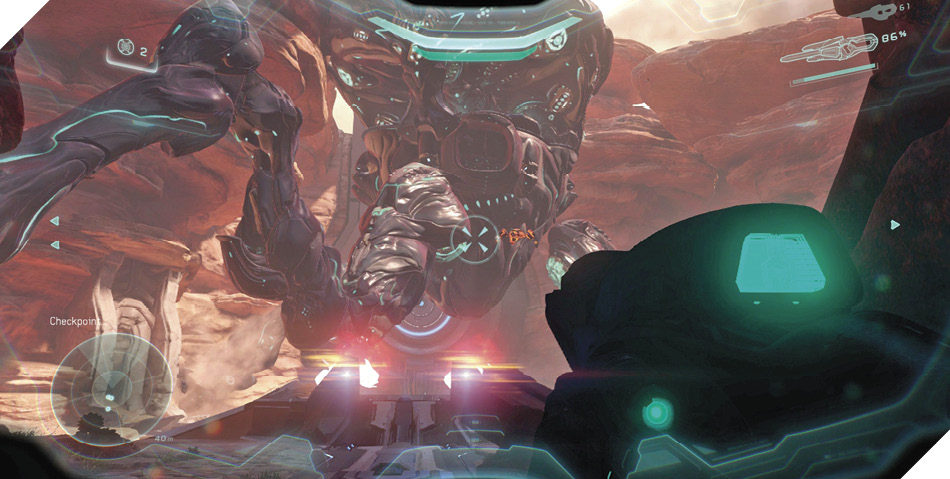
The sounds of battle greet you as you pass through the temple. Follow the Promethean Soldiers to a massive canyon, where the mighty Kraken awaits. That metal monstrosity stands between you and the Constructor, and the time has come to take it down.
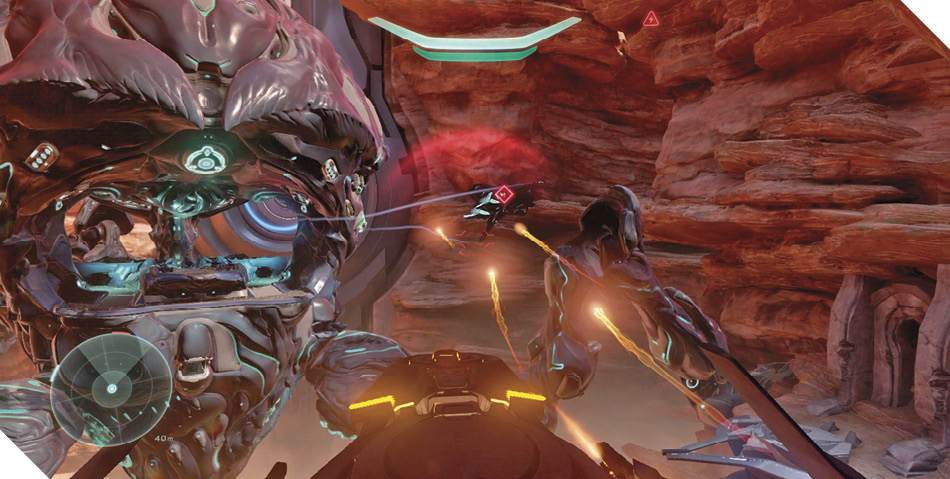
Destroying the Kraken requires serious firepower—and as luck would have it, four Phaetons are docked close by 33. Hop into a Phaeton but keep your distance from the Kraken as you blast the enemy Banshees from the sky. Hit the Switch Weapon button and use the Phaeton’s tracking missiles to obliterate each Banshee in short order.
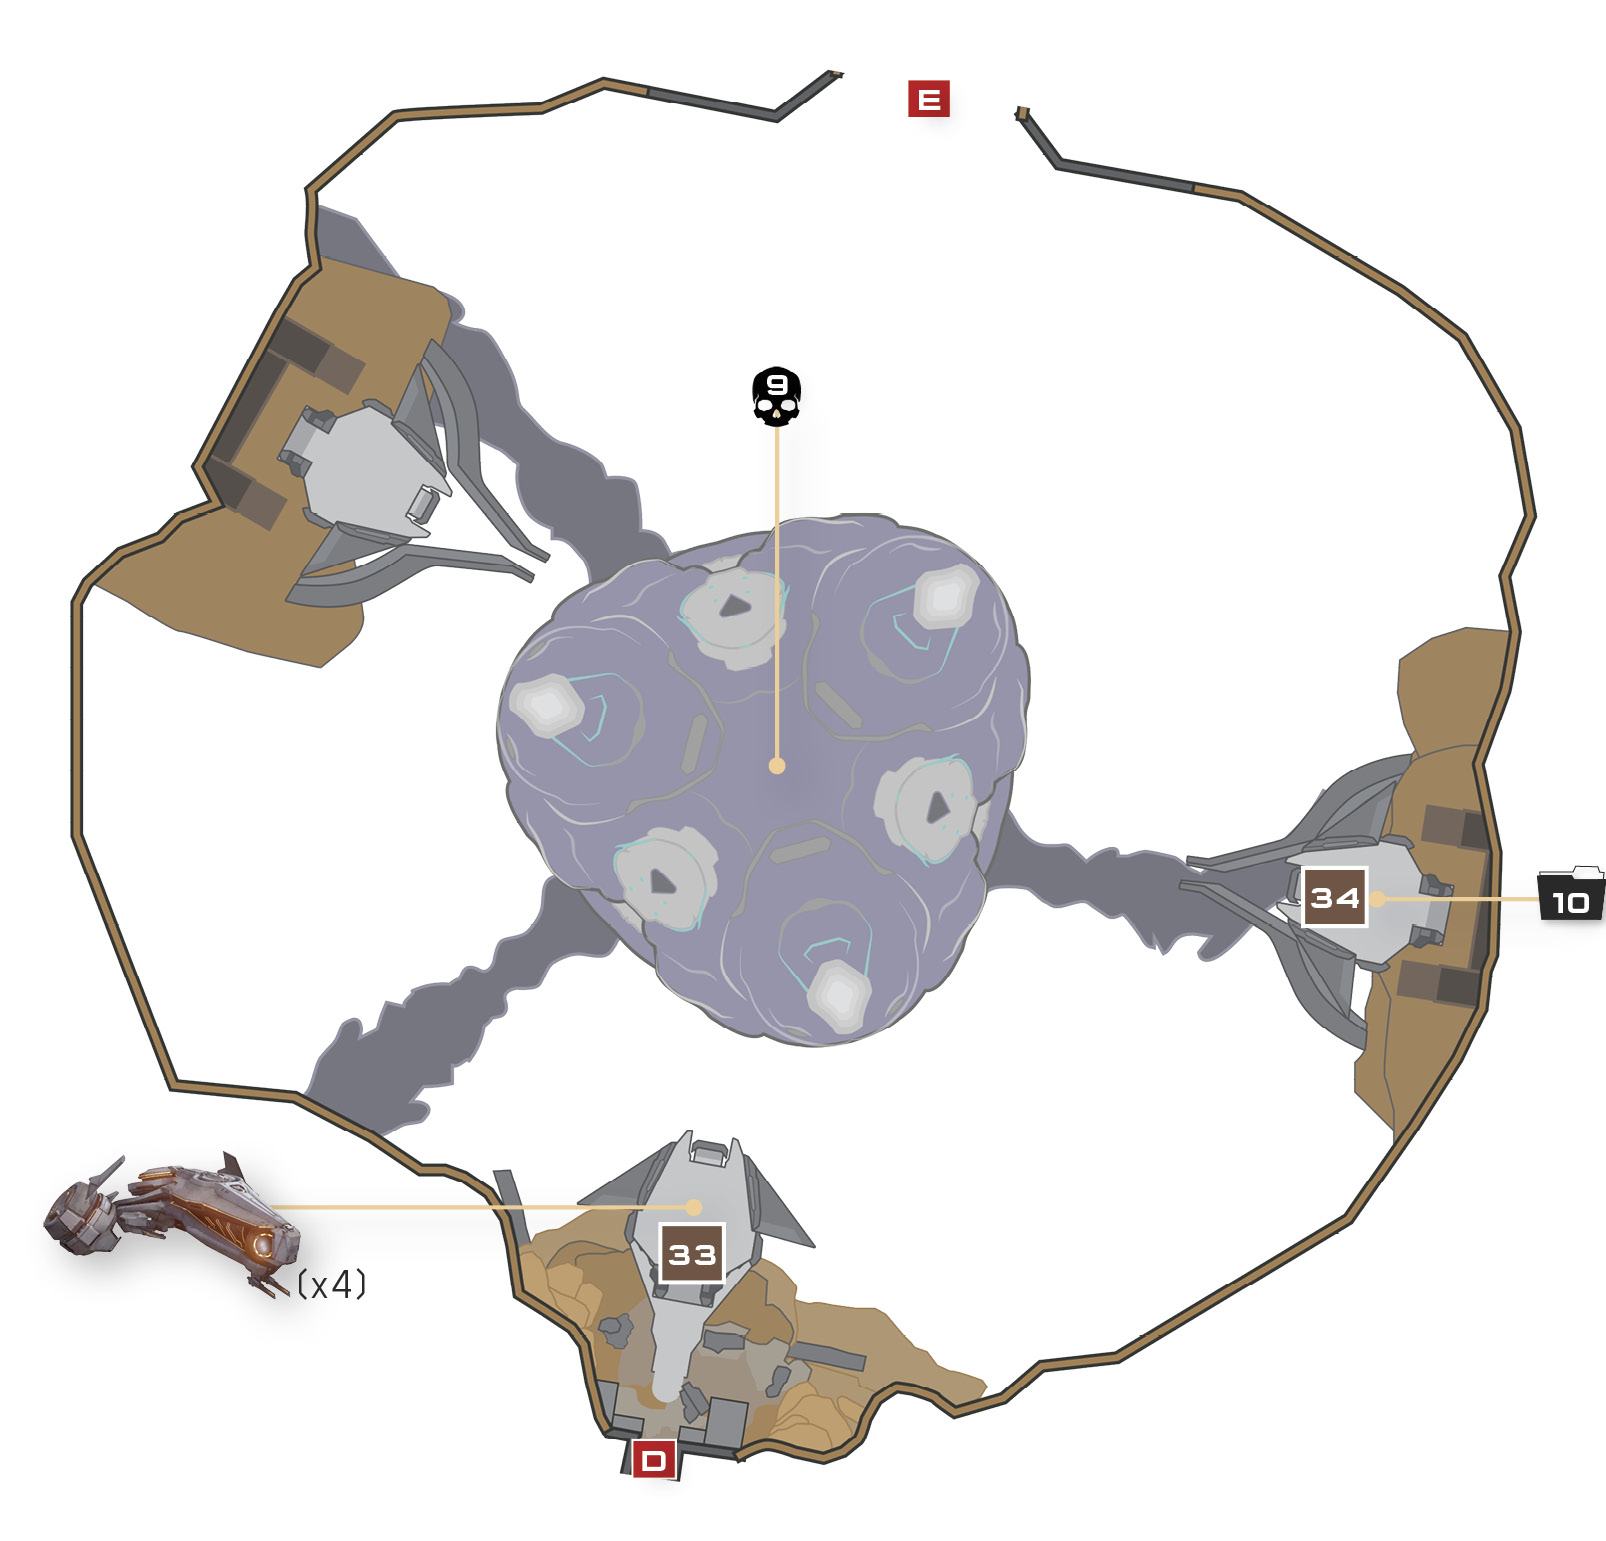
With the Banshees out of your hair, begin targeting the Kraken’s many Shade Turrets. Maintain as much distance as possible as you fire more missiles at the Shades. If more than three Shade Turrets are firing on you, you’re too close—back off and neutralize each nearest turret in turn.
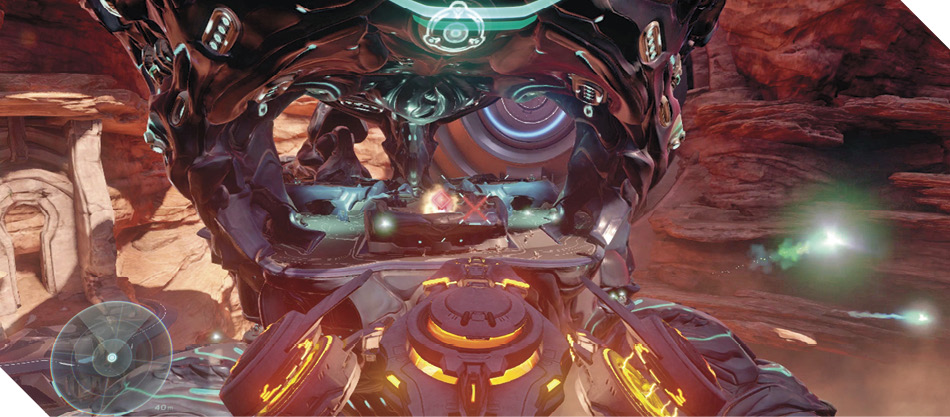
Achievement: Kraken Lackin'Landing on the Kraken without destroying its turrets is hazardous in the extreme, yet that’s exactly what you must do to earn this Achievement. There’s no difficulty requirement for this one, so play on Easy difficulty to give yourself the best odds of landing on the Kraken safely. Land on the Kraken and bring it down without destroying any of its turrets, then complete the rest of the mission to earn your Achievement! |
When it’s safe to approach, fly up to the Kraken and eliminate the remaining Shade Turrets on its central deck. Use your Phaeton’s guns to cut down any Covenant troops that emerge from the Kraken, then land on the deck and make your way down into the belly of the beast. The more Covies you kill before landing, the fewer you’ll need to contend with inside the Kraken.
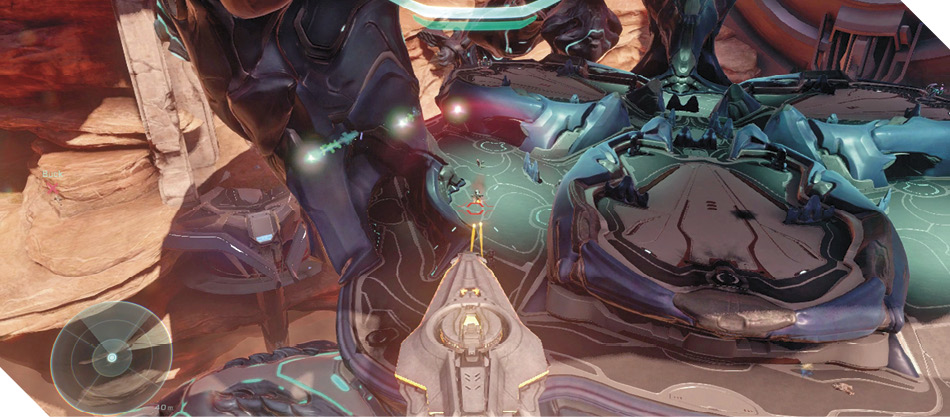
The Kraken’s interior can seem a bit confusing at first, but it’s actually small and straightforward. Wipe out the Elite and Grunts that guard the entry ramps, then raid the nearby Covenant weapon racks before descending lower.
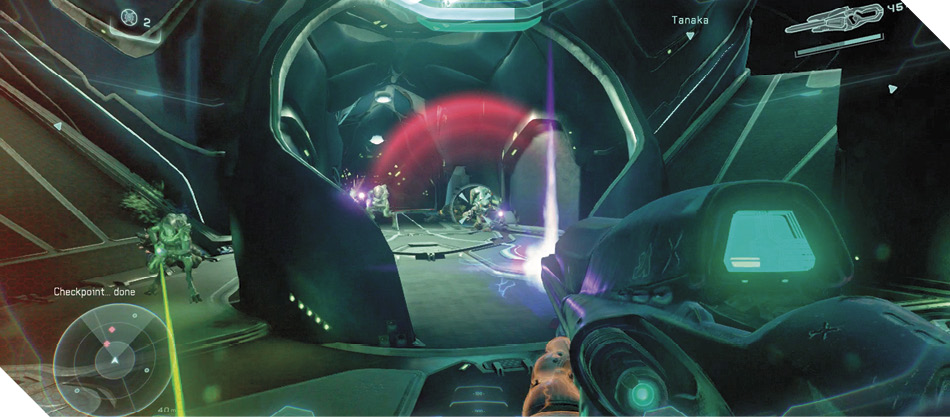
Skull 9 of 13: Catch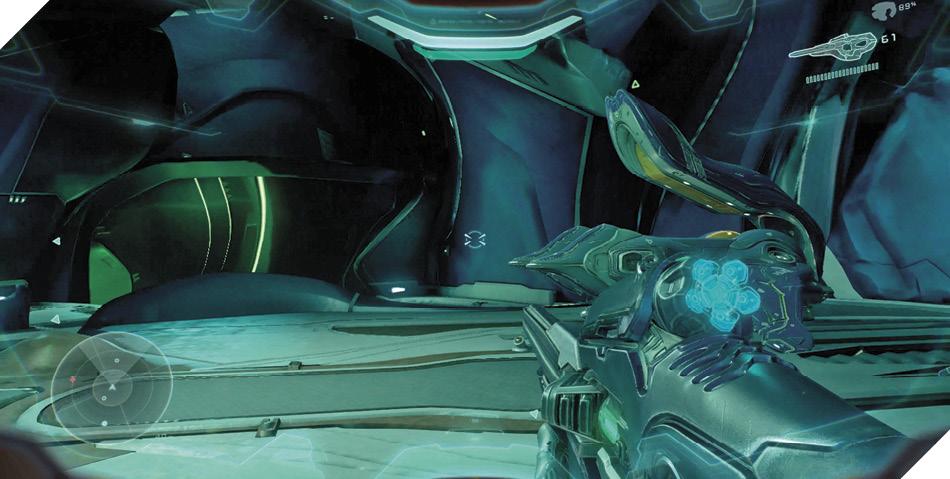
This Skull is hidden inside of the confounding Kraken. Descend the ramps until you reach the Banshee bays. There are two identical Banshee bays inside the Kraken; one of them contains the Skull. 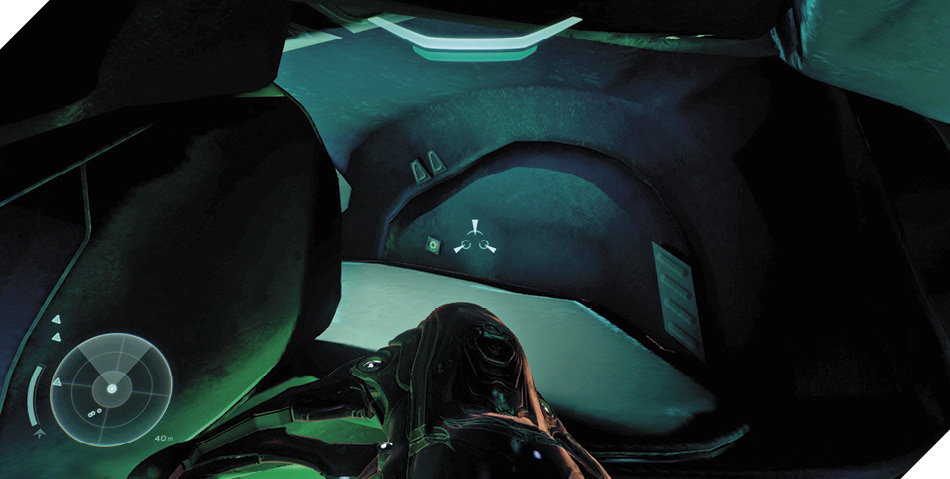
Checking for the Skull is easy. First, notice the green-lit passages leading from the Banshee bays down to the Kraken’s power core. Pilot a Banshee and fly up to the ledges above the entrances to these green-lit passages. 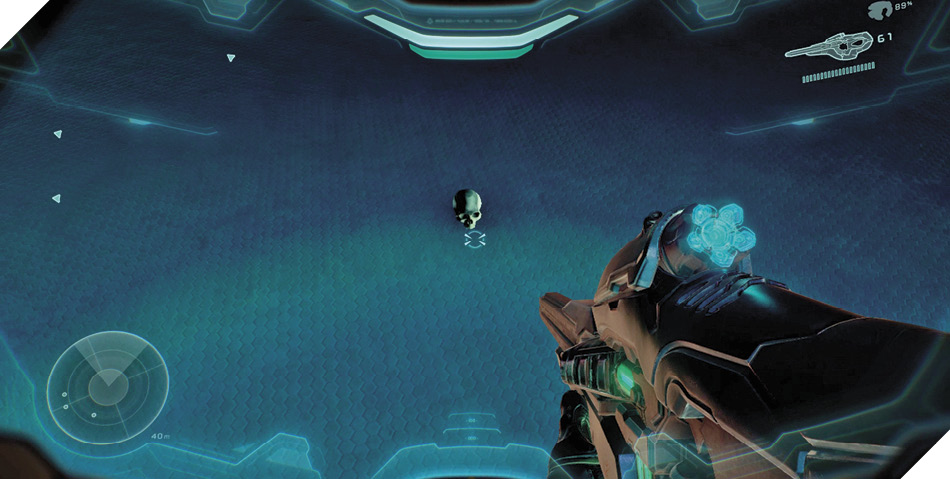
One of the ledges holds the Skull; check them both if need be to find it. Grab the Skull and then continue your descent to the Kraken’s power core. 
|
Legendary StrategyYou face several Elites in the Kraken on Legendary difficulty, along with multiple shield Jackals. Exploit Storm Rifles and the Plasma Pistol’s charged shots to quickly break these shields and expose the enemy to Carbine headshots. |
Keep descending into the Kraken until you reach its power generator. Stick the generator's glowing core with a Plasma Grenade, or grab a fresh Storm Rifle from the nearby weapon rack and blast the core until it explodes, signaling the Kraken's demise.
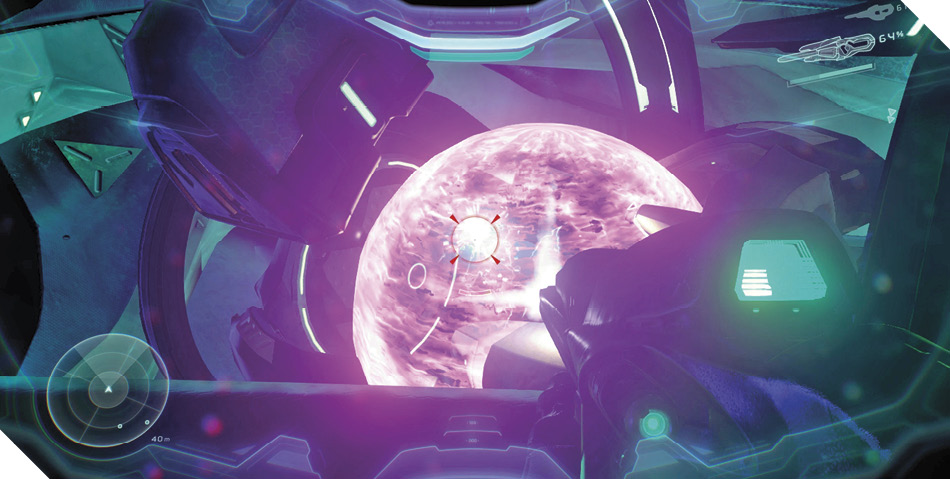
The Kraken is about to go boom, and you don’t want to be anywhere near it when that happens. Hurry up one level to return to the Banshee bays. Hop aboard a Banshee and take flight to escape the Kraken before it plummets into the abyss.
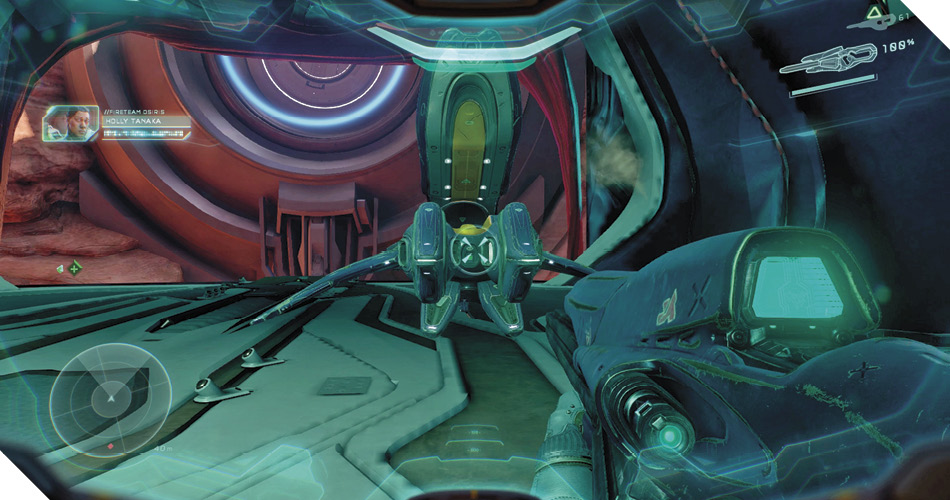
Achievement: Cemergency Boarding PRoceduresEscaping the doomed Kraken via Banshee is just too easy. When playing with friends, get crafty and coordinate your escape by having a Co-op buddy fly close and rescue you in a Phaeton! Leap from the doomed Kraken, land on a Phaeton that’s piloted by a Co-op friend, and then make good your escape together like true Spartans. Escape the Kraken without using a Banshee, and an Achievement will be your reward! |
Good work, Spartan! With the Kraken down, your path to the Constructor is clear. But before flying your Banshee through the large Forerunner portal in the canyon’s wall, land on one of the canyon’s side platforms 34 to discover a Forerunner console. Scan the console to unlock new intel.
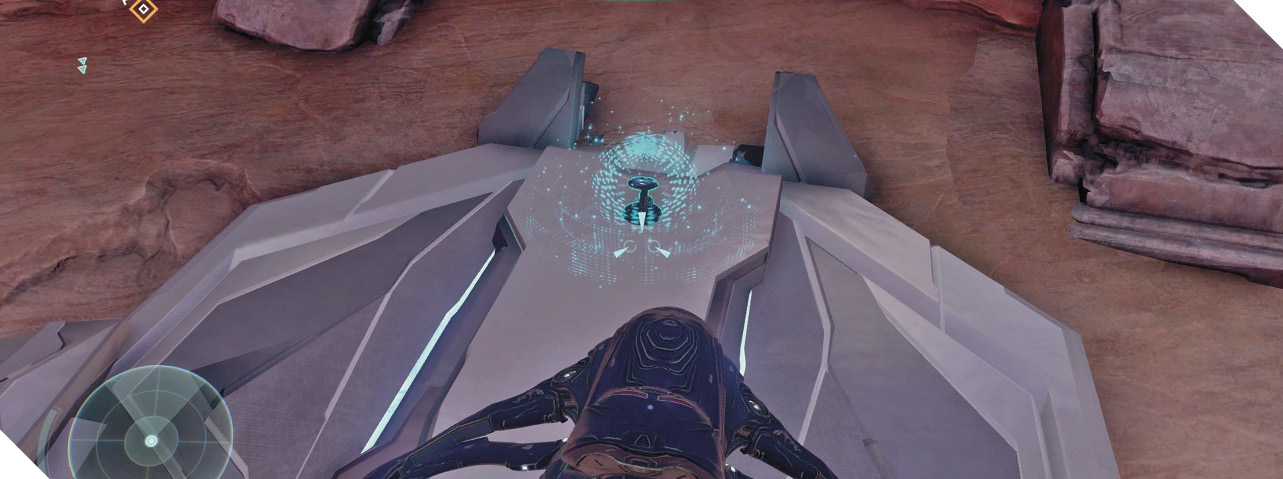
Mission 10 Intel Acquired (10/10) |
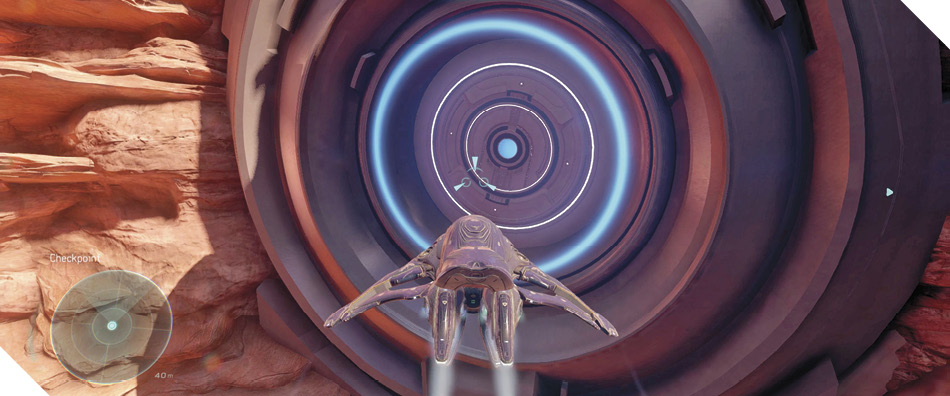
Now you’re ready to move on. Return to your Banshee and fly through the large portal in the canyon’s wall. Land on the portal’s other side and enter the Forerunner facility beyond.
Objective: Retrieve the Constructor
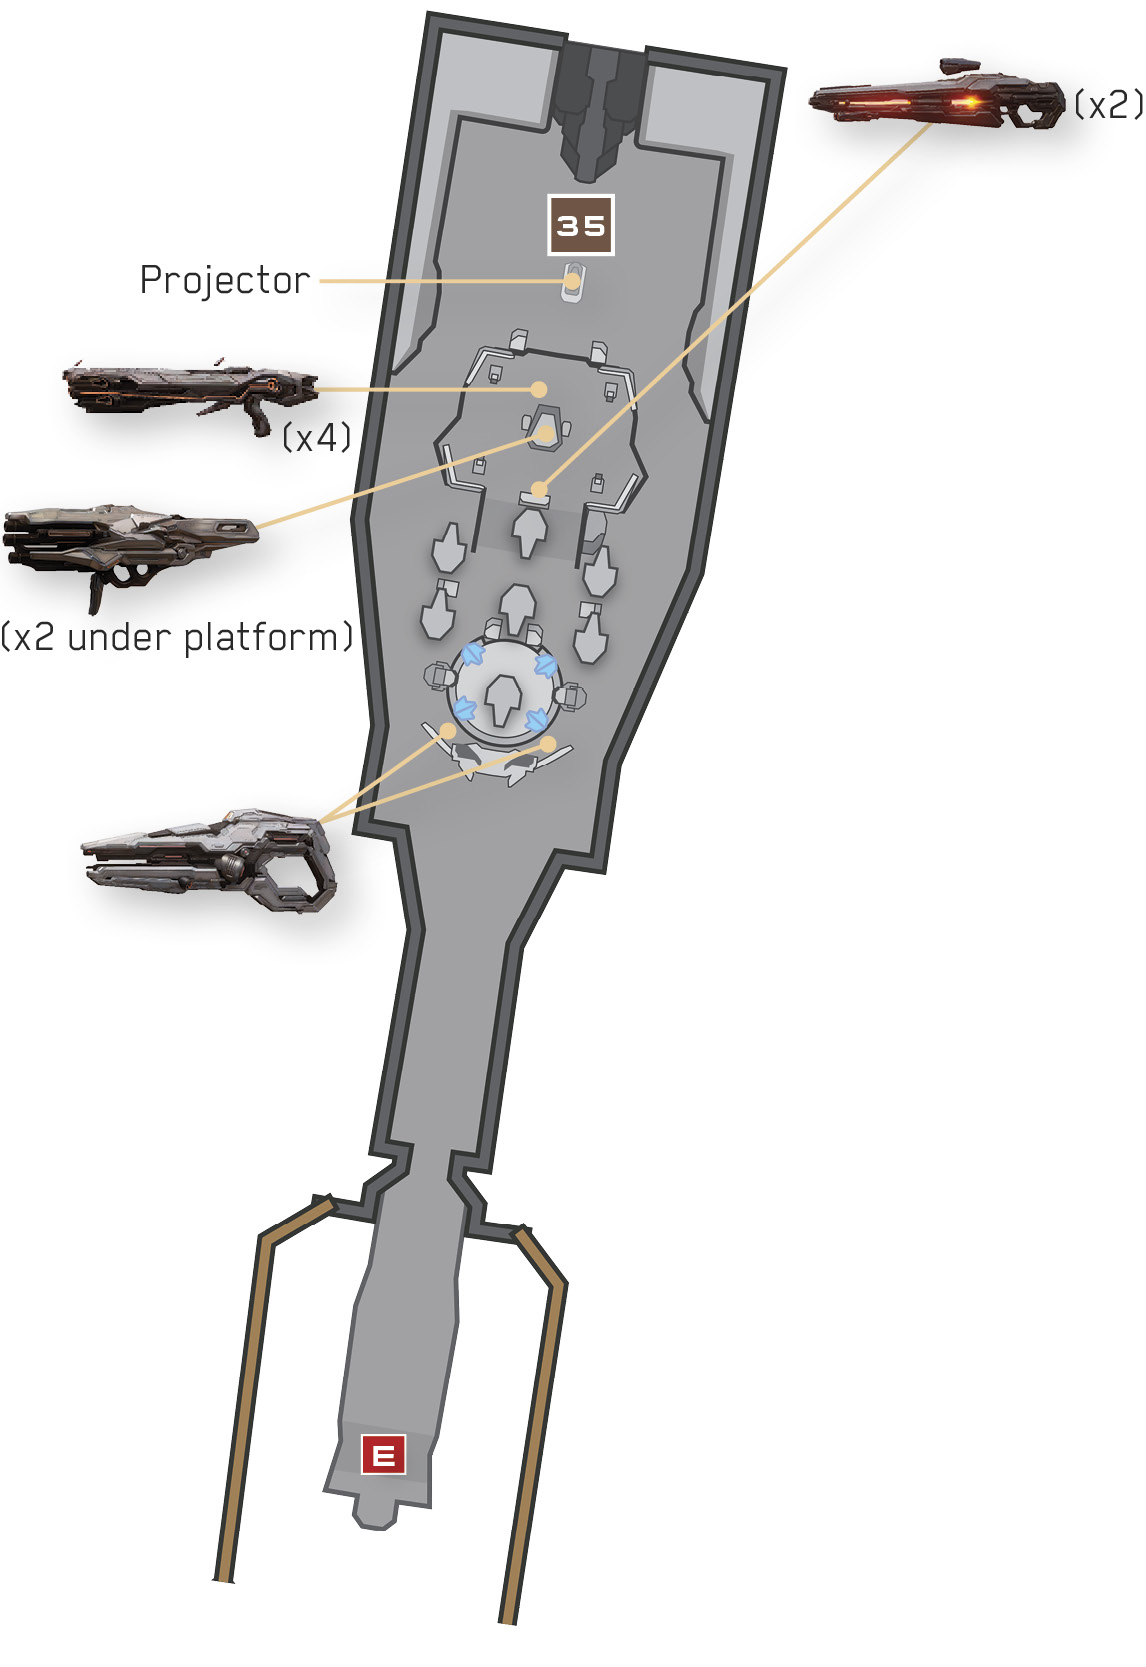
The Forerunner facility is quiet, but there’s no sign of the Constructor. Still, it must be close. Advance to the room’s far side, collecting and giving away Forerunner weapons as you go.
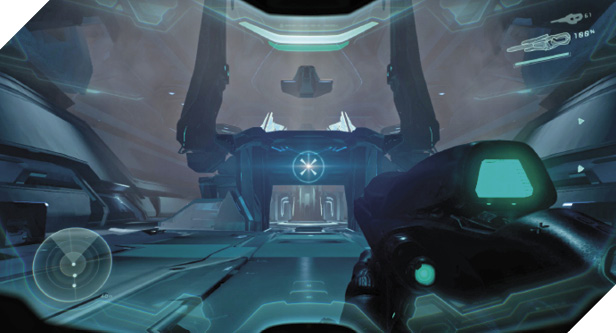
A projector is emitting an image of a Guardian on the room’s far side 35. Circle around the projector to discover a control panel. Hold the Action button to smash the panel and summon the Constructor, which is designed to repair damaged Forerunner facilities.
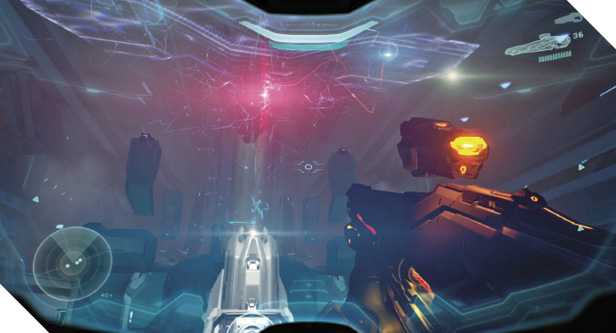
Summoning the Constructor prompts a host of Promethean Soldiers to spawn. Obliterate the first few Soldiers, keeping behind cover to avoid being hit by the elevated Soldier Captain’s punishing Splinter Turret volleys.
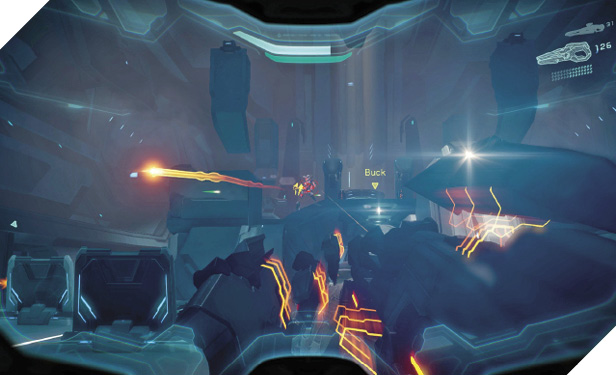
Cut down the Captain and then search beneath his perch to find Incineration Cannons. Grab one and then climb up on top of the platform, assuming the Captain’s former position. Put its Splinter turret to use if you like, using it to annihilate the Soldier Captains, Knights, and Watchers that guard the room’s far end. Switch to your Incineration Cannon afterward and mop up whatever’s left.
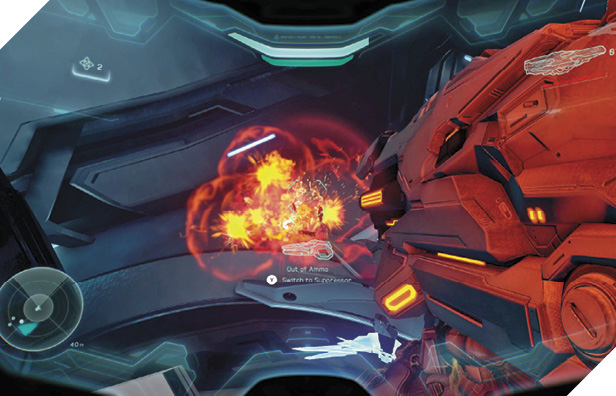
Legendary StrategyThe start of this battle is most challenging on Legendary difficulty, because the first wave of Soldiers rushes you in force. Toss grenades at the elevated Soldier Captain, and use a Suppressor to shred the regular Soldiers’ armor, switching to a LightRifle or Scattershot to finish them off once their cores are exposed. When advancing, trade your Suppressor or Scattershot for an Incineration Cannon, then launch charged shots to obliterate the two Knights and remaining Soldier Captains on the room’s far side. Beware of the Knights’ leaping advances and keep as far away from them as possible. |
Secure the room, and Osiris will contact the Arbiter to inform him of their success. Exit the room to find a friendly Phantom waiting for you. Hop aboard the Phantom to flee the scene with the Constructor. Here’s hoping Halsey can get some use out of this thing!